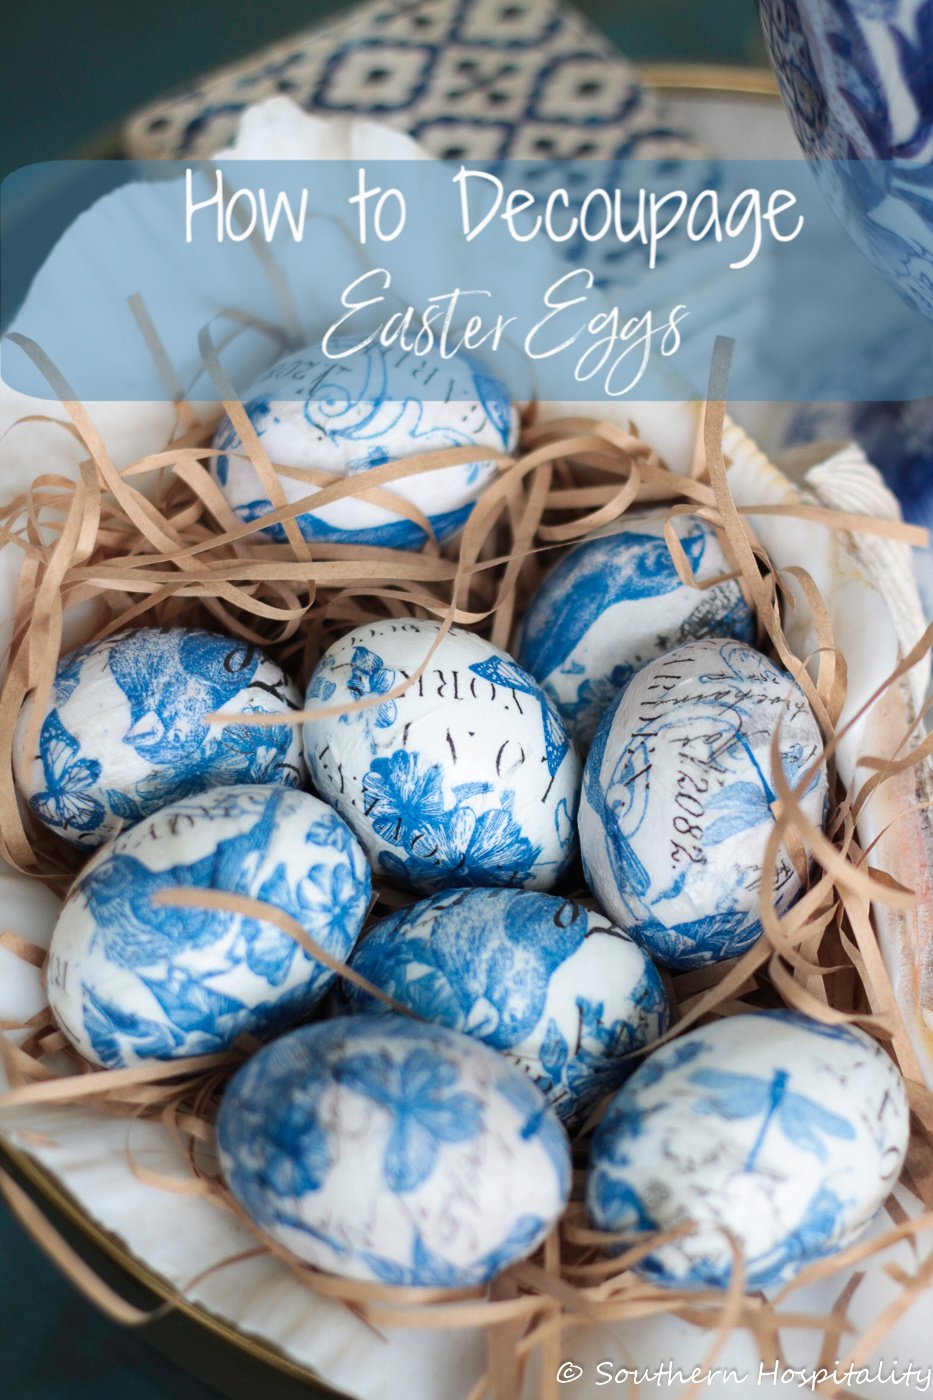
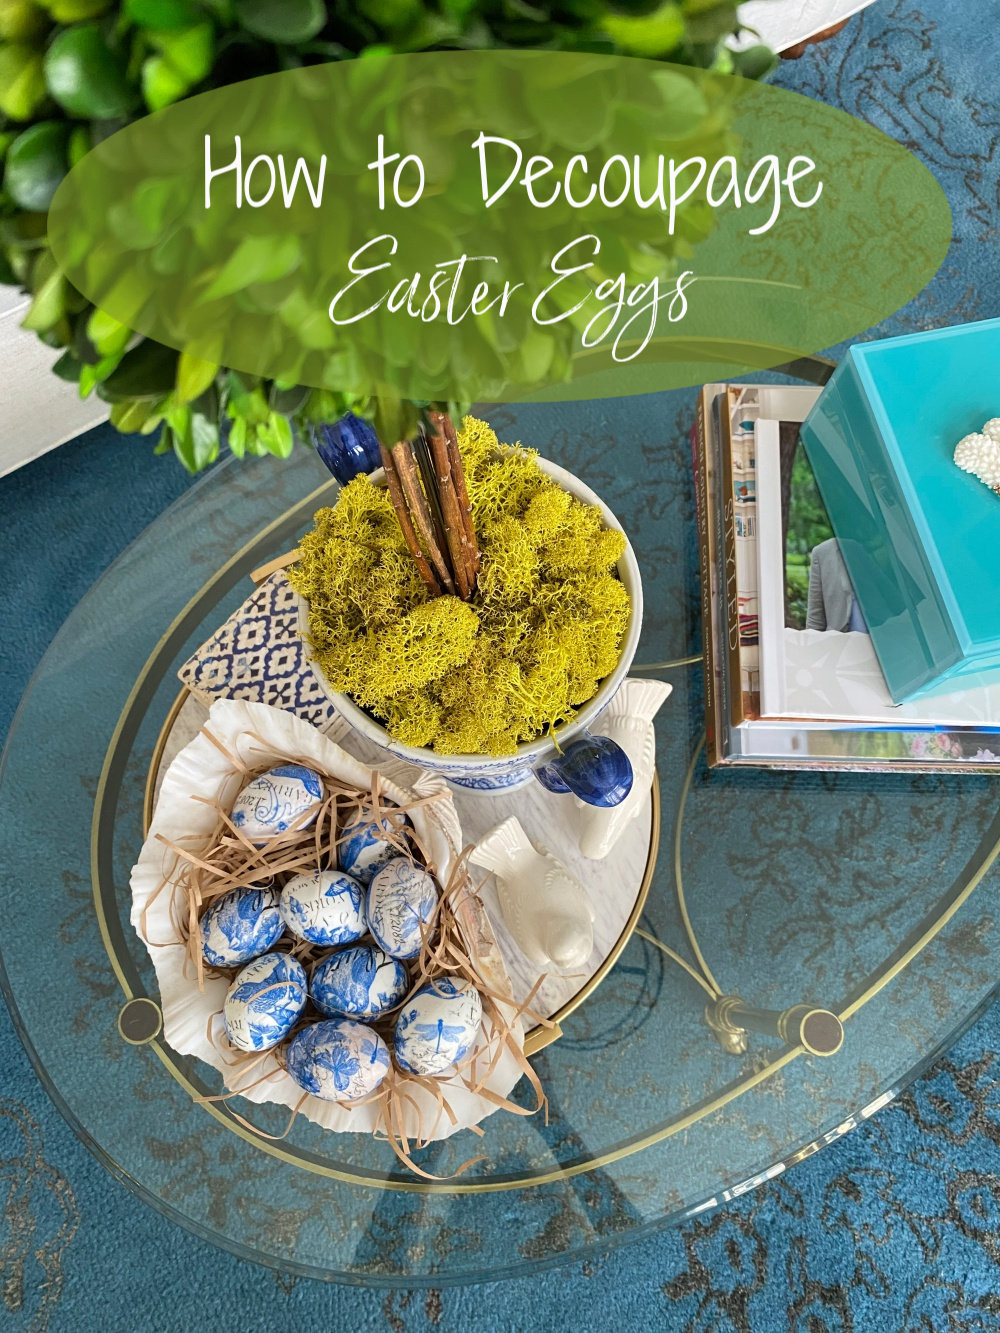
Here’s a fun Chinoiserie style Easter egg craft that I hope will inspire you today! Decoupage faux Easter eggs with blue and white napkins for a beautiful effect that will last for years. I was inspired to do this project by my friend, Yvonne, at StoneGable who blogged about it and I’ve seen many other bloggers do a similar decoupage project as well. We will all still be celebrating Easter this year, it just might look different than it normally does. I think these eggs are a fun way to celebrate the season.
Years ago, I got into decoupage but haven’t done anything in many years so it was fun to get crafty again. These will be fun to pull out year after year and the blue and white colors go so well in our home. Let’s get to crafting these Easter beauties!
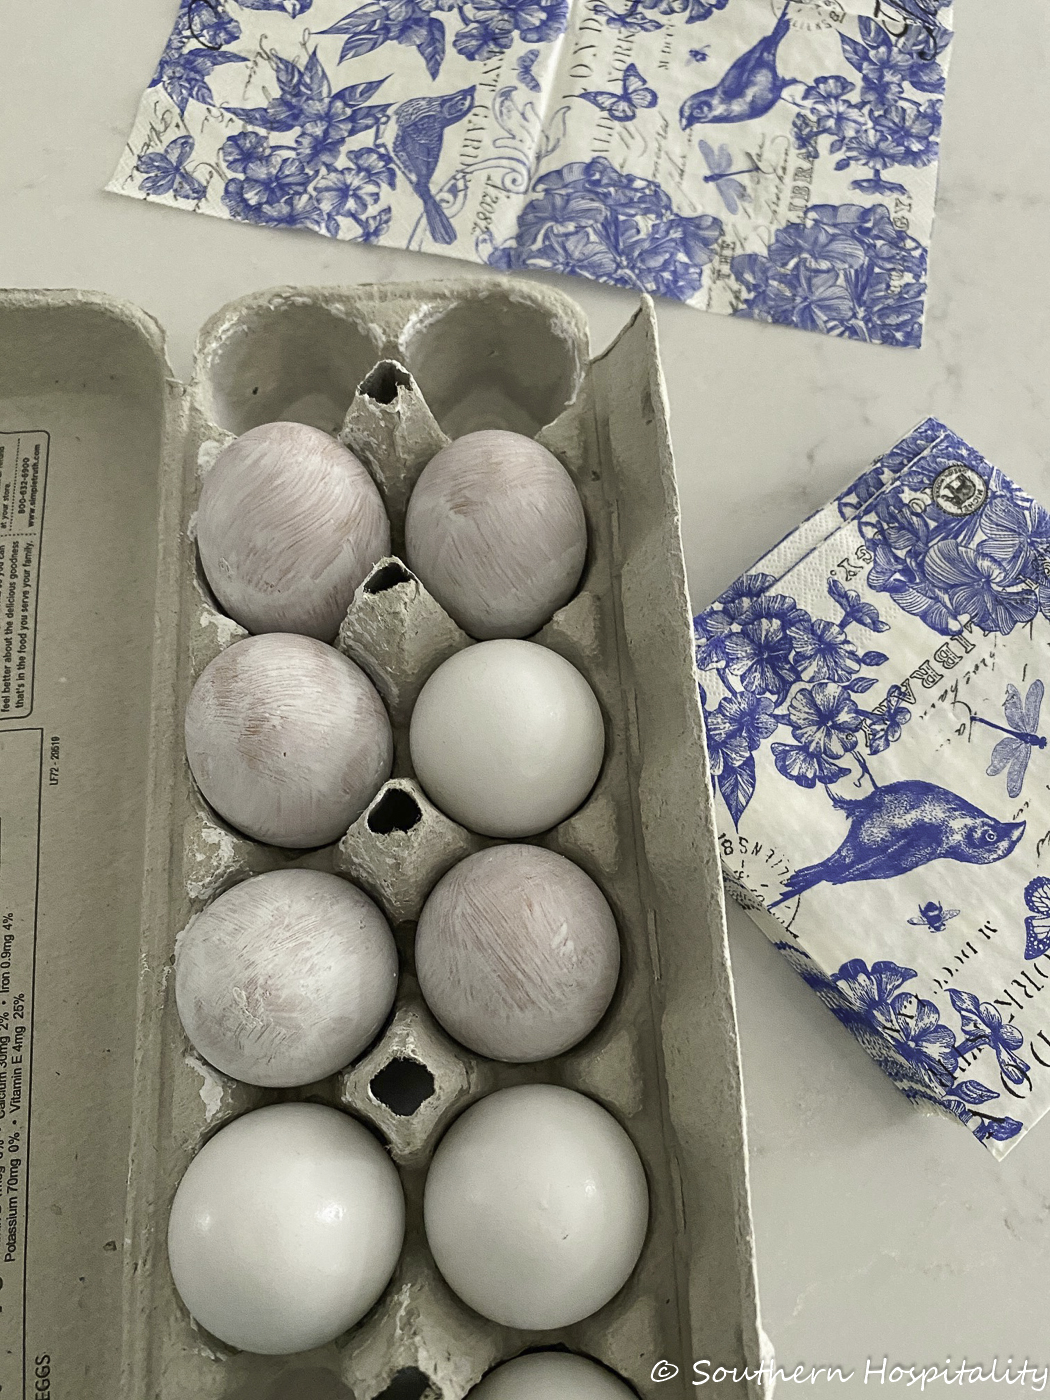
I set up my craft project on my kitchen bar area and I ordered my supplies off Amazon. They were here in a flash, the wood eggs and these pretty blue and white napkins. My eggs were a set of 9 and 4 of them were brown so I quickly got out my primer and primed them white so they would all look similar.

You’ll need a small paint brush or foam brush will do and you’ll need Mod Podge as well. I used matte finish and it dries fast and clear.
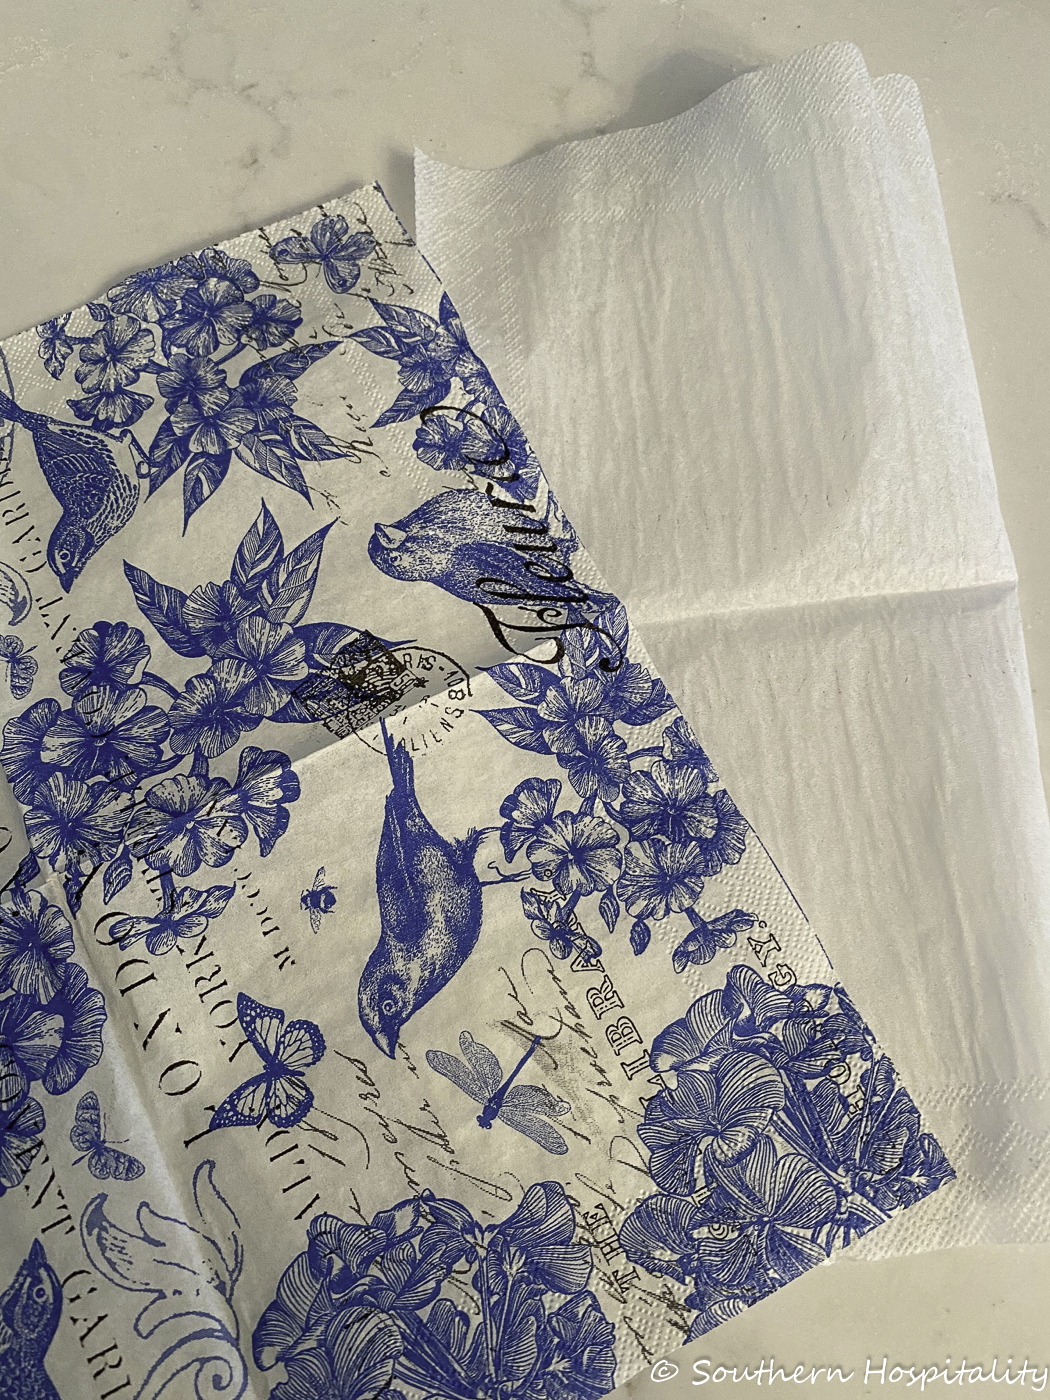
Be sure and separate the 2nd ply from your napkins, you want a thin layer of napkin to glue on for best results. I didn’t get video of this process, but it’s really easy.

Eggs and napkins ready to cover. I did them in sections and you will want to tear your napkins in smaller pieces for ease of use.
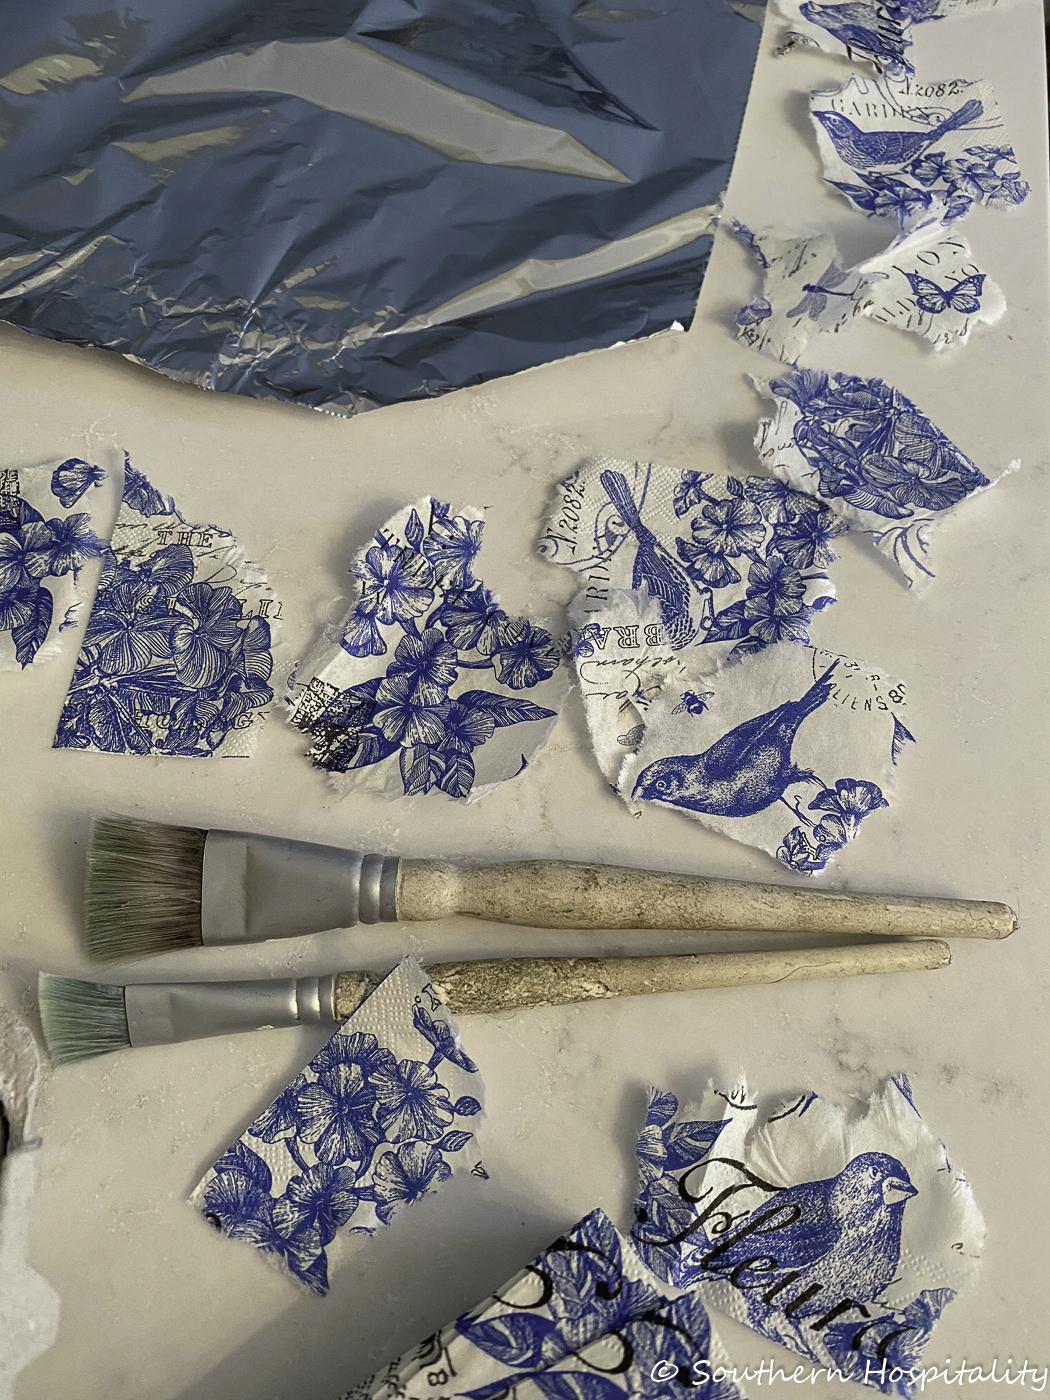
I made sure to tear them out so the birds and butterflies were intact. The torn edges make it all work well in overlapping areas. I think I used only 2 napkins for this whole project.
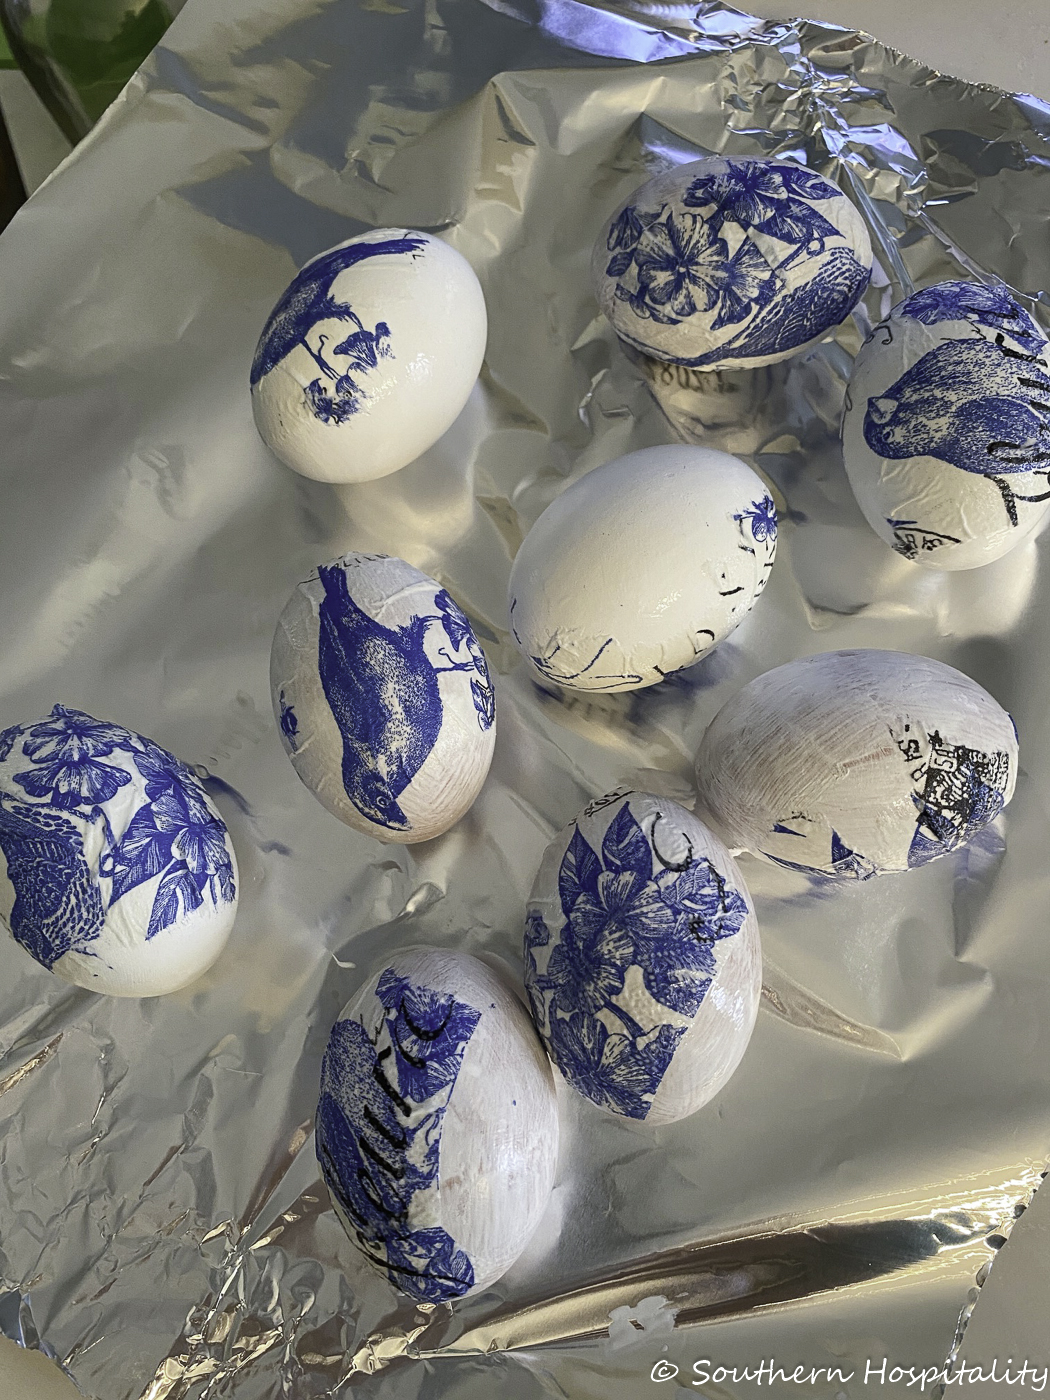
You’ll want to take your time and start with one egg, brush on the Mod Podge decoupage to the egg and then place a piece of napkin on top of the wet glue. Then add more Mod Podge on top of the napkin to smooth it out and flatten it to the egg. This part goes really fast and you can put one egg down on tin foil or wax paper and let it start drying. You’ll want to move through the eggs doing the same method and then let that round dry well. Once it’s dried, go back and do another section the same way, overlapping slightly and putting plenty of Mod Podge to hold down the edges. It flattens out really well and the patterns all work together creating a beautiful Chinoiserie look to the eggs.
Don’t worry about the tiny wrinkles, smooth them as best you can with fingernails taking care not to tear the napkin. The more you handle it while wet the more you risk pulling off what’s there. So just let it all dry well in between sections and fill in any bare spots as needed. Tear and paste! That’s all there is to it. Once mine were finished I went back and gave them all a quick coat over all the eggs with Mod Podge to seal the edges really well.
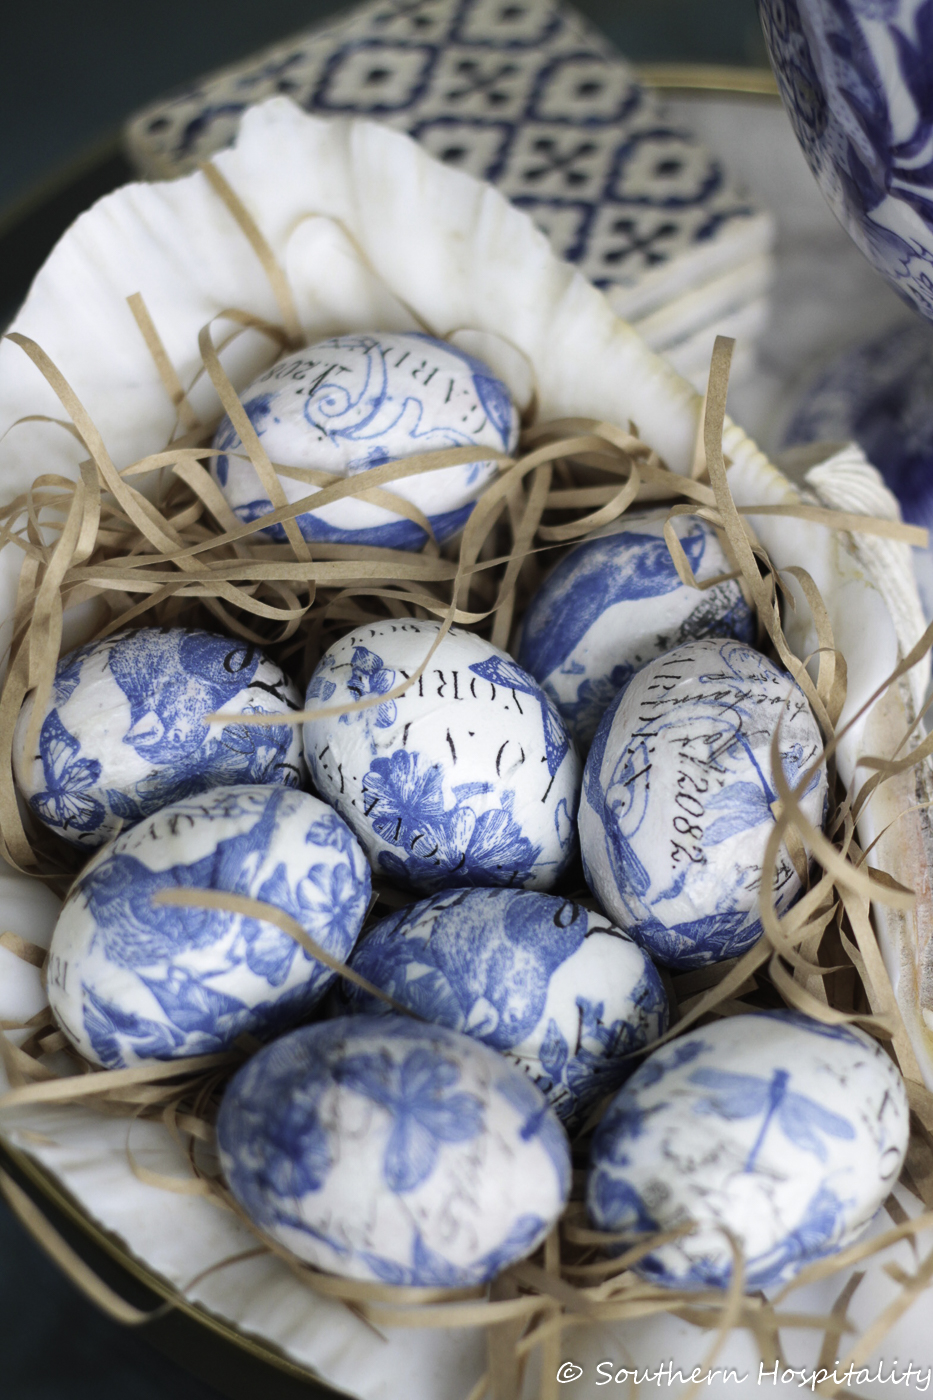
And here’s how they look all finished and nestled in a big clam shell I have with torn paper as the nest.
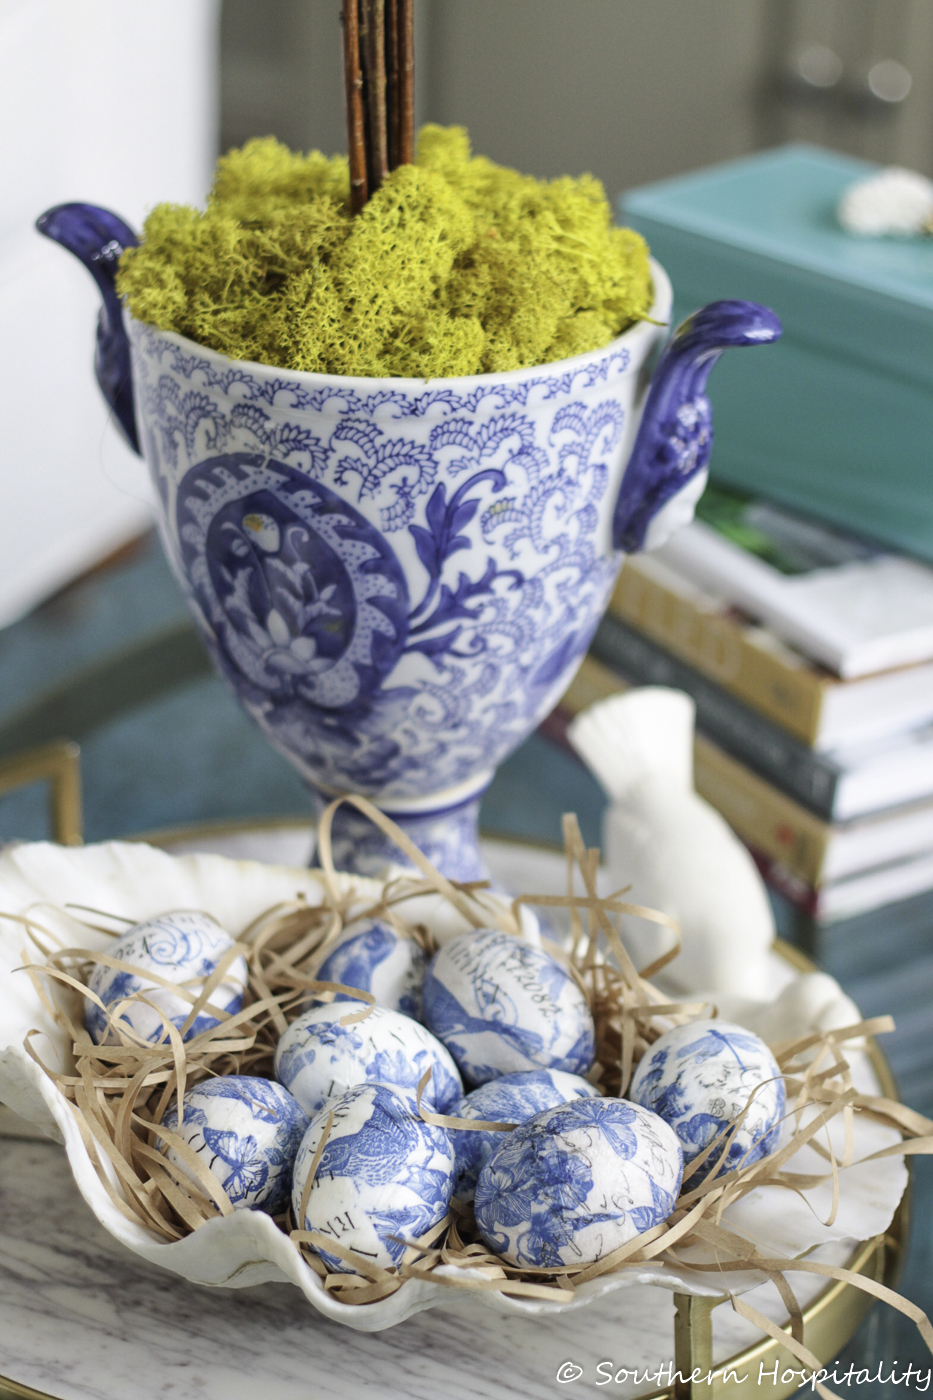
They are so cute and I know I’ll enjoy these for years to come as each Easter season ends and I store them away until next year. I saved an old egg carton to store them in.

Aren’t they cute? I was inspired during this season of our lives to do this creative project and get out my Mod Podge again. It had been so long, but this little craft project gave me a lot of joy and it’s so easy to do. If you’re in the mood for a craft project, this is a good one. If you don’t like blue and white, pick another colorful napkin and give it a whirl! It looks good with so many other colors and napkin choices and these are perfect for Easter no matter which colors you go with.
Here’s a little video I put together!
I hope you enjoyed this and might be inspired to do your own Chinoiserie eggs for Easter! What do you think?
Here are the materials I used from Amazon as well as a few other choices I found online. There are even some fabric ones already made on Etsy if you like the look, but don’t want to craft them (affiliate links used) and there’s a copy of my marble tray linked from Target (no longer available there but World Market has one too):


Rhoda, I love this project! I actually have wooden eggs and blue&white cocktail napkins. Ordering some ModPodge now. Those are pretty enough to have out for more than just Easter!!
Thank you, Roxanne, they sure are and I’ll probably leave mine out for awhile. Love that I can store them away and use them next year. I’m glad you’re going to try them they are so easy.
Rhoda, I have already made a dozen of these! Sent pics to friends via email! My eggs were plastic Easter eggs. I’m thinking next Easter I will make more and give to friends in a little basket =)
THat sounds great, Julie, they are so easy and fast to make and it only takes a few napkins. Good for you!
Love them!
The eggs turned out so pretty – love it!
I had a stash of 8 bisque eggs with holes that I used floral print napkins on and have spent the last week and a half blowing out white eggs (Lotsa scrambled eggs and baking here!). I found some more Easter napkins in my stash but I love the blue and white the best. I would leave yours out year round with your blue and white Chinoiserie in a nest, bowl or glass jar!
Thank you, Kathy, I love those blue and white eggs too and they can easily stay out for awhile. It will be nice to get them out every year.
For years I have wanted to do this….this is the year! 🙂
Do it, it’s so easy to do!
Love your idea, your eggs look beautiful.