I look forward to this party every year and I think this is at least 4 years I’ve been doing it!
Fast forward one year and wow, do I have some projects to share this year! It was a whirlwind year of renovating my 1979 fixer upper and my dad and I did a LOT of work to finish up this house so I could move in on October 18th. I’ve been in here a little over 2 months now and it is feeling so much like home to me. I absolutely LOVE it! Really, truly love it.
I re-read my post from last year’s party (which by the way, had over 400 link ups) and I was so anticipating getting a fixer upper house this year and I’m so thrilled that it happened, just as I had hoped and dreamed about! God sure has a way of giving us what we need, doesn’t he?
So, let’s look back at the year in review, at my house and the highlights of projects that went into making this old house a home for me. It was a daunting task as I’m sure many of you felt when I showed this house off for the first time in March. I’m sure some of you were wondering what in the world I was getting myself into and honestly, I am sure I felt the same way at times. But, with lots of hard work, blood, sweat and a few tears, the house came together and I’m so grateful it did. I shared every single week of the house renovation here on the blog and y’all were so great to cheer me on!
If you’re new to my blog, I have a House Renovation category and you can see every post that I did on this house project and you can always click the house pic on my sidebar to get there too.
To be in my own house this Christmas has been such a joyful time. You truly do appreciate something more when hard work is involved to get it. I don’t take any of this for granted, but I am truly grateful that I was able to get in a house again and I couldn’t be more content to call this house my home.
On March 30 of this year, I announced on my blog that I had found my house! The deal was done, we closed on April 12th and we were about to start a renovation journey, my dad and I. It was lot to tackle, that is for sure, but we did it!
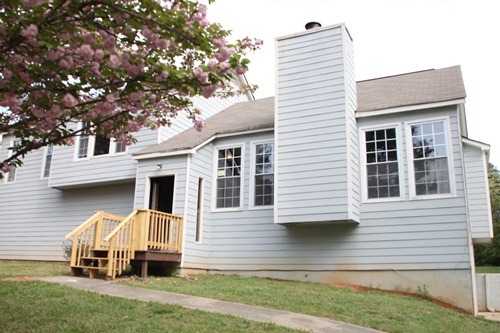
The humble beginnings! I still haven’t done a thing to the outside yet, but I’ve got some big plans for landscaping, a new front porch too and working on the fireplace outside. 2013 will bring many more fun projects on the house and one of the first will be the screened porch in the back. I’m itching to get that space all nice and pretty!
But for now, I’ll show off the inside. We really transformed the whole inside of the house this year and I could not be happier with it all.
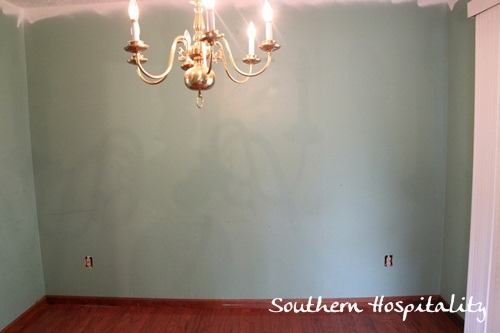
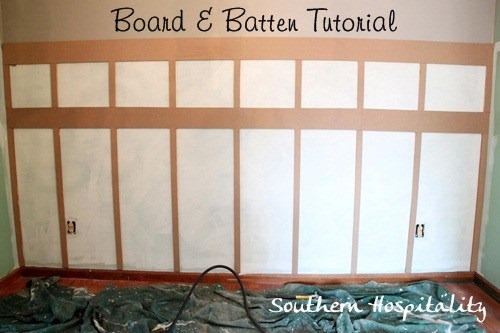
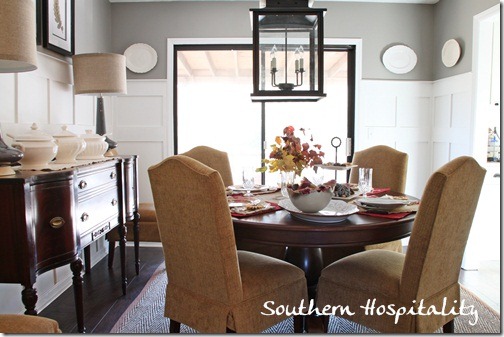
We did so many projects along the way on this house, but I’m going to highlight the big ones. One of the first things I did in the dining room to add some character was add board and batten.
With my electric nail gun and my dad’s expertise, we got this job done pretty fast and that really added some much needed architectural details to this plain Jane dining room.
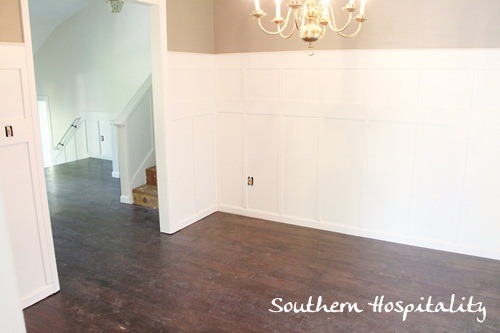
And here’s the real After shot with new hardwoods installed and everything painted. You can find all my paint colors in this post. And the board and batten tutorial is here.
And here it is with furniture. What a difference, yes?!
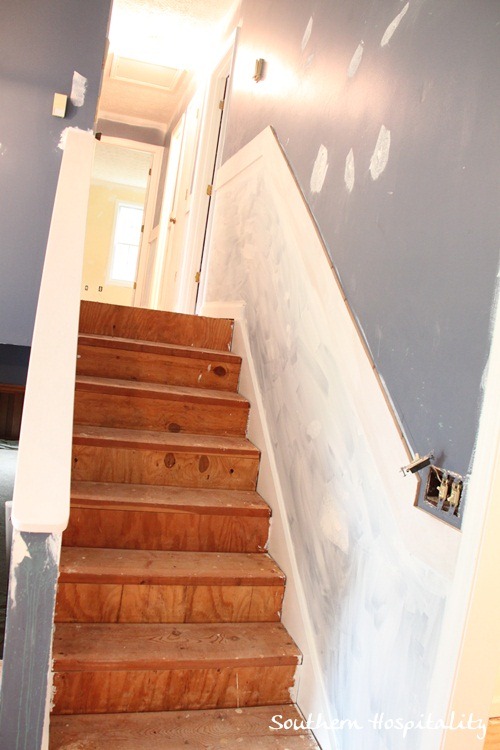
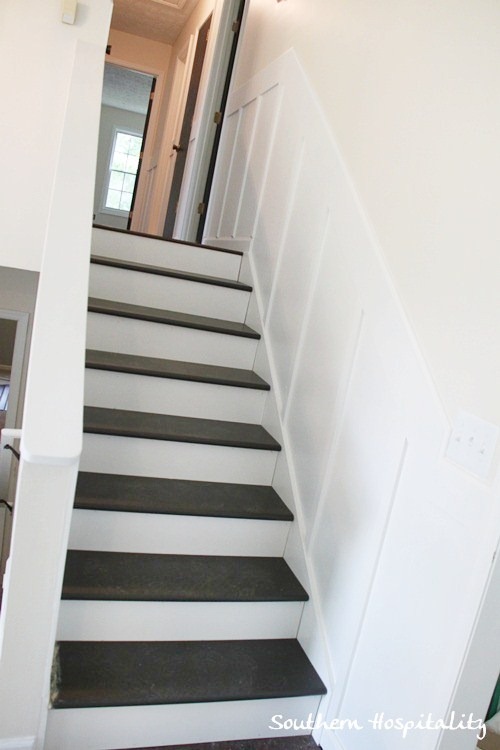
One of the other major projects we tackled was installing new pine stair treads as well as new risers. That was a big job, but I’m so happy with how it came out.
And you can find all the details on how we did it here.
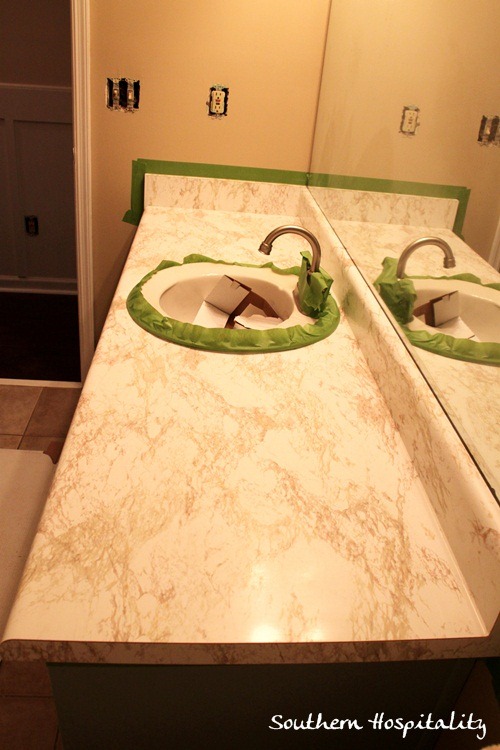
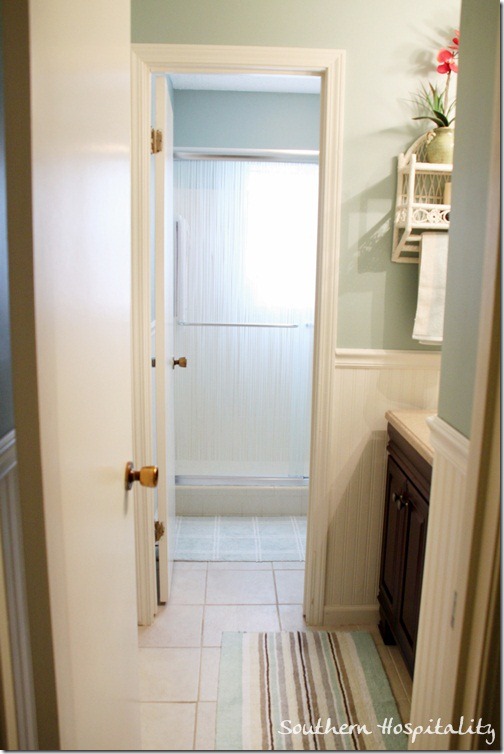
Since I opted to keep the existing bathrooms as they were, I spruced them up by painting the vanities and this guest bath also got a Rustoleum treatment on the countertop. It went from dated 70’s laminate….
To at least an updated black glossy look by using Rustoleum’s Countertop transformations kit. Love how it updated this bathroom! I’ll be doing a complete post on this bathroom soon to see all the fun updates in there.
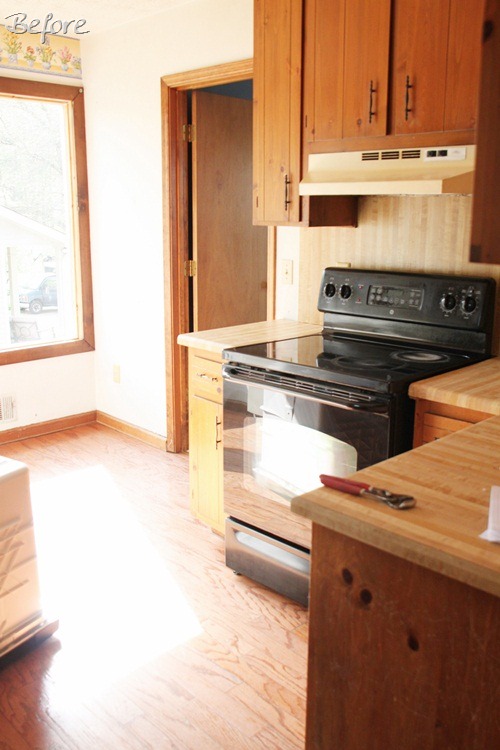
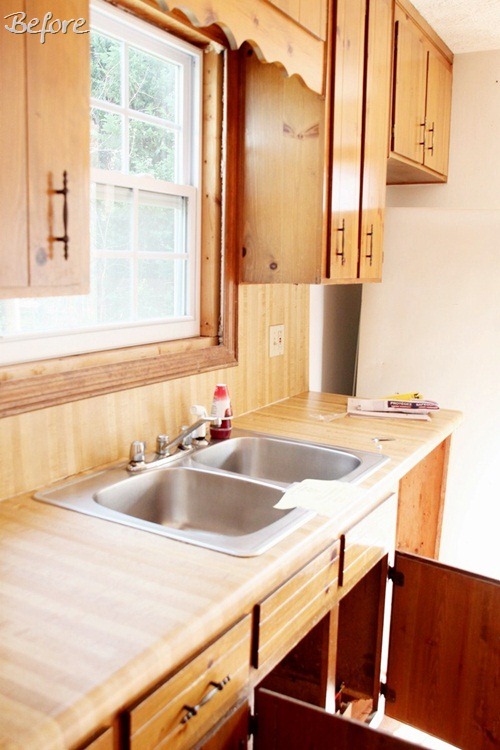
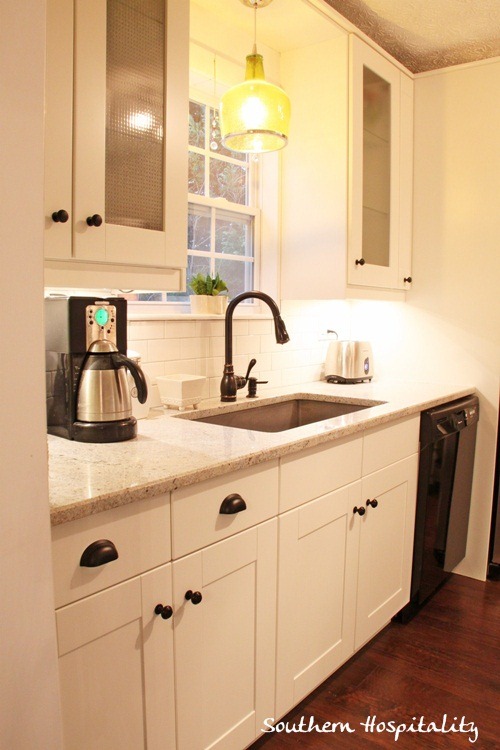
So, the kitchen was without a doubt the most transformed space in the entire house and the one that I’m most proud of. It began like this, nasty ugly dated 1970’s pine cabinets. Now, I know they look sort of charming in these pics, but believe me they were roach infested and nasty when we tore them off the walls.
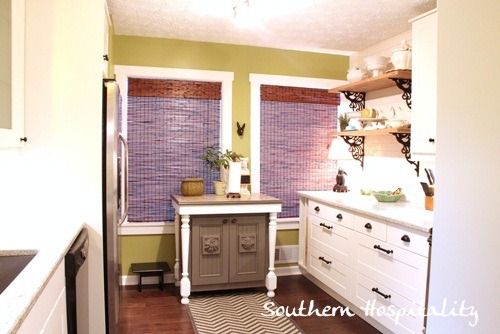
The base cabinets were in really bad shape and we just couldn’t save them, although I did save some of the uppers to reuse later. After a lot of work and installing new hardwoods and all new kitchen cabinets from Ikea, the kitchen is now the kitchen of my dreams.
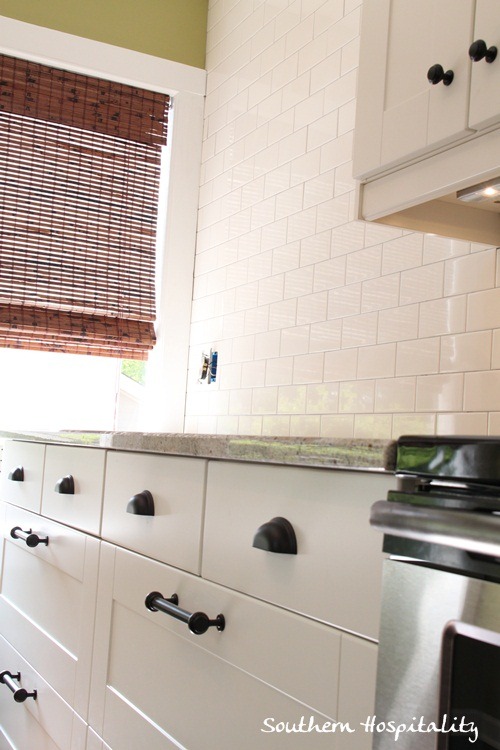
I hired an installer to install the cabinets, but my dad and I did the rest of the finish work, including the subway tile backsplash and all the window trim work.
It’s a gorgeous kitchen now and I am completely in love with it. You can read all about why I chose an Ikea kitchen.
It has everything I need and want and is a dream to cook in. I posted all the details about the granite and you can see all the Before and After shots in this post.
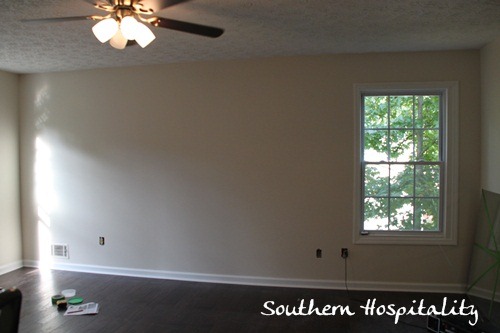
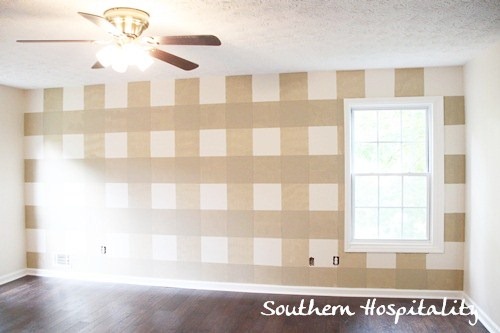
My bedroom got an updated feature wall with a paint treatment I did and it went from plain to a lot more jazzy.
This Gingham paint treatment that I saw in a Southern Living idea house was done with Frogtape and I love how it came out.
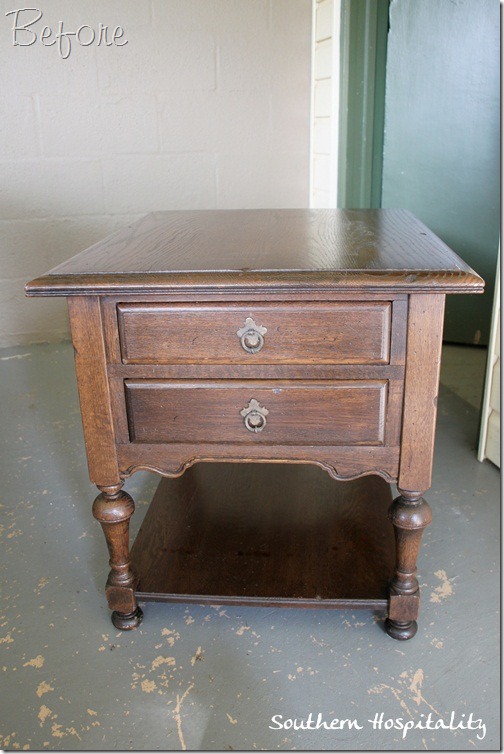
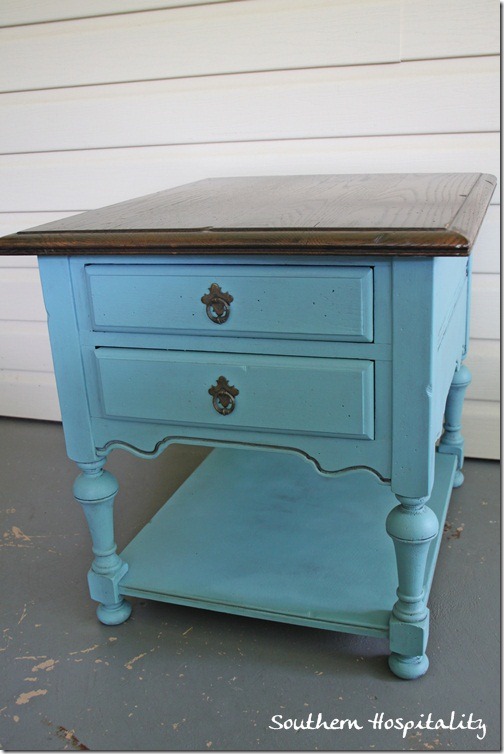
I managed to do a little furniture painting this year as well and this $45 thriftstore Ethan Allen piece got spruced up with some Annie Sloan chalk paint in Provence.
And now looks 100% better in my new den. You can see all the details on this post.
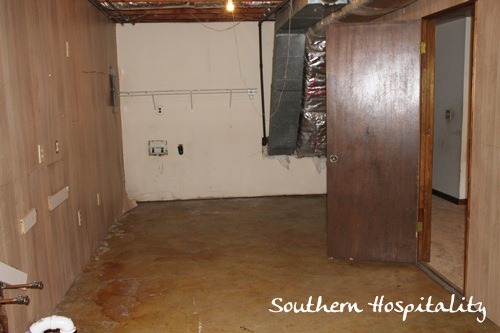
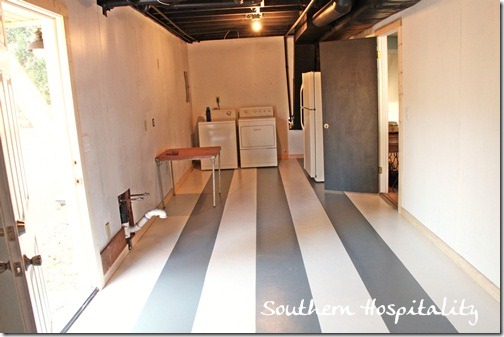
My really gross and ugly laundry room got a new lease on life with painted walls, wood trim, and a cool striped paint treatment on the concrete floor.
And now it’s so much more tolerable, I can definitely stand to do laundry in here now. You can see all the how-to’s here.
Before we started on MY house renovation, I also did a fun update in my parent’s bathroom back at the beginning of the year.
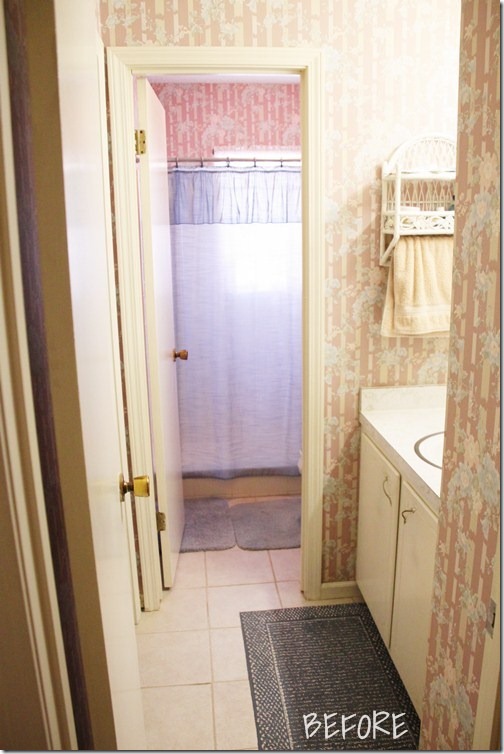
This was the tired and dated 1970’s bathroom before.
And here is the fresh and updated After! You can see the whole renovation on this post, with all the details.
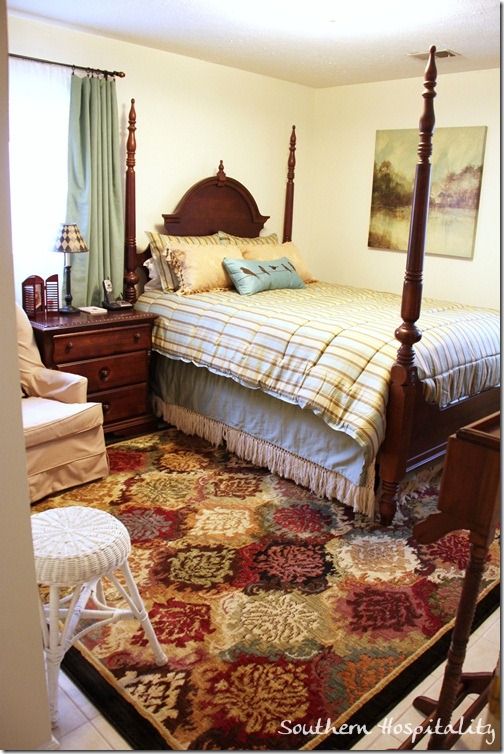
My parents bedroom got a much needed update as well and it’s all on this post.
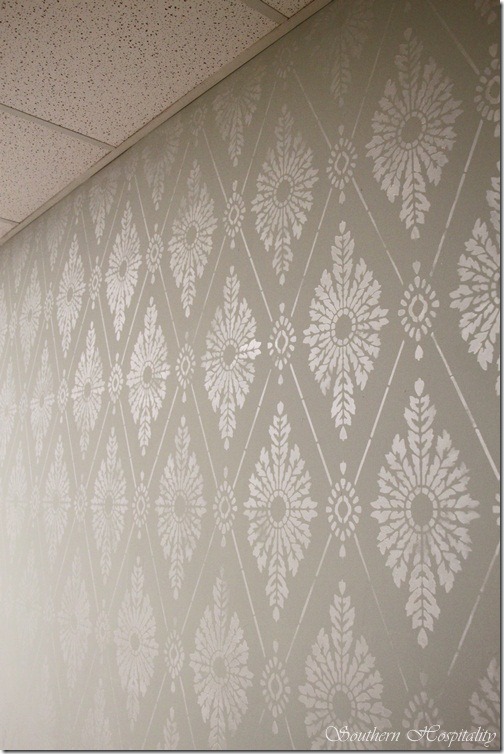
My sister and I did another stencil treatment in her basement craft room, this diamond damask beauty.
It was definitely a year of projects, getting this house move-in ready, but it quite possibly is the most rewarding time I’ve ever had. It was worth every bit of sweat equity to now be living in my own little jewel box of a house and you can color me content.
I’ve been up to one more project during the holidays, but it might take me a few weeks to finish this one.
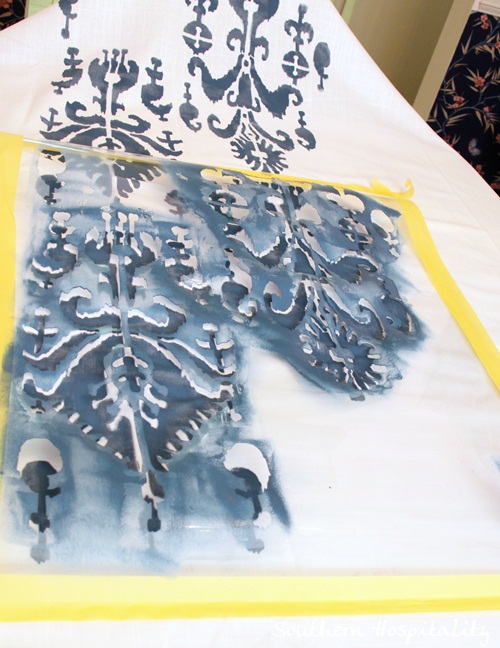
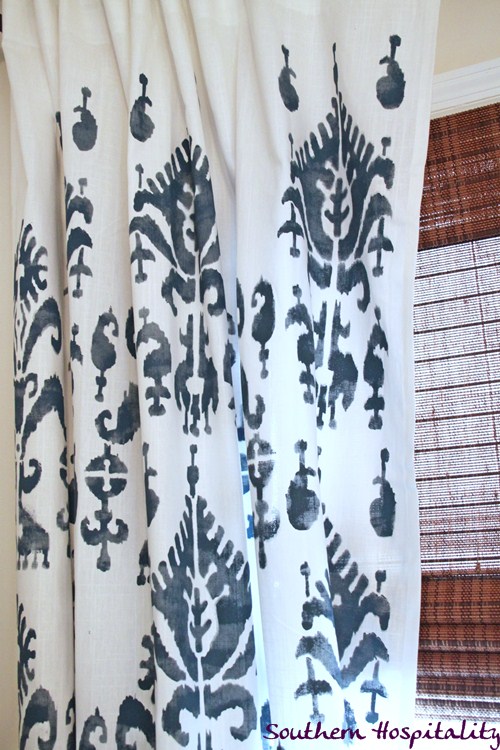
Two panels down, 4 to go out of 6 Ikea Ritva panels I’m stenciling in this pretty Ikat stencil by Cutting Edge stencils. These will go in my bedroom.
It’s a deep blue on cream panels and will make a pretty addition to my room, I think! I hung one up just to take a peek at it and I’m really loving it so far. It might be awhile before you see the finish on this one though. It’s time consuming, but very cost effective and I’ll have $75 in this project for the panels (for 3 windows) and $6 for the paint. I’ll share a whole tutorial on this when I’m done!
So, now it’s YOUR turn to link up! I know there have been some fabulous projects in blogland this year and I can’t wait to see yours too. Link up here and share your posts!
PLEASE don’t link up all your individual projects! I’m going to limit it to 2 links per person, at the most. And a recap post is so much better for this party!
I’ll be back right after New Years, so enjoy this party for a few days of inspiration!
And I’ve announced the winner of the MirrorMate frame HERE! Thanks to all of you for signing up!



[…] check out the Worthing Court Project Gallery.I’ll be sharing here:Top Projects of 2012 at Southern HospitalityMetamorphosis Monday at Between Naps on the Porch Motivated Monday at Be […]