Edited to Add this to Edie’s “Painted Wood” party, so if you’re coming by from there, Welcome! You can also see the cabinet decorated here in this latest post about this painted corner cabinet.
I’ve determined that I’m in the “trading up” stage in my life with decorating. Let me explain that. When I started out about 25 years ago decorating my first house, I took whatever I could get. Hand-me-downs were just fine. I just wanted something to eat, sleep and sit on so I wasn’t too picky about what came my way. Whatever I could afford or what someone wanted to give me was OK by me. I slowly then started to trade up on things. Sofas, bedroom furniture, rugs, and many other things, I was able to buy better quality and make my house more me and what I loved. Some things you pick up and live with for many years and don’t even think about them. They serve a purpose, are pretty nice to look at, but not exceptional and not what I would buy now.
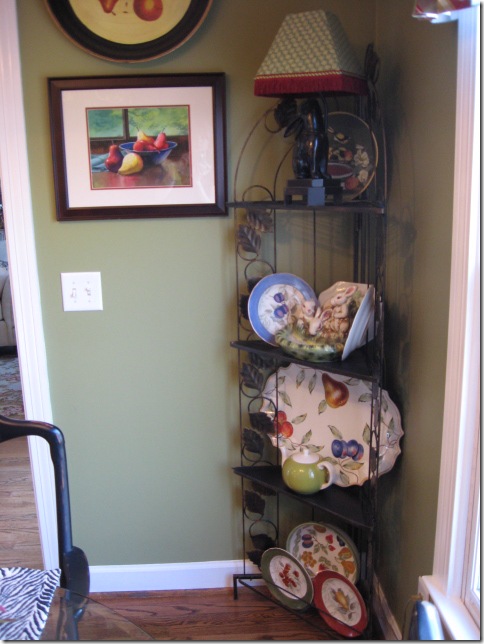
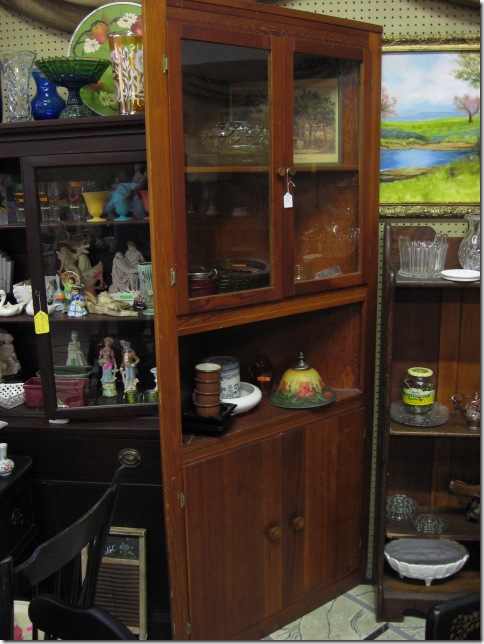
Case in point…my perfectly fine corner baker’s rack that I picked up more than 10 years ago to fill a spot in my old kitchen. I needed something small there, something that wouldn’t take up a lot of room, but would give me a little extra storage in an already small kitchen. So, that metal baker’s rack was found and used, even repainted once along the way and it came with me here to AL, where it again landed in the corner of the kitchen. Certainly not my favorite piece, it became background to me, I didn’t even think twice about it. But, now that I’ve got the bones of my house in place with many furniture pieces that really mean something to me, I’ve started looking around at the things that have been with me for many years that could use a little “trading up”. Not more expensive necessarily, but just better looking, more interesting and even more functional. So, my quest for a real corner cabinet began…and it didn’t take me long at all to find it.
You won’t recognize it now! From old and tired….
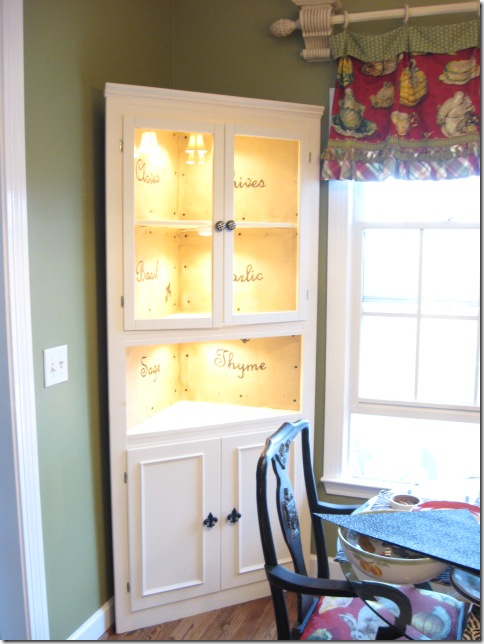
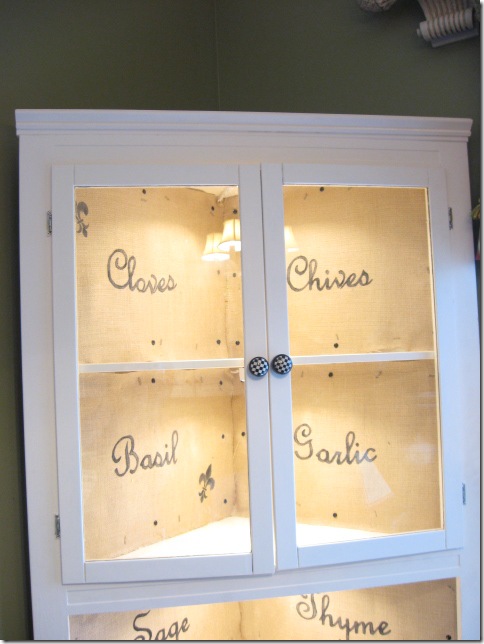
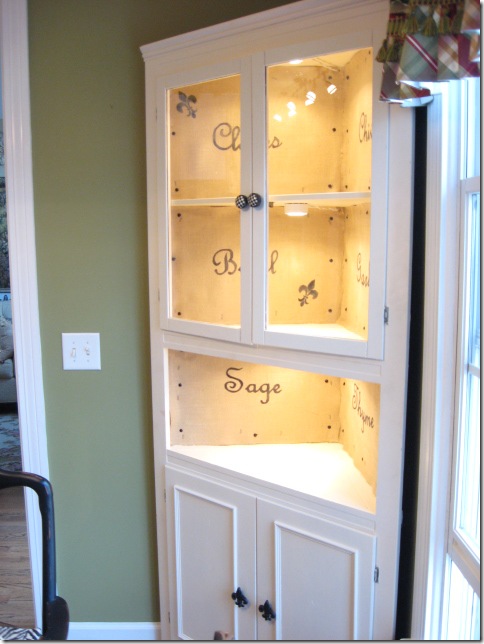
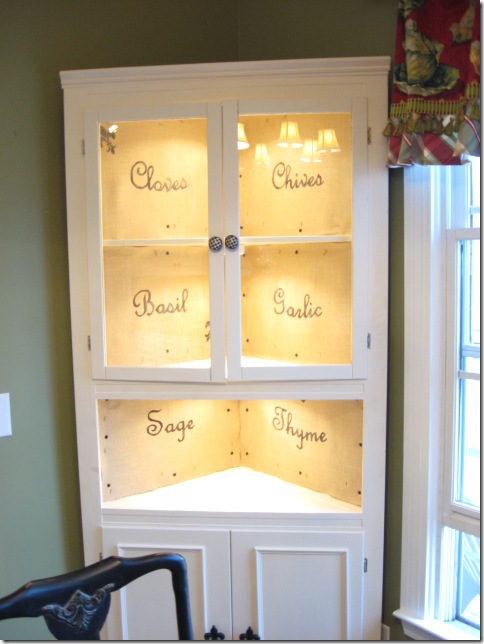
to new and fresh and bright! The corner cabinet has been reborn for a whole new look and now it looks right at home in my house. With just a fresh coat of paint, a little extra molding, new knobs and painted burlap backing, what a difference this small change makes in our kitchen.
I wanted to just show you the cabinet before I start filling it up. Not even sure what will go in here yet, but I want to make it pretty.
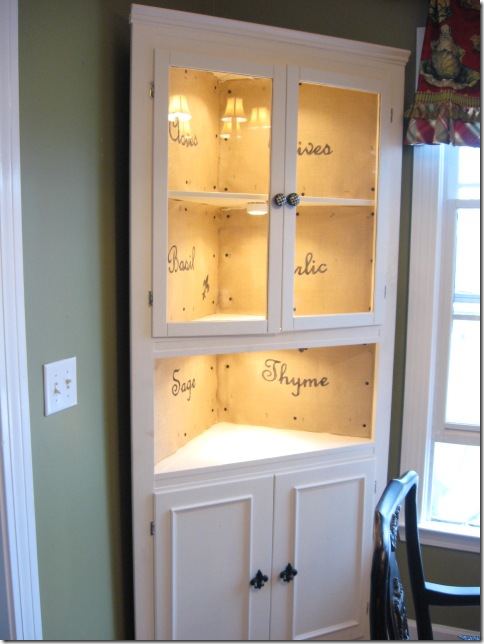
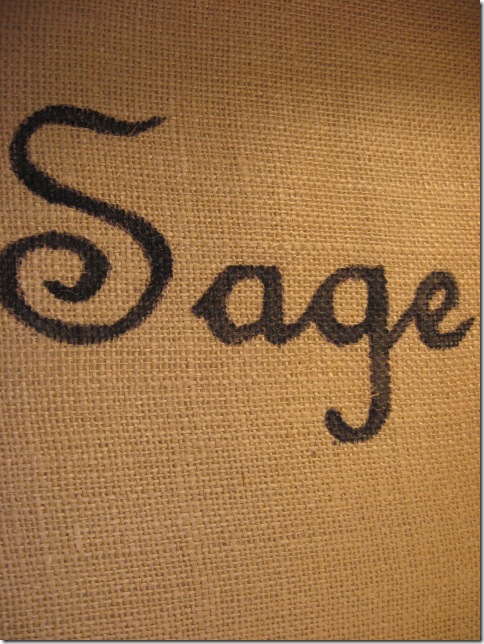
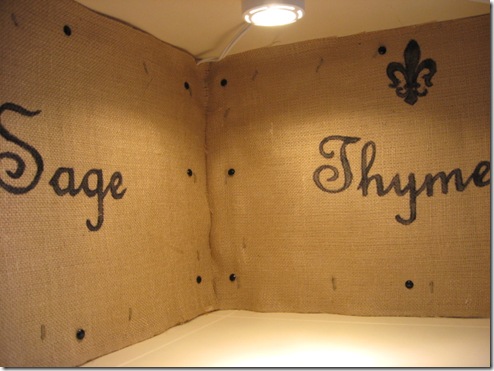
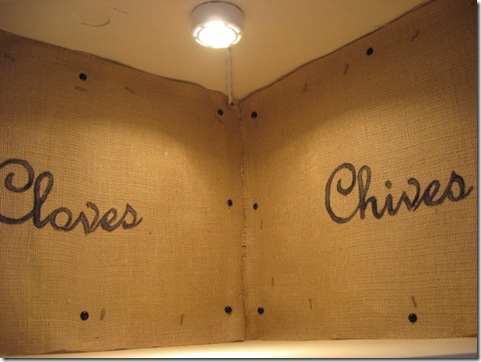
You can see what I did with the burlap. I decided to do herbs and they were traced and painted onto the burlap. I used my electric staple gun to hold the burlap in place, when my plan of just pushing those black tacks in there, didn’t pan out like I had planned. The old wood backing was hard as a rock and I had to hammer in the tacks.
And I’m really just thrilled with how the cabinet came out. If y’all would like to know more about the whole process of putting this together, let me know and I’ll do another post on how I did it.
You can see that I also added 3 puck lights too, which really makes it come alive. I love cabinets that are lit up. These were easy to install and I figured them out without any problems. I had to drill small holes in the backing and then get them plugged into the outlet.
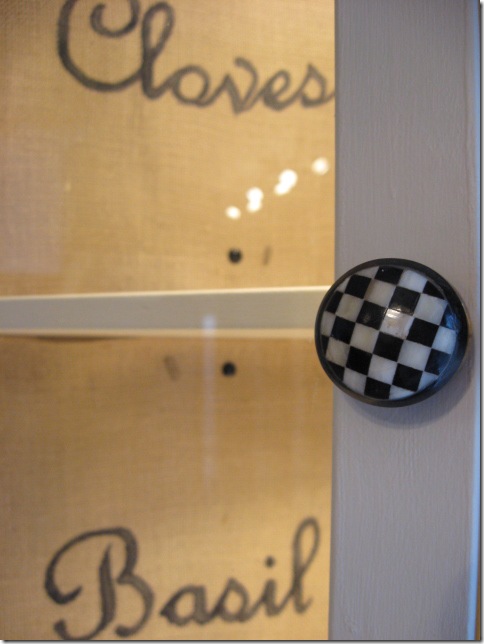
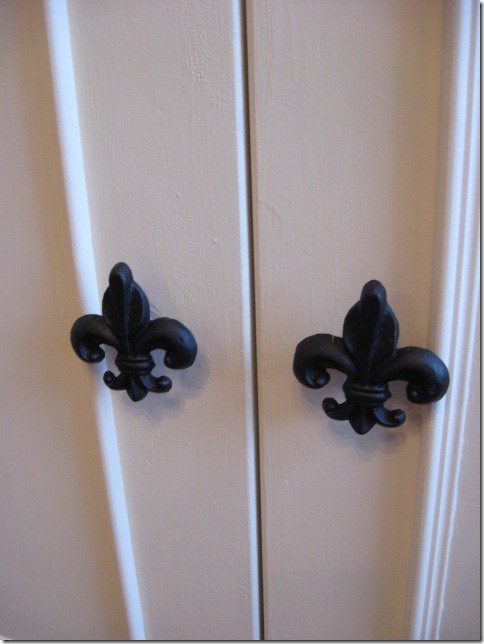
The new knobs from Hobby Lobby are perfect on here.
Cloves and Chives. The burlap isn’t perfect, it’s a little saggy in spots, but I’m happy with it all the same.
Basil and Garlic
It’s adorable!
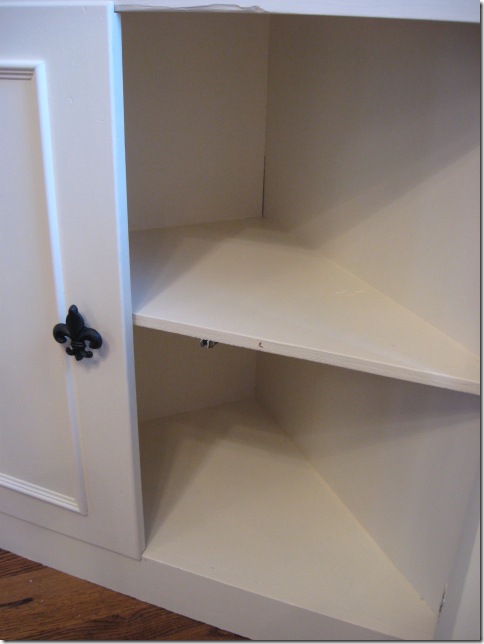
The fleur-de-lis knobs are on the bottom doors and here you can see the picture molding I added, which gave it much more detail too.
Now, I’ve got a whole new area to use for storage and you know we can’t have too much storage in a kitchen, can we? I’ve moved some things around in the kitchen, so I’ll show you later. Might even wait until I get the granite installed and do a whole kitchen post on it all.
So, how about you? Do you have some things that have been with you for awhile that you’re ready to trade up? I think I have a few more things, come to think about it, so those are the small things I’ll be on the lookout for.
Breakdown on this piece: I paid $125 for it at the antique mall
$12 for knobs from Hobby Lobby (using coupons)
$6 for burlap (Hobby Lobby) and tacks (Lowes)
$20 for the puck lights (from Lowes)
$10 for the molding on the doors
Not bad for under $175! What could you buy new for $175? Probably something made out of MDF without much character. I love these older pieces that just need some tender loving care to bring them back to life.
Simple, yet beautiful.
Edited to Add: Guess what? I’m going shopping with Layla today and can’t wait. Of course, I’ll tell you all about it when I return.
I’m also adding this post to Susan’s Met Monday, so go by there to check out more renovations. Happy Monday!



OMG are you talented! I will be saving this post. Cindy
You have a beautiful, inspiring blog! I never seem to find time to decorate but it sure is fun to visit someone who does!
Your new cabinet is so much better than your old — can’t wait to see it filled! Great job!
Hi Rhoda,
Love your Hutch, it looks nothing like it did! LOL
Your a WINNER! Come over and check it out, Congrats!
I will need your e-mail and address!
xoxo,
Cathleen
I had an awesome time with you and Laya today Rhoda..it was so very nice to meet you! I hope we can do it again soon.
{{Big Hugs}}
Cathy
Hello, that’s a great transformation on that cabinet. Very inspiring.
Susan.
Love, love, love anything painted white!! You hit a homerun with the corner cupboard–both with the vintage find and the creative ways you gave the cupboard a new look.
This is the first time I have stopped by for a chat and won’t be the last.
Blessings,
Debbykay at Rose Cottage Gardens and Farm
Love the cabinet! Beautiful! Thanks for sharing. I love stopping by your blog!
Kelly
I love everything about your cabinet. Love the painted herb names on the burlap. I have a china I need to light. Were your lights easy to install? I love the fleur di lis knobs on the doors. Very charming. You are a very creative person. This is my first time to you blog. I will be back for sure.
Oh, YES!!!! {insert sounds of applause and whistles here}
😉
What a wonderful makeover!! Well played, Rhoda.
Would you do a tutorial on how to paint old furniture? It looks so awesome and I have some things I would like to paint, but I am too scared and don’t know what to do. I would LOVE a tutorial. Thanks for sharing!
lovely! I have a question…the fruit plates pictured in your old baker’s rack…is the fourth plate (it’s facing away from the pic)a peach? If so, I have one, too. I’ve never seen others like it an d I always wondered if it was part of a set…thanks for humoring me!
You did an amazing job!
AMAZING tranformation! Love the burlap & tacks! Plus the satisfaction of taking something not so great & transforming it to a beautiful piece that would go for many $$$ in a home decor store and you did it yourself for under $200! Just love it!
Rhoda,
this is just amazing! I love what you did and am looking forward to the burlap/spice tutorial. Have a great day~
I love it! I just picked up burlap yesterday for a project and found that it sheds. Did yours keep shedding? Is it just because of the unfinished cut edges?
That looks so nice and really lights up that corner. Love the fleur de lis knobs. Always fun to see what you are up to…I still want to do the mirror framing in my bathroom one day! Connie
Thank you all SO much for your very kind words. Of course, I’m in love with this cabinet now. I’ll be posting a tutorial on it Thursday, so come back for that.
Lisa Ross, yes, that burlap does shed, but once it’s cut, it does pretty well. It will ravel on the edges, but now that it’s up, it shouldn’t be a problem.
Thank you for stopping by my blog today. Your blog is great. this is a fabulous project. It looks greta in your kitchen. LOVE that green paint in there too:)
140 comments – wow!!! the cabinet is beyond adorable – and the burlap is what really adds that special touch! what a great idea!!!!!! love it!!!!!!!