I’ve showed off my new Fall mantel makeover already, but I wanted to share more about how that came to be, so today’s post is all about where I got the mantel, the type wood it is, and how I stained it and got it ready to install. I’ll share a whole separate post about the installation process. That was quite interesting! My dad and I know our limitations and some projects are best left to the pros and installing my mantel was one of those jobs.
First things first.
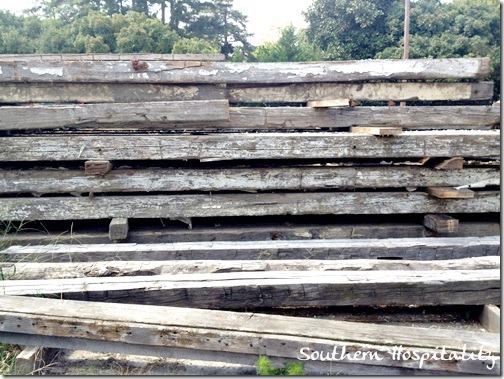
My mantel is made from Douglas fir and came from a textile mill in Chicago, circa 1890’s. Garlan from Southern Accents told me that some have paint on them and some don’t. They denailed the planks, cut them to specified length and make these mantels custom for individuals. It runs $35 a linear foot and milling is extra. I love having a bit of history hanging above my fireplace! Southern Accents is in Cullman, AL and is a true treasure trove for old and vintage reclaimed wood and building supplies. I first went there in 2010 and wrote a post about it, link above. If you are in the area, GO!
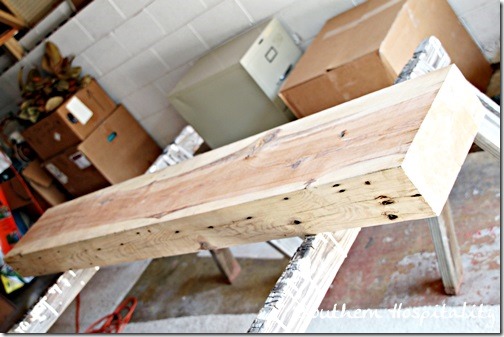
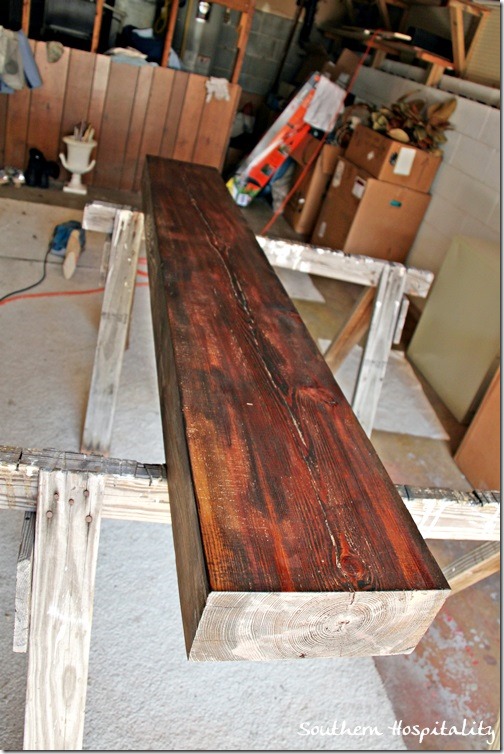
This gorgeous hunk of wood came to me like this. It weighs quite a bit but I managed to angle it up on the sawhorses to sand and stain it.
I began by sanding it all over with a belt sander (that I borrowed from my brother-in-law). I just gave it a good going over with medium grit sandpaper to knock off the roughness.
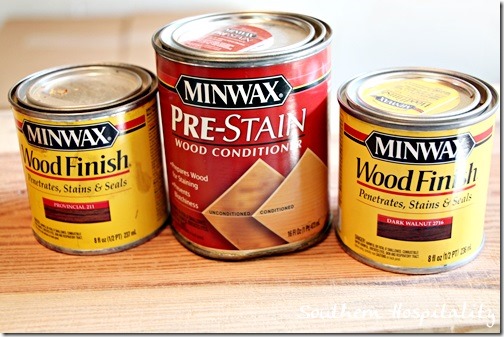
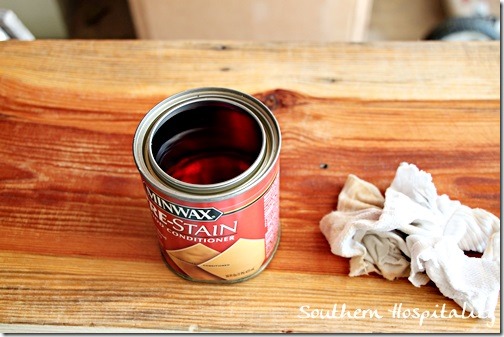
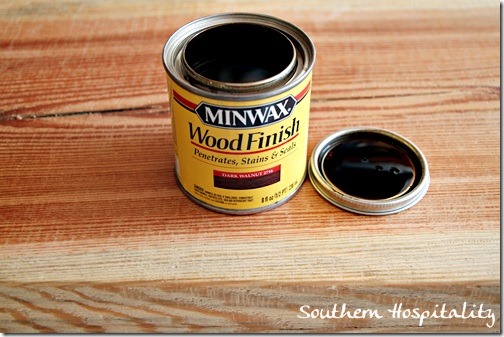
Then I used Mixwas Pre-Stain conditioner to open up the wood for staining. I’ve heard this is a good idea when staining to insure that the stain penetrates more evenly. I used Dark Walnut stain and already had this in my stash.
Wipe on the Pre-Stain and let it dry, then you need to start staining within about 2 hours after that.
I used an old t-shirt rag to stain and just dipped and rubbed in the stain on the front, back and sides to cover it completely.
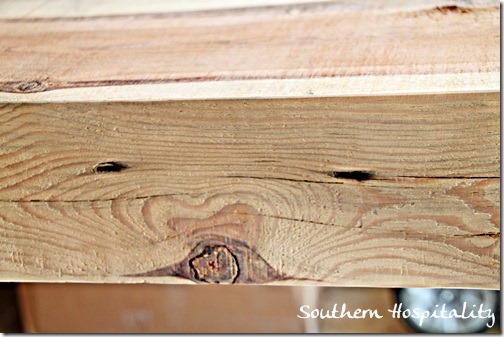
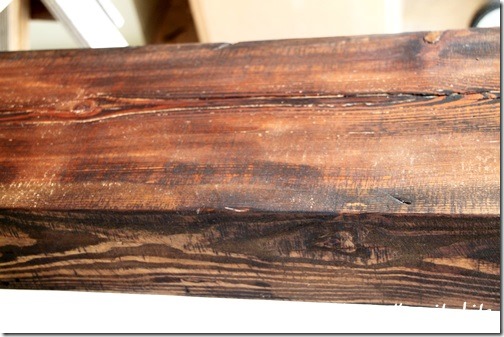
And it looked like this. It looks much more blotchy in this pic than it does in real life. I then gave it another sanding with the belt sander to smooth it out a bit more. I touched up with Dark Walnut in just a few areas, but it didn’t need much.
The wood has lots of variations in color and it will take the stain a bit different. It looks really red here, but in reality it’s a dark brown color. The very last step I did was add a coat of Satin Poly by Minwax just to give it a little protection. Not that it really needs it hanging above my fireplace, but it can’t hurt. Oh, and I did stain the ends, it just doesn’t look like it in this pic. Hard to take decent pics in the garage.
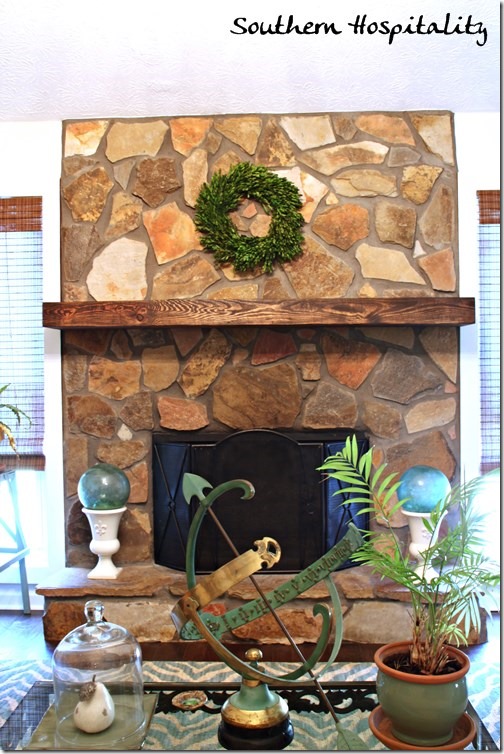
And here’s the mantel right after installation. I couldn’t wait to play around with it. So I’ve been doing just that. Judging from a few comments, some of you weren’t big fans of my Fall mantel last week using all those blues and greens and yes, it didn’t look completely like Fall, but I had a little fun. More busy than usual, it had lots going on so I left it for a few days, but because I needed to do another post for Lowes, I decided to change it up again and create another Fall mantel, again using what I have around the house.
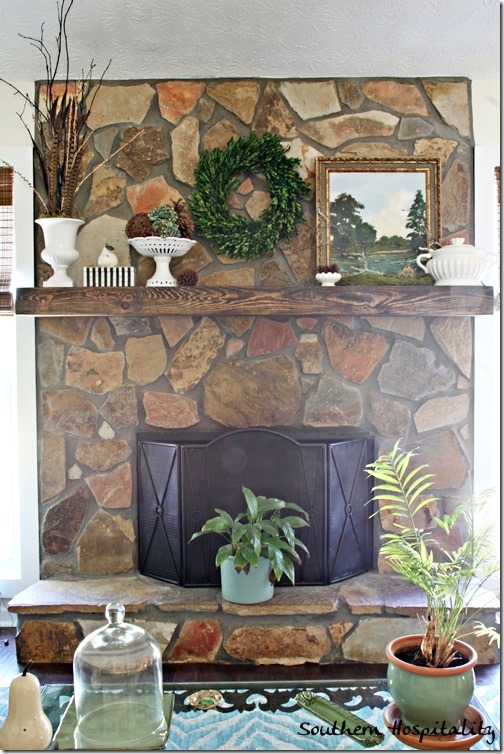
How about a Fall mantel, round 2? That’s allowed, right? You’ll see this mantel changing up many times going forward and it’s fun to use what I have to pull it together.
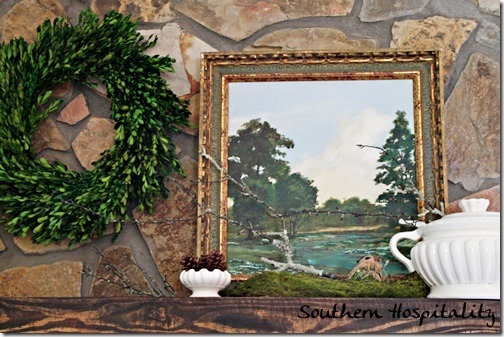
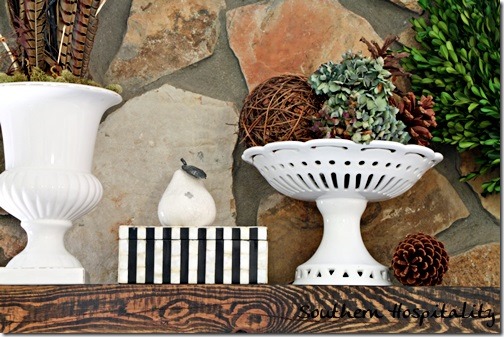
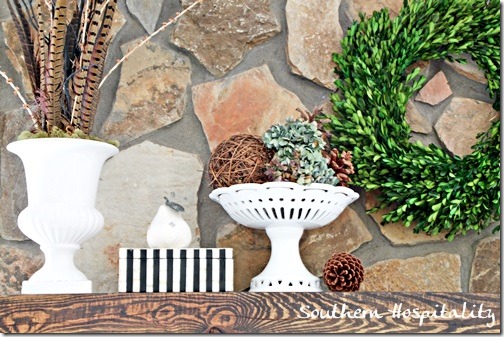
Classic and pretty, this time I used my white pottery pieces and they look really nice against the rock. It’s a lot less busy too and this one is more my style for sure.
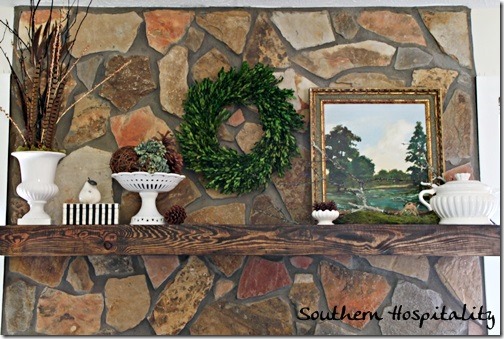
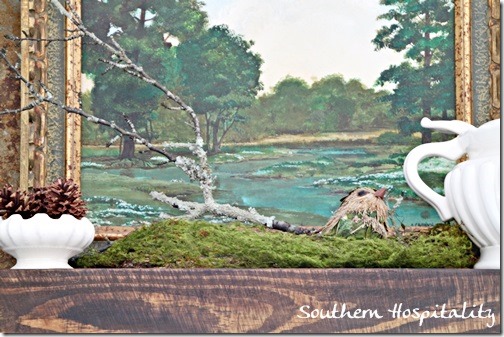
The white pottery stands out against all that rock and this pretty landscape painting that I found at Woodstock Market will definitely be a fave of mine. I knew when I spotted it that I would love it and I do.
A sweet natural bird is at home with the moss ribbon.
Bringing in a pretty lichen covered branch adds a nice Fall touch, along with pinecones.
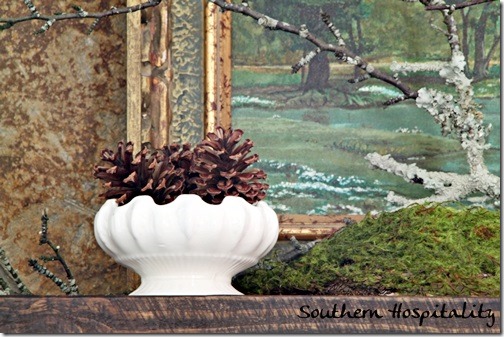
A little dish of small pinecones says Fall.
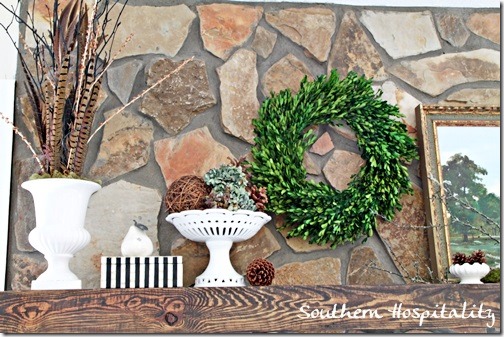
My urn with sticks and feathers is a great way to add texture for the season and the pierced dish holds a few dried hydrangeas. I love the preserved boxwood wreath that came from Lowes.
So, as much as I like a little glitz and glimmer on things brought in from nature, I like to use some of them in their natural state as well. There’s room for both in decorating for the Holidays.
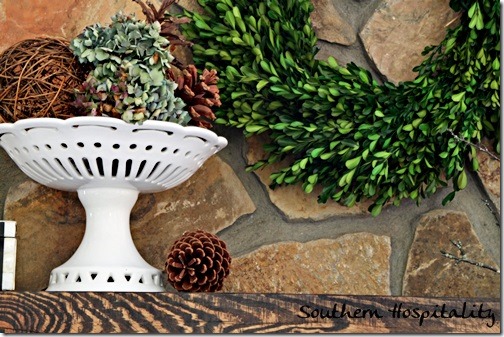
Dried hydrangeas are always beautiful to use with their soft colored petals.
Sticks, feathers, pinecones, dried hydrangeas and grapevine balls, great combo for Fall.
I will admit, I like this one better too and I’m especially grateful to finally have a mantel to decorate! It will be fun to change it for the seasons and I really think putting up a planked white wall above the mantel will be even more versatile for me.
Check out Lowes Creative Ideas Magazine app, visit Lowes on Facebook, and Lowes on Pinterest.
Are you on Instagram? If you want to see what I’m doing in real time, follow me on Instagram. You can see Lowes on Instagram as well. It’s a fun little snapshot of what is going on every day.
Disclosure: As a Lowes Creative blogger, I am sent gift cards to spend on projects and to blog about them. This post is sponsored by Lowes, but all ideas and projects are my own.



Rhoda: looking at my own home, I am hardly in a position to criticize anyone’s decorating ideas, but I do like this mantle scape moreso than the other. I might tweak one thing: put the small white bowl with the pinecones on top of the black and white box, and put your beautiful glass cloche on the mantle with the bird under it. That way the picture would not be obscured and its weight would balance the right side to the left (as far as large scale objects) – that is unless the glass cloche is too wide at the base to fit the mantle. Just my opinion!! 🙂
Hi Rhoda,
I love the way you explain and show your projects, step-by-step. It helps me with planning my own updates. I love the updated fall look of your mantel too. It really shows off the rocks and your new wood mantel of your fireplace.
I have decided you a mantel genius. Maybe even a mantel savant. When I saw last week’s mantel, my thought was, “Wow, I wish I could create a mantel like that.” When I saw this one, I had the same thought again. I’m out of the country right now, (France), but when I get home, I can’t wait to tackle my mantel. Thanks for the inspiration.
Looks fabulous, Rhoda! I often tweak mine over a week or two after a major change… sometimes the first go-round just doesn’t feel quite right for whatever reason. Happy Wednesday!
xo Heidi
I love both of your fall mantle designs !
This one, is rather stunning when my eyes go to the feather arrangement. All that tall natural loveliness ! And, I like the blue/greens the painting brings into the mix.
I have to say, I LOVED the first mantle, it was so unique and vivid. And either way, that wood is beautiful!
I appreciate both the mantles! I found the first one Autumnal in a different way and this one feels very classic with the light dishes popping against the stone. I really like the stone all the way up, but I’m sure the planking would look good so long as the colour isn’t too white and clashy with the stone. I find fireplaces to be very bossy! Your choices are always classic so I look forward to what you decide. I guess I just really like the way the stone sets off light coloured things.
The mantel itself is amazing…just sent this post to a friend who’s making his own to show him the end result. Beautiful.
PERFECT! we still have to do ours, but i love that it has a bit of history with it as well. and you made it your own!