Another project I can cross off my list now is adding planks to the top of my fireplace, above the reclaimed mantel. I don’t mind the rock, it was just TOO much rock, so I wanted to calm it down and add some light to that side of the room. All that rock sucks the light right out of that space, even with windows on either side. Besides, I can now decorate a prettier mantel having a creamy white backdrop of wood instead of those dark rocks. And that makes me happy. One of our topics this month for Lowes is Holiday prep and this project is definitely going to get me ready for Christmas decorating.
It’s a win-win for sure! My dad and I brainstormed on just how to do this and of course, his brain knew what to do, and we figured it all out along the way, including cutting and installing crown molding around the top, which totally finished it off. It’s beautiful and I’m happily in love with it now! I’ll show you each step of how we did this project and then the final with the mantel decorated for Fall and the Thanksgiving season. We are right on the brink of the major Holidays and I’m going to have some fun this year with my décor.
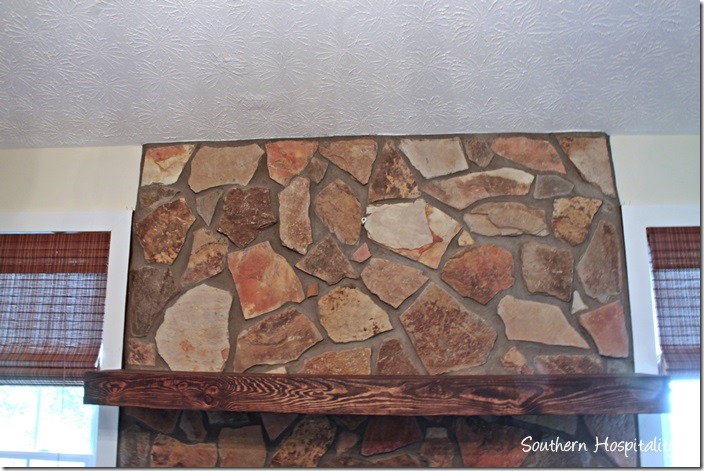
The mantel and fireplace before. It’s really dark on this side of the room and whenever I decorate the mantel, my accessories don’t show up that well. I wanted a clean backdrop to decorate and add light to the room. Dark rock does suck out the light.
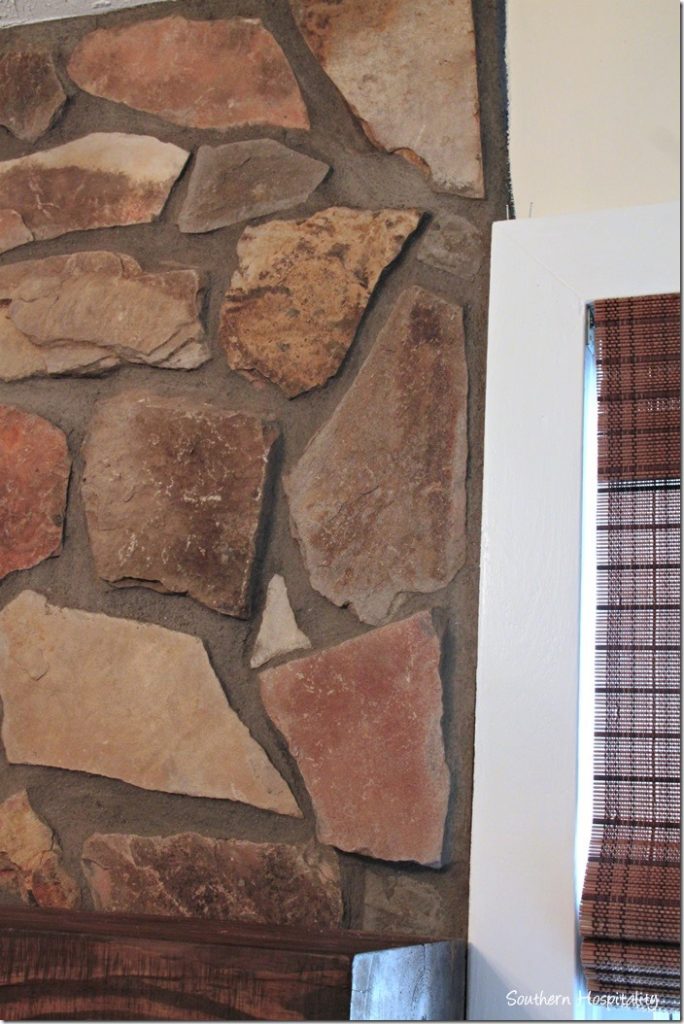
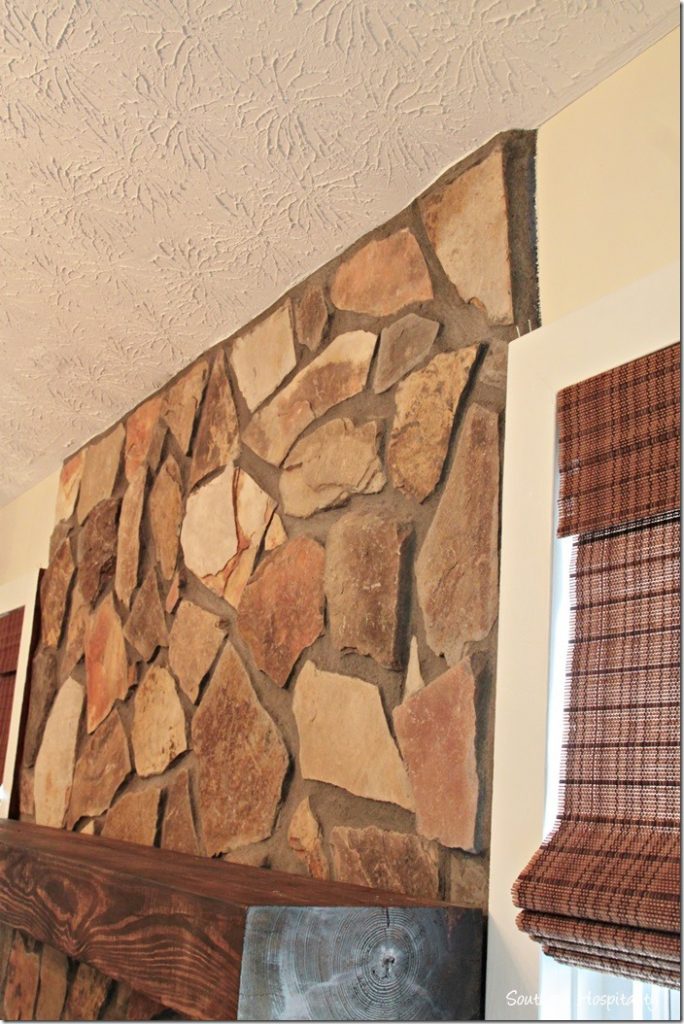
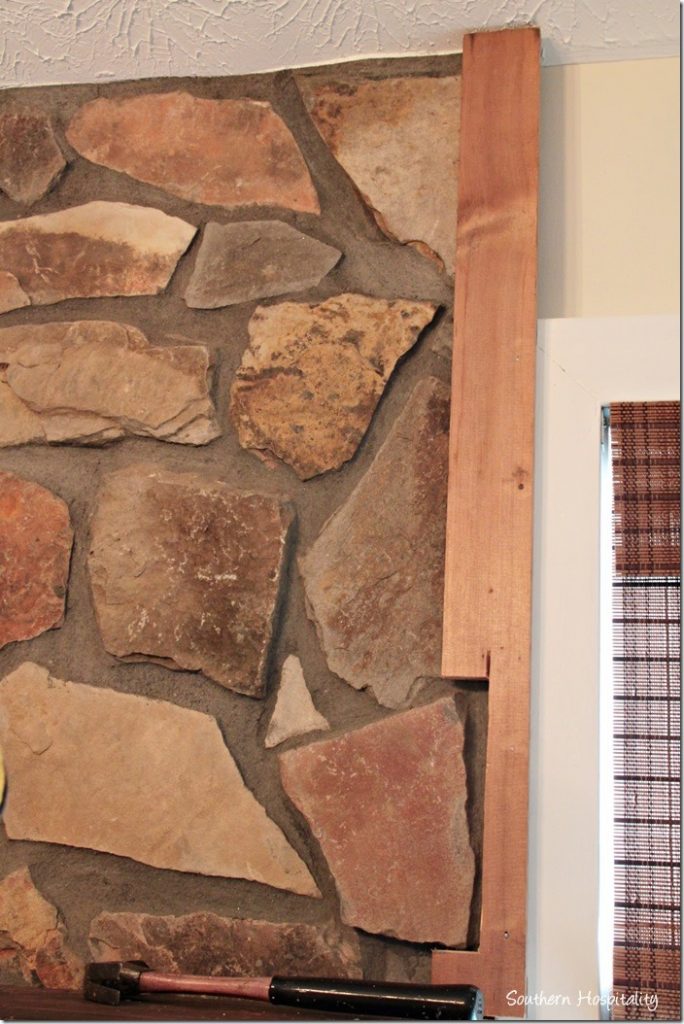
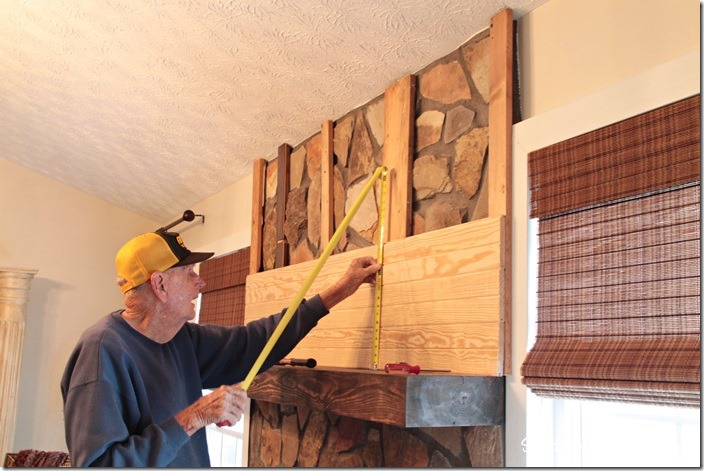
You can see here how the fireplace rock butts right up against my window trim with mortar all along the edges. This was a little tricky to figure out since some of the rock sticks out further than others and we wanted to have a secure base to nail the planks to.
We looked and looked at it and decided to overlap the frame of this over-mantel onto the window trim by about an inch or so. He wanted to be able to stabilize the outside wood frame of the box so that it would lay flat and give us a nice base to nail to. This means that the edge of the new planked box extends past the mantel by about an inch, but I don’t think it looks bad at all. Once it was all done, I don’t even notice this part.
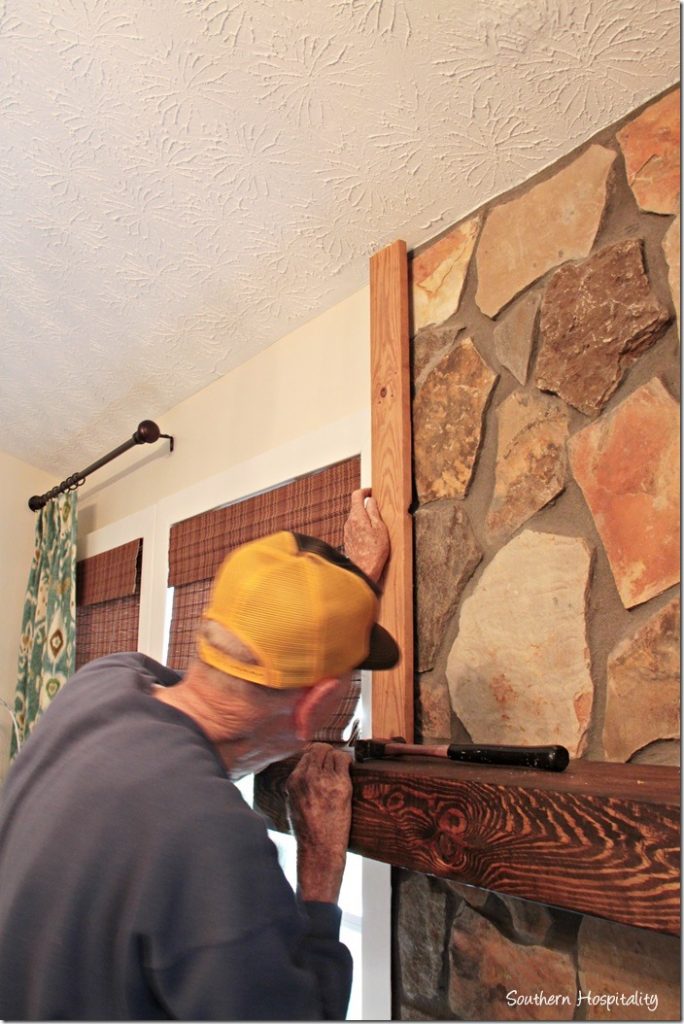
He cut one board out so that it could go around a rock that was sticking out. We used a drill bit and drilled pilot holes into the rock and through the mortar so that we could screw in concrete screws. My dad did a great job with this part. First board in place.
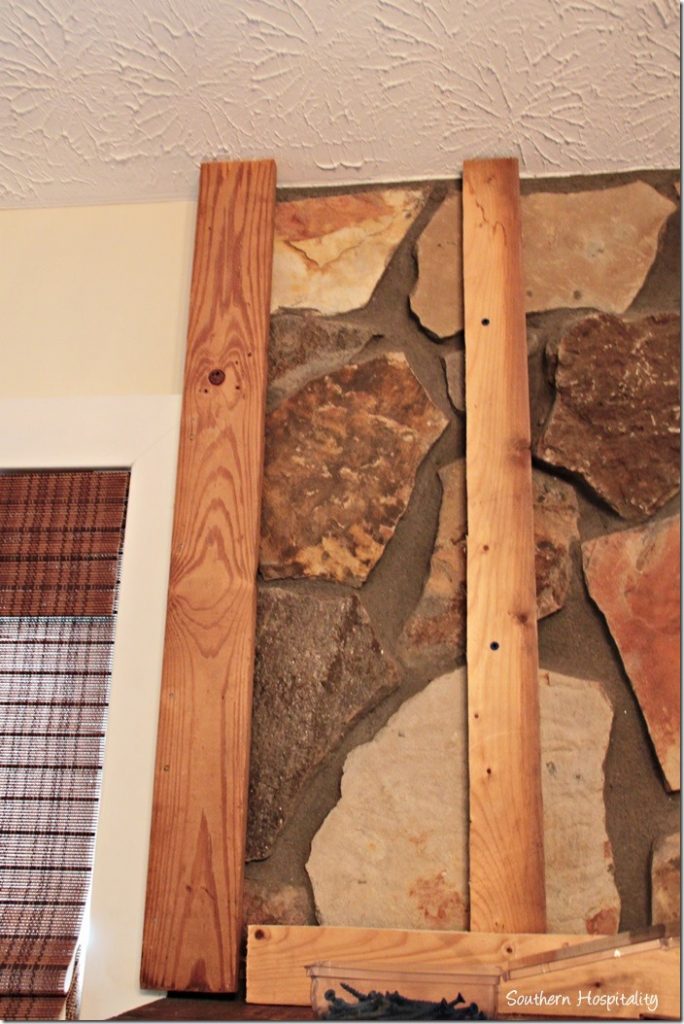
We put one board on either side, overlapping about 1 inch onto the window frame. We had to add boards that were thick enough so that the planks would then lay flat across the rock and not stick out if that makes sense. A rock fireplace like this is not all flat at all, but is very uneven across the surface. So adding the boards gives something to nail to and creates a flat surface that will then hold the planks in place.
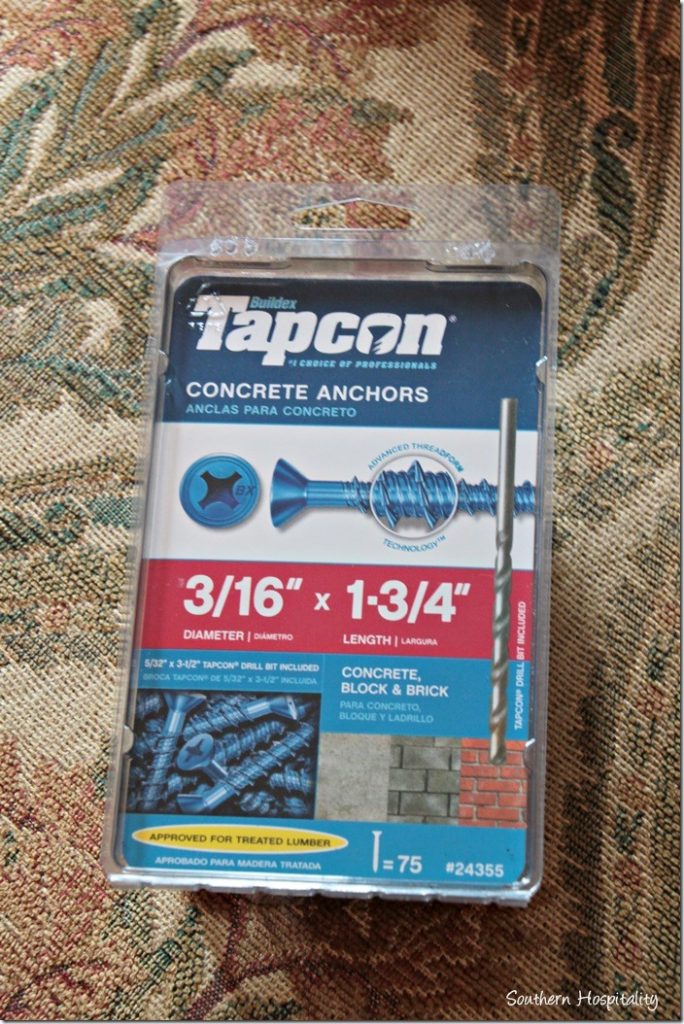
We used these Tapcon concrete screws to add the boards into the mortar.
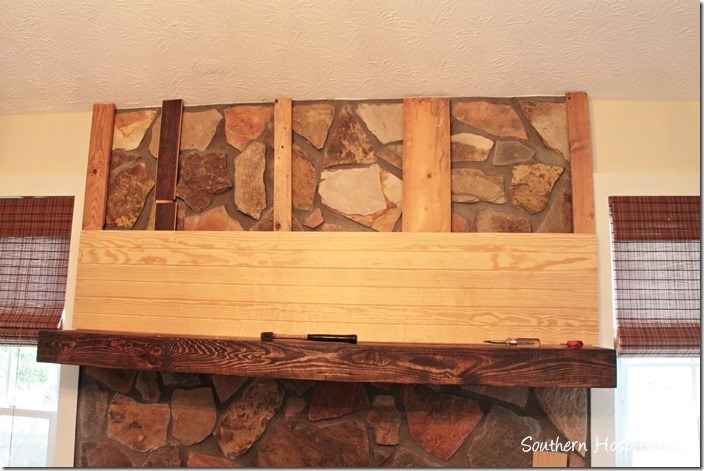
One by one, my dad screwed in the boards into the mortar all across the front of the rock. We added 5 boards total and I didn’t take pics of that whole process, but you get the idea. That board laying horizontally is just sitting there, we did not add a board to the bottom.
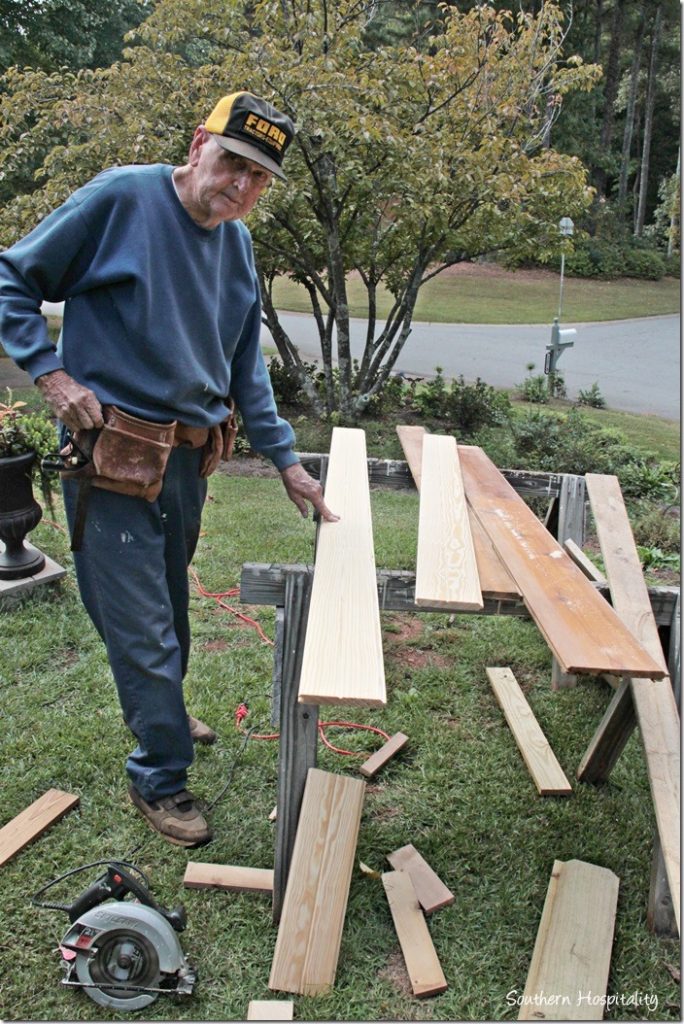
Once our base was in place, we began cutting the tongue and groove planks that will go in. These planks are from Lowes and have a smooth side and a beaded side. I decided to use the beaded side which is a nice planked cottage look. This pine will paint out nicely.
Another thing that we dealt with in this project (we always seem to have at least ONE argument per project!). 🙂 I was going to use those really thin planks that I’ve seen lots of bloggers using for planked ceilings and walls, but when I showed them to my dad, he was all…..nawwww, those are way too thin and I don’t want to use them, they’re just junk. So, I spent more on these tongue and groove planks to get thicker ones. And they do look nice and are thicker and more substantial. These are about $11 each for an 8 foot plank. We used 7 planks total and cut them to length to fit across my 6’ fireplace.
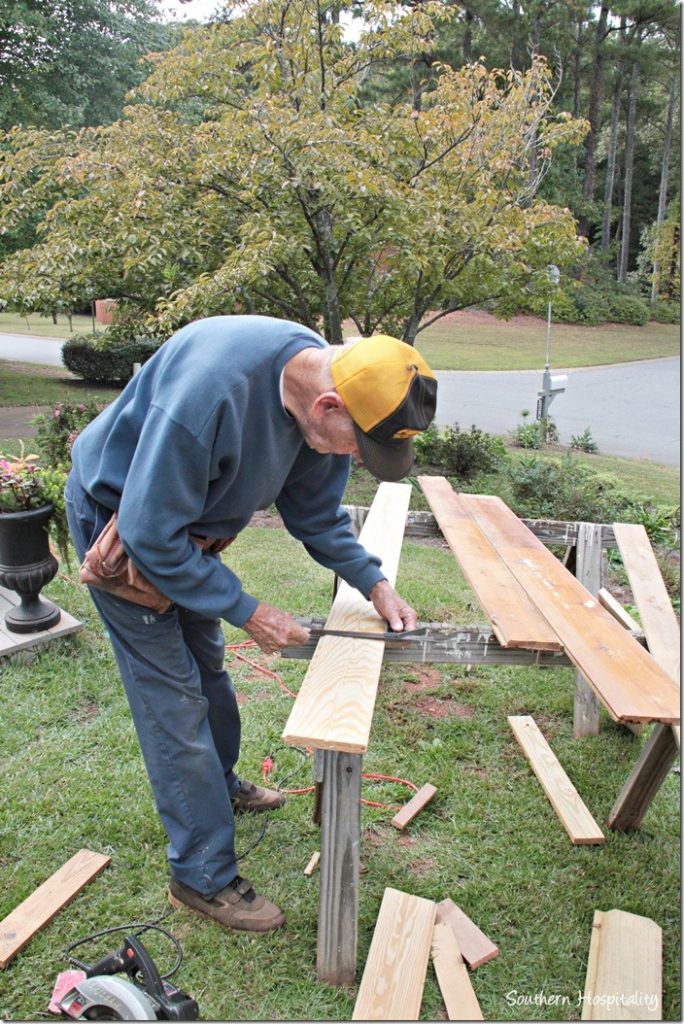
We measured and cut them to fit, ready to nail up with my nail gun. I used the nail gun and nailed them all in place. Having a nail gun comes in SO handy in a project like this.
You can see that beaded side here.
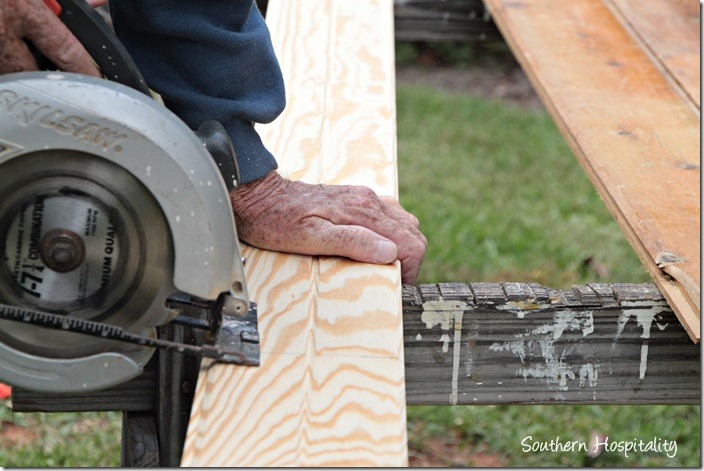
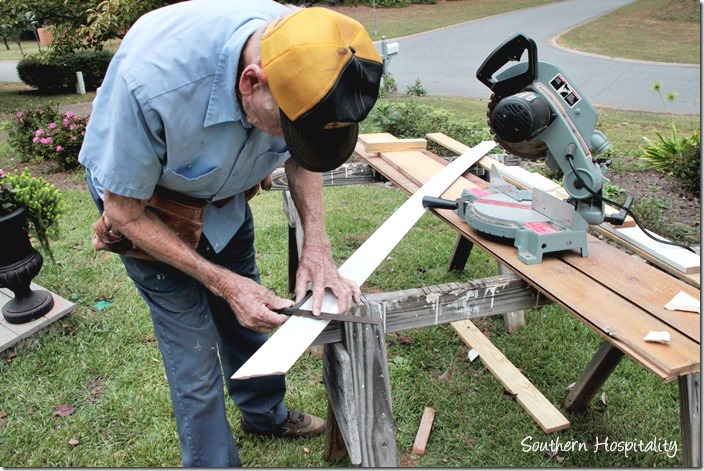
Cutting them to fit.
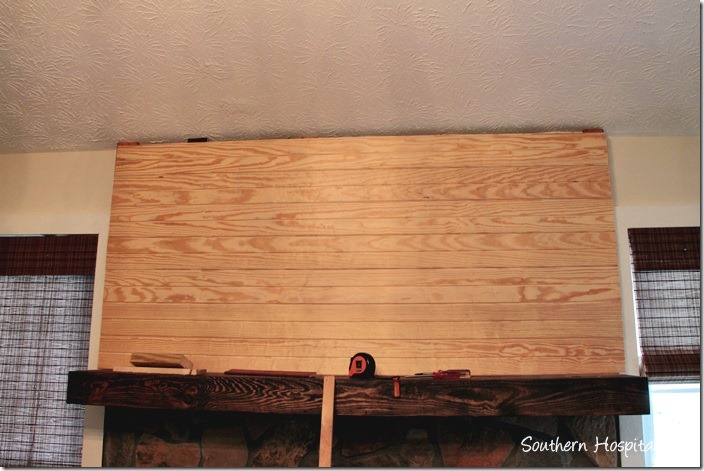
These tongue and groove planks are great and just fit tightly right on top of each other. We started at the bottom and worked our way to the top, nailing across our anchor boards to make it all nice and secure. The top board fit in just perfect and we didn’t have to rip a piece to fit the top. Once the crown was in place it was all covered up.
Halfway done with the planks.
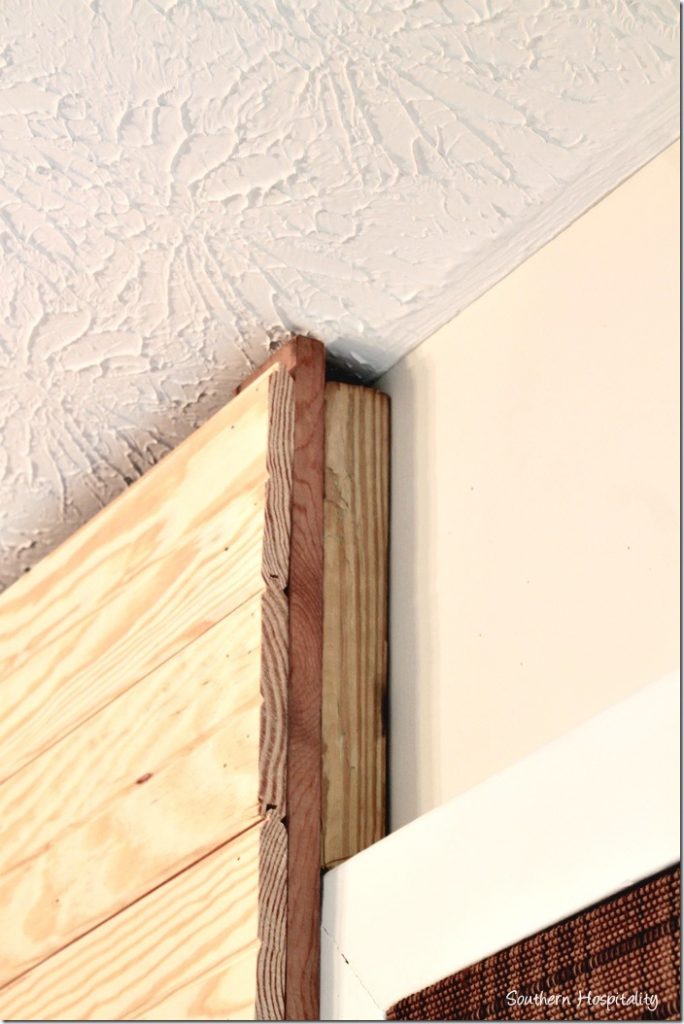
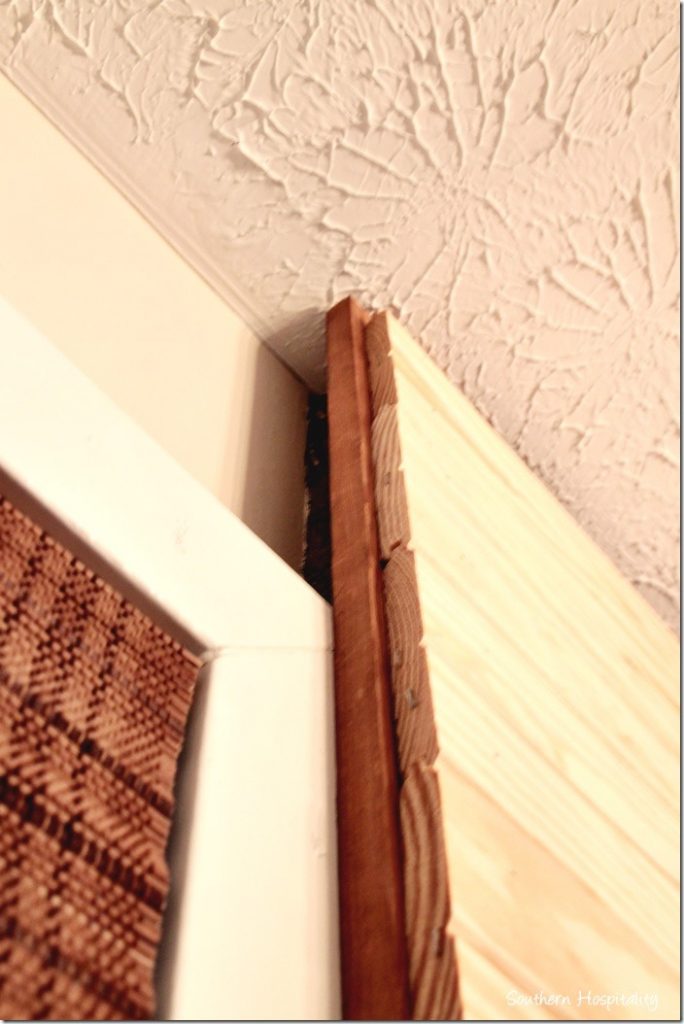
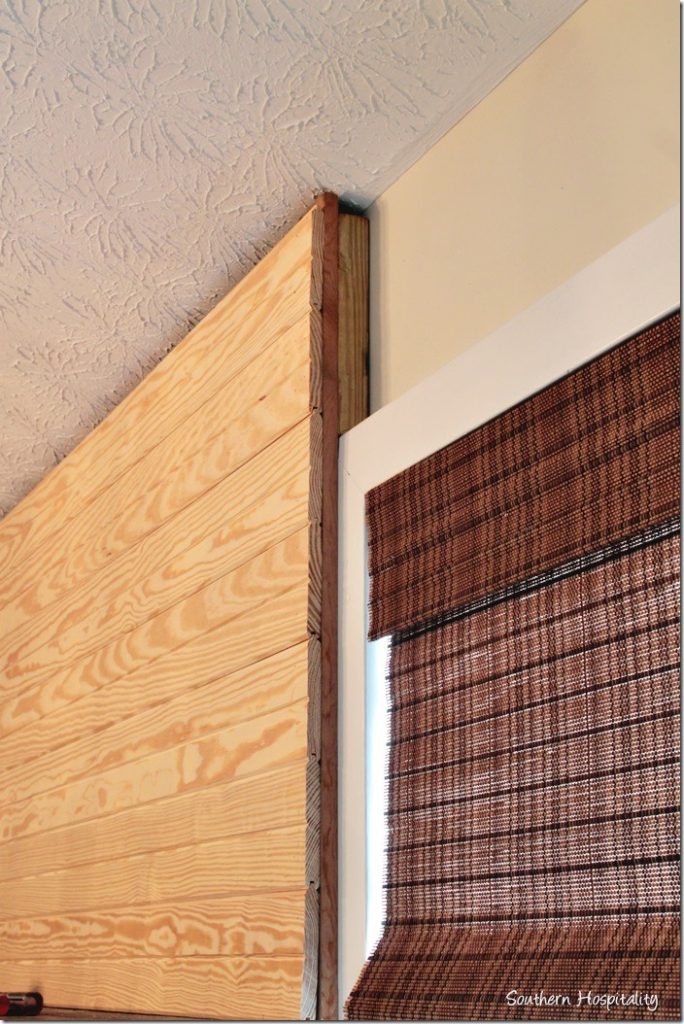
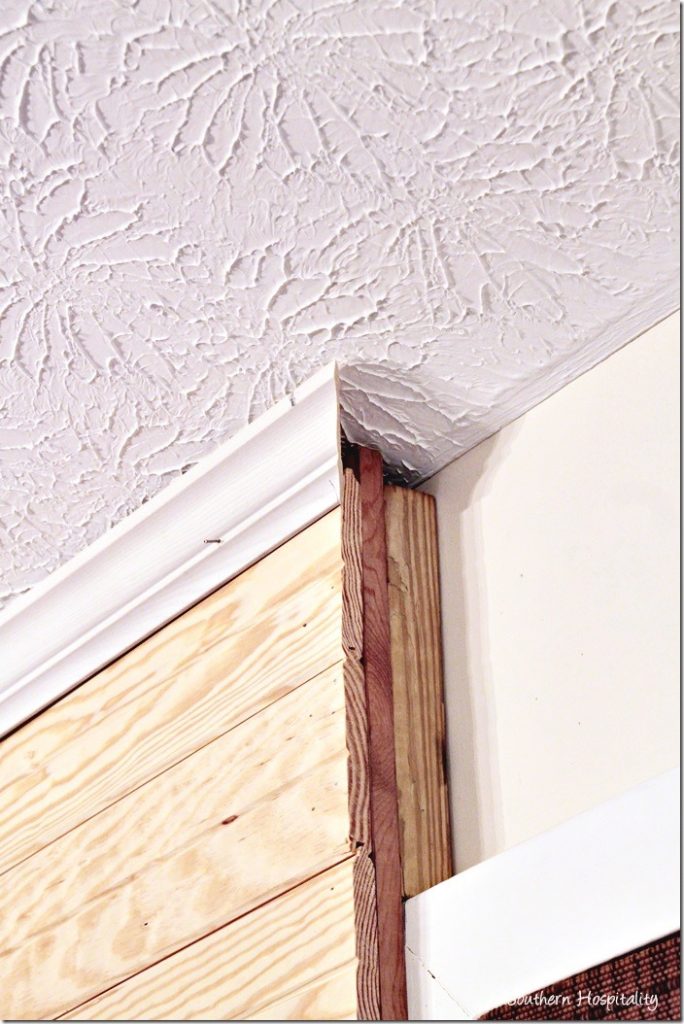
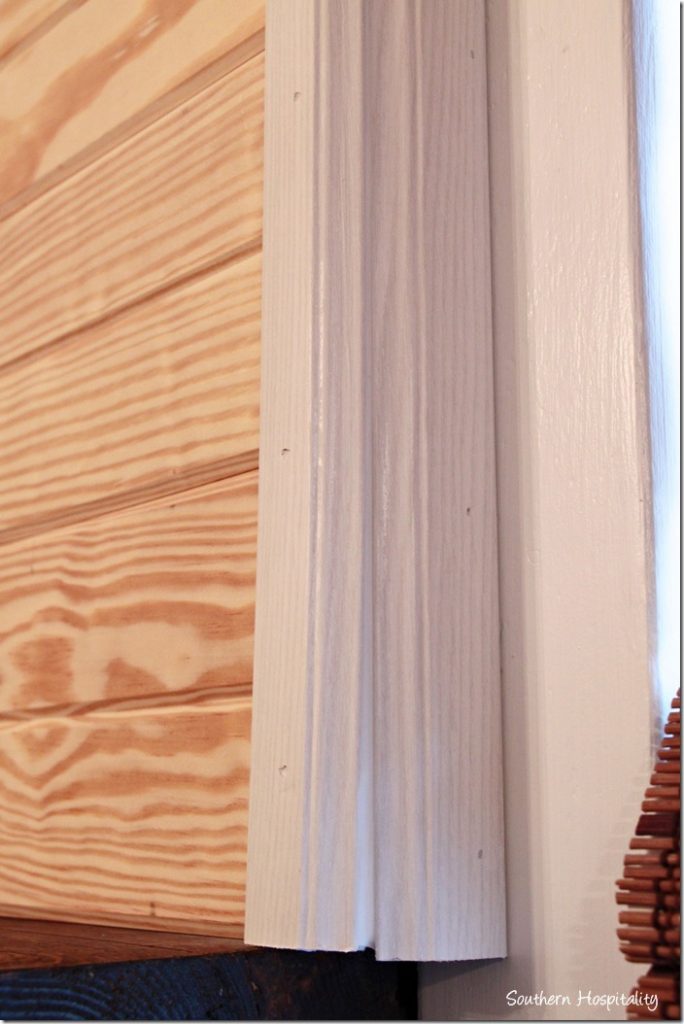
Here you can see the side and the thickness we are dealing with. Adding the base board to nail to, then the thickness of the planks themselves and then we had to fill in at the top with a 2 by 4 to fill in the hole that was left. All of this is what you have to deal with in a project like this. The goal is to make it look as good as you can and make it look pretty. Caulk is a big part of that and is your best friend!
So, now we are finished nailing all the planks and it looks like this. Not too inspiring yet, right? What to do with the top and edges?
Left side before filling in the hole at the top.
Right side with planks in place and ready to trim out.
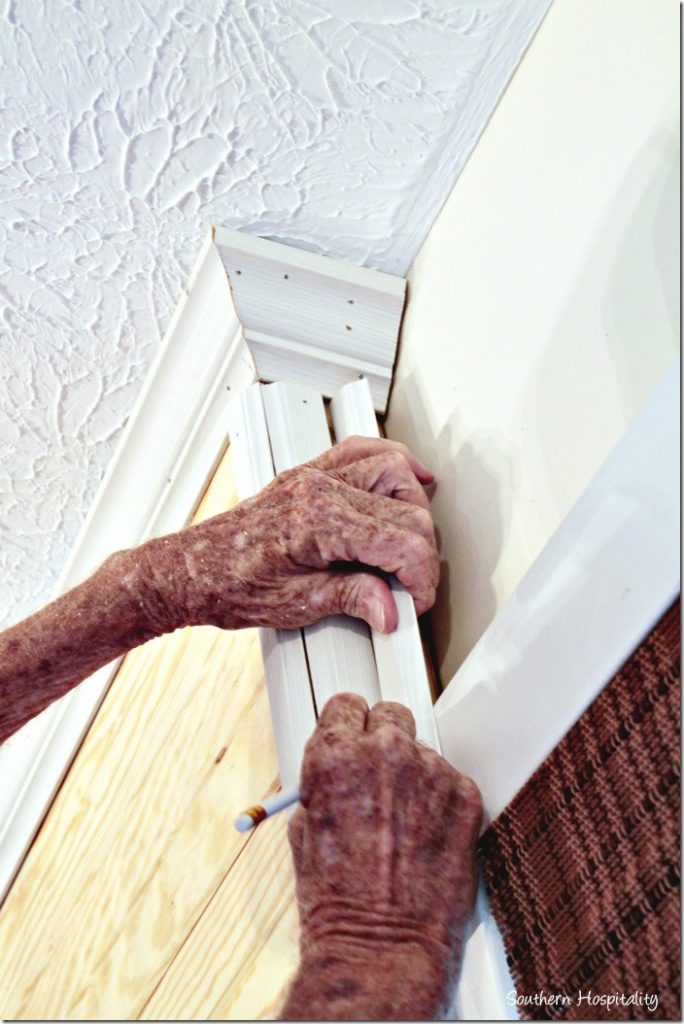
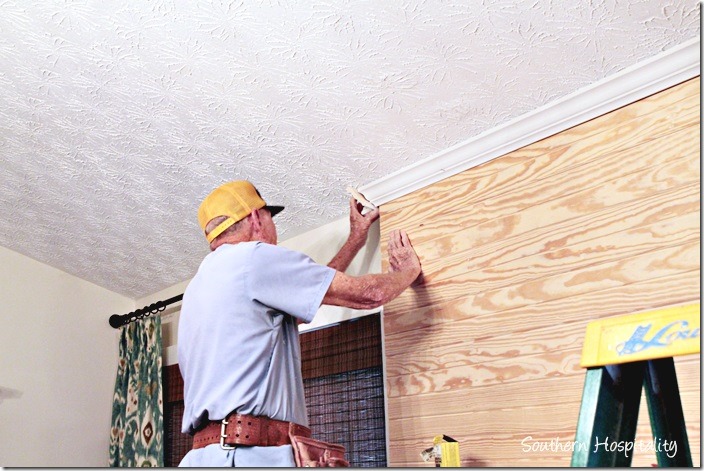
When I first mentioned to my dad that we would need to add crown molding to the top of this fireplace, he did not want to try it. He’s never really cut crown molding and didn’t feel like he could do it, but I talked him into it and said, WE can do this. I found a video online from This Old House and after watching this, we were ready to give it a shot. They showed exactly how to hold the molding and cut it. That visual really helps!
I bought 2 lengths of crown molding to use and figured we might need an extra, which we did. I used that lightweight molding that is almost like styrofoam. It’s easy to work with and cuts nicely too. After it goes up and is caulked and painted, it looks like the real thing. We practiced a bit and my dad finally got the cuts down and we made it all work. Not perfect, mind you, but it looks good!
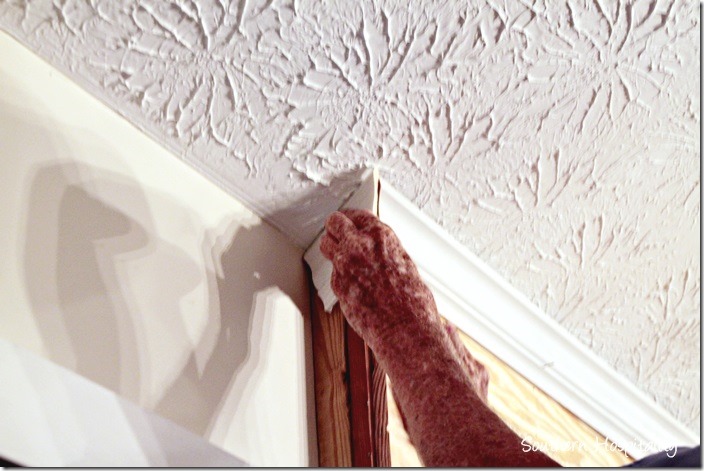
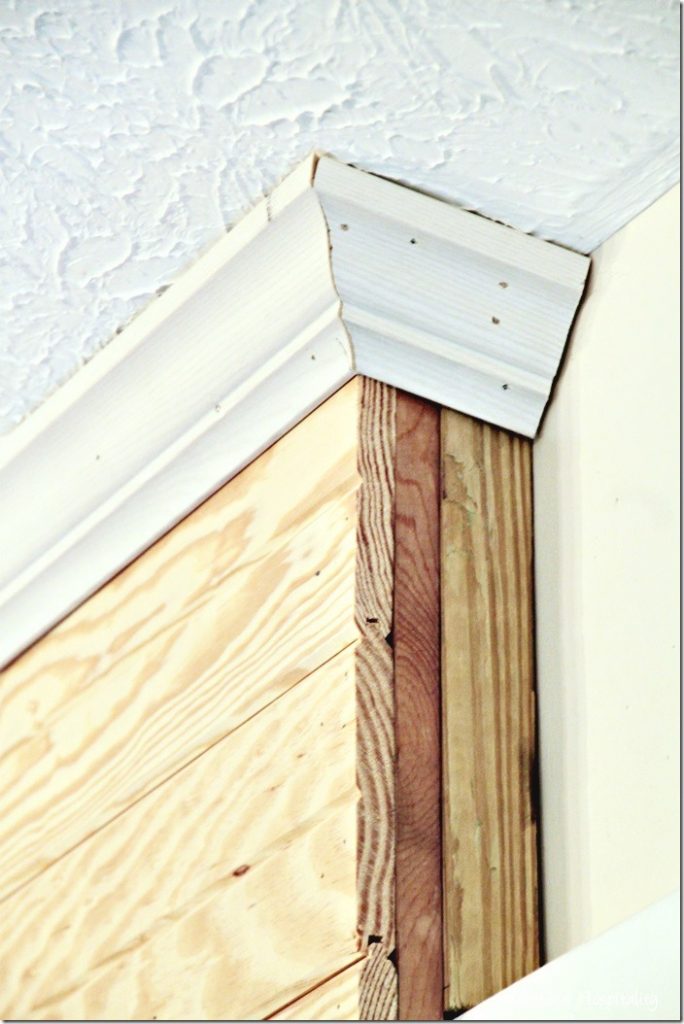
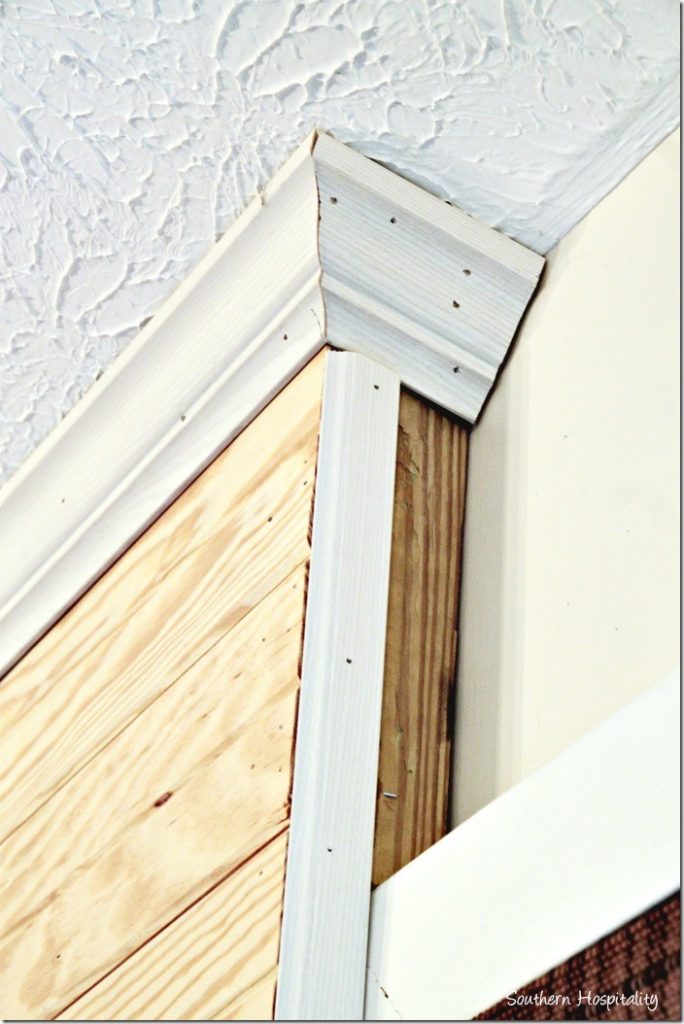
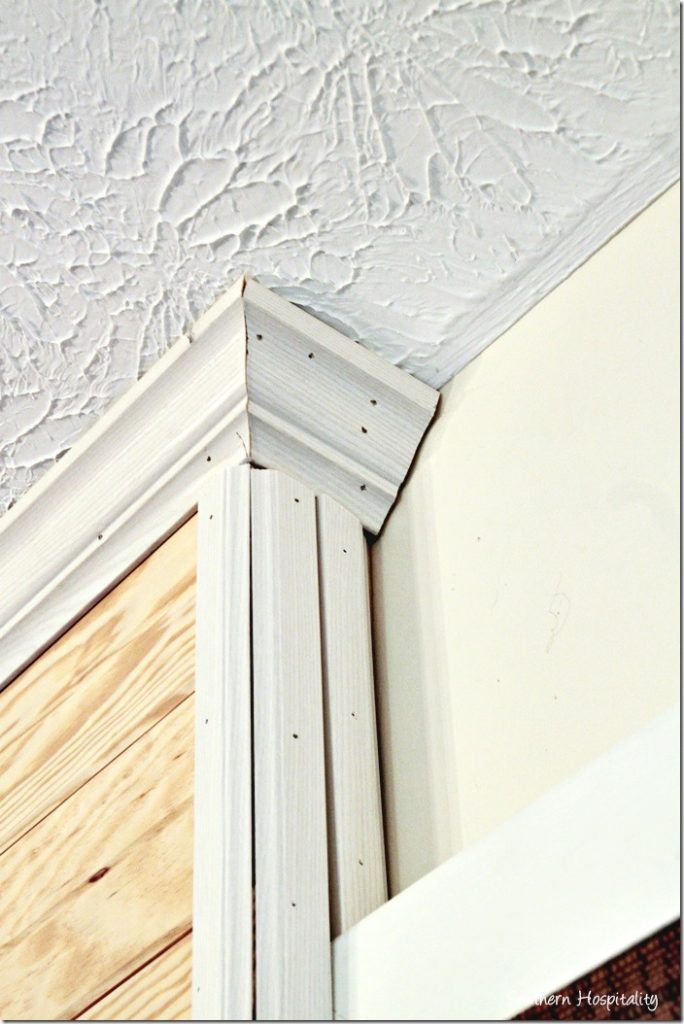
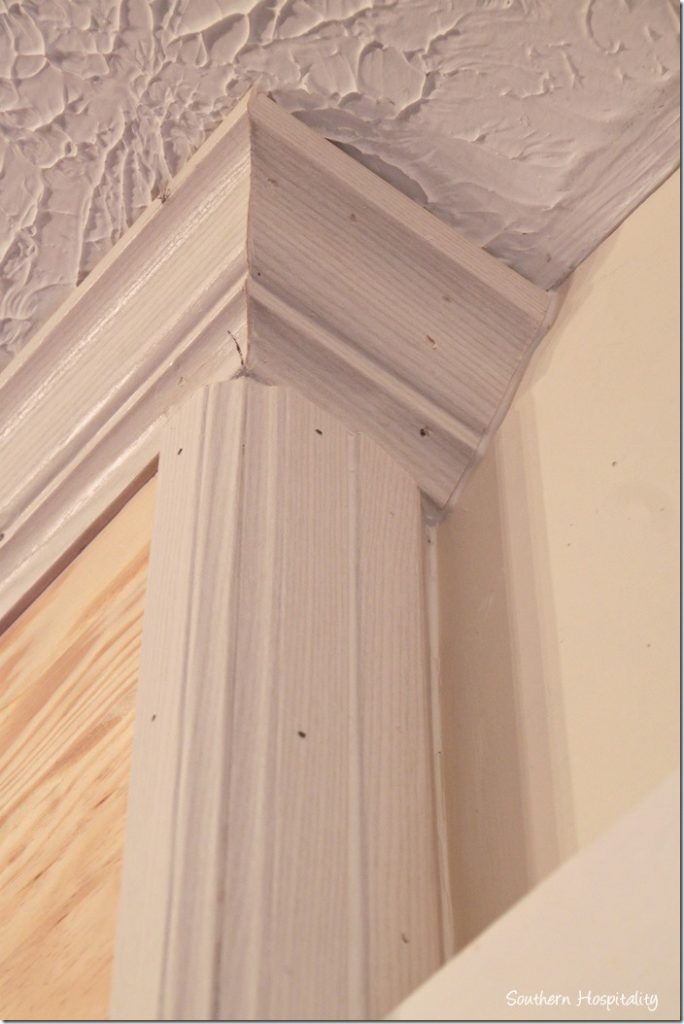
We got the long piece cut and tacked up and then figured out the return piece that goes against the wall and ceiling. The tricky part is that the ceiling is angled too, so we had to take that into consideration, but my dad is good at all of that and he got it to work.
We ended up using our 2nd board to cut the remaining pieces and it was $6 well spent when you are dealing with crown molding. The thing to remember is to cut it upside down and to hold all the pieces you cut in the same position on the saw. Marking the spot where it goes will save you some grief too.
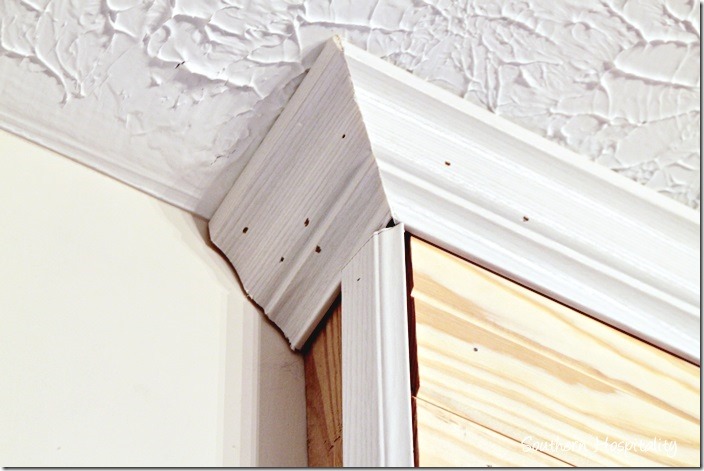
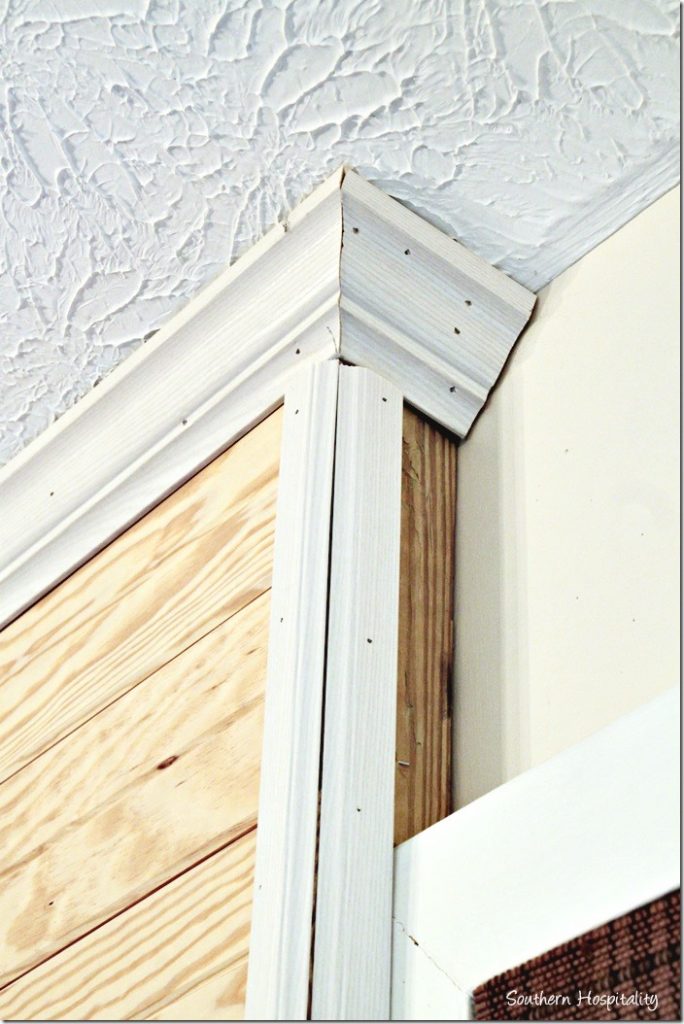
The end pieces were cut and nailed into place too and we were SO happy to get that figured out and have it work.
Again, not perfect, but nothing a little caulk can’t handle.
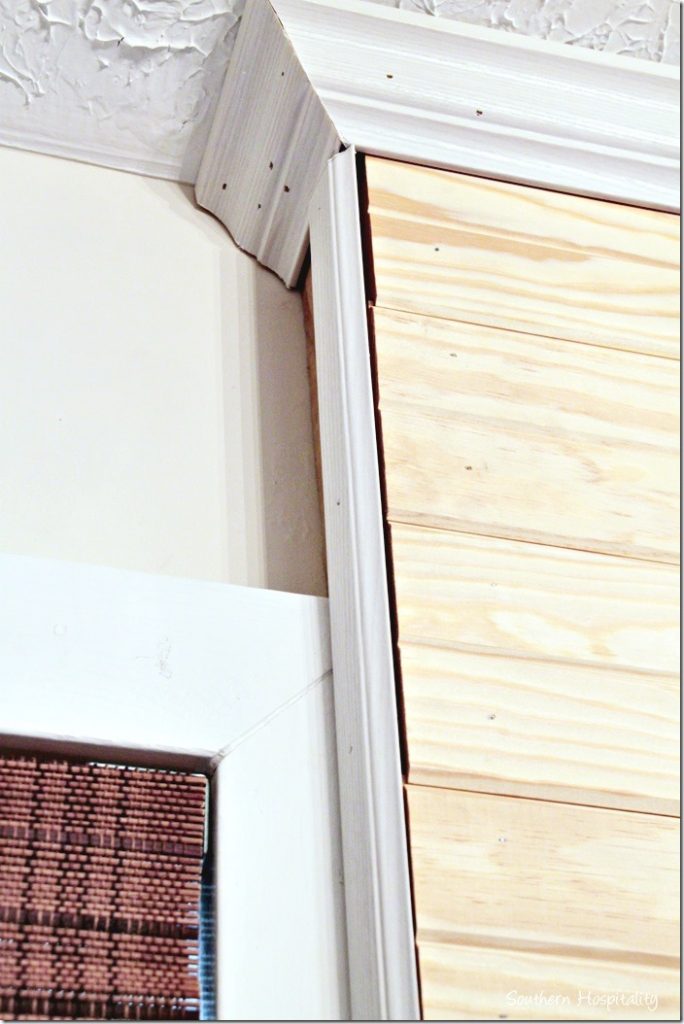
We then started working on the outside edges and front side molding. I got a thin molding that is thicker on one side and tapers on the other and made it work. It’s the same type molding as the crown, an almost styrofoam molding. Easy to work with!
I nailed up the outside piece having it meet the edge of the front side. Then we will add a front side piece to make it all look good.
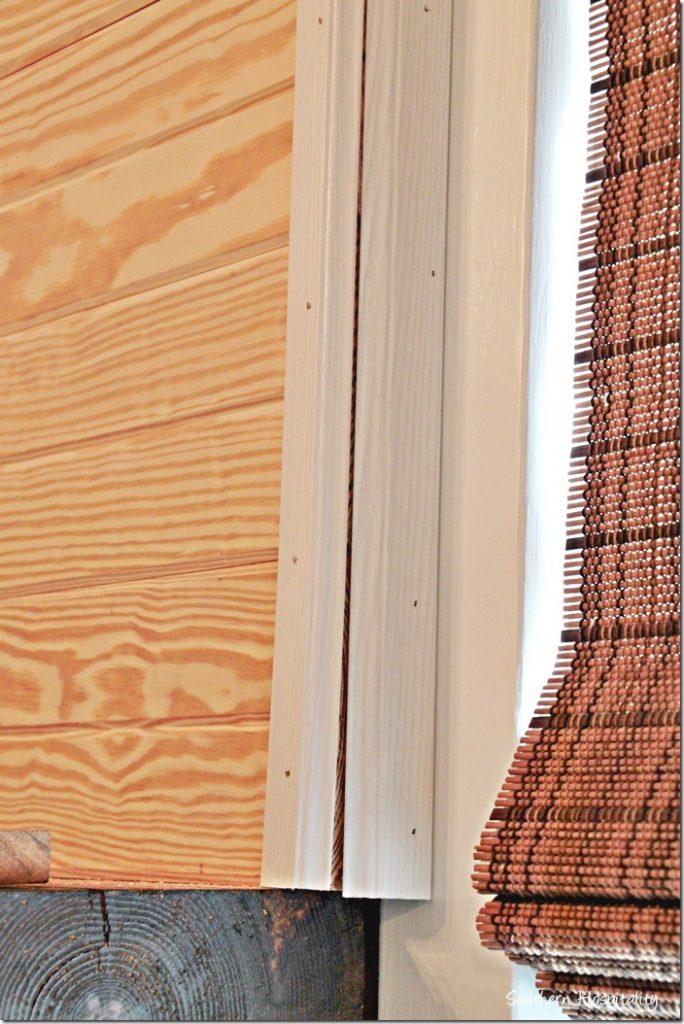
You can see the gaps in between the molding and planks, but after adding the top piece and caulking, it all comes together.
Right side molding in place. Still more to fill in, but you get the idea on how this works. I’m sure a professional would be laughing at our method right now, but that’s OK. Whatever works, I say!
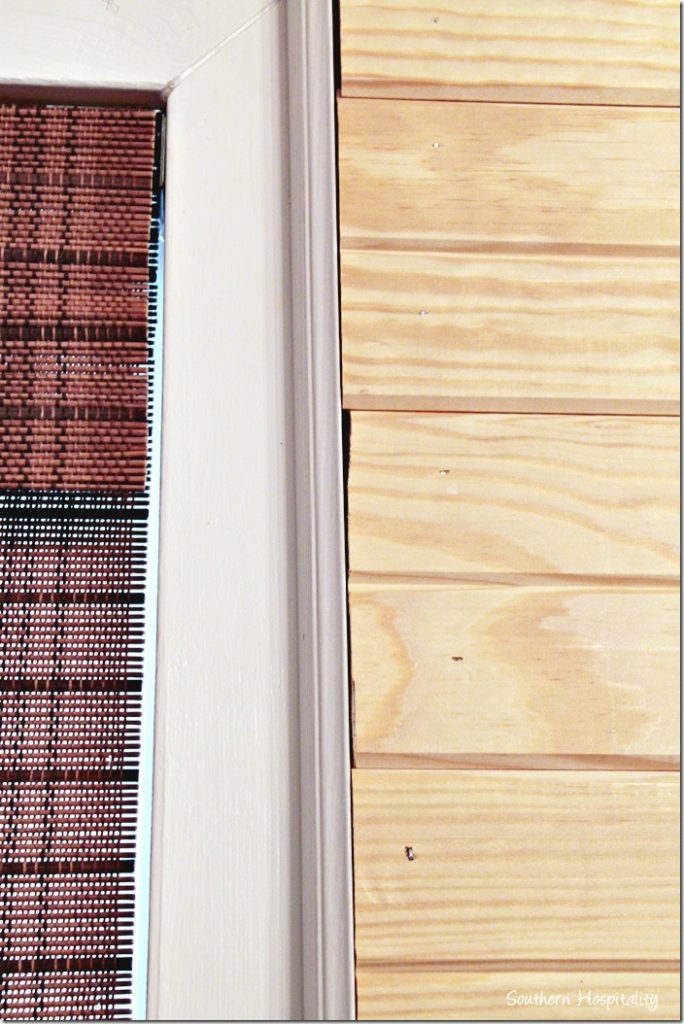
We added the front piece of molding, having the thin sides meet each other. I’ll add caulk in that seam.
Adding molding all the way down the to the mantel. This is the part that hangs outside the mantel about an inch or so, but after it’s all done, I don’t mind it.
Cutting and fitting in that last piece. We had to piece this part to make it all work, but again, caulk.
All nailed in and ready to caulk.
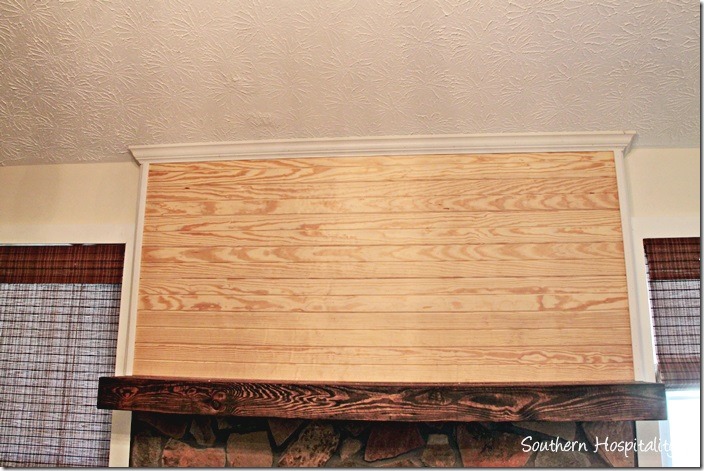
Crown is done, molding is done! Ready for caulk, primer, and paint. I’m loving it already!
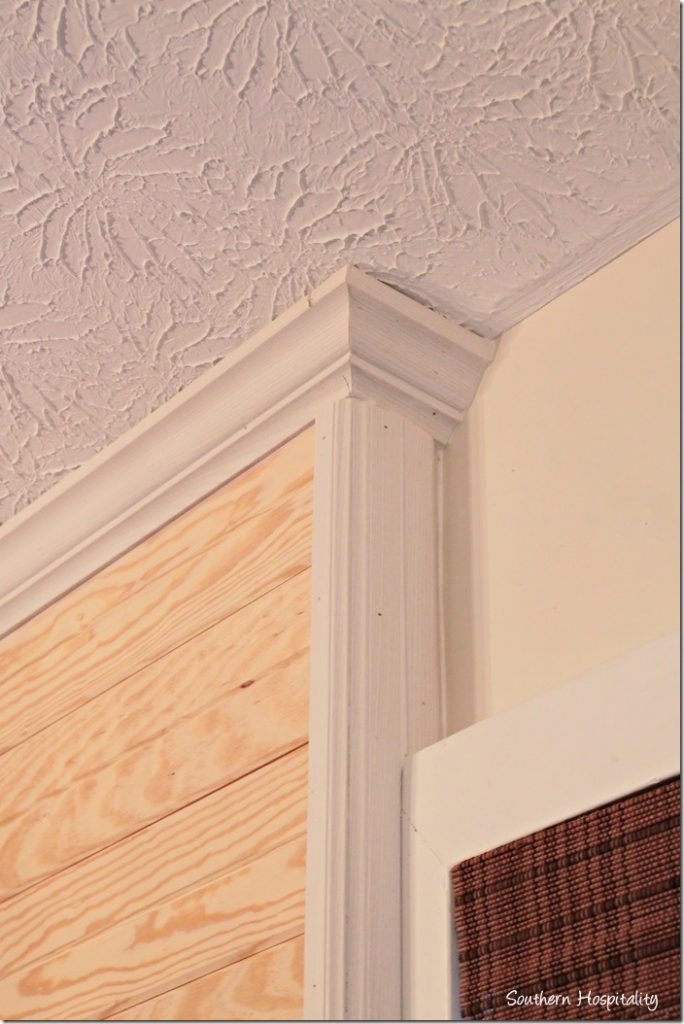
After caulking, this really makes it look better, filling in all those cracks and seams.
The seams disappear with caulk.
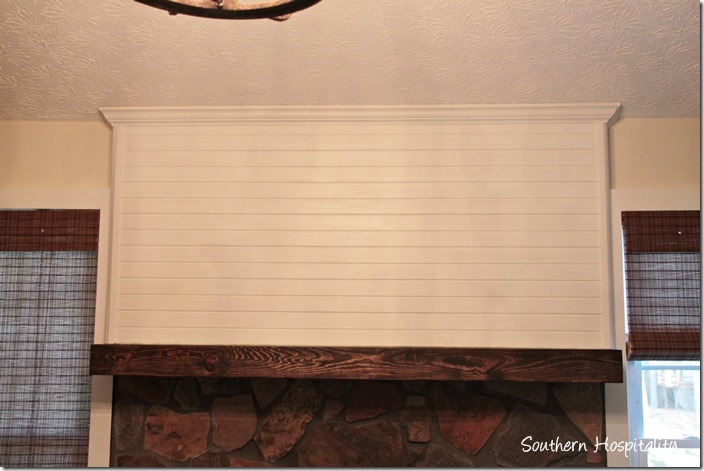
Caulked and ready to paint.
I primed the planks with a shellac-based primer (Zinsser) that I had on hand and it was ready to paint. I was originally going to paint all the planks with my trim paint, which is Pure White, but it was way too bright after I got a coat on there, so I used my wall paint (Moderate White) and mixed it with the paint I used on my porch (Alabaster) and that gave me a nice creamy white that blended in better with the stones. Pure white was just TOO bright, but now it’s just right.
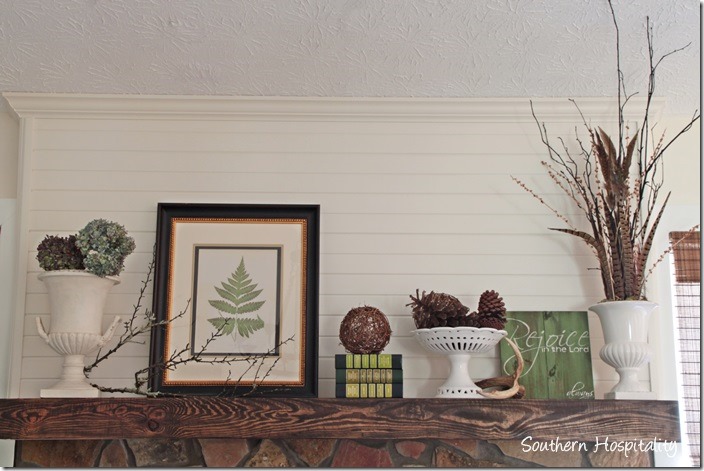
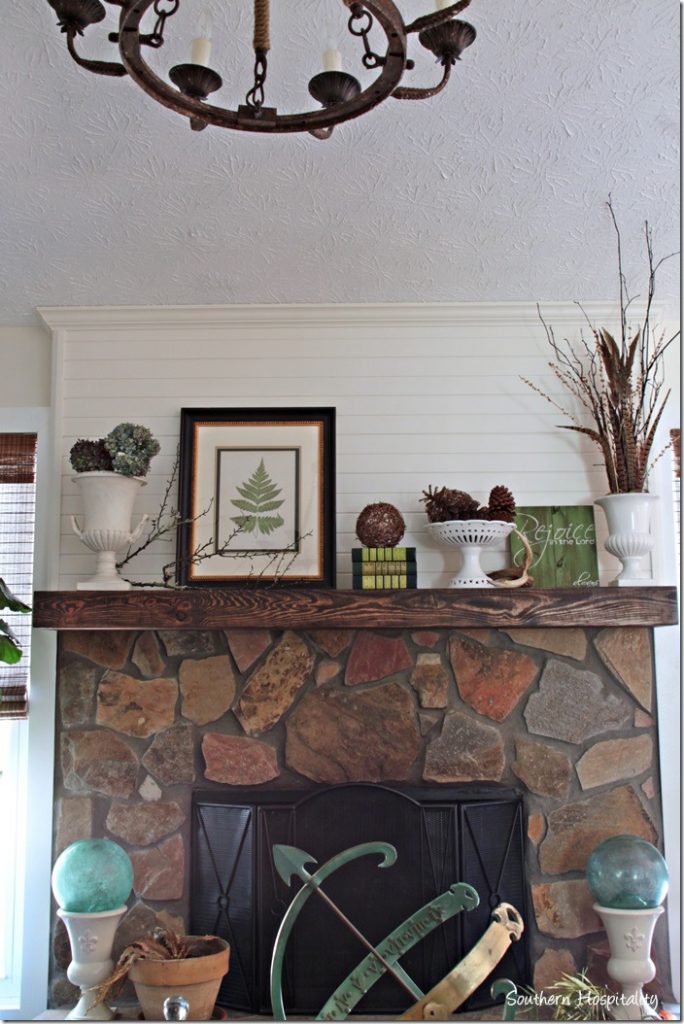
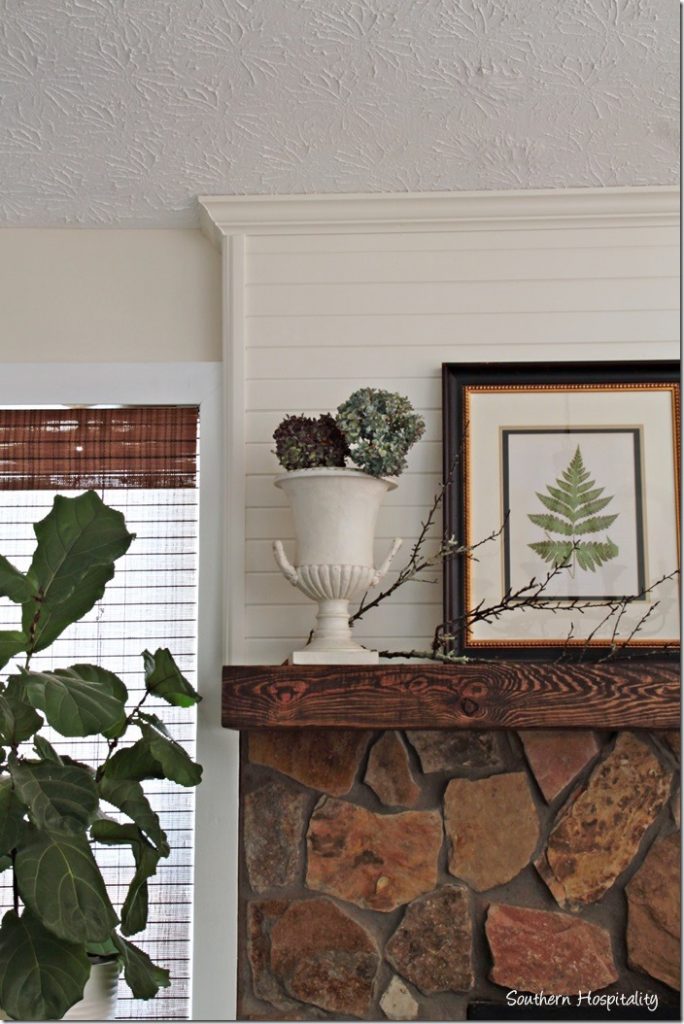
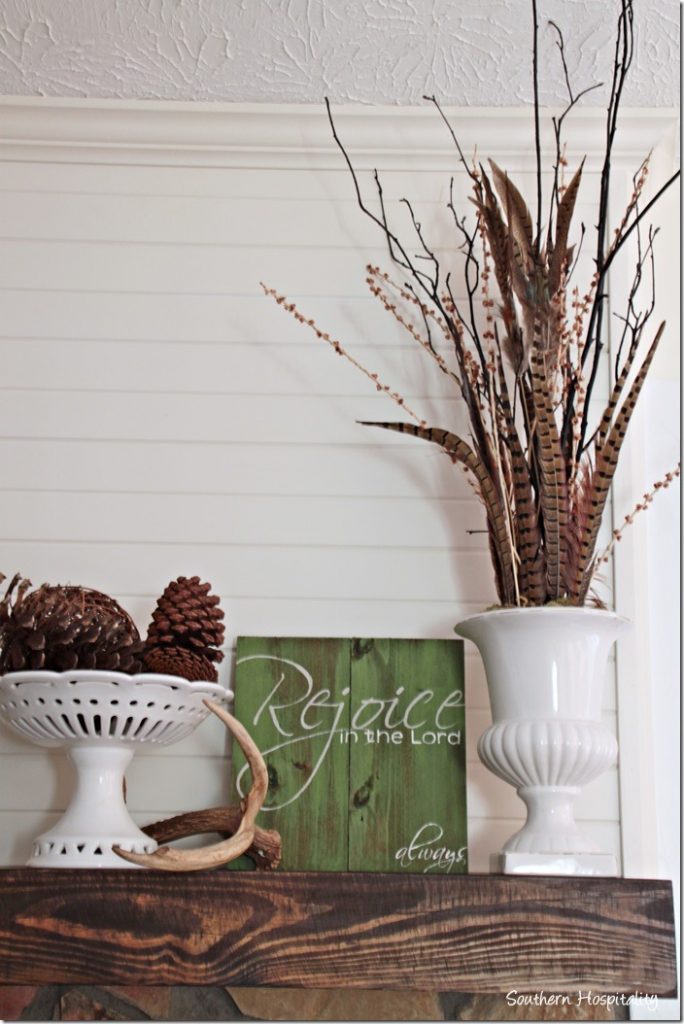
And here’s the AFTER! I think it looks so much better and now all my pretty pieces really pop out against those pretty creamy white planks.
It’s not quite as creamy as my walls are, but somewhere in between and I really think it accents the rocks.
I’m in love with it and so happy to have this done just in time for the Holidays this year.
The new backdrop will allow me to do whatever I want for Christmas decorating and it’s going to be beautiful. Now I can’t wait to get ready for the Holiday season by making my new mantel and planked backdrop as pretty as a picture.
Check out Lowes Creative Ideas Magazine app, visit Lowes on Facebook, and Lowes on Pinterest.You can see Lowes on Instagram as well. Instagram is fun for every day real life happenings.


It looks great, Rhoda and makes a huge difference!
Turned out awesome! Great quality work 😉
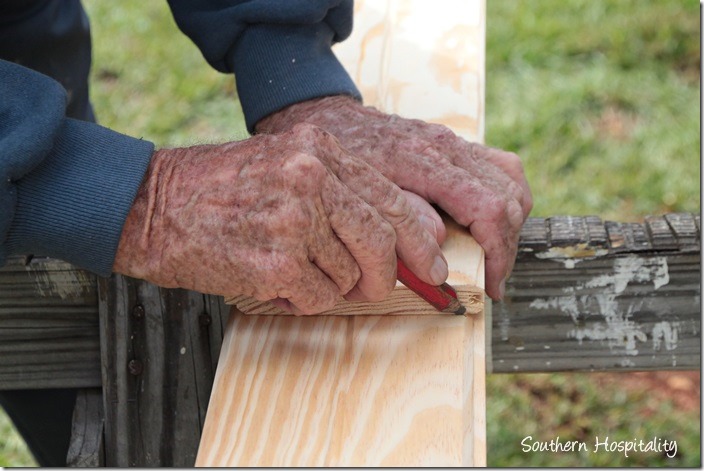
Hi Rhoda, I’ve been following your blog for quite a while now and I’m always interested in what you and your dad create. You, my dear have a real eye for design and putting things together. The mantle is awesome and has inspired me to do the same. My home was built in the mid-70’s and I have the rock fireplace with the dark chunky mantle that looks like a dark hole and casts a dreary look on the entire living room. I love your dad’s hands too, such time worn hands that tell a story by themselves. I’m amazed at all the work he can still do at his age, how blessed you both are. Love seeing the pics of the new baby and her beautiful mom, keep’em coming.
Rhoda, very impressive! So good to see your dad and in his element too. (: Hope to see you sometime
too. We have a place in Blairsville and will be remodeling it in the spring. Full blown project. Ray took
it down to the studs. Your dad would be impressed if he could see before and after. Cant wait to see them. Thanks again for your help! Love your blog
Could I borrow your Dad for a few days?? I have tons of projects, but no one to help….He always does an amazing job (with your help) on all the projects around your house. You are so blessed to have your Father in your life. Thanks for sharing
Rhoda ,I’m about 5 months late with my comment…( just discovered your blog) I love your fireplace transformation and I absolutely love your Daddy. The pics of his hands are priceless !!! Remind me so much of my own Daddy !!