This project is sponsored by Airstone. All opinions are our own.
Hey there! I’m so excited to share a fun project with you all that Mark and I just completed. It took a little while to get this done and we worked on it hours here and there at a time, so I’d say we spent at least 8 hours total getting this wall complete, but it was SO worth the effort. It took almost a month to get it all done.
We are so excited that our downstairs patio got a facelift with Airstone faux stones. Airstone is a faux stone product made out of 70% recycled wine bottles. How cool is that for recycling?! I love that they use recycled products to make their faux stones. The stones are very textured and chunky with 4 different color variations for endless patterns and ways to put them together. You’re the artist and whatever you come up with, it will more than likely look great. You really can’t mess this up! Just be sure and mix your colors and textures up a lot and you’ve got a really nice look.
Here’s a link to Airstone at Lowes and you can see it’s sold in boxes of 8 s.f. so I wanted to pass that on for cost estimation. We used about 7 boxes on our wall. The color we used is Spring Creek, with nice shadings of gray.
And keep reading to the bottom! Mark is adding his own comments on this project below!
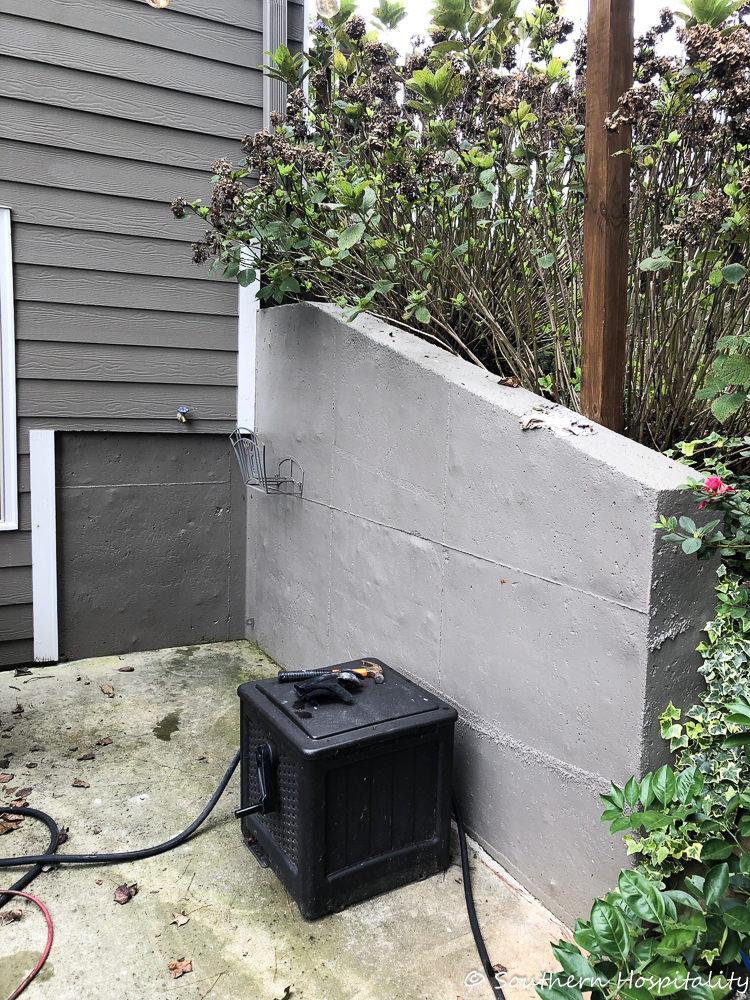
Here’s how this project got started. Mark and I have this concrete wall at the end of our patio in the backyard. Those gorgeous hydrangeas are sitting right above this concrete wall.
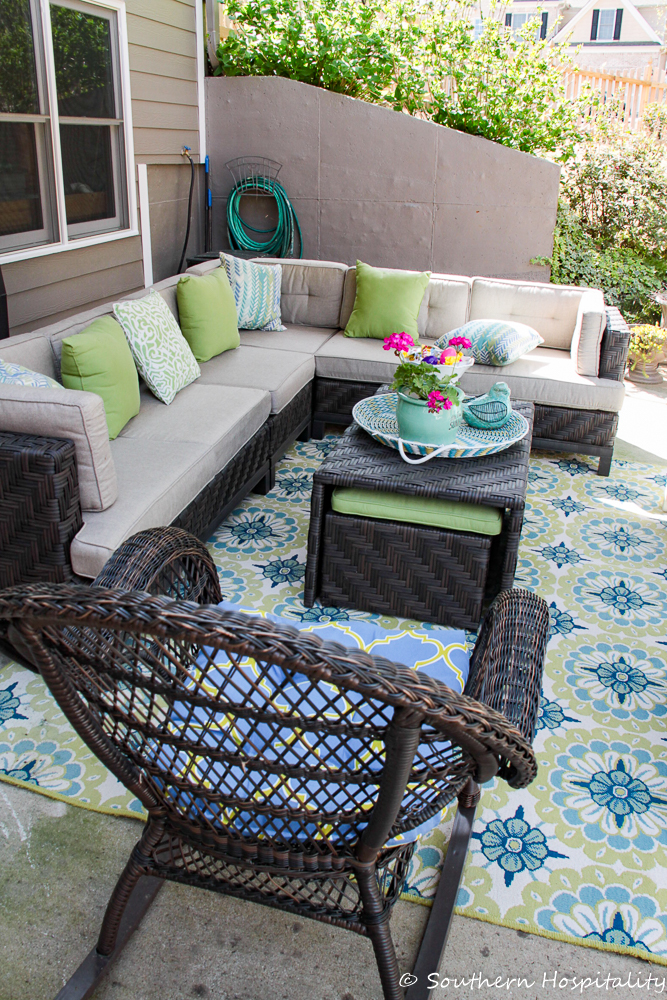
Here’s what the wall looked like in spring, when everything was fairly clean out there and I put down my outdoor rug and furniture in place. It was a really nice space and we enjoyed using it a few times with family during early spring. Then it rained. A lot! And the patio turned green. This rug no longer looks this good and I’ll probably have to replace it.
It was OK, the wall, but we knew it could look better. So when I got the chance to partner with Airstone to add faux stones to this wall, I knew we had to do it. It was a DIY project we could handle!
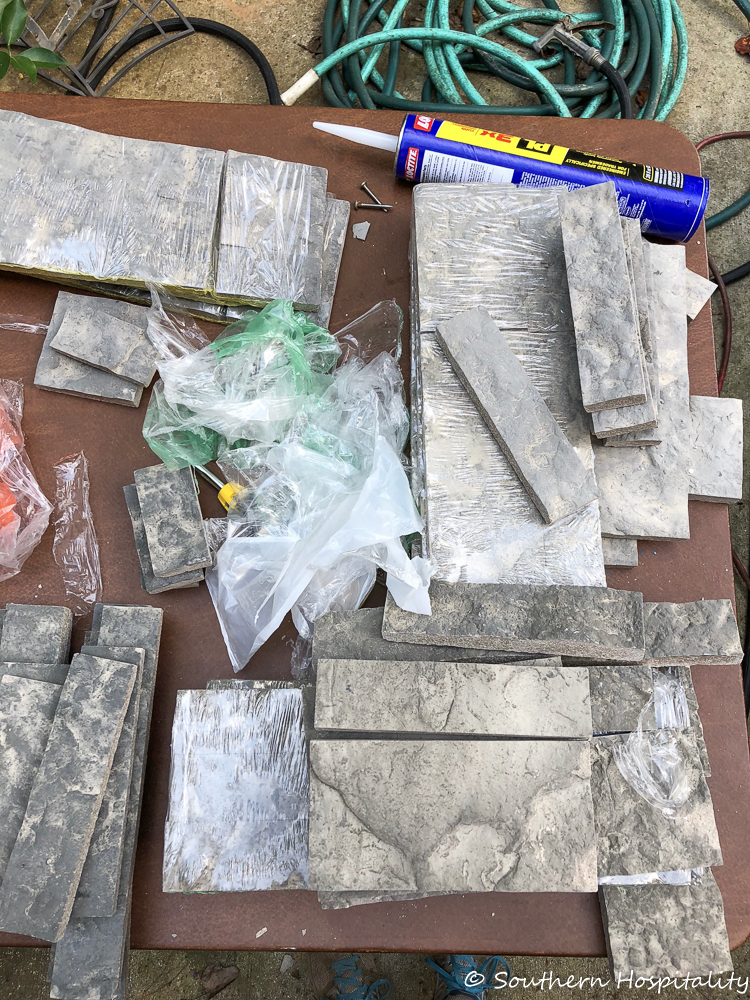
Airstone shipped the boxes of stones to our house on a big pallet and they sat for awhile before we could get to this project, but finally we got it started. They come packaged really well with bubble wrap around them and each package is color coded, with Red, Green, White, and Yellow. These 4 shadings are mixed up on the wall to make it interesting and more like real stone. It’s a good idea to take these out of the box and keep the colors together. We didn’t really stick to this method so much, because I was constantly getting into a box and getting more sizes and shapes out to use, but it all worked out in the end. You just want to mix things up as you go along.
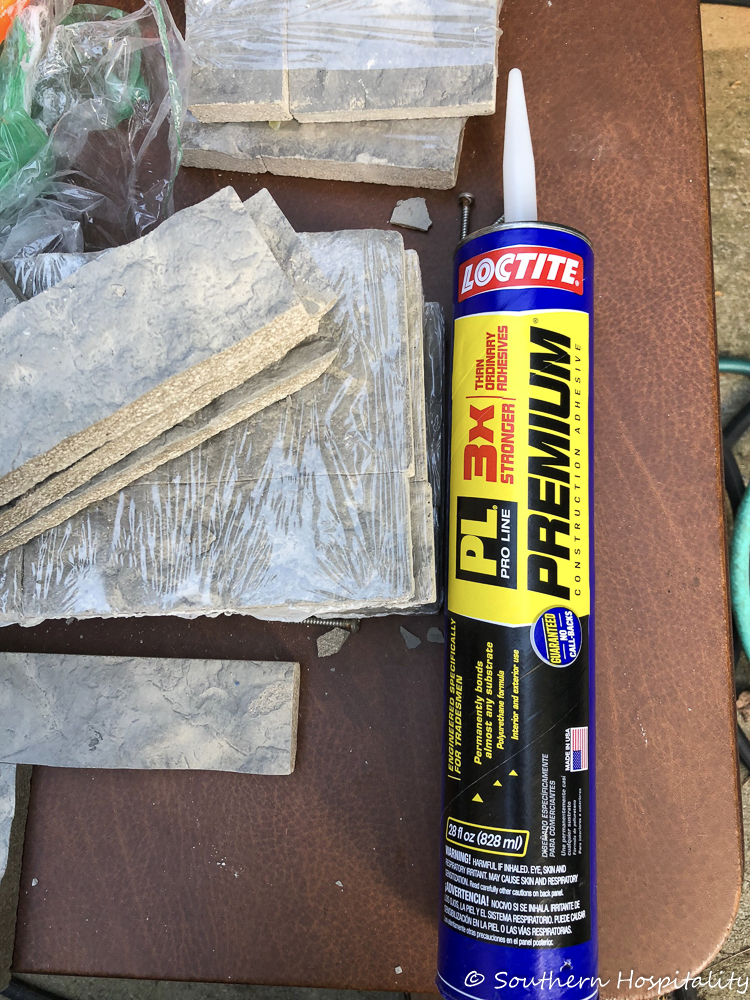
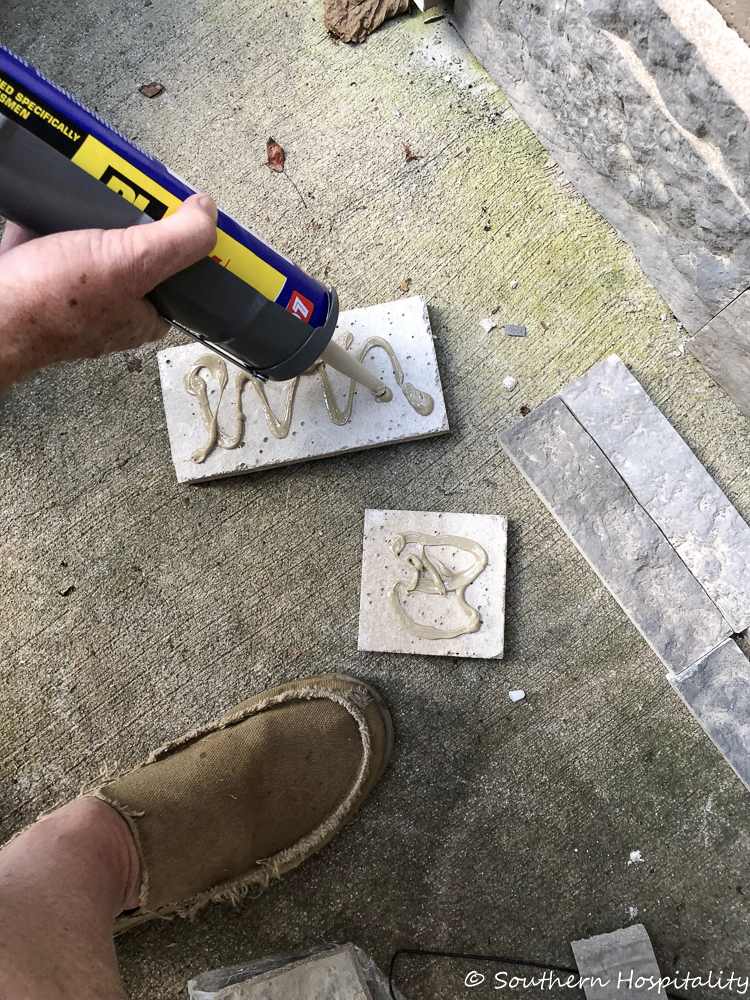
A big shout out to Loctite PL for providing the exterior adhesive for this project. You use this to stick the stones to the concrete and it worked really well. It’s an outdoor product made for outdoor use. We got a big gun to use with it. Mark did most of the rock setting and I ran the adhesive gun.
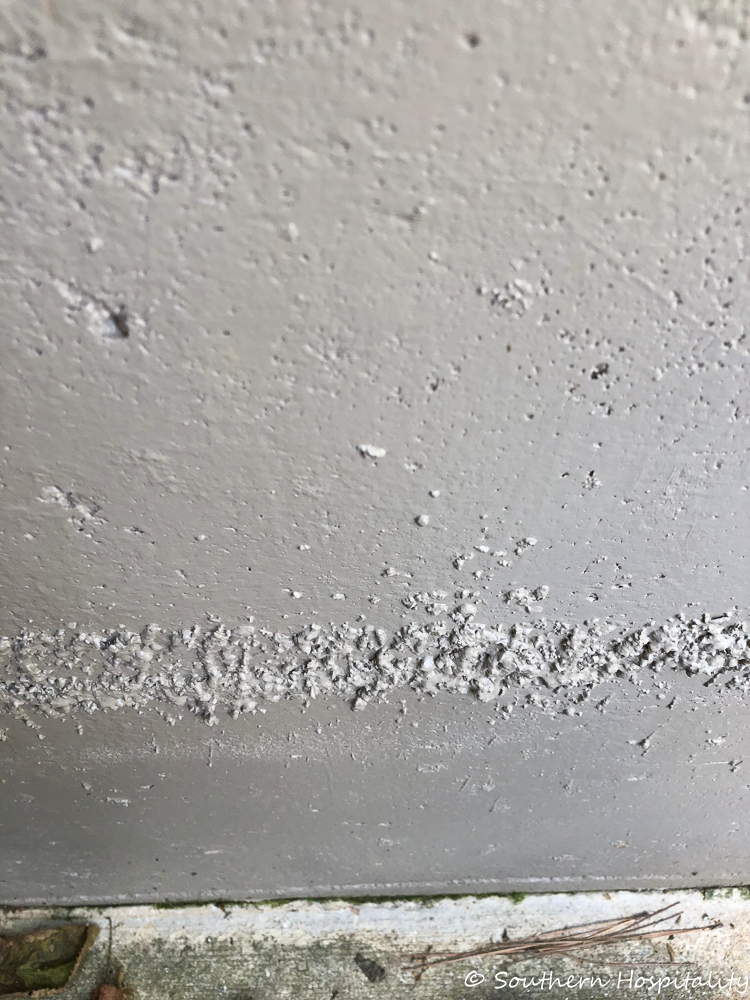
Here are the steps we took for this project. See those bits of concrete above that are all raised? That needs to come off as much as possible.
Prepare your Surface:
First we washed down the wall with the hose and let it dry well. If you have green algae, that will need to be removed too. If your surface isn’t completely flat, you will need to make it as flat as possible. The stones are a little forgiving in that they are different depths and there are ridges and some stick out more than others, just like real stone would. But, to make them stick well, the surface should be as flat as possible. Mark took the hammer to a few divots that were on our wall and then we bought a grinder to help get the rest of it as flat as possible. I’ll show you the grinder down below that we used. It came from Harbor Freight.
Stack your Stones by Color to Choose From:
As I said, we didn’t stick to this completely, but it helps in mixing up the colors as you go (again, Red, Green, White, Yellow). The thing is once I took them out of the wrapper, I couldn’t remember which was which. We would hold them up next to one that was there already to see if it matched or was different. It looks really good to mix the textures and the colors up as much as possible. I did notice that Red and Green were the darker ones and White and Yellow were lighter. The Green ones had more of a brown tone to them.
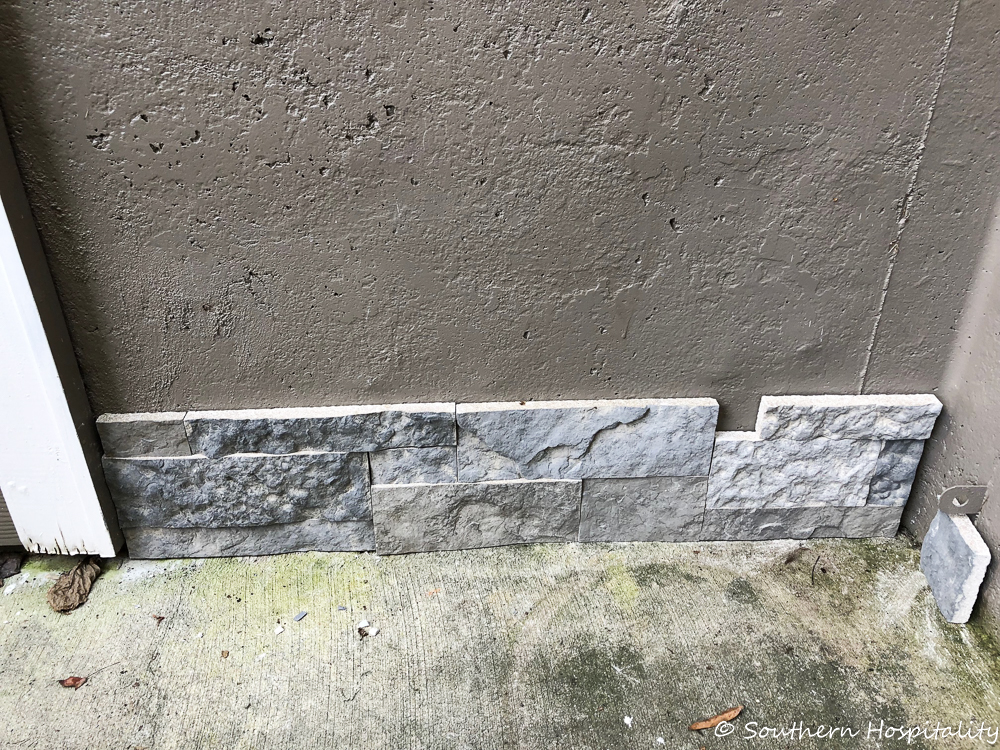
Start on the bottom row and move across, filling in your pieces as you go. Again, there is no right or wrong, the pieces fit together like a puzzle and it’s up to you to decide how you want them to go. We ended up turning some on their ends and not running them all horizontal, but adding a little flair with some going vertical to mix it up. Depending on how your rows go, you may have to trim some off a bit. We bought a diamond blade for Mark’s miter saw to cut these and it worked perfectly. He would just trim off a bit if needed, especially on the ends and corners.
We started on the small wall first and got the hang of it before we moved to the big wall. We would lay out a few at a time getting the pattern down and then move across and back again, filling in all the pieces, smaller and bigger.
And before we knew it, we were up to here. We ended them in the corner and left room so that the ones on the right could be butted in behind these and all that worked out nicely too.
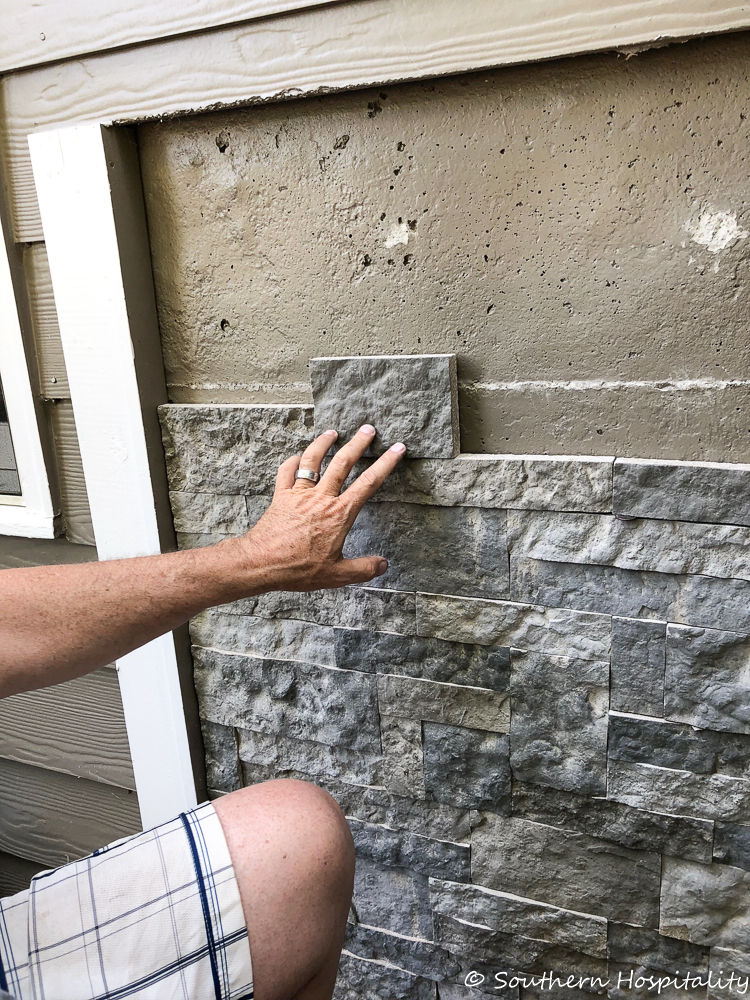
We just kept moving up the wall, one row at a time until we reached the top.
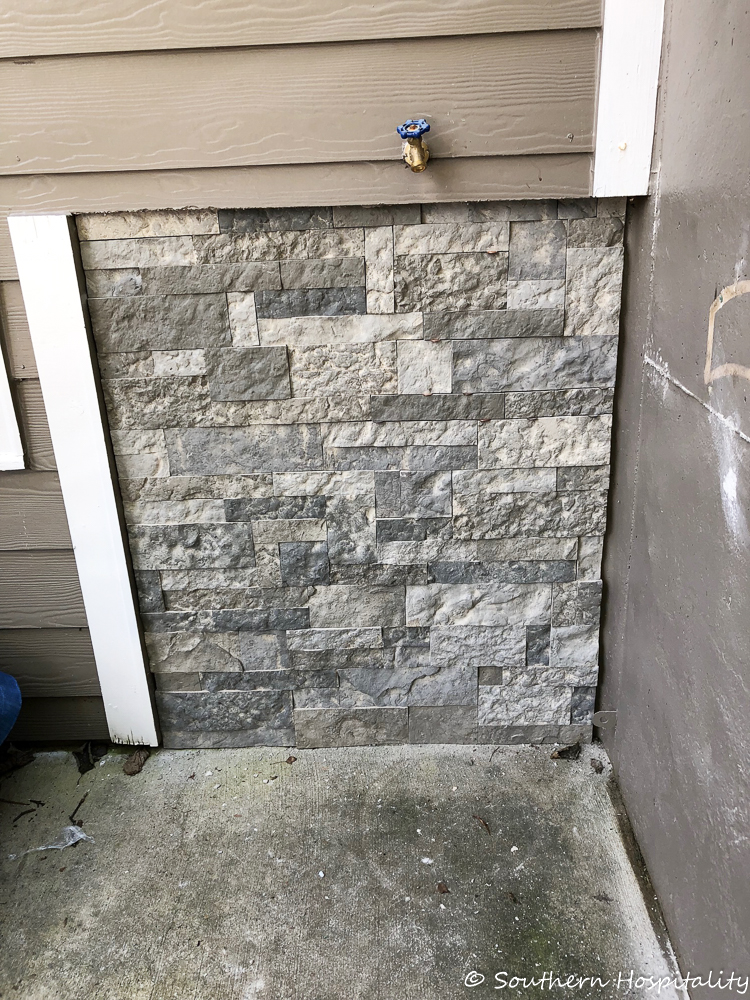
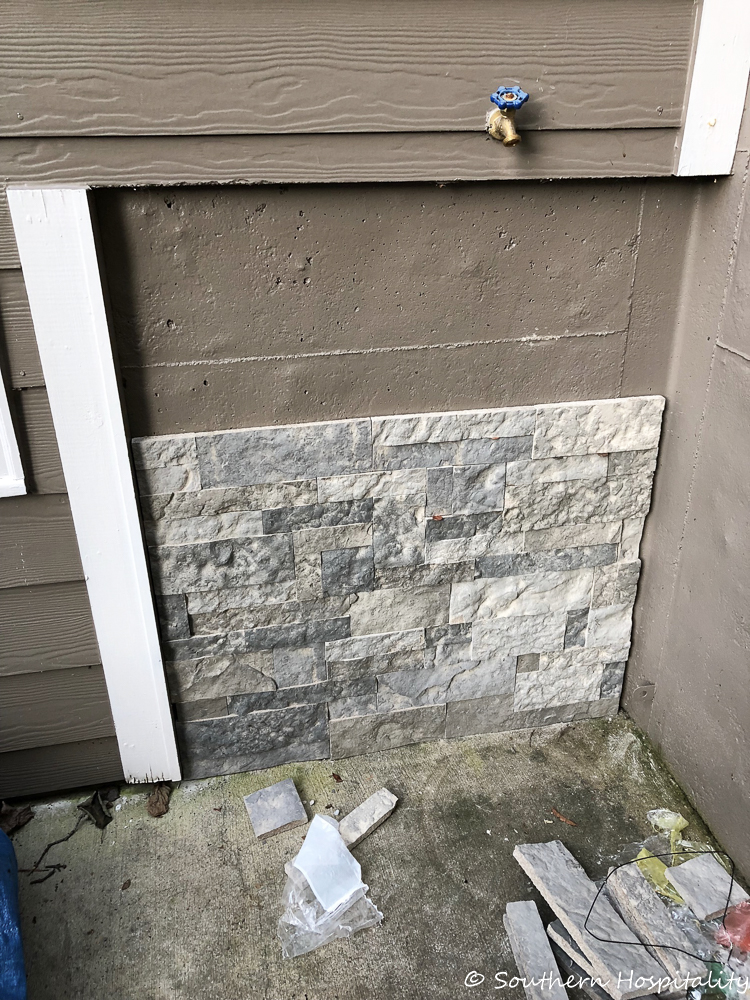
Tada! Small wall done and the BIG one left to go. We got practice on that little wall and then we were ready to tackle the big one. See how all the colors and textures mix together and make a nice looking stone look wall? Love it! So much more interesting than the plain painted concrete.
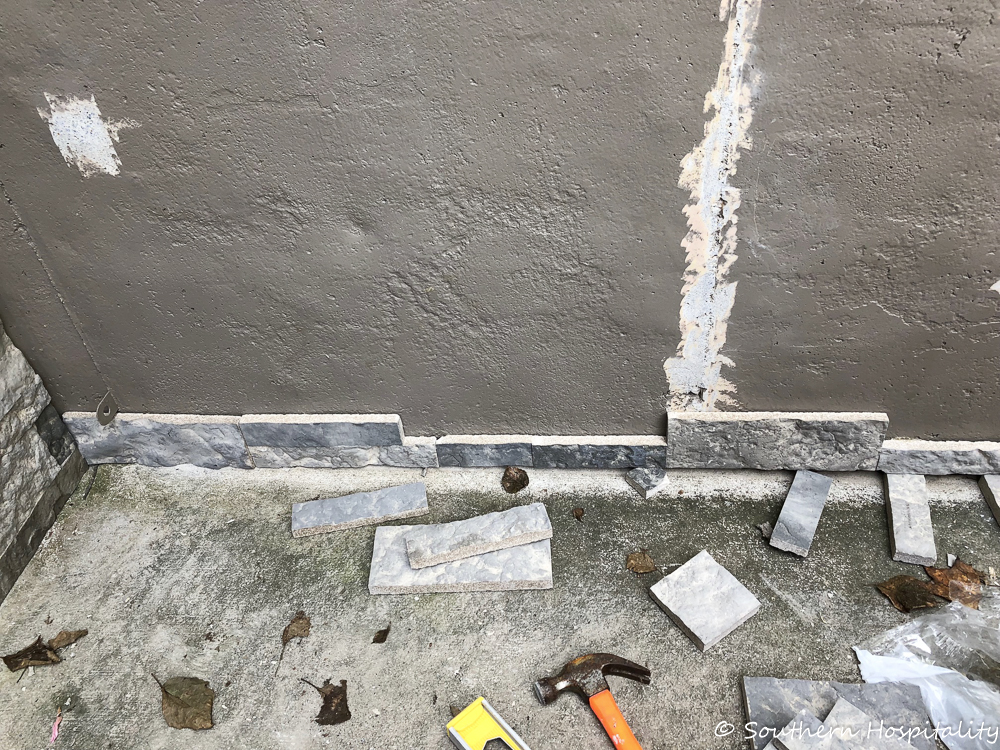
For the big wall, Mark got out his level (he’s a stickler on things being level) and it’s a good thing he does this because I might have left out this part. But the patio floor slopes for drainage and so if we had just laid the stones right across the floor, our rows would have been really sloping by the time we reached the top. Mark got a level line going from the left corner over to the right corner of the wall and that’s where we started. He added pieces of stone under that bottom row to hold it in place until the adhesive dried. Make sense? This is to start our level first row across the bottom and then then rest would be level above it.
At the end of our project, we went back and filled in some cut pieces under where we started our first row, so that it looked more finished under there.
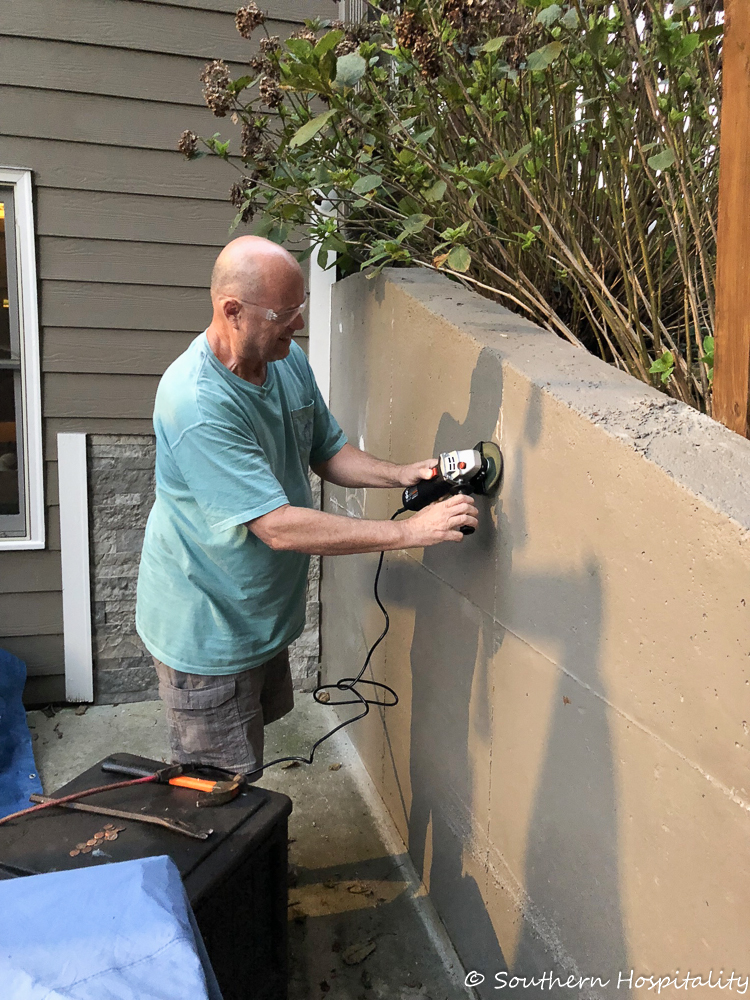
Here’s where the grinding tool really came in handy. There were lots of divots and concrete pieces stuck on the wall and Mark used this grinding wheel to get most of it off and smooth. We made sure we wiped down the dust after this part. He got out that wheel several times during our work on the wall to knock it all down as much as possible. All those white streaks are where he used the grinder.
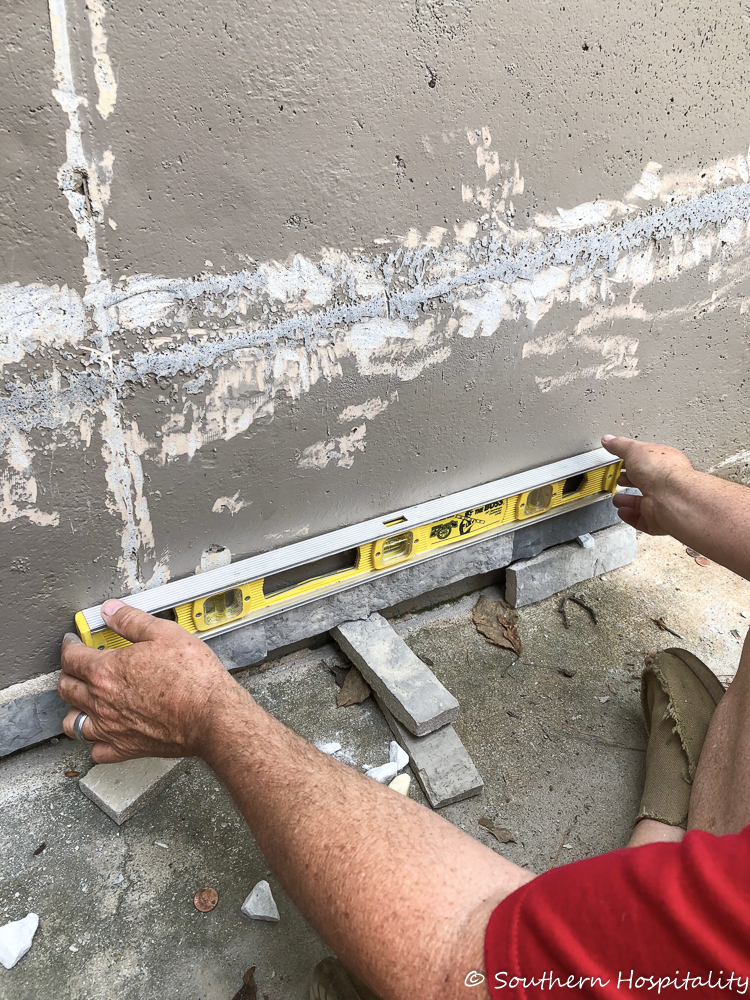
So, back to being level. He used the level on that first row to create a starting point for the rest of the rows. We let that first row dry overnight before we moved on to the rows above. There was much more of a gap on the right side of the first row than the left side since the patio was sloped that direction for drainage.
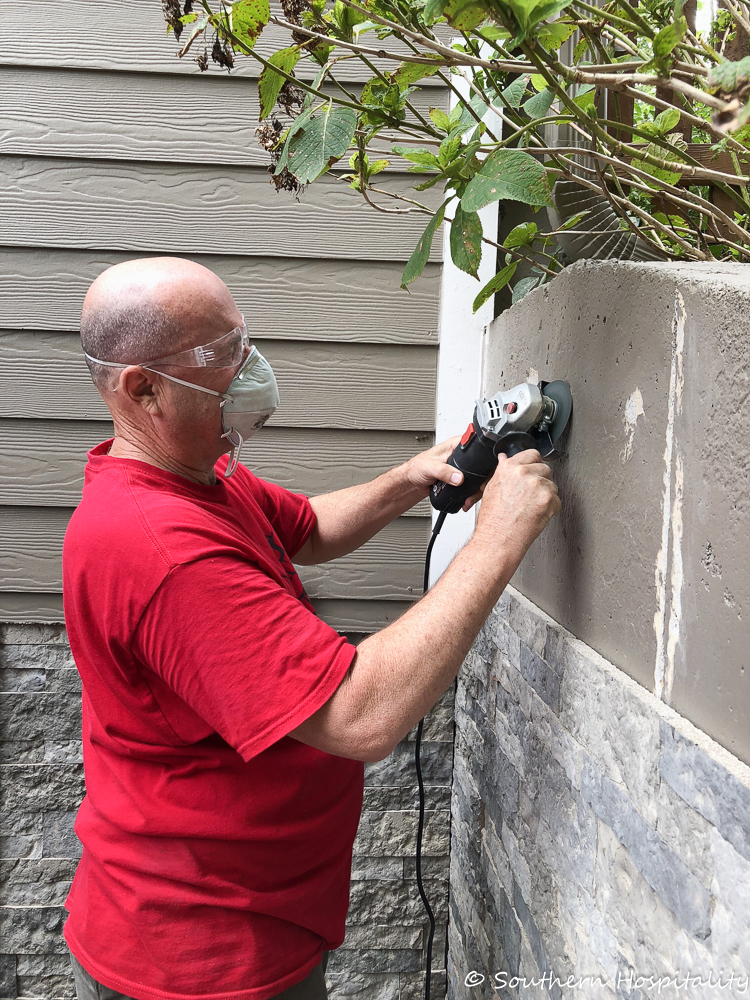
We kept working, row by row, section by section, until we had moved up the wall about 3/4 of the way. More grinding along the way to get more bits of concrete off the wall.
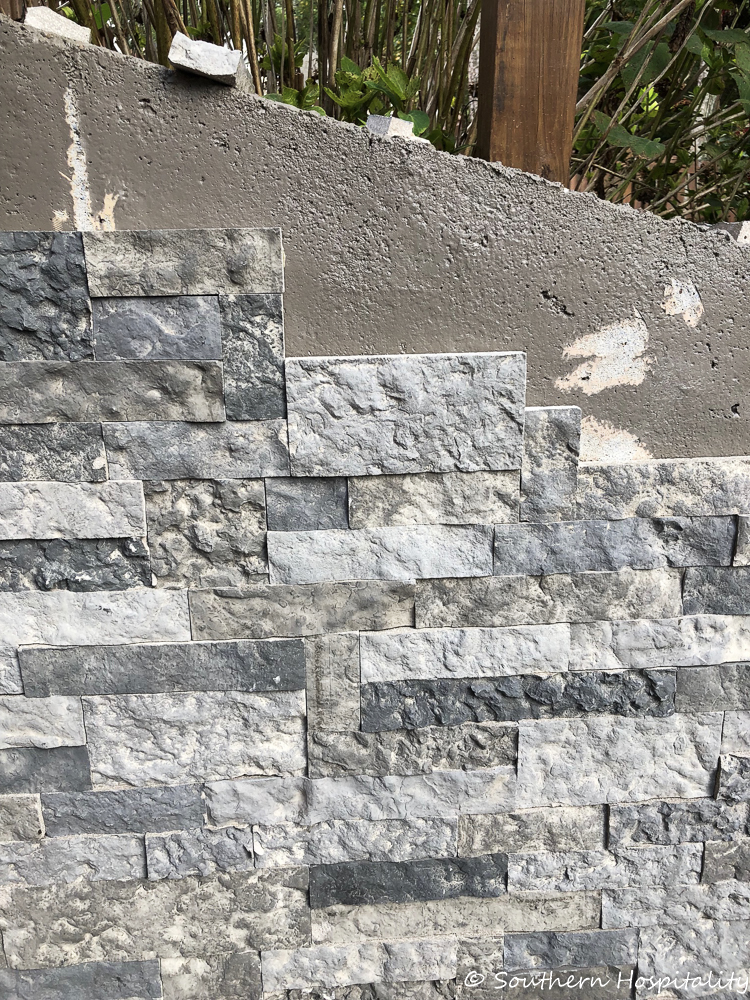
Here’s how it looked as we moved up the wall, sort of staggered like stairs. We filled in areas and kept moving. We were so ready to be done by this point and we were getting close! You can see how the stones are just all mixed up by colors, shapes and textures.
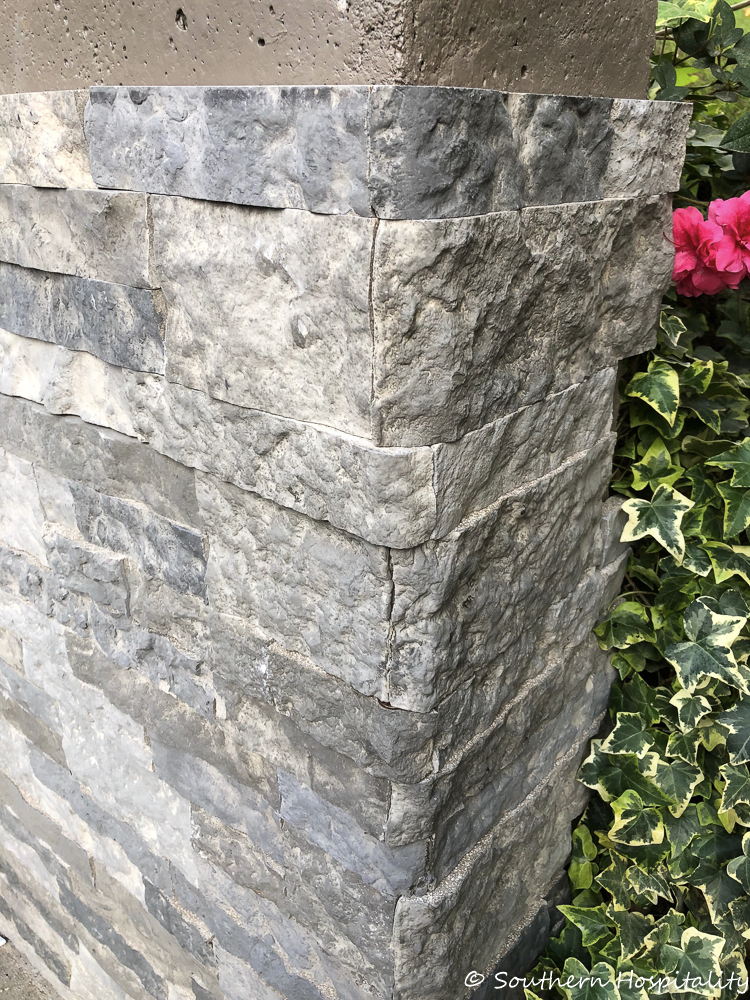
Now, for the corner part! The wall had a definite corner that needed to be addressed. Airstone also has corner pieces that are curved on one side to meet the flat side of the adjoining stone, so these worked out really well for our corner. You just alternate them back and forth with the curved pieces moving from one side to the other as you move up the wall.
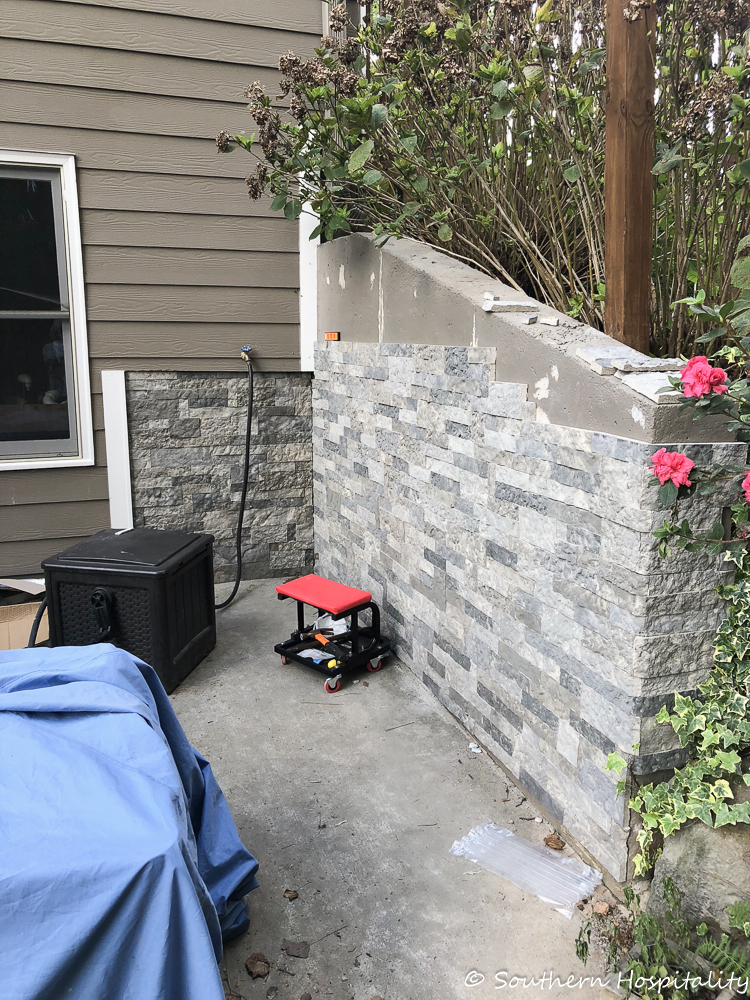
Here’s a distance look at the wall in progress. We filled in the curved pieces as best we could down near the bottom where there are big rocks in place at the bottom of our wall. The ivy grows over that, so will hide most of it, but we added pieces all the way down as much as we could.
From this angle it looks like the stones are different colors from the small wall to the big wall, but it’s just the lighting angle and it’s all the same. It was an optical illusion the whole time we worked on the wall.
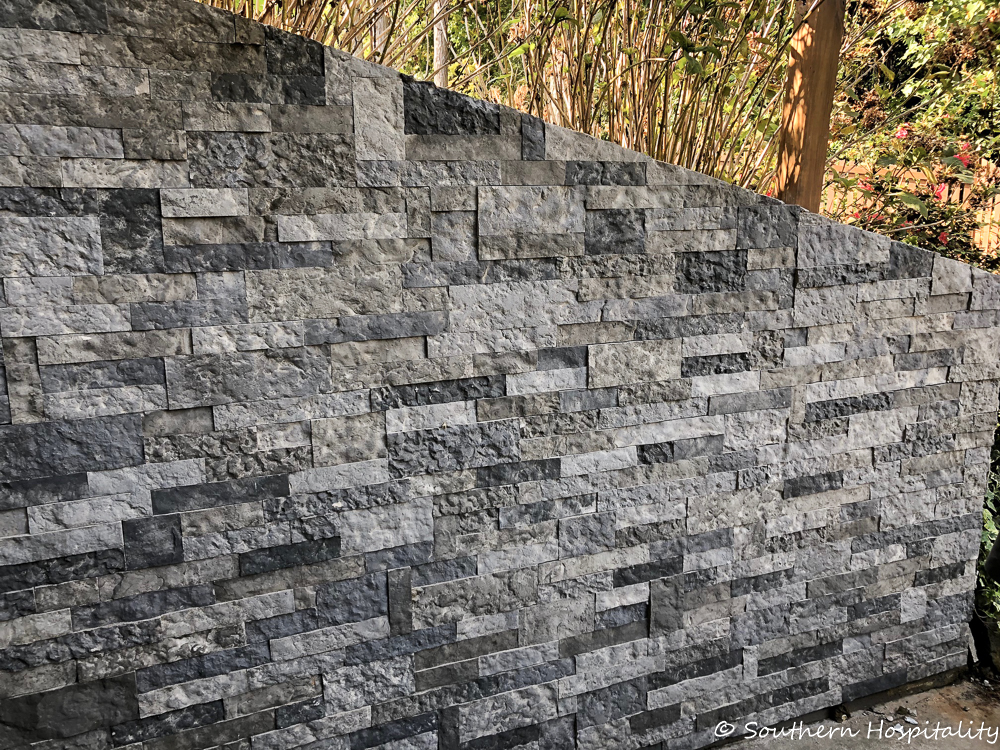
Once we got to the top, Mark had to score those pieces with a pencil and cut them on an angle to follow the shape of the wall. I didn’t get a great progress shot of that, but it was just a matter of cutting the top pieces as flush to the top of the wall as possible, creating a flat surface for our cap stones. We were so happy when this was all done!
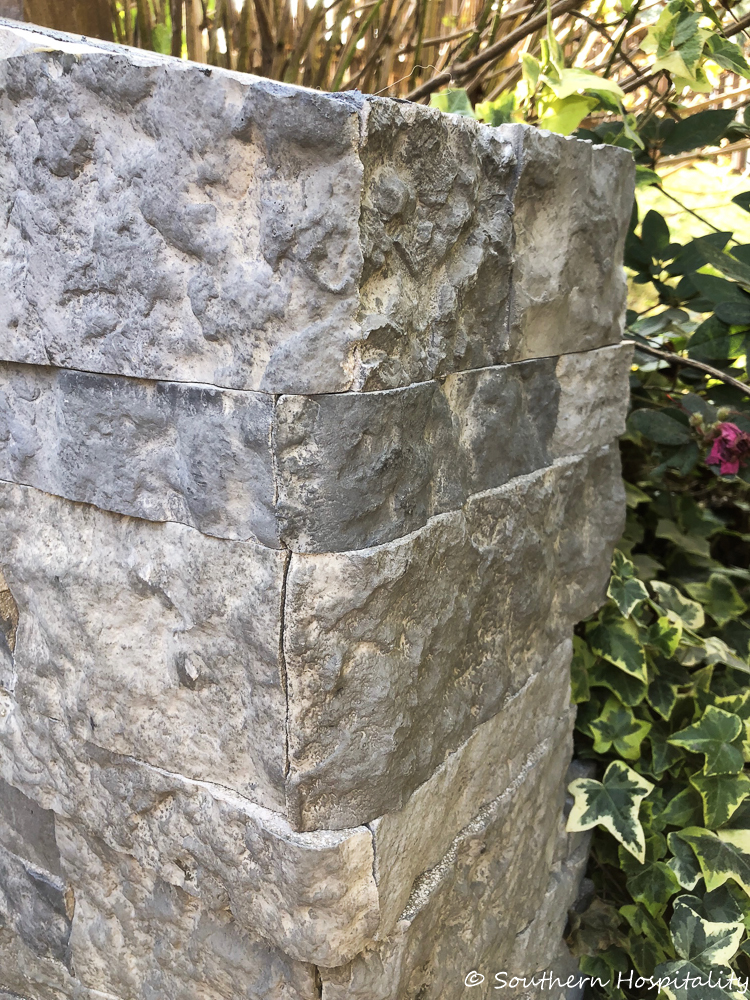
Here’s another look at the curved corner pieces and the end of our wall.
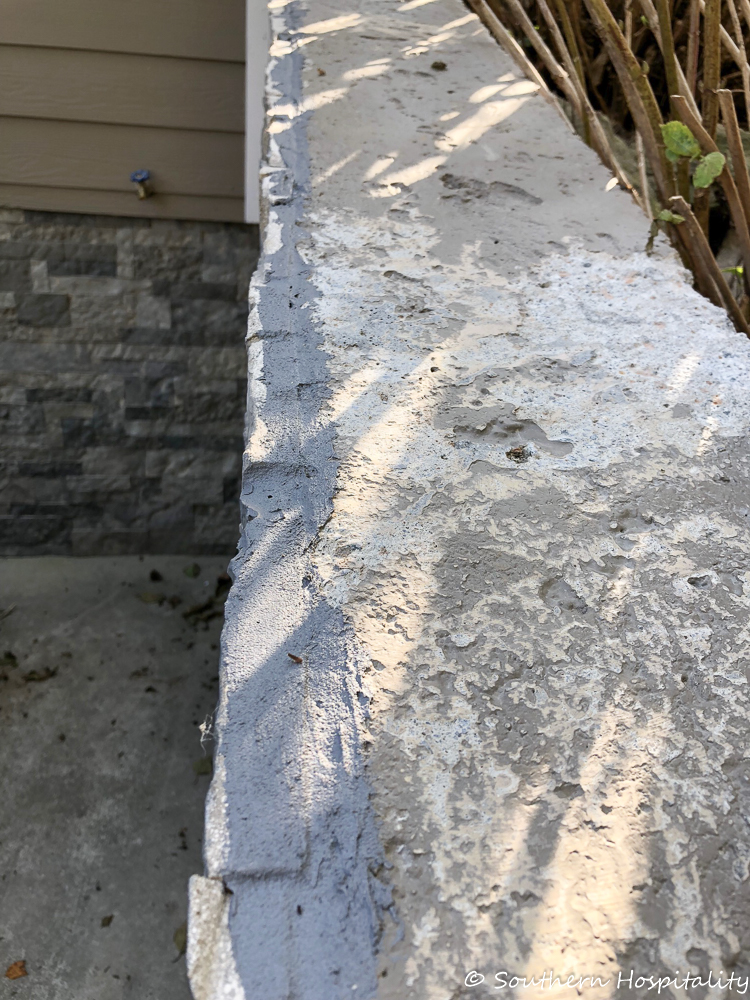
We had some leftover gray sanded grout in a tube, so decided to use that to sort of seal the top of the stones before we put on the cap stones. We figured it would help in keeping water out.
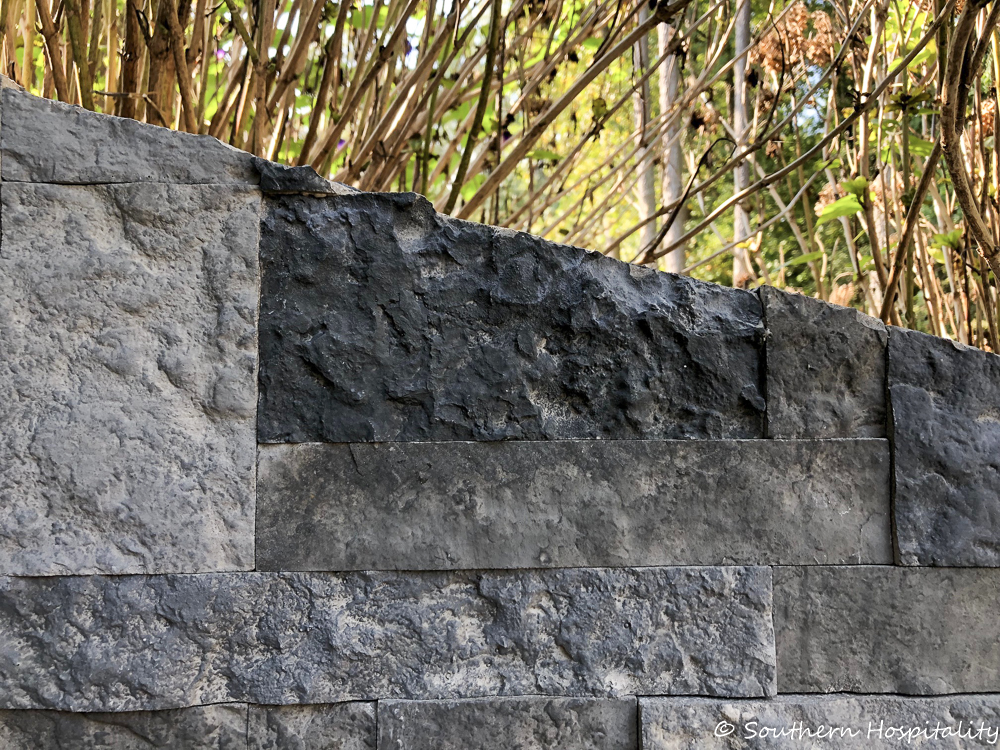
A look at the top slope of the wall, ready for the cap stones. I went to Home Depot and found some dark gray paver stones that we used for cap stones, at $2.45 each and they really finished it off. We didn’t want to attempt to use the curved corner pieces on the top of the wall and this was the best solution for us.
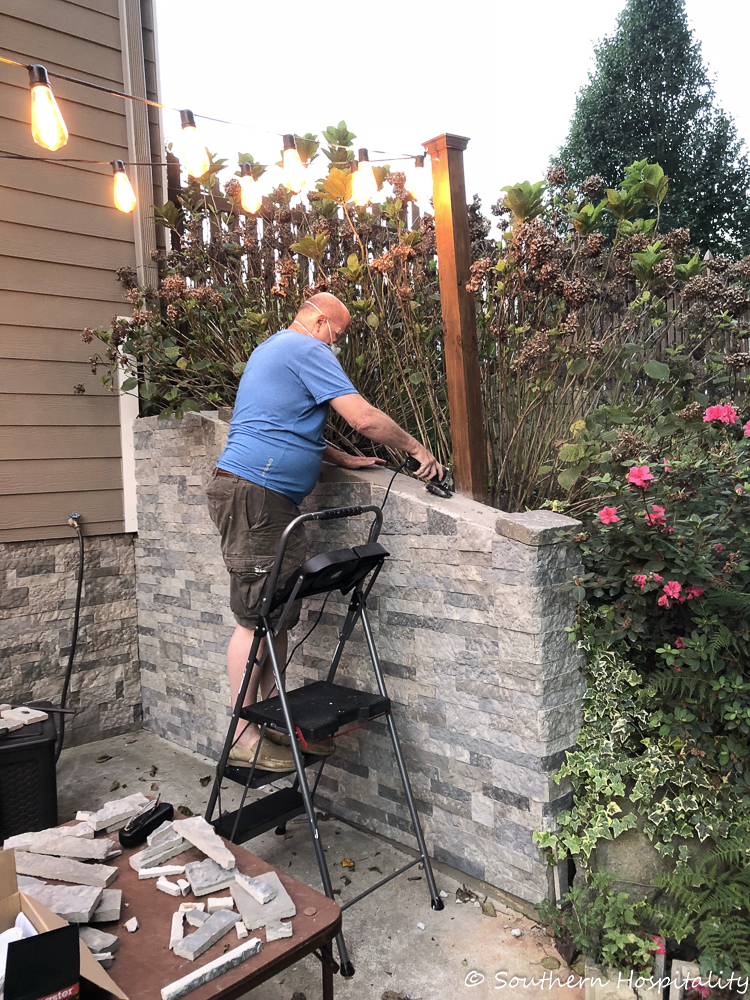
Mark used the grinder on the top of the wall getting it as flat as possible and ready for the cap stones. You can see we were playing with one of them on the end. All we did was line them up and position them with a little bit of overhang on the stone wall side and then used adhesive on them to keep them from moving. They are heavy anyway and won’t move easily, but just for extra precaution, we used adhesive on them.
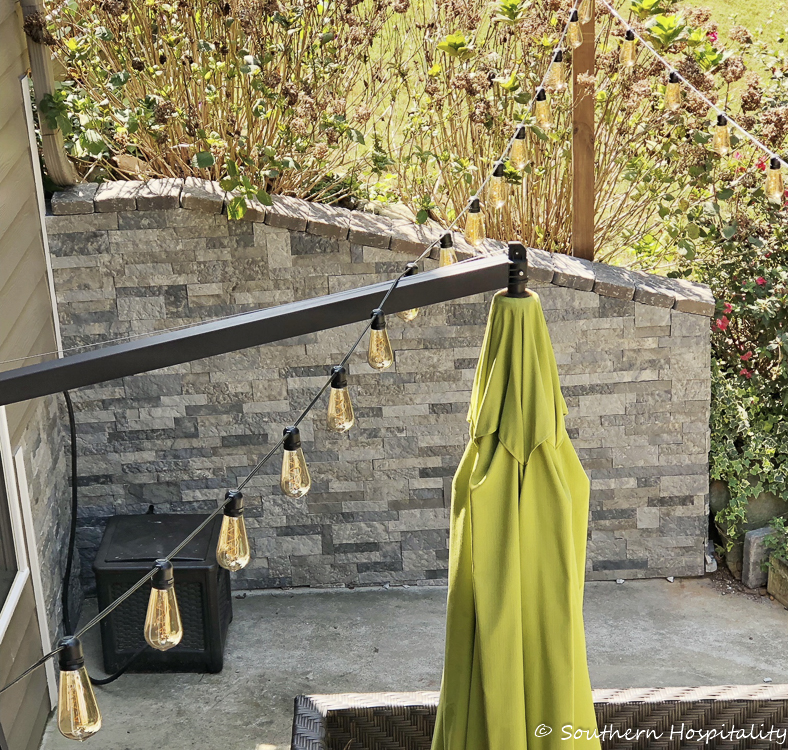
And here it is! The finished wall is done and we are SO happy with the results! It finishes off that wall so much and we love it.
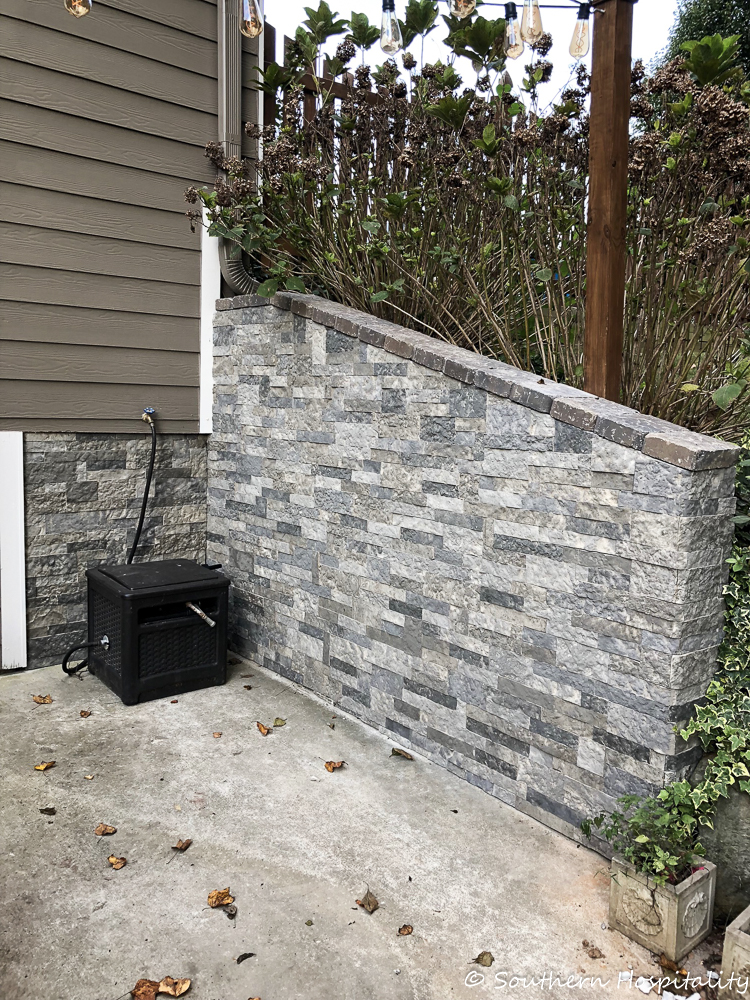
My plan for the patio is to get it all pressure washed and cleaned up again and then I want to do a concrete stain project on the patio that looks like diagonal tile. That one might take me awhile and I probably won’t get to it until spring, but that’s the plan! I will tape it off with 1/2″ tape on the diagonal and do concrete stain on it and I think that will look really good.
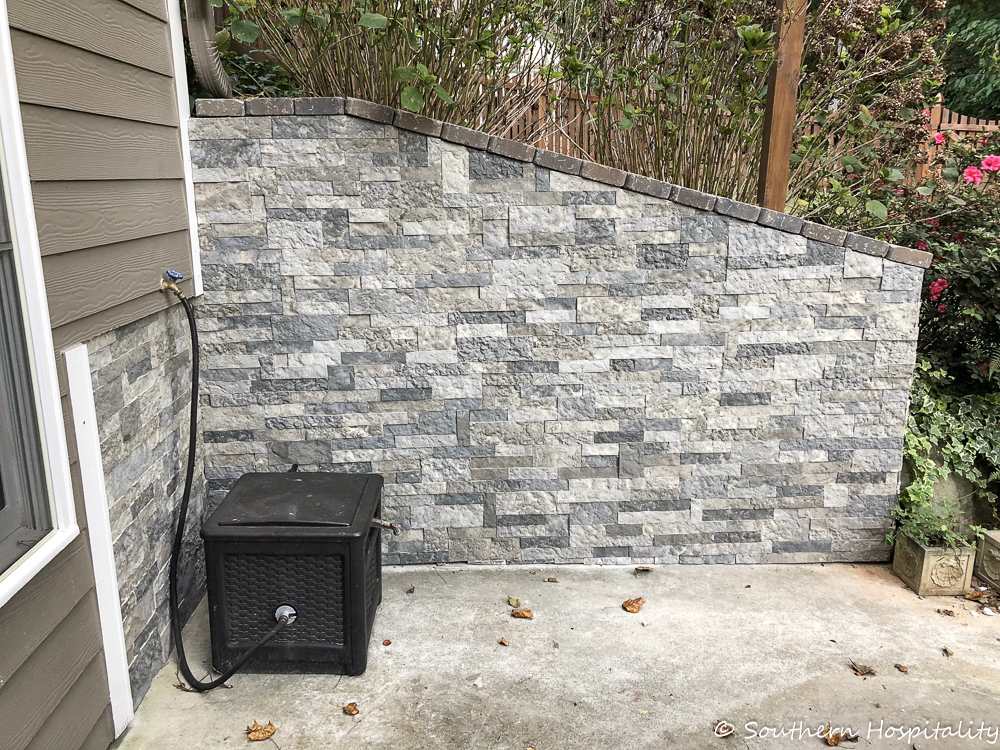
For now, we are enjoying looking at our new wall with Airstone on it and we are in love with it. It sure makes it look more finished and fancy!
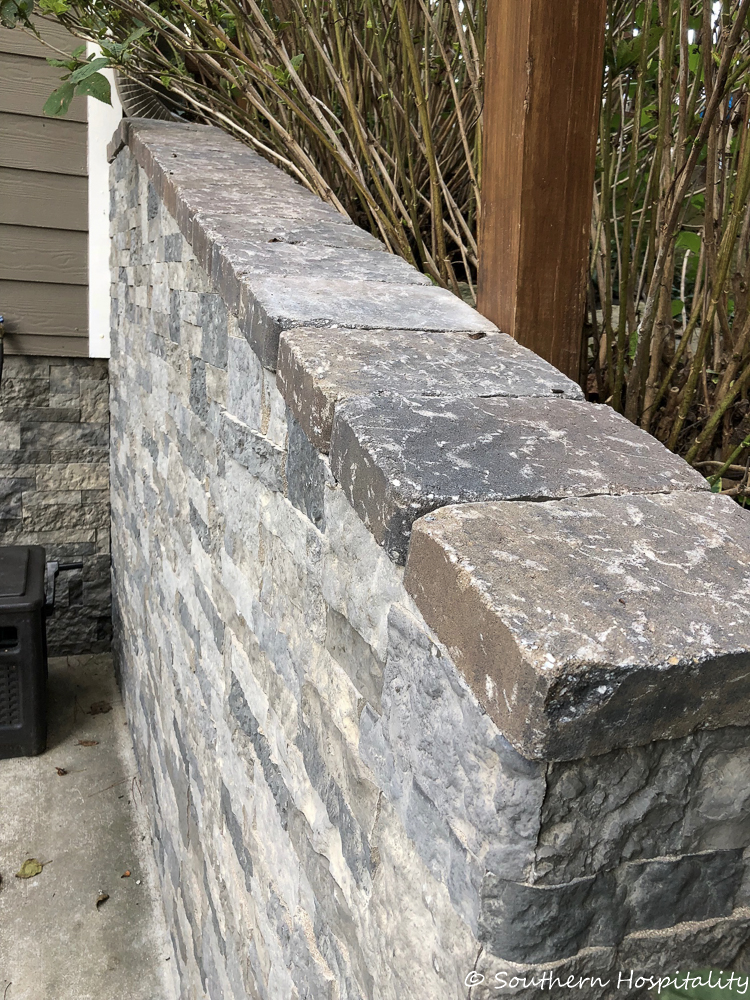
Here’s a look at the concrete pavers we got from Home Depot. They totally finish it off too and we are so happy with how the whole project turned out.
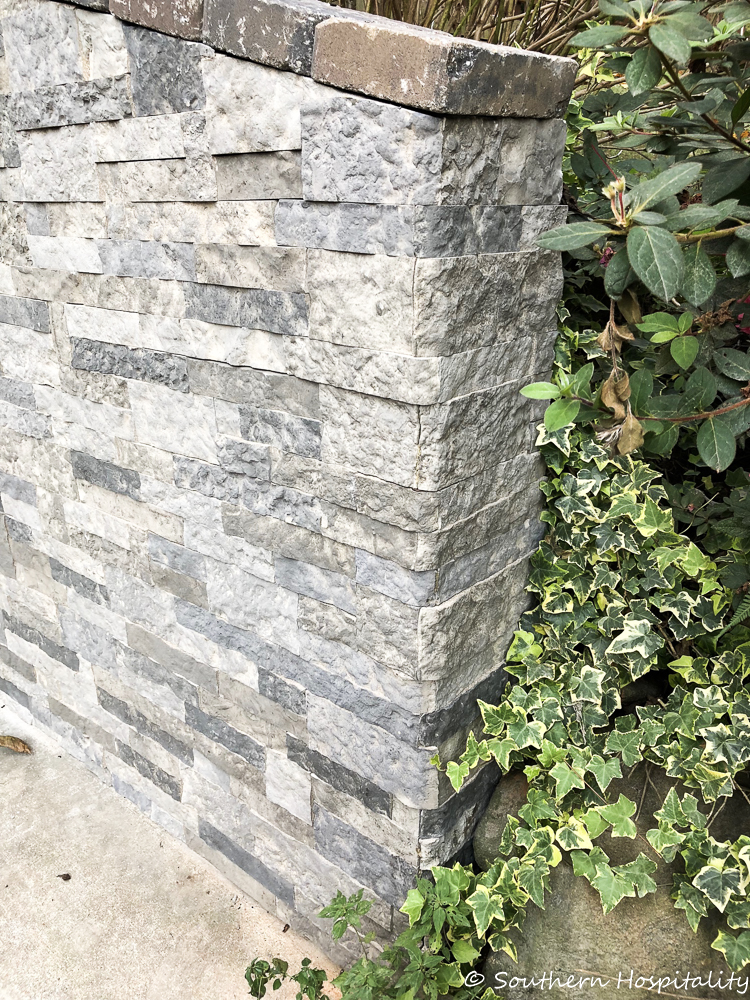
I couldn’t wait to share this project with all of you and show you that something like this is doable for DIYers to take on. If we can do it, you can too! We are SO pleased with how this turned out and I know it’s going to enhance our patio space so much to have this done. We have lots of ideas of what we want to do to our backyard to make it a little oasis for us to use and this is the first step in those plans. We’ll get the patio floor completed eventually and then plan to do an under deck screened porch, hopefully next spring. So looking forward to getting all of those done and our backyard completely beautified! We have sure enjoyed our little backyard our first year of living here.
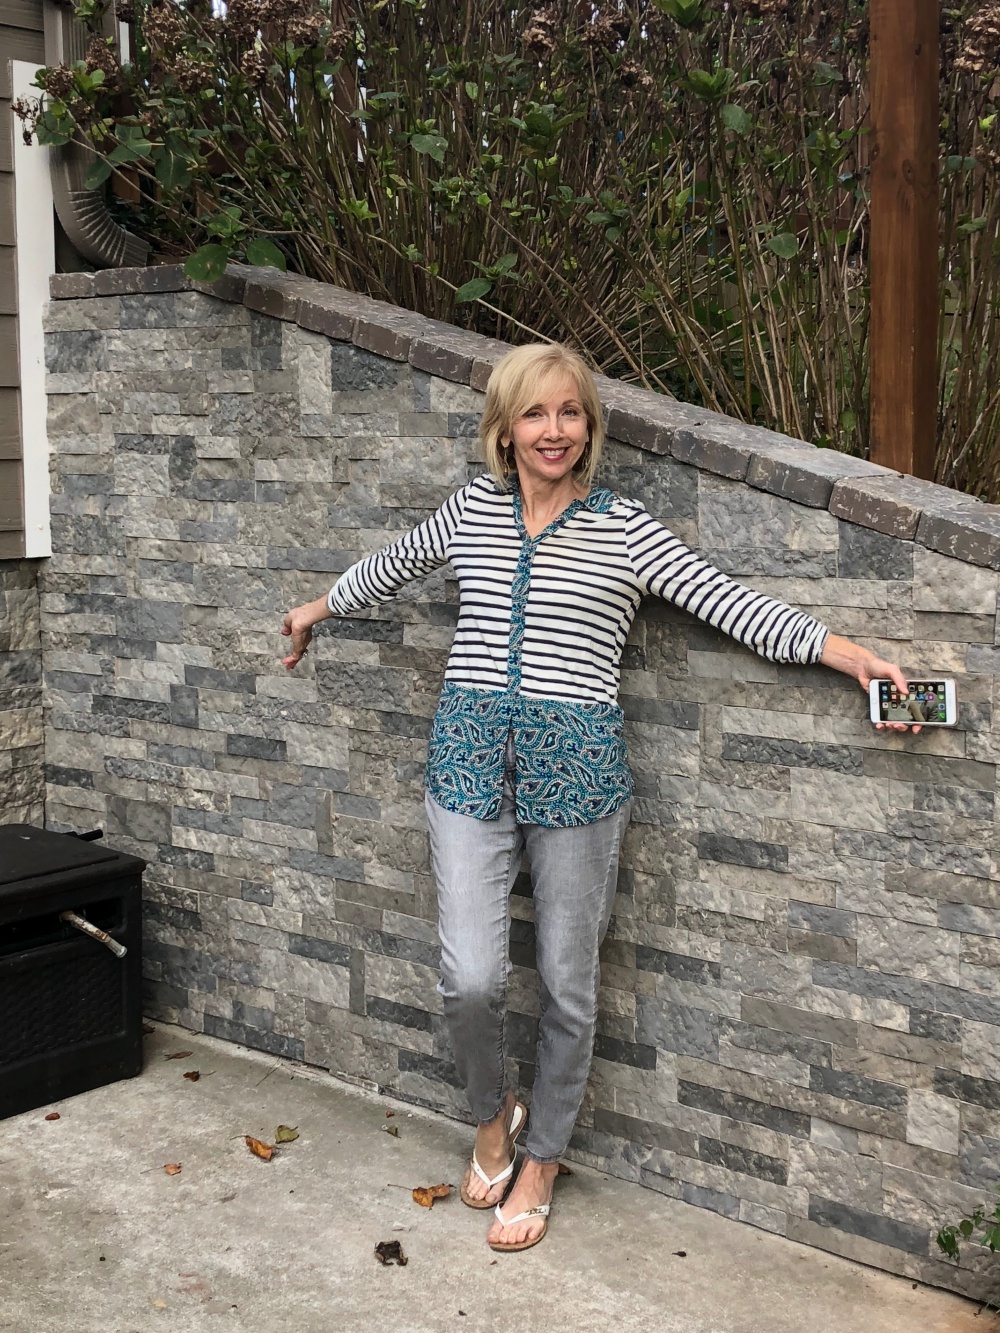
As you can see, I love this wall!
Note from Mark:
Just a few do’s and don’t and an observation First, leave a small expansion joint on the first row between the bottom of the rock and the concrete floor to allow for any swelling or uplift which might crack the rock. DON’T do this job in the middle of the summer in the south unless you enjoy sweating profusely and fighting off swarms of man-eating insects. Do wear a mask when grinding concrete or cutting the stone as they produce copious amounts of dust ( I know I’m not wearing a mask in the first picture with the grinder, but I was modeling for effect)! Do get a good mitre saw and diamond blade as it will make the job go faster (a hacksaw will work, but is too time consuming), plus you can never have too many tools. And last of all, I do not know who the chubby, bald guy standing on the ladder with the grinder is…I am built like Arnold and look like Ryan Reynolds, so this guy was never around to help me when I was out there working. I need to talk with Rhoda about that. Where is photo shop when you need it. Anyway, I really like this product and the wall turned out great.
Note: A huge thank you to Airstone for providing the product for us to use and also to Loctite PL for providing the adhesive.


Could he be any more adorable???? Love the wall!
That looks great!
Rho,
The wall looks great! As always you came up with a plan and your rock star hubby executed it for you. I know that you helped too!
Mark, I live in a 55+ community. All of the guys out here look like Arnold and Ryan…NOT!!! You look amazing. So thankful that you are in Rho’s life. What a guy!!!
Judy
Looks wonderful, you both did a nice job.
I loved Mark’s comments! He needs to contribute more often!
The wall looks great. I have a wall that this would be perfect for, but we don’t have a miter saw or a grinder. I’ll have to decide if it is worth buying at least the saw. I think our wall is smooth enough that we could do it without a grinder. The big task is talking my hubby into it.
Thanks for sharing!
Hey, Kim, you can use a hacksaw, it just takes longer for the cuts, but might be worth it to do it a bit at a time. We are so pleased with our wall.
O-M-G! Love the transformation!!!!!!!!!!!!! BEEEEEutiful!!
It looks beautiful!
I love it and think it looks amazing! And Mark is just too funny!! I agree he needs to contribute more often!
You two did a great job, really like how it added so much to your patio, concrete is just not pretty at all. I would love to add this stone to something at my house, will think hard on that. Thank you.
I had to laugh at Marks comments. He must know my husband! The wall looks great.
he needs to be a blog-regular, like you DAD!!! the guys are GREAT!!!
Looks great
Oh wow! What a beautiful transformation. You make it seems doable and have given so many great tips. I just might have to try it. Thanks!
Rhoda, I Love your wall! I too, love the product as I used it in my kitchen to cover the front of my bar and then did my fireplace. Love the outcome and so easy!
Looks great! Just wondering because I didn’t see it written in the article, is this the color Spring Creek?
THAT was a lot of work! Looks great! I love Mark’s sense of humor. 🙂
This turned out great! Thanks for sharing!
Try powerwashing the rug (with a regular outdoor power sprayer- google it!) before tossing. It can perform miracles- worth a shot!
HI, Doc, I’m definitely going to do that. I just got a new power washer in from Ryobi so I’ll be giving it a try with some cleaner. It might make it another summer.
What a great looking wall! You two are so artistic, as well as so talented with your projects in your home. Thank you for sharing this.
Hi Rhoda,
Lovely wall, what a great project. The fact that you two finished it together and are still speaking, and that Mark’s sense of humor is intact, says wonders about both of you, the product, and your marriage!
Xo Heidi
Thank you, Heidi! We have our moments, but we really do work well together.