The bathroom is almost done! And wow, does it look great. I can’t wait to show it all to you, but I’ve still got one more little thing to do in there and that is frame out the mirror. That will be another post too! So, while we’re waiting for that, I thought I’d walk through the process of the walls and floor.
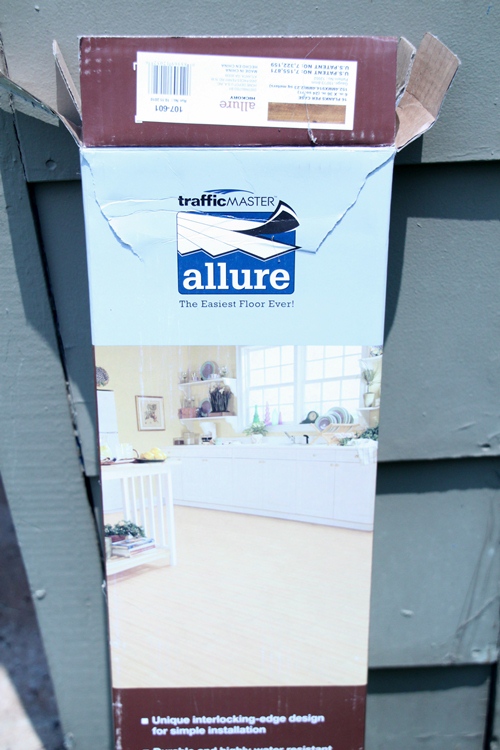
When looking at products to do this makeover, I came across the coolest vinyl plank flooring by Trafficmaster called Allure at Home Depot. The price was right at $1.79/s.f. and they are SO DIY friendly, which was a big plus.
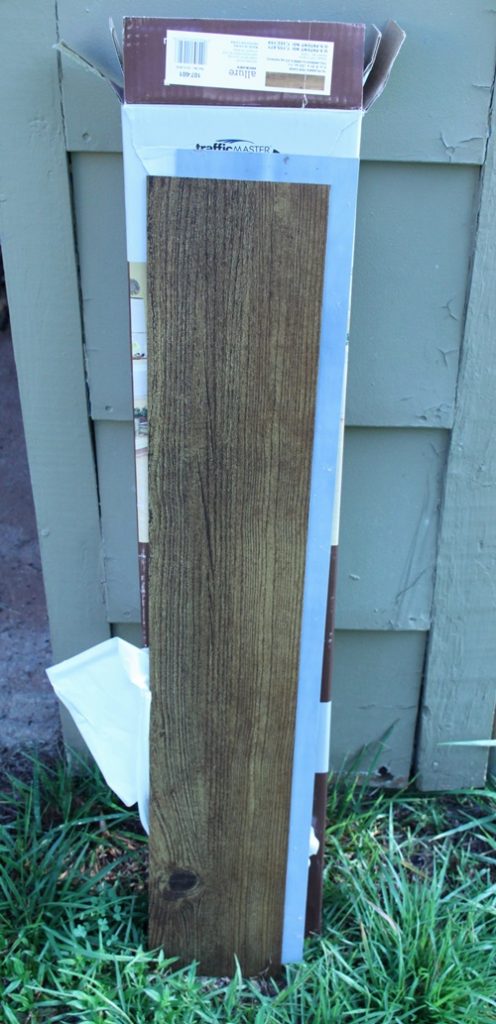
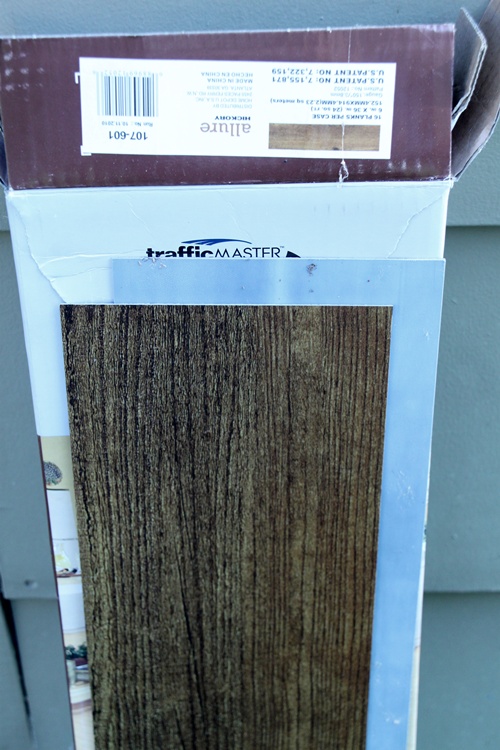
These planks float right on top of the subfloor and it all went down fast and easy. See those gray strips on the side and top? They are sticky and join up with the backside of the next tile, which is also sticky.
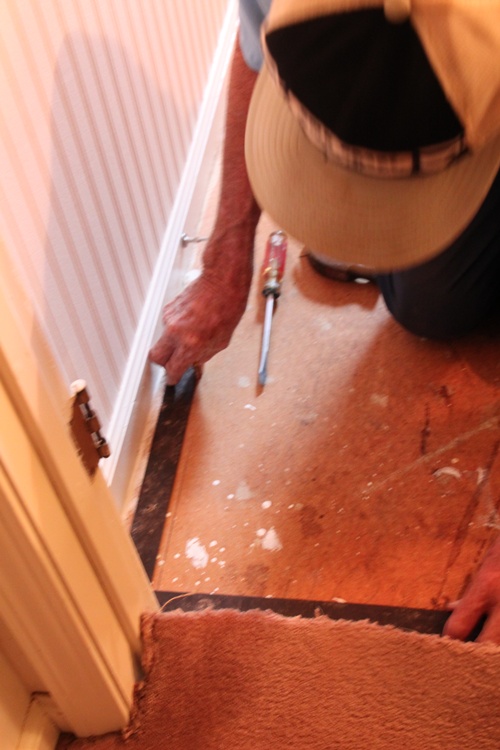
No glue required on these bad boys! They work very much like peel and stick tiles. My sweet dad insisted on doing the floor himself, so I left him with it and took a few pics along the way so I could share the process with all of you.
He’s pretty methodical when it comes to starting a project and he got out his square for this. Not sure how this helped, but I think he was making sure he was staying on a straight line as the planks started going down. I know for sure that I could have done this project by myself too, but he wanted to do it and he really did a great job with it. He took the toilet out and put the flooring down under it before it was set back in, so the floor is done right. You can see a sneak peek of the finished beadboard wallpaper below.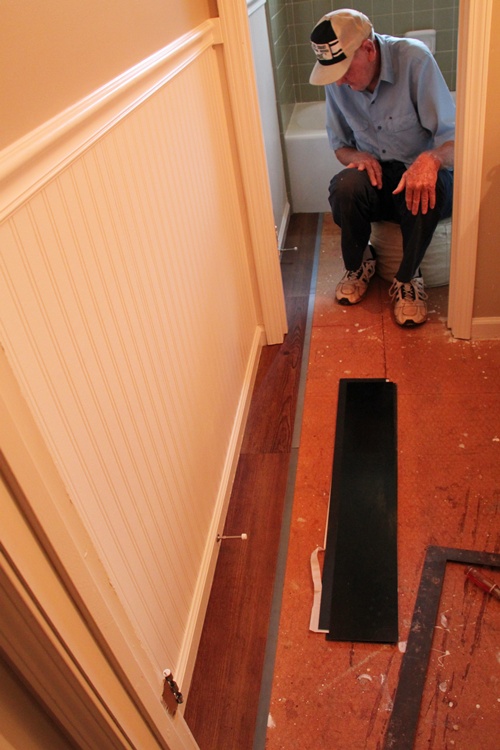
The first row of planks go in. This product is really cool, in that those gray edges you see are sticky and the underside of the planks are also sticky and those 2 join together and create a tight bond. The planks have protective paper on the backside when you take them out of the box to protect the stickiness factor. You can see the underside of one of the planks above (black) and the idea is to alternate the planks and stagger the seams just like real hardwood as you go along, joining them together in the middle of the next plank. You keep fitting them together like a puzzle, butting them as close as you can and then cut around the doors and the edges of the wall when you get there. You’ll have 1/2 pieces at the beginning and end of the rows. 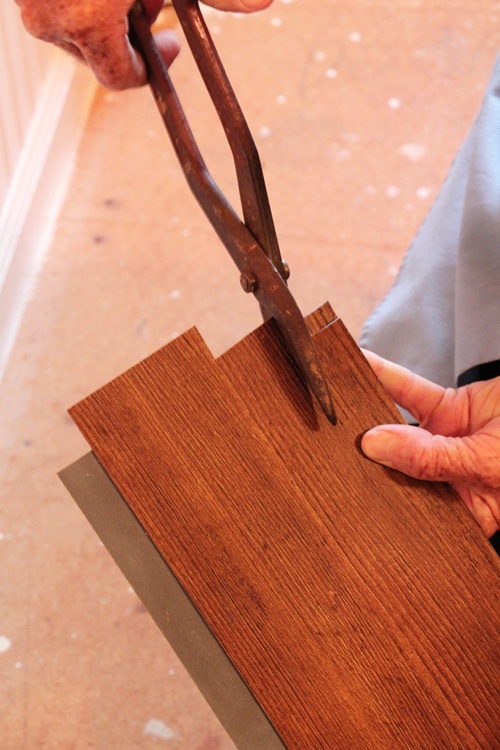
These planks can be cut with a utility knife or my dad used these heavy duty shears he had on hand. For a straight cut, the directions said to score with a utility knife and then they would snap in two.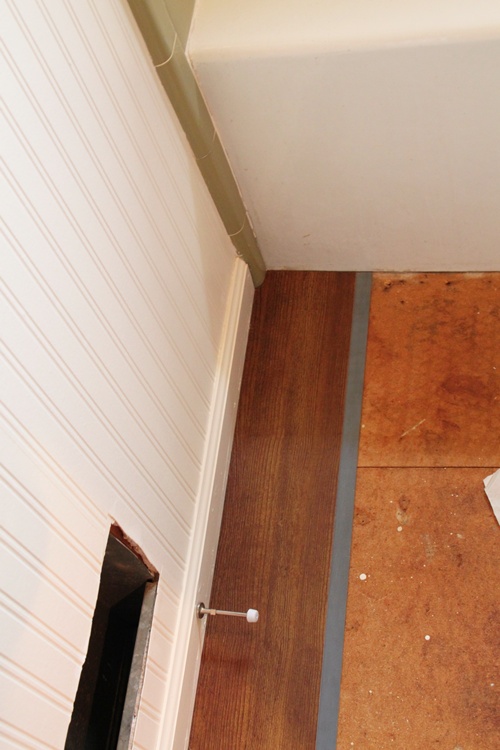
Around the tub, he cut them to fit as tight as possible around the edge of the tub. This is where precision comes in handy. He used a small piece of wood held up against the tub to find the right angle to then draw a line on the planks to cut. Make sense? A scribing tool. My dad is pretty smart like that. The tub is angled and curved, so this created a nice line around it. 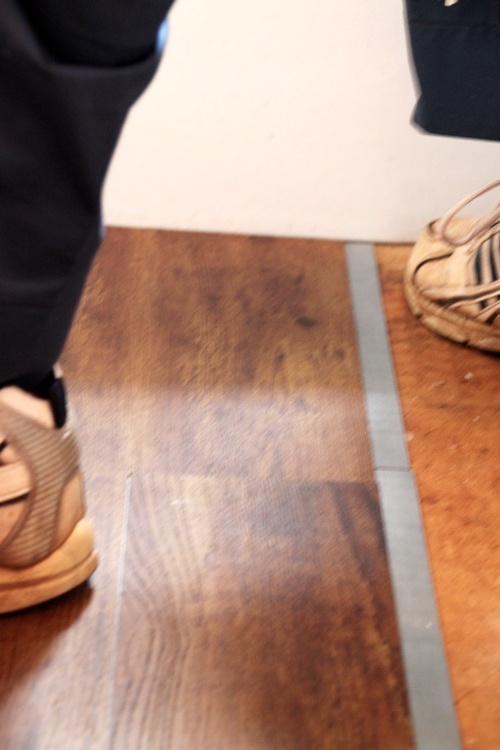
I didn’t get a ton of pics of the progress, since the body of the floor went fast after he got to moving. He worked his way over to the right of the room and finished cutting and placing the planks in place. As you get next to the wall or wherever you are ending the planks, you may have to cut one down the middle, but they cut easily and then finish off with quarter round to hide any seams.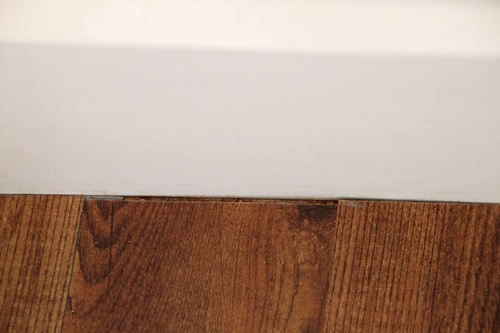
Here’s the edge of them next to the tub. You can see he did a great job getting them close, but we did go back and add quarter round so that the seams were completely covered and finished. 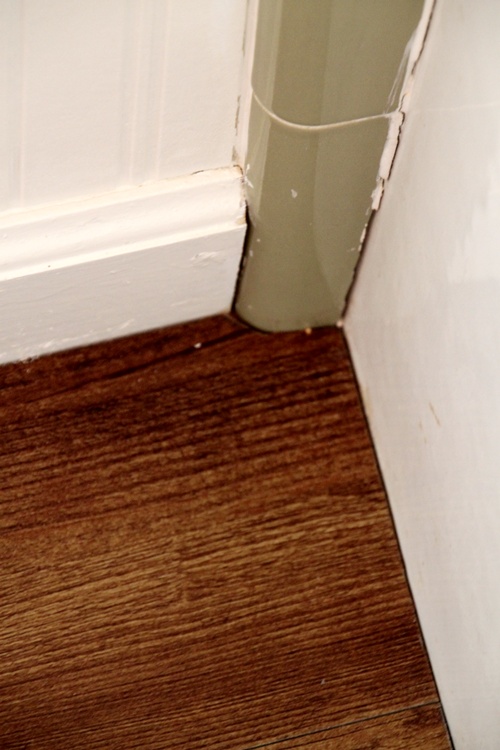
Before quarter round went down. 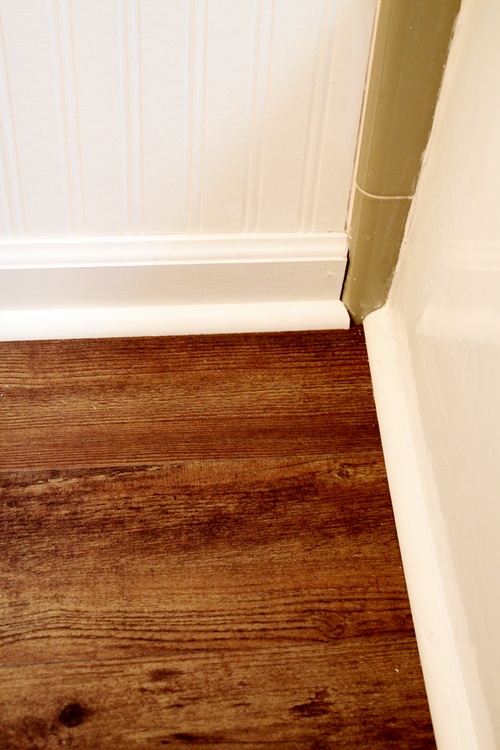
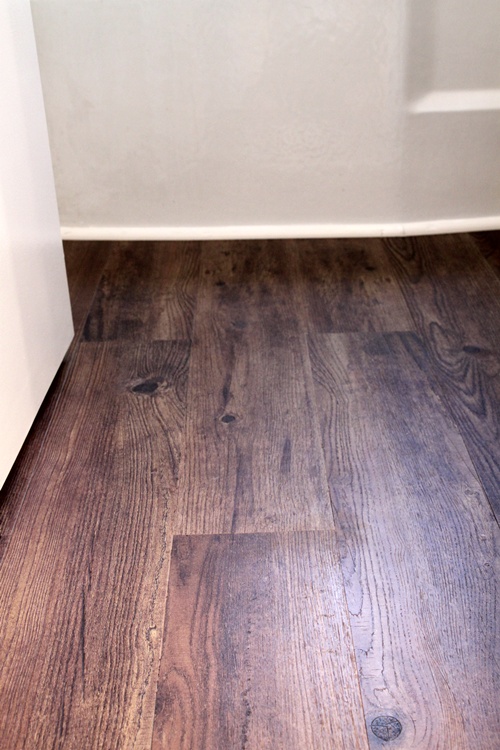
And after. You can see the quarter round really finishes it off nicely. The color I chose is Hickory and it is in stock in my local store. They have lots of colors to choose from and some of them are special order for just a few cents more per square foot. I was very happy with this color. 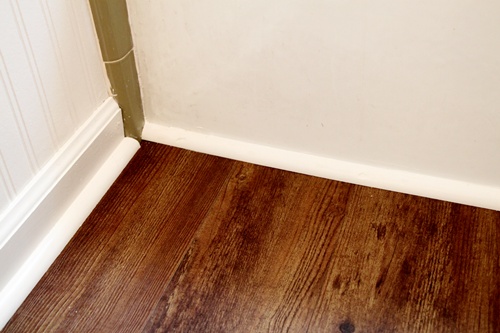
Doesn’t this stuff look real in the pic?
Honestly, these products have improved SO much over the years. I have never been a fan of laminate flooring (I’m a hardwood girl all the way), but with the creation of some of these newer products and the ease of installation, I’m a big fan of this product now. These are by Trafficmaster Allure for Home Depot. They even have another similar floating product made by Allure that looks like hand scraped hardwoods and they are about $1.00 more a square foot, but still very affordable.
I found a transition strip on clearance that is made out of cork (less than $4), so thought it was the best choice of all I saw (and ironically, the cheapest!).
So, if you are looking for a DIY floor product for a bathroom or kitchen or really any area you want to cover up, I can highly recommend these Allure vinyl planks from Home Depot. And no, Home Depot doesn’t even know I exist, I’m just happy with this product. They are highly water resistant, so great for a bathroom.
They are gorgeous!
I promise I’ll show the whole bathroom next week. I wanted to wait until I get the mirror framed out to do the entire beautiful reveal and I promise you will love it too! It should give all of you with outdated bathrooms hope on improvements.
Beadboard wallpaper, chair rail, paint, vinyl plank flooring, new light fixture, and some snazzy accessories, this bath is done on a tight budget. I’ll do the breakdown on cost later too!
Congrats to Tenia, lucky #20 who won the $100 giftcard giveaway on the Apartment Guide contest. Thanks to all who entered!


[…] Download Plan More @ southernhospitalityblog.com […]