Good Monday morning! We are dealing with Tropical Storm Irma here in Georgia today, so I’m staying home all day long. It’s going to be a nasty 24 hours for us with this stuff blowing through. Praying for safety for everyone in the storm’s path and hoping for the best. I’ve got plenty to do around here, planning to start painting the master bedroom. We are moving along on the projects and slowly getting more crossed off the to-do list.
Once again, my talented husband, Mark, used his woodworking skills and totally changed the dining room space in our new house. That was something we discussed when we first looked at the house, adding trim and woodwork in the house to add character to it that wasn’t completely there. There was a good amount of bulky trim around the windows and baseboards, as well as nice crown molding throughout most of the house, but we both love more trim work in a house and it’s a pretty inexpensive way to add character and charm in a newly built home, without spending a ton of money. It helps to have a talented man who can do this, so I’m very blessed in that regard!
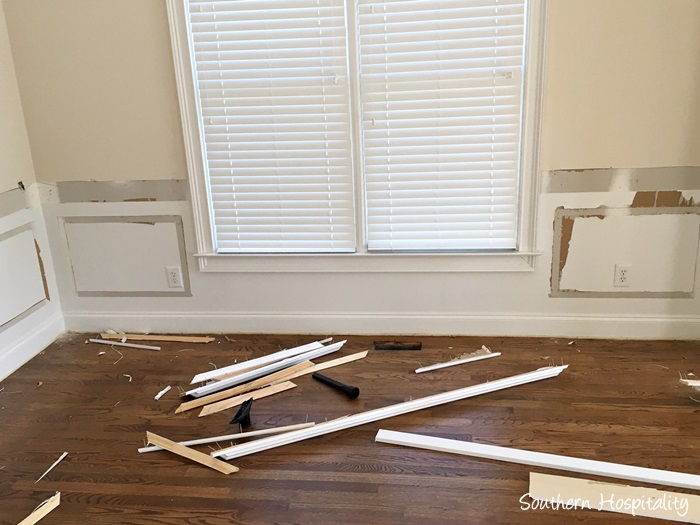
Here it is in demo mode. I don’t hate picture frame molding, but it’s not something he loves and we really wanted to do a tall wainscot treatment in the dining room and we’ll also do another one in the living room.
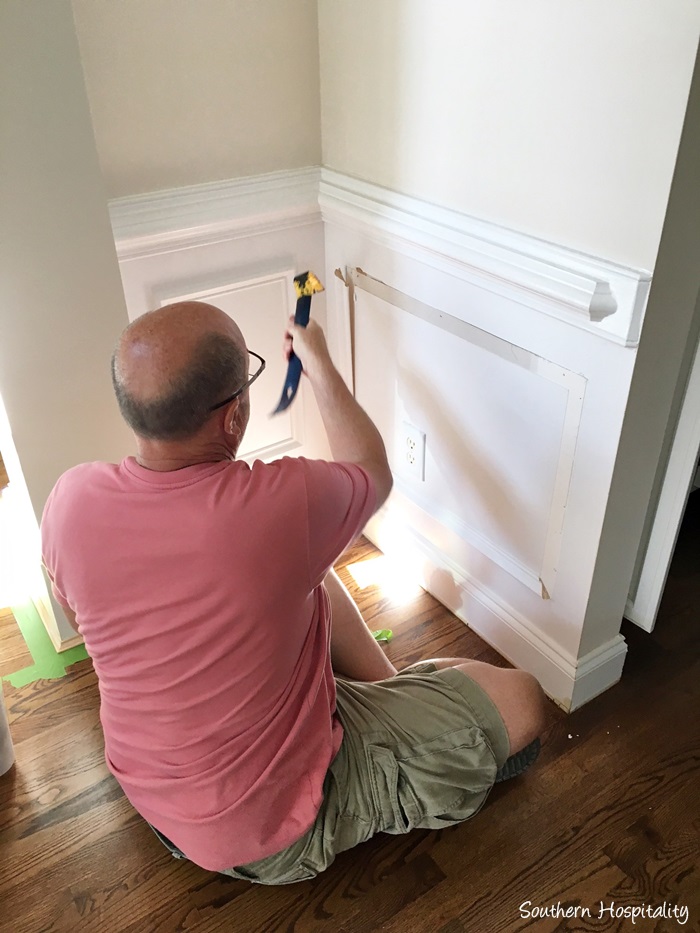
He pulled all the old molding off, getting it ready for new beadboard and trim.
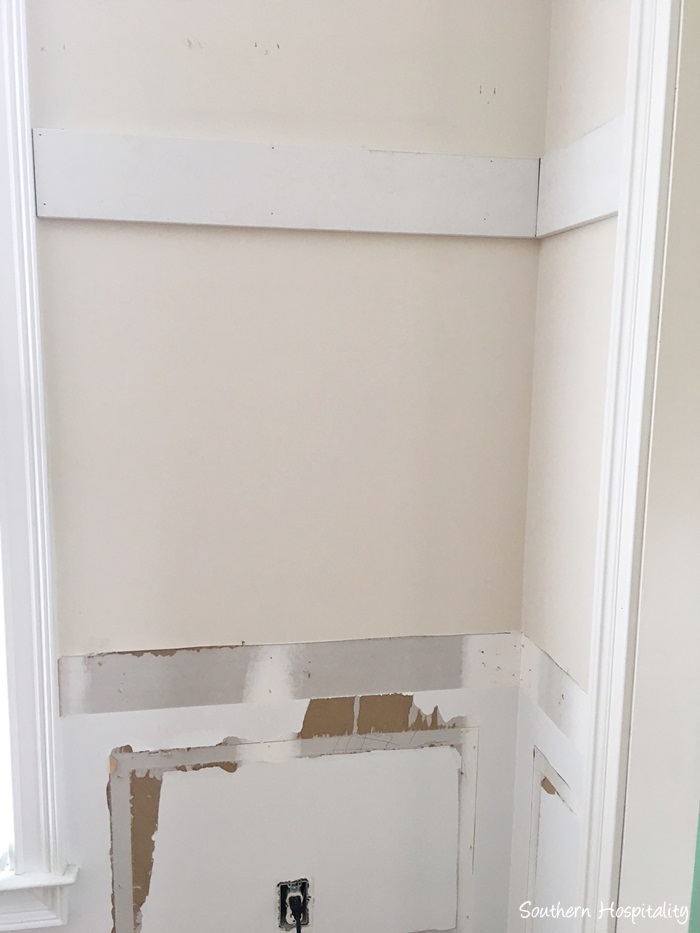
I’m sure there are different ways of doing all of this, but this is how Mark does it. He started with the top board in place, a 1×6 board (by the way, we used all MDF boards for this project). We decided on 6′ tall for the wainscot and our ceilings are 9′ tall, so 2/3 up the wall seemed visually pleasing to us.
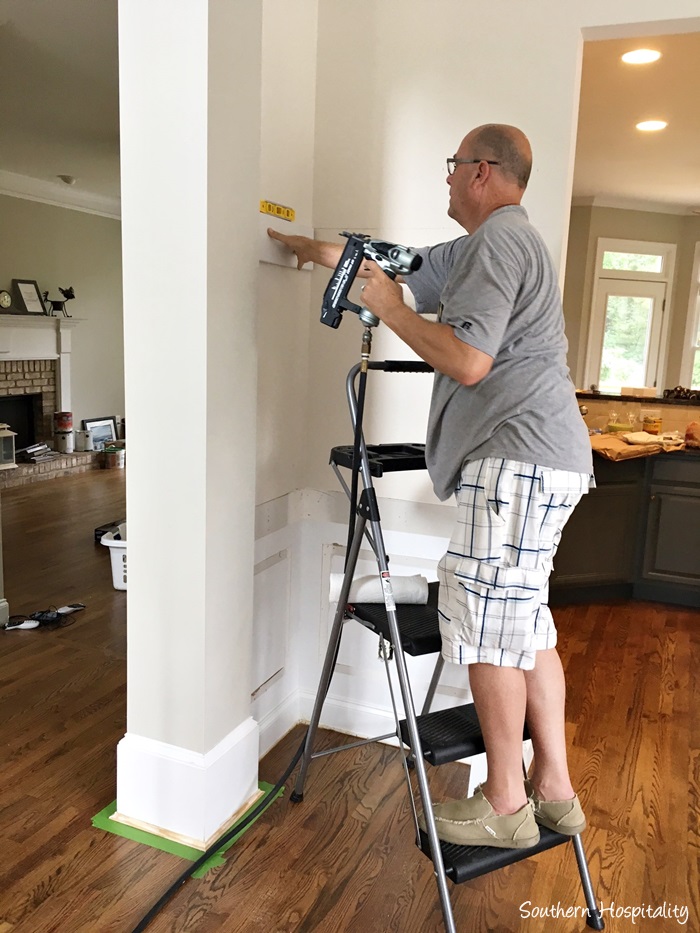
Measuring, mitering the corners, and nailing into place.
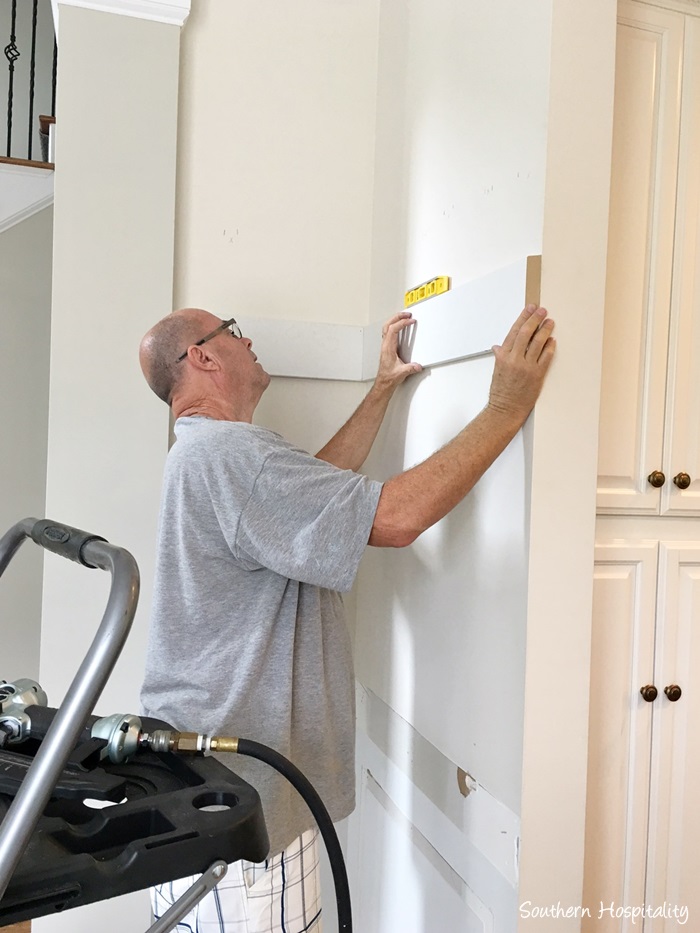
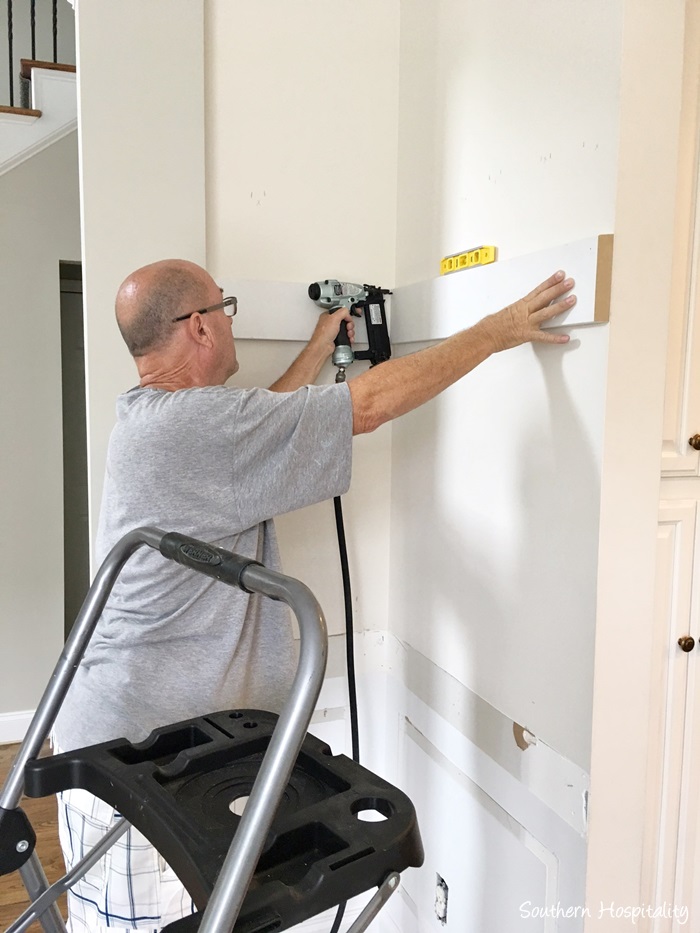
Notice that door way by the kitchen. We originally had one idea on how to trim this out, but after it was done, we both hated it, so he went back and fixed it to what we should have done in the first place. Just goes to show, that trying to save time and not do what your gut tells you to do can come back to bite you in the butt. I didn’t take a pic of the final after this doorway was trimmed out, but it just looked messy and not cohesive with the other trim he added around the large doorway facing the living room. Sometimes you just have to fix things and this was one of those cases.
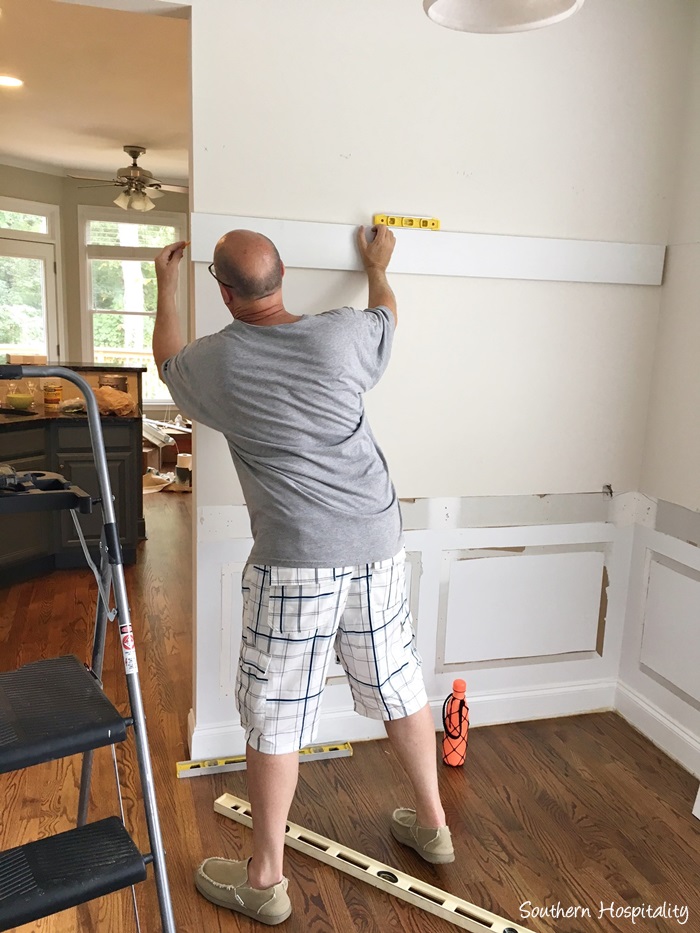
After all the top boards were installed, he started adding the MDF beadboard panels.
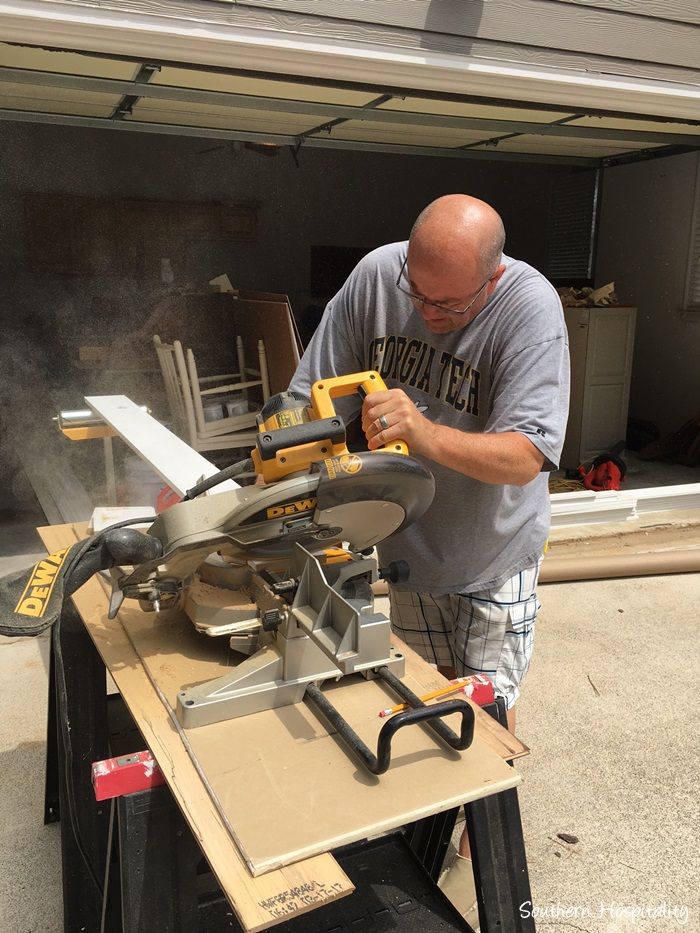
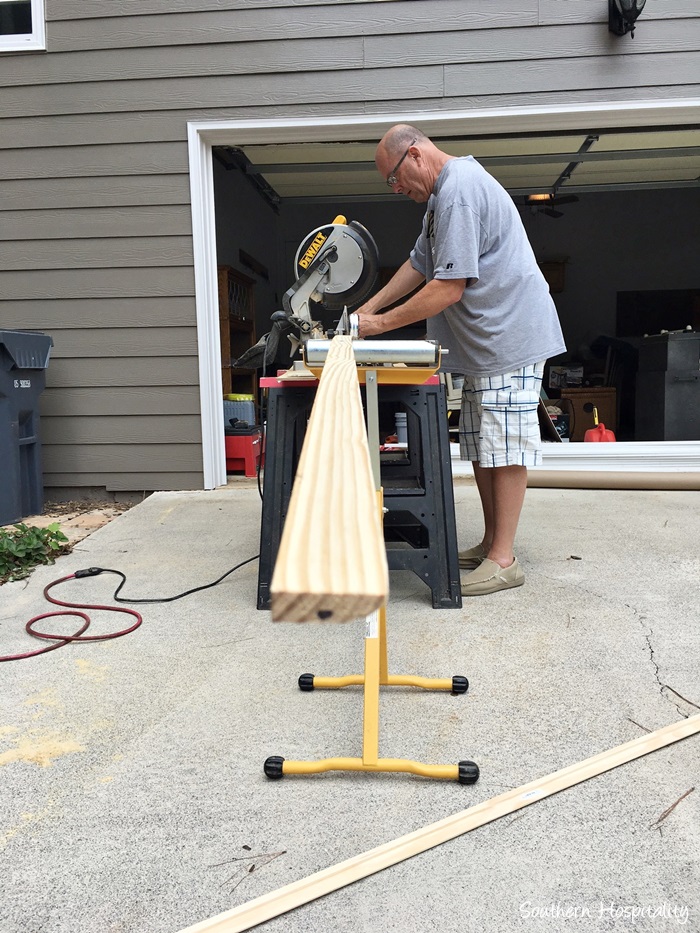
Cutting the trim boards with the miter saw.
This was a piece of trim that we ended up tearing out and not using.
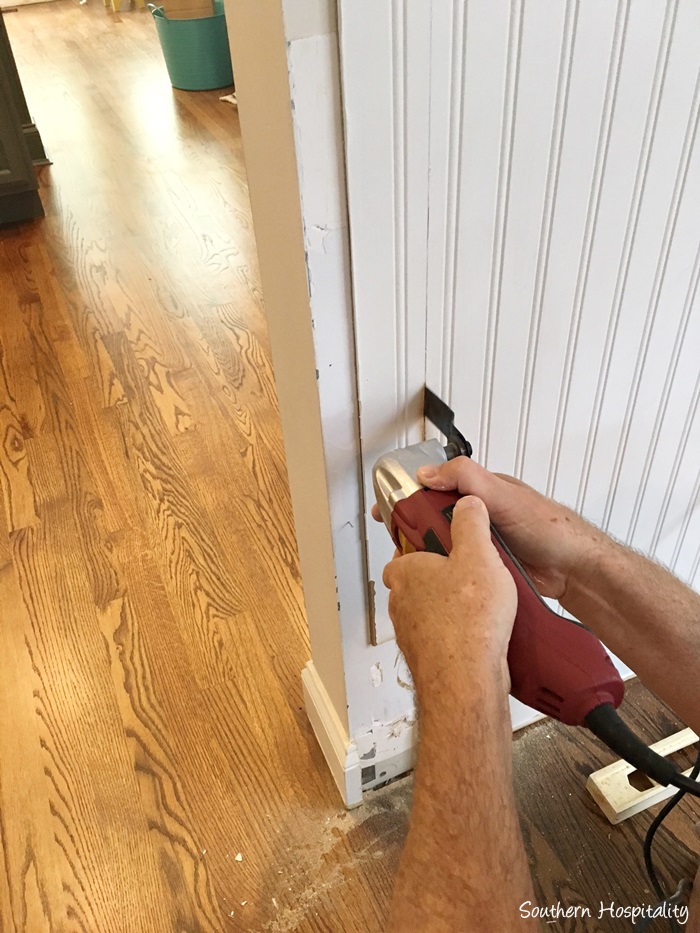
I don’t remember what this tool is called, but it cuts through wood and he used this to scribe a line down the wall and then he went back and added the chunky door frame molding when we both didn’t like the outcome the first time.
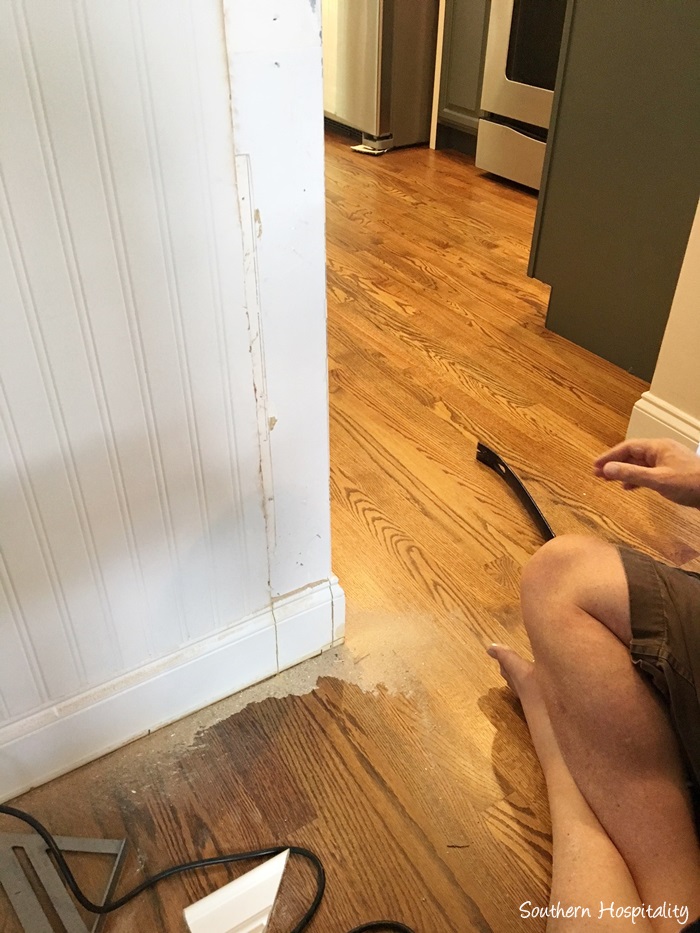
If at first you don’t succeed, don’t be afraid to redo and fix it. We are so happy with the outcome the 2nd time!
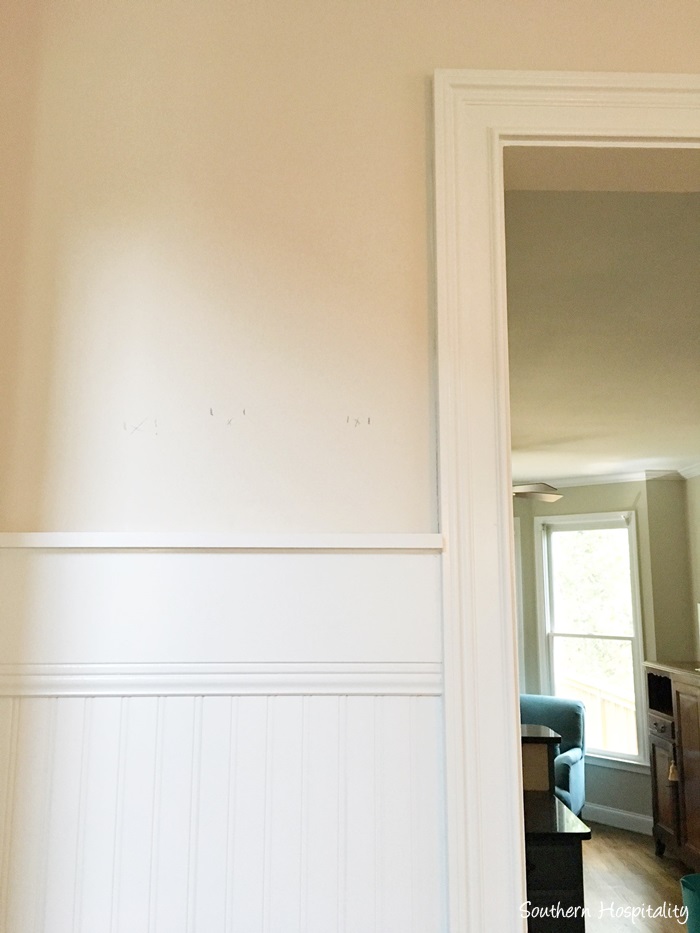
And here’s the doorway after.
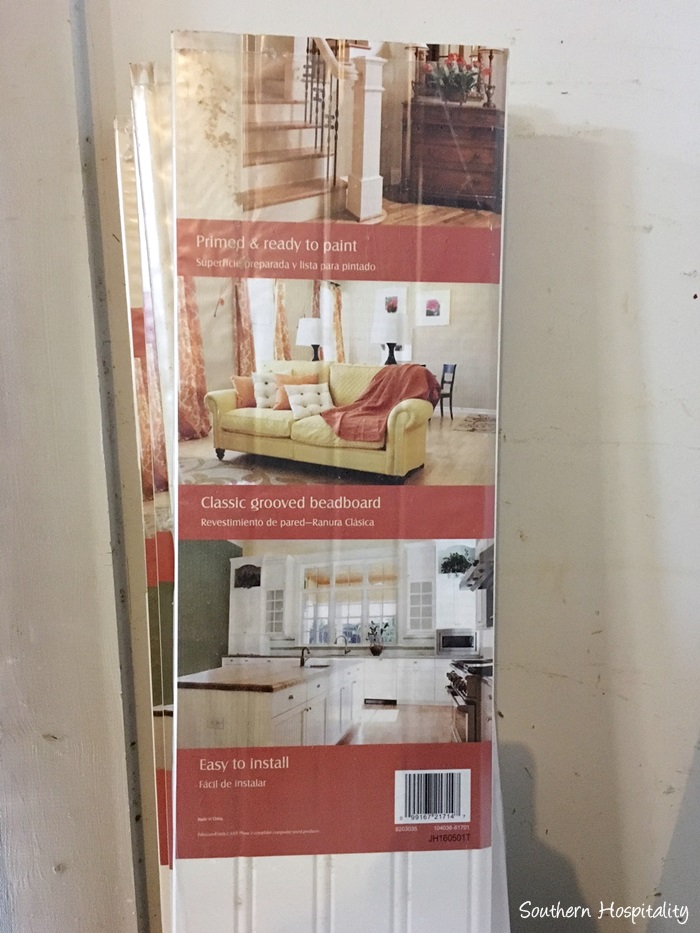
He likes using these tongue and groove beadboard panels from Home Depot. They come in narrow panels and snap together. He used Liquid Nails and brad nails to install them all. I didn’t get pics of that process.
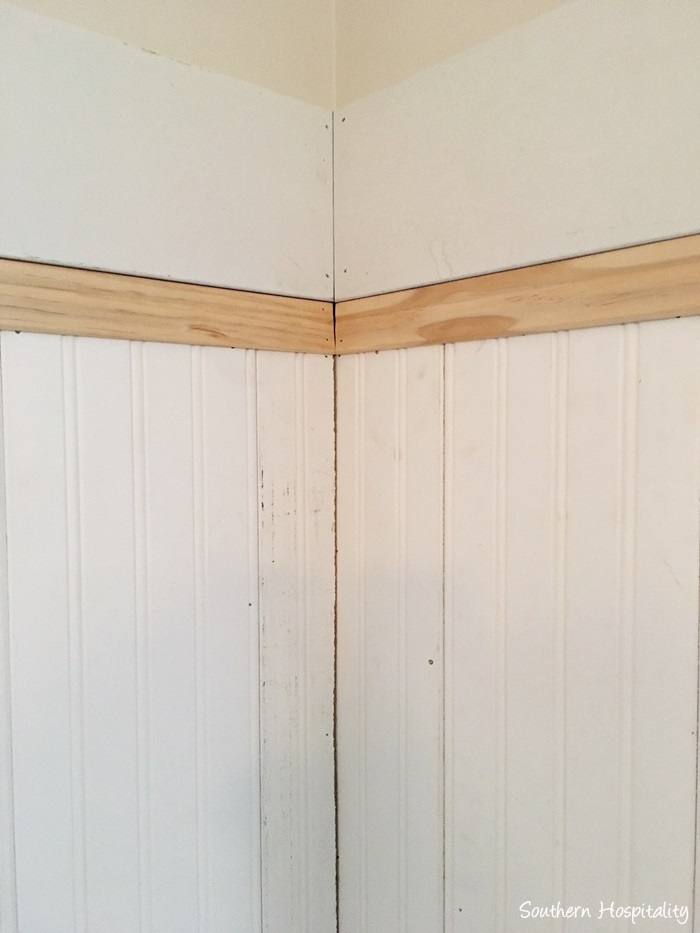
After the beadboard panels were in, it was time to caulk. He also added a small trim piece underneath the top board and it hides the top of the panels. If you don’t want to add this piece, you could always install the beadboard panels first and then top with the 1×6 board and leave off this trim, but we like the way it looks and it meant he didn’t have to cut the panels exact to fit. The trim piece covers any imperfections.
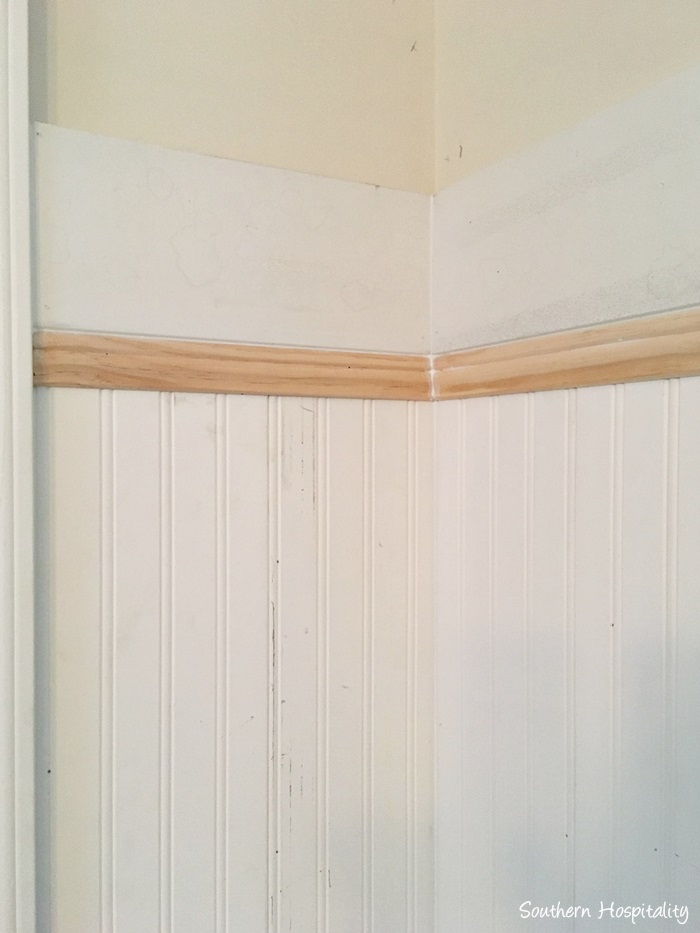
After caulking, it all comes together and ready to paint. He did add a top piece of trim too, a simple 1″ x 2″ board that was found in the lumber area of Home Depot.
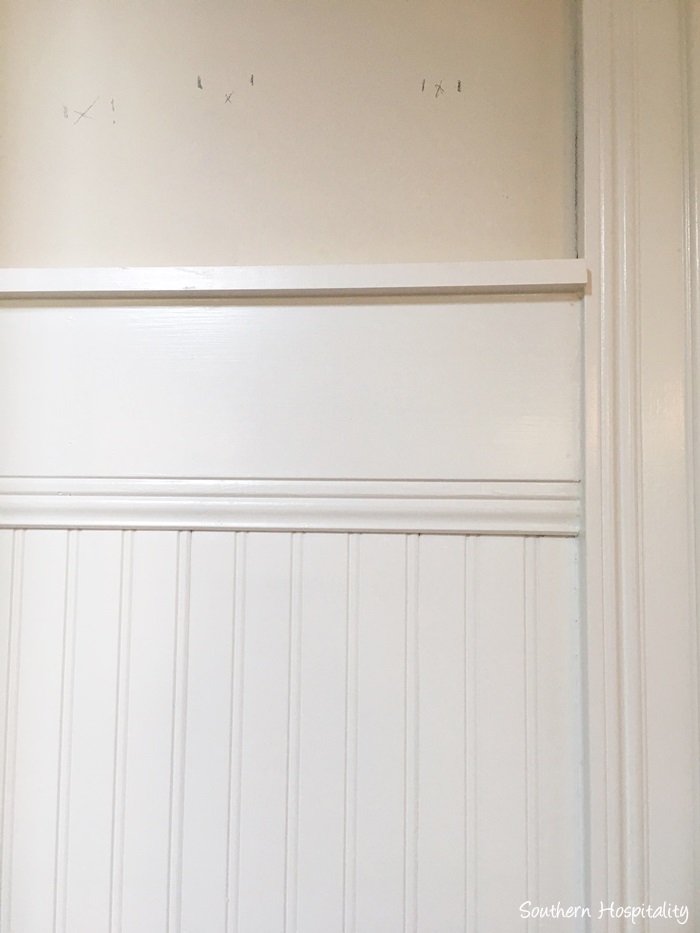
He nailed those in and caulked underneath and then painted it all.
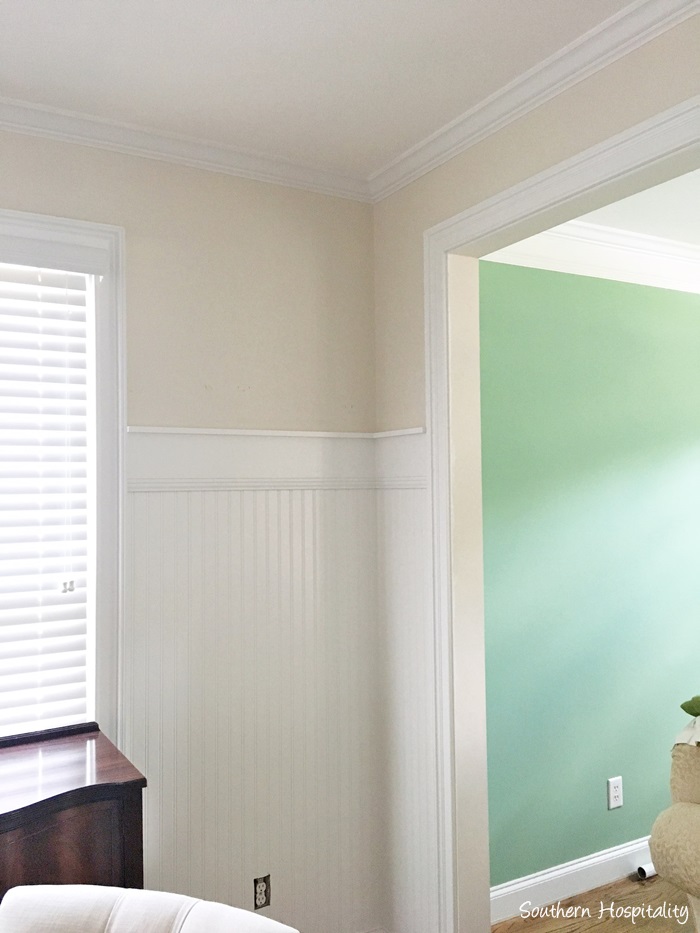
It wall came out so good and we are really thrilled with the results. We used Semi-Gloss white trim paint to match our other trim. He also framed out that doorway going to the living room, which was just plain before.

And here’s the doorway going to the kitchen after trimming it out as well with the large chunky door molding. It looks so much better than the first go around and we are so glad it was changed We wouldn’t have been happy with it in the long run.
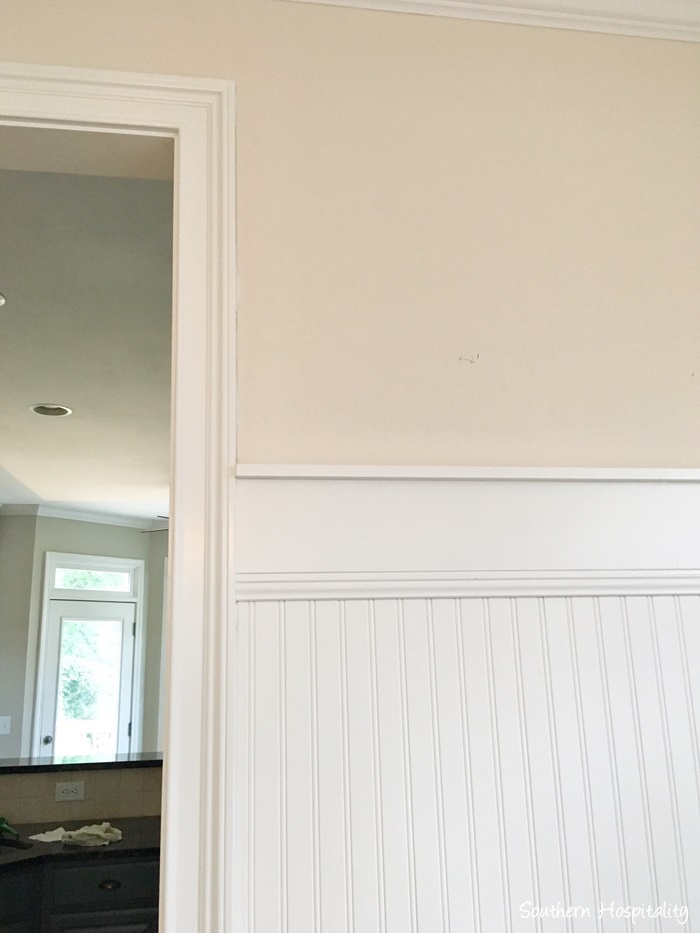
Framing out that doorway makes it look so stately.
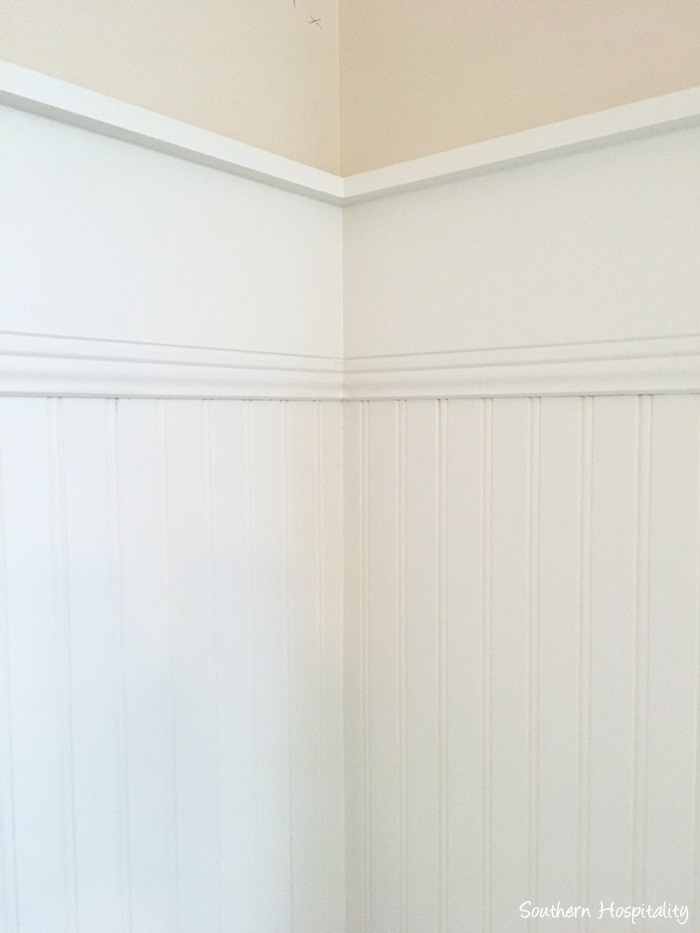
We love how it all turned out, with the trim pieces all done and painted.
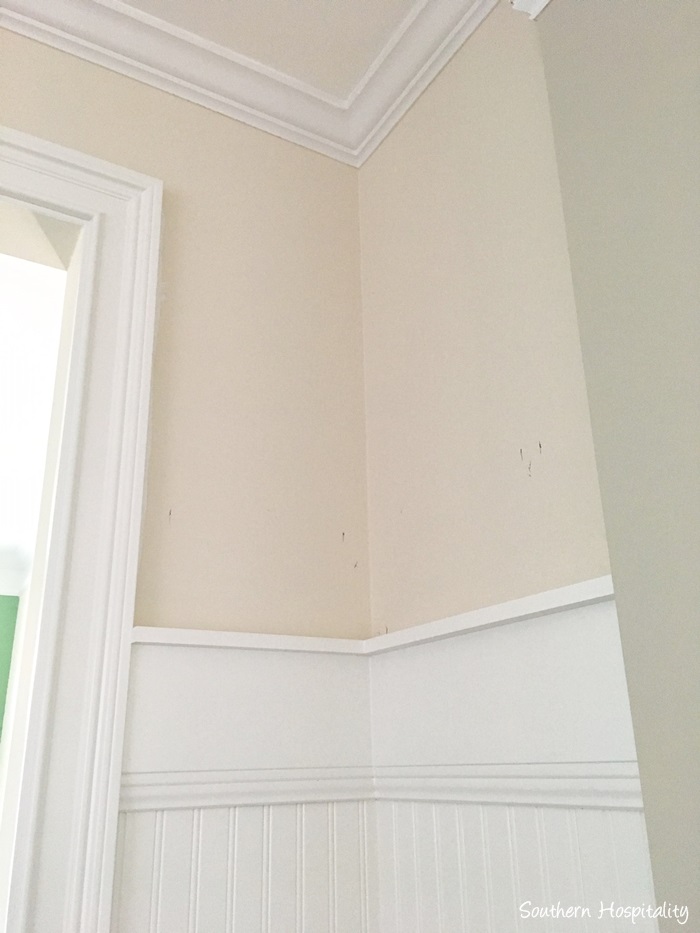
There was already crown molding in here, so it just adds to that too. Adding trim and molding is such a great way to add character to a house.
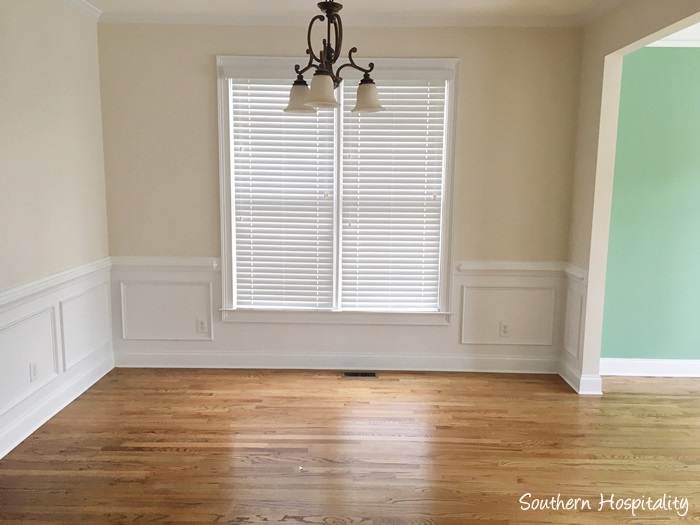
As a reminder, here’s the dining room Before. Notice the plain doorway on the right going to the living room.
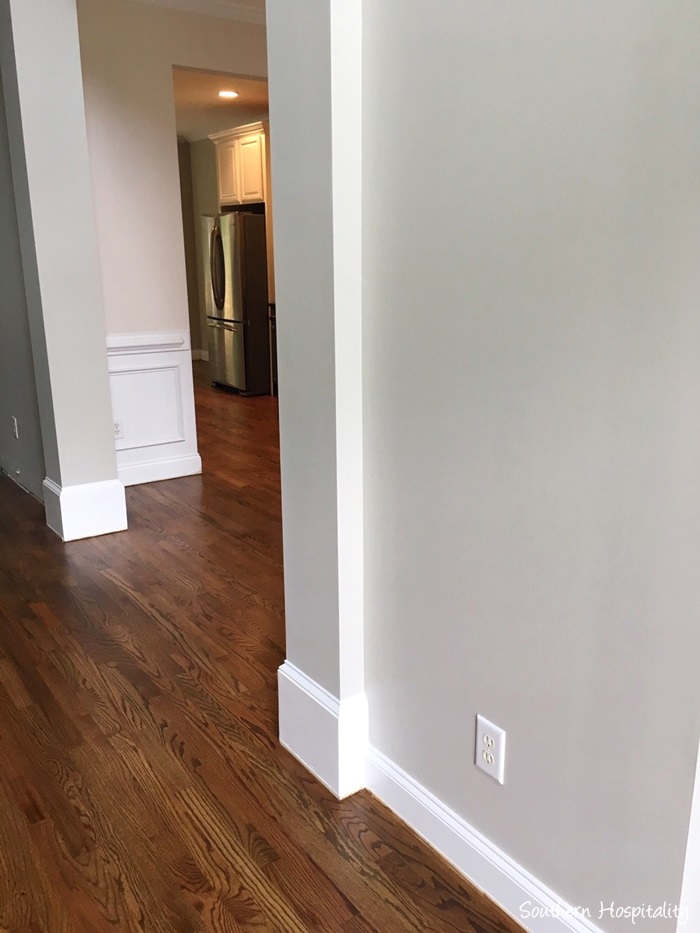
You can see the doorway going to the kitchen and it was plain too.
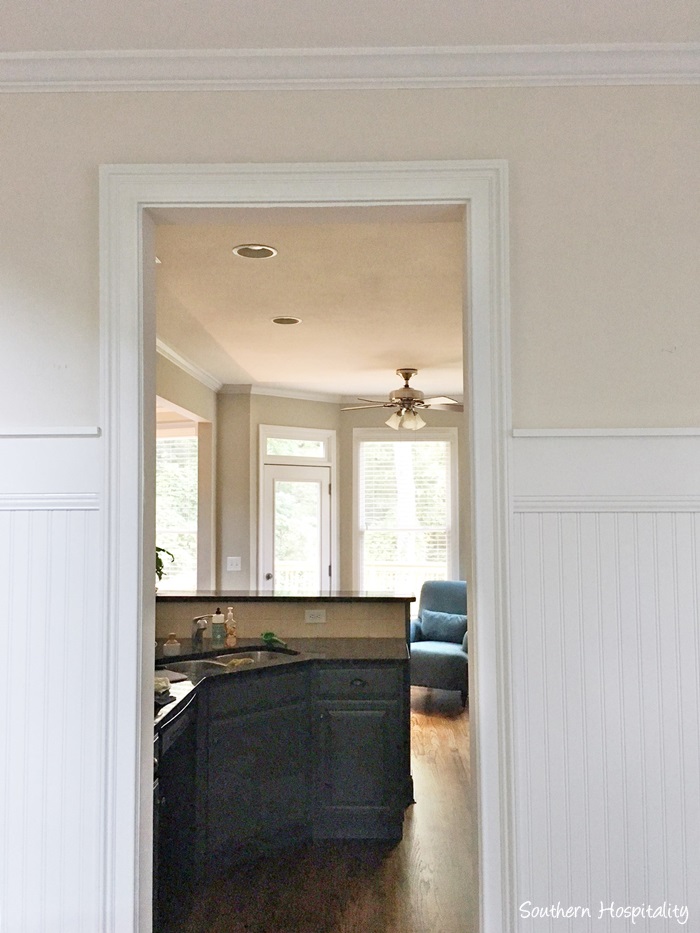
And here’s that same doorway After with all the beadboard and trim in place. So much better!
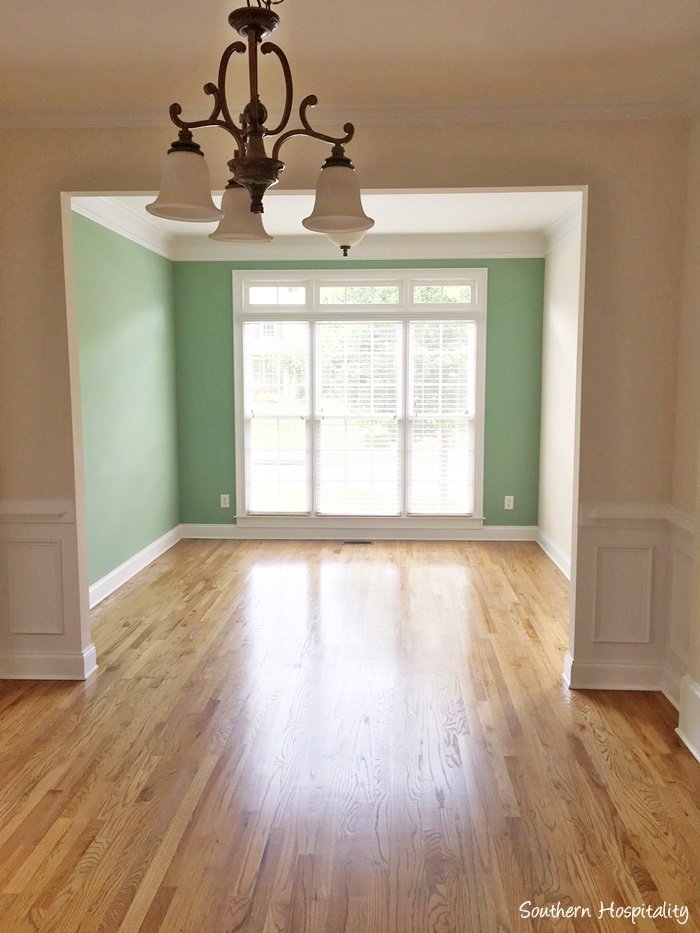
A Before shot before we moved in the house, dining room to living room view.
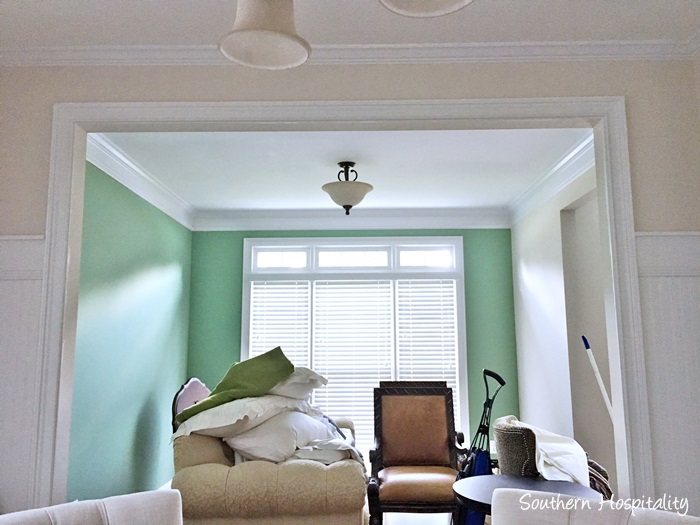
And the After!
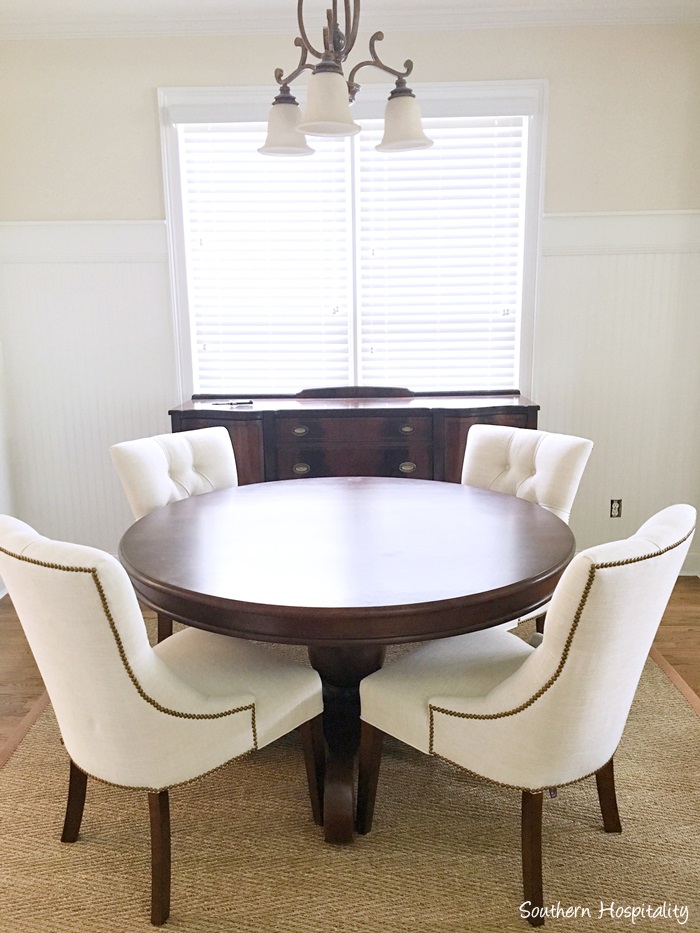
After it was finished, we got the dining room table, chairs and buffet moved in and now it’s ready for me to get busy in here. I’m ordering samples of grasscloth wallpaper to put above the wainscot in here and I can’t wait to get that done. We are also adding plantation shutters on the windows and I’ll add some drapery panels too. I just love fabric on the windows in a dining room. I’m not sure I can use my old drapes in the rooms downstairs, since the walls here are 9′ tall instead of 8′ at my old house.
So, that’s another project marked off our to do list! Hope you enjoyed seeing this transformation, it sure is fun to see changes around here and really make this house our own. Adding trim like this is not hugely expensive and such a great way to add character and charm. It definitely helps to have a handy husband too! I’m not confident enough in my skills to take on big projects like this and that’s why I always did my beadboard wallpaper, but I love this look even better!


Looks great. God has truly sent you a gem in Mark.
Your Dining Room looks so nice! Rhoda, you and your dear Hubby make a wonderful team! It’s always nice when you can do renos yourselves. Your personal touches on your beautiful home just look so great!
Take time to just sit and enjoy your gorgeous home! Blessings!
Love the transformation!
Kuddos to your hubby for such a great job! My guy does just about all the remodeling around our home and it has saved us so much money, not to mention his work looks better than professionals we’ve had in the past. I’m so thankful for all he does around here.
What a good difference a bit of trim makes. You are lucky, dear Rhoda, that your hubs is competent and *willing* to do such projects. I look forward to watching this new home of yours come to full bloom!
It looks wonderful! So glad you two found each other!! God has such wonderful plans for us, doesn’t he?
Dining room looks fantastic! Start Mark a little book to add all his gold stars to–I think the DR merits 5 gold stars, don’t you? You mentioned your plans for the living room walls and I hope you’ll double-think using the beadboard there. At least do a mock up–with masking tape and newspaper— to make sure you want another horizontal line in there. Just my 2 cents…and didn’t you need another opinion! I know that whatever you do will be fabulous! The new LR chairs look great!
Love the change to your room!! We did the same to our small den and I love it!! I can’t wait to see what you hang on walls. I’ve struggled with that part. You are really making this house a new home you’ll love.
If you really like the drapes & want to salvage them cut them at the place you like & put a coordinating band of fabric in. I think it looks more like they were intentionally made that way than a band at the top or bottom. If you don’t sew yourself a seamstress probably wouldn’t charge too much. My friend found some vintage barkcloth drapes but they were too short & found a plaid with the same colors & I added a band for her & it looks fabulous
Love how it all looks now and what a difference the door trim makes in the look of the room! It’s the wow factor! Love how talented Mark is and just does all these things for you. My hubs was that way before but now health problems interfere.
Looking forward to seeing the grasscloth and how you decorate the dining room.
What a transformation! Dos it give you a little thrill every time you say “my husband Mark”? ?
Roxanne, yes it does, he’s such a great guy and I ended up with a good one, so thankful the Lord brought us together.
Another post that brought a smile to my face. I couldn’t be happier for you. The DR looks great with its facelift and I hope you find a way to re-use your old DR drapes. They were one of my favorite things and were so unusual. I often thought where I could use the same fabric to no avail. I think a talented seamstress should be able to come up with something that looks intentional.
Thanks for sharing! I love the taller bead board/trim! It is so much more elegant than the typical chair rail height. You are so lucky to have a husband with carpentry skills!
Roxanne, I thought the same thing, about “my husband”!! I bet Mark thinks the same thing about “my wife”.
I had no idea those shoes were Crocs. And I would like to know what is the “helper thing”. Sounds like something very useful as we will be moving/building in a couple years.
This is all coming together so beautifully, y’all are such a talented adorable couple.
Nancy, thank you, we are happy to be together! If you look at that pic, you can see that yellow sawhorse thing, he sets it up to help hold the long pieces to cut. That’s it!
Looks beautiful! Would you consider a post on how to do the door trim?
Hi, Beth, sure I can put together a post on how he did the trim on the doorways. It really does add so much to the rooms.
Did Mark remove the baseboard before installing the headboard? It looks wonderful; happy new beginnings!
HI Edith, thank you and no, he didn’t have to remove the baseboards, the lip on them worked with the beadboard sitting on top and just caulking it all. That was really convenient too.
I’ll have to agree with Mark-not a big fan of picture molding. The beadboard wainscoting looks fabulous and is truly transformative. Mark did a great job and you two make a great DIY team!
Thank you, Jane, we are enjoying this house process!
Wow! It looks very country farmhouse with the new wall treatment. Is that going to be your new look throughout the house? Will you be buying new dining furniture to match that style?
HI, Audrey, no I won’t be getting new, I love my dining room furniture. I think beadboard can lend itself to different styles so not going for country farmhouse at all. I’ll still be keeping a lot of my old things.