Thank you ALL so much for participating in the Thrifty Treasures parties! They are really filling up each week and I appreciate you taking the time to do a post and link up. Y’all make it fun! Your enthusiasm is great. I am running out of time to visit every one of you each week, so please forgive me if I don’t make it around to see all 100+ of you every time. I try to visit, but just run out of time. Moving on….
Let’s just start by saying this! I’m totally sold on the beadboard wallpaper.
Well, girls I just have to tell you that this project was even easier and looks better than I could imagine. If anyone had doubts about it from my first post, this just might change your mind. This beadboard wallpaper is amazing, that’s all I can say about it. It’s thick, probably 3-4 times thicker than regular wallpaper and I’ve put up regular wallpaper many time before. This is SO much easier to work with. You can cut it with scissors and it cuts like buttah. No shredding or crinkling. So, for those of you who LOVE the details…this one’s for you. Lots of pics, lots of details. I promise you, anyone can do this project. It went so well and turned out so pretty that I’m going to do something else with it. And I know that diehard REAL beadboard lovers will probably pooh-pooh this (and I am a REAL beadboard fan myself), but for those of us who do not have a garage full of power tools, this is the next best thing. I’ll go through the steps I used to get it all up there and trimmed out, so follow along with me.
It’s by Graham Brown and made in the UK.
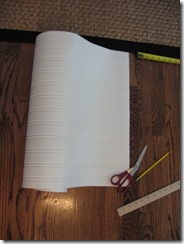
So first thing is to measure wherever you are putting it and get yourself a yardstick to help keep a straight line. Measure on each side and hold the yardstick across and draw a line side to side with a pencil. That’s how I did it and it worked great. And trimming from top to bottom is easy, you just follow the lines.
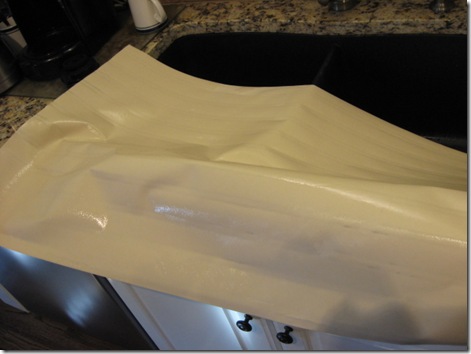
Wet the back of it in the sink, let sit for 5 minutes. Book it, Dano. I really wanted to say that. 🙂 Anyone besides me remember Hawaii 5-0? Guess cause I am 5-0, I would. Booking is when you let glue sit and activate so it adheres better. Now, here’s something I didn’t do. I didn’t sand my cabinets at all. I just went right over the painted surface, which was a little glossy, but it seemed to stick just fine and I didn’t have any problems with it. But, to be safe, you might want to lightly sand or degloss if your surface is glossy. That’s my disclaimer. I tend to take shortcuts, as you’ve probably all figured out by now. 🙂
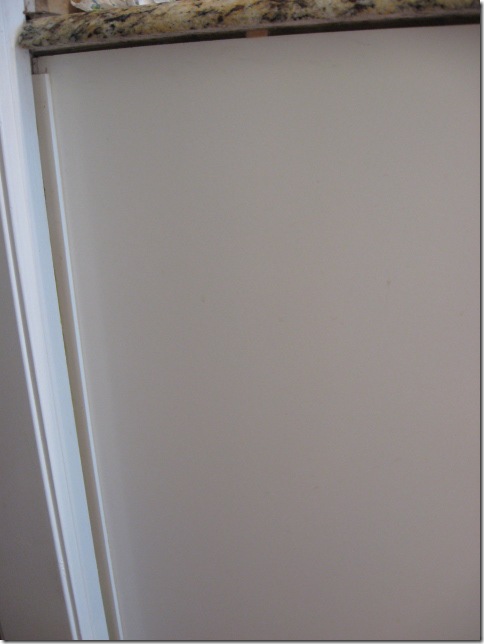
My plain jane ends of the kitchen cabinets. Nothing special, but this treatment really makes them look SO much better.
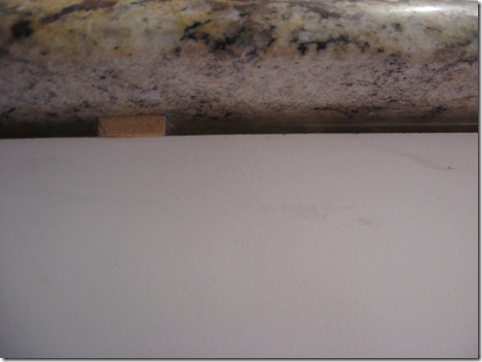
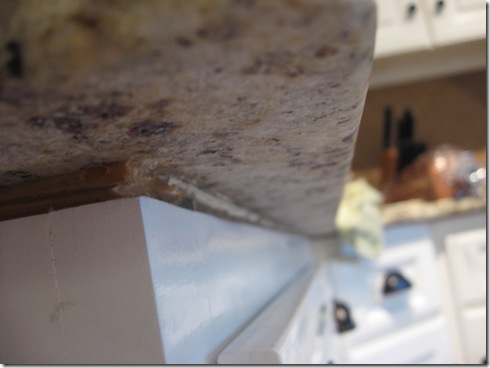
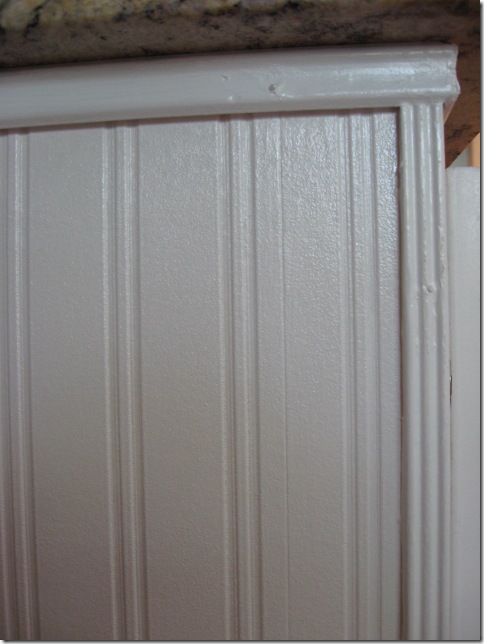
Also an issue when we got our granite, to keep the countertops level, they had to add some shims underneath, which you can see (well, you can if you’re on your head, which doesn’t happen too much, but still) and I wanted to get some molding around the top of the cabinets to fix that little issue. So, this all worked together for me. I bought a small molding MDF piece that fits underneath the granite and then some fancier reeded trim, not too wide to trim out the beadboard. Keep that in mind. To make this all come together and really look good, the extra trim made all the difference too. When you look at the finished product, the trim makes it appear to be the real thing. Now you wouldn’t necessarily HAVE to add the trim under the countertop like I did, but I had that issue to deal with, so I needed to do that. You may not.
Another look at the shims under the granite. You’ll see at the end how it all works.
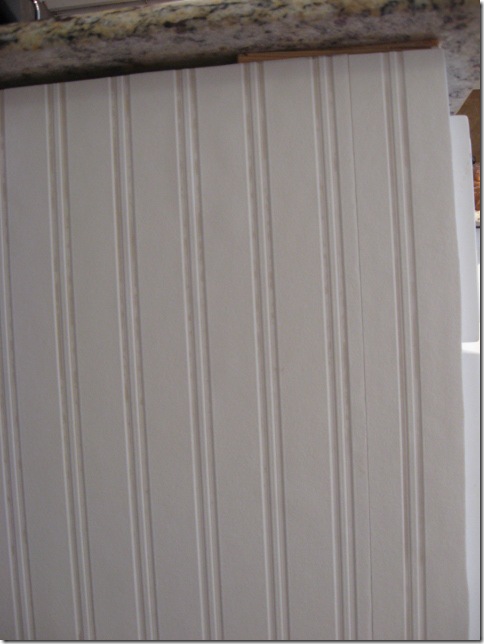
First thing, I cut and pasted my wallpaper pieces. Only 2 of the ends had to be pieced and you can see the small seam to the right. Not a big deal to me, since regular beadboard also has seams. And I did go back and fill in with some spackle which didn’t totally erase it, but made it less noticeable. If I had worked a little bit harder with it, it probably could have totally disappeared, but have I mentioned I’m not a perfectionist? I’m a “if it looks good, then I’m OK with it” kind of girl. So, that’s the first step. Cut, paste and smooth it out. Make sure you smooth all the bubbles out after you get it in place before it dries. That really wasn’t a problem. I just used my hands to smooth it out and it totally lays flat. No bubbles or anything.
So, this is what it looks like on one end after the paper is in place. Not bad at all, huh? Lookin’ good already and it’s not even painted OR trimmed out. Wait til you get to the bottom pics.
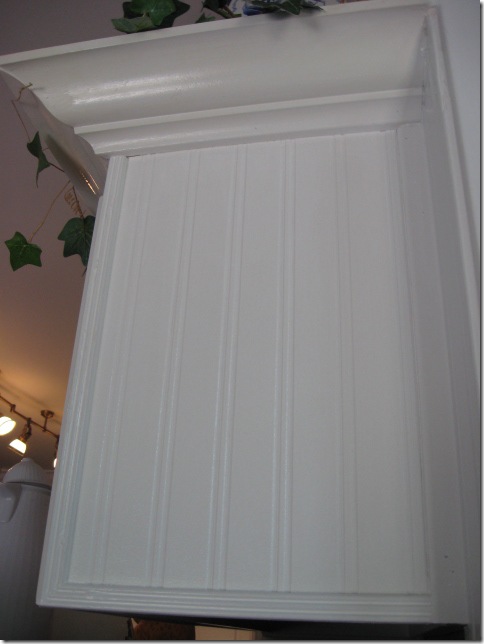
I did this on the top cabinet too. Same process. See the good thing about this method is, if you were using real beadboard it would really stick out from the cabinets pretty far and you’d have to get some bigger trim to trim it out and hide the edges. This way, the wallpaper just snuggles right up to the existing molding and then all I had to do was add molding on the right side and bottom to trim it all out. You’ll see in a minute. This doesn’t add a lot of unnecessary bulk to your cabinets, BUT you get the same look.
Again, the small cabinet above the fridge got the same treatment.
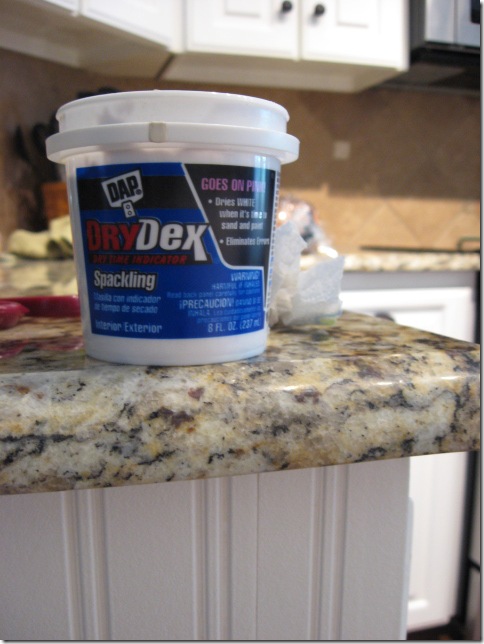
Here’s the spackle I used. I used it on the seams and also in the bigger gaps that I had with the old molding and new molding in a couple of spots. Spackle and caulk is your friend, as I told you when I did this project. You can hide a world of sins with caulk. 🙂 Believe me, I know.
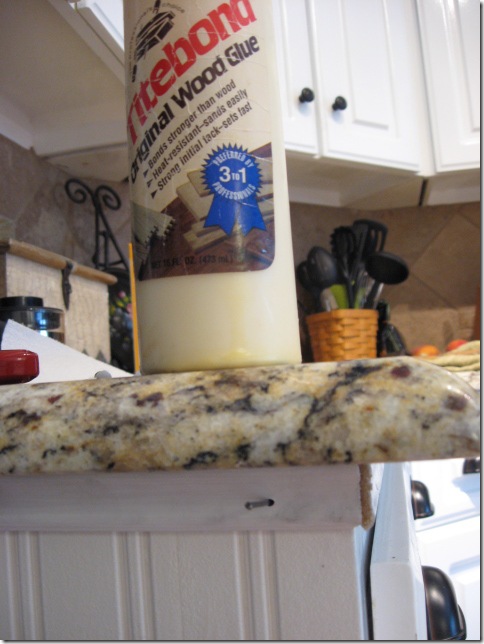
Next up is the molding just under the granite to hide that ugly. I used my miter box and trimmed it to fit each angle and put that molding all the way around the kitchen cabinets under the granite. Used finish nails and wood glue to put it on here. I am NOT a good finish nailer. You will see in the final pics that some of my nail heads are sticking out. They kept bending and I couldn’t get all of them in all the way. Oh well. I really don’t care too much, I just painted over them. 🙂 A real carpenter would fire me. Again, caulk or wood putty goes in the corner to fill in for painting.
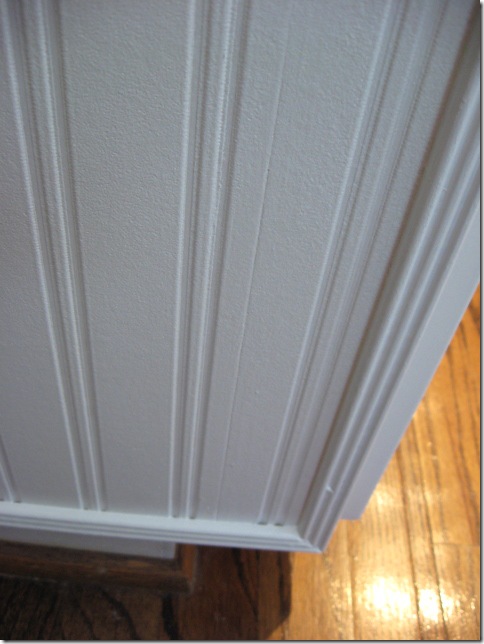
Nailing and gluing. Next you’ll see the reeded wood molding I used on the edges of the beadboard wallpaper. This is small and dainty and I like how it looks and it sort of mimics the beadboard effect. I just added it right on top of the wallpaper and flush with the edge of the cabinet corner. Again, you’ll caulk on both sides if there’s a little gap.
Mitered the corners where they meet. Again, nailed and glued with wood glue to get it on here. I’m not great at measuring, but again, it just takes some patience and perseverance and YOU can do it too.
So, one by one, they all got the trim molding attached. Everything got caulked. Wherever you see any gaps inside or out should be caulked. That just makes the final paint job look so much better if you do this.
Caulked and ready for paint.
Same in the master bath. I did both vanities in there too. After all the caulking and nailing, then it’s time for paint.
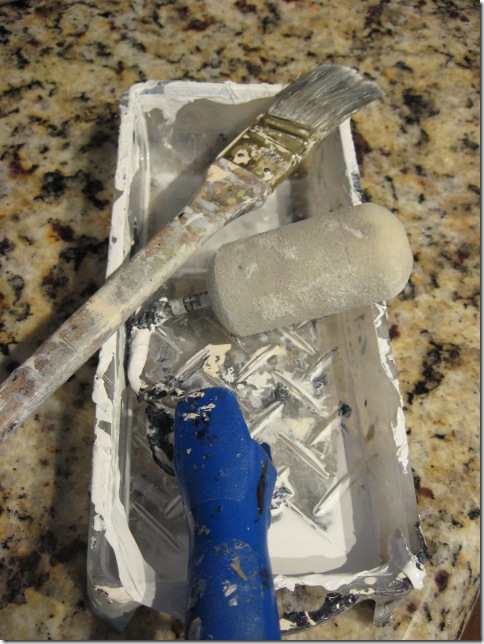
I love to use this small weinie roller I got at Lowes for projects like this. Works great and with the small brush, they work together well. I rolled the paint on the wallpaper and used the brush to go back and smooth out around the edges and on the molding. When we moved here over 3 years ago, I discovered our doors throughout the house were primed but never painted, so I had to track down a good trim paint color in gloss to paint all the doors and match our existing trim . I also noticed that the trim color that was already here matched the kitchen and bathroom cabinets to a T, so it made it easy once I got the right match of paint to touch up the kitchen cabinets and all the trimwork. In case anyone is interested, I got Anthem White from Valspar (Lowes) and it’s a perfect match to my trim and cabinets. If I was choosing trim paint myself, I probably would have chosen a creamier white, this one is a little bright white for me, but bright white does look good next to other colors. And I wasn’t about to paint out all my trim just to change the color. This one is just fine thank you.
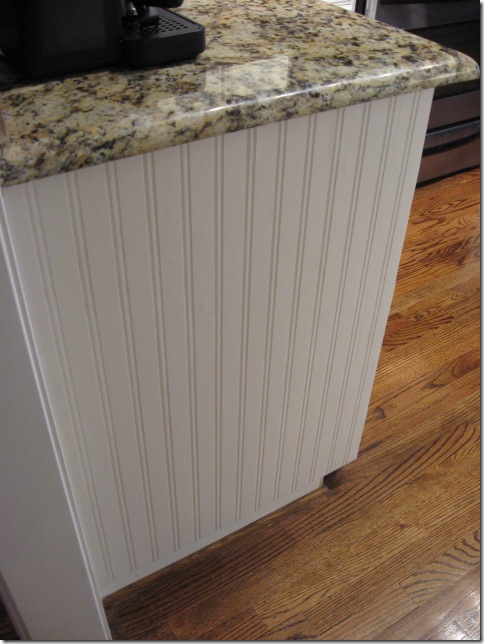
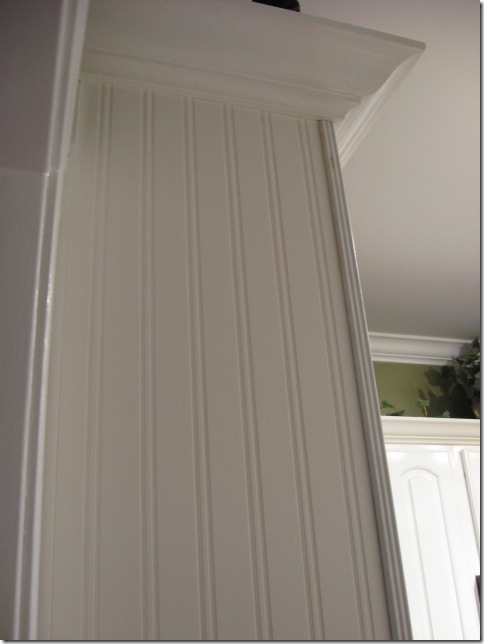
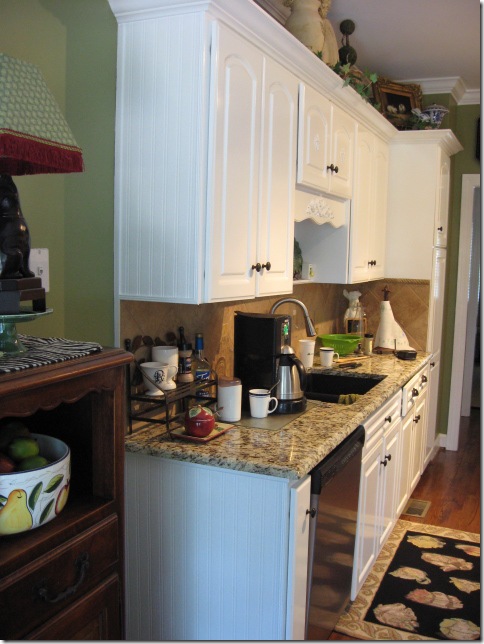
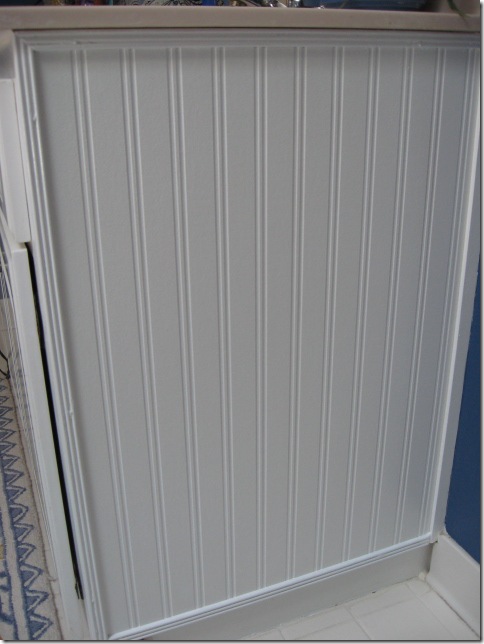
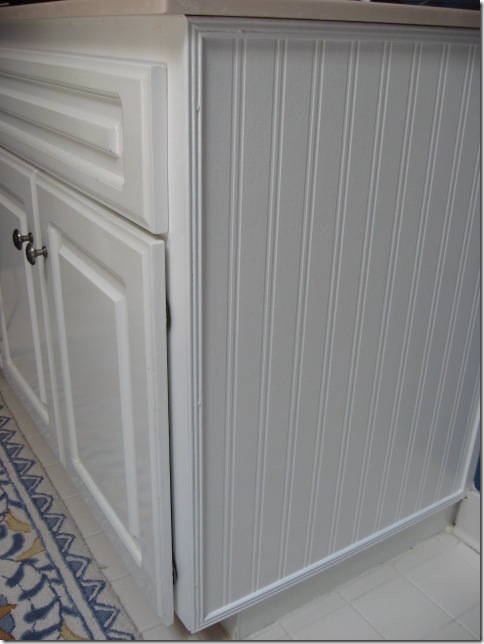
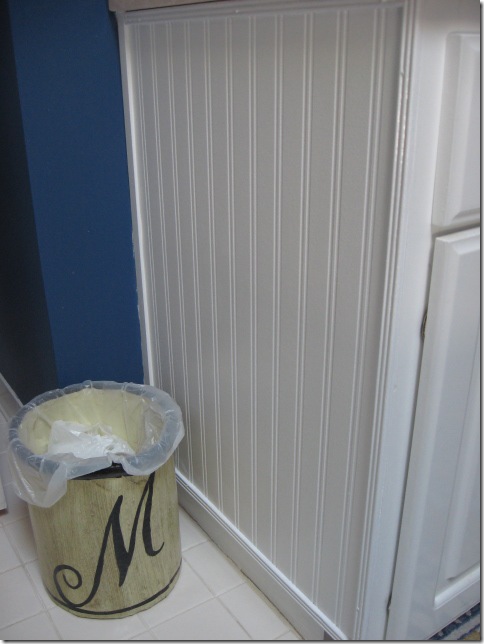
So, after 2 coats of Anthem White on it all, here they are! I just LOVE how this turned out and would do it again in a minute. I’ve already got plans to add some of this to the master bathroom walls around the whirlpool tub.
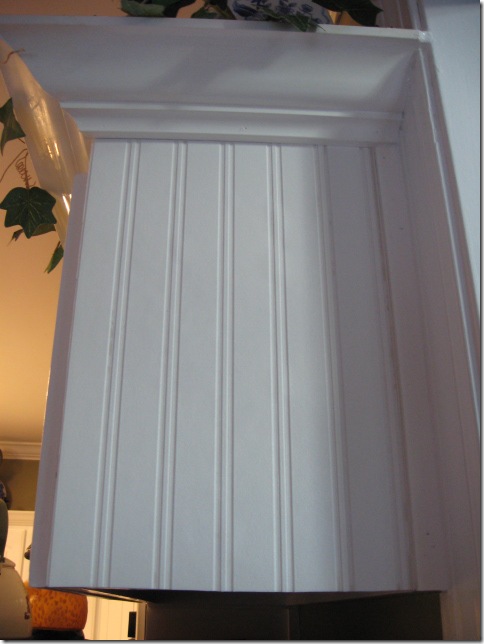
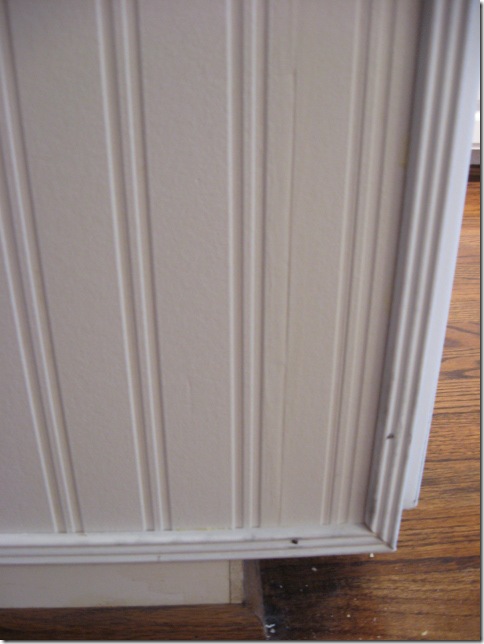
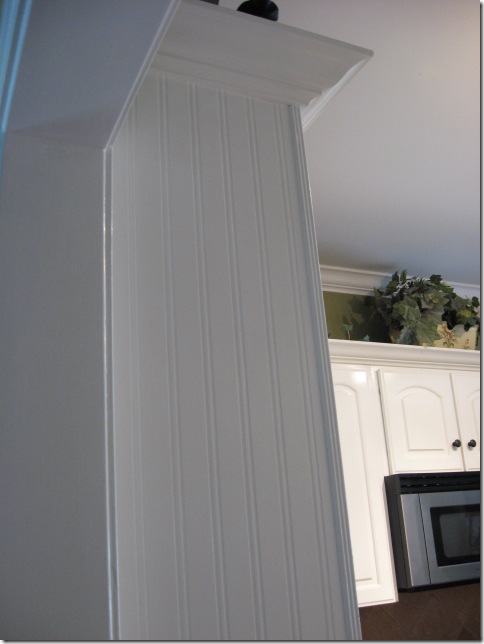
Nice huh? Would you ever think that this is not the real thing? I really don’t think that someone coming in our house would ever know the difference even up close. The paper actually has a little texture to it that mimics wood.
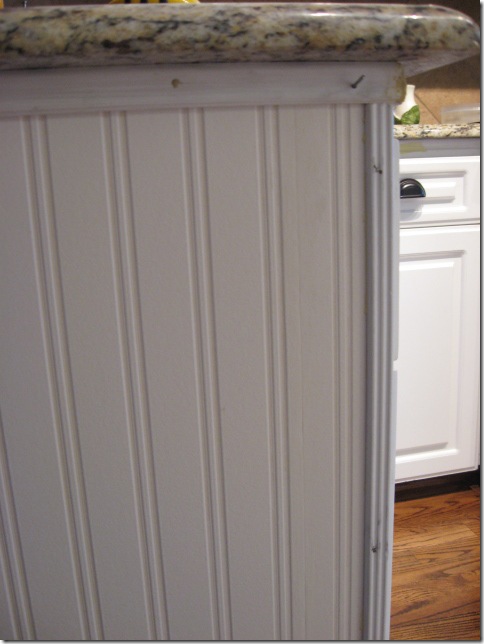
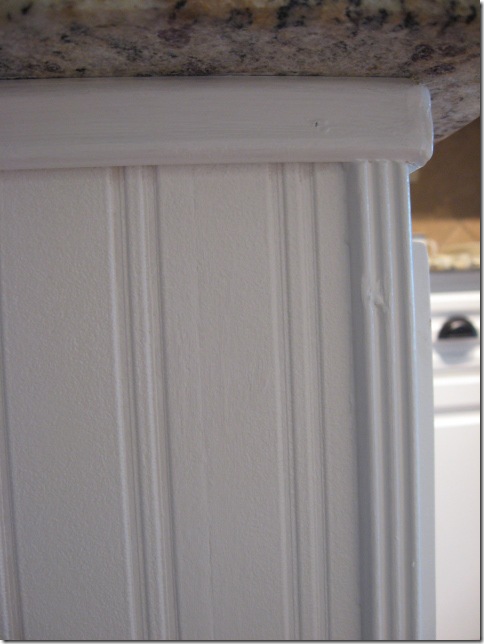
Here you can see my messy nails, but that’s OK. It’s not bad if you’re not right on top of it. And see, you can barely see the seam after it’s all painted. I did try to sink the nails, but I’m not all that good with counter-sinking. I may go back and work on those nails a bit better.
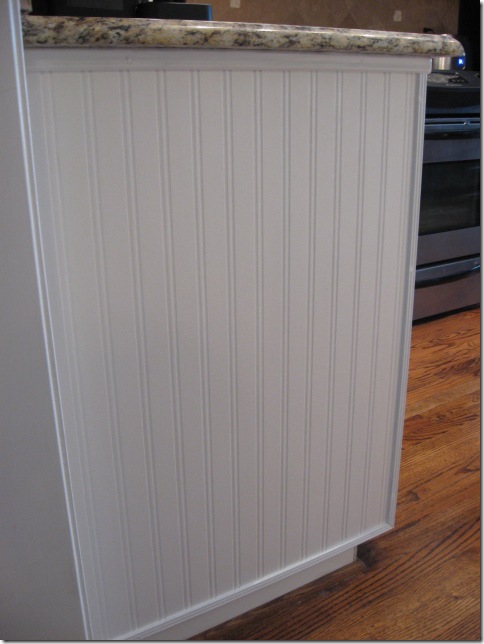
Side panel by the dishwasher.
Looks great to me!
From a distance. This is how most people will see them anyway, not up close.
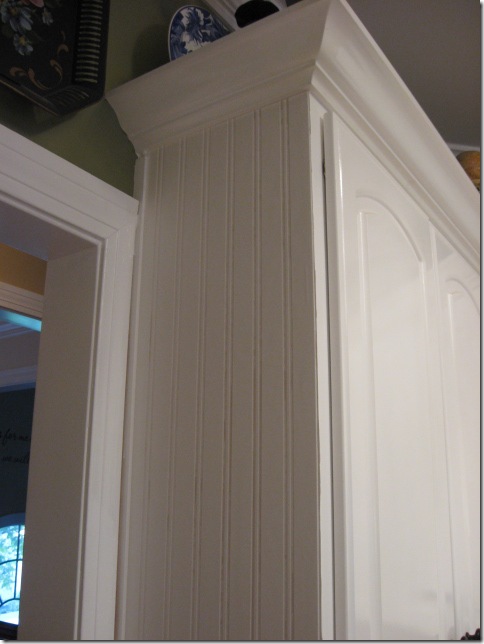
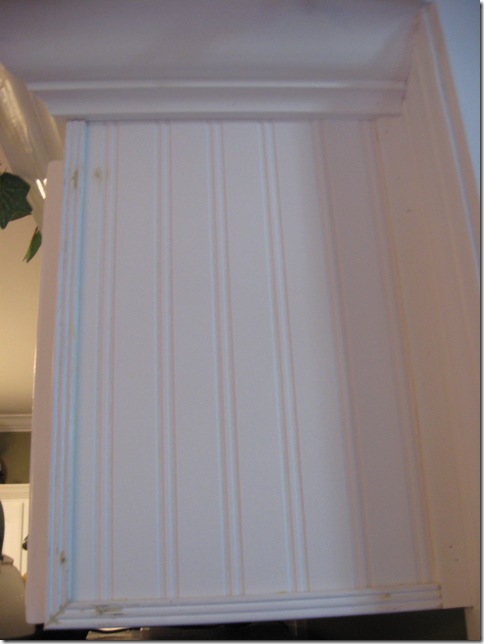
Little cab above the fridge. The great part about painting is that you seal down the edges at the top and sides and it totally looks seamless. I did 2 coats of white high gloss trim paint on it.
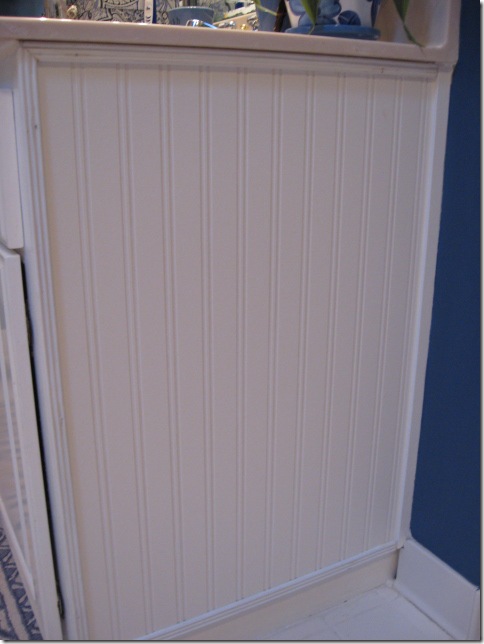
Bathroom cabinet
Another angle.
So, that’s it! I hope this will inspire some of you to try this too. It’s a no-brainer for those of you like me who do not have power tools at home and don’t want to get into major remodeling with the real stuff. I think this gives exactly the same look for a fraction of the cost. Not to mention, you don’t have to remove any molding to use this. It goes right up next to what you already have, which to me is ideal even if you wanted to use it in a small bathroom on the walls. No removing the baseboard molding. All you’d have to do is put up the wallpaper, add some chair rail molding on top and that’s it. I’m SOLD on it and I hope you’ll try it too and let me know how it works for you. I know if you have small children that tend to run into cabinets like this, it might be a problem, but for most areas without high energy kids around, you would be fine, I have no doubt.
I can see all sorts of possibilities for using this: Back of a hutch or kitchen cabinets with glass fronts, powder room or small bath on the walls under chair rail, inset in a piece of furniture (drawer or door), on the end of a headboard or footboard with recessed panels, on a ceiling, lots of possibilities. So, what are you waiting for?
I spent a total of $50 on the wallpaper AND trim for this little project. Can you say a LOT of bang for the buck?! And I’m not stopping with this. I’ve got some left and will definitely be putting it to good use.



Your kitchen looks so so great!! I would love to find a wide plank version. I could do my ceilings with it!!!!
AK xx
Hi. I have the exact same cabinets and door pulls in my kitchen. I ordered the bead board wallpaper from your store. I am going to tackle my bathroom this wkend. Your website inspired me. I painted the top of the walls a light blue, similar to your bath. I can’t wait to see the finished room and maybe I will send you some pix. If all goes well I plan to bead board (wallpaper) the island in my kitchen. It gets so beat up from people kicking the sides. Do you think the wallpaper will hold up? Easier fix then sawing, nailing wood.
Hi, Margie, I hope you got the pre-pasted kind before they discontinued it from my shop. I think it will hold up fairly well, but that will be a spot that will get a lot of abuse, so you may have to be careful of that. On a wall is not so bad, but an island might get some abuse. But, at least it’s not a lot of $$. Good luck!
Love this idea!! I have a half bathroom that is still stuck in the 70’s with a fake tile to the middle of the wall. I have been wanting to add beadboard, but this will be fine until I have the money for the real thing!! Just found your blog from Southern Plate and will be checking out your blog and Christy’s now all ot the time!
From my brother, the handyman, I learned to pre-drill the nail holes with a small drill bit, then the nails tap in easily, or use small wood screws, that go deeper into the moulding for a cleaner look. Putty over the holes and you have a clean look. Very nice finished look. I enjoyed reading and seeing the pictures of the steps.
Amazing job! My hubby and I just got possession of a century-old home, and we’re trying to decorate our baby’s nursery. We really love the look of beadboard, but didn’t think we could install it because we didn’t want to remove the baseboards, since they are the original ones from years and years ago. This is a perfect solution to that problem! Thanks for your step-by-step instructions!!
Just wanted to give you a heads up that I used a picture of your beadboard cabinet on my blog as my inspiration and linked back to this post. I didn’t think you would mind but wanted to be sure and let you know! Thanks for the inspiration!!
Well, I just bought a house that someone went beadboard “crazy”. It’s everywhere, including the Master Bedroom, which I would like to do something with (besides demo). Could I put “paintable” wallpaper over the beadboard? Or…could I give it an “antique” look? I don’t see any help online for papering OVER beadboard or other design options to lessen its impact on a designer (me) who wants a more luxureous, upscale look to the Master and not the cottage look beadboard brings! Help!! Karen
Hi! Just made a link to your page on my blog. I attempted this in our bathroom and it looks great! Thanks for the post.
Oops, here’s the link! http://whateverislovelyblog.blogspot.com/2010/12/beadboard-wallpaper.html
My husband and I followed the directions and put this up on one of the walls in our baby’s nursery. It looked WONDERFUL! The following morning, we went in to take another peek, and the wallpaper was peeling off the walls at all the seams, and some of the pieces had fallen off the wall entirely! What the heck? We couldn’t have followed the directions more closely.
I called the Graham & Brown customer service number and they said the instructions say (mine didn’t) that you have to paint the wall with a “wallpaper primer/sealer” before you put the paper up.
Did any of you run into a similar problem?
Love that wallpaper–I am always using beadboad for all kind of jobs–walls, backing in cabinets, andon and on. Don’t know how I miss it–looks great-will give it a try Thanks Sherron
The paint started falling off the white walls of my bathroom, leaving large green blotches. I didn’t think I would be able to get a smooth surface after scraping and priming, so I decided to try your beadboard wallpaper. I ordered it from you, and ordered some wonderful trim called Hedwig small from Classic Ceilings. It has multiple grooves in it, much like the rest of the woodwork in my old house. The wallpaper was SO-O-O easy to install! I only had a little trouble cutting around the bottom part of my window frame (there must be a trick to it). After some uncomfortable time spent getting used to a miter box, I managed to get all the trim work done. I painted the wallpaper and trim with a
satin white. The final results look like a professional did the room! I can’t thank you enough for your tutorial. I think everyone should try this product- it yields truly remarkable results!
Gosh, what a great look! I wish I would have seen this before I put the real thing in my master bath. My handyman really didn’t know what he was doing and the panels are not really flush in spots. I’m sure he didn’t secure them with Liquid Nails but I would prefer the paper, too late. Next time try drilling(if you have a drill) a tiny hole before nailing and it’s easier to hammer in and to counter sink. You did a great job!
Thank you so much for sharing this wonderful idea!!!
I have so many things I want to use it for now!
hello! your project provided me much inspiration — i’m about to try it out! but, i can’t find the cute molding (reeded?) that you used here. i looked at home depot. may i ask where you found it? thanks!
.Julie, I can’t remember where I got that, but it was HD or Lowes, that’s where I buy everything! It doesn’t matter what kind it is, you can use anything small instead, so take a look out there.