It’s the day many of you have been waiting for! The reveal of Buck’s flip house is finally here. He finished the flip house in 4 months, 2 months over what he was projecting. But isn’t that how renovations go? The timing is never what we think it will be. I’m so happy to share Buck’s excitement on completing this renovation project and getting this flip house on the market. I can’t share all the particulars of pricing and project costs yet, but Buck will let me share after the sale.

Buck and I celebrating his flip house finale. It’s been fun to follow him on this journey and I was pretty glad it wasn’t me doing the work this time.
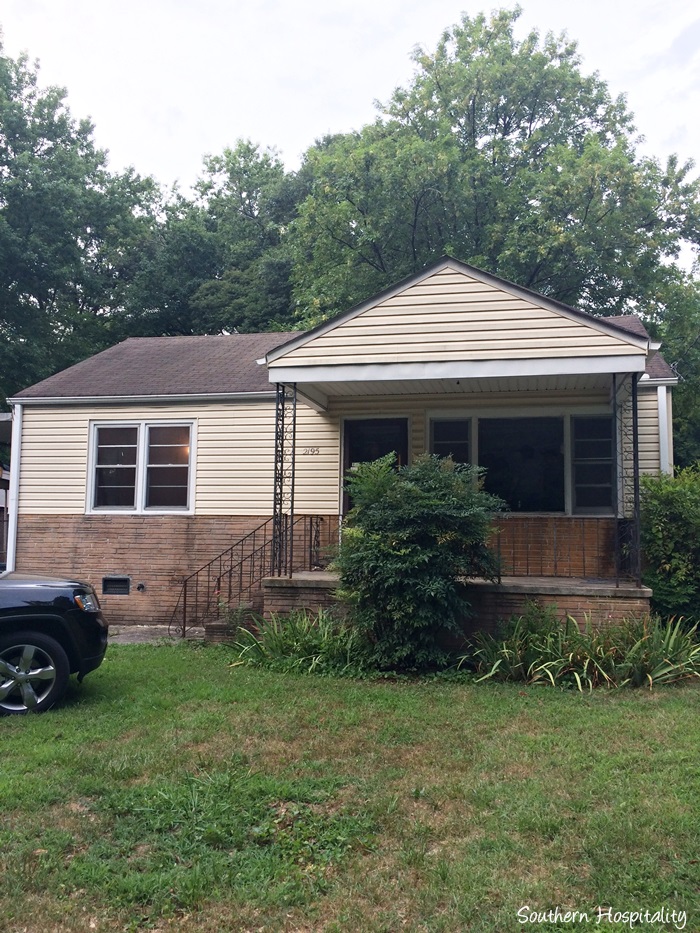
You will remember the state of the flip house before. If you missed the earlier posts on the flip house, you can go to these posts to catch up.
Back in July, I introduced Buck’s Flip House, with all the Before pics. It was pretty bad!
Then, in September, I did an update showing the progress, pre kitchen install.
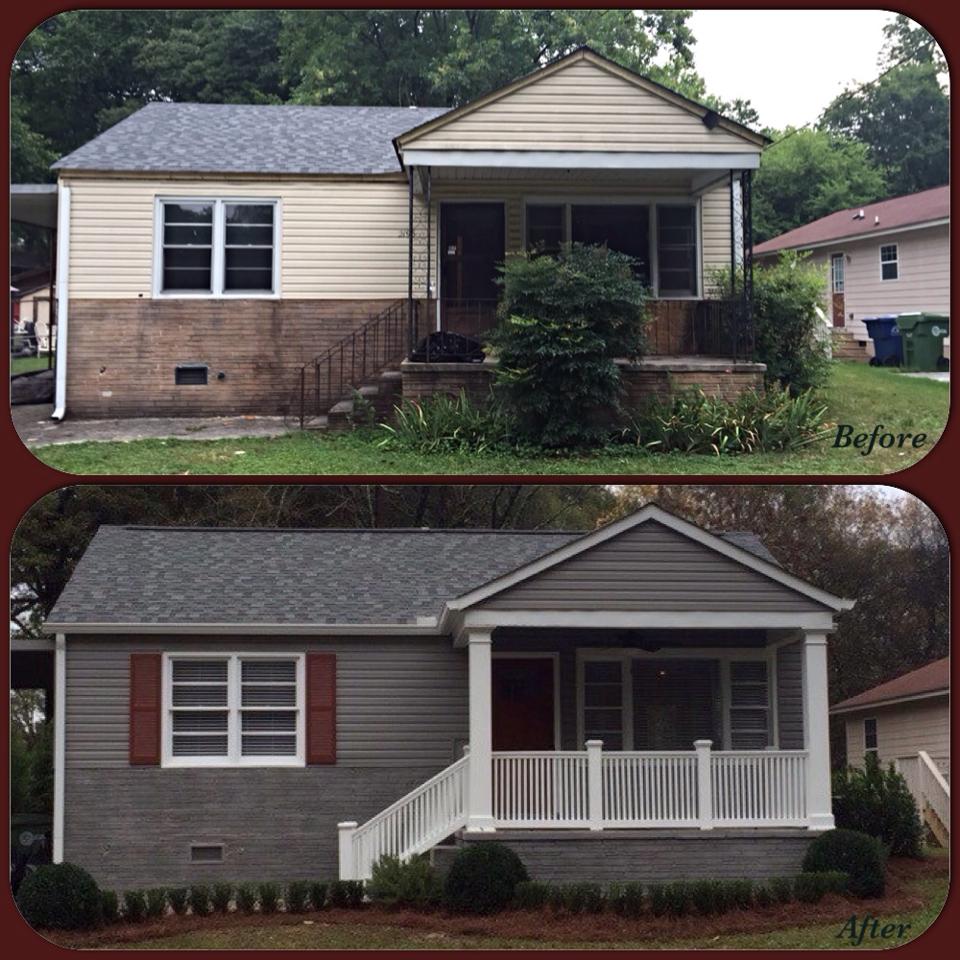
Here’s a great visual that one of Buck’s friends put together.
Exterior: After
What an amazing difference, don’t you think? I love to see dramatic Before and After pics of homes that have been renovated. It never gets old. Amazing what the new paint job did for the house, as well as added chunky columns and railings. The new landscaping didn’t hurt either.

So, come along and we’ll check it all out. Buck has a business partner on this project and it was a joint collaboration on everything.
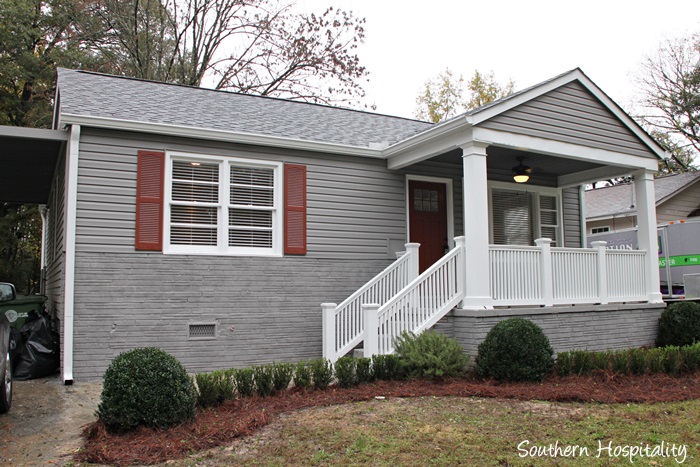
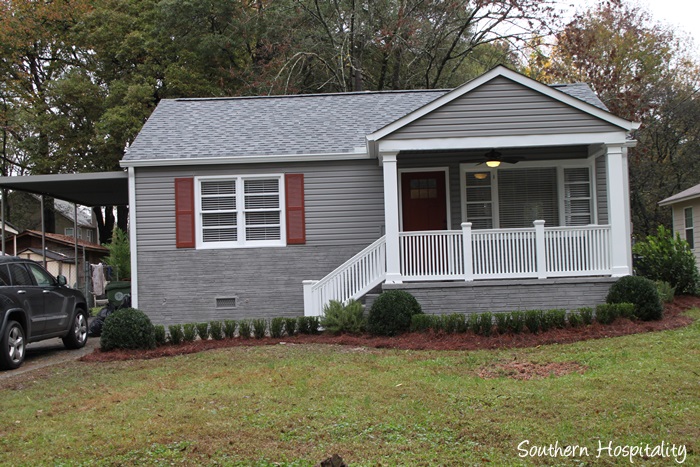
Curb appeal from the street has been greatly improved. Buck was asking my opinion about taking down part of that fake rock on the front of the house.
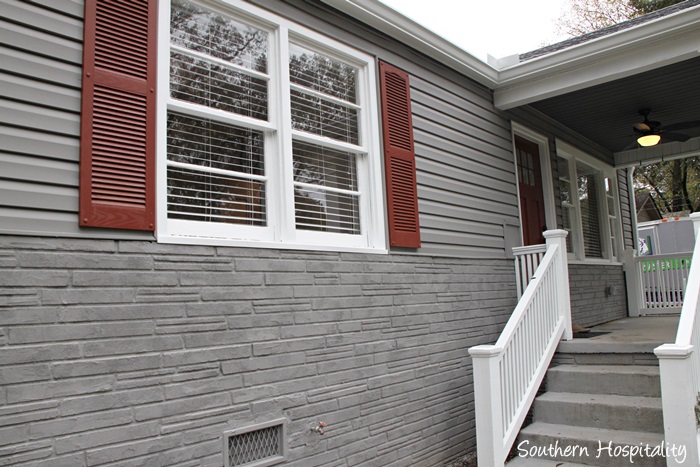
I told him I wouldn’t bother, because once it was all painted, it would all blend together. And it does! The different textures just adds to the appeal of this cottage home.
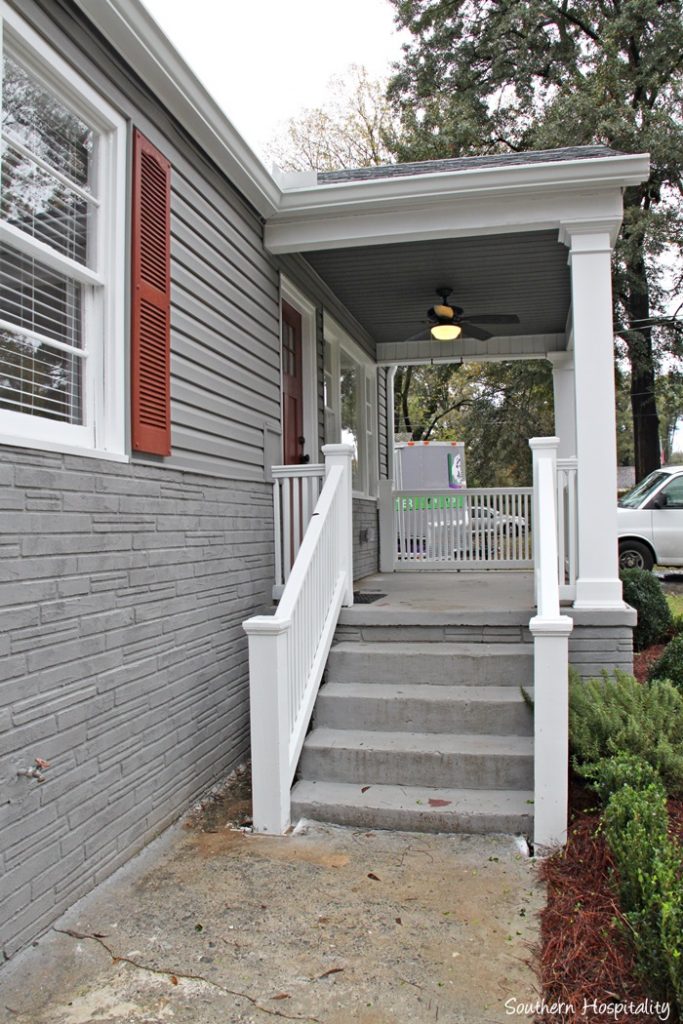
Front stairs and the new railings make a huge difference too.
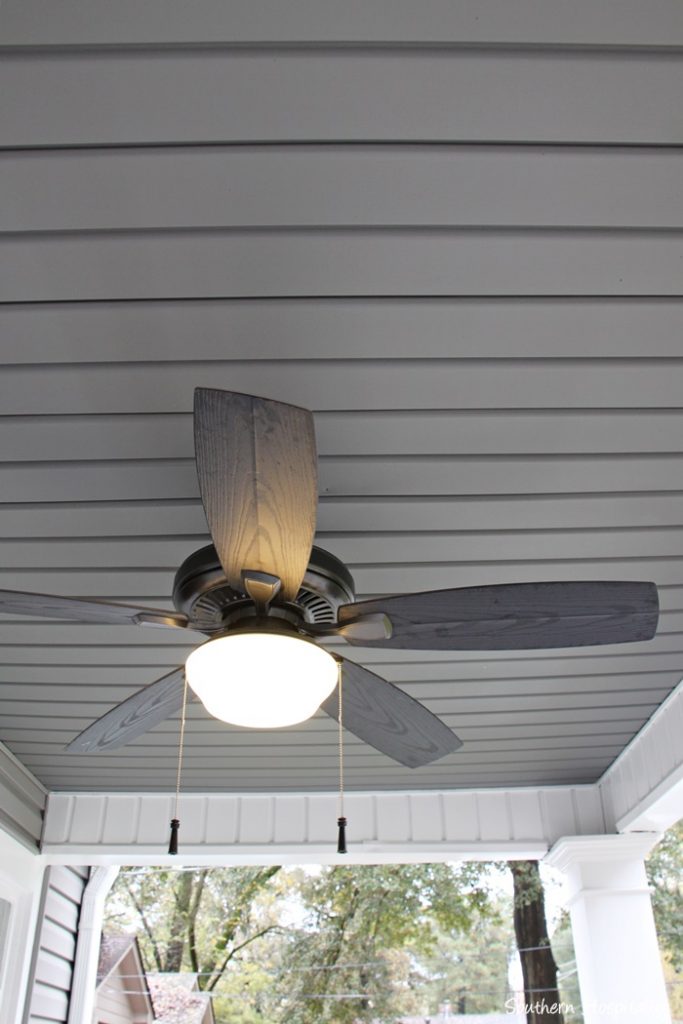
The ceiling got a new fan on the front porch.

Newly painted front door. Love the style of this door. I had to go back and look, but yes this front door is new and very charming.
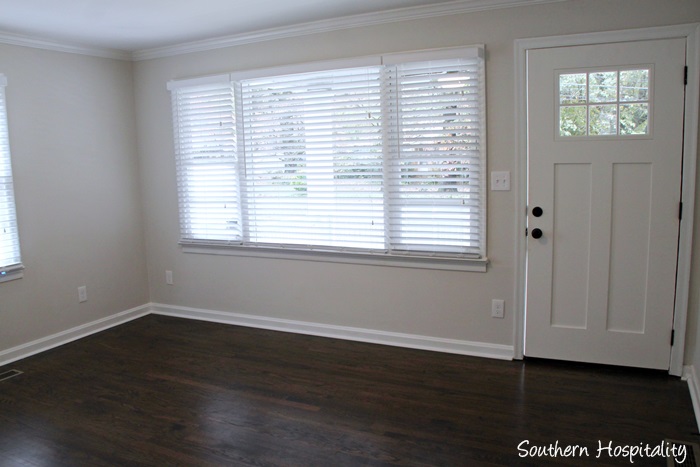
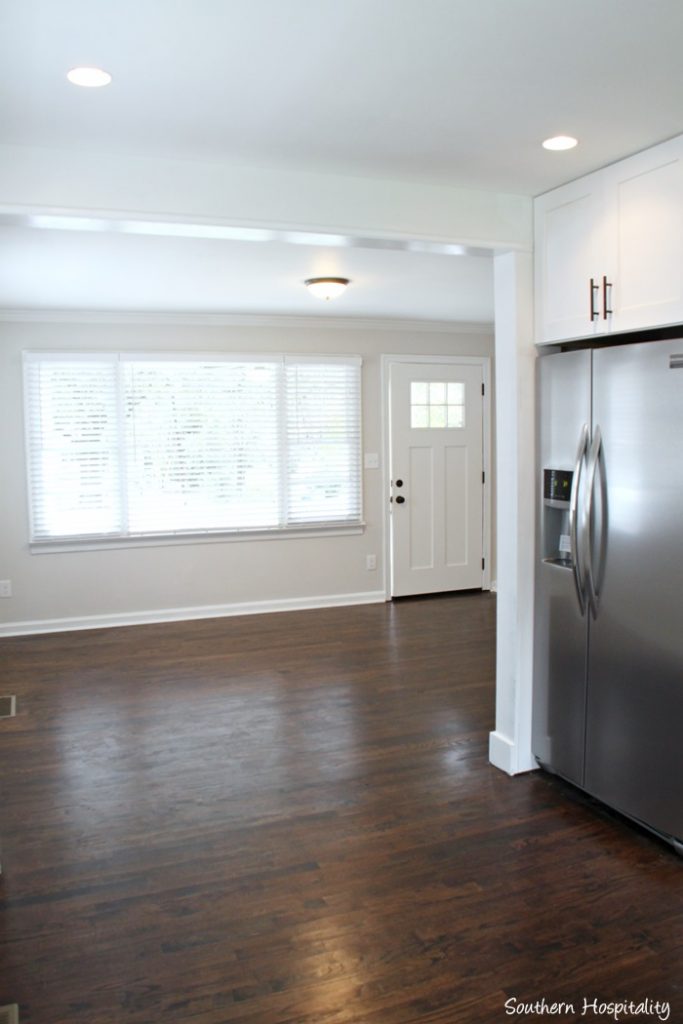
Inside in the living room, you can see all the floors have been refinished and look gorgeous. I had to get on the floor and pet them, they are so pretty. Most of the original floors could be saved and then he added additional new wood in the kitchen and other areas and had them all refinished together in this beautiful brown stain.
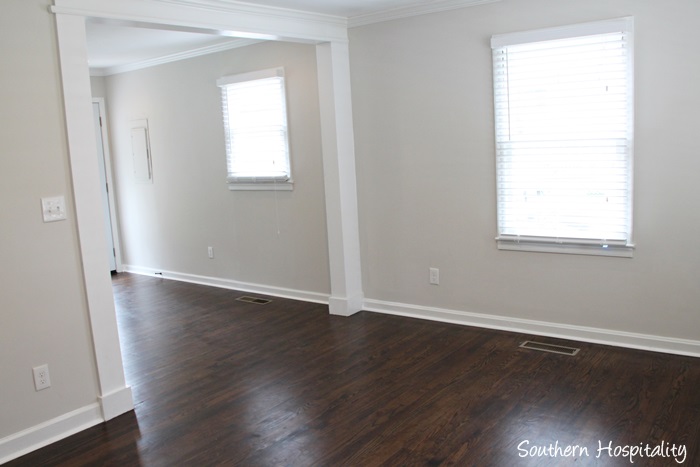
Everything looks so clean and fresh now.
He knocked down this wall between the kitchen and living room and that really opened up the house letting in tons of light. Additional moldings around this doorway and crown molding throughout the house adds a lot of appeal too.
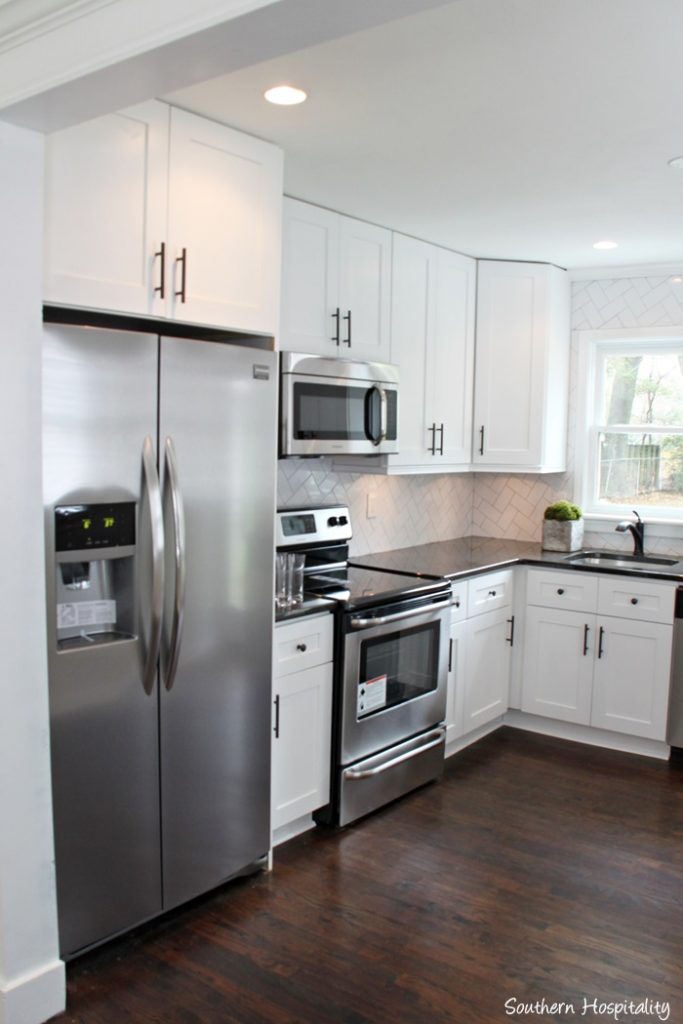
He opted for Shaker style cabinets in white (my personal fave!) and the kitchen came out clean and classic.
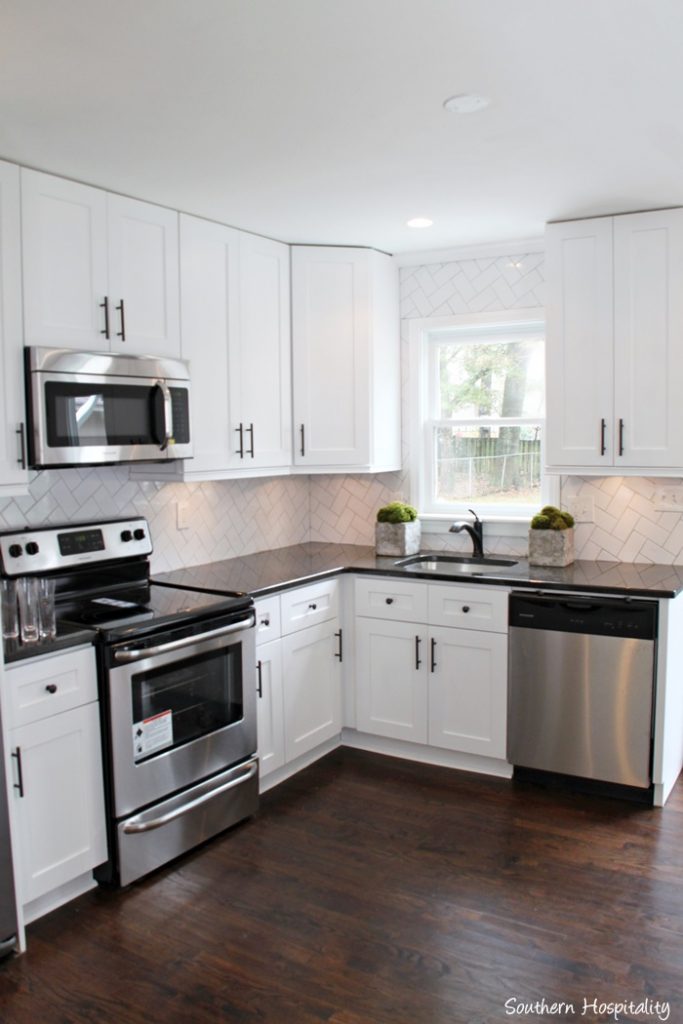
Subway tile on the diagonal was chosen for the backsplash.
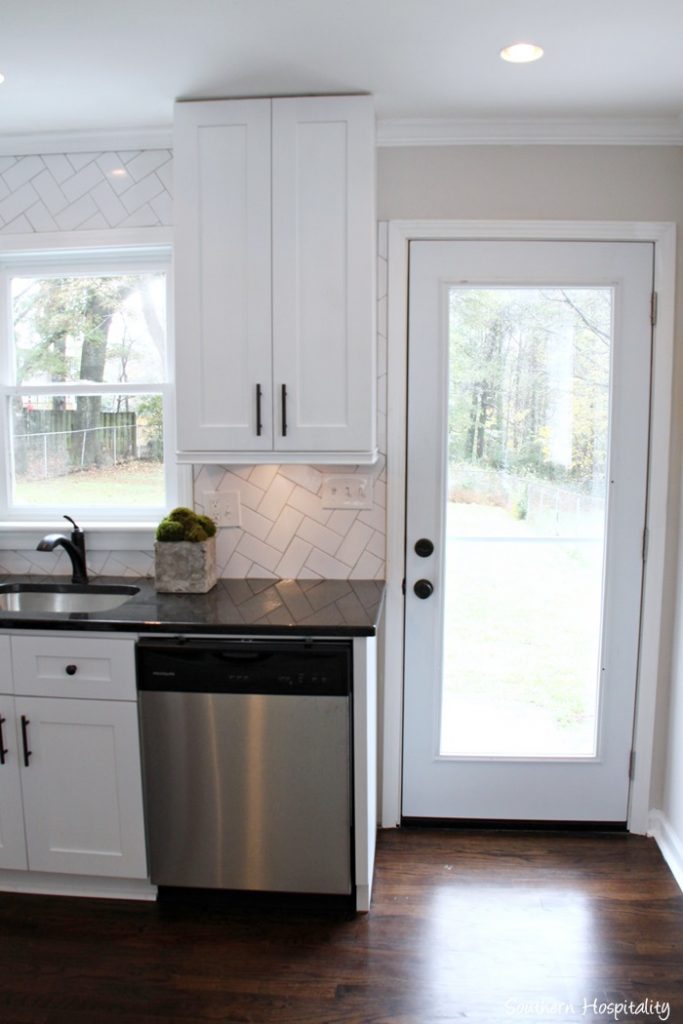
A new window was added over the kitchen sink and the backdoor has glass which lets in tons of light.
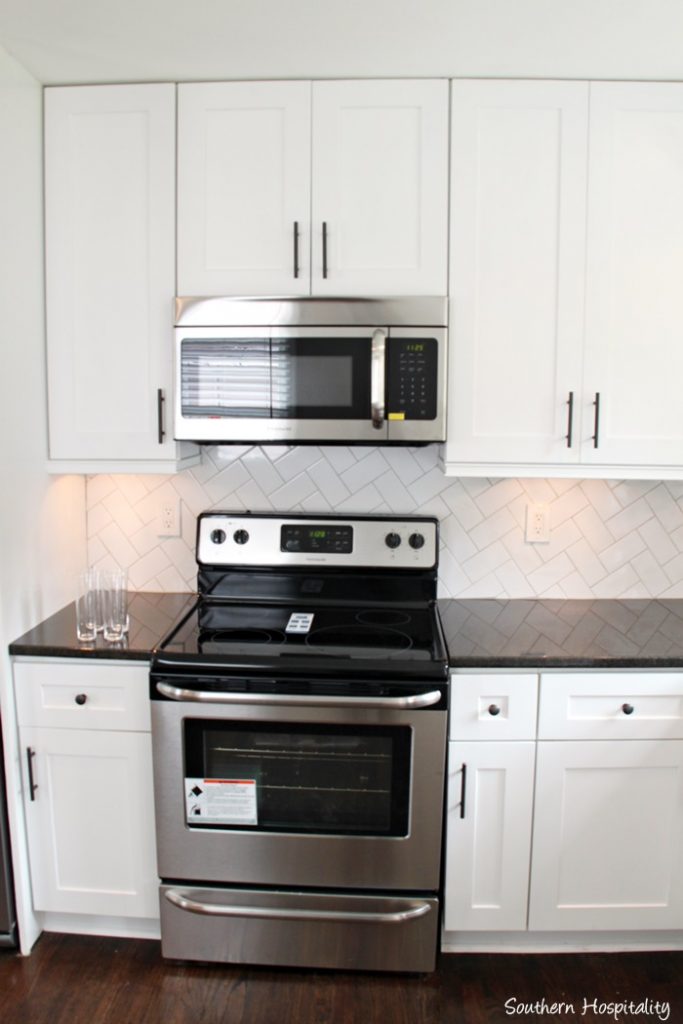
Stove and microwave side of the kitchen.
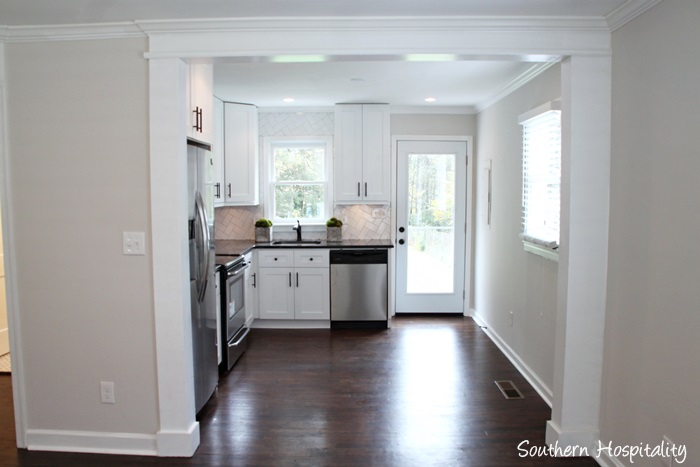
Looking back towards the front door.
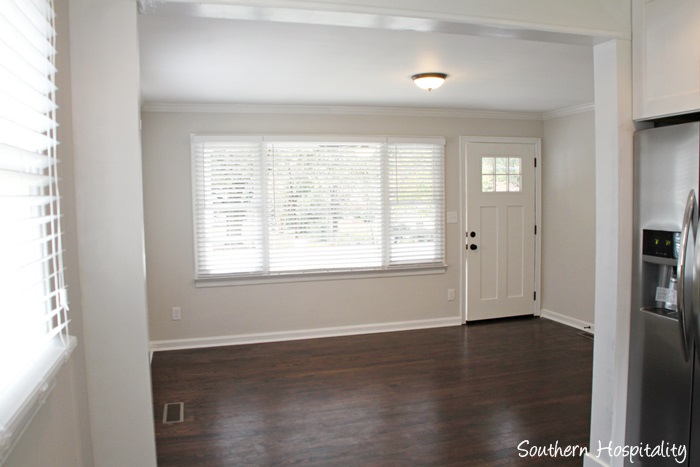
Another view of how open it is now.
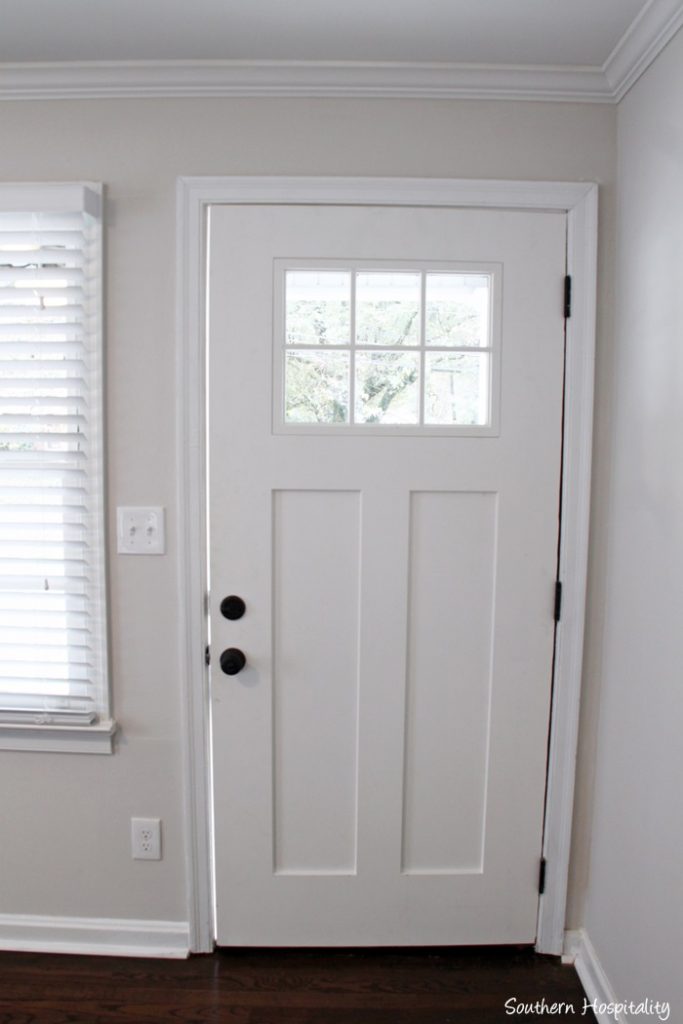
That pretty new front door.
Looking into the little hallway with the first bath.
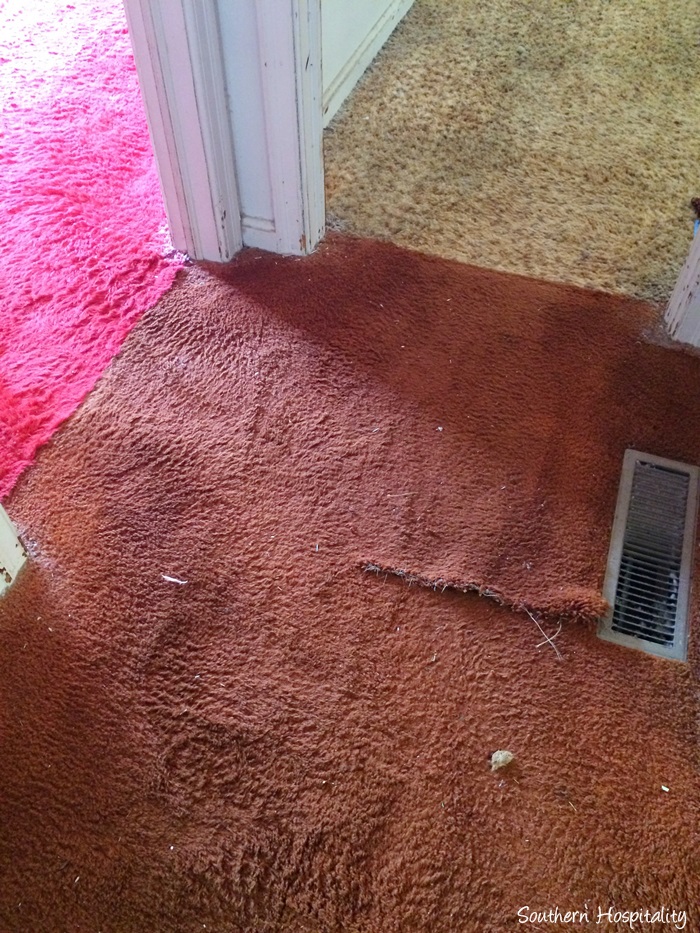
If you remember, I took a picture of the floor here in the hallway in the first post, where 3 different carpets collided together. It was not a pretty sight. Oh heck, let me put that picture back in here so you can really appreciate the after.
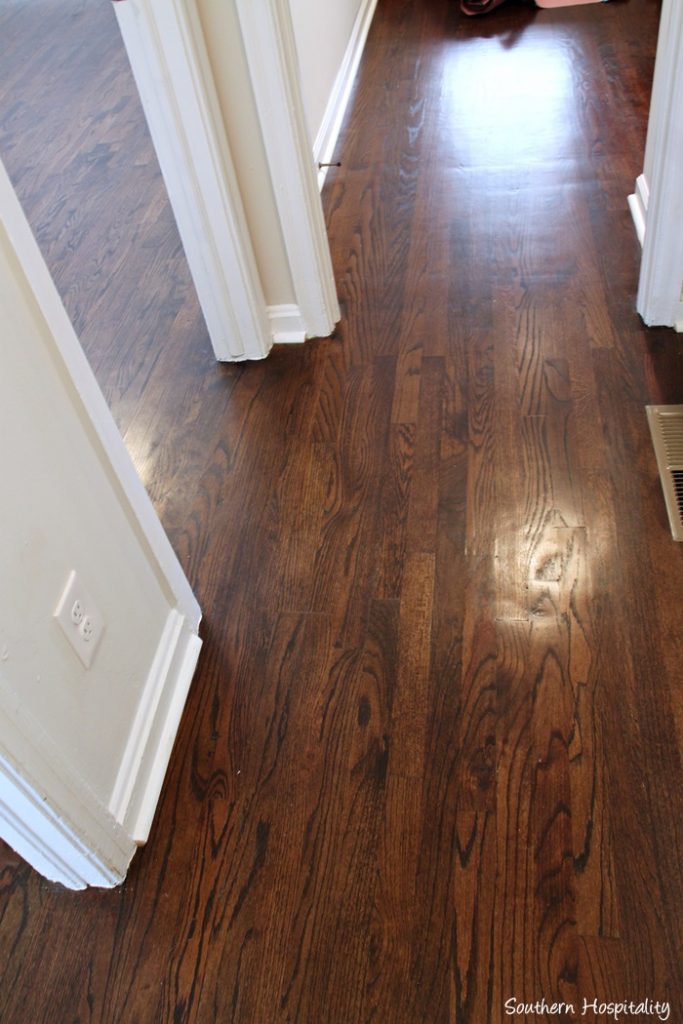
Now, gleaming hardwoods are looking so classic and timeless.
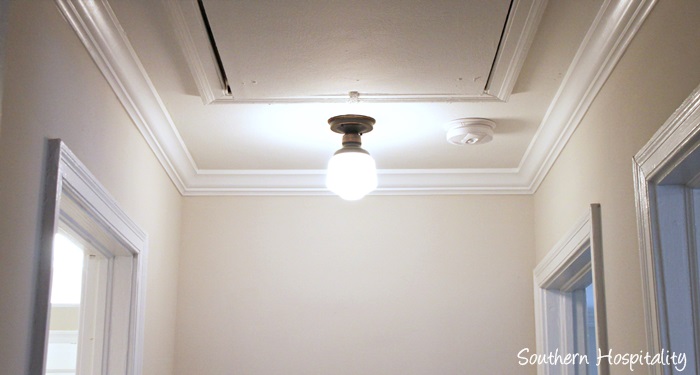
Cute schoolhouse light in the hallway.
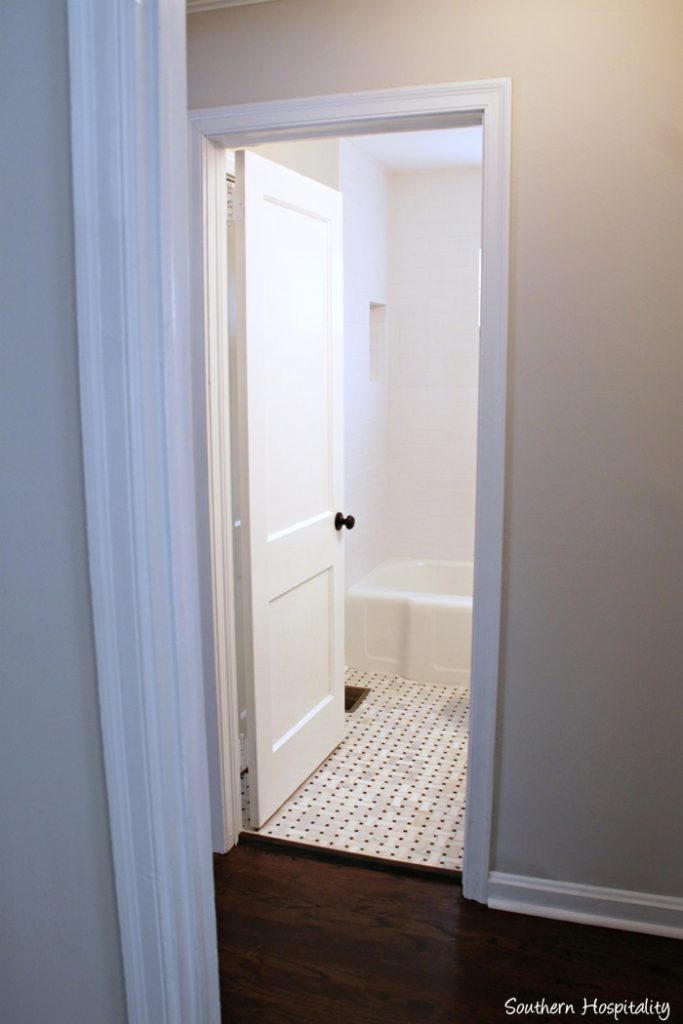
Looking towards the first bathroom.
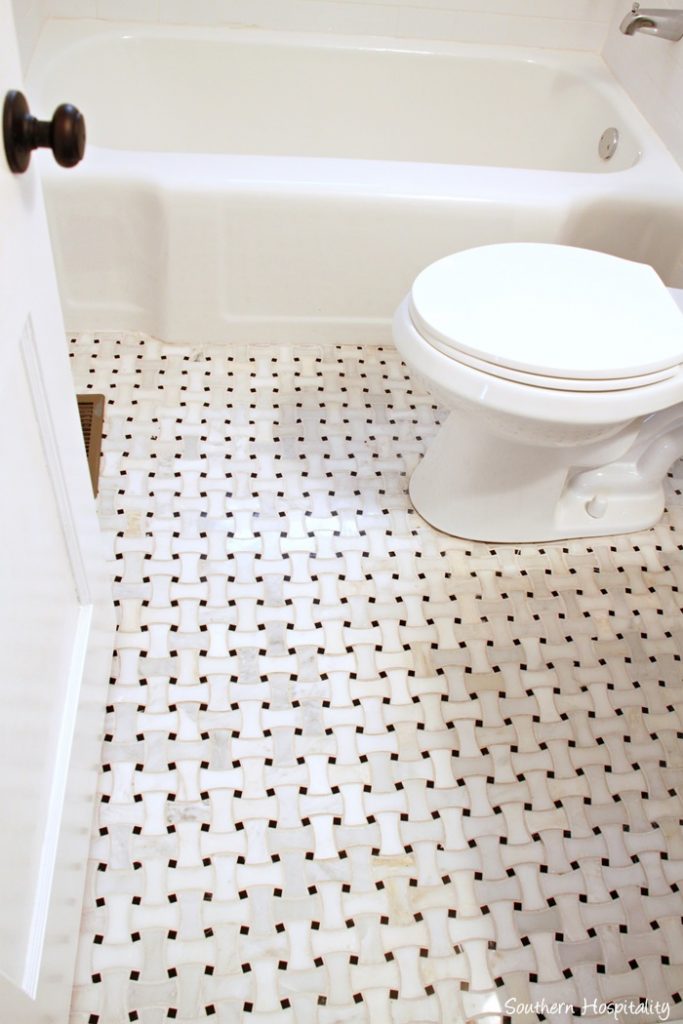
Basketweave marble tile went on the floor, making this a very classic and modern bathroom. I’d love to do something like this in my master bath. Maybe soon!
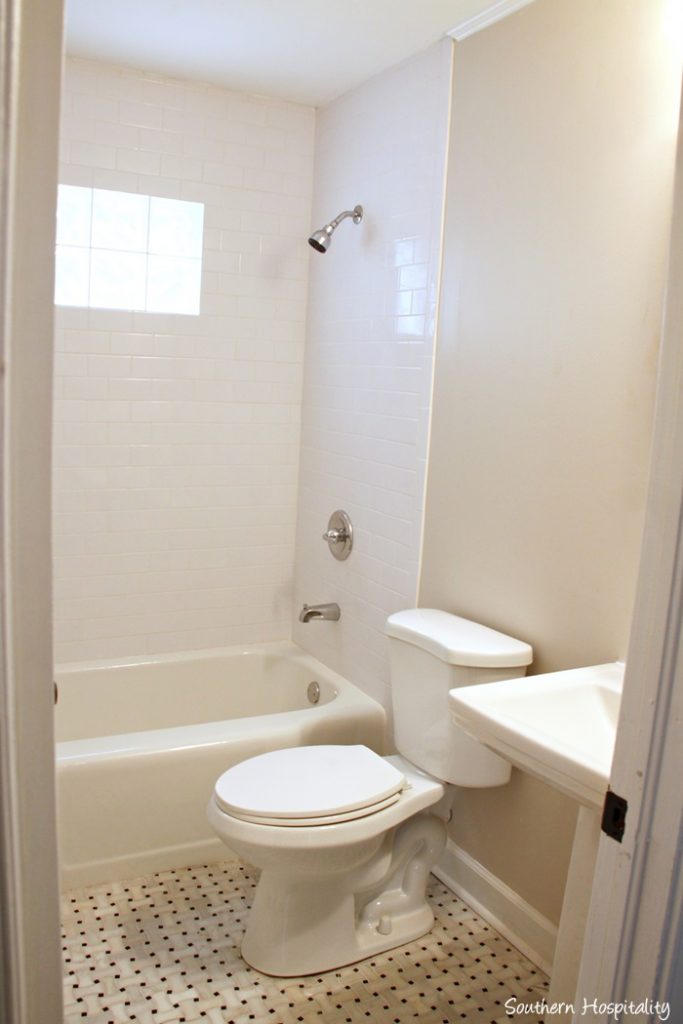
It’s not a big bathroom, but houses a tub/shower and pedestal sink.
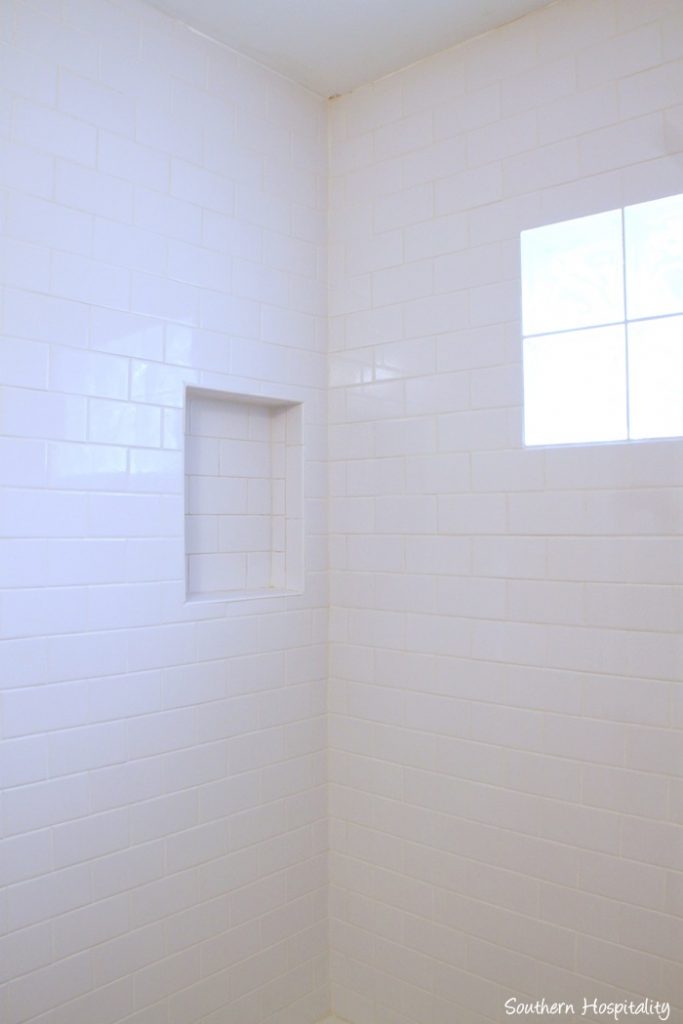
The shower got tiled in classic white subway tile.
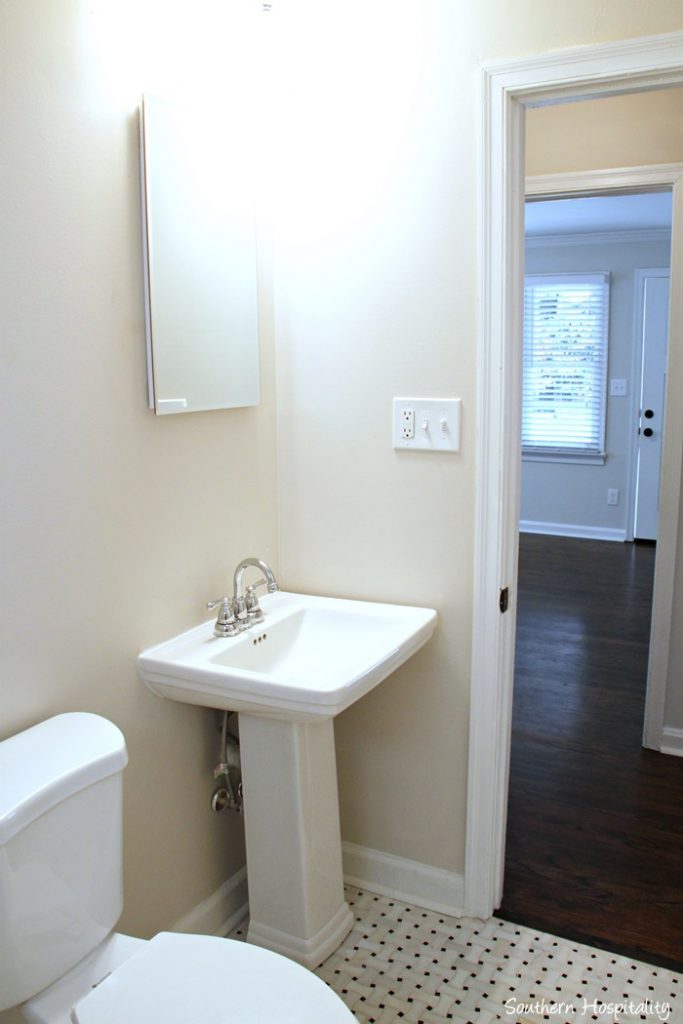
Space saving pedestal sink fits in the corner.
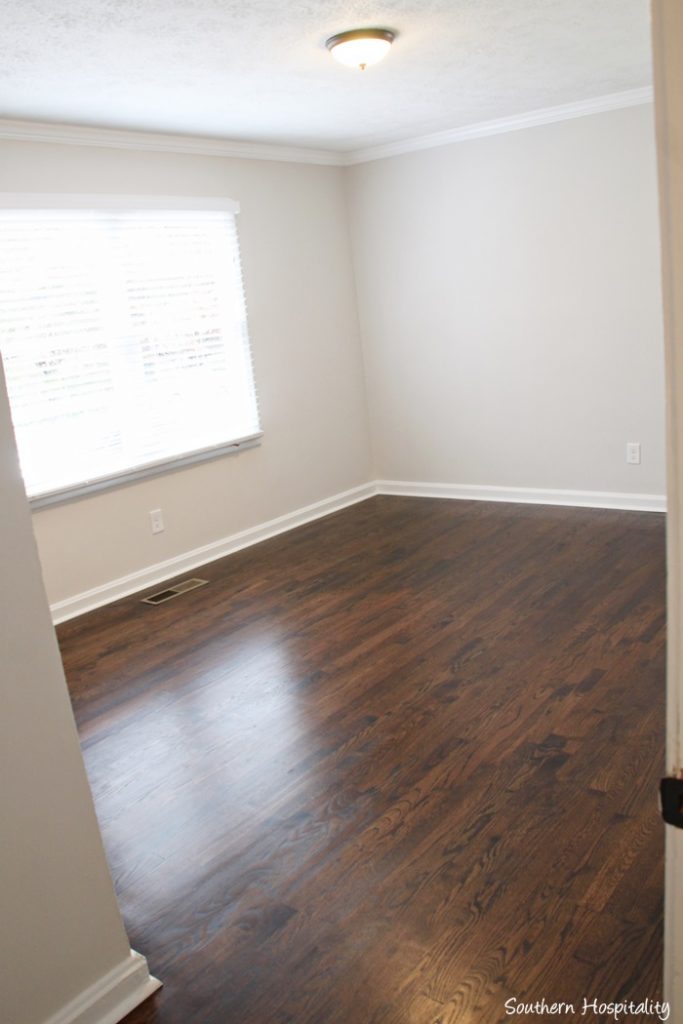
Bedroom # 1.
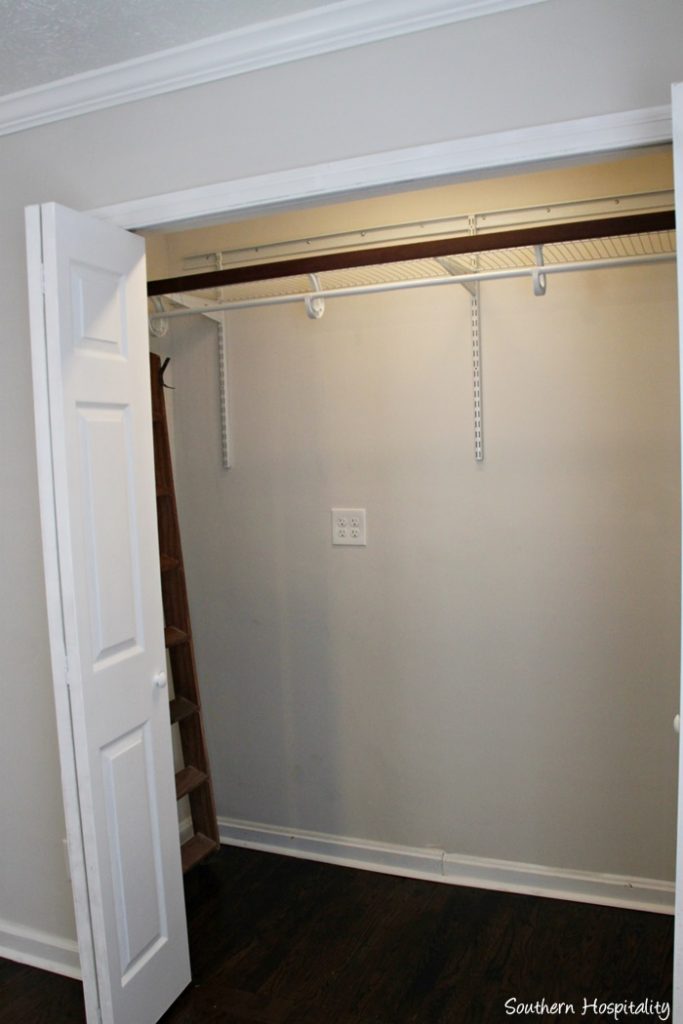
A closet that was in the living room was closed off and that space was added to this closet, making it a nice long semi-walk in closet.
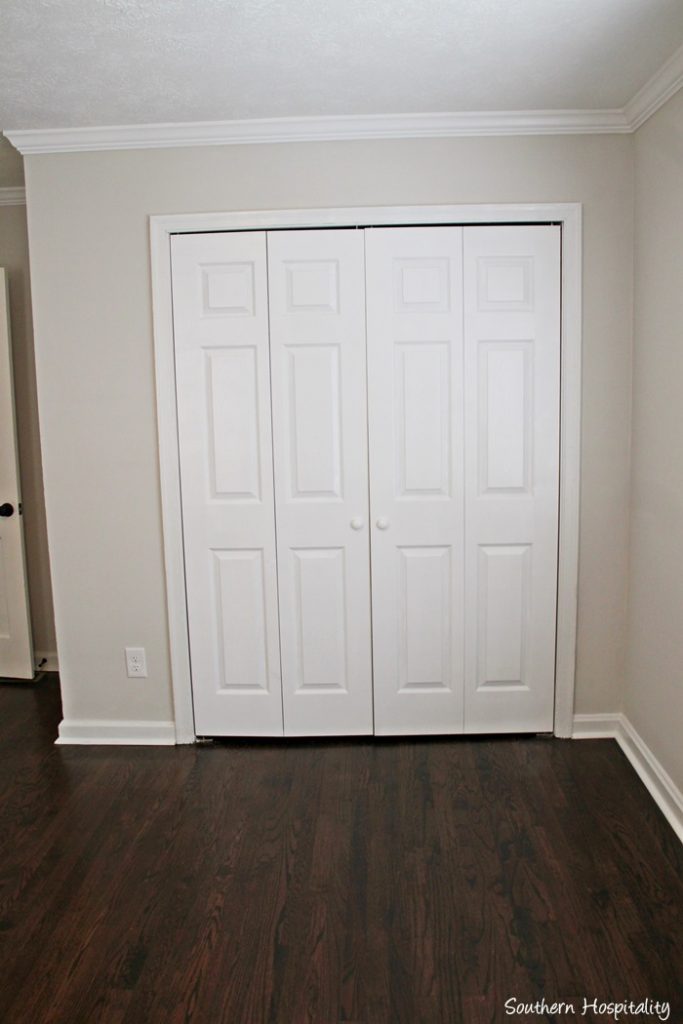
Doors shut.
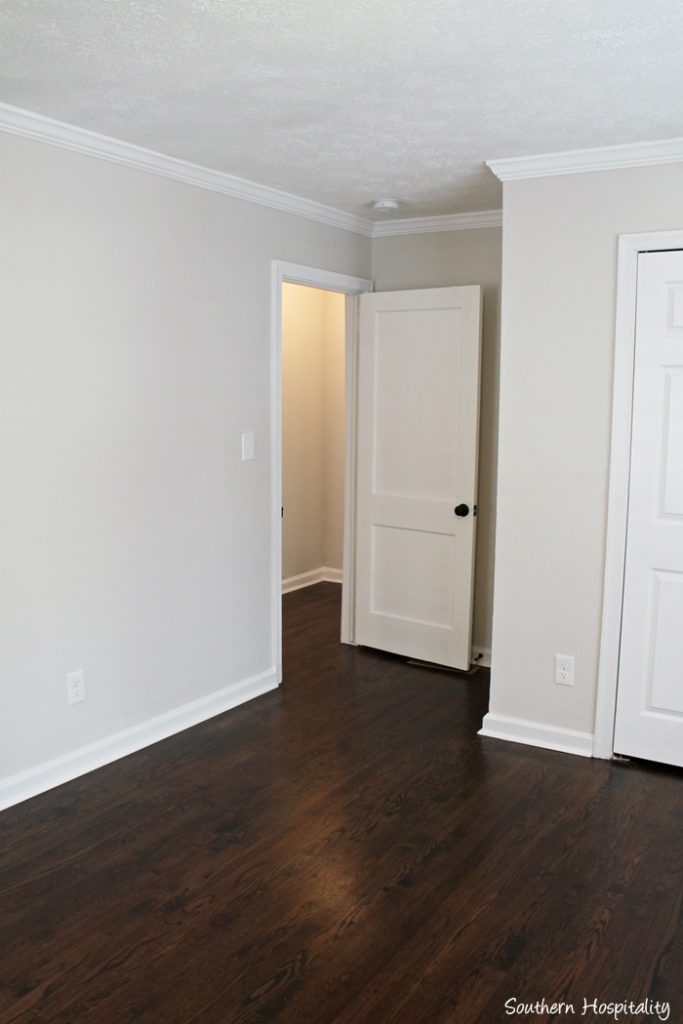
Looking back towards the hallway.
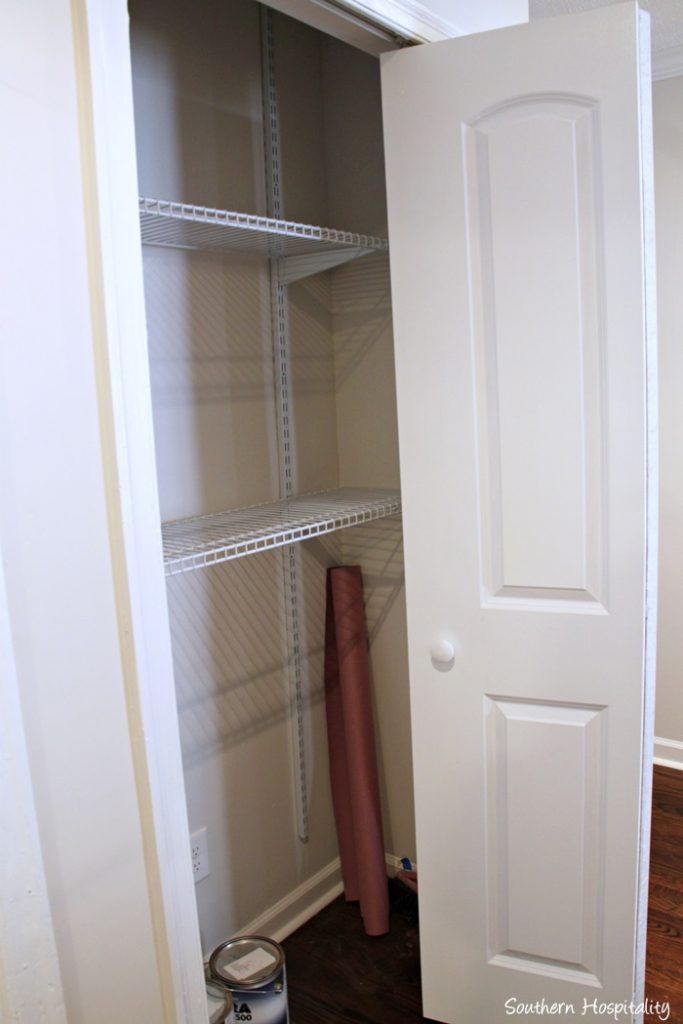
The next room that was really a walk-through space to the added on master bedroom was annexed for the master closet. This room had space for a closet and the laundry room.
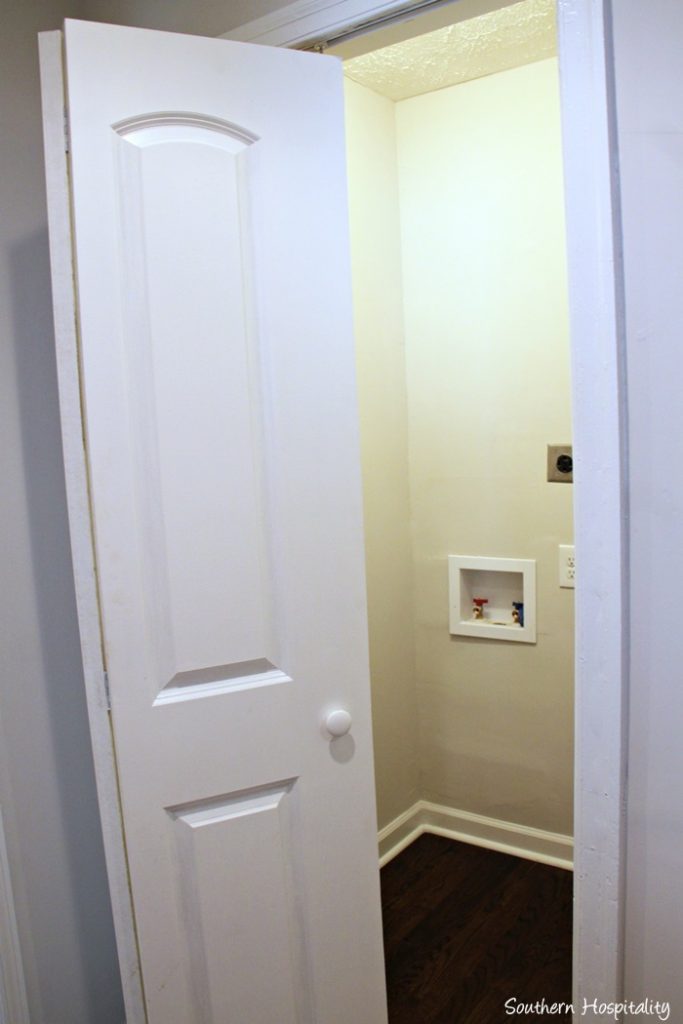
Laundry closet in this middle room.
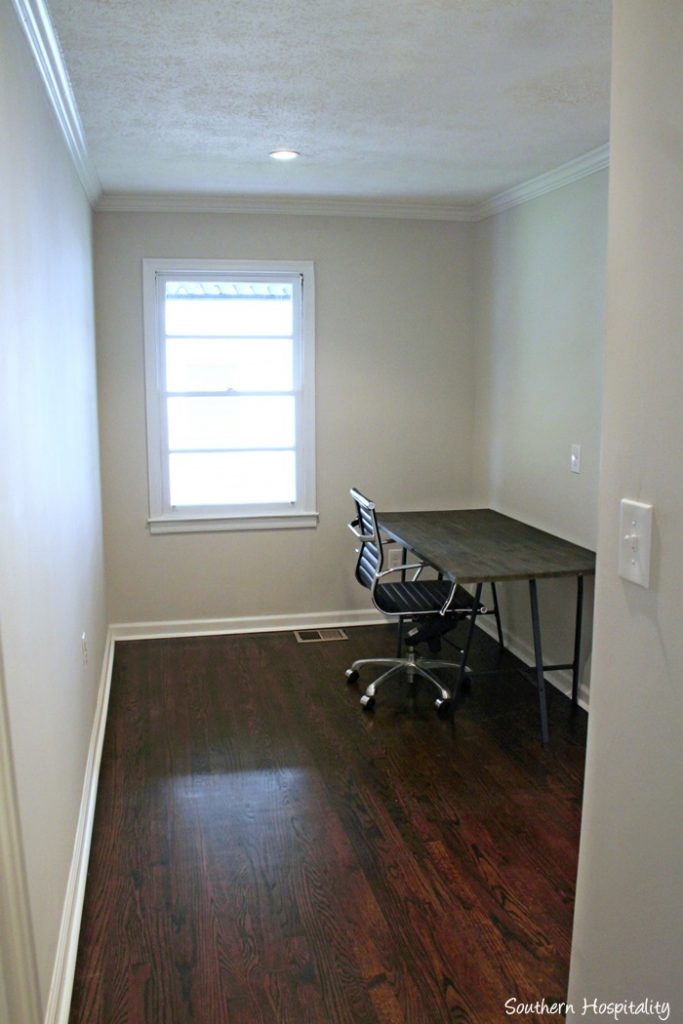
Not big enough for a bedroom and a pass through to the master, it’s a great space for an office.
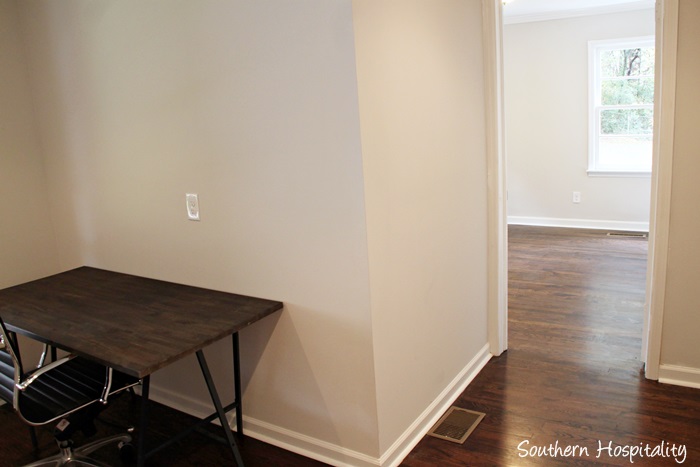
Looking towards the master bedroom.
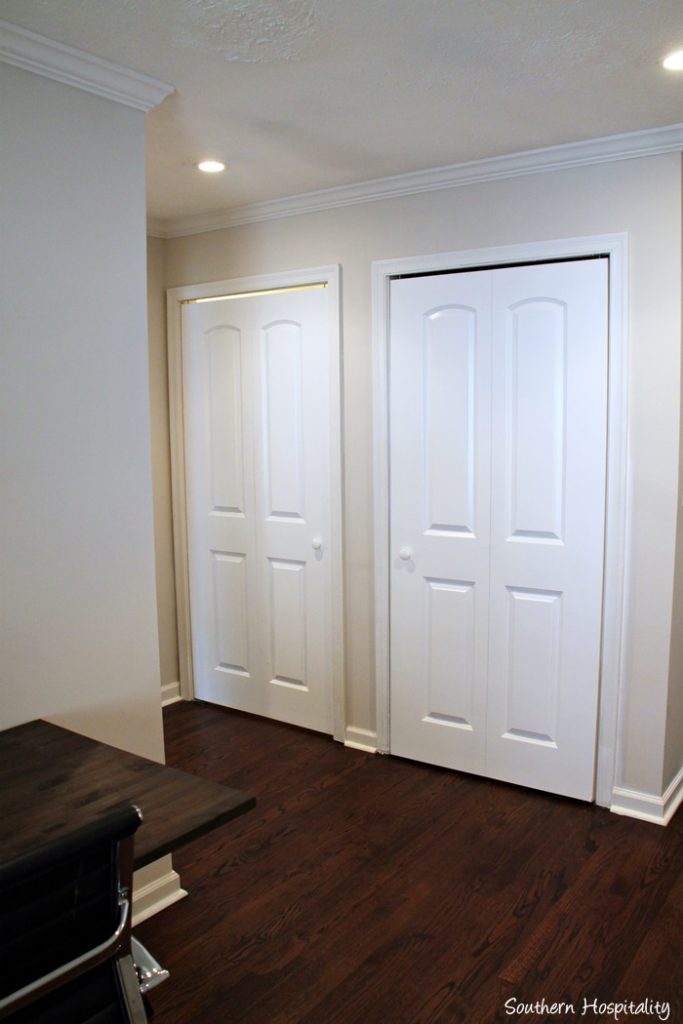
Those 2 closets. One on the right, storage closet. Left is the laundry closet.
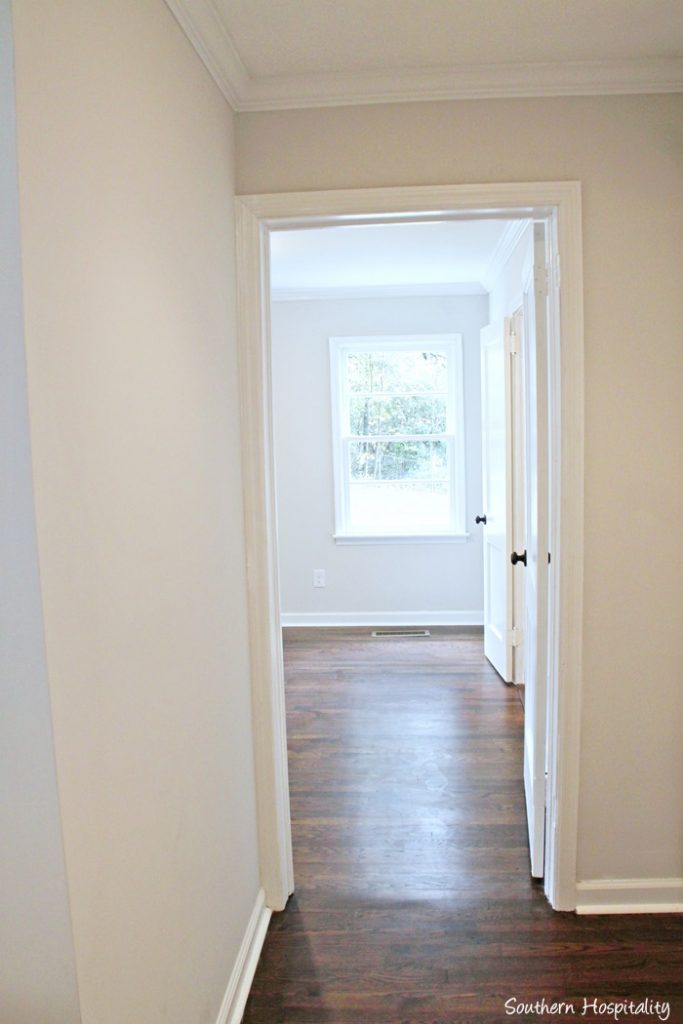
Master bedroom view.
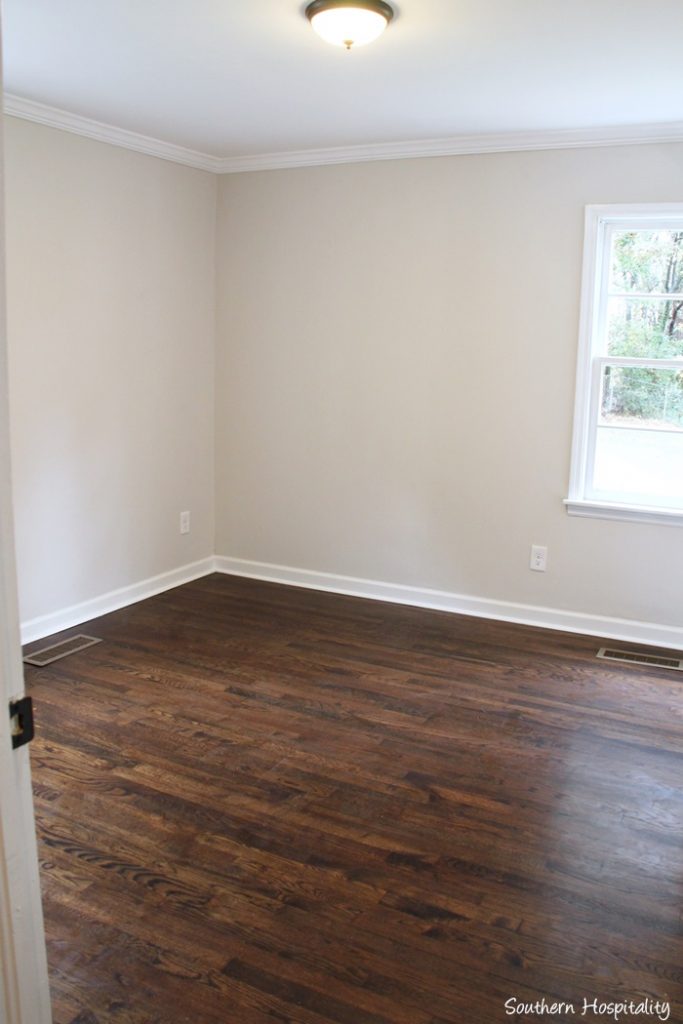
Master bedroom, not a huge space but sufficient. This is a 2 bedroom, 2 bath house.
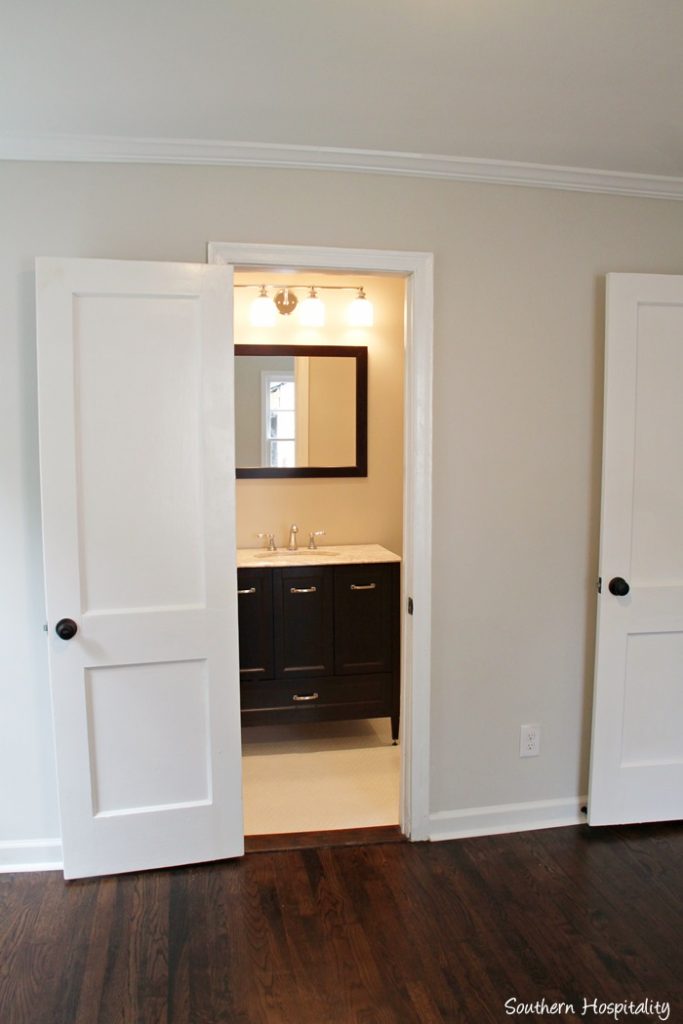
The new master bath was installed in the old closet space of this room.
It’s long and narrow, but fits everything in that is needed.
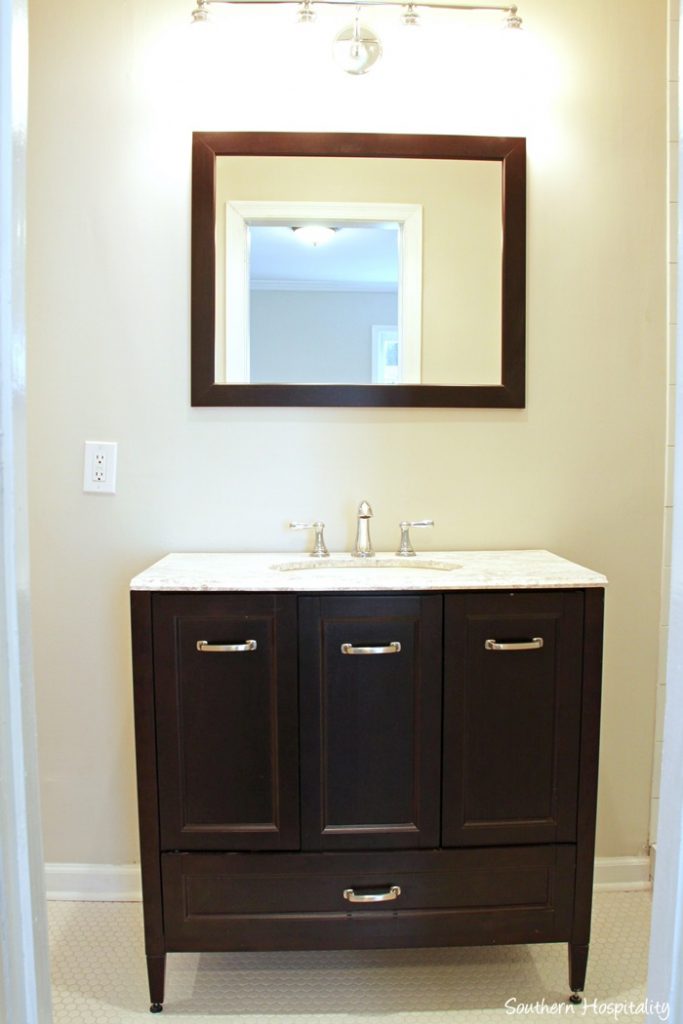
Sink vanity.
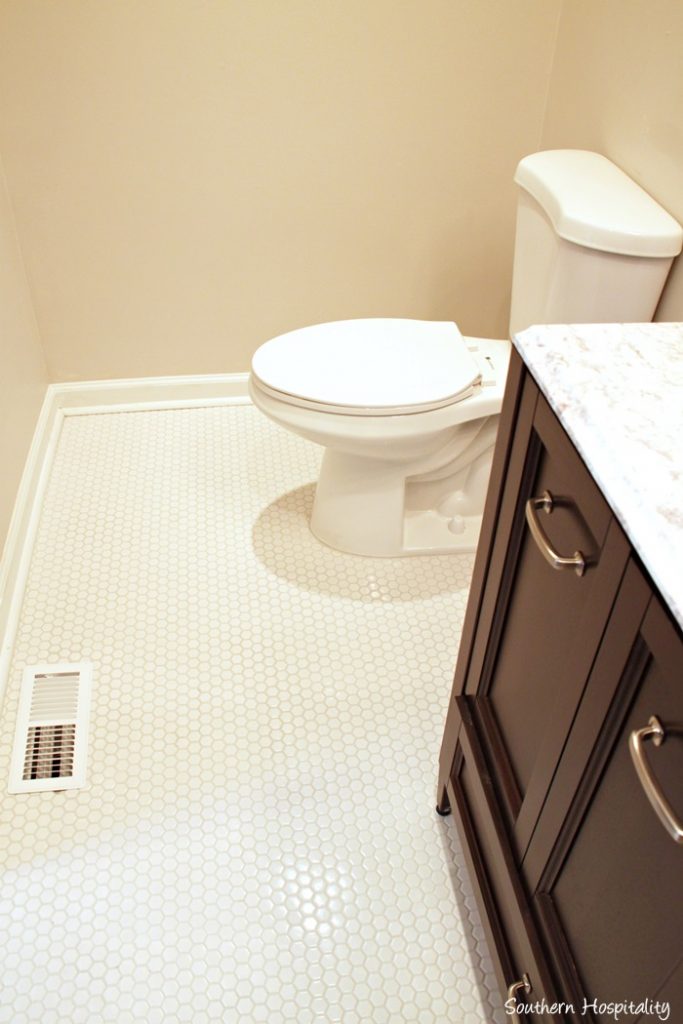
Pretty white hex tile on the floor.
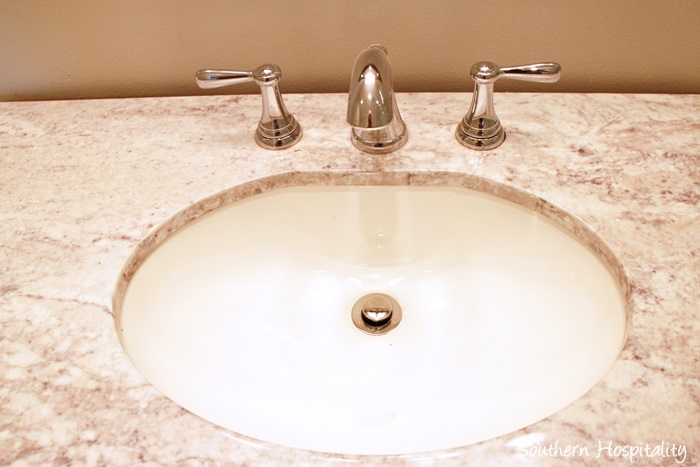
Sink in the vanity.
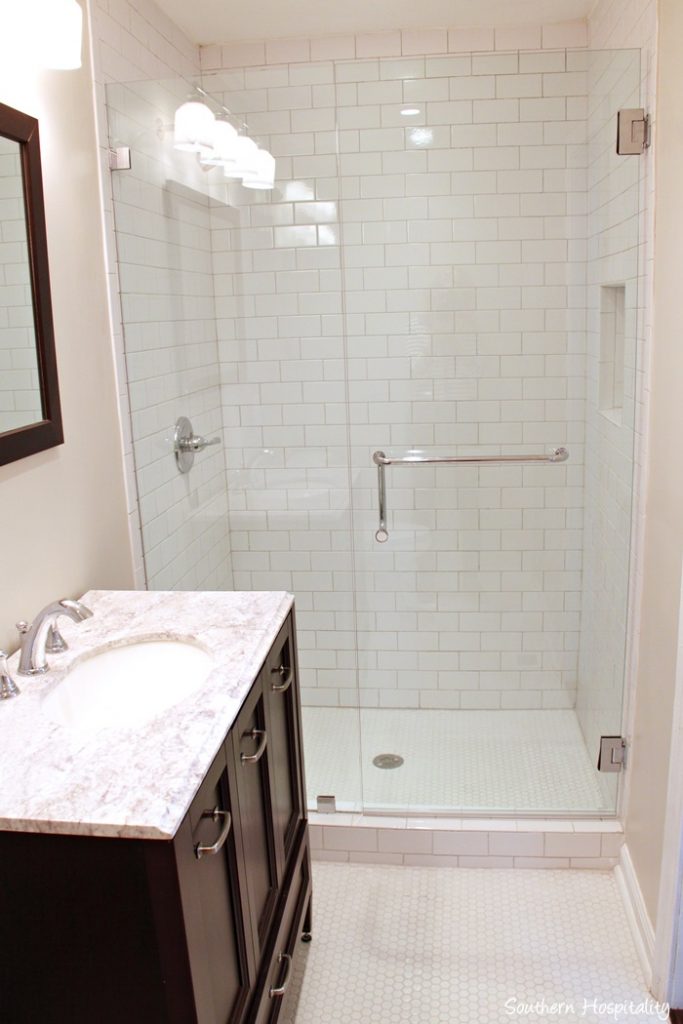
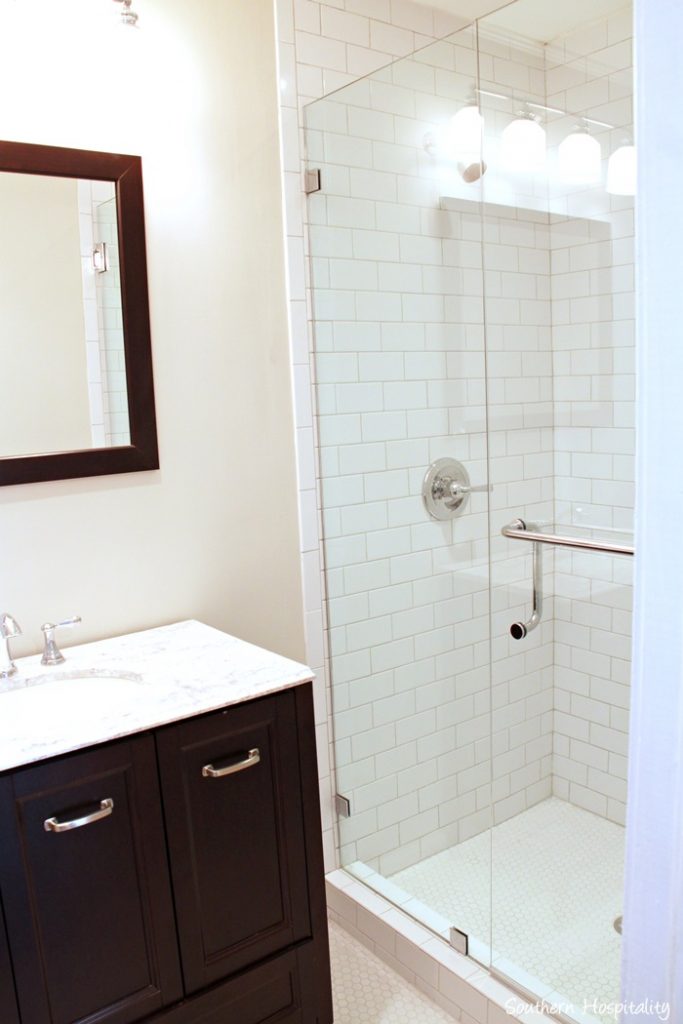
And a nice tiled walk-in shower on this end.

And lastly, the master walk-in closet. Small but functional.
I think that Buck did a fantastic job with this house and the space he had to work with. It came out so great and I know someone will be happy to buy this house, inside the perimeter. I’ll keep you posted on that and can share more details after the sale. If anyone is interested in the house, just email me and I’ll put you in touch with Buck. It’s on the West side of Atlanta off Bolton Rd.


HUGE differences for the better! Another home run for Buck. He’s really got it down to a science.
What brand/color is the front door/shutters? LOVE it!
Hi Katie, the brand is Behr and the color is Royal Liguer – PPU2-10 – It appears way more red in these photos than in person.
Liquor, no Liguer. Typo.
WOW! What an amazing transformation! Buck certainly has a knack for turning an eyesore into eye-candy. 🙂 Thanks for sharing!
I love it!!
Your pictures are out of order. You might want to double check before posting. It’s confusing.
They aren’t out of order. I started at the front of the house and worked back to the bedrooms.
Pictures seemed fine and in order to me–I understood completely–good job as usual.
I love the redo!! The biggest impact is the front, love the porch and new front door and you were right, the brick face adds more visual interest, love it!!
So smart to open up that kitchen to the LR, makes the entire place much more spacious and light filled.
He and his partner did a great job on this house in 4 months! I hope it sells quickly so you can share all the info with us. I would love to know the color of the stain he used on the floors. Thanks for sharing Buck!!! Mary
Hi Mary, thank you for your kind words. The color is called “Dark Walnut.” I love it because it has a nice blend of brown and black. My Father saw the house last week and he couldn’t get over the color.
Really great job. Won’t last long in the Atlanta market!
I love a good before and after, and this one is fantastic- wow!
front door needs weather-stripping. the first photo shows you two up against some painting that needs cleaned up a bit –otherwise, fantastic presentation! love this house!!
Gilda, that is not the same front door, it’s a different house.
Such a happy little house now, it looked so forlorn before its make-over. Is it just me or does the tile in the kitchen look out of kilter? It’s not a true herring bone pattern, but it does look –off, somehow.
Hi Jan,
The “look” of the herring bone pattern may appear slightly different because I learned AFTER the tiles went up that true Herring Bone usually uses a longer subway tile. That’s probably what your keen eye is noticing.
I love the transformation – I am a Realtor and feel you hit all the right buttons for a great flip – Bravo! I love it and think it will sell quickly 🙂 thx for sharing
Thanks Sandy. We did get a contract after 5 days on the market. The inspection went well yesterday and now the appraisal is the next step.
any news on prices before and after? looking to do a flip myself, just curious
HI, Courtney, they preferred not to share that part online. Thanks!
What a sweet cottage! I would live there in a heartbeat. I agree that the front door needs some weatherstripping. Painting the fake stone the same color as the house was a good decision. I think having shutters that are larger as though they could close to cover the windows, attached with proper shutter dogs, would do much to improve the curb appeal too. For the final touch I would add an English style hay rack window box. Congratulations, Buck, on this splendid flip!
Hi Patricia,
I agree with the window box idea. I envisioned that from day one. And I could have went on and on with this reno but had to stop at some point. If I were going to live there, you’d see the most glorious window box ever created. Thanks for paying attention.
Here’s to the first of many successful flips Buck Davis
Thank you Paul Nooks.
Love the exterior and the interior! What an amazing job. I’d love to have seen the whole house staged with furniture so you could get a really good idea of how furniture would fit in the rooms. It’s looks like a very small but cozy place. Love the kitchen and the bathroom finishes.
That is awesome!
Adorable house! I love all of the renovations. It will be snatched up very soon! So cozy and cottage-y! Great job Buck!!
What a beautiful home – he did a wonderful job .. It will sell in a minute !
The home looks perfect to me – are some readers looking at different pics than I am ? I love the front door!
What a beautiful labor of love! Please share with me the color chosen for the exterior of the front door?
HI A. Hughes, Behr Royal Liquer – PPU2-10