Last week, I shared how I put together the bookcases, getting them ready to start this project. It’s gone in phases, with the next phase being getting them secured in place and screwed to the wall, ready for trimming out. We got that part finished this week and the only thing left trimming them out, which we got started on and have yet to finish, then I’ll paint it all out the same color as the bookcases and this will be a finished project! Can’t wait to get this done and that corner all finished, although I’m going to order some chairs for that area and that will be a few weeks out too.
Little by little, this corner is going to be transformed.
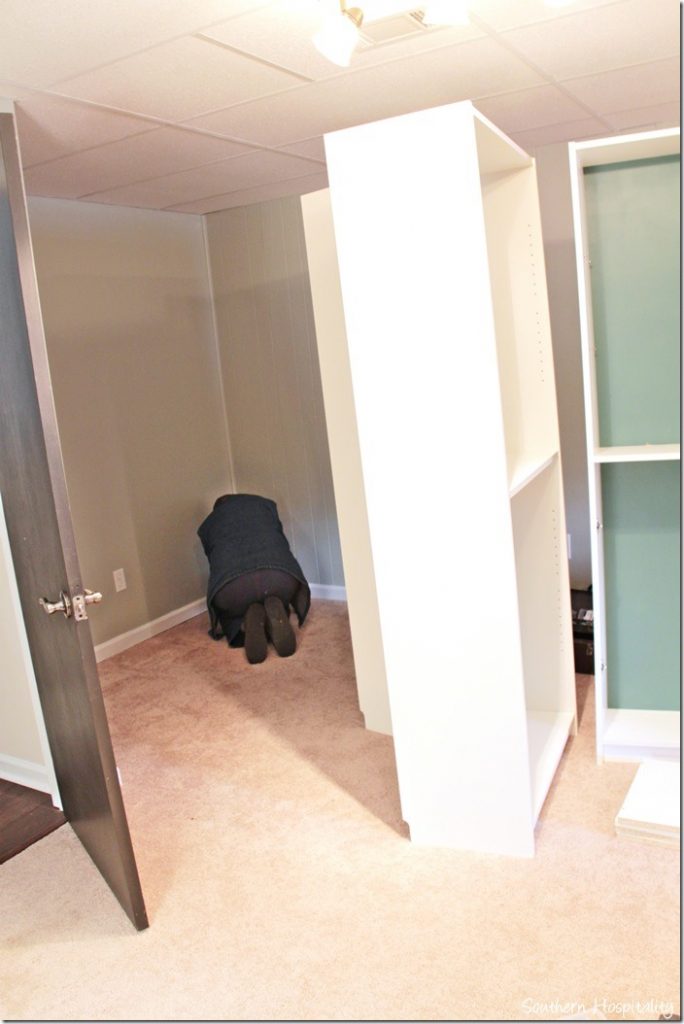
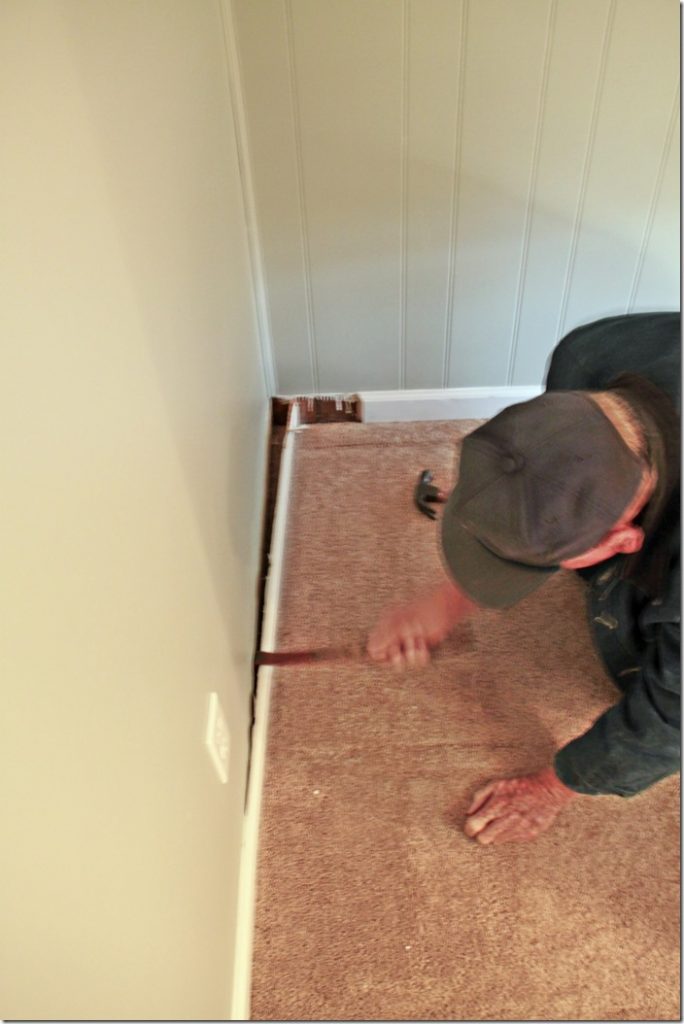
First thing first, we took out that back baseboard and the side ones too.
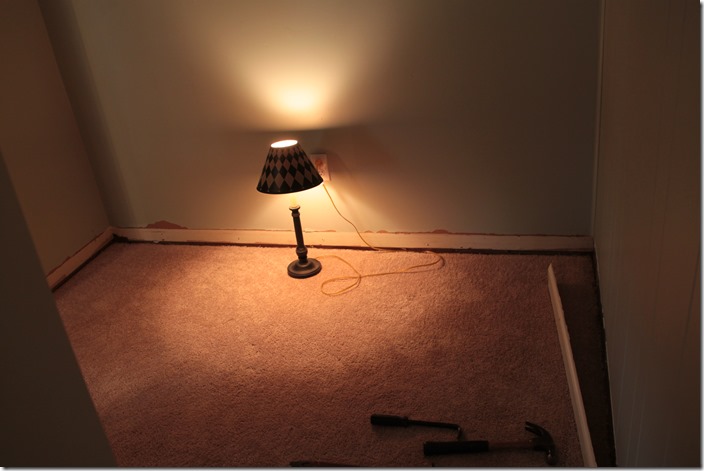
It’s not so good lighting in here, so I put on a lamp. Once we took out the back baseboard and the left side, we then pulled back the right baseboard and cut it off so that we could add in the bookcases and then we will fit that piece of baseboard back in to meet the new baseboard coming across the front of the bookcases. All of this stuff takes time, but it’s not too hard to figure out.
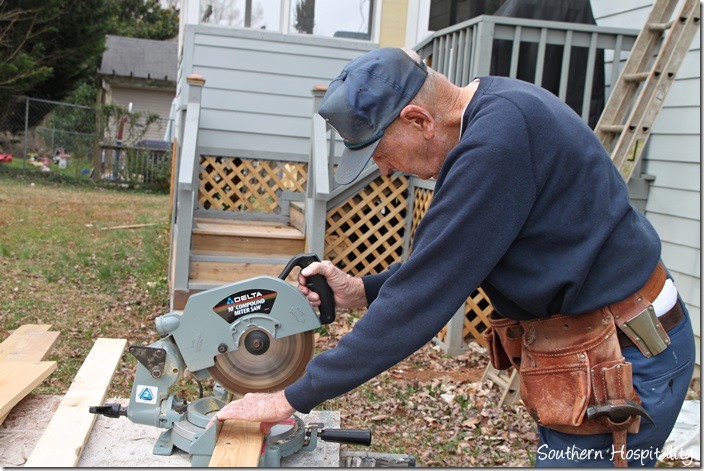
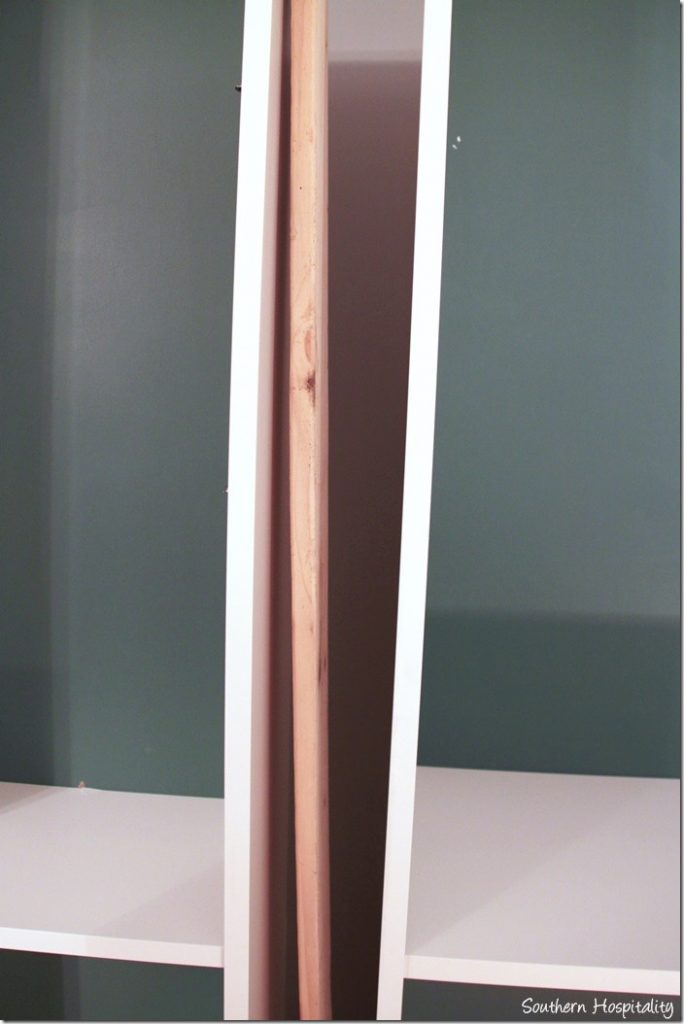
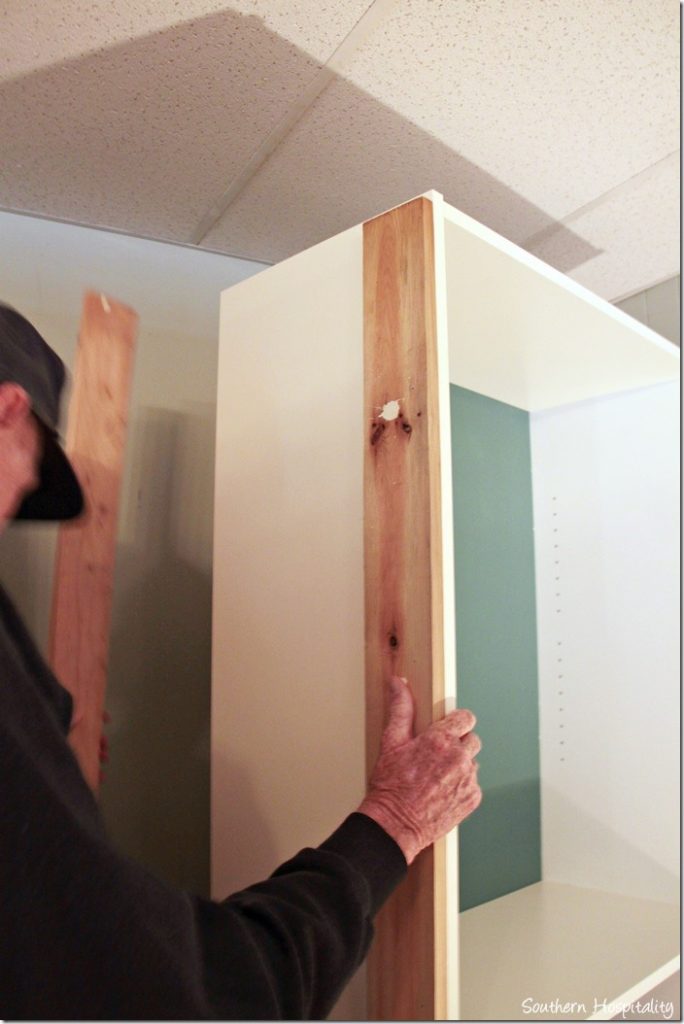
Next, we decided to add a 1” piece of wood in between each set of bookcases to add a spacer and to allow nailing them together. I used a small brad nailer to nail these in place and that worked out nice.
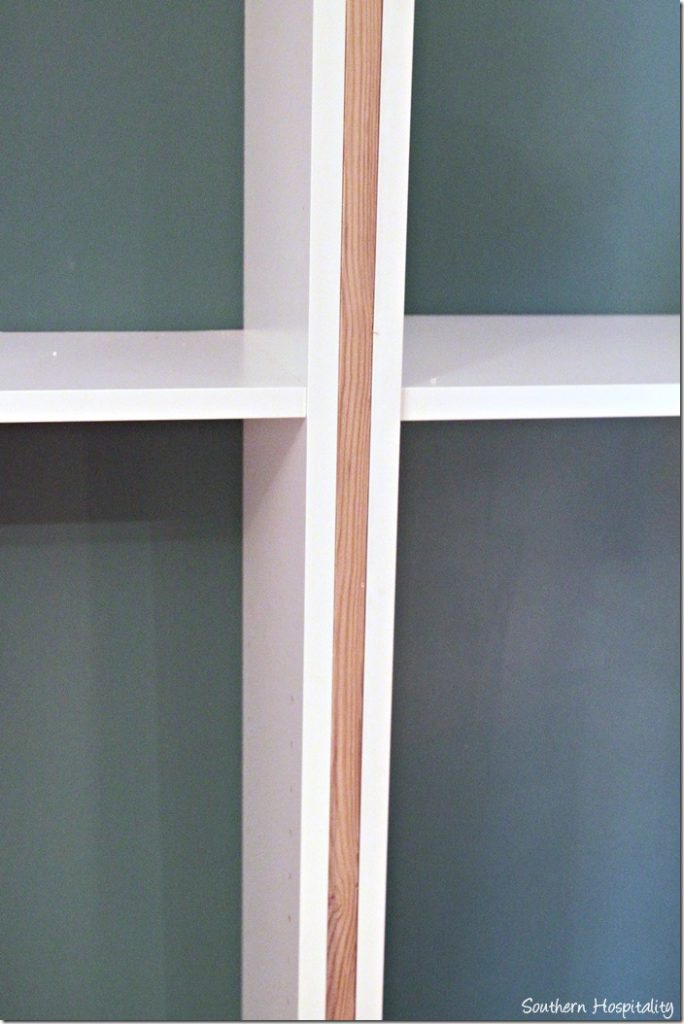
See this, 1×4 piece of wood will add a 1” spacer that will total 2 1/4” and over the top of this we will add a decorative trim piece to finish it off. The wood spacer also allows us to nail the bookcases together securing them better and making it all more solid.
We started on the right side first, nailing from this side into the bookcase. The nails don’t show when nailing this way with a 1 and 1/4″ brad nail. I did have to nail some from the inside too, but the holes are really small and I can touch them up with trim paint.
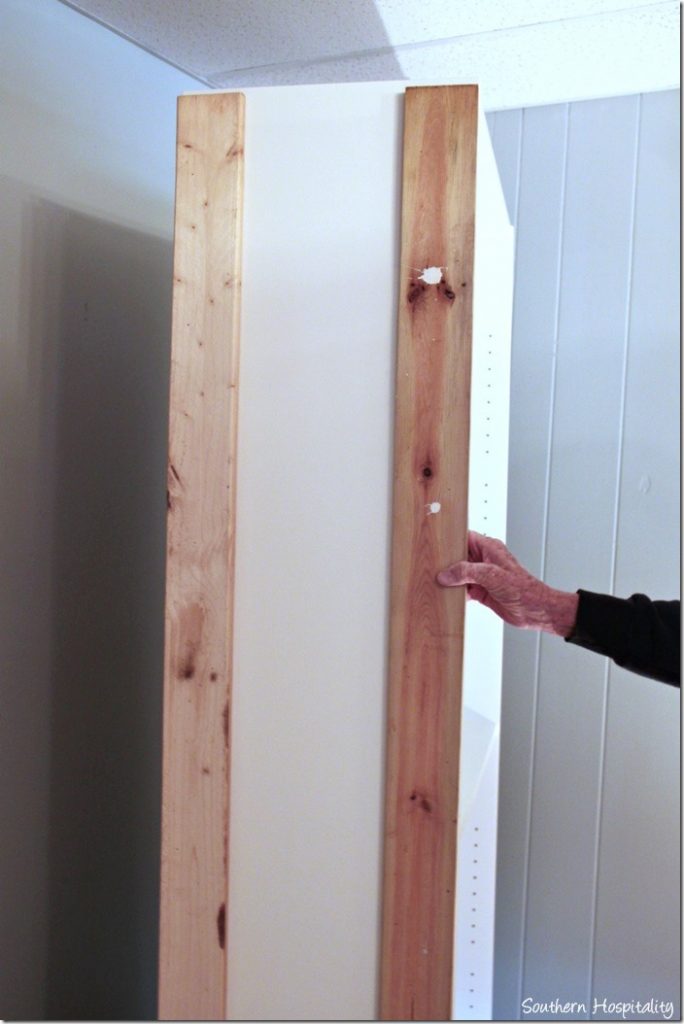
Boards nailed into place and then the next bookcase is set in place flush with this one and then nailed from the inside back into these boards. My dad is really into making things solid and this was the best way we could think of to make it all solid and nailed together too. Plus the 1” spacer allows for that decorative piece of trim on the front.
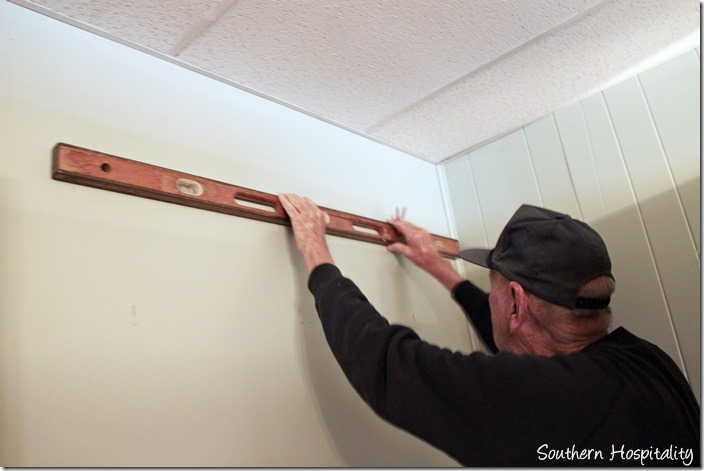
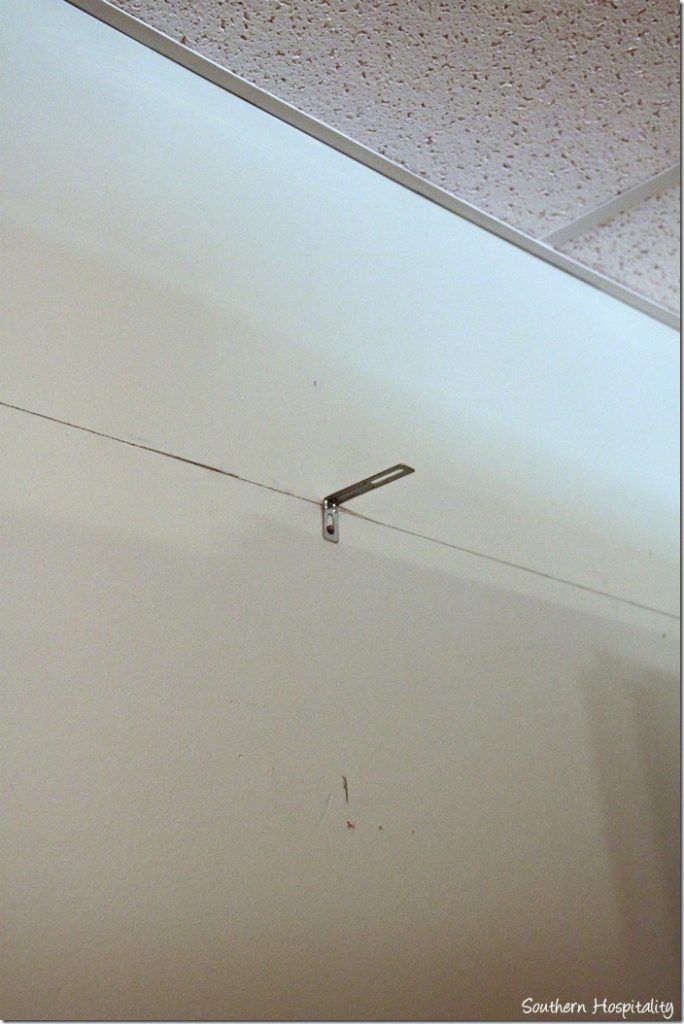
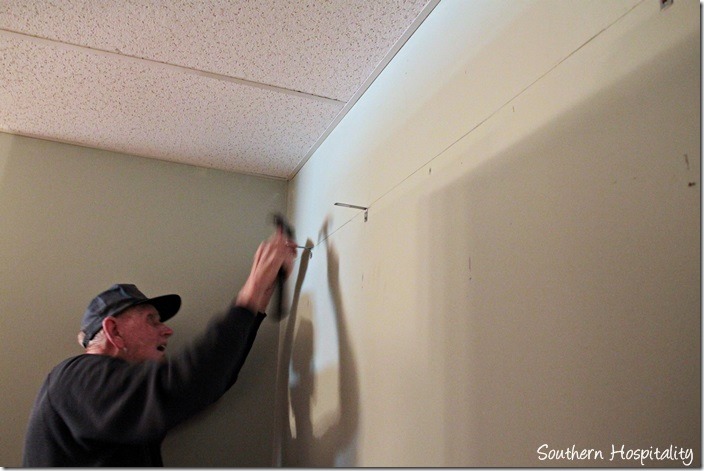
After securing 2 of the bookcases together this way, we then measured and leveled a line for the L brackets which will help secure the bookcases to the wall. You don’t want them to be able to tip over so securing them into studs is a good idea. We found the studs and then measured to the top of the bookcases, drew a line and then secured 4 L-brackets across the back wall.
L brackets in place
All 4 L brackets are in now and we are ready to slide the bookcases back against the wall and then screw in the L brackets to the top of the bookcases.
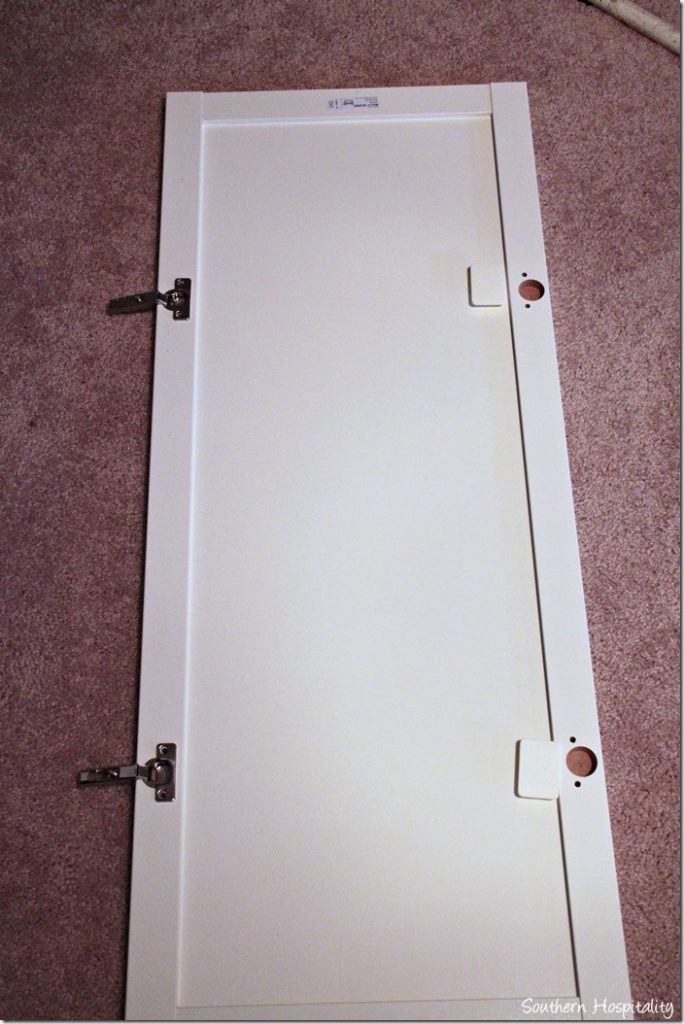
And here’s the finished edge of the filler piece of wood. Part of this will be covered with decorative trim, but at the bottom of the bookcases, I’m adding doors from Ikea (the Olsbo door) all across the bottom of my bookcases. That way, I can have hidden storage and the open shelves above.
We determined that we would have about 3 1/2” on either side of the bookcases, once they were slid into place and that was about right. We put in the 2 all as one piece and then slid the 3rd one in, nailing it the same way as the other 2.
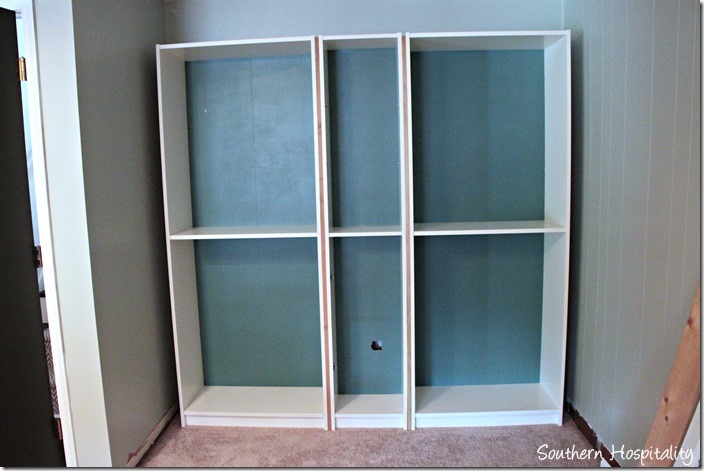
Once we got them all in place, we shifted it slightly left and right, creating the same size gap on each side so that our trim pieces would match on either side. We’ll add crown molding, baseboard molding across the bottom, side molding and decorative trim in between the bookcases. Once it is all painted out, it will look like a regular built-in bookcase. So far, I have spent just over $400 on the bookcases and doors and about $66 on trim pieces from Lowes.
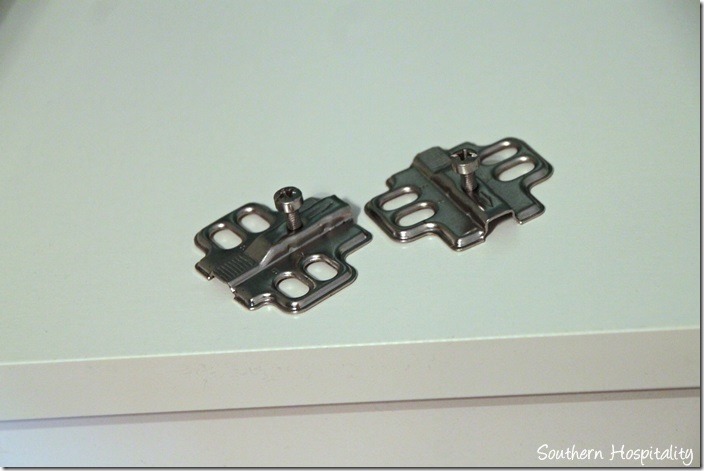
The Olsbo door from Ikea is a great look for hiding things in their bookcases and they snap on really easy. You can hinge them from either side, and each door comes with a white plastic piece that then fills in the holes on whichever side you are not using. You just have to pay attention to the top and bottom as those are spaced differently, but you can use these doors as a left or right swing. Adding hinges to the doors is easy with 2 screws.
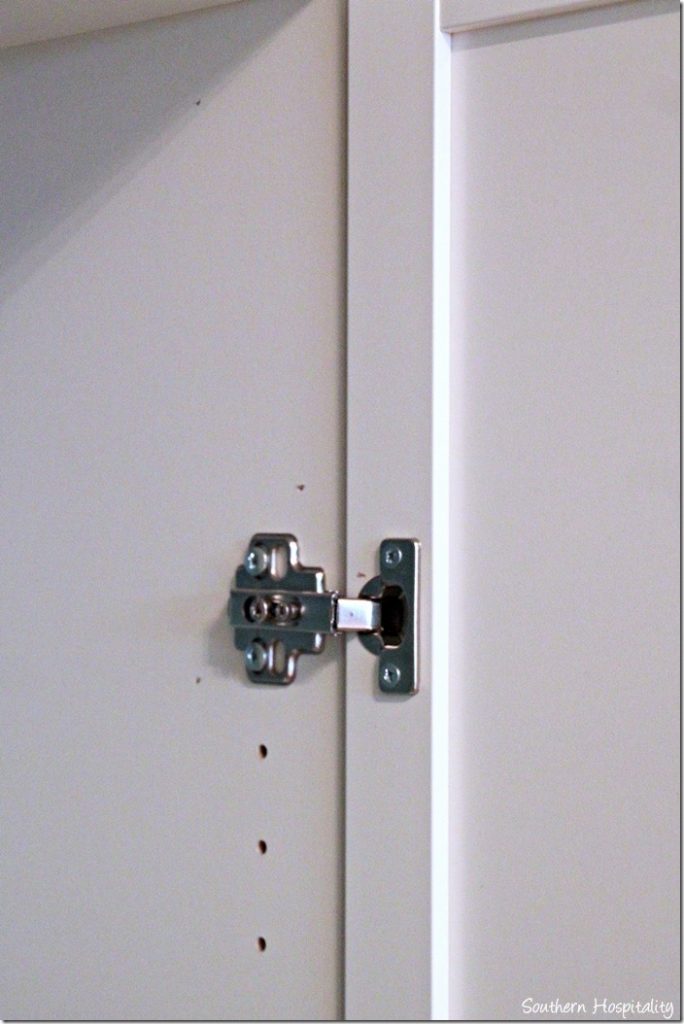
Then you add the inside hinge in the predrilled holes, paying attention to where they are placed.
The doors then snap on and you can tighten down the screws to hold them securely in place.
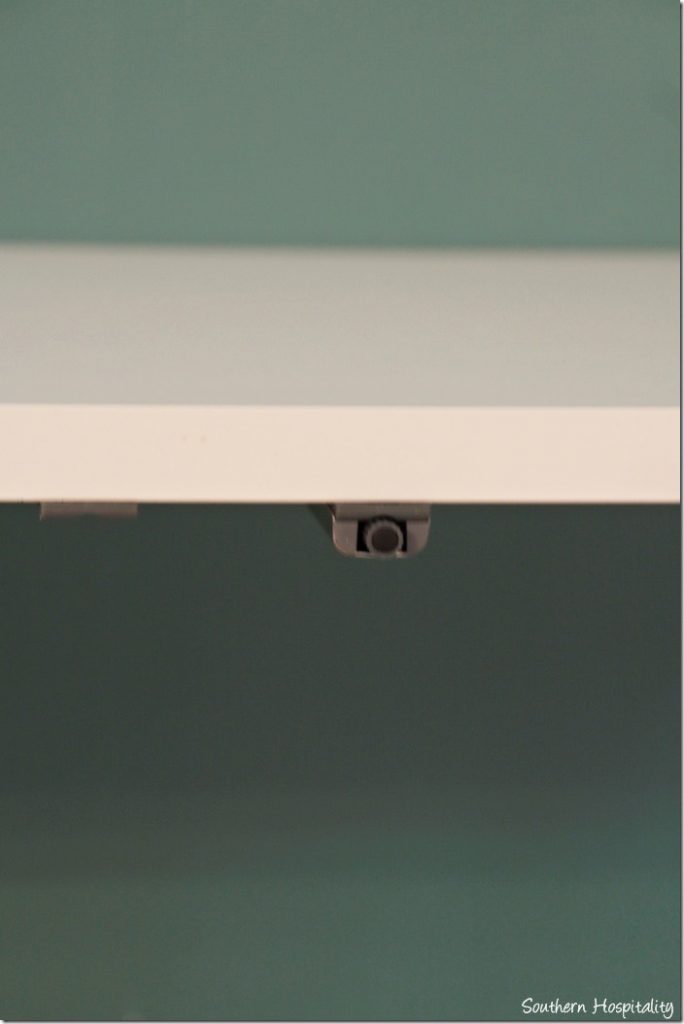
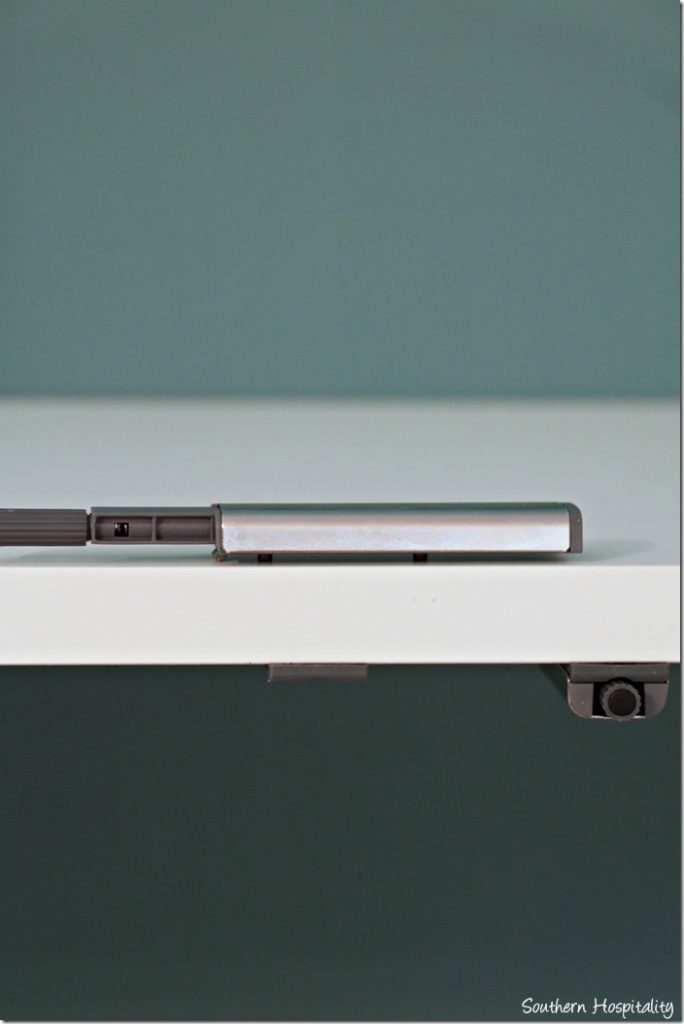
These doors also come with these auto clickers that you’ve probably seen before. They extend out and when the pressure of the door hits them, they retract and then a push of the door opens them back up again. You can use these without adding knobs to the doors, which I think I will do. I like the simple ease of the clickers with no knobs.
That’s what these clickers look like before installation. They get screwed into place and work well.
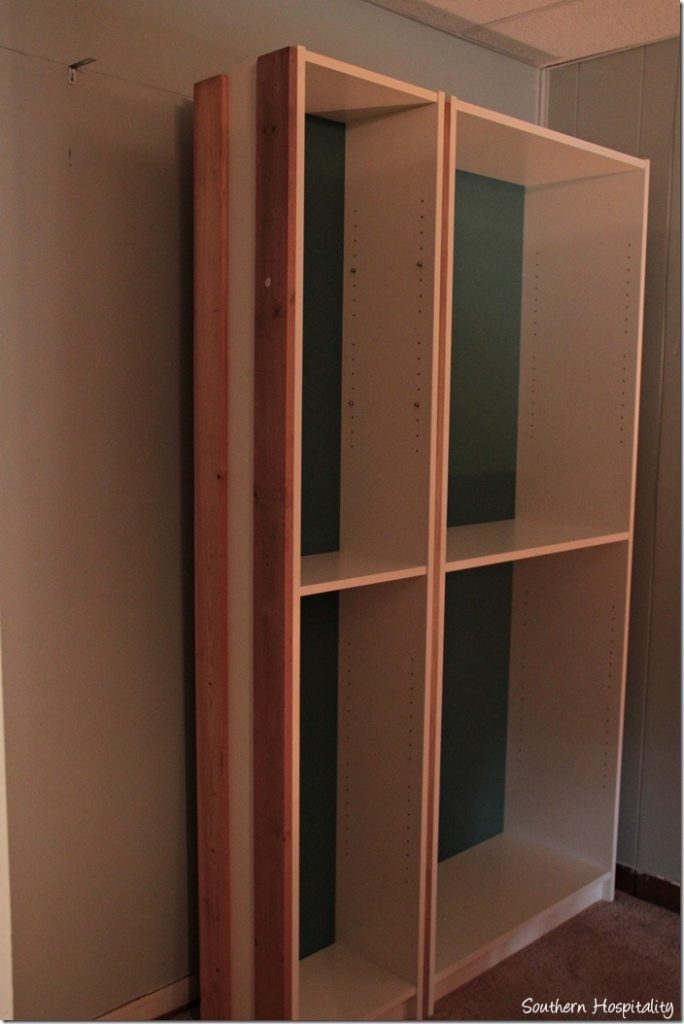
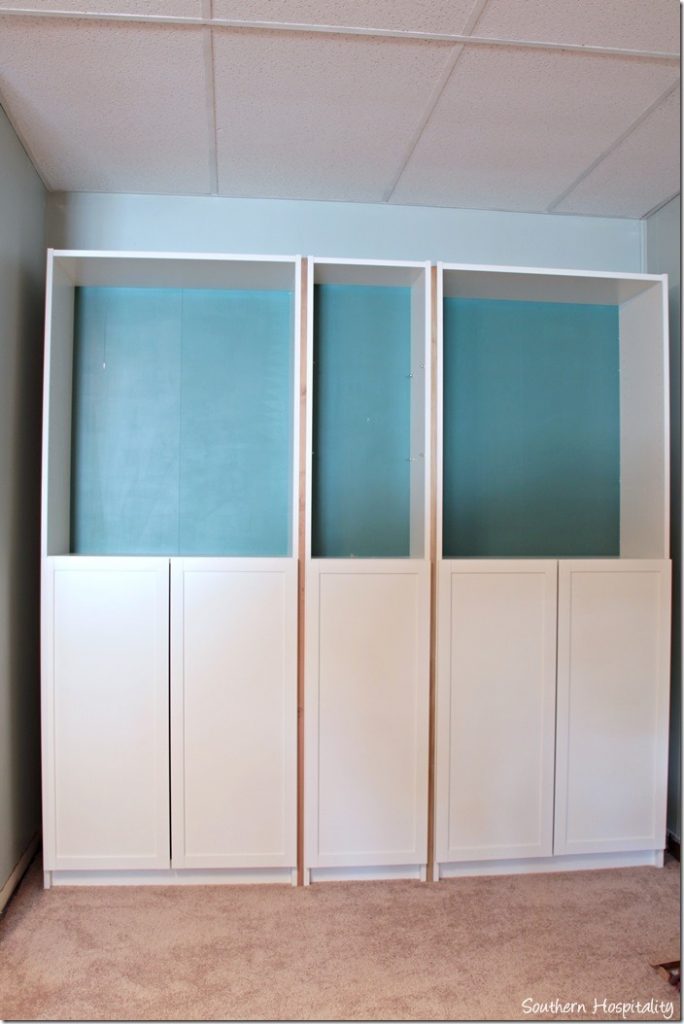
And here is the progress on the bookcases so far. They are all solidly in place with the spacer boards ready to paint. We will then add some extra filler boards at the top for crown molding, at the bottom where you see those gaps in between the base part of the bookcases. All of that will be filled in with filler boards to create a solid surface to nail in our trim pieces. We added a 2×4 on either side of the bookcases and our trim pieces will be nailed on to that.
You can definitely tell these are going to add a lot of detail to this corner of my den!
I’ll be back in another post to show how we will add all the trim pieces, starting with crown molding, baseboard molding across the bottom, finishing off with the side pieces and decorative trim in the middle. It’s not going to be long now before it’s finished and I’m so loving how this corner of the den is looking now!


Clever girl Rhoda (and clever Dad again too!) I can’t wait to see the end result, and trimmed and dressed with lovely things.
I am so glad you will be posting your progress! I have a ton of pins about these billy bookcases. Yours is coming along beautifully… (I really want these:) Have a good week.
Your bookcases are really taking shape. Excited to see them with finish trim in place.
We just did this in our office with the billy bookcases and I love them. My neighbors do not believe that they are Ikea bookcases. We also added the doors and it adds a lot of out of site storage. You will love them!
Hmm. This is really giving me some ideas for some needed storage. Love seeing the photos of your dad!
You’re a smart cookie! And of course your dad is a gem–I so love the posts about your working together!
These bookcases are going to be wonderful. I look forward to seeing them all finished.
Hope you’re having a GREAT time in NYC!!
Hi Rhoda! This is going to look fabulous! What a sweet daddy you have and I’m just amazed at all he can do. You’re keeping him young with all of these projects! 😉
Be a sweetie,
Shelia;)
I love it. It is starting to look great! I love using pre-existing shelves to create built-ins. I have a quick question though… Why are you keeping the carpet below? Since you are adding the floor molding across the front of the bookcases as well these built-ins will always stay part of the structure of the room correct? I am just curious about whether to leave flooring underneath a built-in or go ahead and remove in case you decide to change it down the road? This question has been plaguing me for a while now so would love your insight 🙂
There really was no reason to cut that carpet out. I don’t plan on ever taking the bookcases out since they will be built in anyway. The molding will line up with the other baseboards when finished. If someone ever did want to take these out, the carpet would be intact.
They are going to look great when finished. Nice job Dad! I agree about removing the carpet under the cases. Then it will really look like custom built-ins. Next project – that ceiling?
Oh that ceiling is newly replaced, so it’s not going anywhere. This is a drop ceiling room & it is what it is,
Hi…love what you are doing with the bookcases. I have followed your blog since at least 2009. Although slightly off topic, I loved when you had the party about yardsaling. I would look for it late Sunday nights. It was exciting to me and to see how things were updated. It would be the highlight of my week again if you started that party back up. I’m not into all the technical aspects that consume your time, but…wow, would I look forward to it. Many of us don’t have budgets to redo on a large scale so I always appreciate what I see when people link in. Btw, what a success you are after going through your own adversities. Must be the great influence of your wonderful parents and family. I’ll keep checking in.
Hi Rhoda
We need to build something like this across the end wall of our living room, incorporating a couple of dressers and a TV. I can’t tell you how helpful it is to see the details that are needed to make a successful build, like the spacers, which we can translate to our building process.
Seeing the pictures of your dad working are just great. Having lost my dad last year, your pictures are very poignant.
looking good! I love the way y’all attached the bookcases to each other. Makes me want to take mine apart and redo it.
I can’t wait to see the finished project. I can already tell it will be classy like everything you do.
By the way, I got a copy of the BH&G Kitchen and Bath Makeovers. Loved the spread of your kitchen. I was beaming with pride with every word and photo.
I am so jealous over your Billy bookcases. Unfortunately we don’t have IKEA here in NZ but I have bought a similar one from another company, however it has curved shelves at the front and top, its a coastal look so it wouldn’t work to put doors which is a shame. I bought it before I changed my mind and now having a French feel to my room so not quite sure how I am going to make it fit in. I did think about painting the inside in a darker shade than my walls to enhance it though. Still mulling over my wall paint colour which is driving my painter crazy. Another week gone by and I still can’t make up my mind. It was being painted and I stopped him after the first coat as it was too cold and stark looking….off to think some more on paint.
Lee 🙂
They are coming along great! Love the color you selected 🙂 xo Kristin
What a great idea. Looking forward to seeing the finished product. You’re inspiring a new project for my house.
Those are coming along so nicely! Looking good!