Good morning and Happy April 1st! Hope you all had a fun weekend! We had a productive weekend. I got the back patio all pressure washed and almost ready for the spring/summer season. Felt so good to get that chore done and everything looking good again. It’s amazing how dirty a patio can get after a rainy season like we had last year. We got a new pressure washer from Ryobi that I’ll be sharing with you soon and it sure did the trick!
Another project I finished last week was getting some DIY framing done. I stopped in Goodwill a few weeks ago and found some beautiful framed prints in there. I shared these on my Instagram stories and several people over there wanted me to post about these, so I thought i’d share with all of you how I changed out the old prints for new ones.
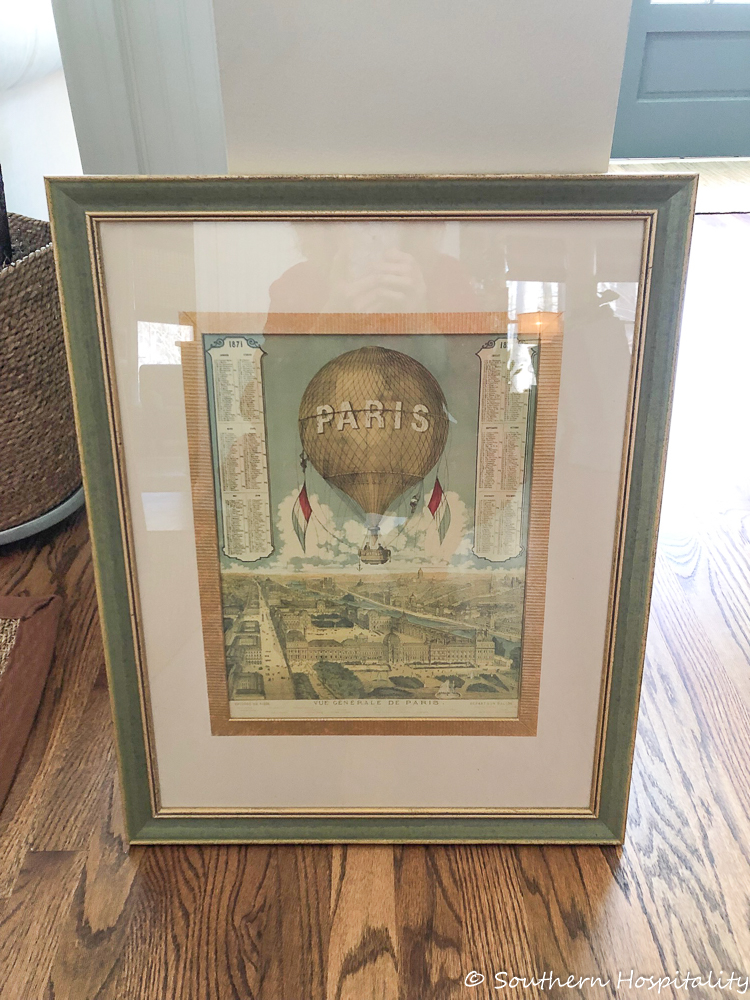
I wasn’t crazy about the balloon art, but the frames and mats really caught my eye, so at $11 each, I bought all 3 of them. They were professionally framed and matted so I figured I could do something with them.
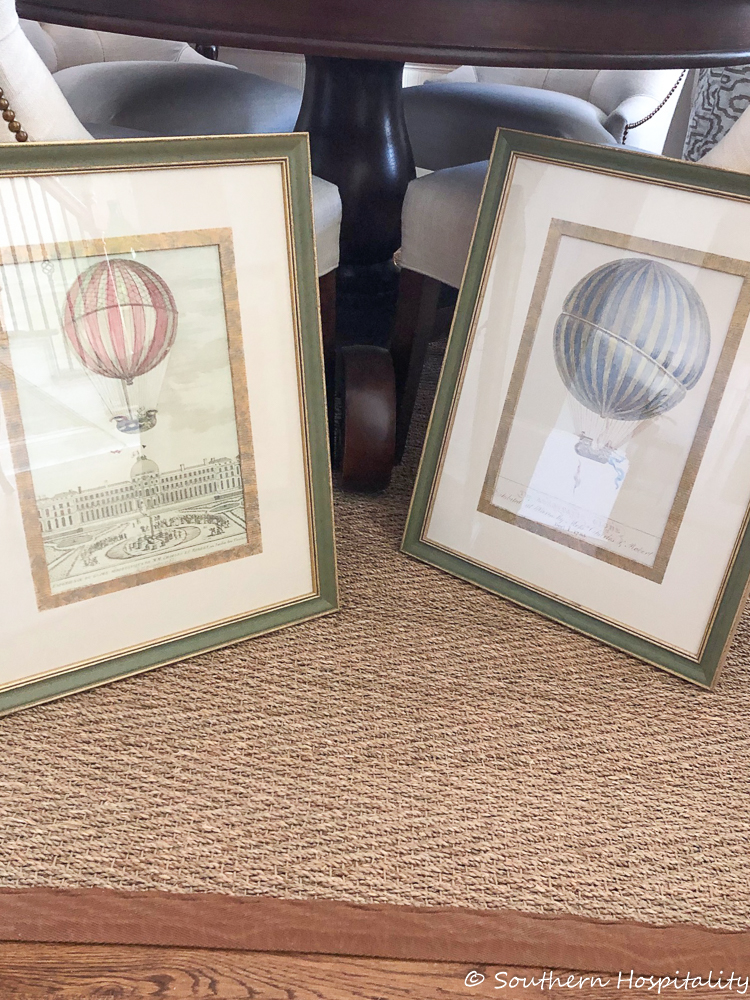
The set of 3.
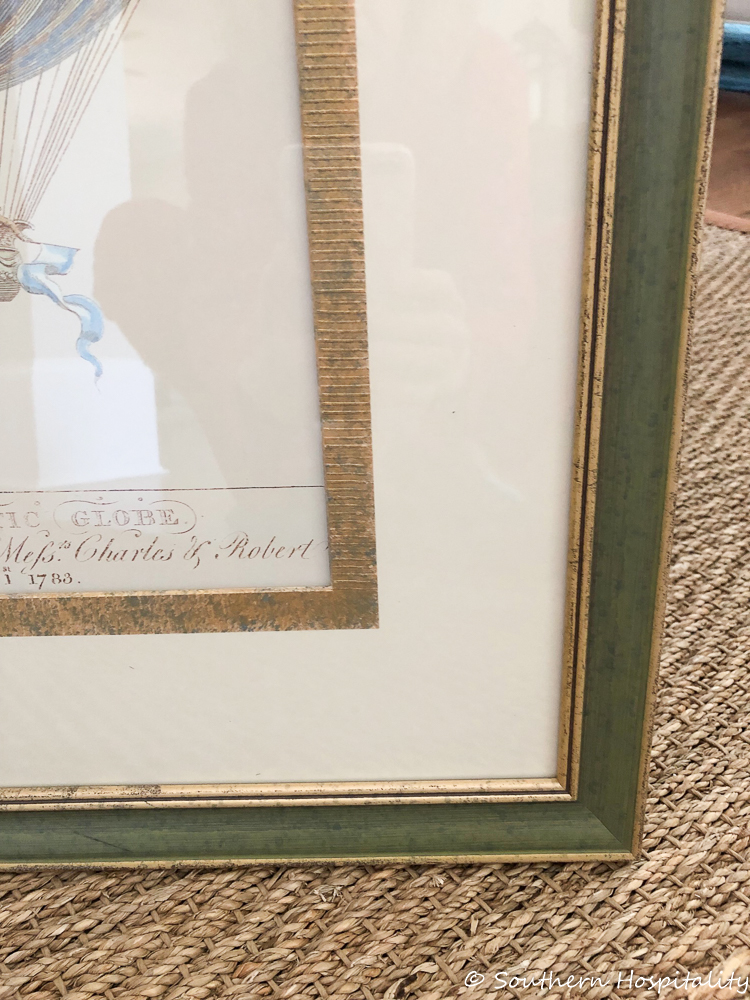
I loved the soft green color of the frames and the gold edging detail as well as the matting. They had a very elegant look to them.
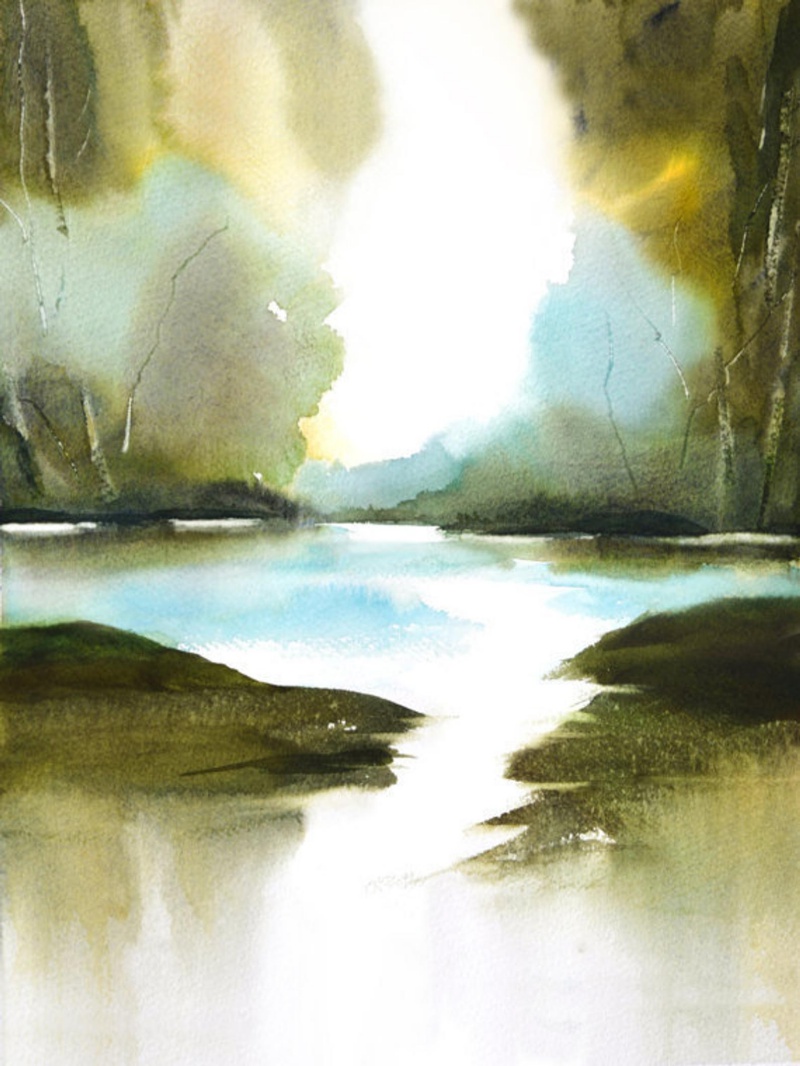


I measured the inside of the mats and determined that a standard print size 11×14 would fit the existing mats and frames, so I went online on Etsy and searched out some fine art giclee watercolor prints from Nancy Knight Art. This size of 11×14 was $33 each. I love landscapes and watercolors so these really called my name. The colors are so me! They were shipped out in a cylinder and I got them all in and laid them out.
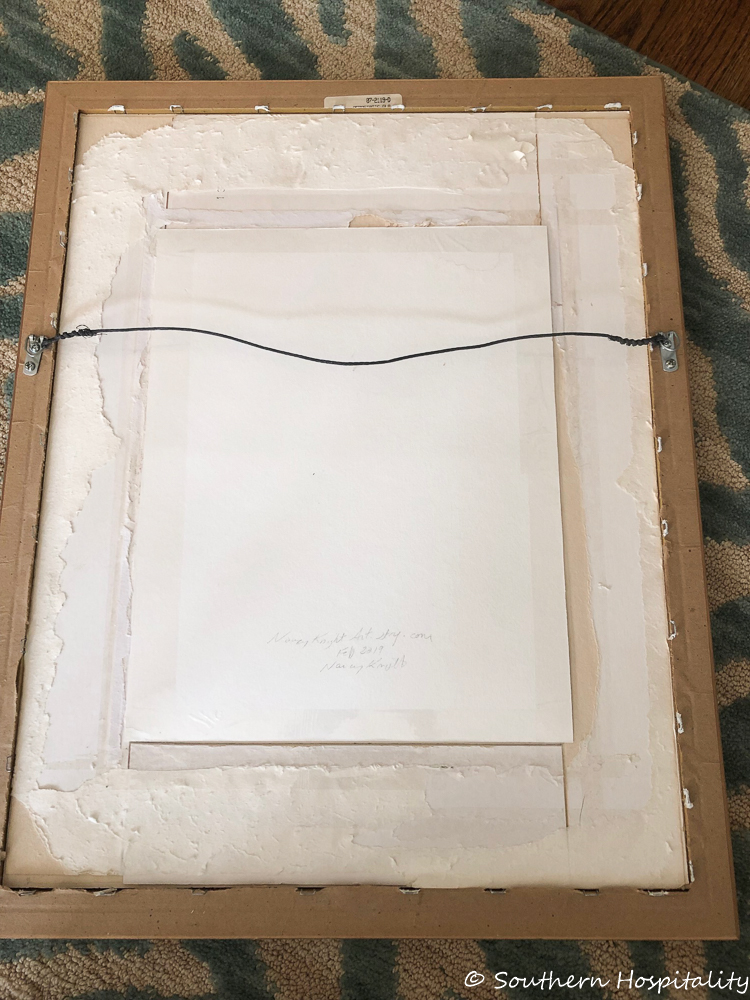
Taking the old prints out was a bit problematic as whoever framed these never meant for those prints to come out. Every layer was glued together and I destroyed the old prints getting them out. But the mats were just fine and ready for new prints. I laid the prints down on the backside of the mats and then used clear packing tape to hold them in place.
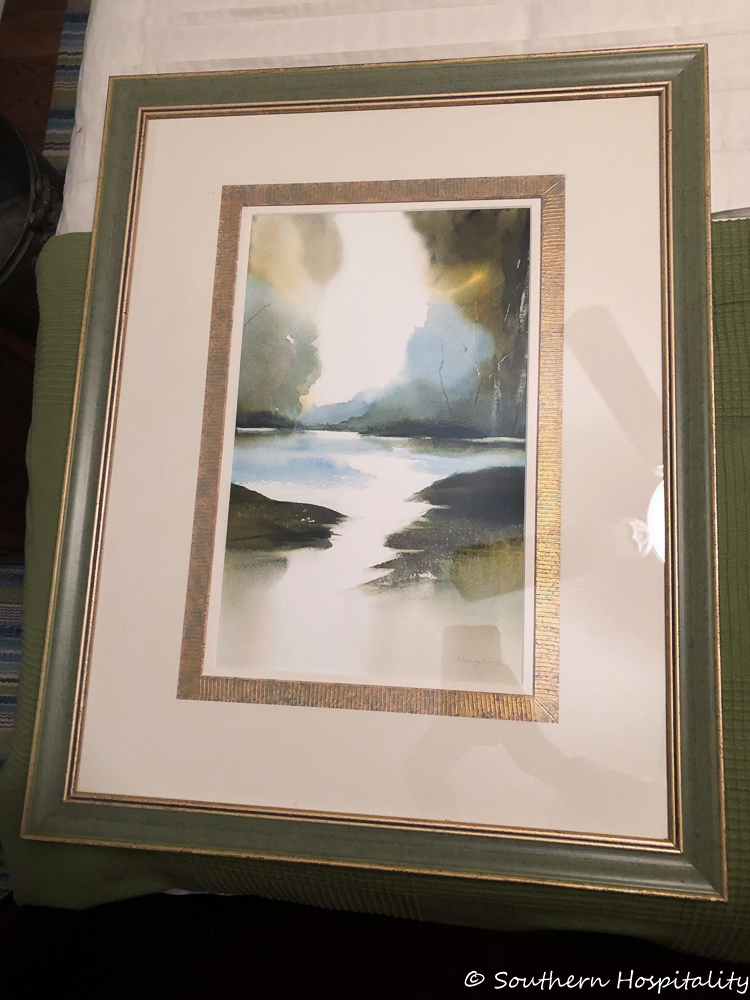
After I took them all apart and started playing around with adding the prints back on the mats, I discovered that one of the mats inside dimensions was bigger than the other 2, so that threw me off too. I would have sworn these would all be exactly the same size, but one was off, so I had to improvise with it and get an additional cream colored mat cut from Michaels for the inside of the third print. I ended up losing a bit of the print on either side because I used these mats, but overall they turned out great.
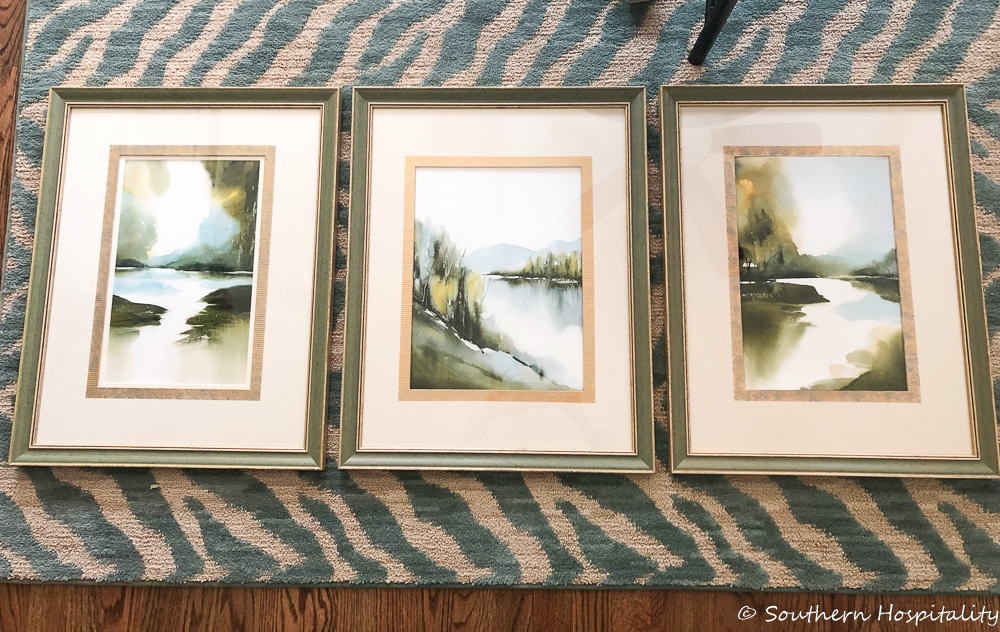
I wasn’t sure where I was going to put these, but ended up using 2 of them in the living room and will put the 3rd somewhere else or not use it right now, but I think they are all so pretty together. I thought these frames were so pretty.
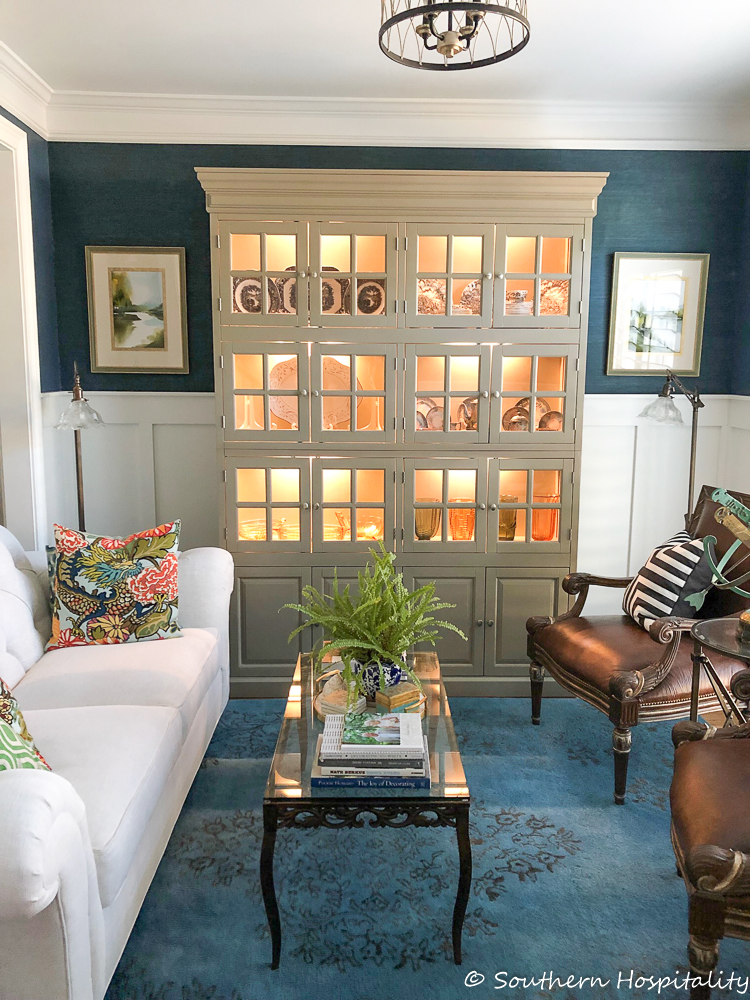
I tried them out on either side of the large cabinet in the living room and loved them on the blue grasscloth. I think they really add a lot to the space and I love the colors in here.

These aren’t the best pics because of the glare on the glass, but you can see how pretty the muted green frames with gold trim look against the navy blue grasscloth.
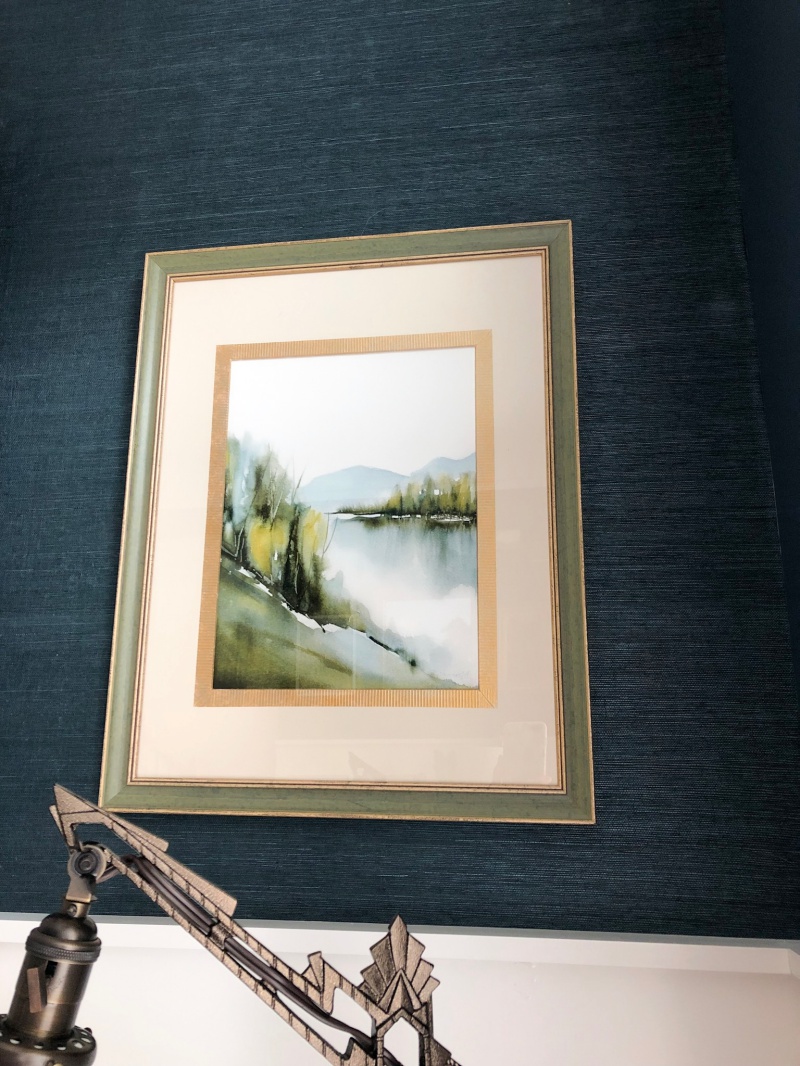
I just love the colors together.
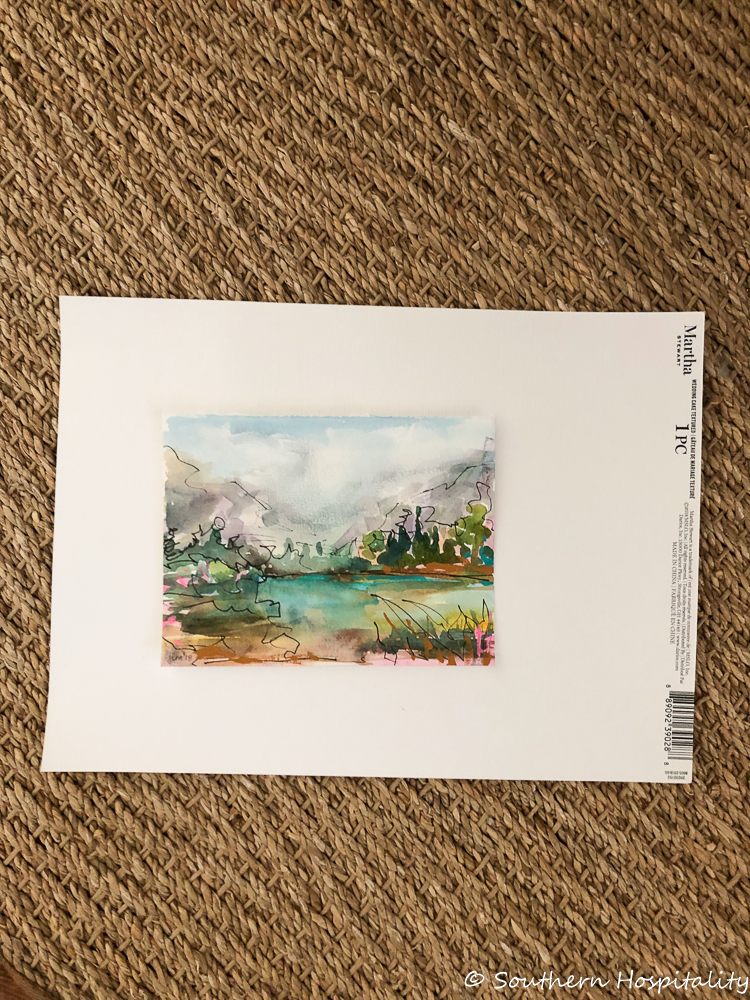
Another little watercolor that I picked up recently on Etsy was this small original from About Face Art on Etsy. Most of her work is all faces, so if you go and look it up you might not find much like this one. I just loved this little piece! I showed this one in the laundry room since I ended up putting it in the cabinet in there, but here’s how I framed it.
I bought a piece of card stock from Michaels. They have lots of scrapbook paper or cardstock that you can buy for about $1 a piece. This one was sort of a linen look and just cream color.
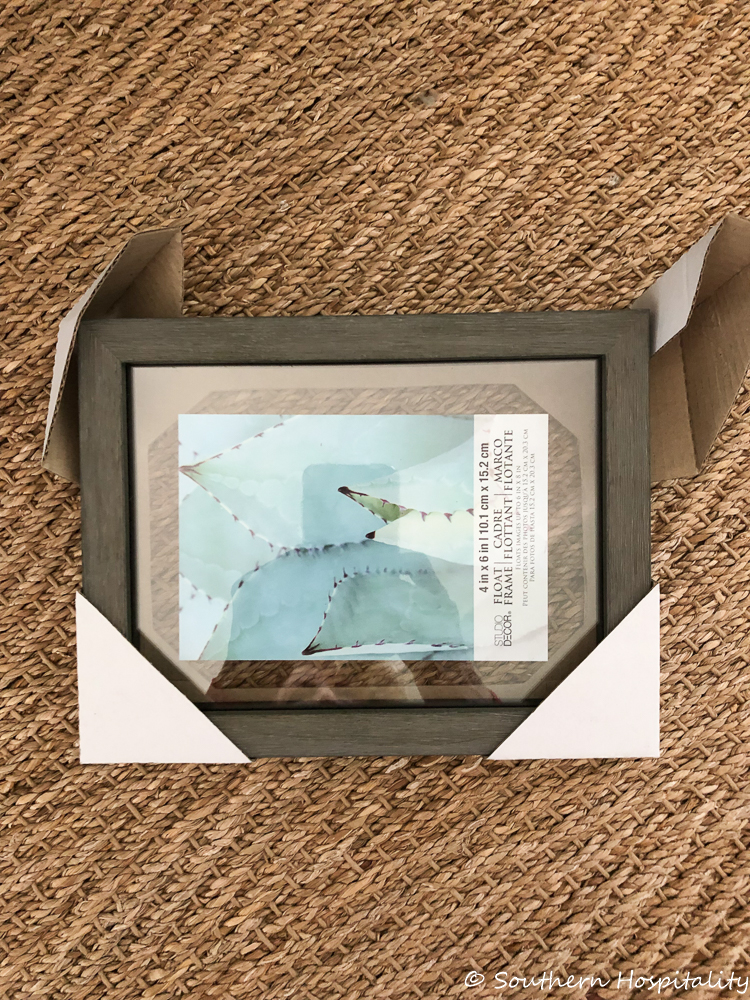
I bought this floating frame from Michaels (1/2 price of course) and brought it all home I like how the gray of the frame complemented the watercolor.
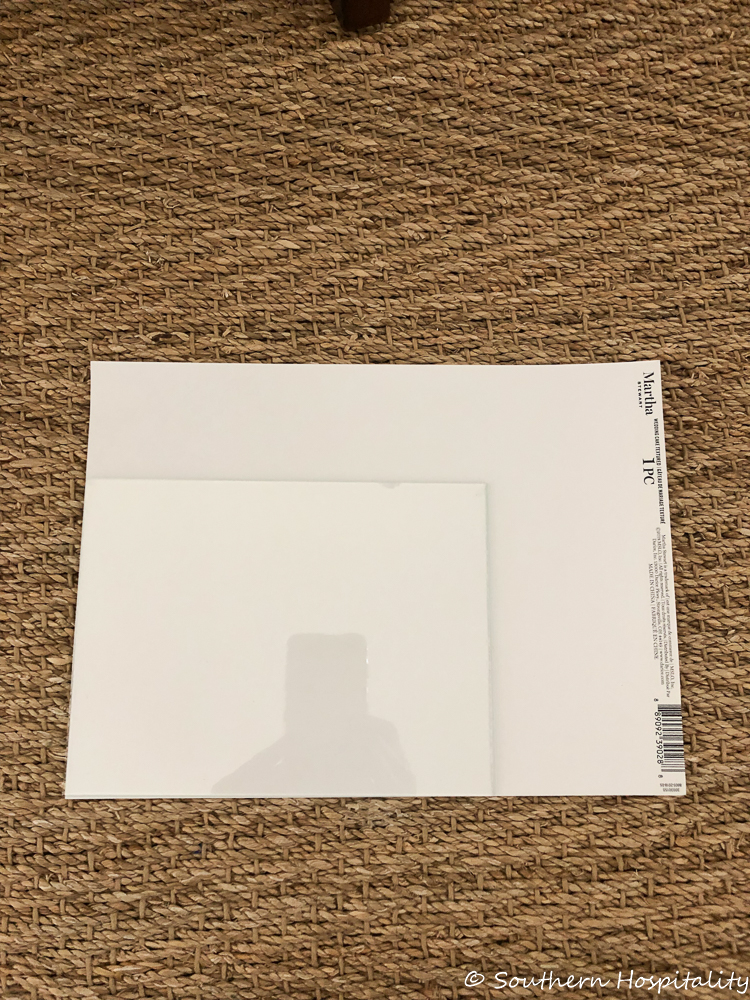
I took out the insert from the frame and put it right on the cardstock, drawing around it so that my cardstock would fit exactly inside the frame.
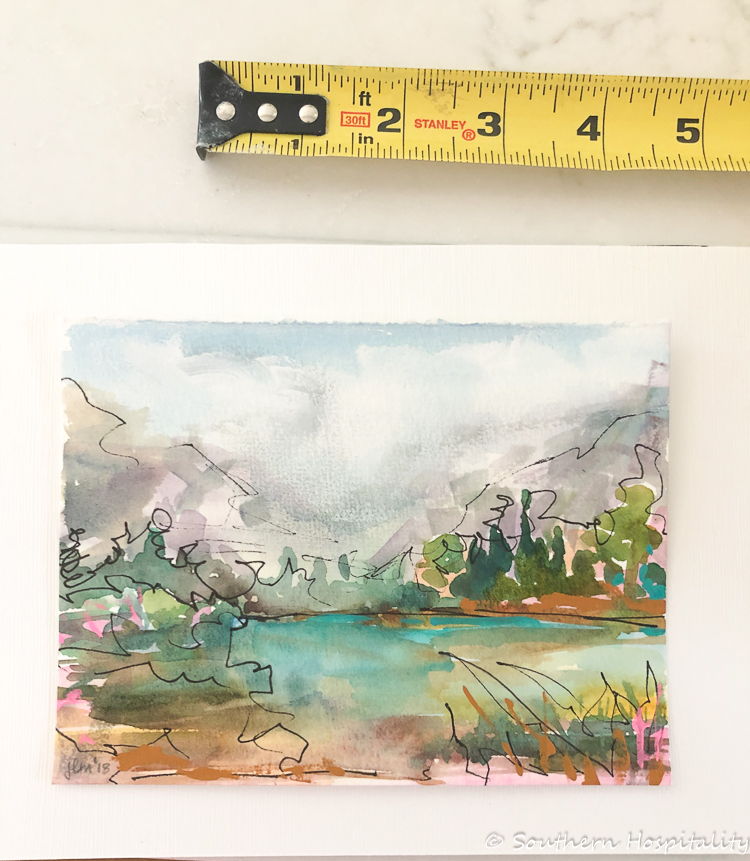
I then place my original watercolor directly on the cardstock using a measuring tape to place it right in the middle of the cardstock. I like the raw edge of the watercolor so wanted it to show. This frame size is a 4×6, so the little watercolor is smaller than that. When buying a frame, I took the watercolor into Michaels and found a frame that was sized up to fit it.
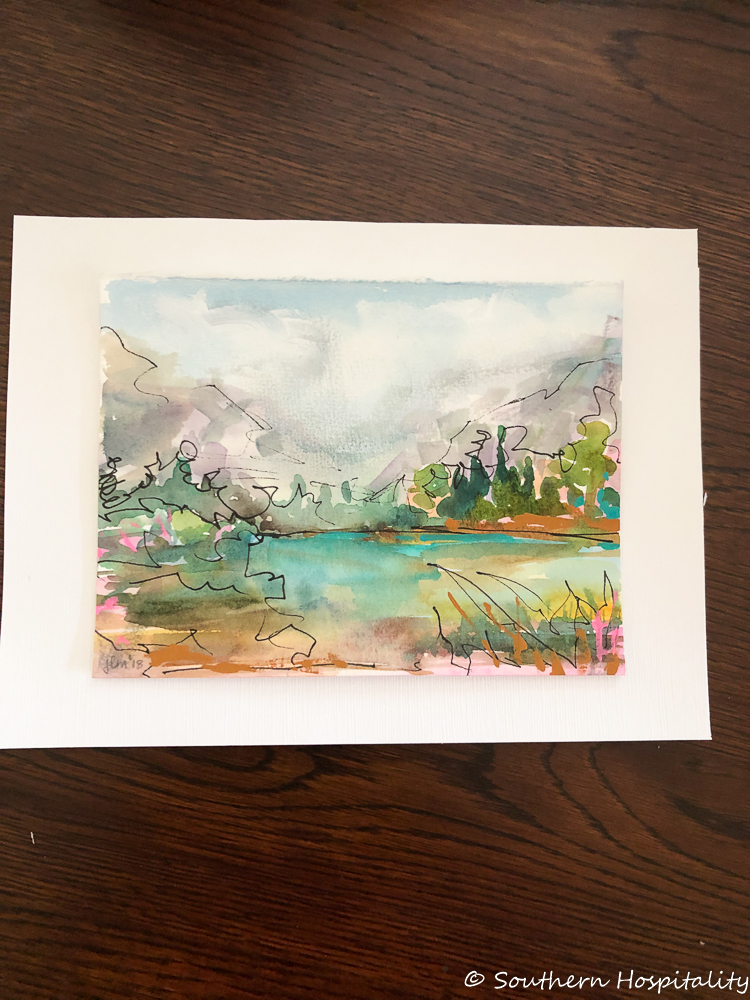
I used a little scotch tape on the backside to hold it onto the cardstock and then slipped into the floating frame.
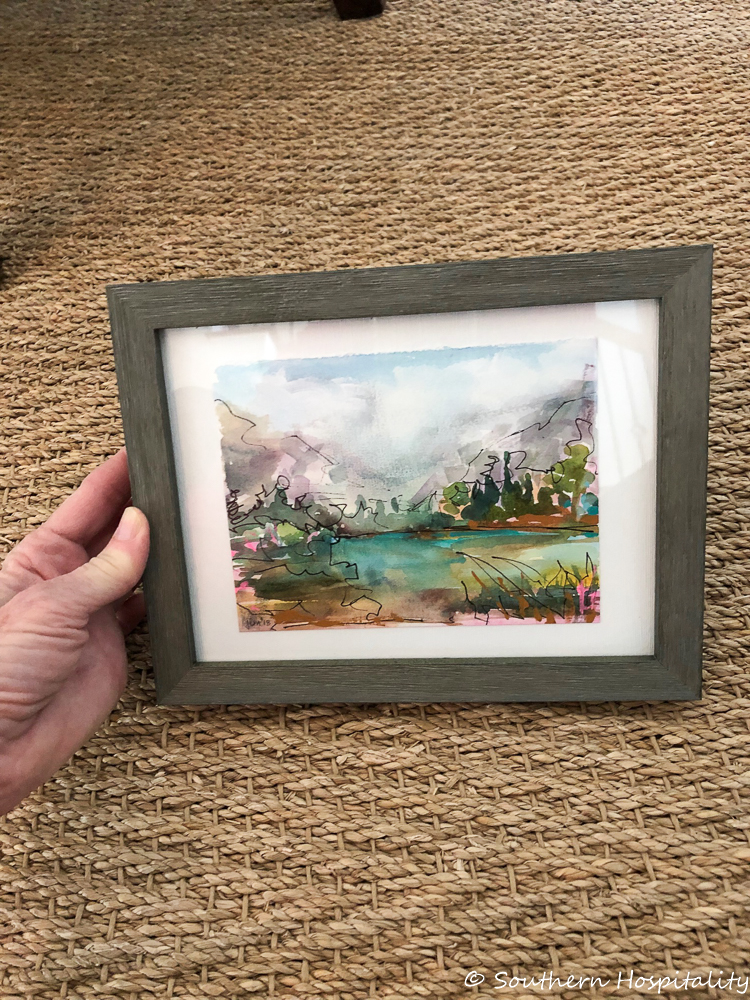
And that’s an easy way to frame an original piece of art very inexpensively at home.
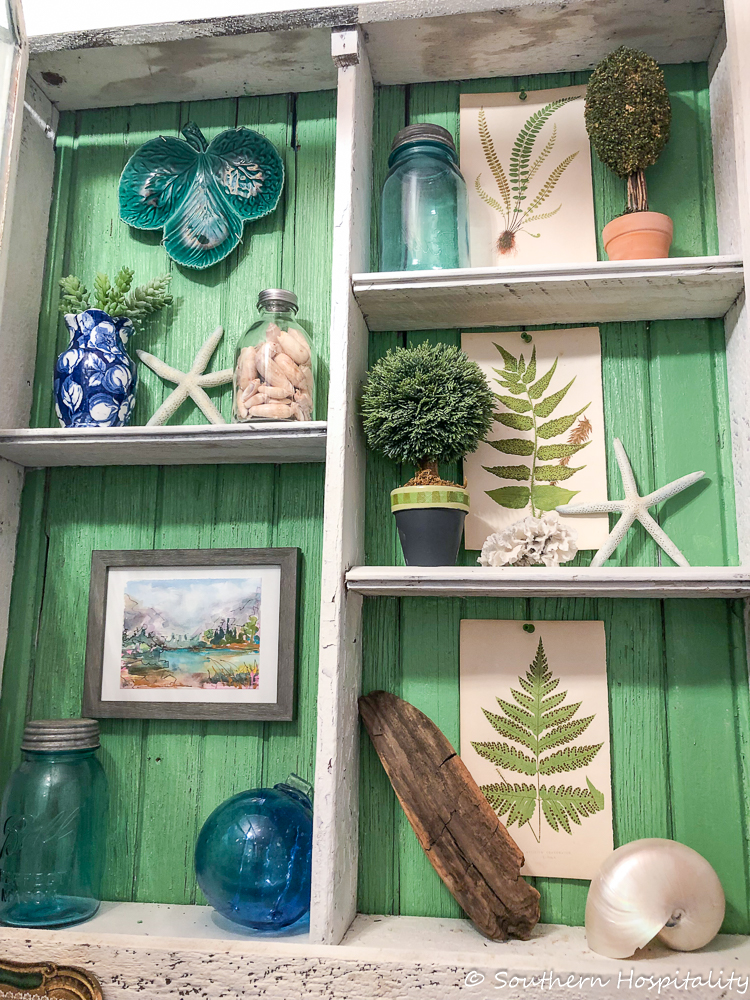
It looks so cute in my laundry cabinet. This little watercolor only cost $15, shipping included, so what a great way to buy original art, right? If you like original watercolors, Etsy is a great place to browse. Mark buys almost all of his original Winter watercolors from Etsy or Ebay and you can filter the search for what you like. I put in landscapes or water scenes to find my favorites.
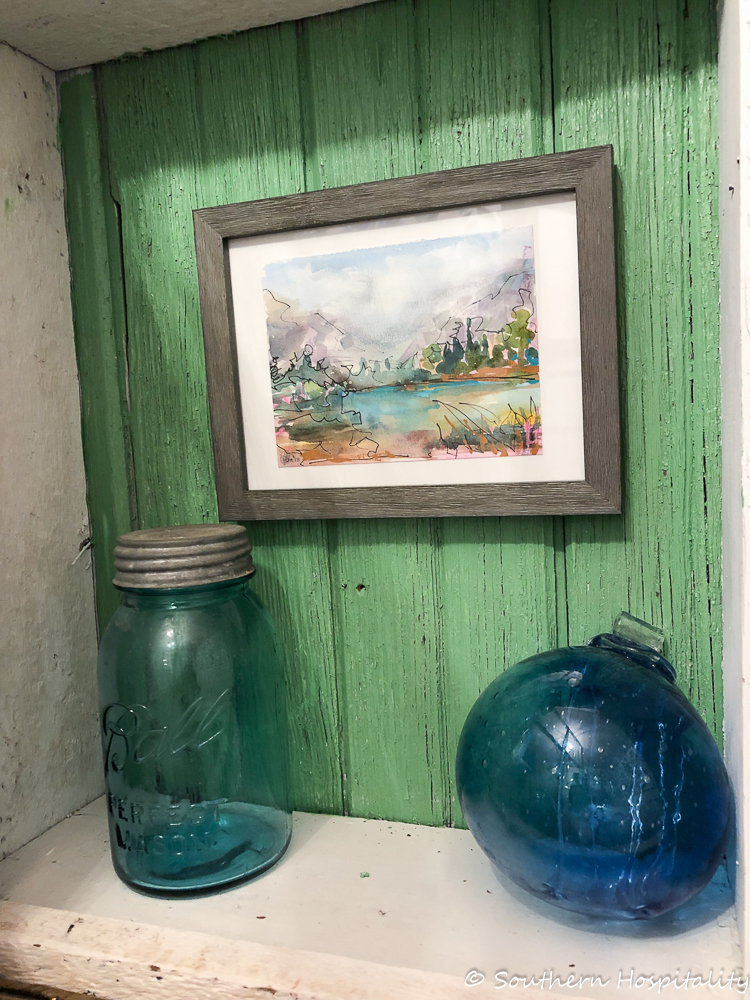
So cute!
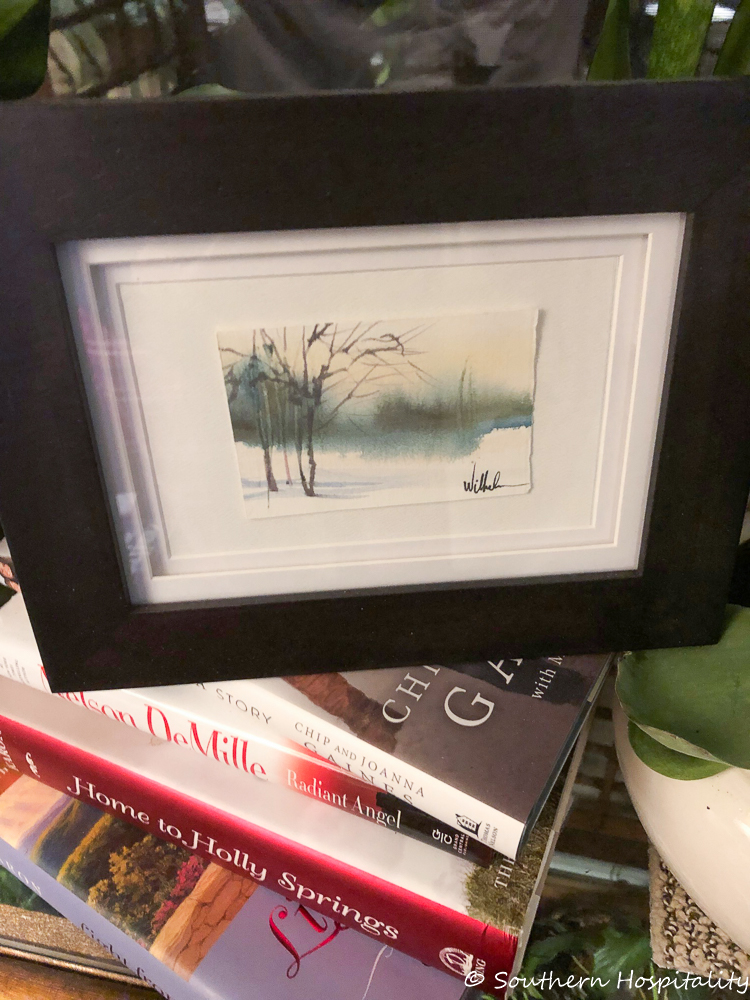
Here’s one more little original watercolor that Mark picked up on Etsy. It’s very tiny and I found the frame at Michaels. This one isn’t floating, but it had the mat already built in, so I just did the same thing and used scotch tape on the back to hold it in place with the ragged edge showing. Another cute little framed piece of original art!
I thought you all might like to see how I’m framing some of these art pieces I’ve picked up. We love originals, but sometimes originals are out of my budget, so prints are fine too like those landscapes above. The giclee prints look so good in person and I’m so pleased with how they turned out in those $11 Goodwill frames.


Loved how these turned out for you Rhoda!
Thank you, Mary, I’m very pleased with them too. I love how they look in the living room.
Rhoda, you did a great job, and everything looks beautiful in your home! Believe it or not, in my 40+ years as a scientist I abandoned my microscope to own a frame shop for 2 years. It was so much fun but no insurance, vacation, etc. so I had to give it up. I especially enjoyed taking an inexpensive print and turning it into something beautiful with the right mats and mouldings. One hint, especially in humid climates, to keep your art from wrinkling…use tape only across the top of the art to attach to the mat. The rest of the art hangs loose and will “float” with temperature and humidity changes and not wrinkle. I also suggest buying a roll of “archival tape“ and not use Scotch tape if possible since it yellows and will sometimes stain your art. It can be a great satisfying and thrifty DIY project, as you’ve demonstrated! A+ job!!!
Thank you, Roxanne, I’ll try to remember that for next time. I’m not too worried about these since they aren’t too costly. You are a fascinating lady. Scientist and then frame shop owner, you’ve done lots!
I am definitely going to work at eye-spying for some sweet frames in our local 2nd hand shops.
Thank you for the inspiration.
Karen
Those turned out very nice! I love water colors as well. I have even found them at old antique stores. You just never know where you will find a treasure! 🙂
Hi Rhoda. The prints are beautiful and look great in those frames. You could change out the glass for non reflective which is nice because then they wouldn’t catch the glare from the front window and are then the art is more visible. Just an idea. Anyway….they do look great on the walls in the LR.
Thank you, Toni, I love them too! If I change out the glass it just makes them more expensive so I’ll probably just leave them as a thrifty makeover.
I love the prints where you put them. When I was reading your spring tour post I felt that area needed something. When you Instagramed about framing them I was thinking they would look beautiful on each side of the cabinet in your living room. Brought a smile to my face when you mentioned you might put them there! They look perfect!
Thank you, Kathleen, I think they are perfect there too. Mark wasn’t so convinced but I’m glad you all agree with me!
What lovely additions to your home, and what a great find those frames were! I never seem to have much luck at the thrift stores, perhaps I need to go out more often!
THank you, Chloe, I loved them and couldn’t pass them up.
I have to echo Roxanne’s comment and add a bit more for reference, as I was an art major in college and also spent some time in my career as a fine art framer. It’s important to be aware of artwork that is printed on papers typically made from wood pulp vs. fine art pieces that are printed on acid-free papers, such as cotton rag papers, etc. Many fine artists use rag paper to ensure that their unique or limited edition works are less vulnerable to various environmental factors, like “foxing” (brown spotting and decay caused by contact with wood pulp-based papers and materials, and exposure to air. etc.) and the other environmental factors like humidity that Roxanne mentioned.
If you’re spending any real money on limited edition fine art items that aren’t commercially produced in massive quantities, like your new prints, it’s worth investing in quality fine art framing materials that also are acid free, such as rag board mats, to ensure that the mats don’t react with the art material and cause deterioration or decay from that contact. You can often tell the difference between commercial mat board vs. rag mat board by looking at the edge of the mat board where the window opening is cut. Acid-free rag mats typically are the same color as the board surface as it is a solid piece of material throughout. There is no contrast between surface color and the mat’s cut edge. By contract, the surface of commercial (wood pulp) mat board usually is an obviously different color than the mat’s cut edge.
It’s also rare to find rag mat board in an array of colors – usually it is found in white, ivory, cream or light grey. They can be decorated on the surface with a hand-applied border surrounding the window opening, but that’s typically all. Ultimately, simplicity is usually the key in fine art framing so the mat doesn’t detract from the art itself.
Great frame find! I absolutely love those watery landscapes. Will check out the artist’s Etsy store.
I love these so much! I found a tiny 4×5 oil original painting at Goodwill years ago and it’s still one of my favorite pieces of art. I adore thrifty treasures. Thanks for sharing.