Our July challenge this month for Lowes included a DIY outdoor art project, so that’s what I chose to make this time around. I had all this leftover beadboard from the porch project and have always loved painted beadboard, so I decided to do something a little different and frame a piece of beadboard painted with multi-colored stripes. All that left-over paint I have laying around came in handy too. This is from all my projects around the house and I love the bright hues of colors that I ended up with.
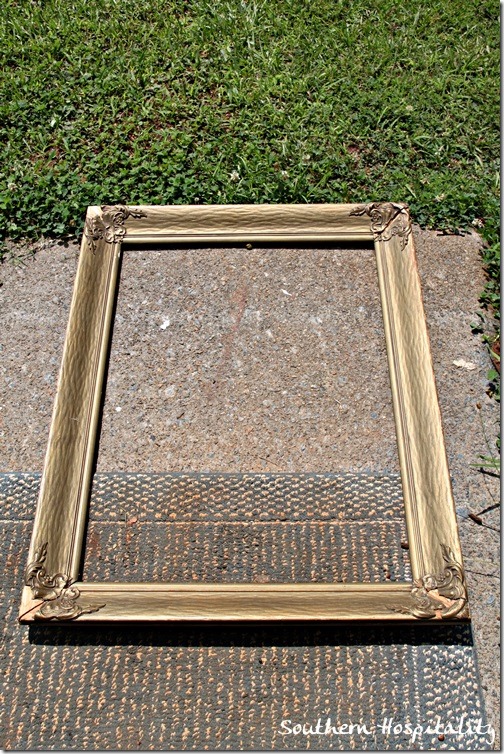
I had this old chippy yardsale frame that I’ve been hanging onto for who knows how long. I’m sure I didn’t pay more than a couple of dollars for this. It’s a pretty shade of burnished gold.
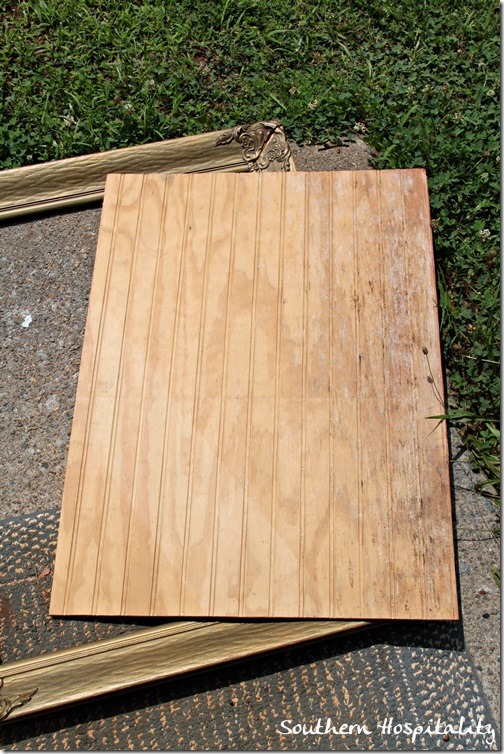
With plenty of leftover beadboard, my dad and I cut a piece to fit inside my frame.
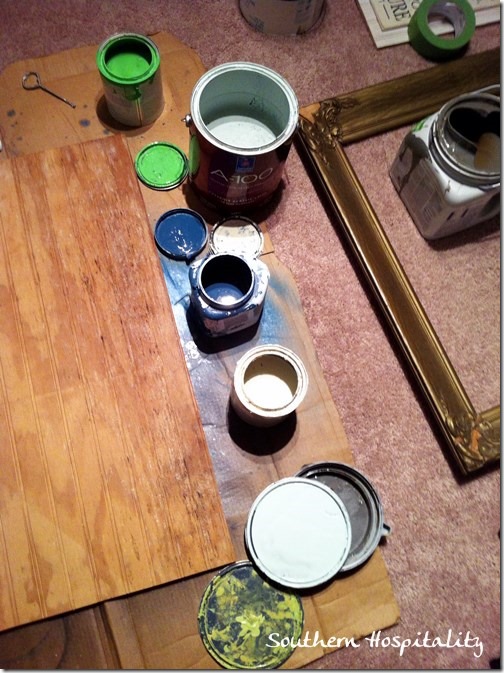
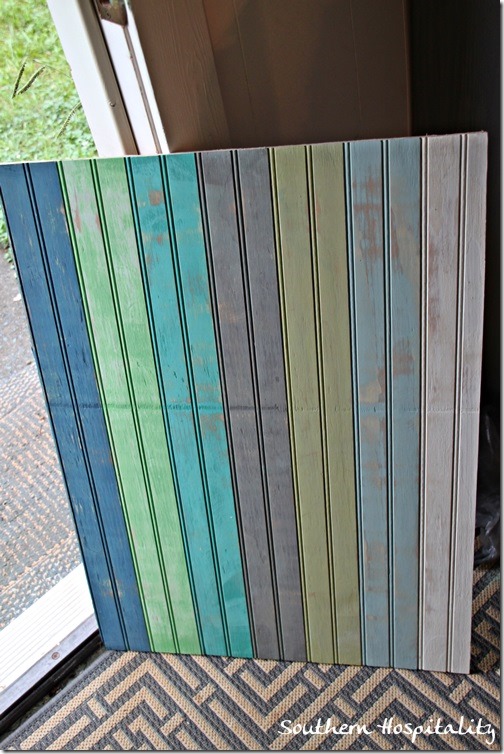
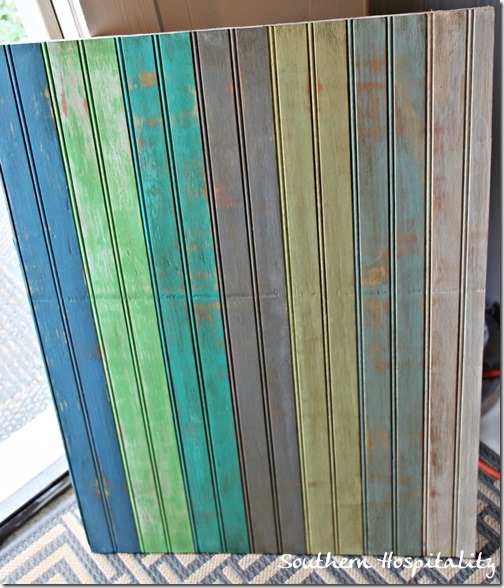
I hauled out my left over paints and figured out I would need 7 colors to paint my stripes. I wanted to paint 2 rows the same color and not have every row a different color.
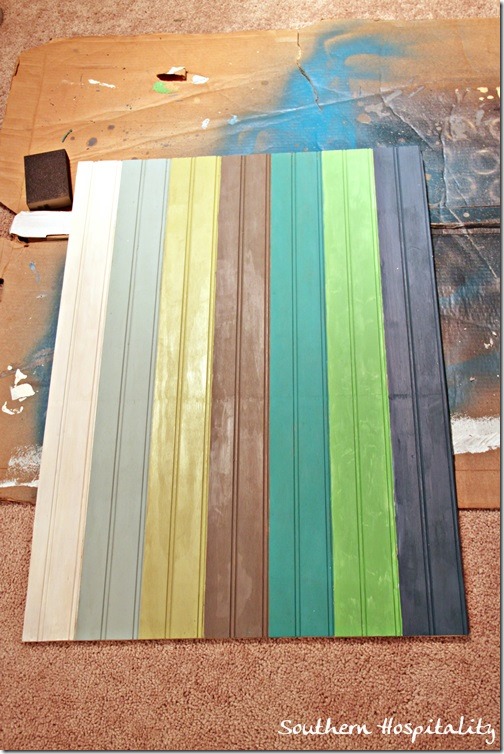
Here are my 7 color choices, from left to right:
Annie Sloan Old White
Annie Sloan Duck Egg Blue
Sherwin Williams Fennel (actually a Pratt & Lambert paint, but SW can mix too)
Dutchboy Timbermine (gray)
Annie Sloan Florence
Annie Sloan Antibes
Sherwin Williams Santorini Blue
I used a small craft paint brush to stay in the lines and that worked out well and I didn’t even have to tape them off.
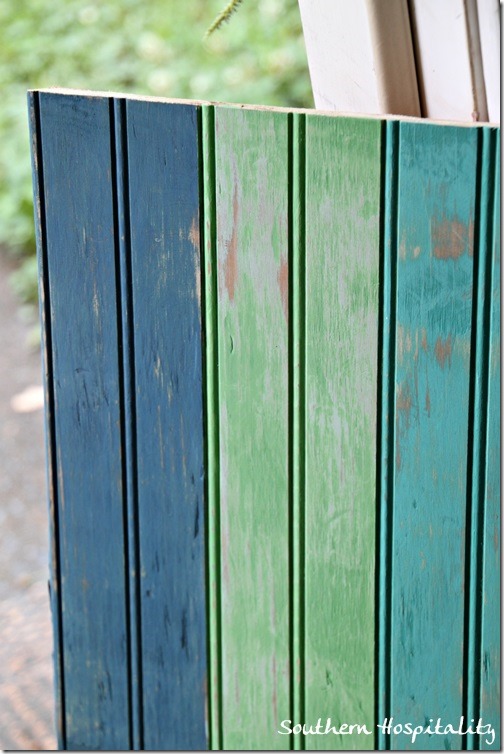
After painting all the stripes and letting them dry overnight, I got out my electric sander and went over the whole thing, sanding off bits and pieces here and there down to the raw wood to give it a weathered look.
Close up before waxing.
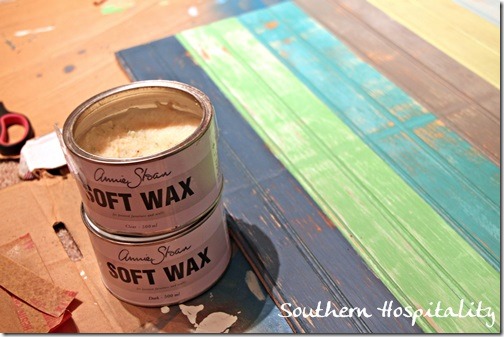
Then I grabbed my Annie Sloan wax, in Clear and Dark. You always want to put the Clear on first, so that the Dark doesn’t grab too much. I used my wax brush to rub on the Clear wax and then wiped it all in with a rag.
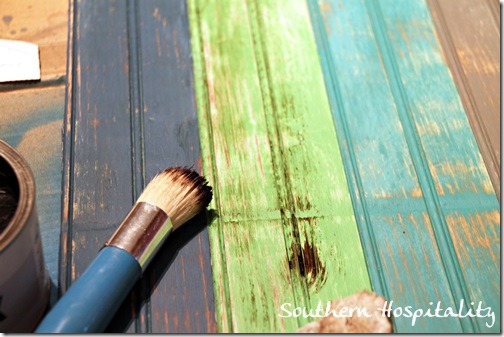
Then I went back with the Dark wax and brushed and rubbed it on and off the board until I had it looking like I wanted. I didn’t want it too dark, but it gives it a vintage and aged look, so that’s what I was going for.
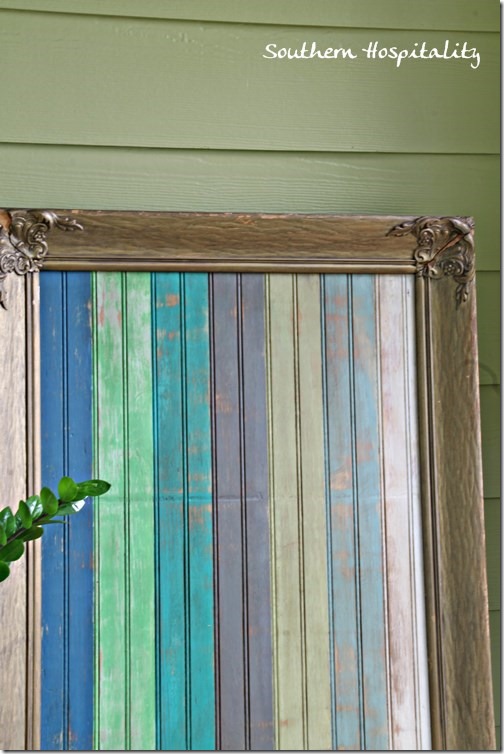
Like this! It tones down the color and the sanding and wax gave it just the look I was going for.
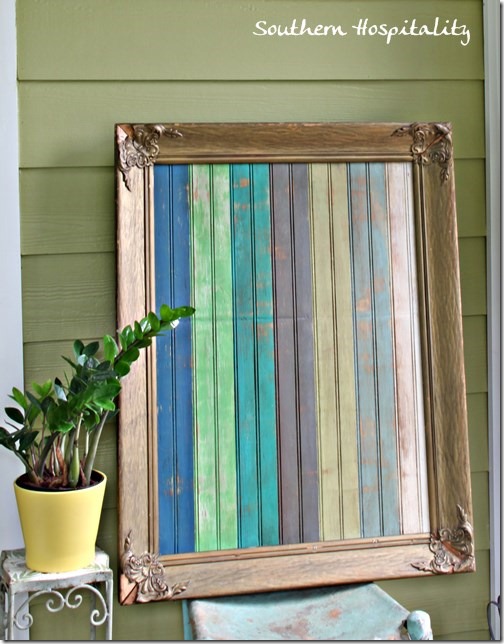
I then popped the beadboard in my vintage frame (that I did nothing to, it’s old and crumbly). I used my small nail gun with staples to hold it into the frame and now it’s ready to hang.
I love this for a porch or covered outdoor area! Beadboard is so pretty and vintagey looking and painting the stripes all these colors is so fun. I love how this turned out. I don’t have enough walls on my porch to hang all my art, but I can swap it out whenever I want.
The colors are all so pretty together and I love the vintage frame, so glad I hung onto it!
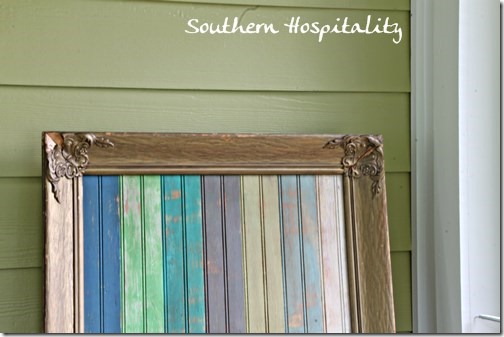
This is a fun way to use old frames and scrap pieces of beadboard. You can go crazy with your own color palette and have something fun and pretty to hang on a spare wall. I love this outdoor art piece and will definitely find a spot for it!
Check out Lowes Creative Ideas Magazine app, visit Lowes on Facebook, and Lowes on Pinterest.
Are you on Instagram? I’m on there and having so much fun since I got my iphone last year! If you want to see what I’m doing in real time, follow me on Instagram. You can see Lowes on Instagram as well. It’s a fun little snapshot of what is going on every day.
Disclosure: As a Lowes Creative blogger, I am sent gift cards to spend on projects and to blog about them. This post is sponsored by Lowes, but all ideas and projects are my own.


Ok, I love this! Hope you don’t mind my pinning it so I can save it for future reference. 🙂
Best, Rita
Love that, Rhoda! I really like beadboard (we call it tongue and groove over here) and have it on two walls in my dining room. I too, did something with a frame this weekend – have a look at my blog!
I love this. It’s so simple & the colors are beautiful. It would be fun to add a word (summer or beach) or a short quote.
I am really loving your back porch.
Great idea!!
What a fantastic project Rhoda! I know you are thankful the porch is covered this summer. This rain will never end!
I love how this turned out Rhoda! So beachy and vintagey and fun!! That frame is fantastic too!!
Very creative- and cheerful! Makes me smile!
Rhoda, this is a really cute project. I would have loved to see the frame painted grey first, then a coat of white and then have it weathered lightly with sandpaper. This way the grey would peek through. Thank you for sharing this project! Super cute!
~Becky
Very cute Rhoda! Love it.
Hope your 4th was good. Rainy here 🙁
Big hugs,
Kat
This is just so lovely, and the way you weathered the paint did a lot to make it match the vintage frame. Nice frame by the way, but it does look really old. I can only imagine how much pain it took you to put that in place without breaking it.
Hey!! I recognize that frame!! I have a wonderful picture of my kids holding that frame!! (Thank you for sharing.) You inspire us all to imagine new possibilities for so many “loved” possessions. Love your DIY and love your colors.
Rhoda,
I love this project! Now I know what to do with one of the old frames in my stash!
This is what creativity is all about: using what you have on hand, so cute! I can imagine using this same board to create a flag, turn the frame horizontally, paint stars and stripes. Guess I am still thinking of the 4 th of July! Keep up the great inspirations!
This turned out beautifully, Rhoda! I love contrast of the ornate frame with the weathered beadboard… awesome!
xo Heidi
I think the most creative art uses resourcefulness – this is perfect!
That is so clever! You smart girl!
Rhoda – You are brilliant! I love this idea! Thanks for sharing the colors you used too. They all blend so nicely together. Blessings to you, Patti@OldThingsNew
I like this project–like the colors used. I’m glad you didn’t use lettering here–nothing to disrupt the calm of the piece.
Cute idea!!! I think I will try something like this. Thinking I will paint the frame to compliment the colors inside. Thanks Jen Y for the “It would be fun to add a word (summer or beach) or a short quote.” idea, too!!
Blessed week to everyone!
Rhoda – you ALWAYS come up with different ways to use “leftovers”, which I adore. Love Linda A’s idea of making it a flag. I like stripes, but I think I would have painted them on the bias, across the beadboard “lines” just to be the quirky person I am. BUT would have never event considered the project without YOUR INSPIRATION. Well Done!
Love the project Rhoda…and the colors are great! Great way to use your leftover beadboard and the gold frame is a great juxtaposition to the beadboard…So pretty!!!