I decided I really needed to make some cute shutters for my double window on the deck and knew that it would really make that space much more inviting. I had seen these somewhere along the way, so I did some Googling and found out that a couple of my bloggy friends, both named Sarah, had made their own shutters too (I had seen them, my old brain had just forgotten!). You can see Sarah’s here and the other Sarah’s here. Also, Kathysue, another bloggy friend’s hubby made her some shutters for her backyard. You must go and see her really adorable backyard space too, those blue shutters are too cute.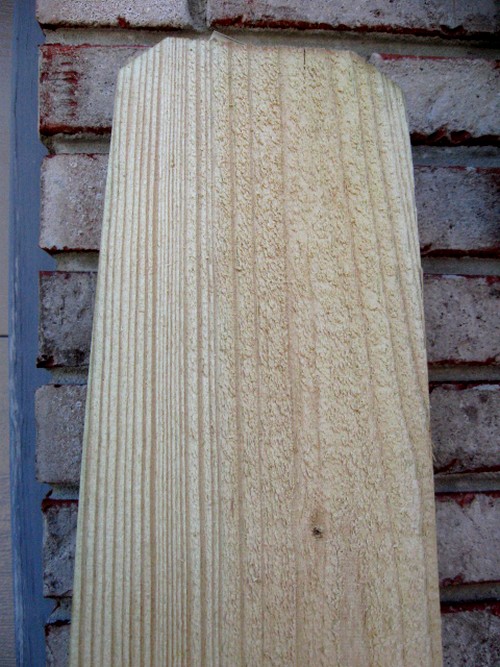 So, getting back to my project. I went to Home Depot and picked up some fence slats that are 6′ tall, the perfect size for my window. I didn’t have to cut them down or anything, they were a good fit for my size window, slightly taller, but I like that look just fine. These are 5 1/2″ wide. And the good thing is, they are cheap! Like $1.39 each. I spent about $10 for all my materials, not counting the spray paint. You’ll need 3 of these for each shutter.
 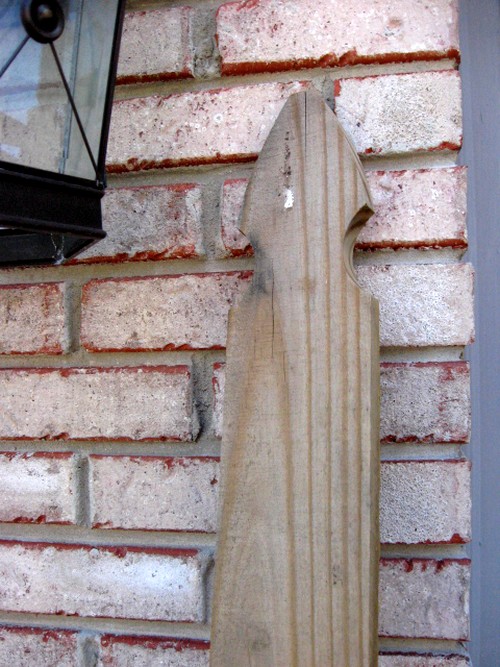 I had one of these Gothic fence pickets at my house and these are not what our fence is made of, so I do not remember why I have this one. But, neither Lowes or Home Depot carries these in stock anymore, they are special order only. If they were in stock, I may have gotten these, since I love the shape of the top. This one, at 4″, is not as wide as the ones I got, so I used this one as my cross piece at the top and bottom. If you can’t find something like this as the cross piece, you may just have to cut down another one of the fence slats for this part. I know Home Depot and Lowes seem to have many different things at various stores, so you’ll just have to check it out in person and see what your store carries. Both HD and Lowes carried the ones I have for the same price.
 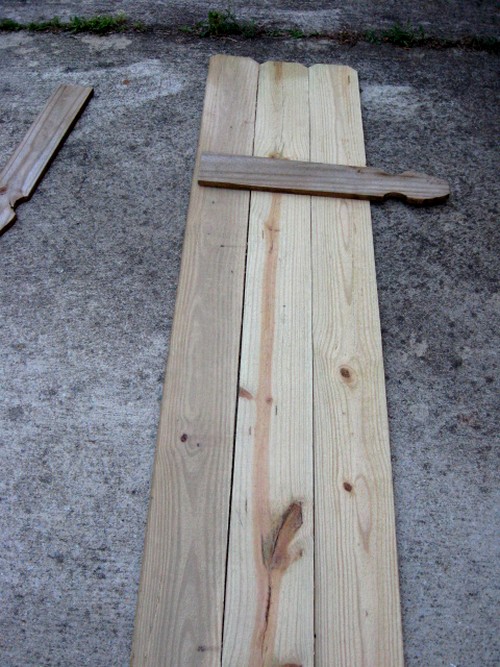 First, I cut all 4 boards for the cross pieces with my miter box, then I measured down 12″ from the top and up 12″ from the bottom to place these boards and screwed them in with wood screws and my new handy dandy cordless drill/screwdriver. I just got this and should have bought a good one years ago. This will save you a ton of work and a lot of fussing. You’ll need wood screws about 1 1/2″ long.
 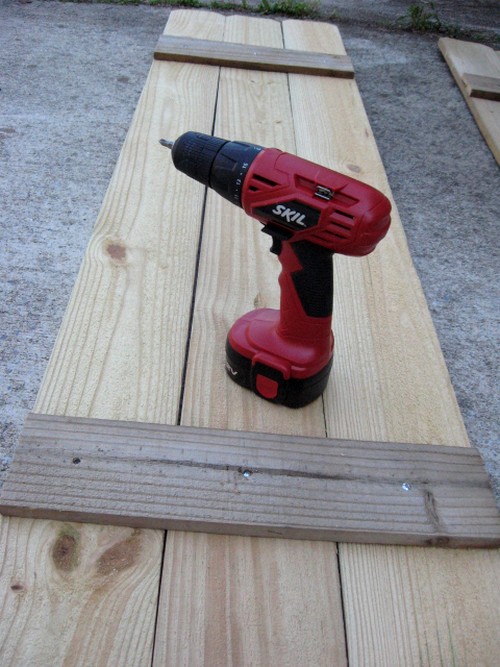 I used 3 screws in each board across the top and bottom and that held it all together just fine.
 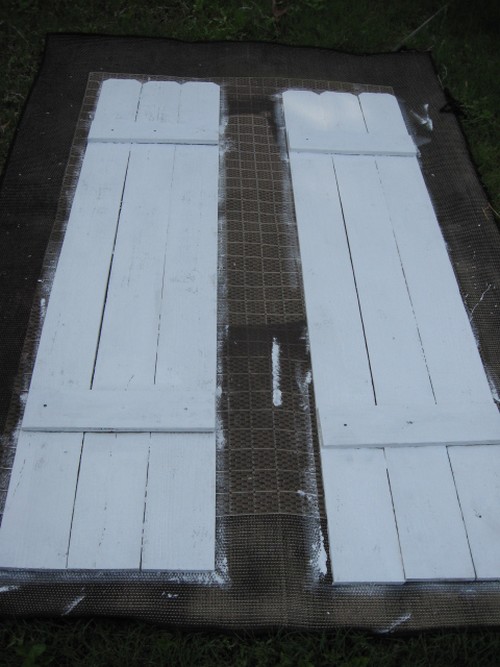 I then laid them out in the backyard and primed them really well. I was going to use spray paint on them without priming, but quickly discovered that this raw wood would just drink up any spray paint I attempted to put on there and my cans would be empty FAST. So, prime it is!
 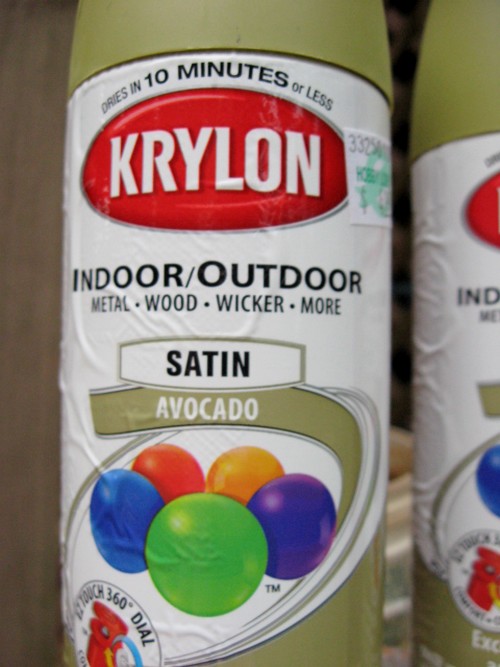 I decided on this green Krylon color, Avocado (oh, that sounds SO 70’s!!), and it’s a perfect complement to my fabric.
 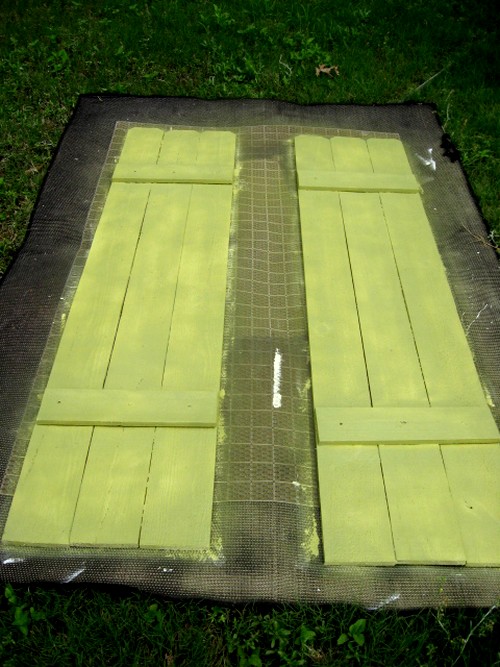 I used 2 cans for both shutters.
 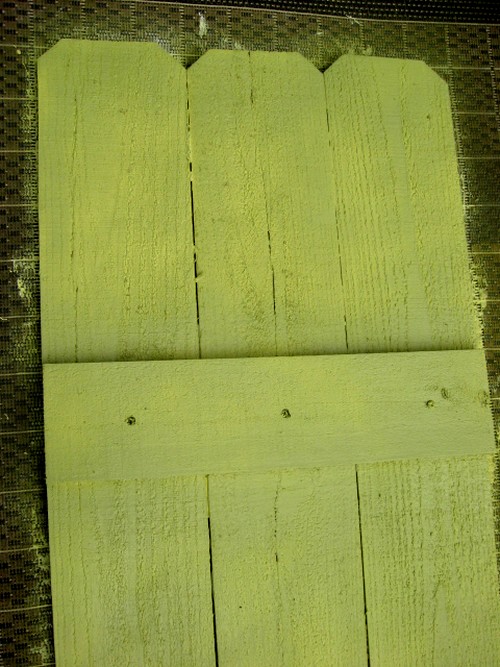 And the color came out just as I had hoped. A pretty limey green, not so much avocado after all.
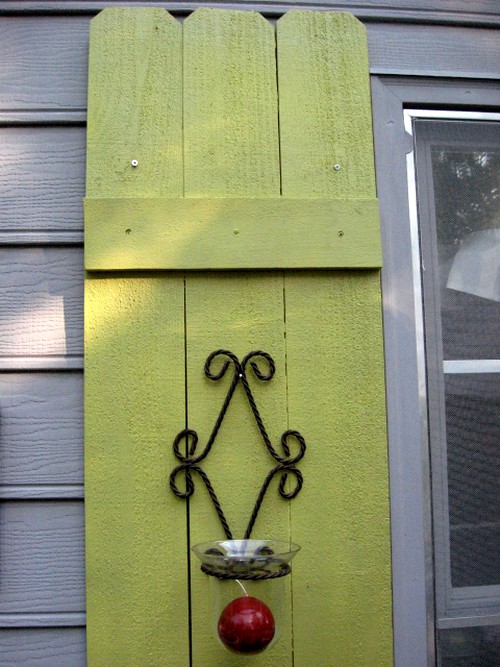 EDIT to ADD: A couple of you asked how I attached them to the wall. Just a few screws will hold them in place. Mine are in siding, so it was not a problem. In the above pic, you can see the screws I put them in with. You’ll need at least 1 1/2″ screws to attach and a cordless drill will be a lifesaver for this job if you are doing it alone, like I did. 🙂 I used 2 screws in the top and 2 in the bottom.

I used the regular (not Fusion) Hammered Brown paint on a couple of my side tables, like this one.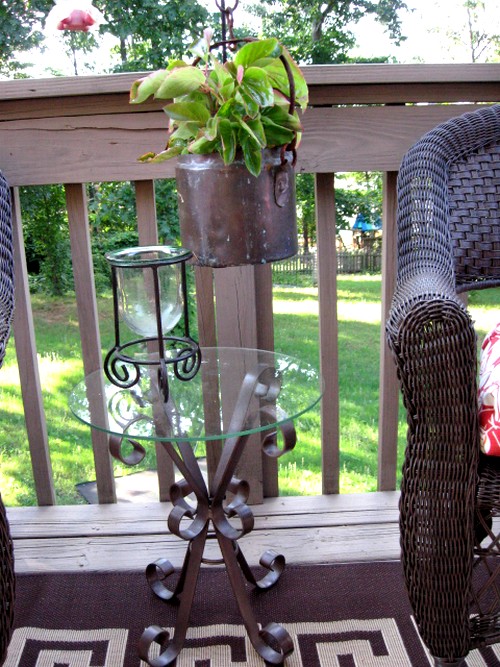 You do know you can paint plastic now, right? Yep, Krylon Fusion paint has been out a few years now and is especially made for plastics. It will bond to plastic and make it look brand new.
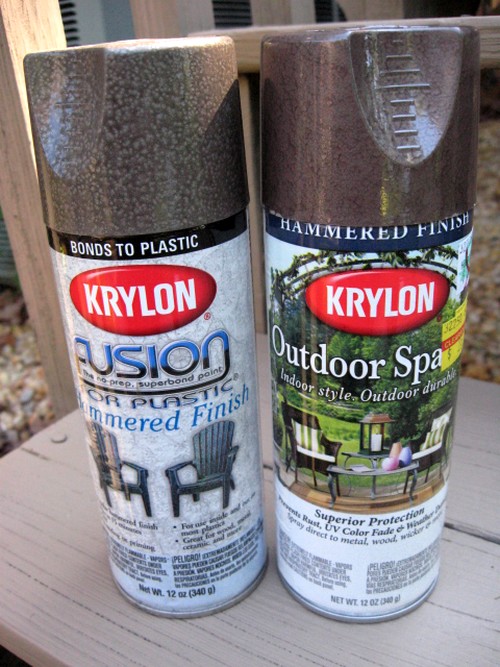 The deck box I picked up at a yardsale last year for $10 came in handy too, but I felt it needed a little something to dress it up more for the deck, so I picked up Fusion paint in Hammered Brown and sprayed it down with a darker color. Save the Fusion paint for plastic things only, you don’t want to waste it, since it’s a little pricier than some of the other spray paints.
I found the regular Hammered Brown on clearance at Hobby Lobby and the Fusion Hammered Brown at Walmart. Check all of your local stores for these Krylon paints and you should be able to find them. Home Depot and Lowes also carry a lot of them. 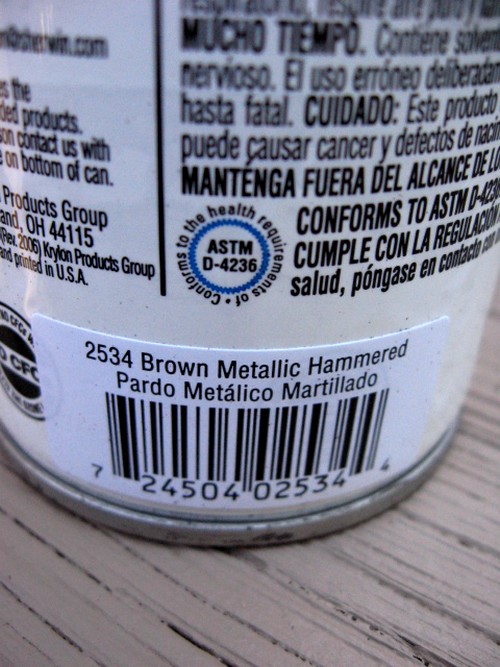 Krylon Hammered Brown is a really good color.
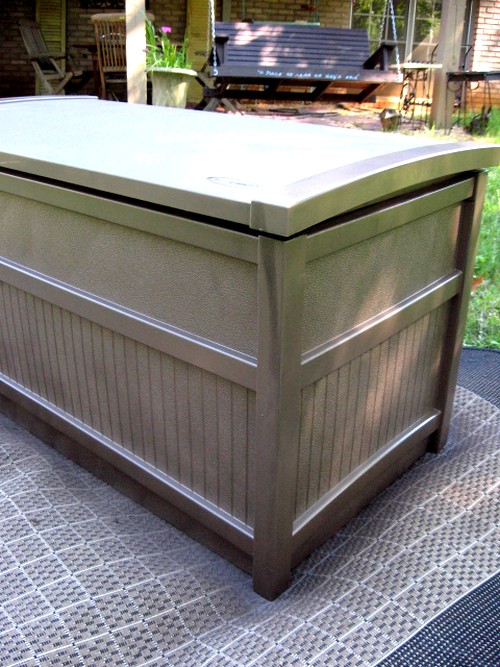 And here’s the deck box after a couple of coats of the darker brown paint. Looks MUCH better than the beige it was originally.
 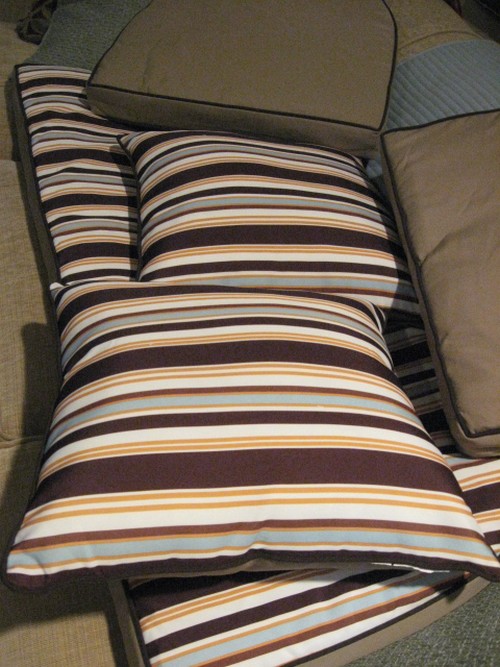 These are the original cushions that came with my Big Lots all-weather wicker. The cushions were OK, but not as plush as I wanted and this fabric was not my favorite. So, I’ll save the seat cushions for maybe another project later. I did use the throw pillows though and covered them for the settee.
 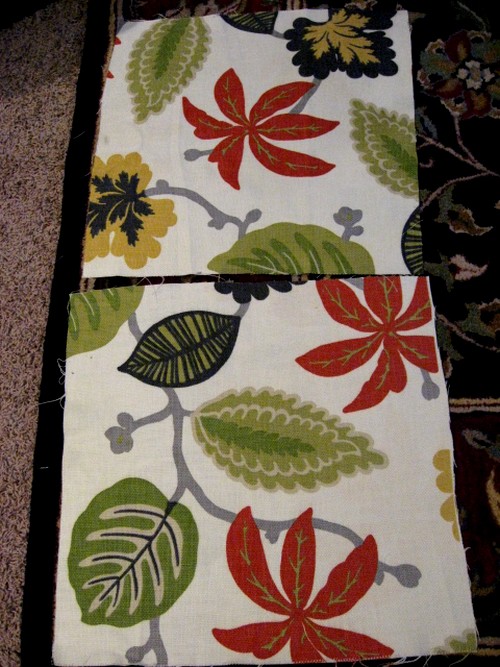 Cut out my squares for the throw pillows, added some cording with green fabric I had left over from another project.
 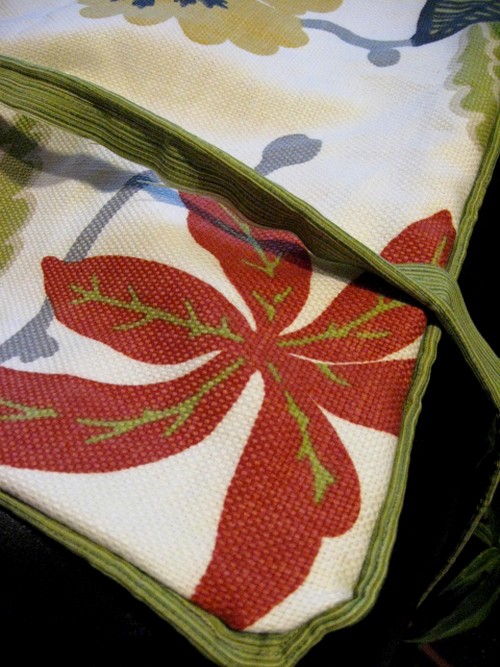 And I have a set of custom throw pillows now that really enhance my space.
So, that’s how I got it all together out there by spray painting, building the shutters myself and sewing a little. If I can sew, YOU can too!
If you have any other questions about the deck space, let me know!
The Slow Love book giveaway winner is Mary (Meteor Mary) and I’ve emailed her already. Mary said this:
Rhoda, Never lost a job but I would love to enter the give-a-way since I love to read and this book sounds very interesting! Mary


Wow looks great….I want to see the finish shutters hanging….you are teasing us!
Looking forward to the big reveal! I love the design and colors of your fabric! Great lime green on the shutters!! You are so creative!
OHHH I’m just LOVIN’ your colors! I was a little afraid when I read the paint can color but the shutters are YUMMY! Can’t wait to see this all pulled together! HURRY! 😉 I’m excited for you!
Once again! Another fabulous project by Rhoda!! Oh, what you can do with a can of spray paint…the possibilities are endless.
Great work Rhoda!! 🙂
I love Krylon! They sell it at Home Depot, Walmart, Michaels, and Hobby Lobby near me. Lowe’s carries their own Valspar version, which in my opinion doesn’t measure up.
By the way, I would love some input on which flooring stain I should choose. Please stop by my blog and vote!
I love the shutters! Thanks for showing us how to do it. How did you attach them? Are they just leaning?
Great Inspiration!
Beth
Hey, girls who are waiting for the reveal! It’s already up. See yesterday’s post since you missed it. You’ll see all the pics of the porch.
Beth, I just used 2 screws across the top and bottom of the shutters to hang them on either side of the window. You’ll need to hold them in place and use the screw gun to attach them to the outside wall. You can see in pics from yesterday’s post, the shiny screws that I attached them with.
I’m excited to try this on my front porch. I have to drill into brick though which I’m so sick of doing. Your shutters and entire porch look divine!
Oh thank you! thank you! I have a beautiful pile of discarded fence that I salvaged from a neighbor, you just made my day! Probably more like my week the way it goes getting anything done with a toddler. New project!!
Hi Rhoda,
I was coming back to visit and ask you about your shutters and the color that was on them. I was also going to ask you about spray painting metal. Look at that, you answered all my questions :0
Thanks for sharing all of you expertise with us.
I think you have convinced me to do the shutters on my deck. How did you attach them to your house? Did you use Liquid Nails or screws? Hmmmm….
What a great idea…and such a fun color!!! I’m really into the lime green lately! I’ll bet your back porch is a fun place to hang out at!
You did a great job on these, Rhoda! I was wondering if you had vinyl siding ~ my hubby is ridiculous about me hanging things on the house that is all vinyl sided! Those are the times {thankfully, they are few} that I actually ask him if it is okay to nail/screw into. I think these would look great inside flanking a window, too.
Kathy, Just google “vinyl siding hangers” …. great little hangers that slip under the siding, do no damage and allow art/shutters, whatever to hang flush with the siding… Hope that helps. Diane
Great Job Rhoda! I couldn’t get a job done without my drill/driver, it’s a great tool.
Glad to see your painted storage chest, I’ve been thinking about painting ours too. They are handy but not so pretty.
The deck looks so inviting now, I’m sure you’ll be enjoying it.
Btw, those flipflops are ancient, no idea where I got them. 🙂
Rhoda, I just LOVE the color on the shutters. I also have two of those plastic storage containers down by my pool and I always try to avoid them when taking photos of that area. I never thought to spray paint them! Thanks so much for your clever ideas, you always seem to get my creative juices flowing once again!
Sheree 🙂
Rhoda,
You have such an eye for things. I always love the designs you post but this one is on my envy list. I want that deck. I can just imagine going out there in the morning to have my coffee and read for a while. Oh, heaven.
I love, love, LOVE this. We have been looking for ways to enhance our outdoor space also, so I may very well get out my hammer! Thank you for the inspiration!
Rhoda,
You need your own HGTV show. Seriously. I never leave your blog without learning something and feeling like I just spent some time with a dear friend.
I am in awe of your reveal! Simply stunning.
Your Friend,
Deborah
Hi Rhoda, Thank you for your generous mention of my blog!!! I am so flattered,really, I truly am!! Yep! you did it just like hubby did, exactly except for the paint color. I have lanterns to hang on my shutters that I have had longer than I have had the shutters. Seeing your candle holder is going to remind hubby to hang them!!! You know how the summer gets away from us and I always forget!! Thanks again for the mention, You are the BEST!! hugs Kathysue