Hello friends!
I’ve got a fun project to share with you today and it’s been awhile since I’ve had a really good DIY project to share with you so I hope you enjoy this one. I get some crazy ideas sometimes and this seemed like it might be one of those. Dying leather chairs was something I never thought I’d do and I’m going to share how I dyed the chairs with you.
I’ve had these leather chairs since 2003 and in my first house. I bought them from a local furniture store who was going out of business, Furniture Craftsmen. Those of you who have been in this area for a long time probably remember this company and they had some gorgeous higher end furniture in their very down to earth warehouse setting in Marietta. I lived close to them and used to enjoy browsing things I couldn’t really afford at the time.
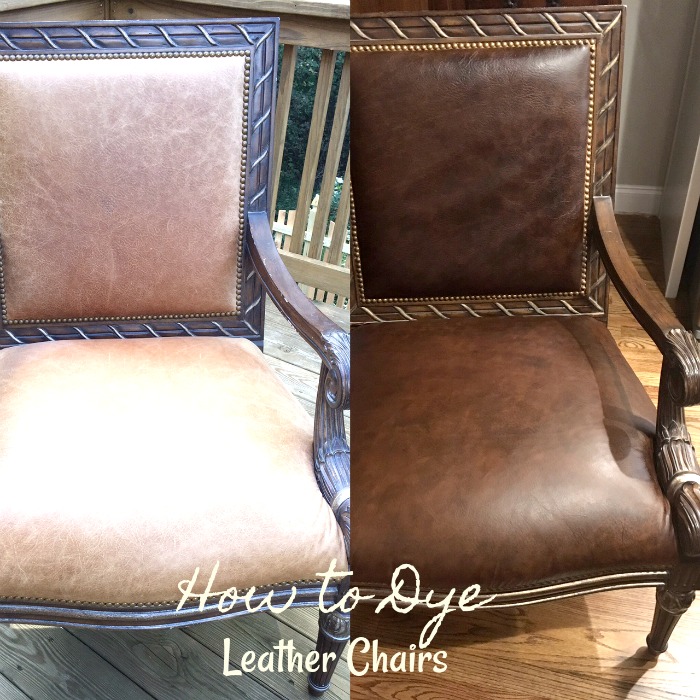
These chairs were in the sale and so I fell in love with their stately shape and classic looks, even though the leather wasn’t my absolute favorite color, it worked well with the Tuscan look that was so trendy back then. They have found a place in my living rooms ever since I brought them home and they are still beautiful chairs. But, I’ve grown very tired of the gold leather shade they were in. I did some research online and heard about a leather dye by Fiebing’s and decided to give it a try. For less than $50, I bought all the products needed and got to work.
Here’s my thought process on something like this. What’s the worst that can happen? I ruin the leather and hate it? OK then, I’ll just get them recovered in fabric which was on my list to do anyway.
I figured the worst that could happen was that the leather would be ruined and I’d go to Plan B. But, I’m happy to say that Plan A worked so well and I’m thrilled with the outcome of these dyed leather chairs!
Let’s get started and I’ll show you exactly what I did!
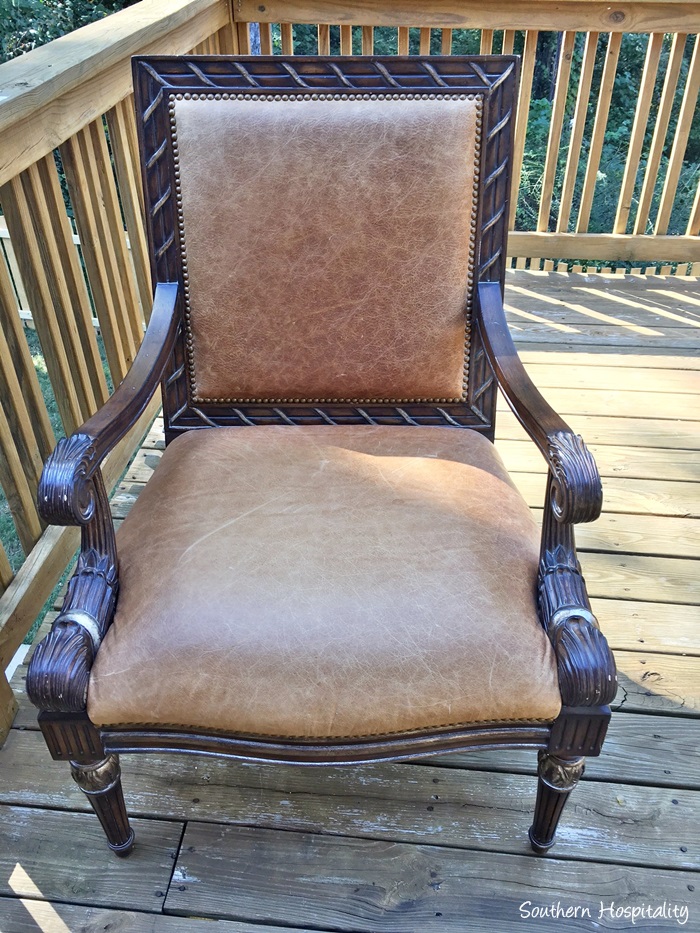
The leather is in great condition, but I read that it needs to be deglazed to open up the leather for the dye to penetrate, so I followed those directions.
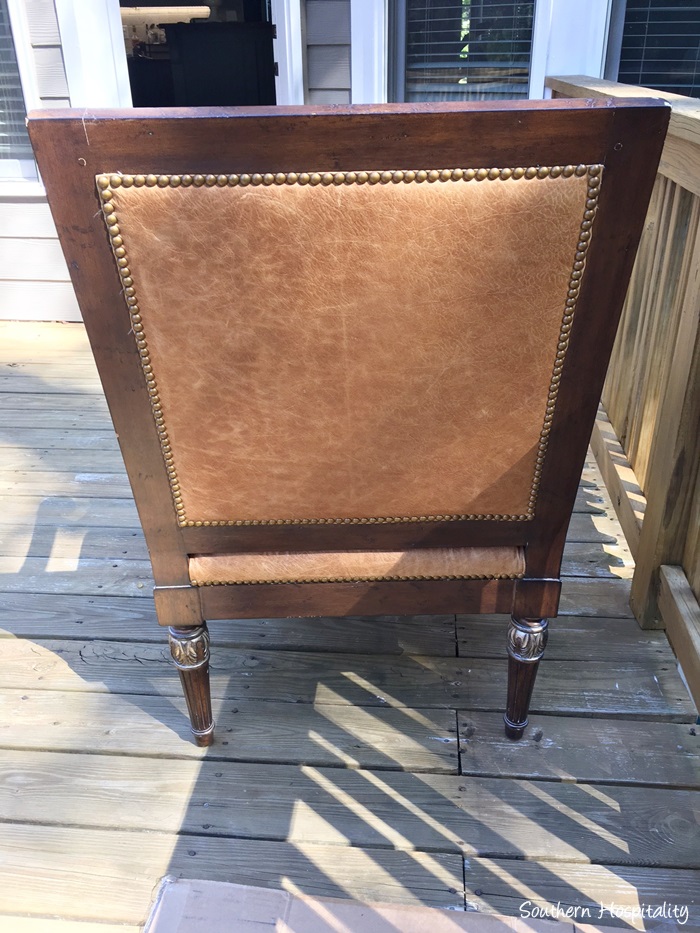
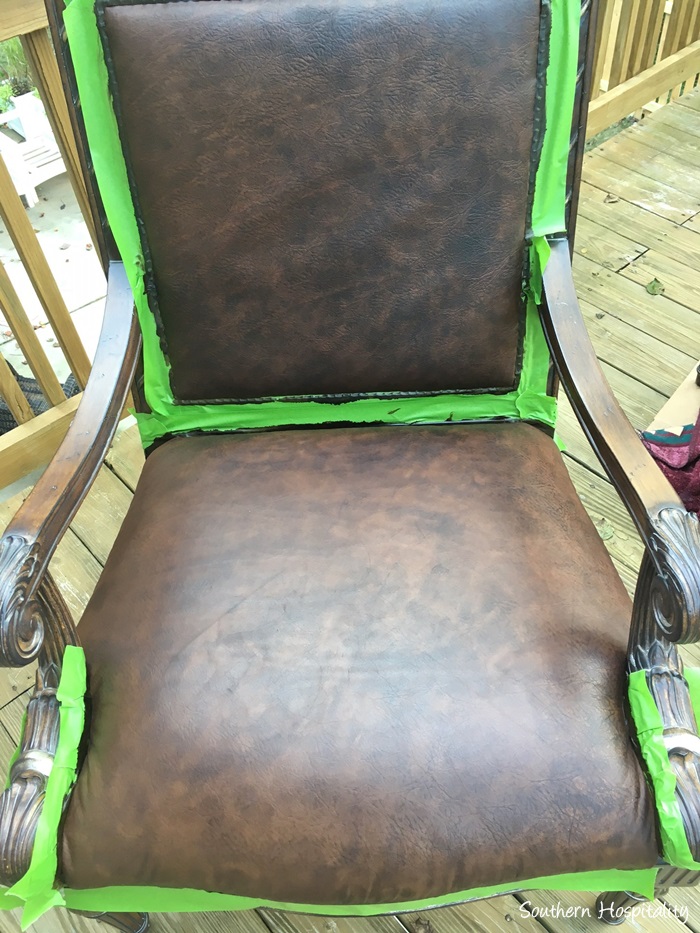
The chair has a million nailheads all around the edging, so I taped it all off to avoid getting dye on the nailheads.
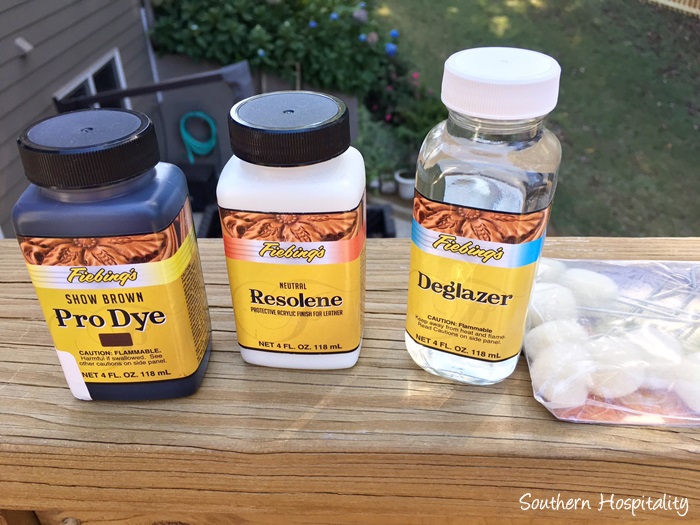
Here’s what I bought, all from Amazon (affiliate links used for your convenience). This was a pretty inexpensive project for the impact. I ended up buying 3 bottles of the Show Brown Dye, but one bottle of the Deglazer and the Resolene (finishing coat to seal). I did run out of the deglazer, but read that Pure Acetone works too and I had that on hand so finished off with Acetone. I also read that the Pro Dye was best to use instead of their regular dye, so I chose a color from that line. To see all the colors do a search for Fiebings Dye and the color charts will come up.
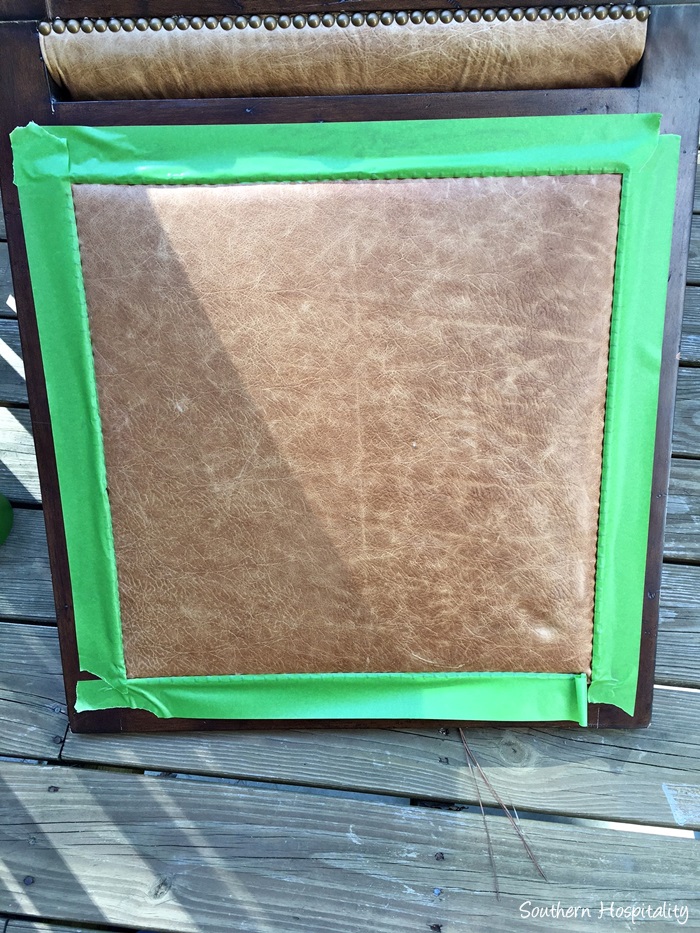
Step One:
Tape off the wood and nailheads that you want to protect. Those wool daubers do a good job of spreading and you can control them well. That’s just a shadow on the pic above, I hadn’t started on it yet.
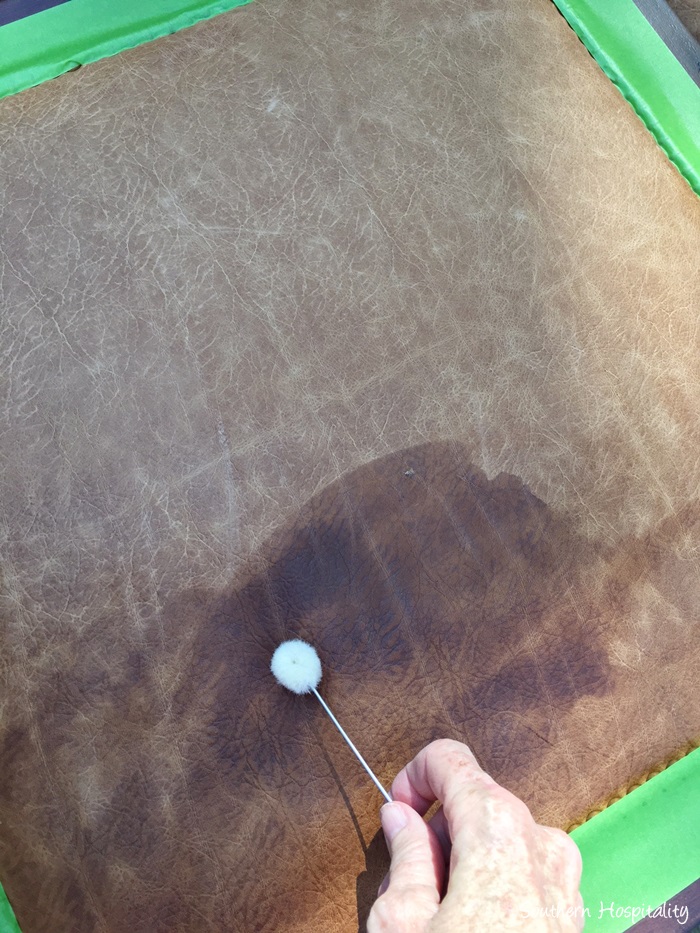
Step Two:
Use the wool dauber to deglaze the leather. Just brush it over all the leather and it will soak in and dry pretty fast. I waited until it was dry before I started adding the dye, because if it’s wet it will grab the dye darker in that spot. It did dry very fast, since it has alcohol in it.
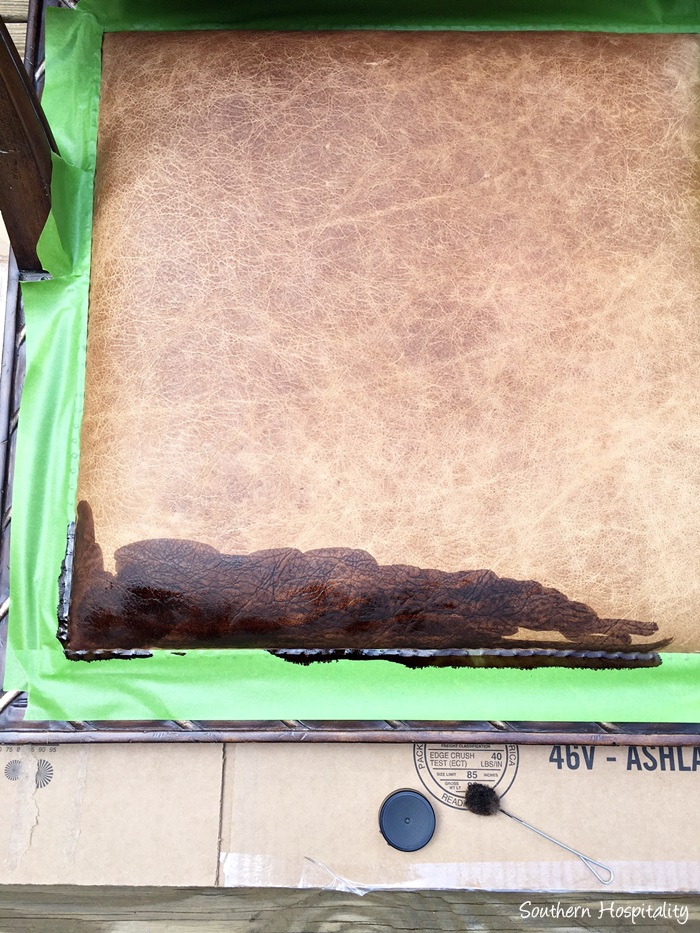
Step Three:
Use another wool dauber to apply the dye. It will be scary at first, but then exciting as you see it change before your eyes and your leather will change colors.
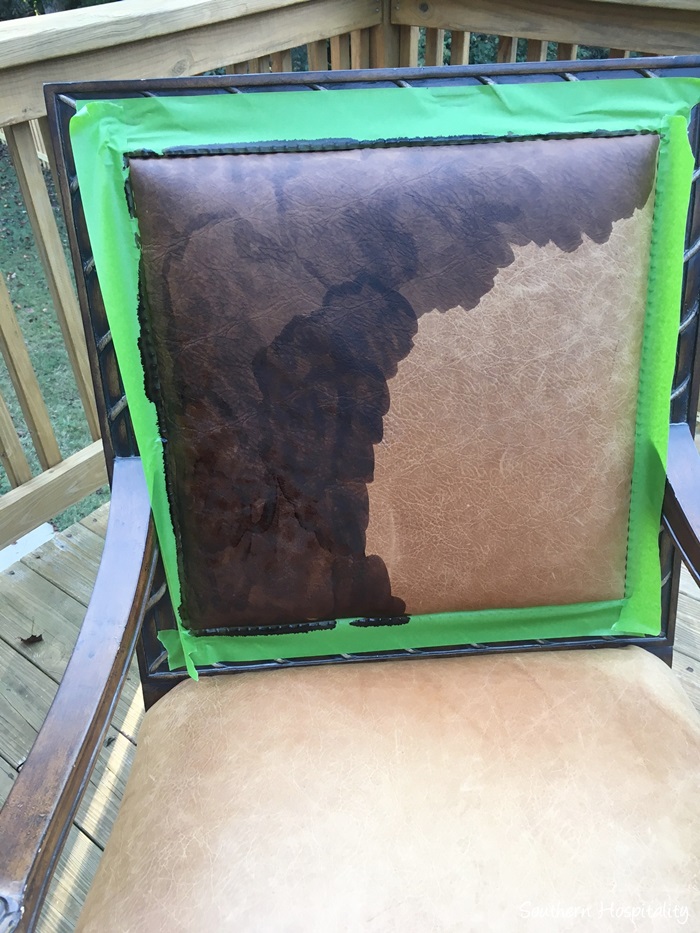
The first coat will look splotchy and you can see the overlap marks of the dye as you work your way across the leather.
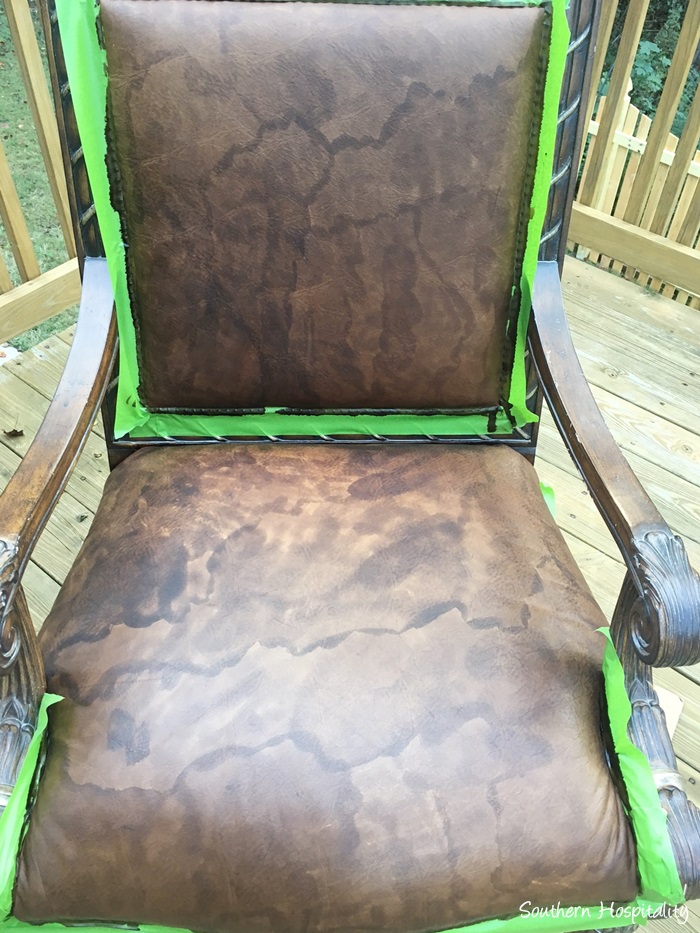
And after one coat it looks like this. Don’t worry, the 2nd coat will blend it all together!
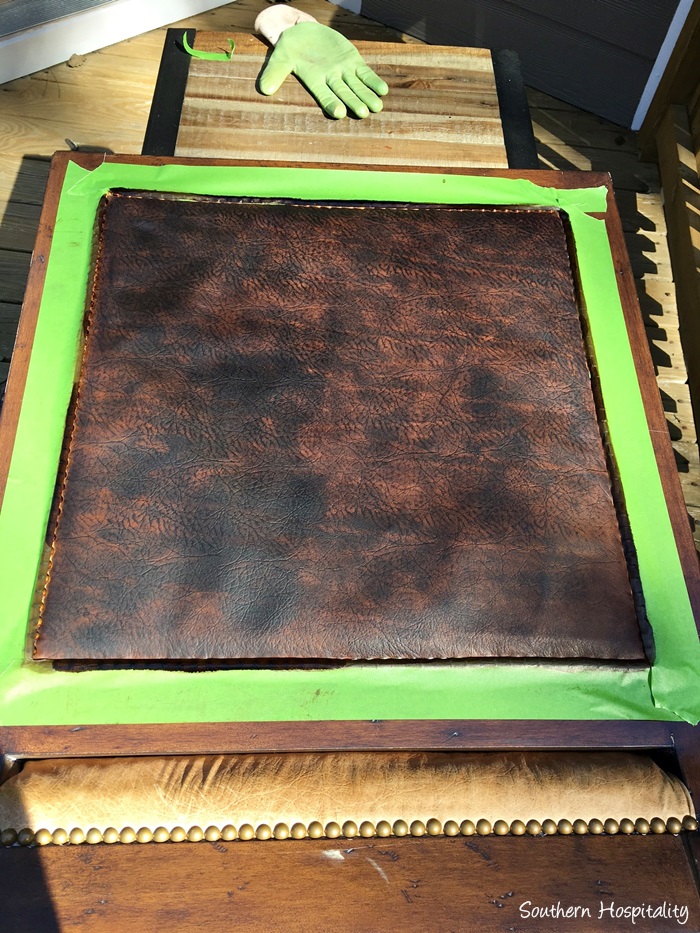
After 2 coats, it will look like this. This was outside and still a bit splotchy, but it all blended together in the end. If there’s an area that looks lighter, just add more and it will start to blend together.
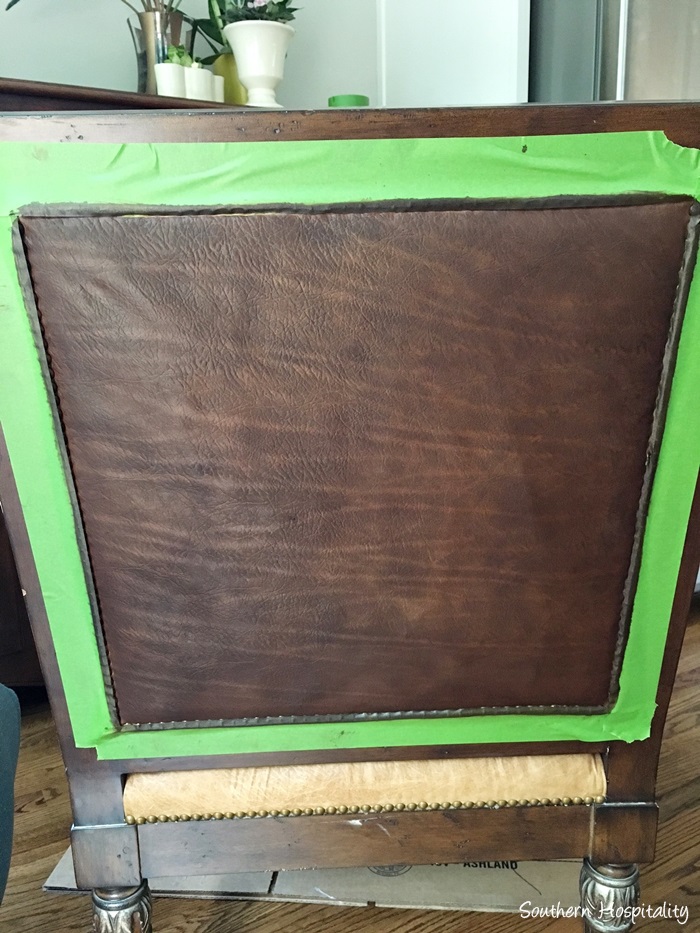
Here’s that same chair, inside the house. This is the first back of the chair that I finished and my first attempt after 2 coats. I was highly pleased with this and motivated to keep going. Loving it so far! I was glad it didn’t completely get rid of the grain of the leather, but let’s it shine through.
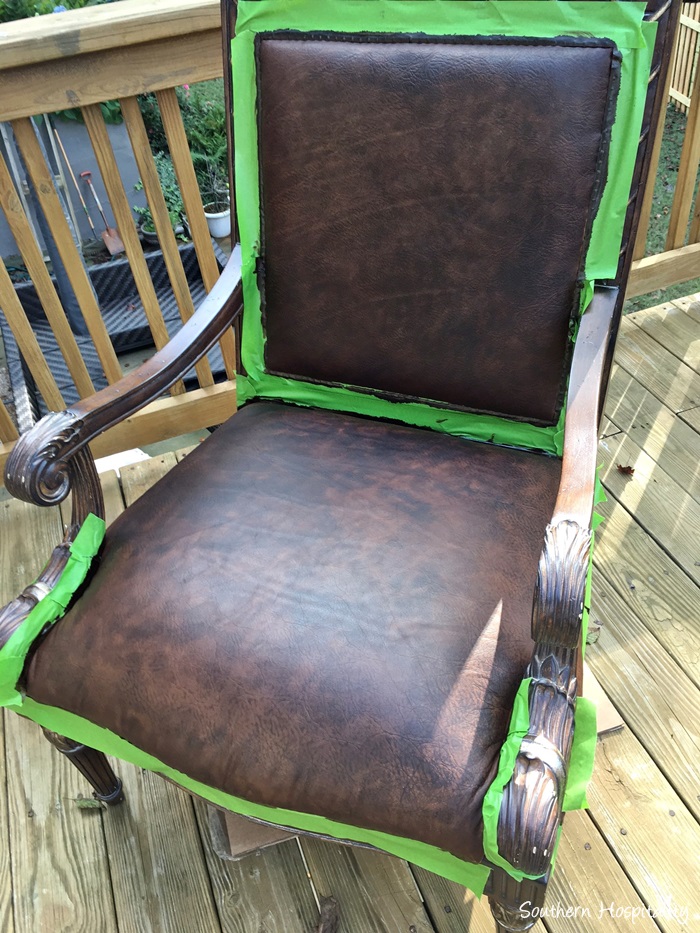
After 2 coats all over the chair, this is what I ended up with. Love at first sight! What a difference, don’t you think? The dye dries fast as well. It looks like a high end distressed leather chair.
Step Four:
I took an old terry cloth and manually wiped on the Resolene sealer over the dried leather dye and it gave it a nice sheen. That took no time and went very fast. I just rubbed it in and buffed.
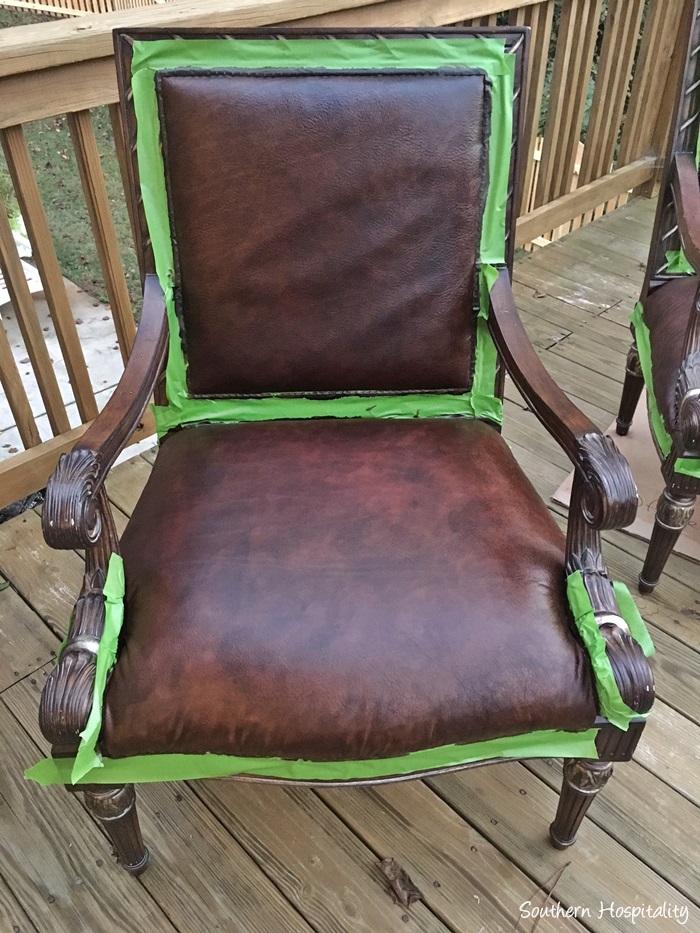
The second chair went fast and before I knew it, I was done with this project.
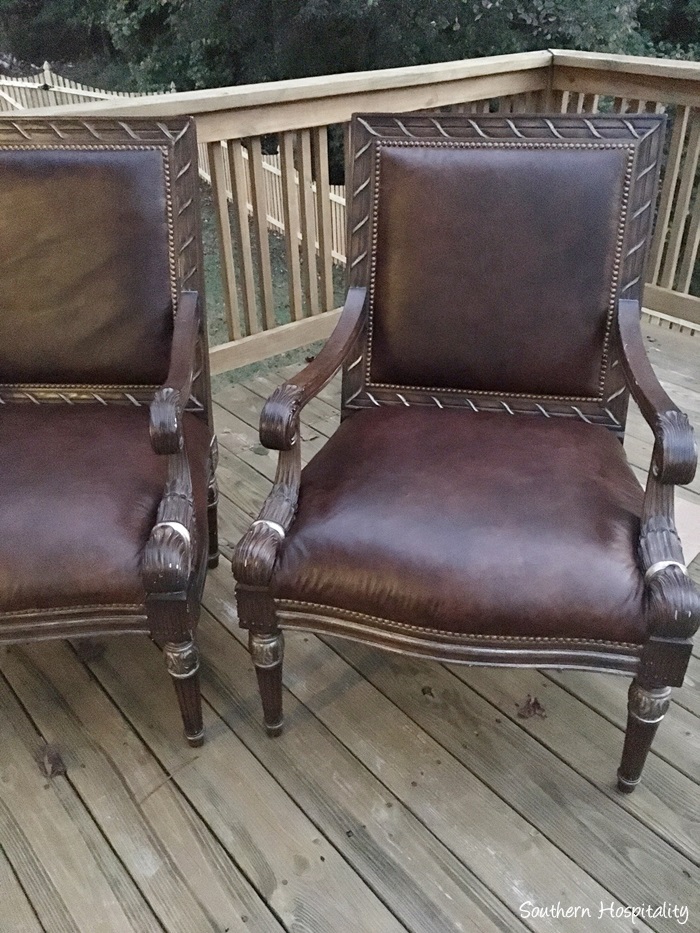
Both chairs, sealed and ready to use. Late afternoon lighting outside.
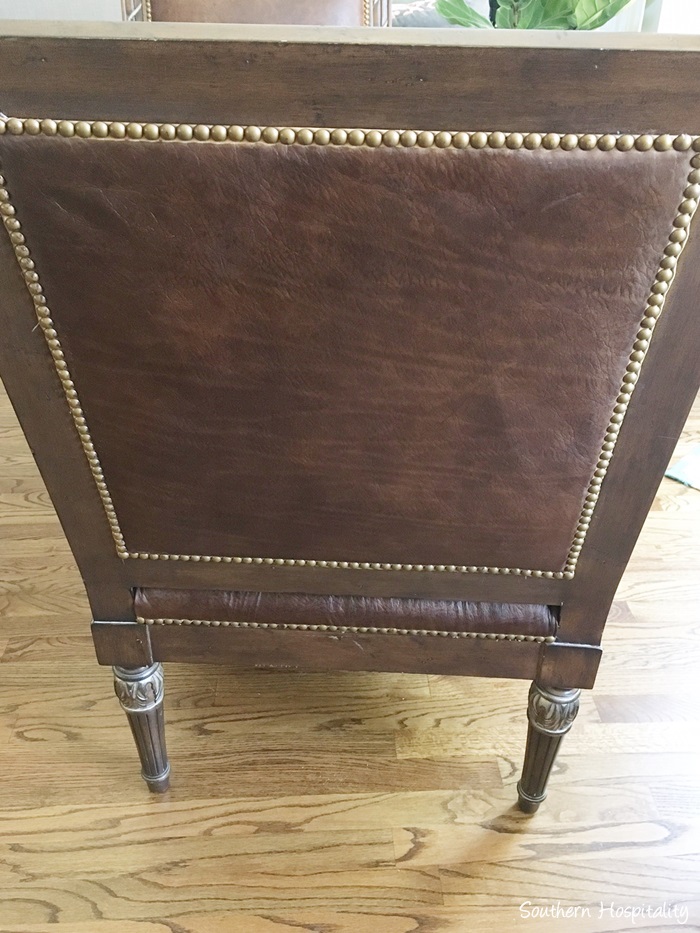
I removed all the tape and any nailheads that had dye on them, I used a cotton pad and acetone to remove it and it came off easily.
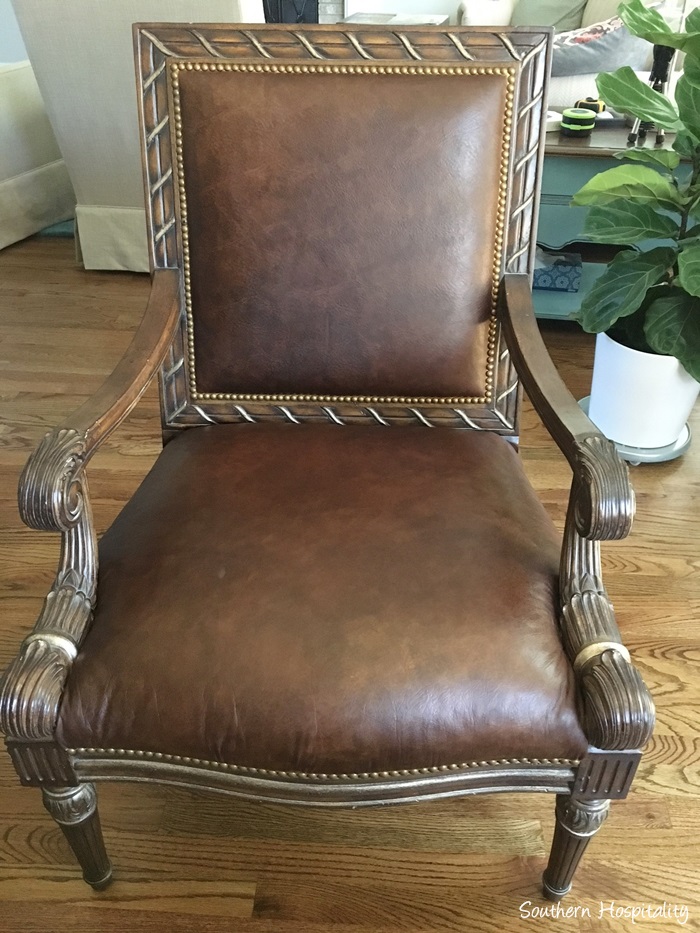
I’m totally in love with my chairs all over again and they look like new again. I had a few dings on the wood and used a wood pen to fill those in and they will be ready to use in the living room soon. Can’t wait to get that room finished and all the furniture in place.
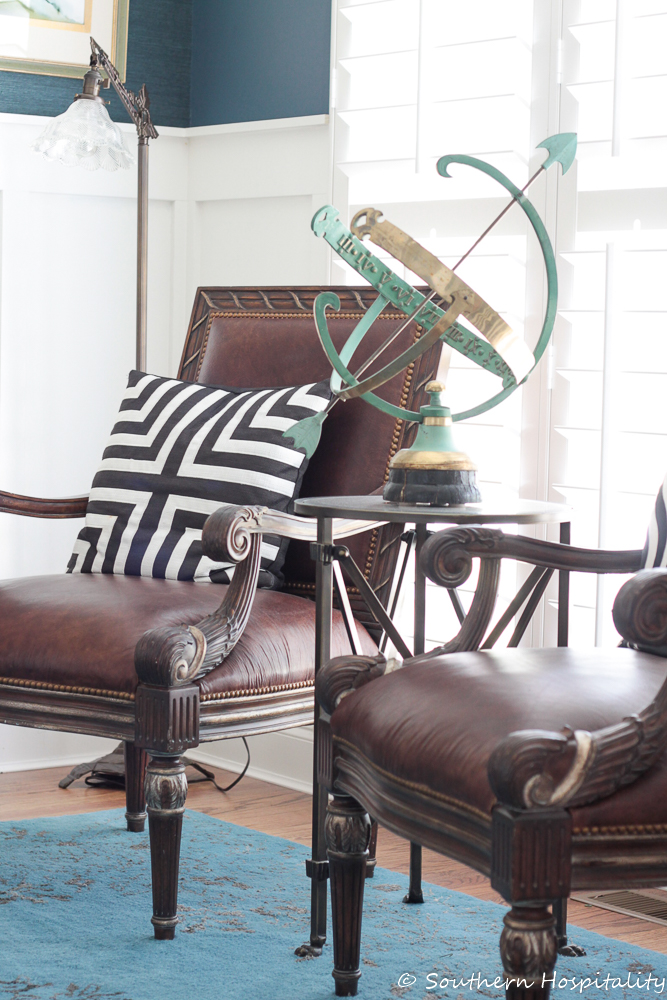
They sure look great in the living room now!
OH! And one important question I know you’ll all ask. Is it colorfast and does it come off on your clothes? NO, it does not! I tested it out with a white towel and nothing came off on the towel. It’s completely smooth and dry.
I’ll have to move things around for Christmas as the living room is front and center and where the Christmas tree needs to be, but I couldn’t be happier with how this project turned out. Definitely would do it again and I highly recommend dying your leather furniture at home if you have something that you no longer love or the leather is fading. I think it would be a great fix for old leather that needs refurbishing again.


They look amazing! Any chance you know what the chairs are … brand/syle? I am looking for something very similar. Thanks
Hi, Sherri, thank you so much, I am so pleased with how they came out. Yes those chairs are old and well made from Stanford Furniture Co. I bought them early 2000’s from a local furniture company that was going out of business. They have served me well!
Thank you so much Rhoda!
We have a dark burgundy chair and ottoman in my husband’s office that I’d love to dye a medium cognac brown. Can you go from a dark color to a lighter color with this dye?
HI, Cynthia, I’m not sure it would work as well going to a lighter shade. I’d say you would just have to test it out.
Your chairs came out splendidly! I purchased an old recliner, Lazy Boy, And spent two days cleaning it. Then I have dyed it Three times with the same color . I have sealed it with the resolene . I am reading now On other blogs that I should have conditioned the leather first. Any suggestions? I am afraid that since I have already sealed it That I have missed my opportunity to condition it . I am eager to hear what you Have to say. Thank you in advance!
HI, Carla, thanks for stopping by. I followed exactly the directions in this post and did use the Deglazer and Resolene for sealing, so I’m not sure what to tell you. It worked great for my chairs and I’m super happy with how it all turned out. The Deglazer opened up the leather, I think. If you’ve already sealed it, it might be too late now.
Many chairs are only leather in the touch areas. Did you have vinyl on the chairs back and sides? Did you do it the same way?
HI Carole, it was leather all over so I did it all the same way.
I asked that same question. I was told they came from a store that went out of business. It might have been an antique store, but I don’t remember. I search for them every few months online, but have not found them.
The chairs are by Stanford Furniture Co. and the store went out of business here in Marietta about 20 years ago.
Hi Rhoda. I have 8 very similar chairs that I would like to stain black. What is your opinion about going from brown to black leather? I would also like to stain the wood darker and change the nailheads to something more modern. Also, they have the brass nailheads. I would appreciate any suggestions for re-staining and replacing the nailheads with some other trim. Thank you so much!
HI, Missy, I think you could easily go from brown leather to black. That should be pretty easy. I would try the same leather dye I got, I had great luck with it. As far as staining the wood darker, you could easily go with a black paint from one of the furniture paints, like Fusion Mineral paint. I’m sure they have a dark charcoal or black color. I’m not sure you could successful stain over wood that’s already stained so I would go with paint. That would be very chic. As far as the brass nailheads, I think brass would be gorgeous with black so I wouldn’t change those at all if it were me.