Hey y’all! Happy Easter to you all! We are having a family day and seeing both our families for Easter, so it’s a good weekend. It’s finally time to share the guest bath renovation with all of you and I’m SO excited it’s finally here. It really did take almost 2 months to complete this space, but it was well worth it for the outcome we got.
We did hire out the tiling job and that was a must, definitely out of our skillset to complete something like that. I hired the same guy that did my other master bathroom reno, so I’ll share all the details at the bottom of the post. In case you don’t remember, let’s take a look at this plain and boring guest bathroom before we started. It looks like a completeley different space now!
If you missed the in progress post, you can check out all those details here, including the products we used for the beadboard, etc.
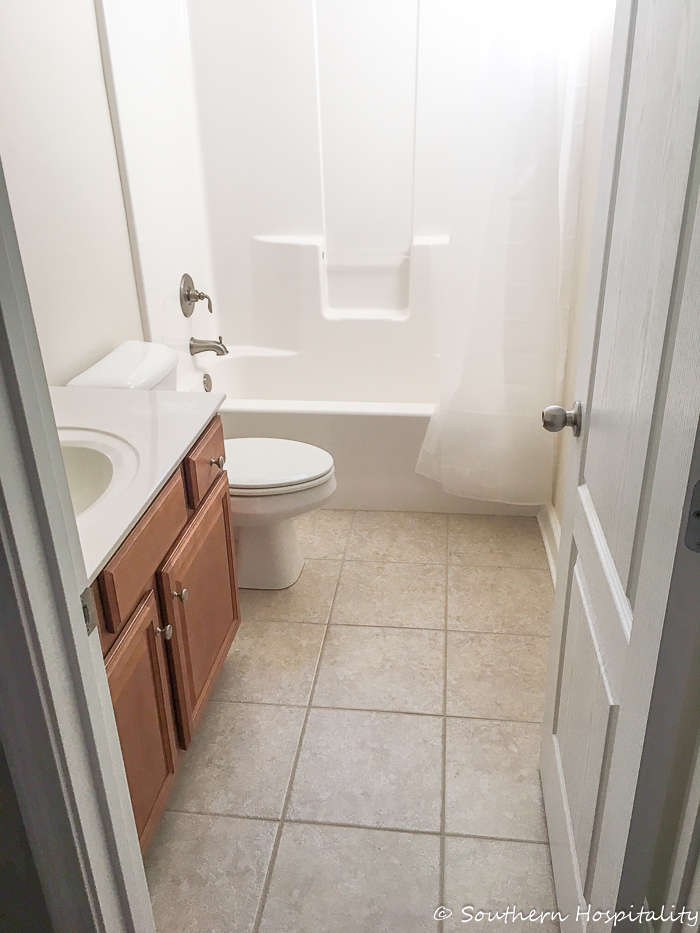 This is how it looked when we moved in. Boring. Beige. Blah!
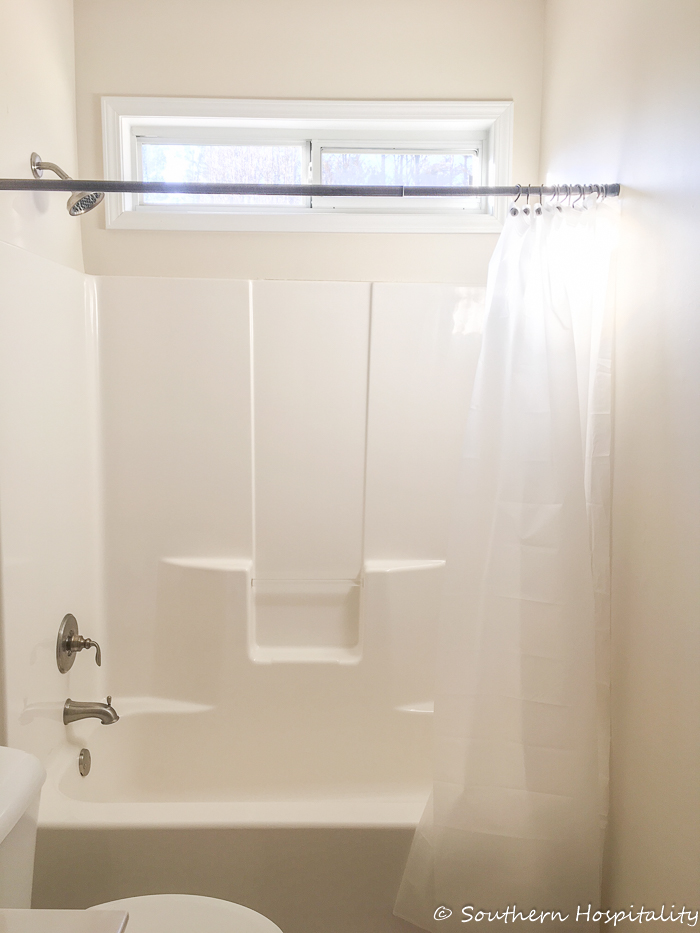
It does have a little window above the tub, so that lets in some light, which is good.
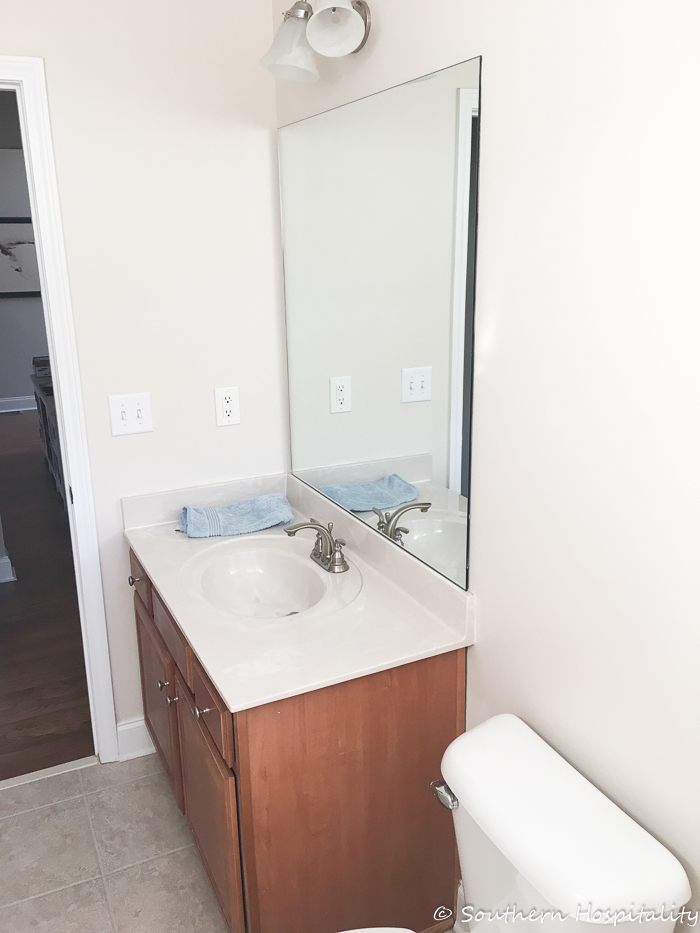
It certainly had no personality at all. But it was clean and that goes a long ways too.
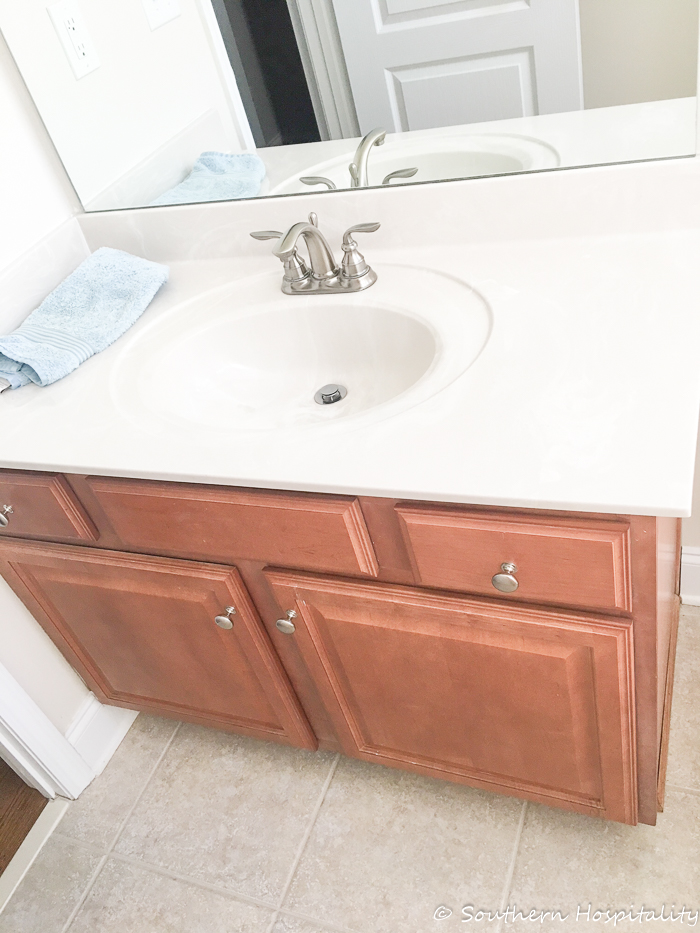
I donated the vanity to the local Restore here and hopefully it will get recycled. We envisioned something a little more stylish for this first floor guest bath. This is the bathroom that anyone who comes to our home will use and it’s right off the small guest room on the main level. 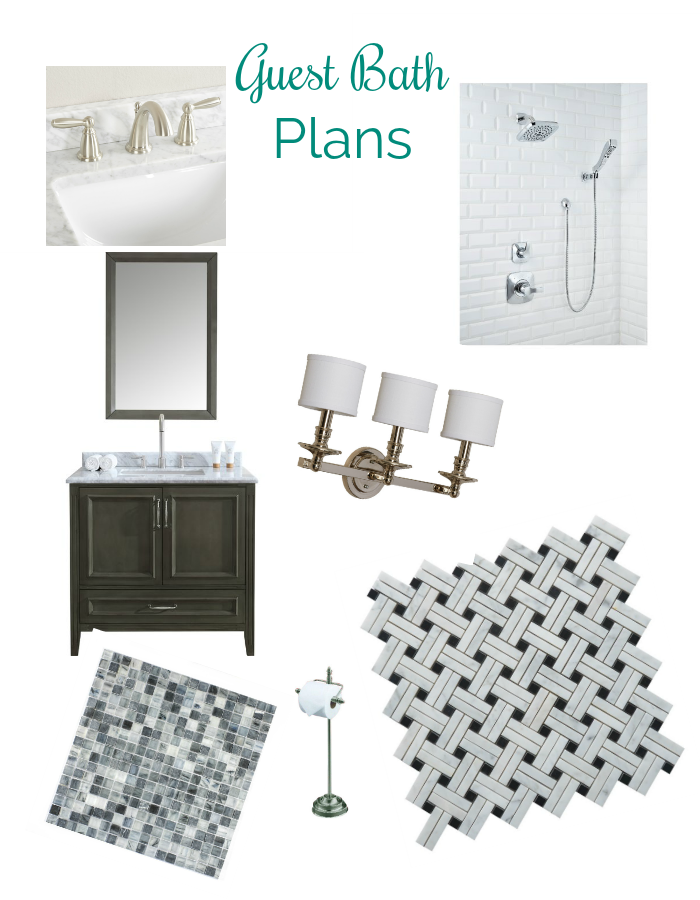 Perfect timing brought about a partnership with Wayfair and the bathroom plans were underway, with this mood board of all the ideas we put together for creating this gorgeous bathroom using Wayfair products. All the tile, the vanity, light fixture and toilet paper holder came from Wayfair. I ended up having to buy another faucet locally, since the one I got didn’t have valves attached. Be sure you are aware of that if you go to update a faucet. Some faucets are trim kits only and don’t have the valves, which are needed if you’re starting from scratch with a new vanity.
Are you ready for this black, white and gray Guest Bathroom renovation reveal!
I’ve been dying to share it with you all, so get ready for lots of pictures!
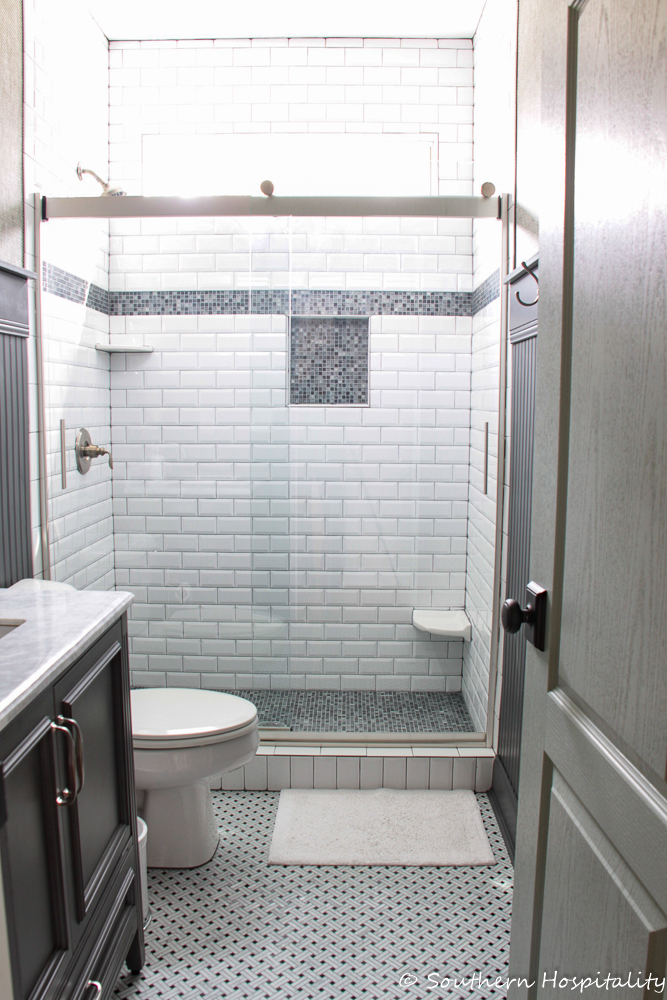
It looks SO completely different now and I can’t get over how pretty it is every time I walk in there. We had it tiled all the way to the ceiling, so it looks so fresh and clean now. You’ll notice there’s no color and that’s not really like me, but in small spaces like this, I do like a clean and monochrome look and this suits us just fine. These are color pictures though! Ha!
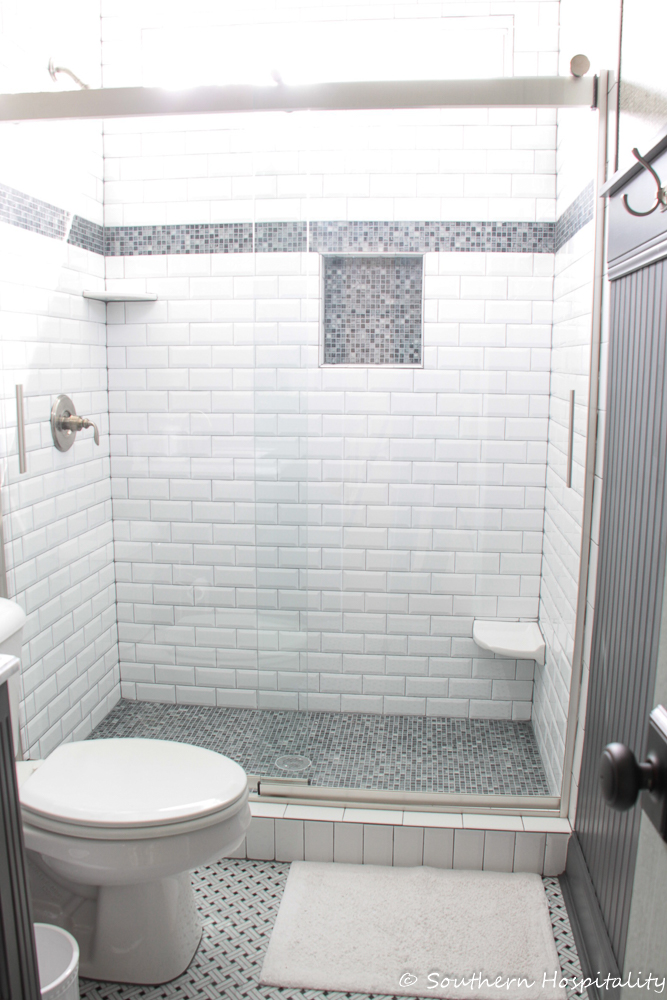
I took pictures from every angle so bear with me as we look around this small space that is 6′ x 5′ in floor area, not counting inside the newly tiled shower. As you can see, we took out the old one piece fiberglass bathtub and made this a walk-in tiled shower which I think will be so much better. I shared the renovation process so take a look at that if you missed it.
Mark (with my help) demo’d the bathroom and that saved us some dollars on this project. We did as much as we could ourselves to help keep costs down, but I’ll share a recap at the bottom of the post, since I like to know how much things costs in different areas of the country and I’m sure you do too. 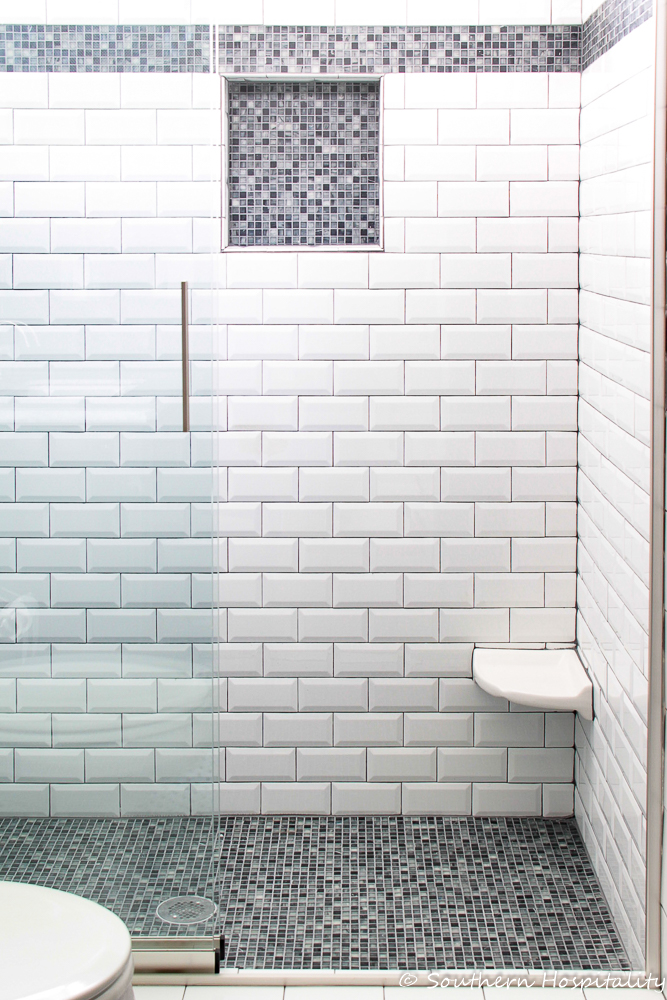
My tile guy did a great job in building the new shower floor and all the plumbing that went with that process. We used a beveled white subway tile on the walls of the shower and this pretty glass and marble mosaic tile for the shower floor and niche/wall border accent. I love how this turned out. I also added 2 small shelves for the walls, not for sitting but for propping. I hate when I don’t have something to prop on to shave my legs, don’t you?
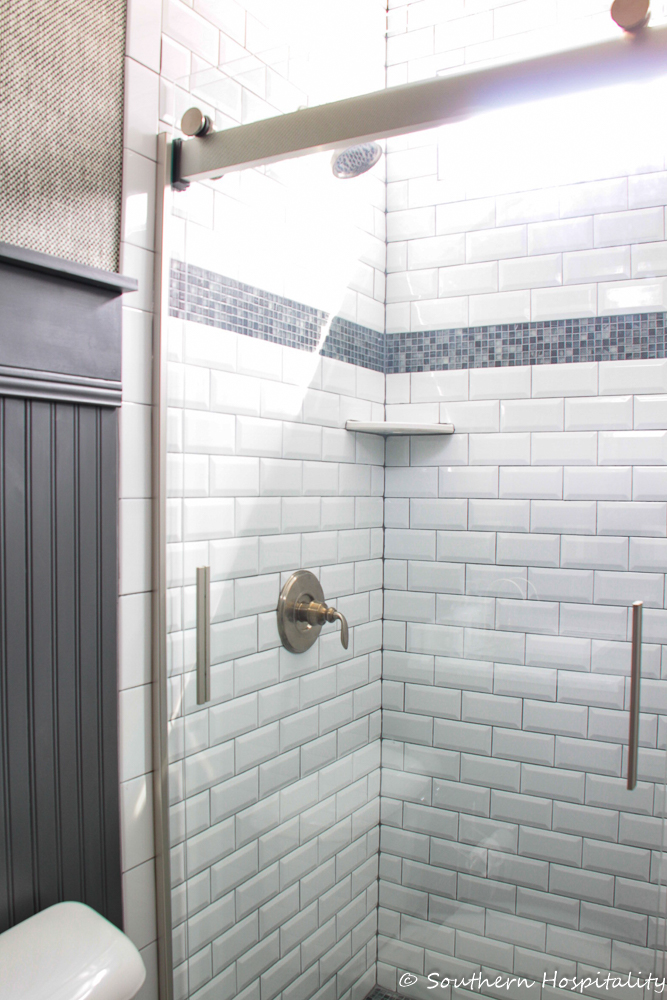
I had great results with the Kohler shower door in my old master bath, so opted for the same door in this guest bath, the Kohler Levity shower door. It’s a good price for a semi-frameless glass door and gives a nice sleek look, without being so expensive. We kept the exisiting handle set that was in our old shower to save money and used all brushed nickel/chrome in here for continuity.
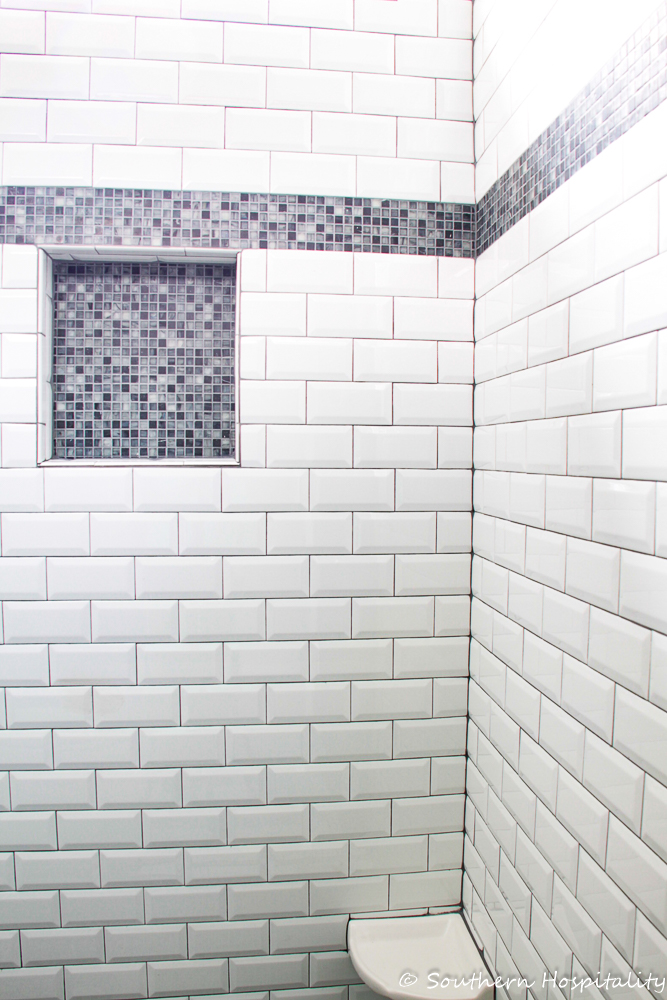
A closer look at the walls and niche.
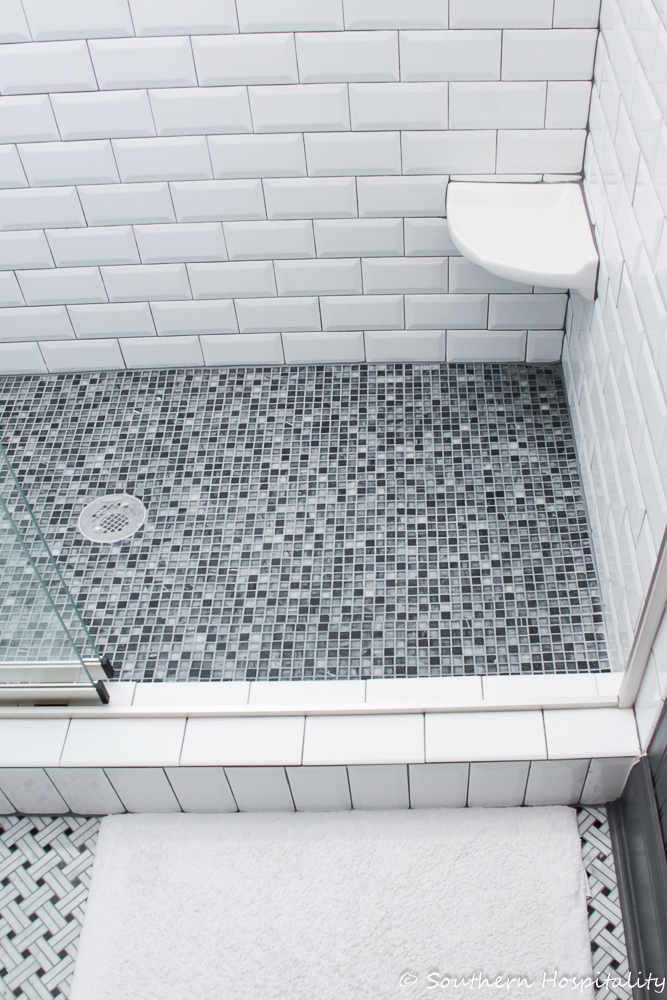
And the shower floor mosaic tile looks so pretty. I chose a medium gray grout for all the grout.
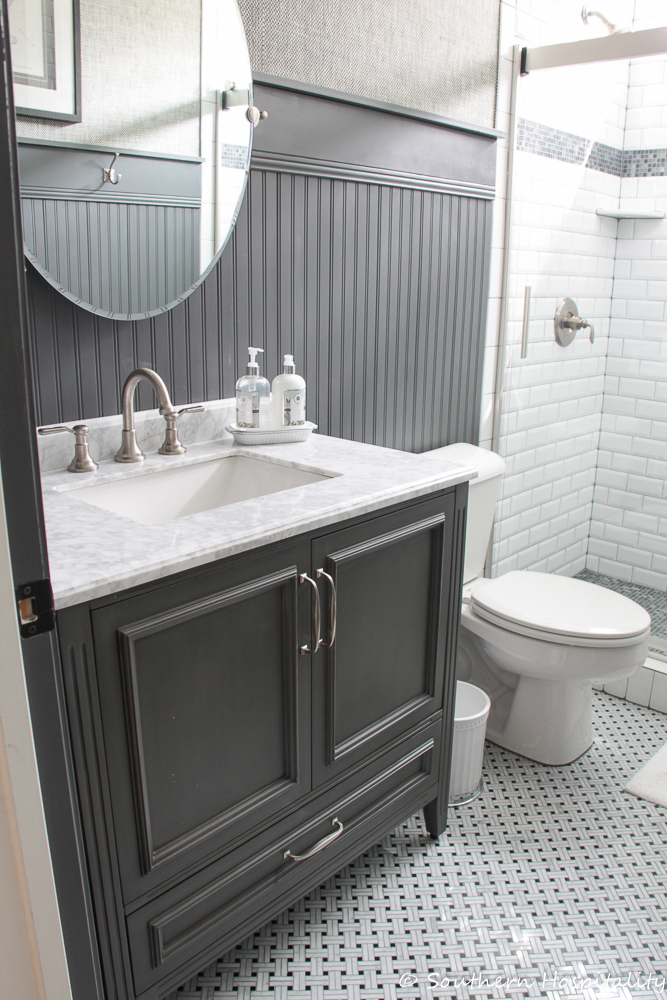
The charcoal vanity is also from Wayfair, called Jude and I’ll link everything used below. I also ordered that pretty oval mirror from Wayfair.
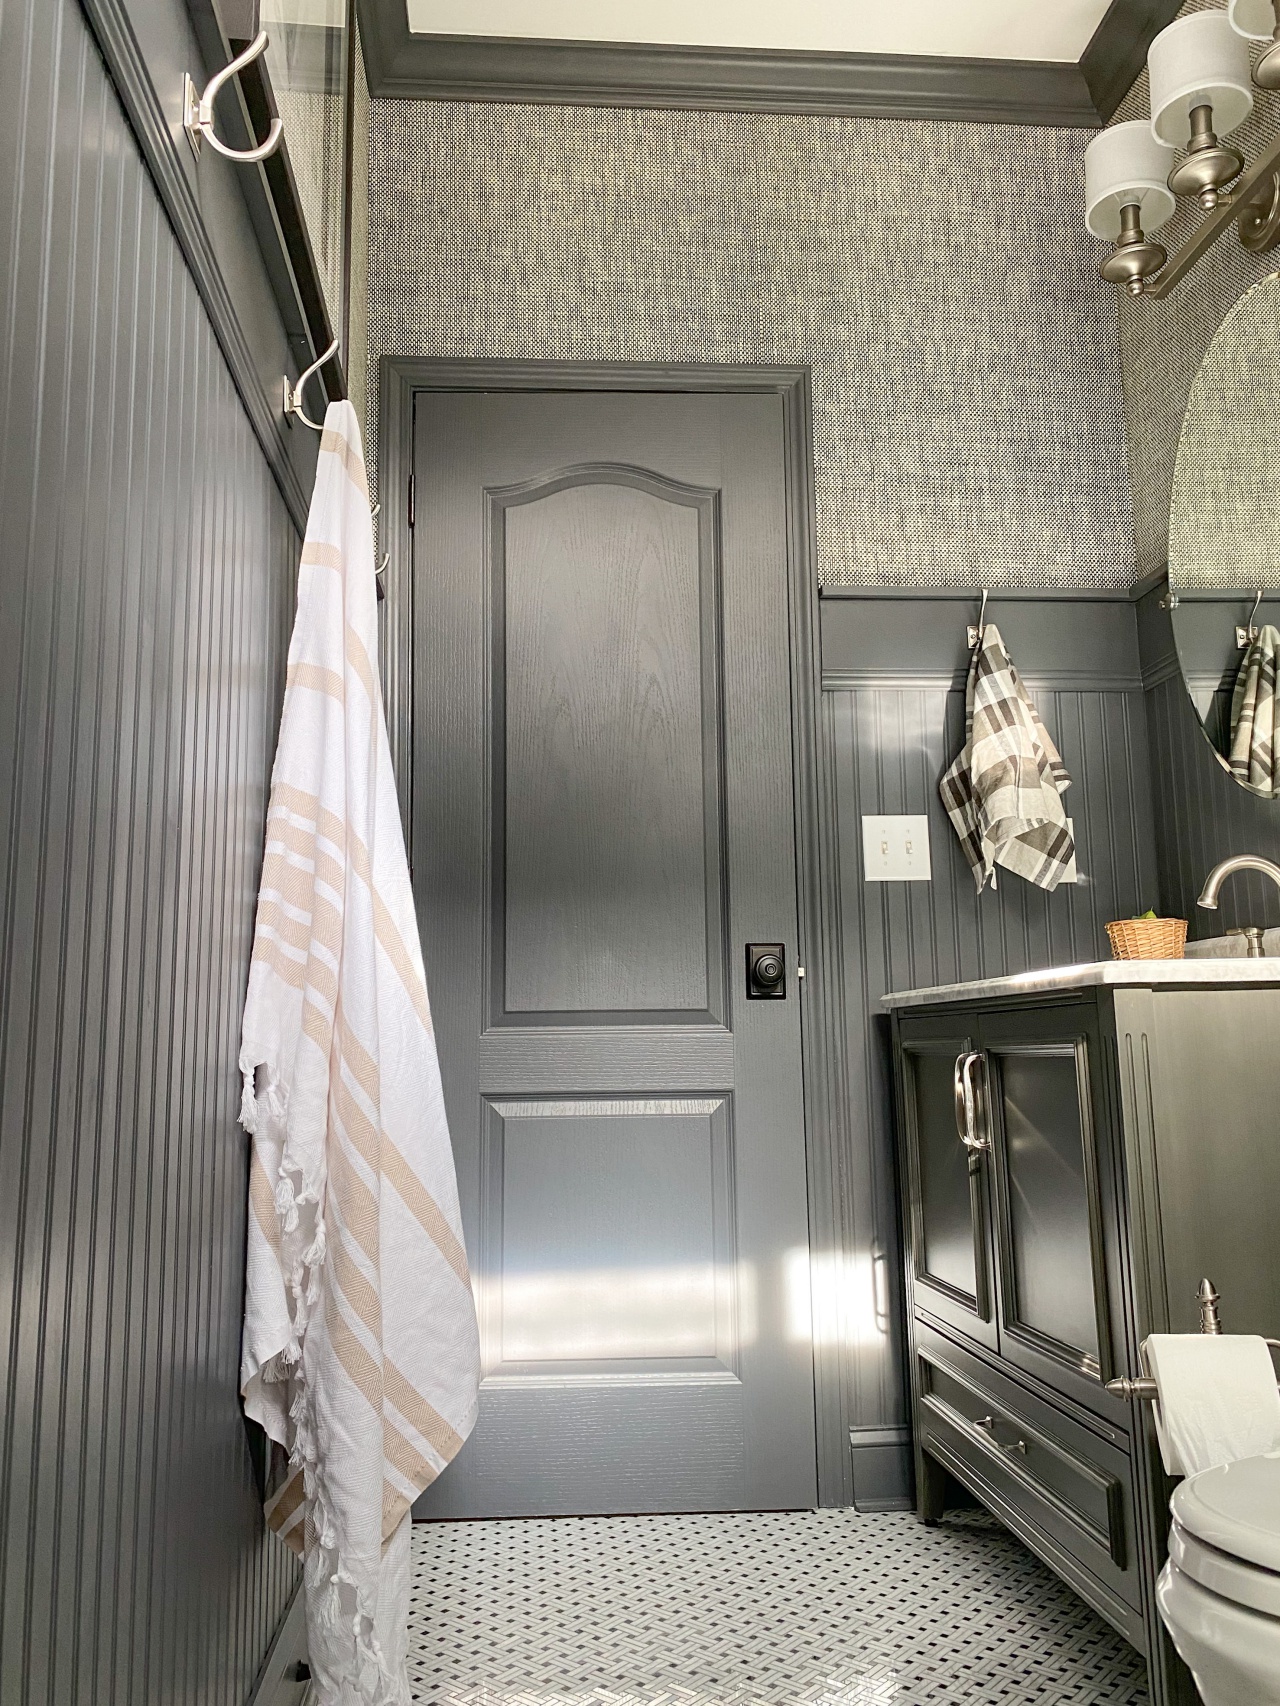
When we first planned this project, we always knew we’d install beadboard in here and Mark did all of that work getting it installed. At first, I was going with white beadboard, but after it went in, I started thinking that it should go dark, so chose a dark charcoal color called Peppercorn from Sherwin Williams. I love how moody and dramatic it looks with everything in there. We talked about painting those light switch plates, but decided to leave them white for now, but I think we may go with a decorative set down the road, maybe something silver toned. Crown molding was added later.
Do you see that gorgeous wallpaper? I did in fact, go with that and ordered the paper from Thibaut (called Wicker Weave) through a design friend of mine and had the same wallpaper guy install it for me. We love it!
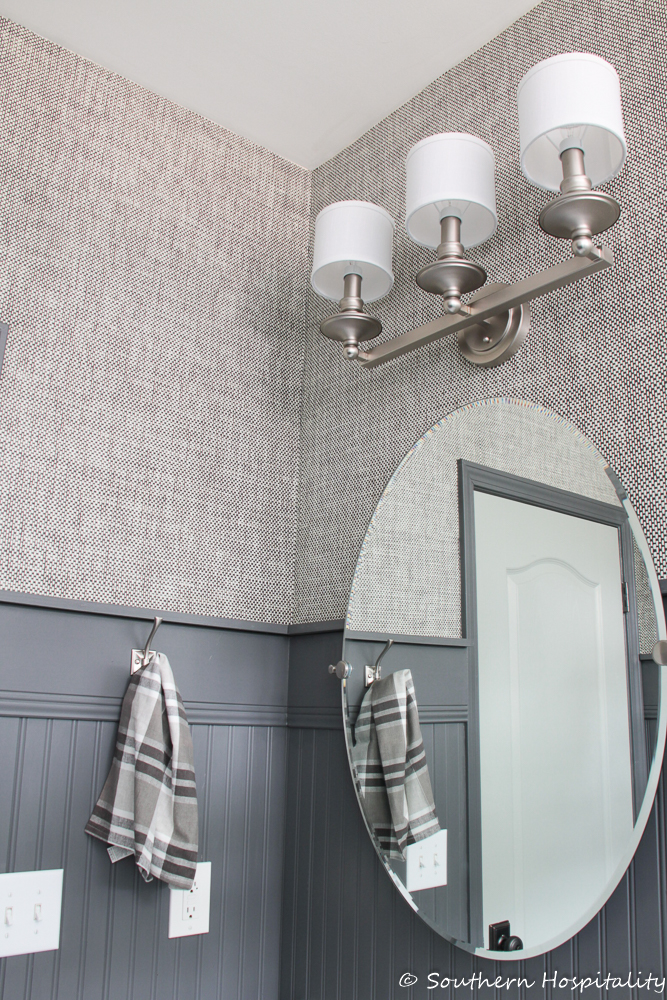
It’s very masculine and textured and such a pretty grasscloth in black and white. It looks like fabric on the walls.
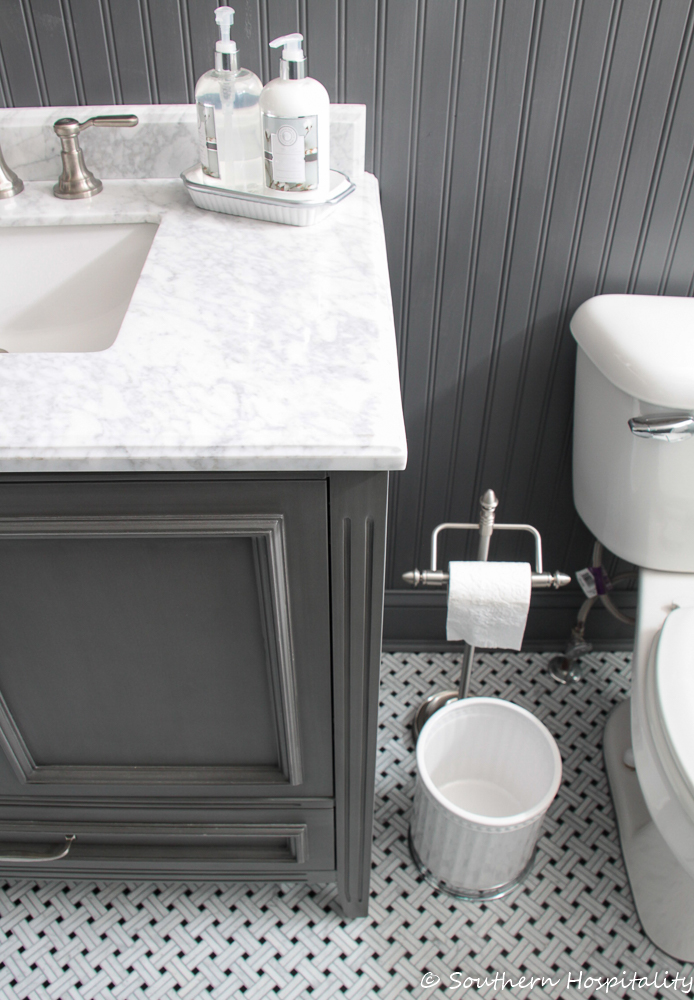
The marble basketweave black and white tile is so classic and timeless, just what we wanted in here. I ordered that free standing toilet paper holder from Wayfair. I didn’t want to put any holes in the vanity or the wall, so this seemed the best option.
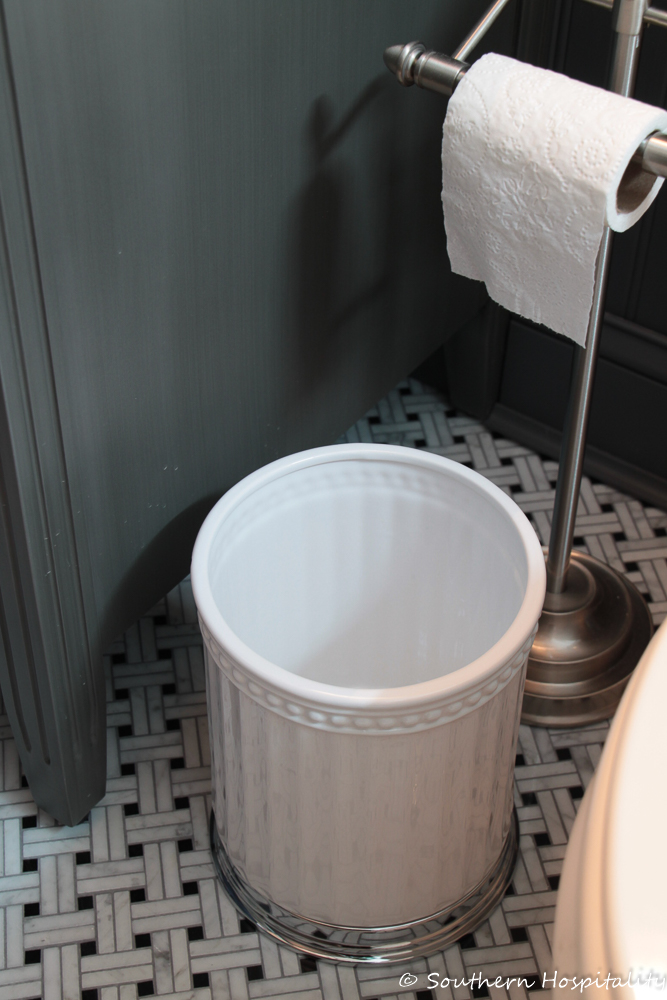
Trash can picked up locally.
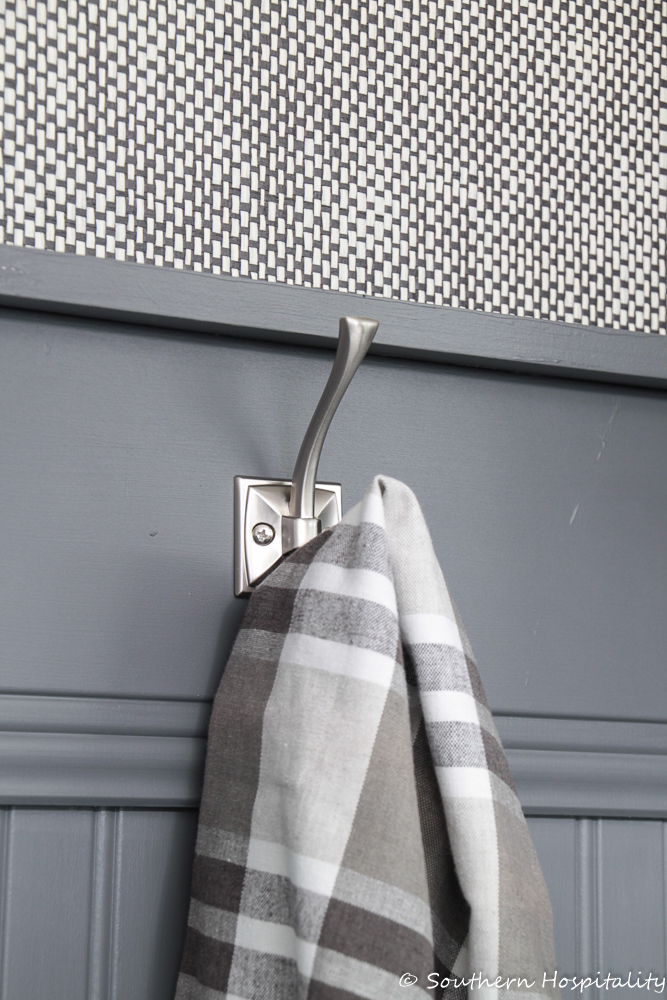
Those hooks are from Liberty and we picked them up locally, just simple brushed nickel hooks.
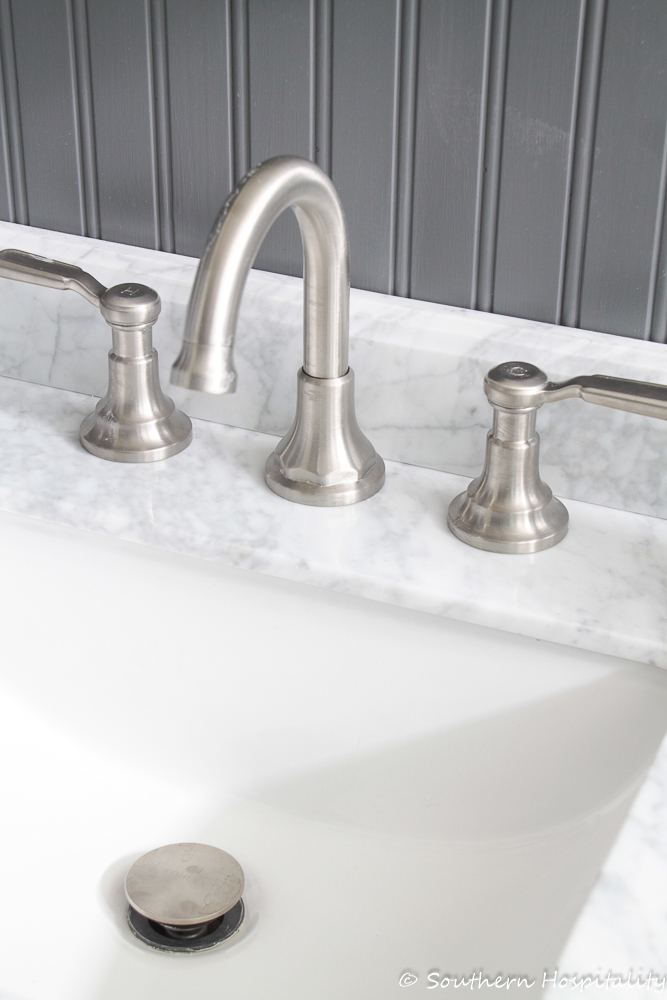
The last minute faucet purchase is Kohler and I picked it up locally. It’s a very pretty faucet and not too pricey. I can’t remember the name of it, nor can I find it online, but if I do, I’ll add a link in this post.
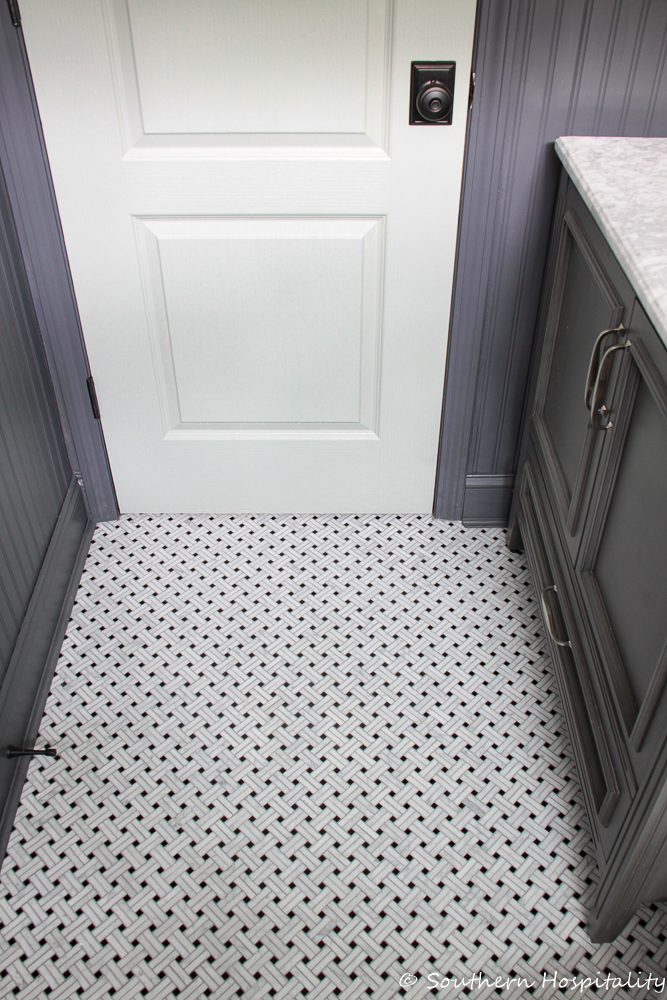
A good look at the marble basketweave floor tile. I had a fluffy white rug for in front of the vanity, but it wouldn’t go under the door, so I’ll just leave it bare for now, since I have a rug outside the shower. The tile is so pretty I hate to cover it up, but if I find a really flatweave rug that works in here, I’ll add it later.
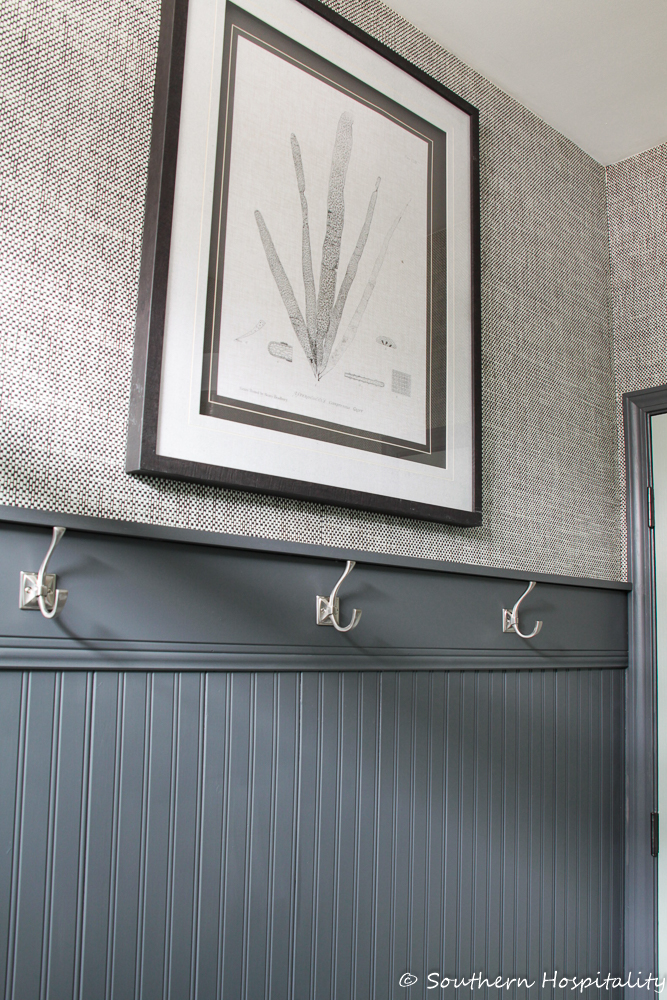
I got this pretty botanical print at Tucci’s here in Marietta, that I’ve mentioned to you before.
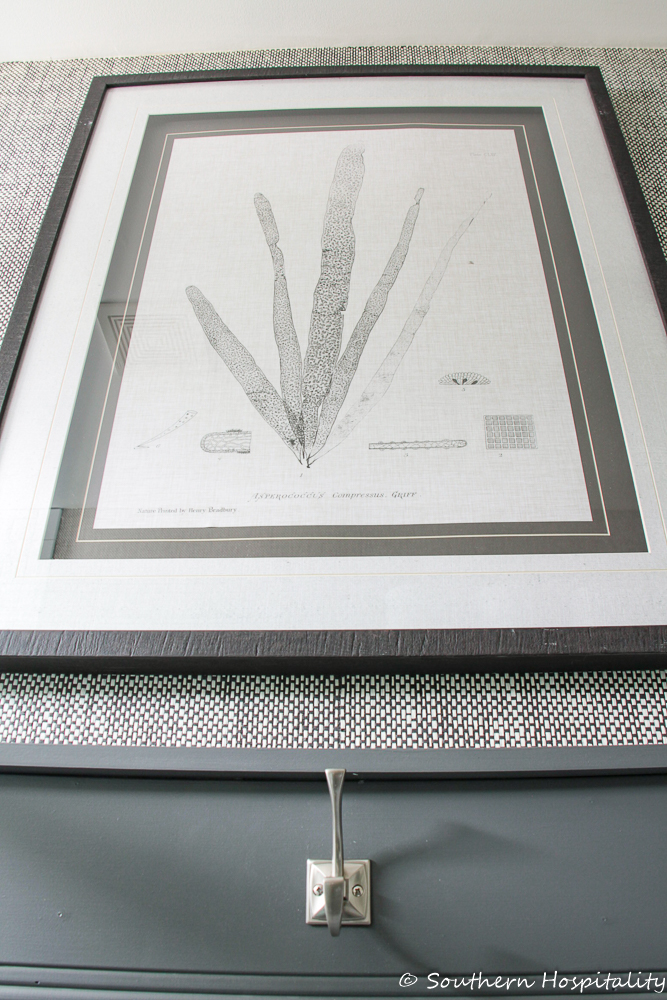
It’s a large and lovely piece and I thought it would be perfect in here for some added drama.
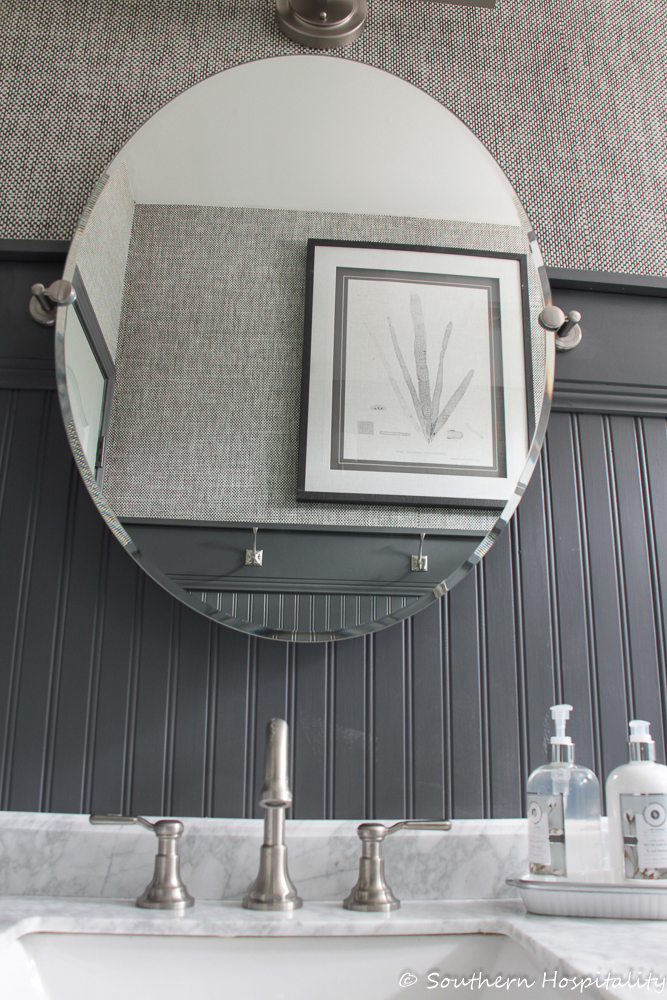
It’s a large piece, but I love adding large pieces of artwork to small spaces.
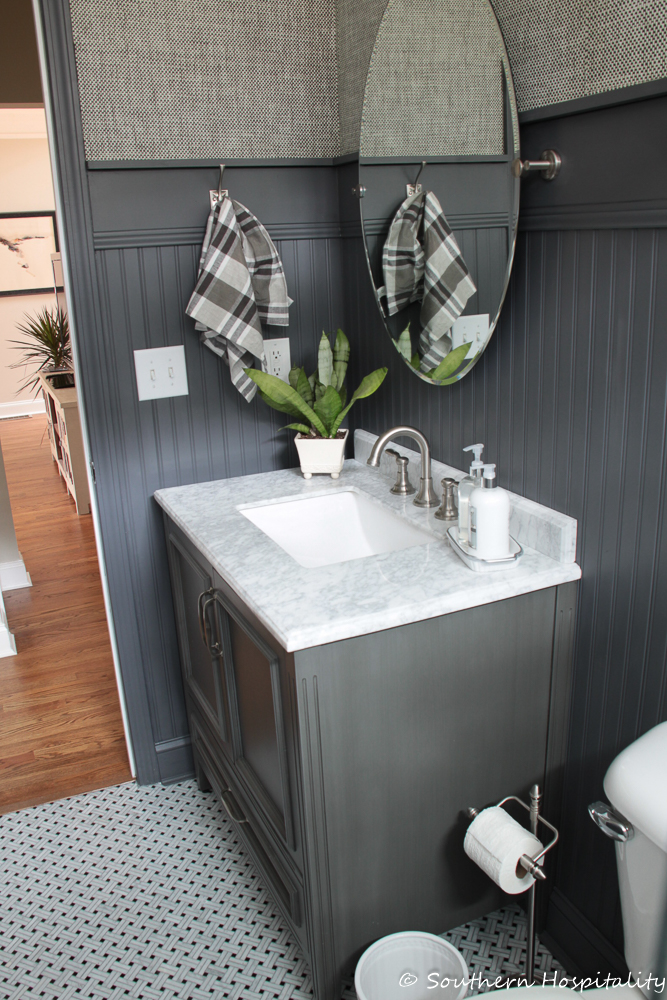
I did go back and add a live green plant in here for a little color and you can see how the bathroom flows from our family room area.
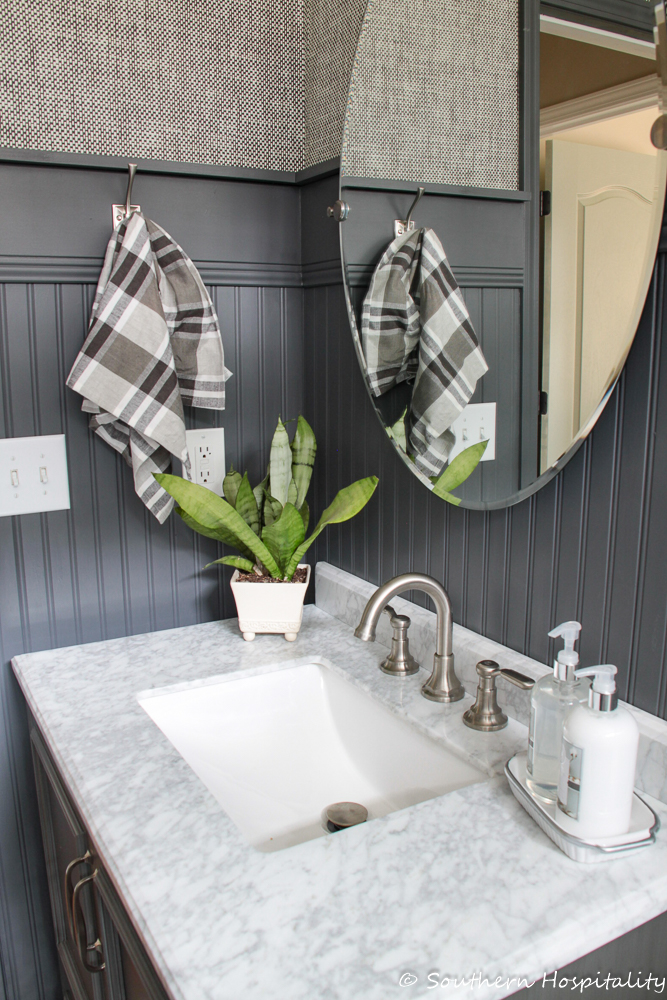
More of the vanity. I love this gray and white marble top that came with the vanity, so perfect in here.
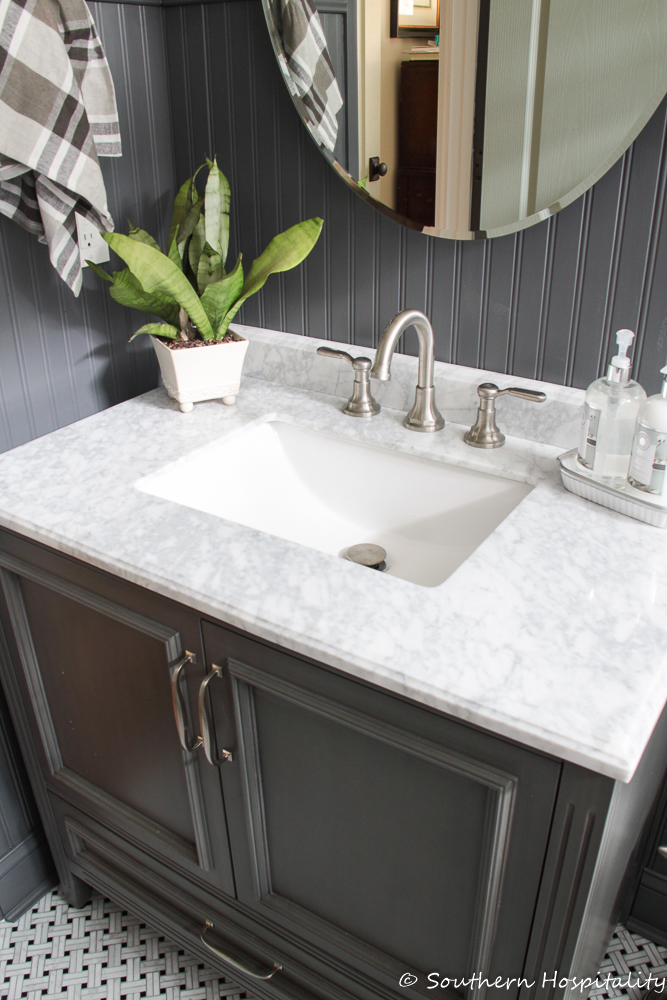
With pull out doors and a drawer underneath, it’s plenty spacious for a guest bath and 36″ wide.
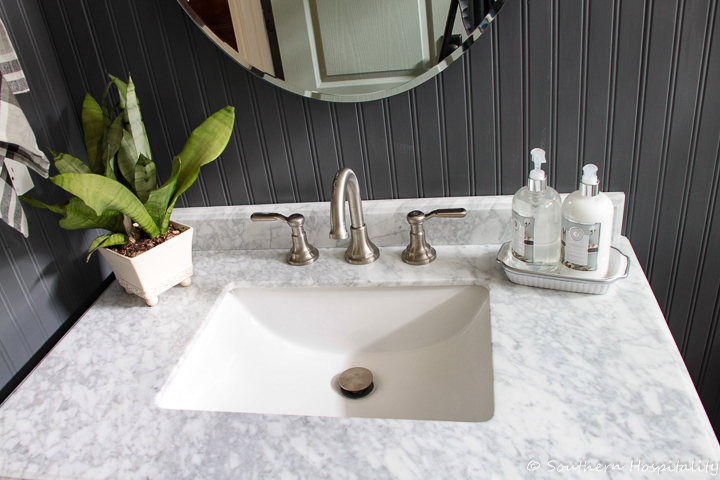
A lovely furniture piece.
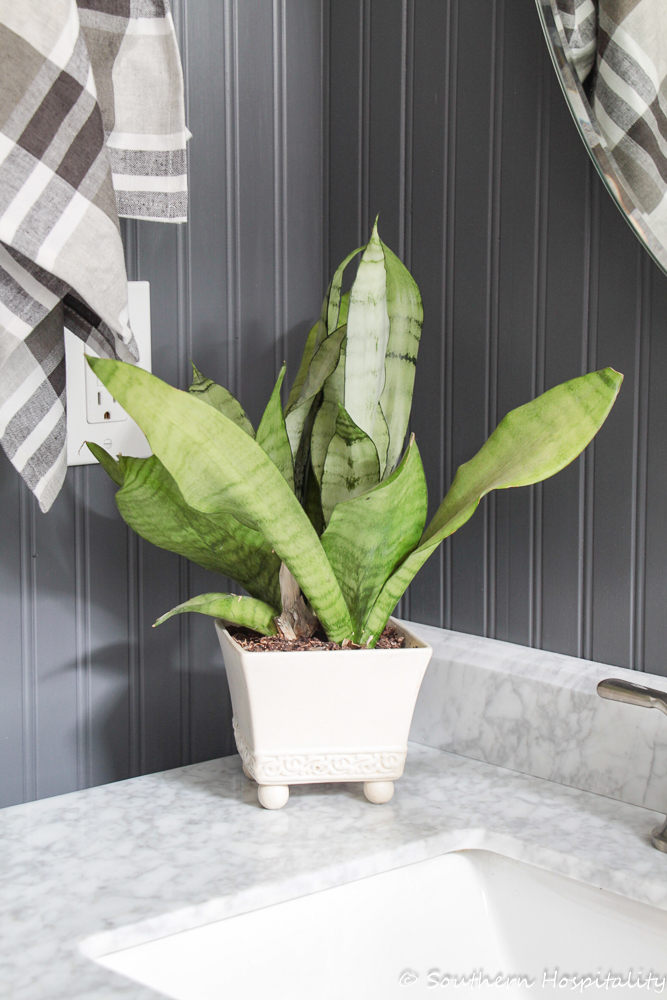
Adding a little bit of green does give this neutral bath a little bit of color! See, I took a ton of pics so you could see all the details up close and personal. I hope you love it as much as we do! Renovating spaces take a lot of time and planning and we are very happy with the outcome of this one. If I want to add color later, that will be easy to do, but I’m really enjoying it just being neutral gray, black and white for now and it feels so dramatic to walk in there and take it all in.
I’ll give you a breakdown below on how much we spent on this bathroom:
From Wayfair: ($3,000 in product) Tile: All tile including the subway tile, marble mosaic, and basketweave floor tile
Vanity: Jude Vanity
Toilet paper holder: Kohler from Wayfair
Shower Door: Kohler Levity from Wayfair
Faucet: Kohler (bought locally) $150
Mirror: Latitude from Wayfair
All linked below.
Labor: (just over $3,500 Labor) Tile installed by Luis Reyes with Keystone Renovations: 404-569-8845
Tile Supplies: Bought locally for about $150, including grout, grout additive, shower ledges, transition piece for floor.
Shower Door: Kohler Levity from Wayfair (installation $150) If you’re local and need a shower door installed, I would highly recommend Brian from Shower Door Monkey: 770-695-1888, he did a great job for us. Not everyone installs shower doors that are purchased and not bought through the install company.
Wallpaper (Wicker Weave by Thibaut, to the trade only) and Installation: $150 wallpaper, $200 Installation = $350
Misc. accessories: Floor rug, soap/lotion holder, trashcan, hooks, hand towel. (all bought locally) $75
Approx. Total cost of renovation: $7,375
I know that was long, but that’s a breakdown on our guest bath renovation! Thanks for reading til the end. I’m hugely thankful that we were able to do this with the help of Wayfair. We wouldn’t have tackled this right now, if not for this opportunity to partner with them. They have so many great products online for projects such as this, so I hope you’ll check them out next time you are doing a bathroom renovation.
We were very happy with all the products we got from Wayfair! If you have any questions at all, please ask in the comments and I’ll answer them all. Thanks so much for coming by and for all your support of my blog.
This post is sponsored by Wayfair.
Here are the products from Wayfair below in case you want to shop: (affiliate links)
SaveSave


Some of those links no longer work, as the vanity and light fixture didn’t show up. But anyway, I see you painted the inside of the door to match the bead board. Is the outside of the door a different color? This bathroom is so masculine, warm, and stunning. Love it.
HI Nanci, as products get older those links sometimes get out of date. I’ll have to try to resource them. Yes I painted the inside the same as the beadboard and kept the outside of the door like the rest of our interior doors.
The bathroom is lovely and your photography is wonderful. I love the colors you used and may use those colors in an upstairs bathroom I would love to update. Thanks for the inspiration. You and Mark did an excellent job as usual and I love seeing the changes y’all make to your beautiful home.
I love all the details, especially the millwork and wallpaper. It really ups the drama. I am surprised that you went with an all grey/black bathroom though. The rest of your house is light neutrals. What made you decide to go this route?
Mark and I decided on this together. He likes masculine and I like moody so it was a good plan for both of us.
how high did you take the bead board up the wall
Hi Maureen, we took the beadboard up 64″ in there. THe ceilings are 9′ tall on this floor.
Beautiful! Is there a way you can possibly contact me? We are doing our master bath and this is exactly what we had in mind. We are local here in Woodstock. My husband had some questions. Any help would be appreciated!
Hi, Chris, feel free to email me at [email protected]