It’s been 2 weeks since we closed and work has already begun. We’re spending a few hours a day over at the house several times a week and things are looking a little different already.
It’s no secret that I’m part of Lowe’s Creative Bloggers team and let me tell you, I’m sure glad of that. This month’s challenge was a before and after project and I had the perfect one in mind. I got in the fixer-upper house just in time to do this project. I had already decided that I was going to add tall board and batten in the dining room, so after I explained what it was to my Dad, he was all on board for putting it up. I took my Lowes giftcard to the store and we picked up all the supplies needed to start this project. We’re not completely finished, but I got one wall completed to show you all how we did it. Caulking and painting it out will come later.
We picked up 2 sheets of 1/2” MDF, just the perfect material for cutting board and batten. There are a zillion tutorials out in blogland on how to do this. This one will be basic and I’ll explain how we did it as I move down the pics. You won’t get to see the really pretty “after” yet, but that will come later. I can’t wait to get to the pretty stage, most of what we are doing now is just grunt work. Hard and dirty work getting ready to paint.
Now, I have to tell you a thing or two about my dad, Al. He’s old school. Extremely. If you know an old-school guy, I can assure you, there is no one more old-school than Al.
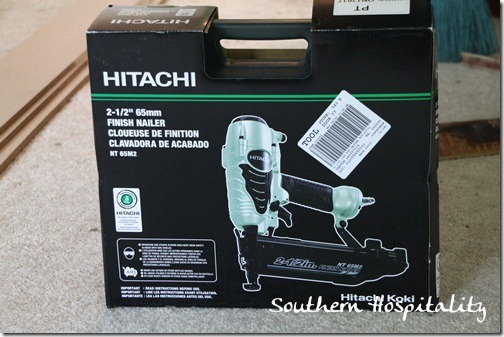
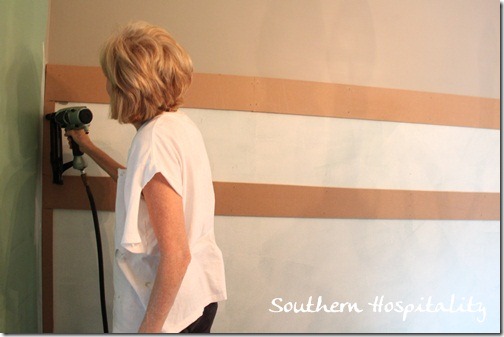
We almost got in a head butting contest over this kick-butt nail gun. With my Lowes giftcard, I picked up this wonderfully versatile rockin’ tool, the Hitachi nailgun. It’s a finishing nail gun and works with a compressor and saves a TON of time. My dad didn’t think we needed one, but I sure did! So we had discussions over the nail gun. I won and the nail gun came home with us, courtesy of Lowes. We were able to buy all of our materials, including paint and the nail gun from Lowes. Thanks, Lowes!
He is so used to nailing nails and couldn’t see that having a nail gun will save us so much time, but it totally will.
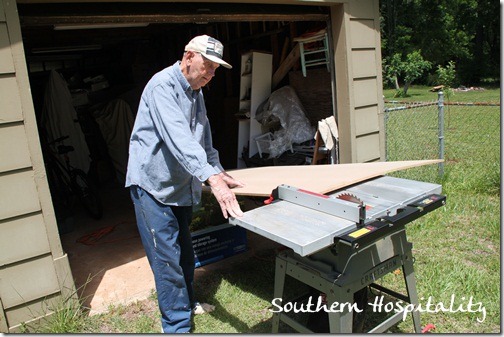
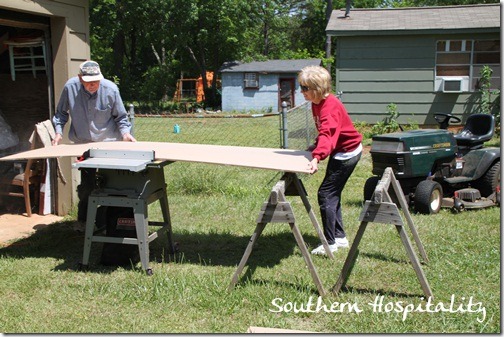
Another thing about my dad. He’s cheap. It has served him well. I can be cheap too, but getting MDF cut at the home store would probably been a time saver since they cut on those BIG OLE’ saws they have. But no, we can cut our boards at home and that won’t cost a dime. If there is even a hint of having to pay for cuts, nope that won’t do. Out came the table saw and we ripped those boards ourselves. I helped and we got ‘er done! 🙂
We ripped 6” boards and 2” boards for the battens.
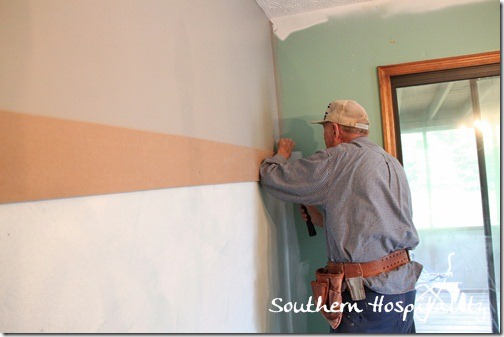
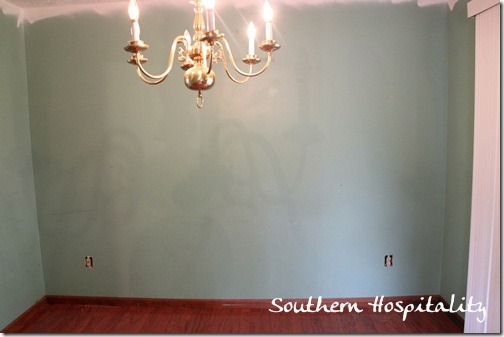
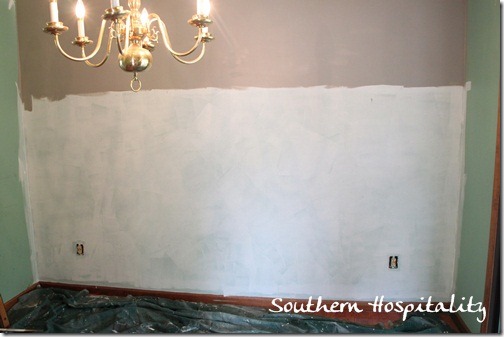
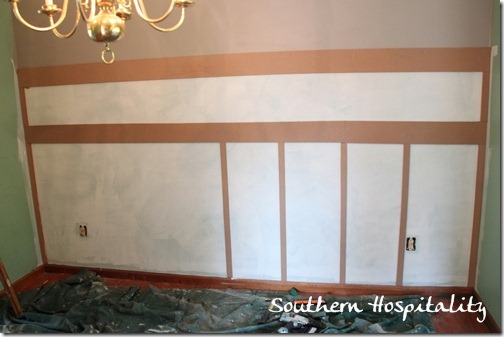
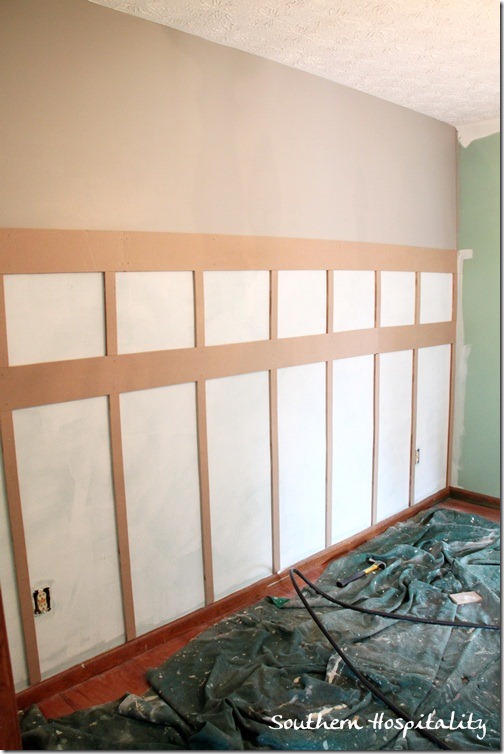
Here’s our wall, waiting for a makeover. I decided that I wanted the board and batten to be tall, so I opted for 65” up the wall. My ceilings in this house are 8’ tall, so that seemed a good height to go. I also decided that I wanted to do 2 rows of boards and fill in with battens for a nice paneled look. You’ll see!
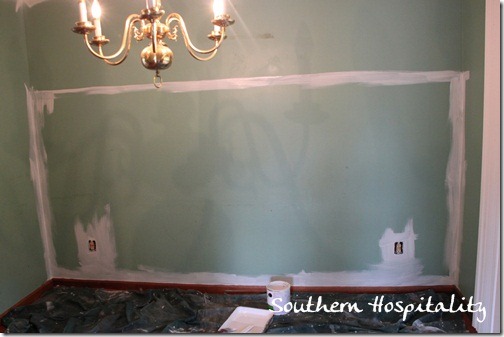
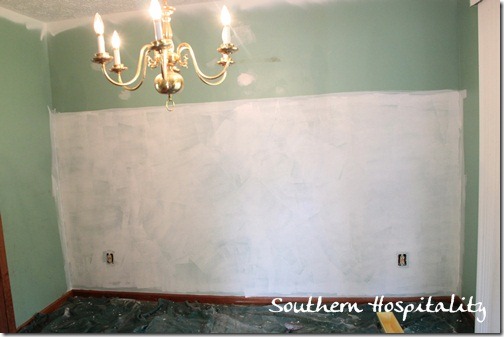
I started by painting out the bottom of the wall (below 65”) in white primer. This will help when I have to paint that wall with all white trim paint.
Primer completed.
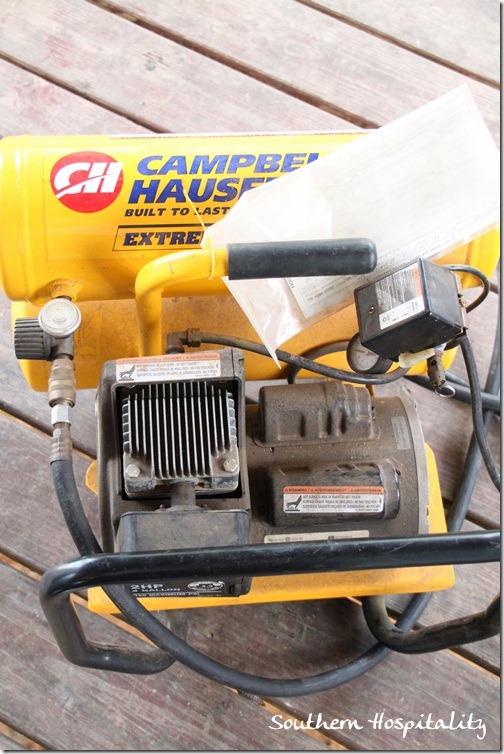
We brought over my dad’s compressor, he does have some great tools, we just need to use them. He’s got most of the good ones: table saw, miter saw, jigsaw, and more. This one is perfect for the new Hitachi nail gun.
I went ahead and painted above the board and batten a gray color, Rockport Gray mixed in Valspar Paint and Primer in one. It covered wonderfully! I think the one quart I bought will cover all the walls I need to paint in here.
I’m really liking the gray color. I have some drapery fabric already bought that I’m using in here. It has pretty tones of gray, gold, green, brown and cream and I think will look super with my dining chairs and all this white board and batten.
Wanna see?
Some of you might remember that I picked up this fabric not too long before I moved from Birmingham back to Atlanta. I had planned to use it in my old house, but guess what? It’s going in the new one and I couldn’t be happier to have a dining room to use it in!
Can you see it coming together with my dining table and chairs? Yeah, me too!
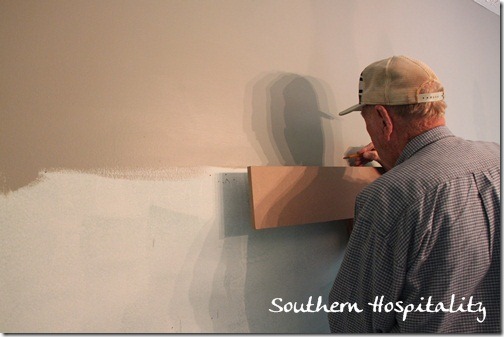
So, we measured and leveled our 6” boards, nailing them into the wall studs. Another thing about my dad. He’s completely obsessed with nailing boards in studs. He overkills every piece of wood that gets nailed up. It HAS. TO. BE. IN.A. STUD in my dad’s carpentry book. SO, we found the studs. Sometimes I have to give in to his wishes and let him do it his way. Not always, I can assure you. There will be much head-butting getting this house done. We have gone through it before, it is nothing new for daughter and dad to see things 2 different ways. I see pretty, he sees strong and not going to go anywhere.
I totally think you can do both!
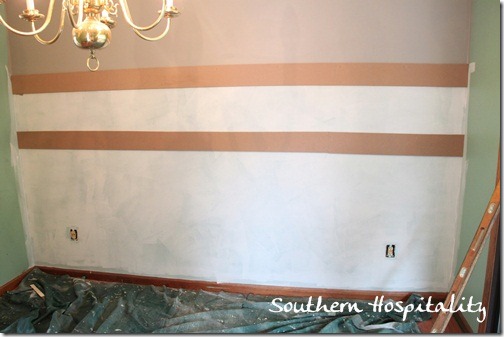
Back to the board and batten, I placed the 2nd board 12” down below the first row and now we are ready for the 2” battens to be installed.
We mitered the ends so that they would butt up against the baseboards and then I got the nailgun out and really had a ball.
This thing totally ROCKS my world! I’m going to be in love with my new nail gun. I popped nails in all those battens and loved it. The best thing, no countersinking. The gun does it for you!
We added battens in the corners and will wrap them to the next wall too. That next one from the right over to the left, we had to move it over a bit further than the others to jump the wall outlet. I read a lot of tutorials and most everyone said to do that. Jump the outlets and avoid them and you’ll never really notice the different spacing once it is all painted out. We spaced about 14 inches apart. Don’t hold us to that, we fudged a bit here and there.
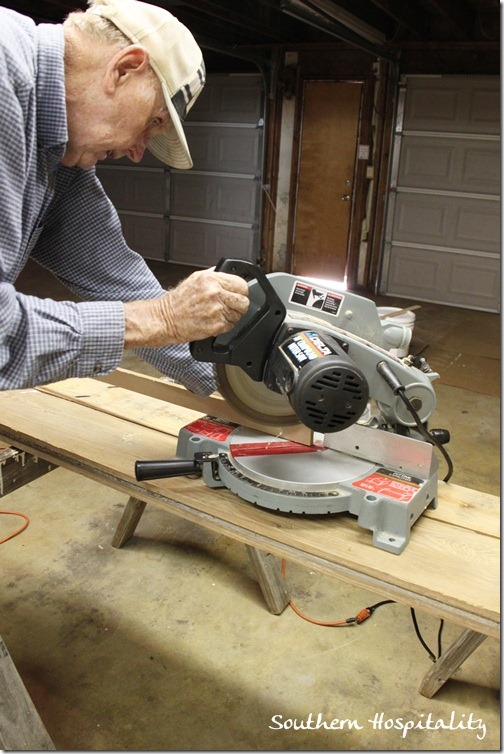
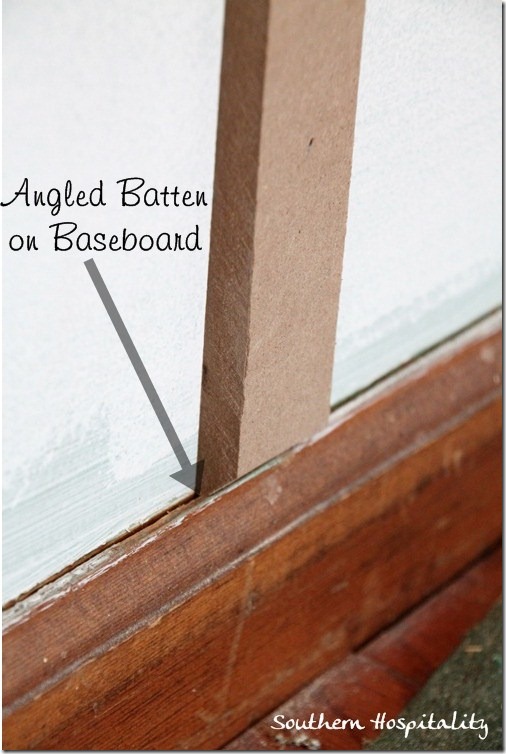
Here’s that angled bottom piece, cut on a 45° angle on the miter saw. See how it rests on the existing baseboard and just makes it look better than keeping it straight across the bottom. I love this little touch.
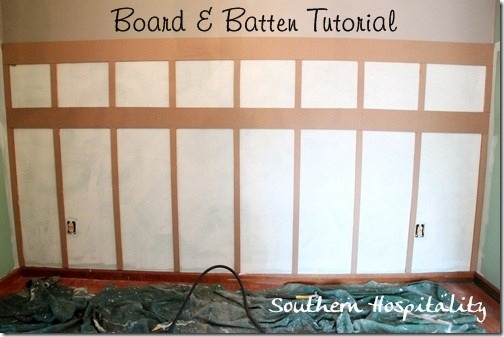
So, one by one we added those battens. A few of the top boards didn’t get nailed in the studs, so we used Liquid Nails on the back (just a bit) as well as nails in the bottom part which did hit a stud to secure them all. They won’t be going anywhere. We used a level horizontally on the battens to keep them straight as we nailed.
It looks awesome to me! I’m so excited to get just this little start to pretty going on. We’ll continue around the room and finish this up and I’ll go ahead and paint above and this space will be on it’s way to being transformed. I’m planning to add more board and batten in the little foyer and going up the stairs. It just adds SO much architectural interest to an otherwise plain space, don’t you think?
Of course, the real fun will be when I caulk and paint it all trim white in Semi-Gloss. It will be gorgeous! It might be awhile before I get to that part, but you’ll be the first to see it all done.
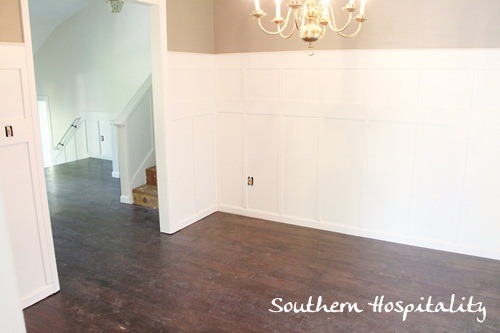
UPDATE: Here’s the AFTER, with new floors installed.
And my dad is really proud of what we did. He mentioned how great it looks several times!
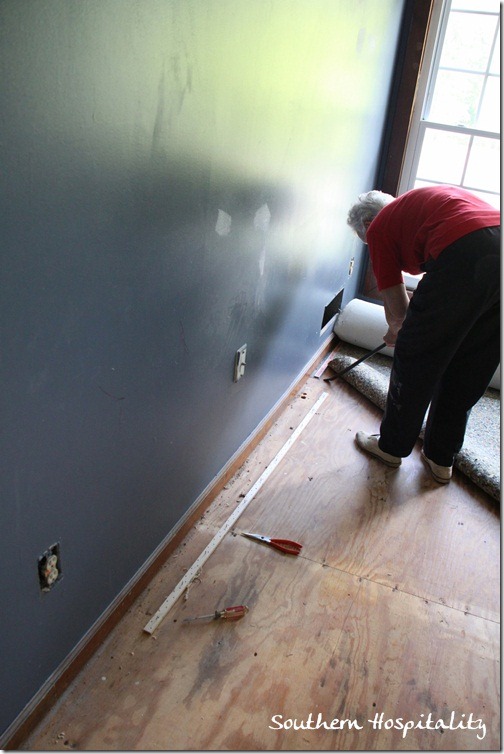
Here’s a little more progress for you. My sweet and tireless mama worked at getting up some of the tack strips from the carpet that we are ripping out while me and Dad worked on the board and batten. She is amazing.
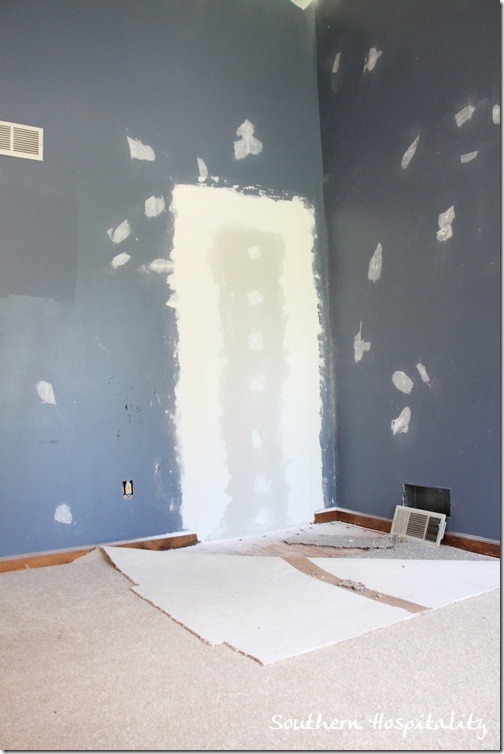
Dad walled up the doorway going into the kitchen and this wall from the living room can now have furniture on it if I need to do that. It will make all the difference in the kitchen space and adding more cabinets on that wall that is not a door anymore.
Oh! And the ceilings all got a nice coat of spray paint last week, thanks to a family friend retired painter who we hired just for that reason.
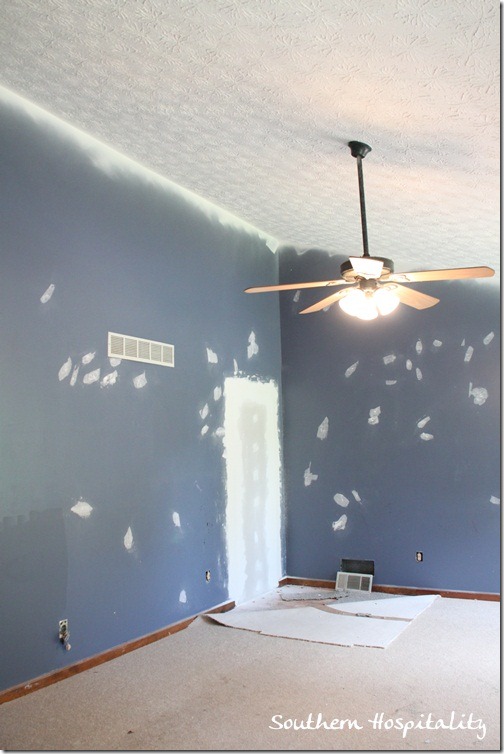
Long view to the door that is now GONE. Can’t wait to paint those walls, that alone is going to make such a huge difference. After we paint the trim and walls, our next project tackled will be new floors in this living room. As of now, I do believe we are going to buy a floor nailer and put down unfinished oak flooring, then hire a refinisher to do the sanding, staining, and finishing of the floors. That will save us some money, even though it will be a lot of work. We can take our time and get it done.
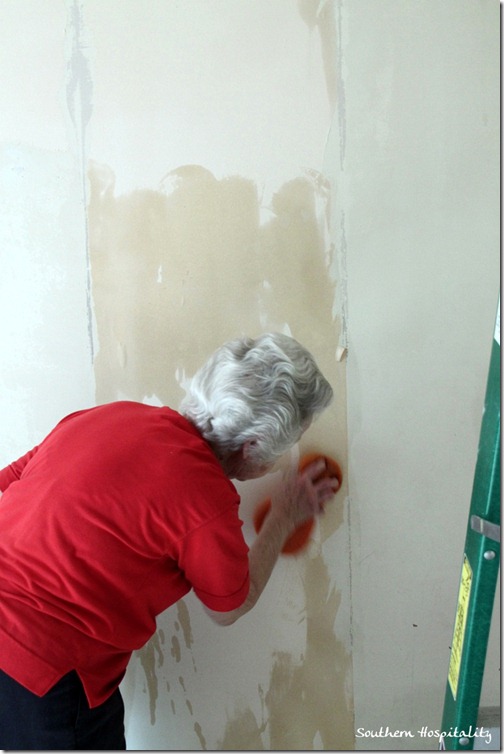
Mom and I have finally stripped all the wallpaper off the walls. That was a happy day too.
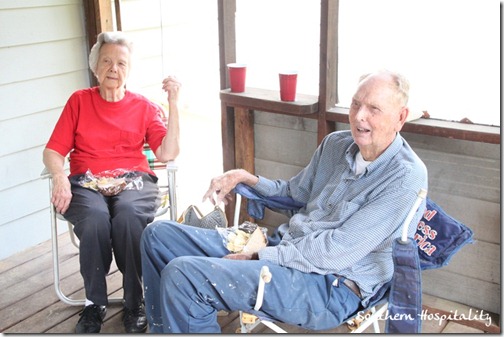
These 2 people are the loves of my life. They are such hard workers and I couldn’t do this without them. We’ve had many picnics on the porch already during our renovation days at the house.
And that’s pretty sweet!
Disclosure: I received a giftcard to buy supplies from Lowes for this project.



I love the picture of your parents at the end…what would we do without them? My husband and I rehabbed a 1860’s Victorian and the 2 people that helped us the most were my Mom and her boyfriend! Put the rest of us to shame:) I love the changes already and look forward to the completion of this and the projects to come. I know you will transform this house to a home and inspire and encourage us to do the same with ours!!
Rhoda,
I’m enjoying watching your progress on your new house! I’m hoping to replace a door where there’s currently a window and create a deck on the back of my house.
All the best,
Joanie
Love the board and batten! Would love to add this to my dining room as well. Thanks for the chance!
Linda H.
Your family is awesome! We really need to work on our bathroom,but funds are pretty much nonexistent so this would be a major blessing!
House that Love Built! What could be better?
We have been working on my Mothers House. And getting ready to redo floors. She has been with me during the worst times of my life and it is my turn to give back.
I will not complain about anything I have to do in my home again…God Bless you ! What a project…and your parents are dolls! Good luck to you and many blessings:)
Your blog has been such an inspiration to me. I am so blessed to have my parents still looking out for me – especially since I find myself single after 40 years. Your joy in life gives such hope to those of us who now have to remodel and fix our homes up on a limited budget. Keep up the good work.
Roda, I have enjoyed reading your blog for a few years. I’m excited to see the changes you’re making to your new house. I’ m one of the lucky one’s with parents like your’s that will do anything for their daughter! Seeing the pictures of your folks helping with everything, makes me smile.
I love your ideas…I also recently in the last 14 months had a life changing occurance and never thought I would get a break. I did however and I bought a house and have been here for 7 months now. I love owning a home and look forward to reading your entire blog and watching the house come to life…….Peace
Rhoda, So exciting to pick your blog back up and watch you transform your new house! I love your mom and dad, they are so sweet and supportive. You are blessed indeed.
Oh Rhoda,
I haven’t been online for awhile, because we have had our hardships too. You are the first blog I wanted to check out to see if you’d gotten a new place yet! And Lo and behold, look at you go, girl! Yee Ha! And those folks of yours are just amazing people and it’s evident that they love you so much! They are so cute! I wish I could give them a hug! I love to see a girl with a gun! You are awesome and as always inspiring to us all!
You continue to be my inspiration. I just love watching you and your wonderful parents transform your house into a home. I love love love your dining room b and b. I am currently re-doing my dining room. One of these days, I want to blog too… Keep up the beautiful re-do!!
This is such a lovely post… not just the awesome Board and Batton..
but seeing your relationship with your mom and dad. Mine are just like yours… but they live so far away, it hurts my heart!
the most important thing that stood out to me was the time spent with your dad. That memory to me is the best part of your entire project and one you will have forever! Good job involving your parents and creating those special moments.
I am totally jealous over your cute hardworking Mom and Dad! Your Dad is just the sweetest! What a blessing he must be in your life.
I love the project outcome. I’m so doing this to my dinning room. I also love your mom and dad. Sweet people!!!
We have so many projects in the house to work on. Actually our own board and batten is a high priority, but we really need a nail gun first, so this would be perfect! Our stair railings are too far apart (a symptom of buying a 40 year old house), so we are planning to encase them in some beautiful board and batten. Great job with yours, and thanks for the wonderful tutorial!
Great tutorial! I love how great it looks! I want to do this same thing in my entry way! Can wait to start this project!