Adding box molding to a stair wall really adds so much personality to a space. I’ll be sharing our how-to today. There are probably several ways to accomplish any box molding or regular molding treatment. This is how Mark did ours so I’m breaking it down in steps in case any of you want to try this too. I’m sure a pro carpenter would have one way of doing this but everyone has to figure things out for your own house. Figuring out molding when you have old and new wood is key to making it all look good. I think Mark did a great job with this treatment in our home and it all flows nicely together.
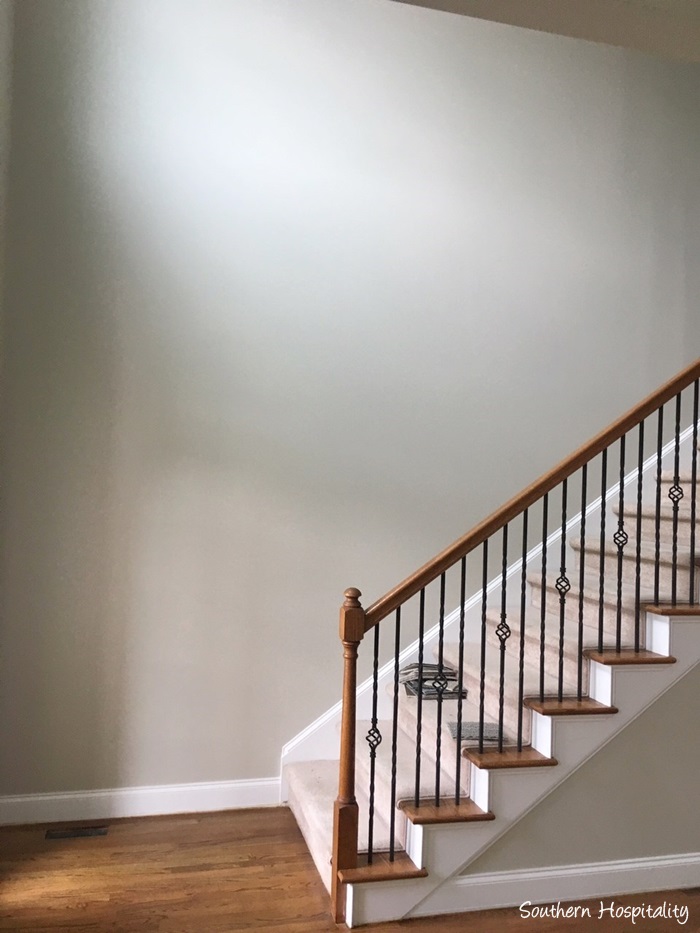
As a reminder, here’s a very bad picture of when we first bought our house, just after the walls were painted Magnolia Home Gatherings and before the stair carpet was replaced. You can see here how the moldings are placed at the bottom of the stairs and you’ll see how they look after this wall treatment was done.
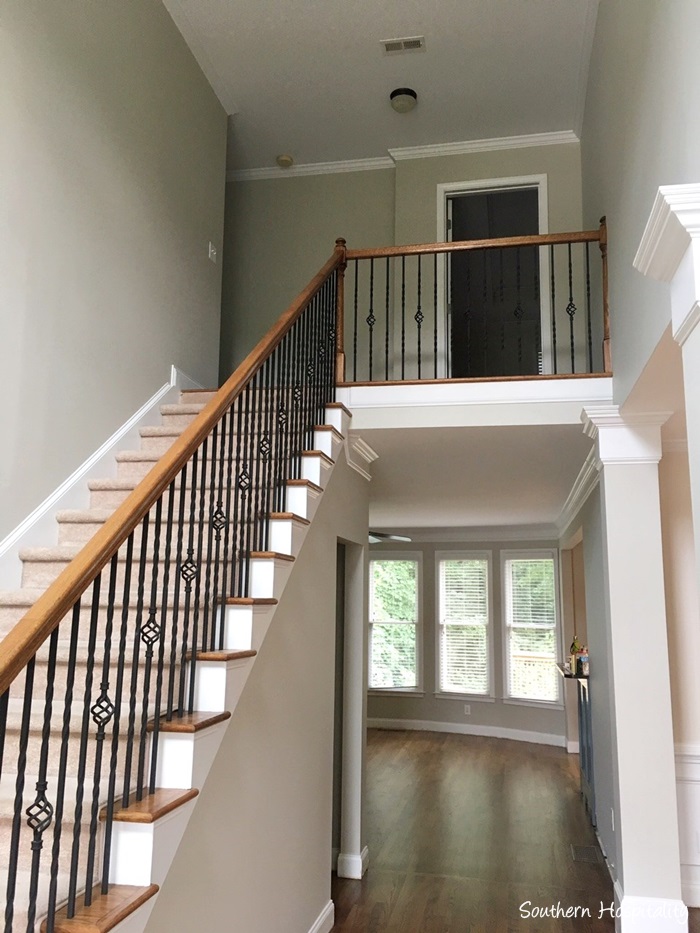
Look at the very top left of the stairs and you can see how that changed too after Mark was finished. I’ll share more details on these particulars as we go along.
Adding the Molding:
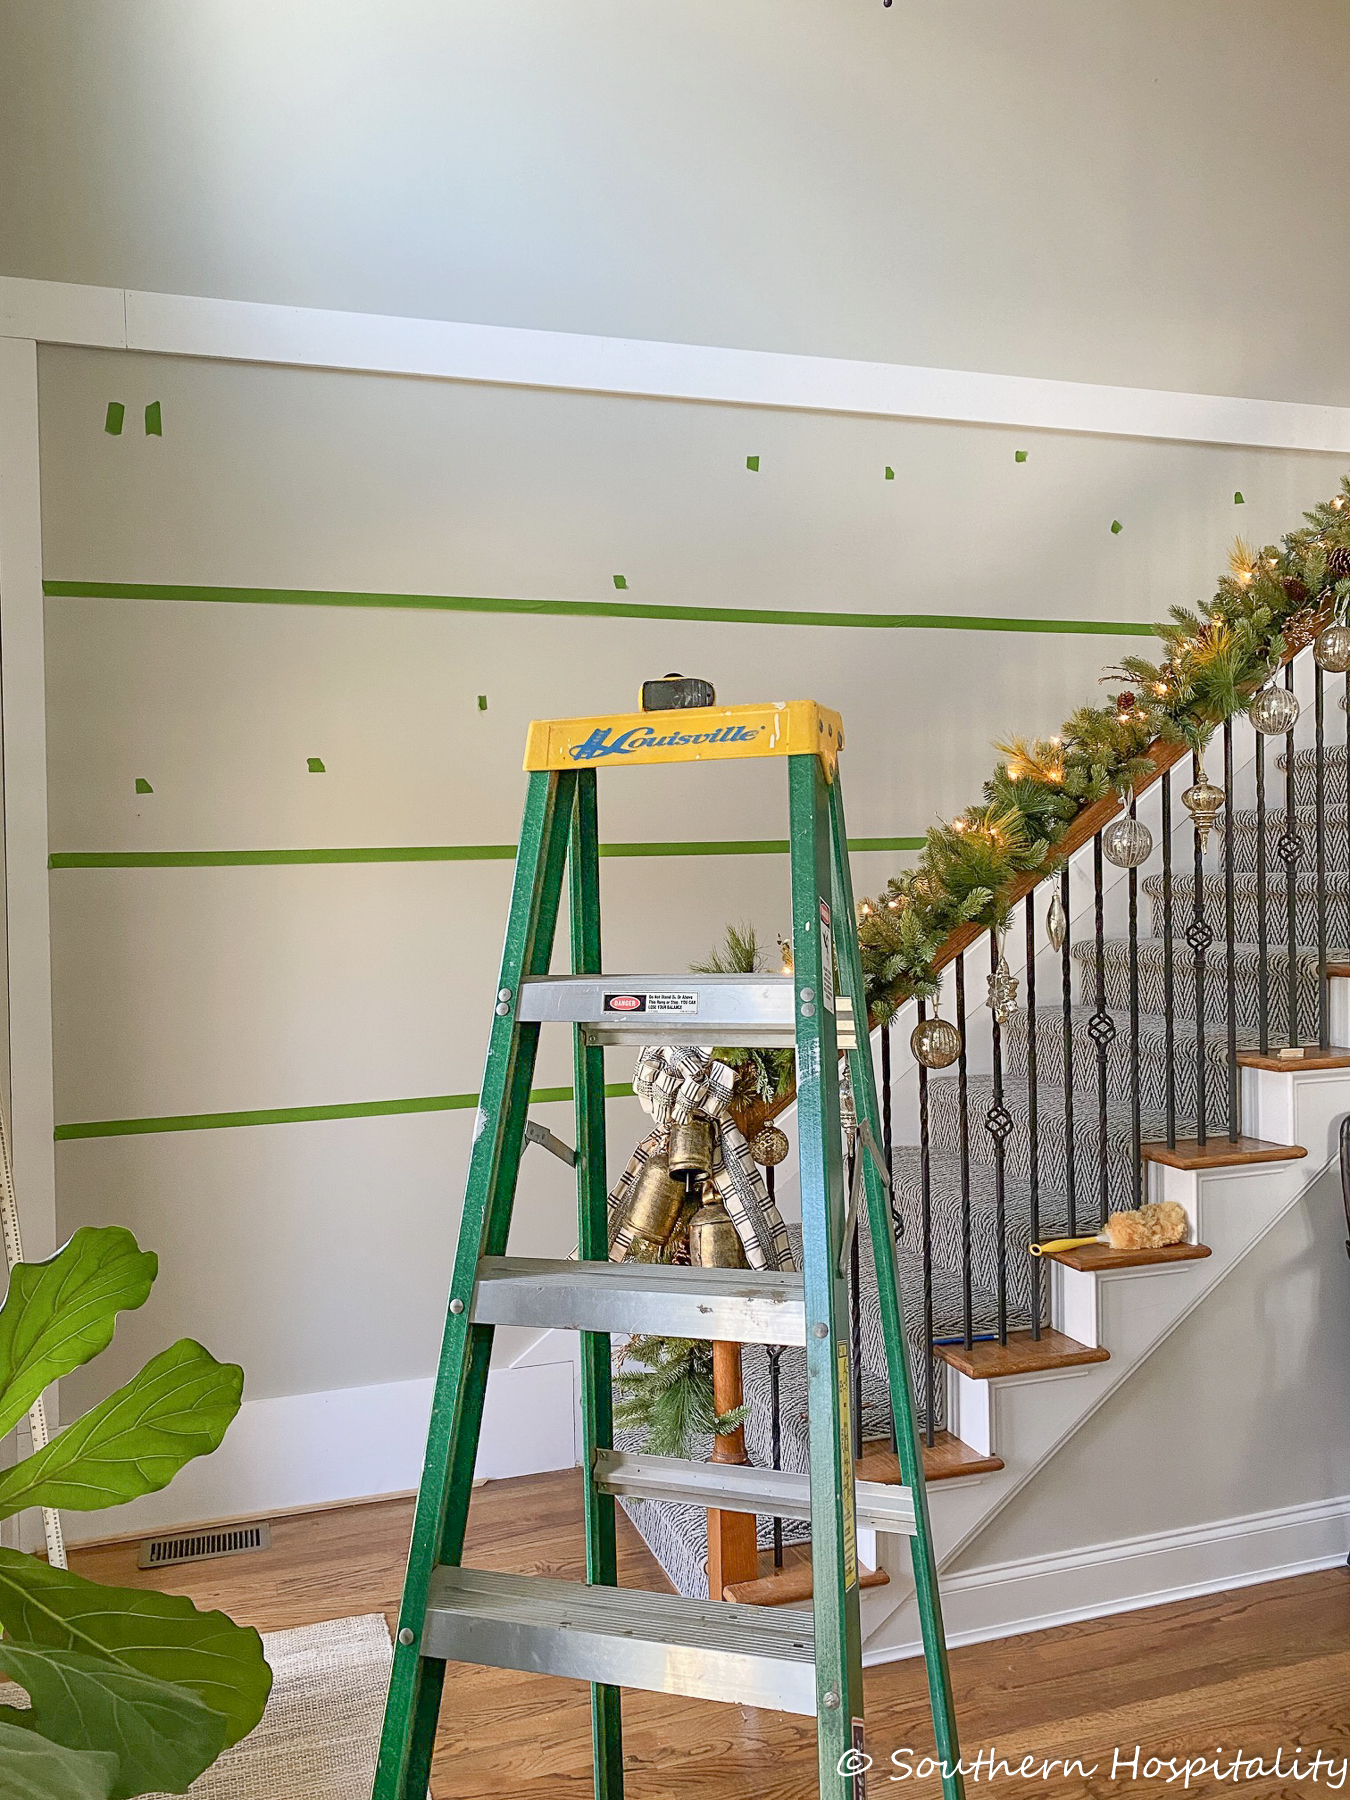
The first thing he did was remove the baseboards at the bottom of the stairs. He also removed the shorter wall you see here too later. You can see in the above picture that he added back in a tall piece of wood which will create a reveal for the old baseboard to fit back on and then this piece accommodates the new piece of 1″ wood which will have battens sitting on them. He figured out in advance how he wanted it all to line up.
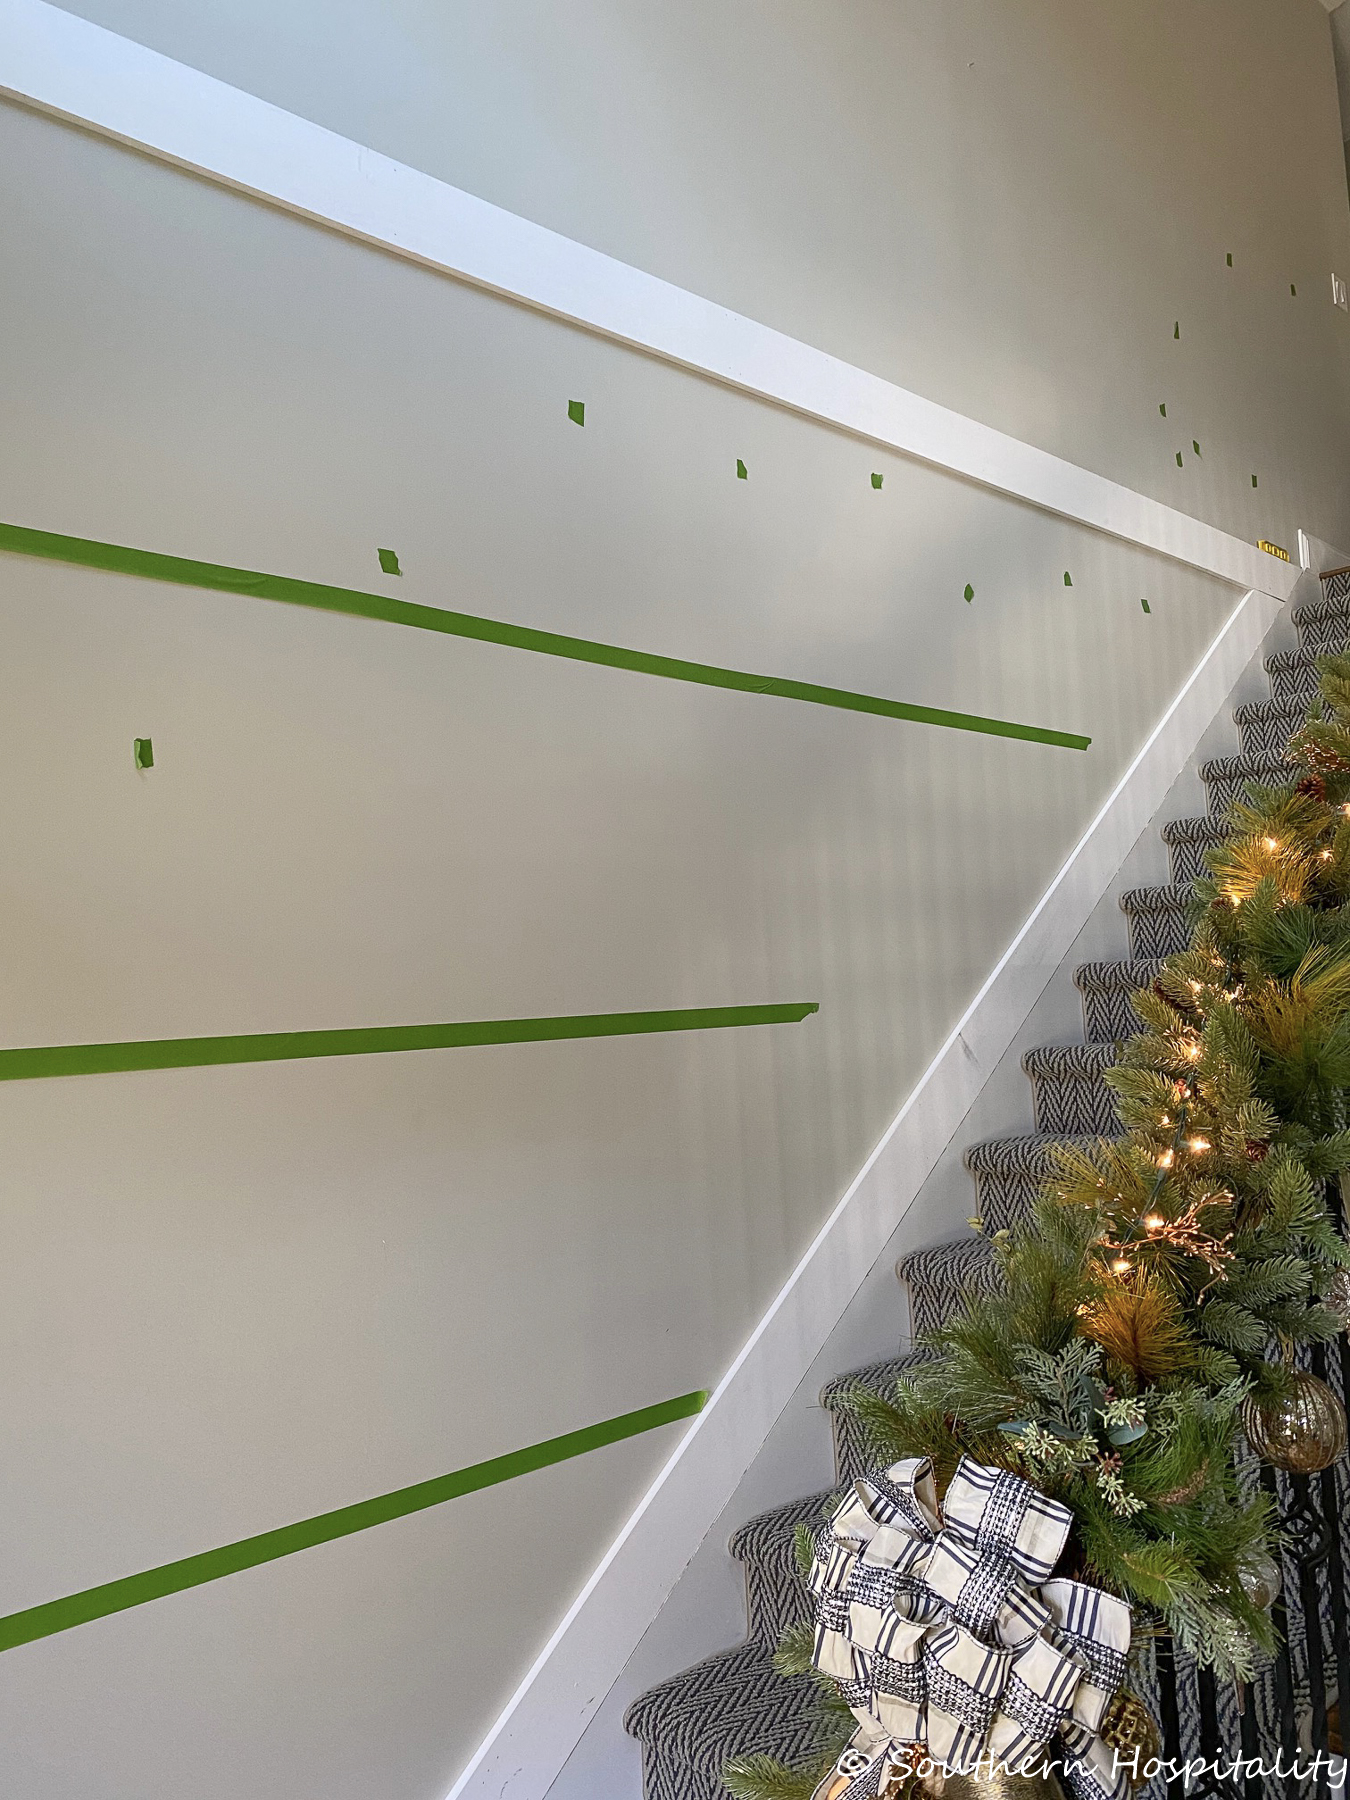
You can see here that he added a 1×6″ primed pine board across the middle of the wall and also slanting up the stairs. He sat this piece of wood on the existing stringers (I think that’s what it’s called) going up the stairs. He cut angles so that it would all meet in the corner.
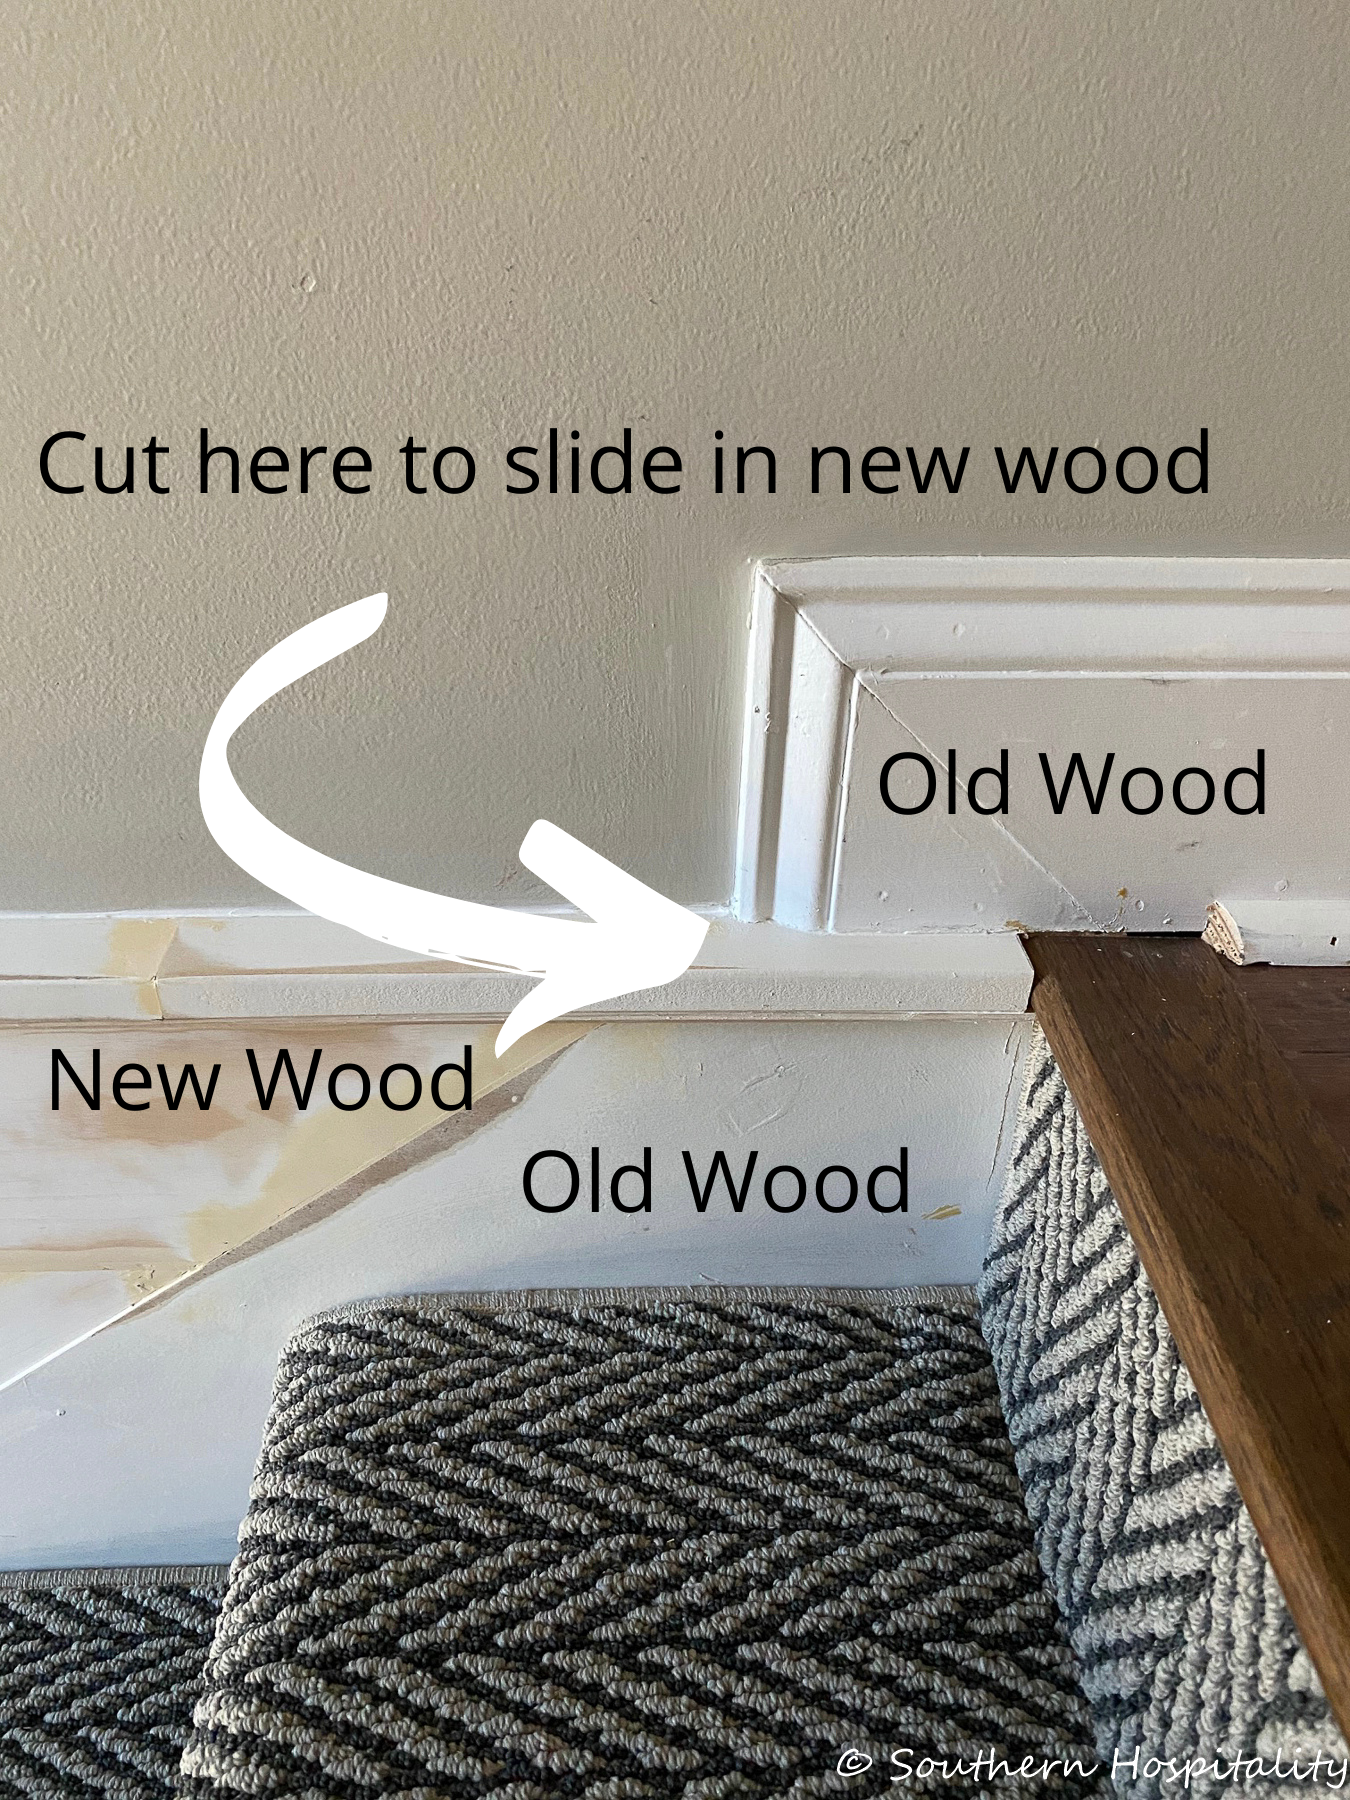
I’ll slide this in so you can see how the top of the stairs came together. He had to cut out a piece of wood from the old wood so that the new 2″ top trim piece could go in. Again, every carpenter might do this differently, but this is how Mark did ours. It looks good to us. You can see that the old quarter round stopped so that was also replaced so it all flows together better. There’s a 2″ top board and he trimmed that out with cove molding underneath which you can hardly see here.
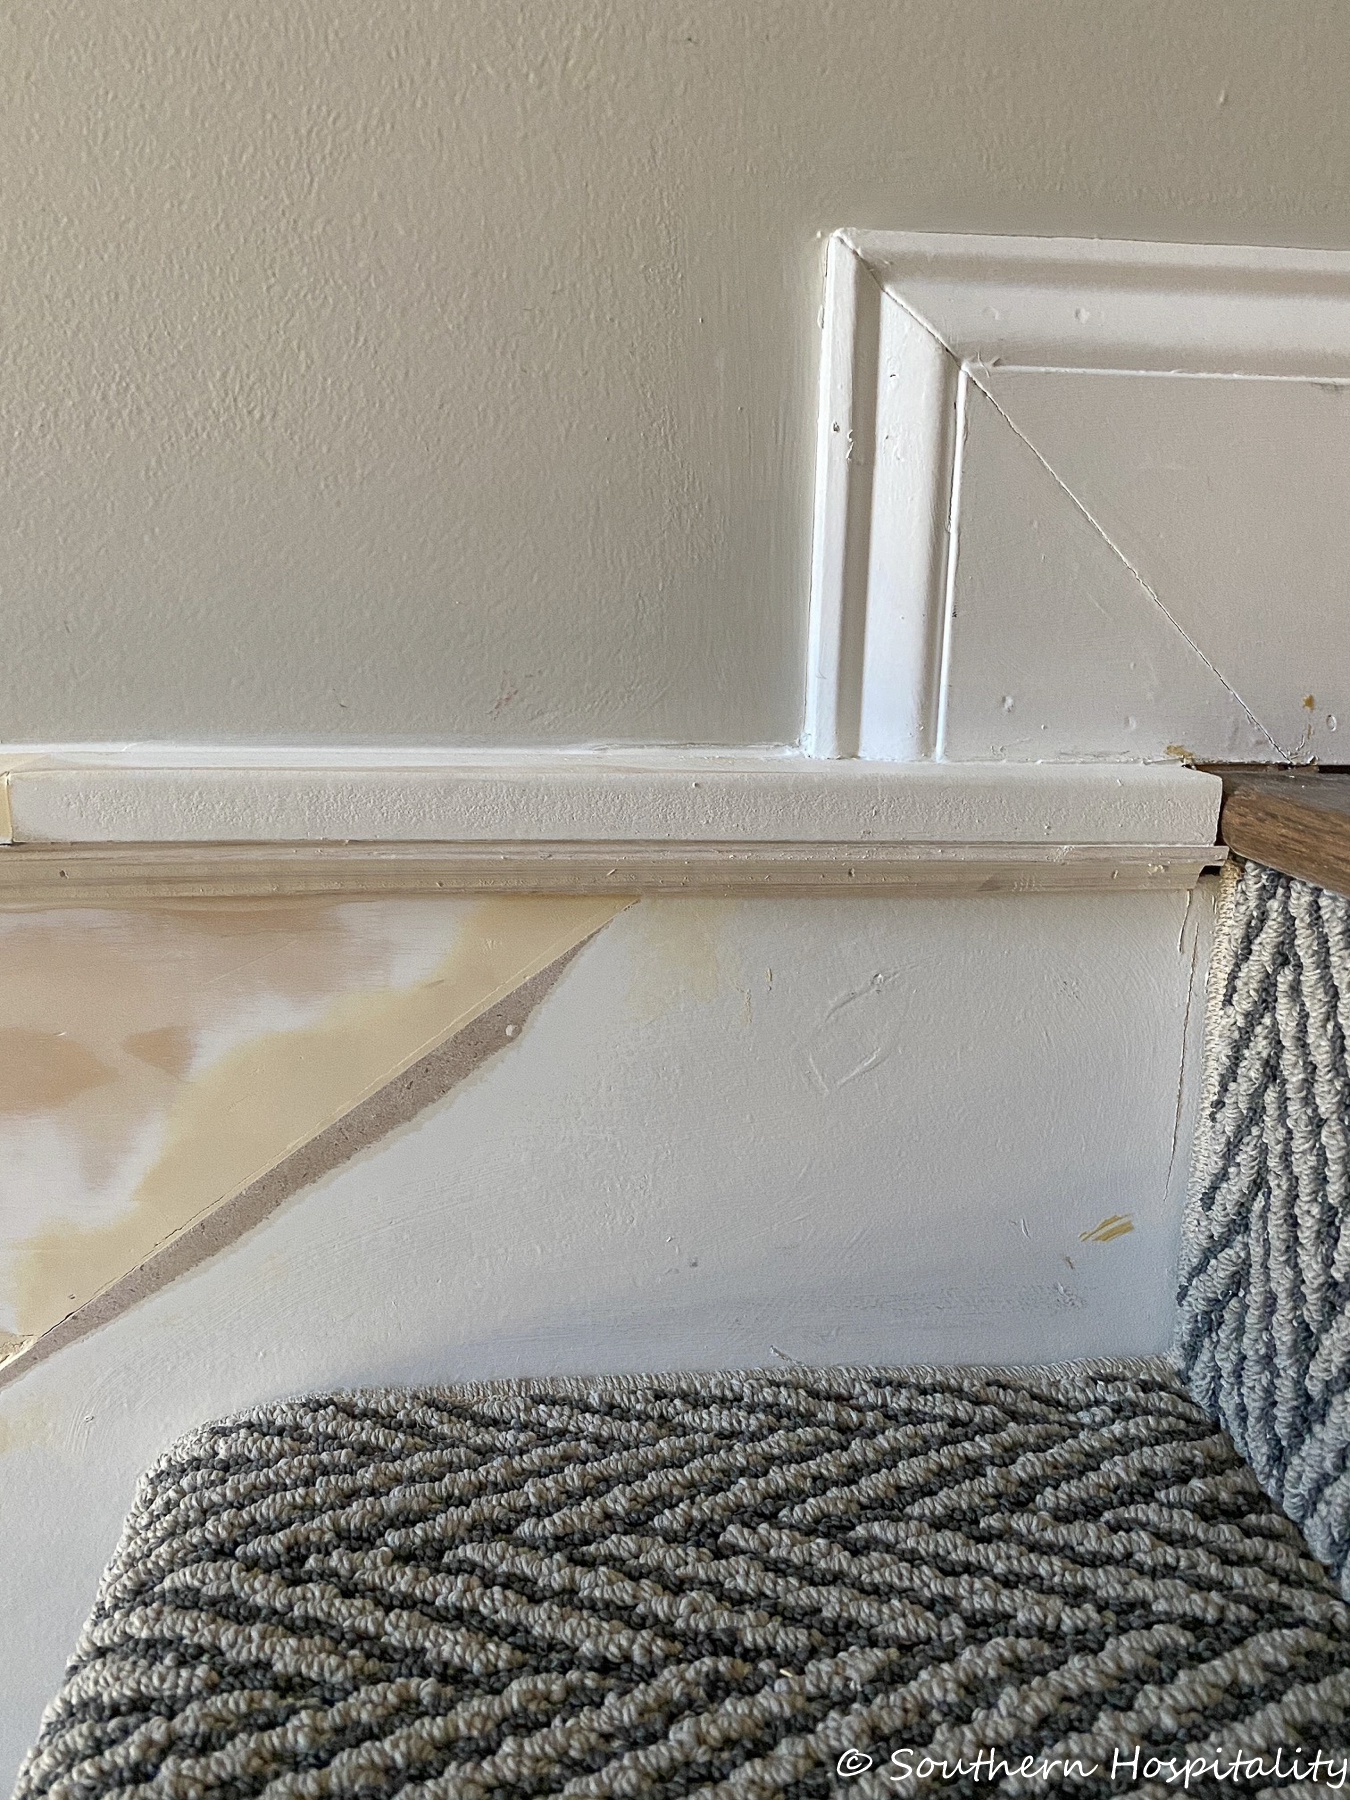
Here’s a better shot of the cove molding underneath. It’s not necessary, but an extra trim piece bridging old and new wood.
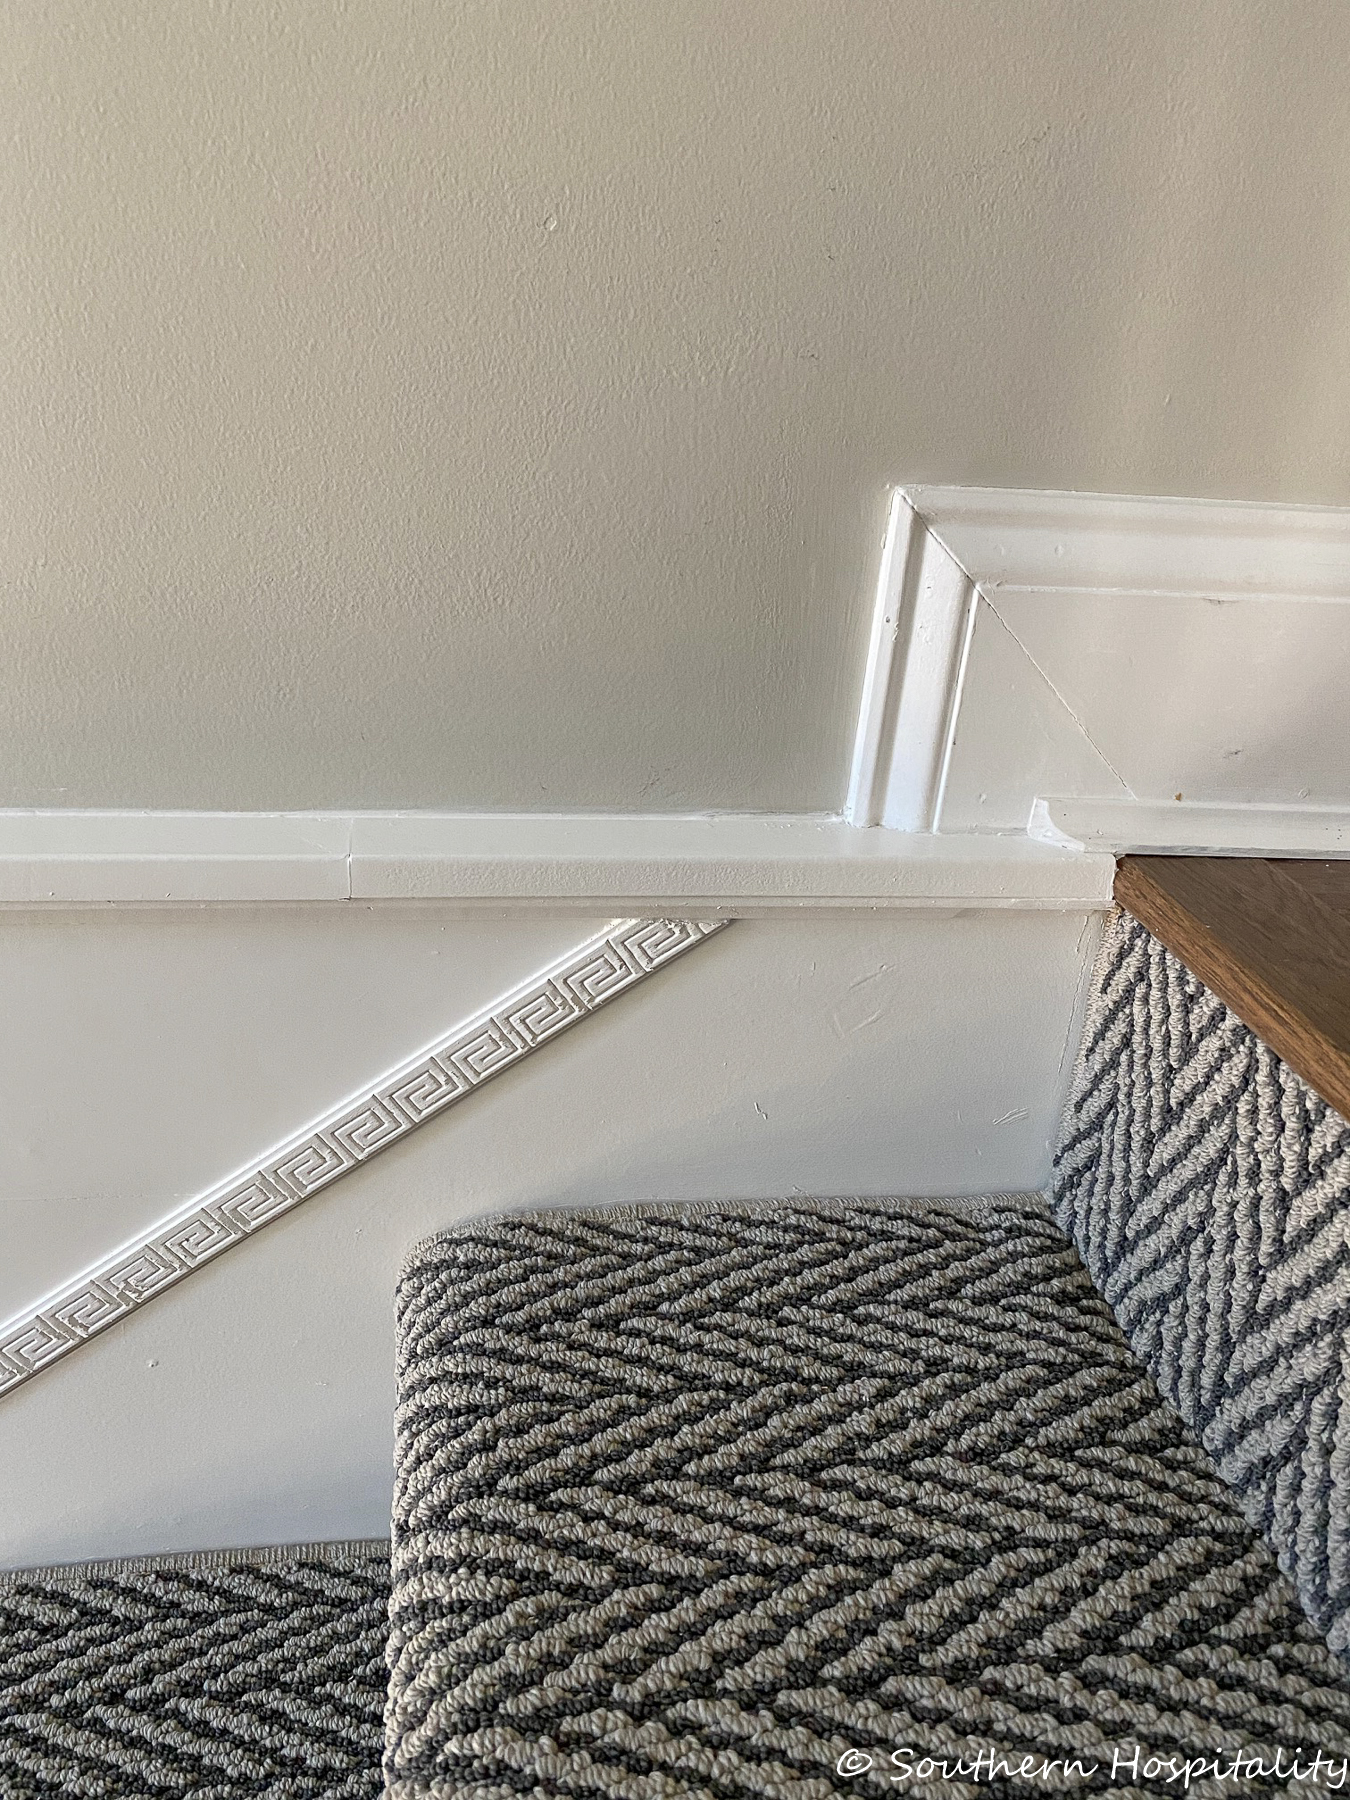
And here’s the finish after painting on this part. He added a nice Greek Key molding piece across the seam that connect the old wood to the new wood and I love how this turned out. Cove molding added to the baseboards on the floor above the stairs.
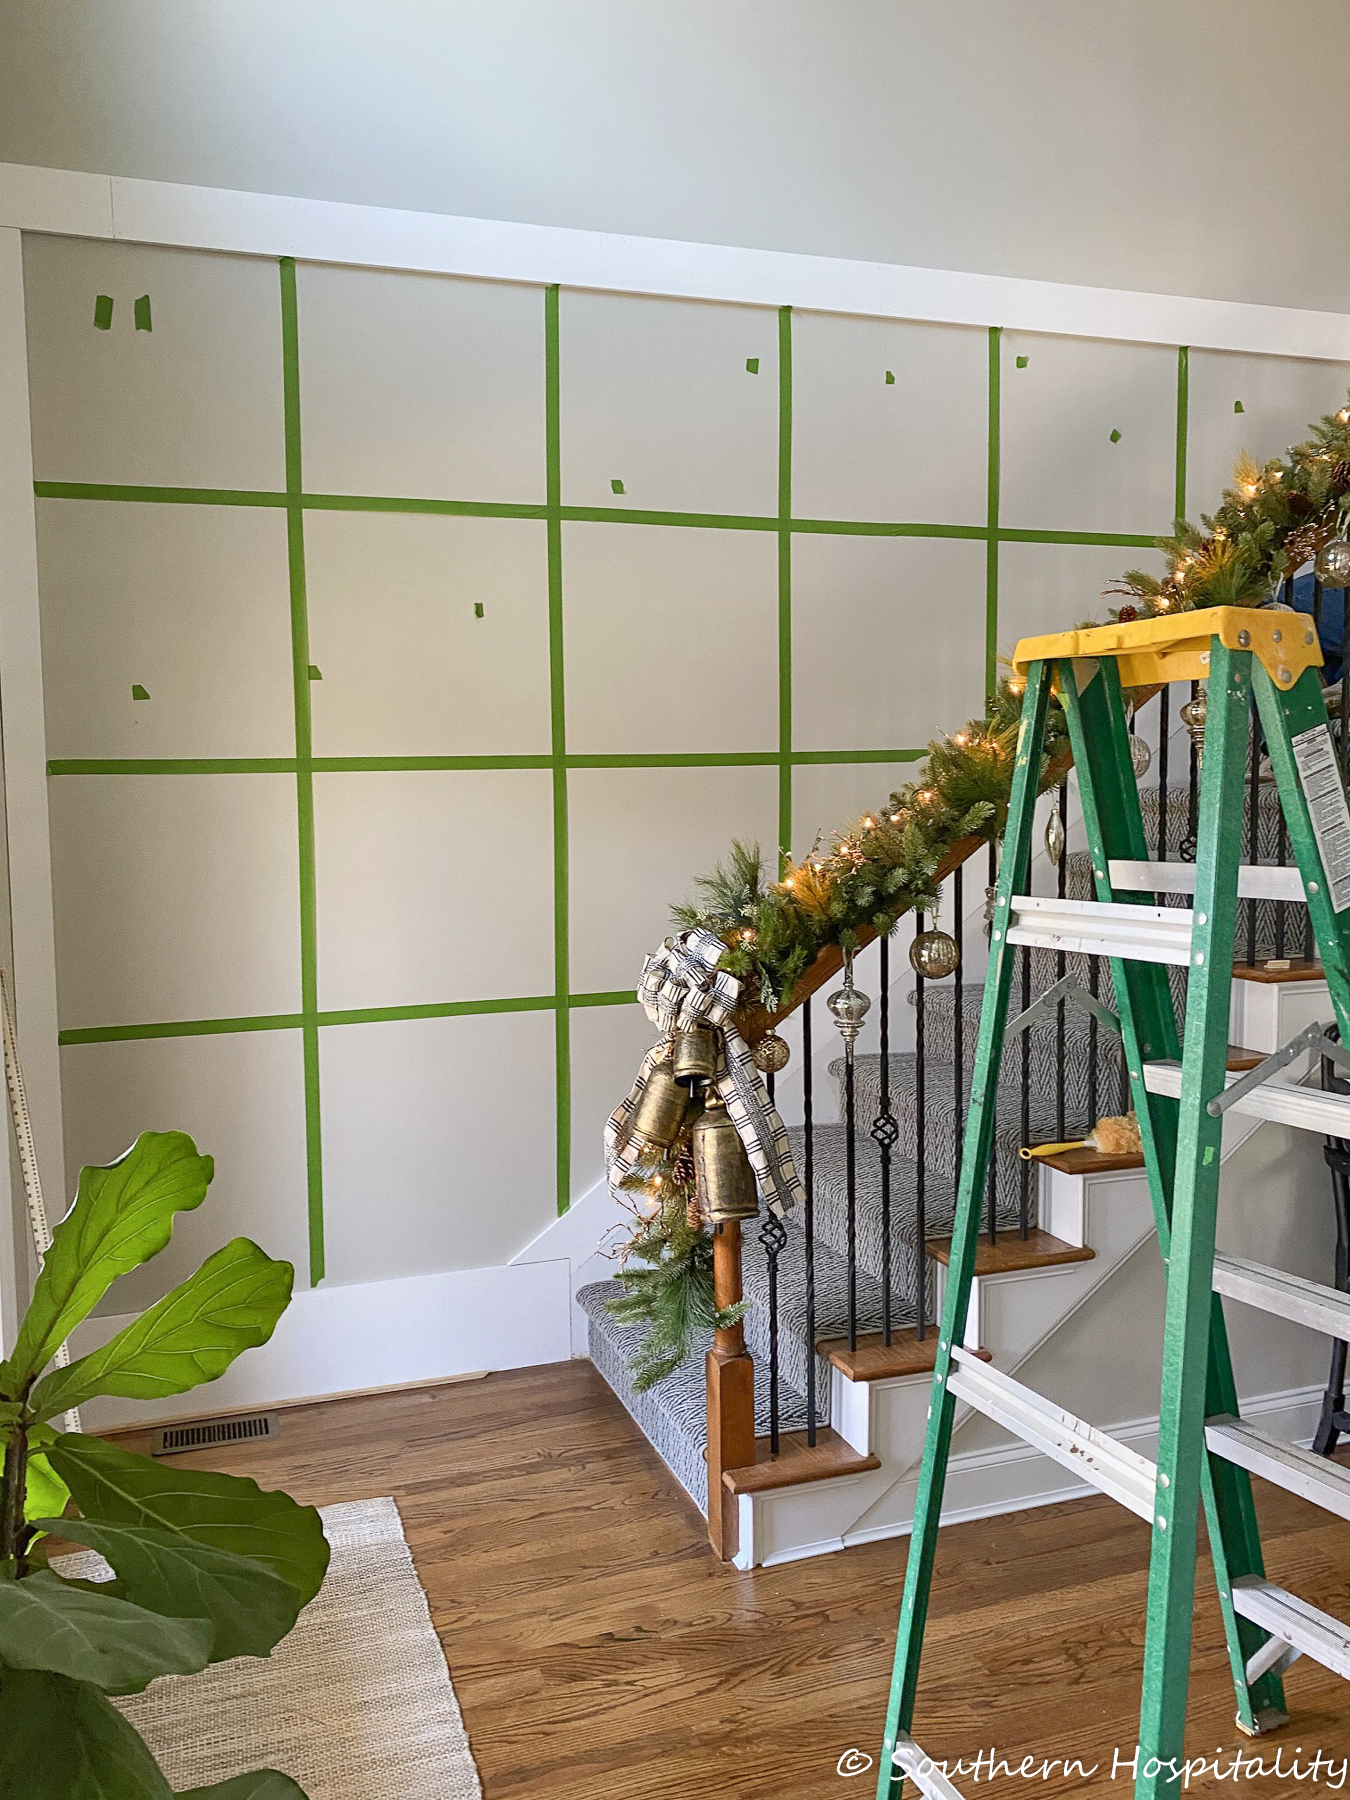
Back to the wall molding, you saw this part already, but I’ll repeat it and explain. We put up the green Frogtape so we could visualize what the squares would look like and to see how big we wanted the squares. I’m a real visual person so doing this is necessary for me to “see” how it will look. We were very happy with this look so Mark proceeded to cut the boards.
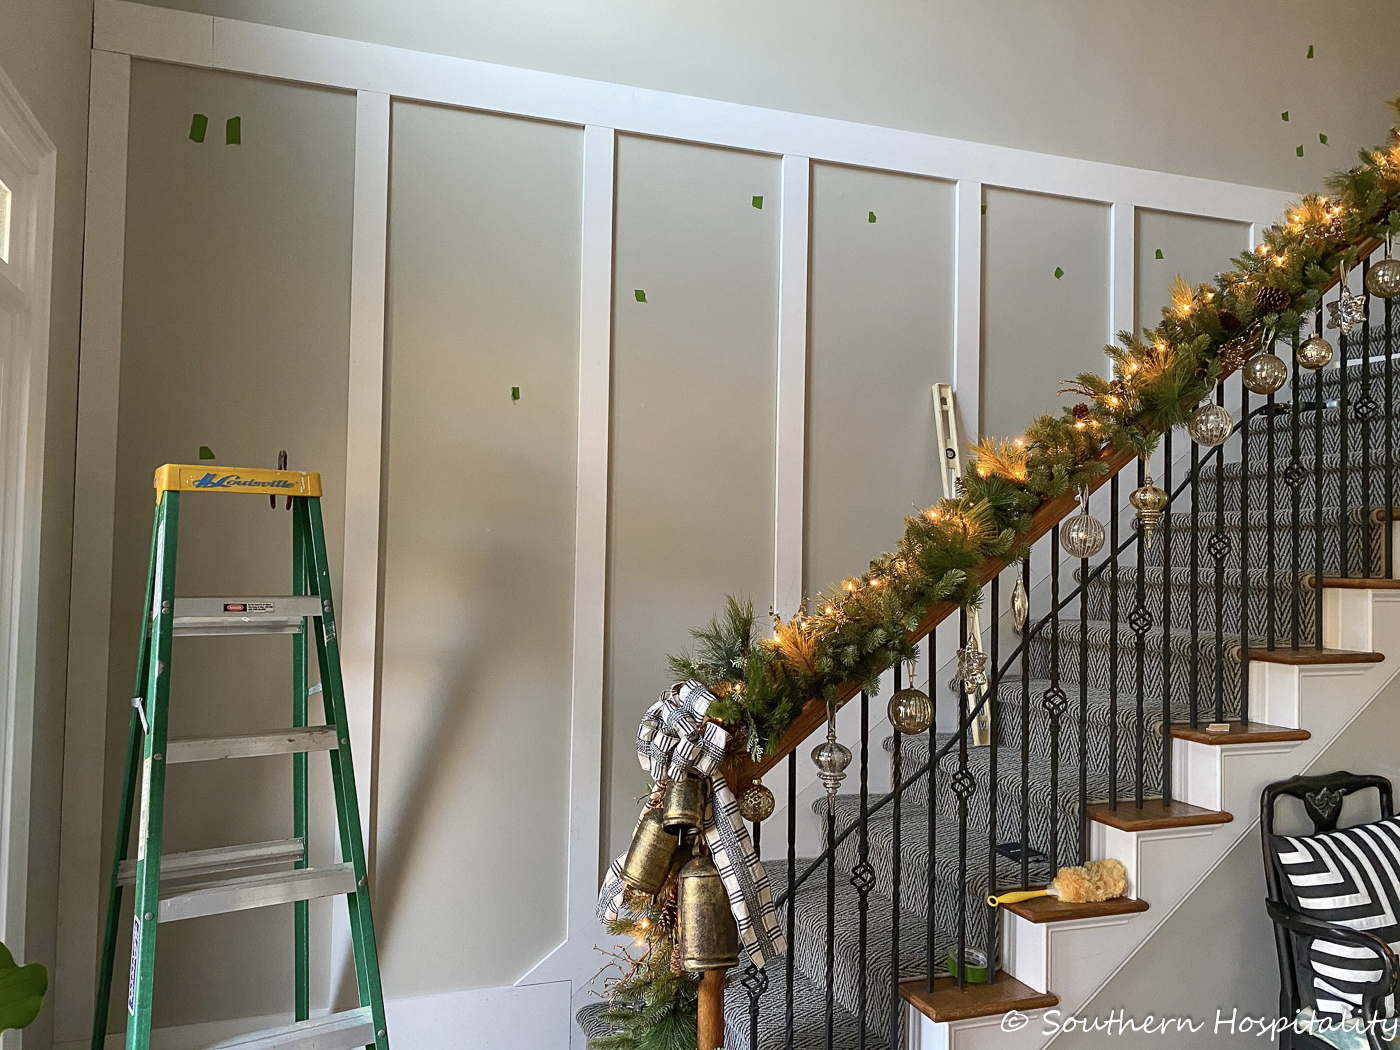
First all the vertical boards went up. He had to cut the ones going up the stairs at an angle, but it all looks great.
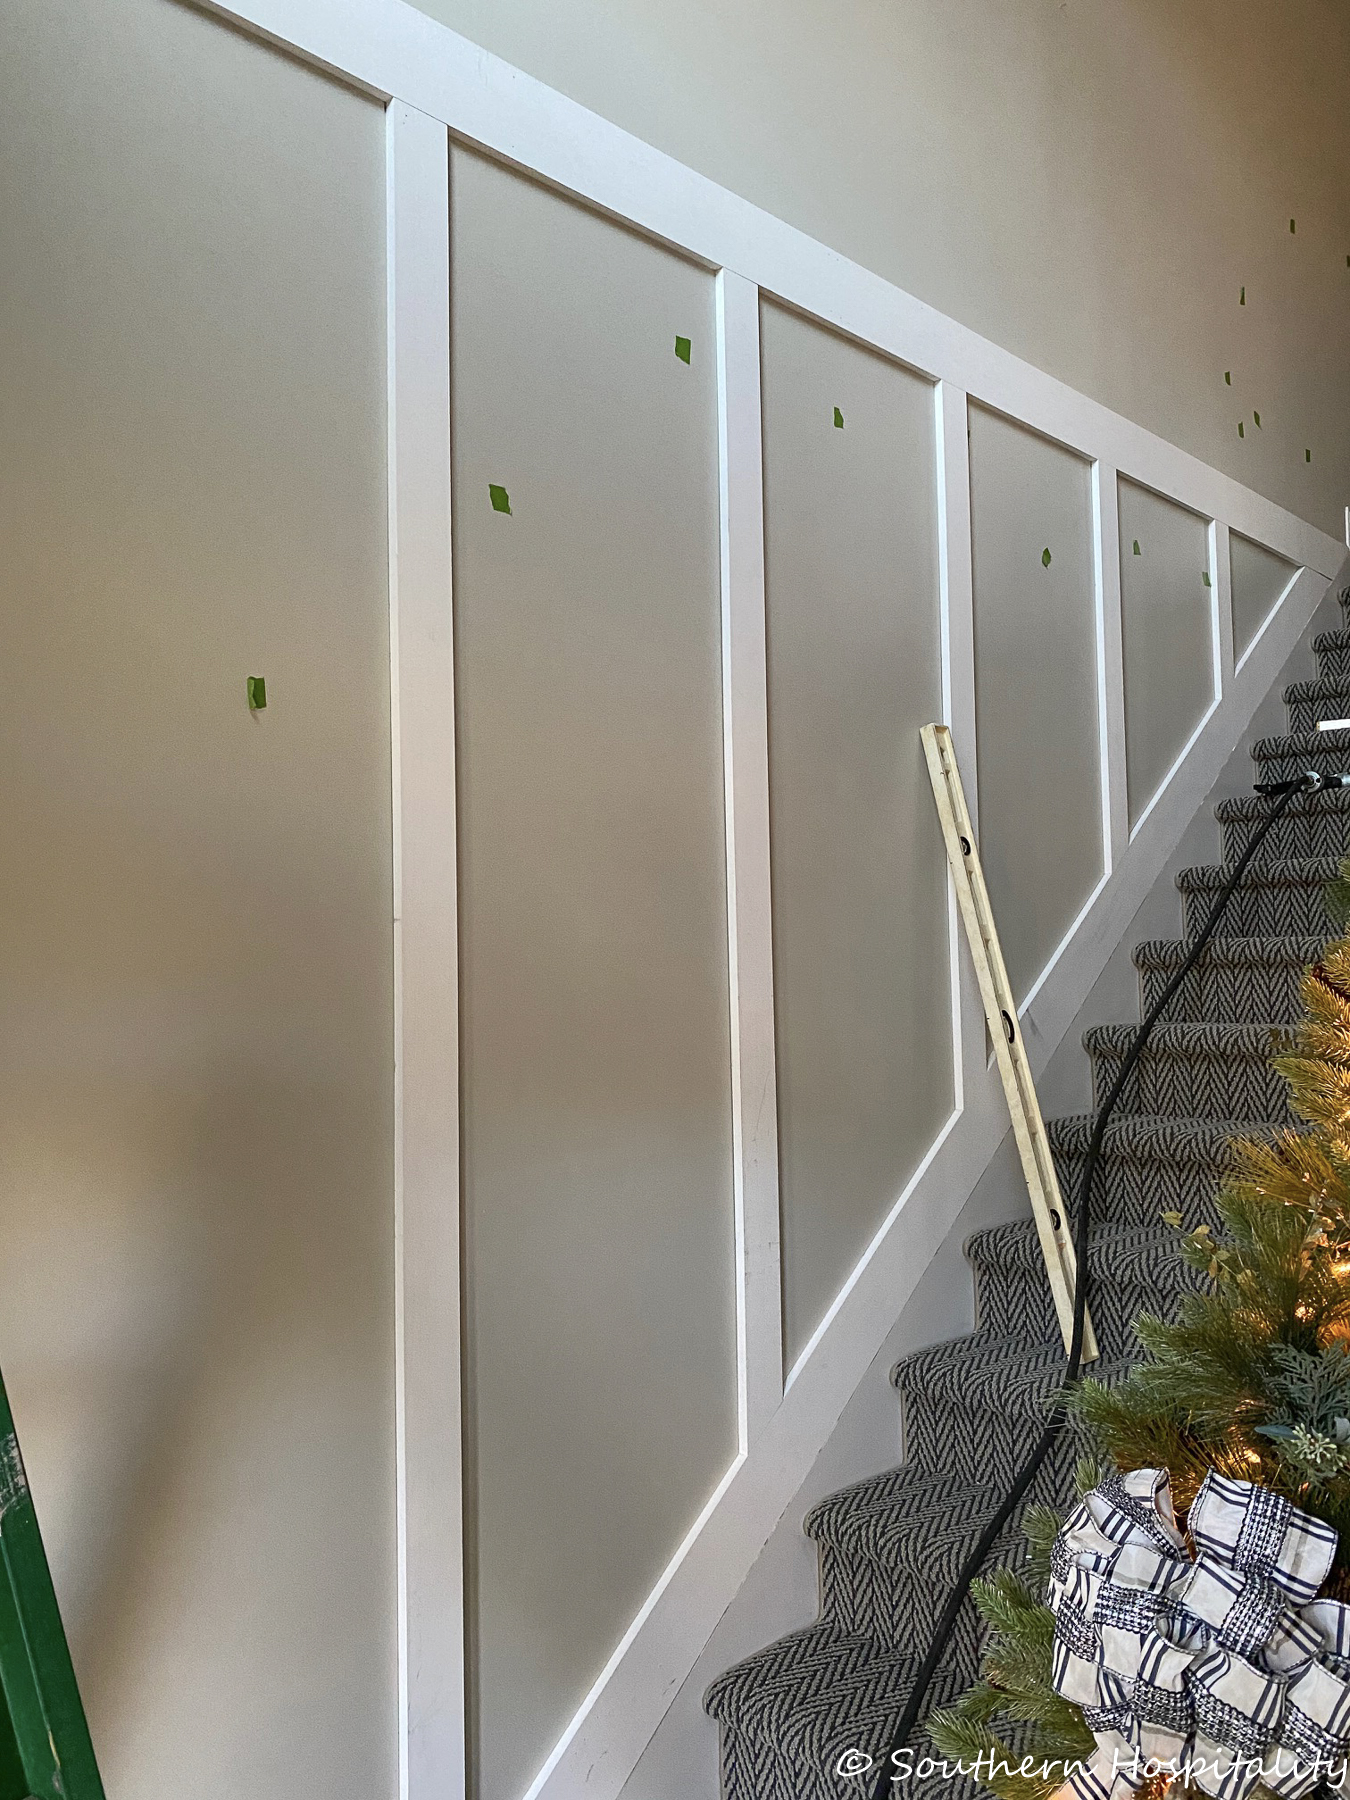
All of those are done, now ready for horizontal boards. He also cut a spacer board so that he could easily measure as he went along to get them all spaced evenly.
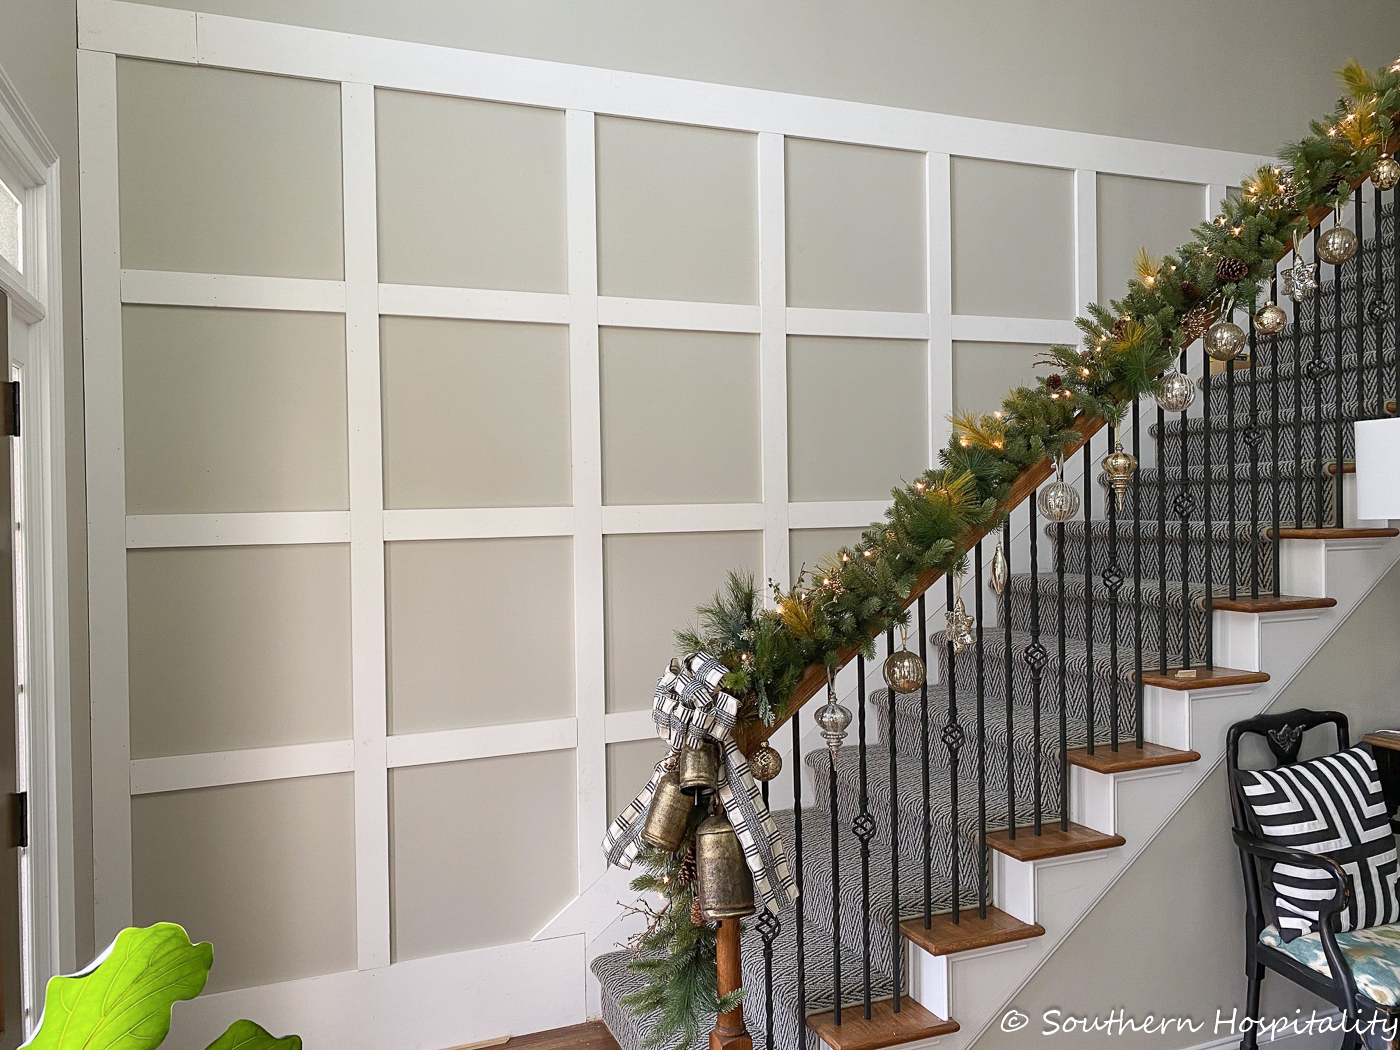
All horizontal boards are up.
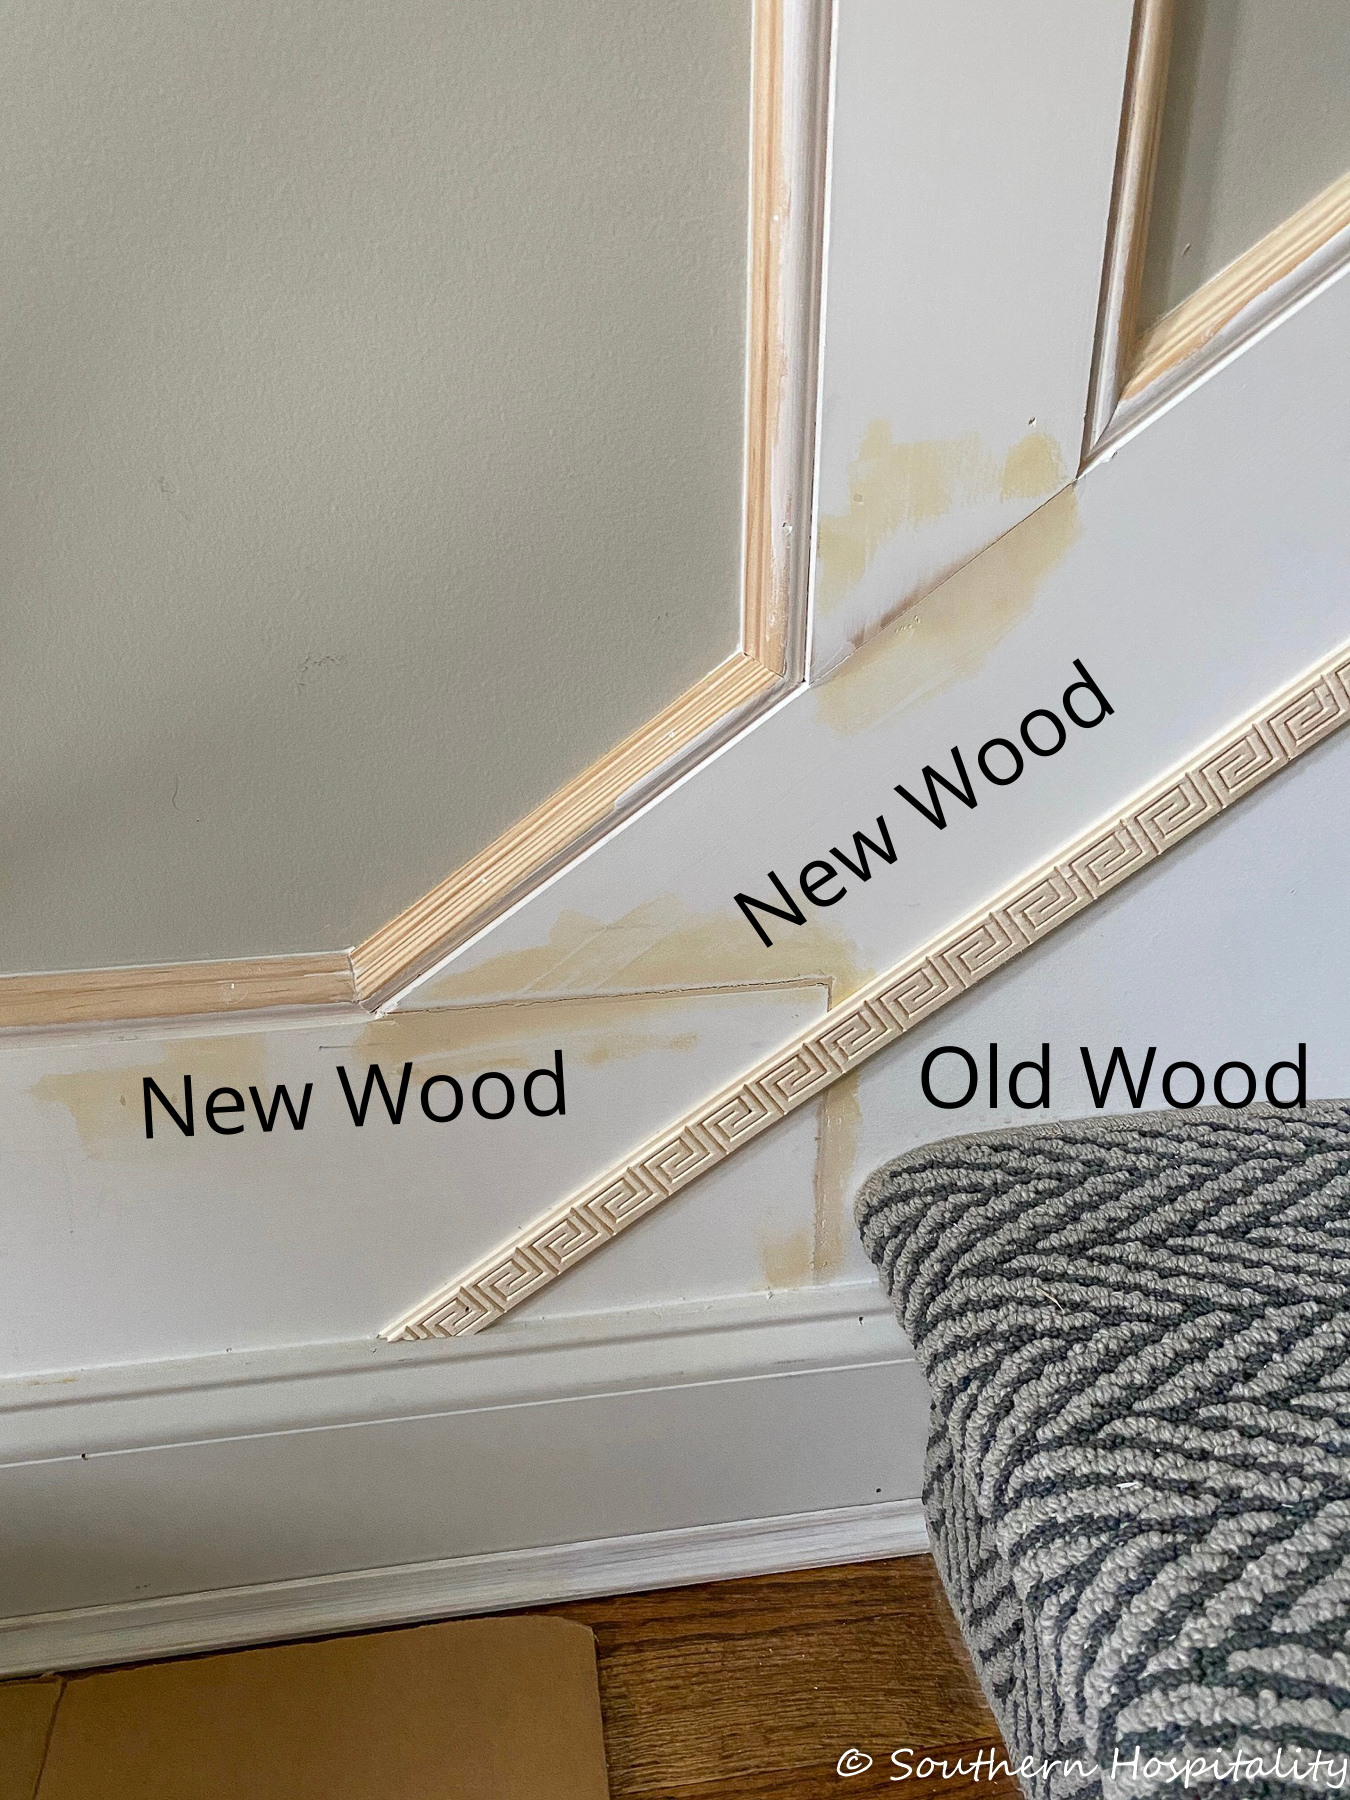
I’ll insert this in so you can see how these pieces came together, old and new wood. That large board that he added next to the floor allowed these pieces to all come together (remember he’s adding almost an inch to where the baseboard sat and so building it out under the baseboard allows the baseboard to sit on top of that board and have a “reveal” above it with the new chunky wood. I’ll show more of this method when we get to the smaller wall in the foyer too. He just saved the old baseboard and then nailed it back on to the new wood. That decorative molding is just a 1-1/4″ trim piece we found at Home Depot. All of this wood came from Home Depot. If you didn’t know it, building materials have gone up a lot during the last year because I guess supply and demand.
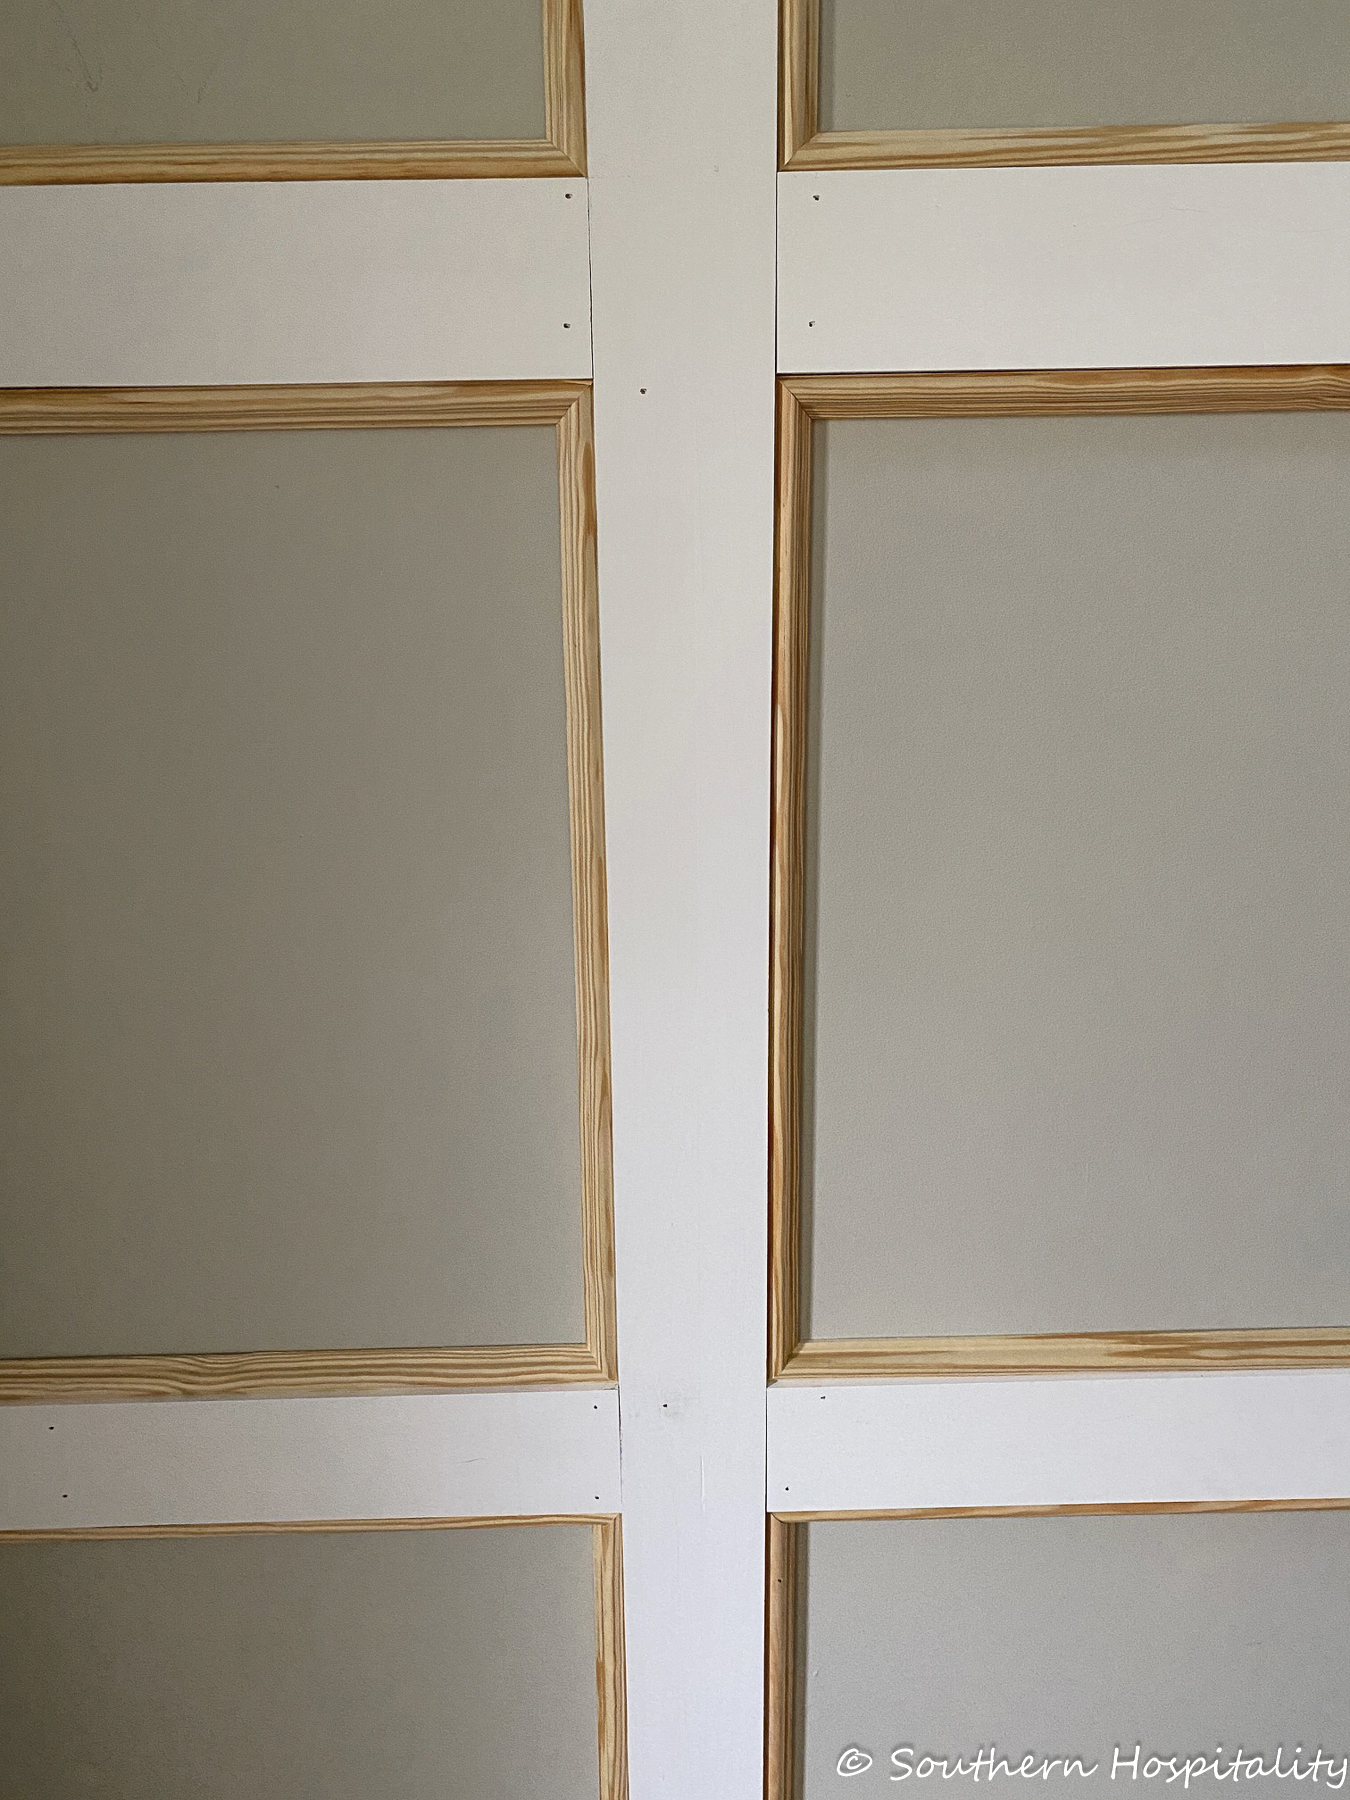
Here’s a closeup of all the wood up before he caulked it all.
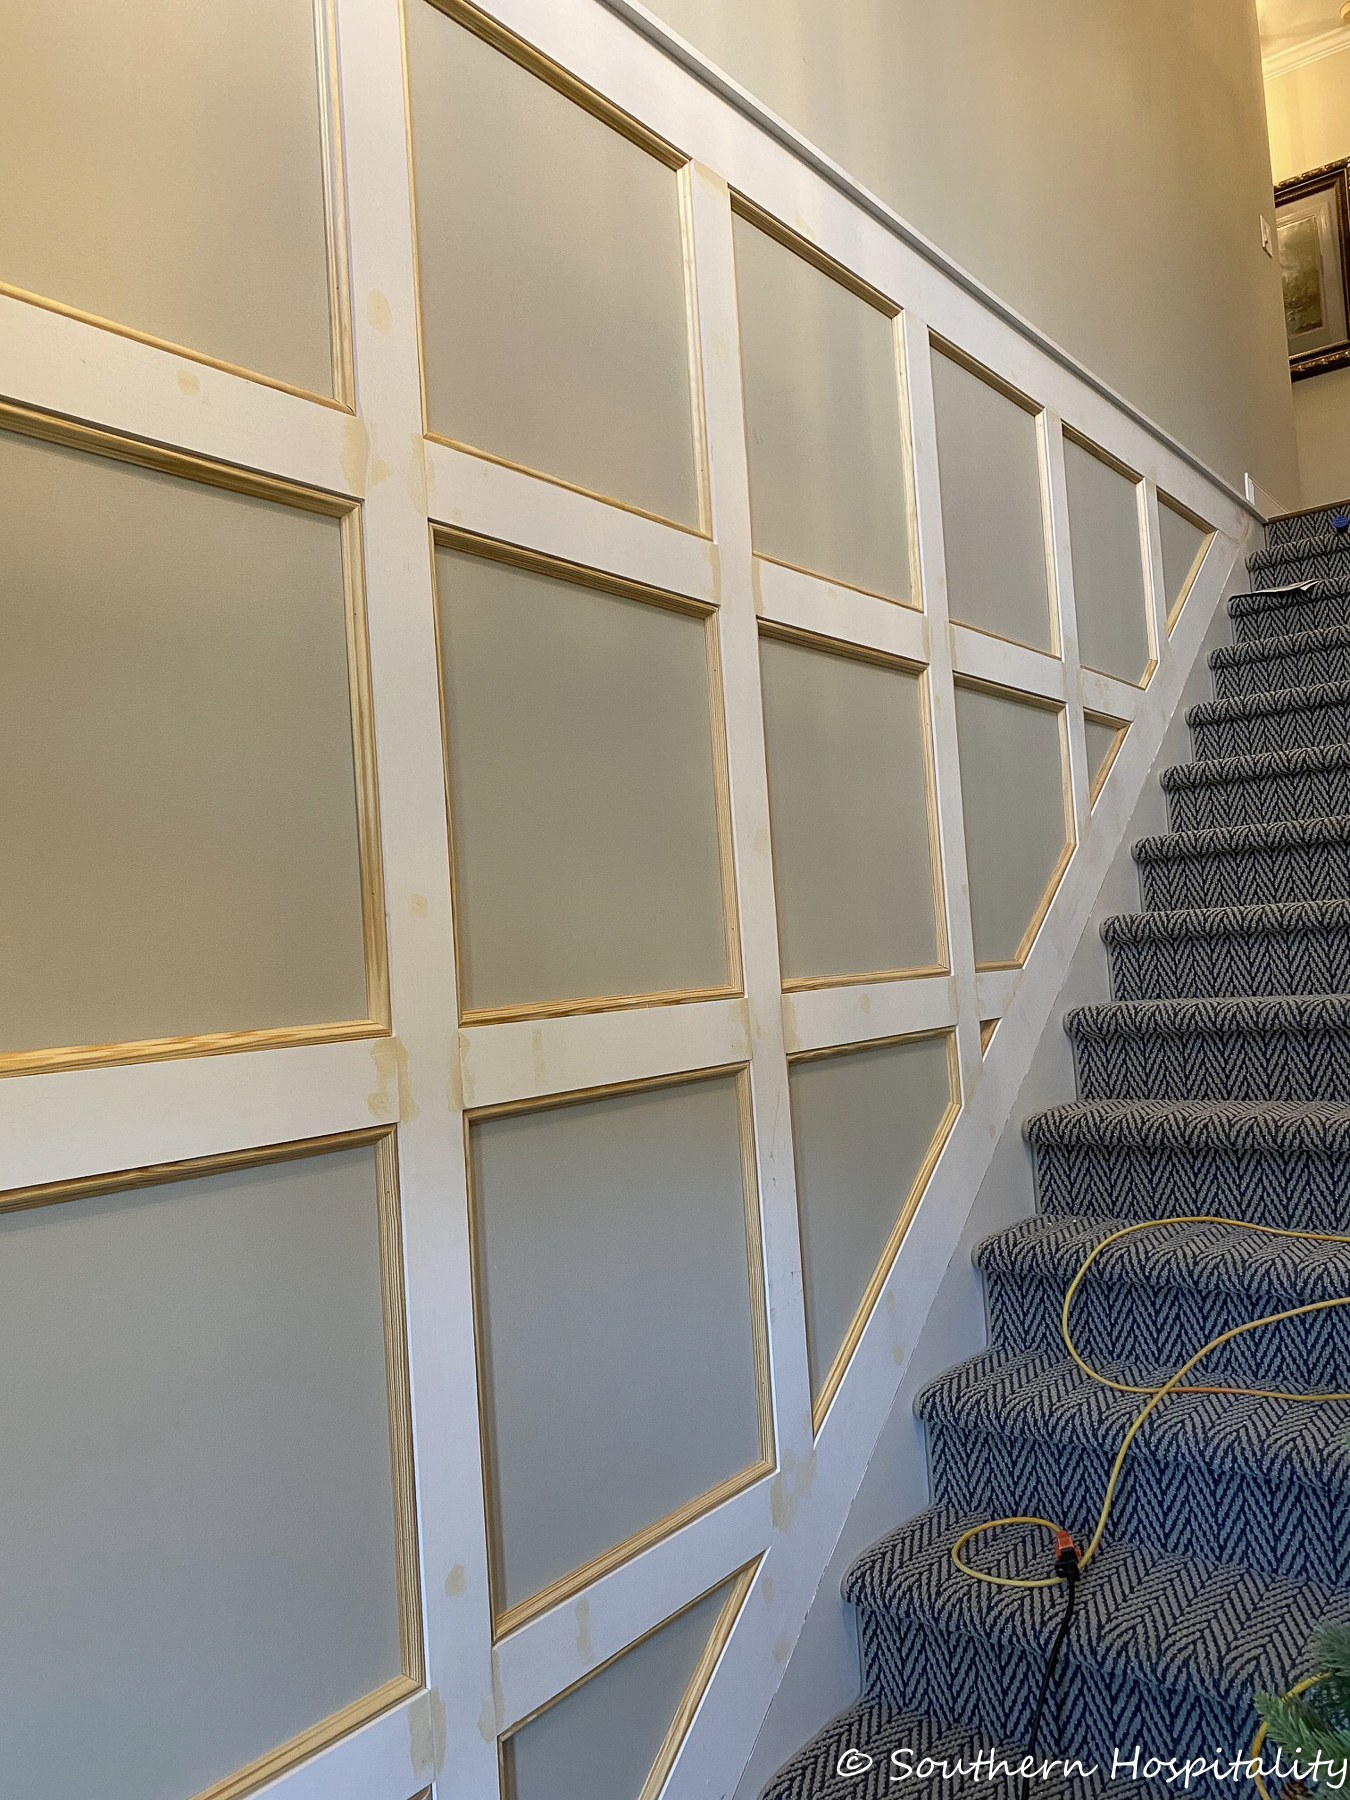
He used wood putty on the seams of the wood pieces and caulk for the other seams. Looking good! We decided to splurge and get our painter to come and paint it all, so that was nice too for a smooth finish.
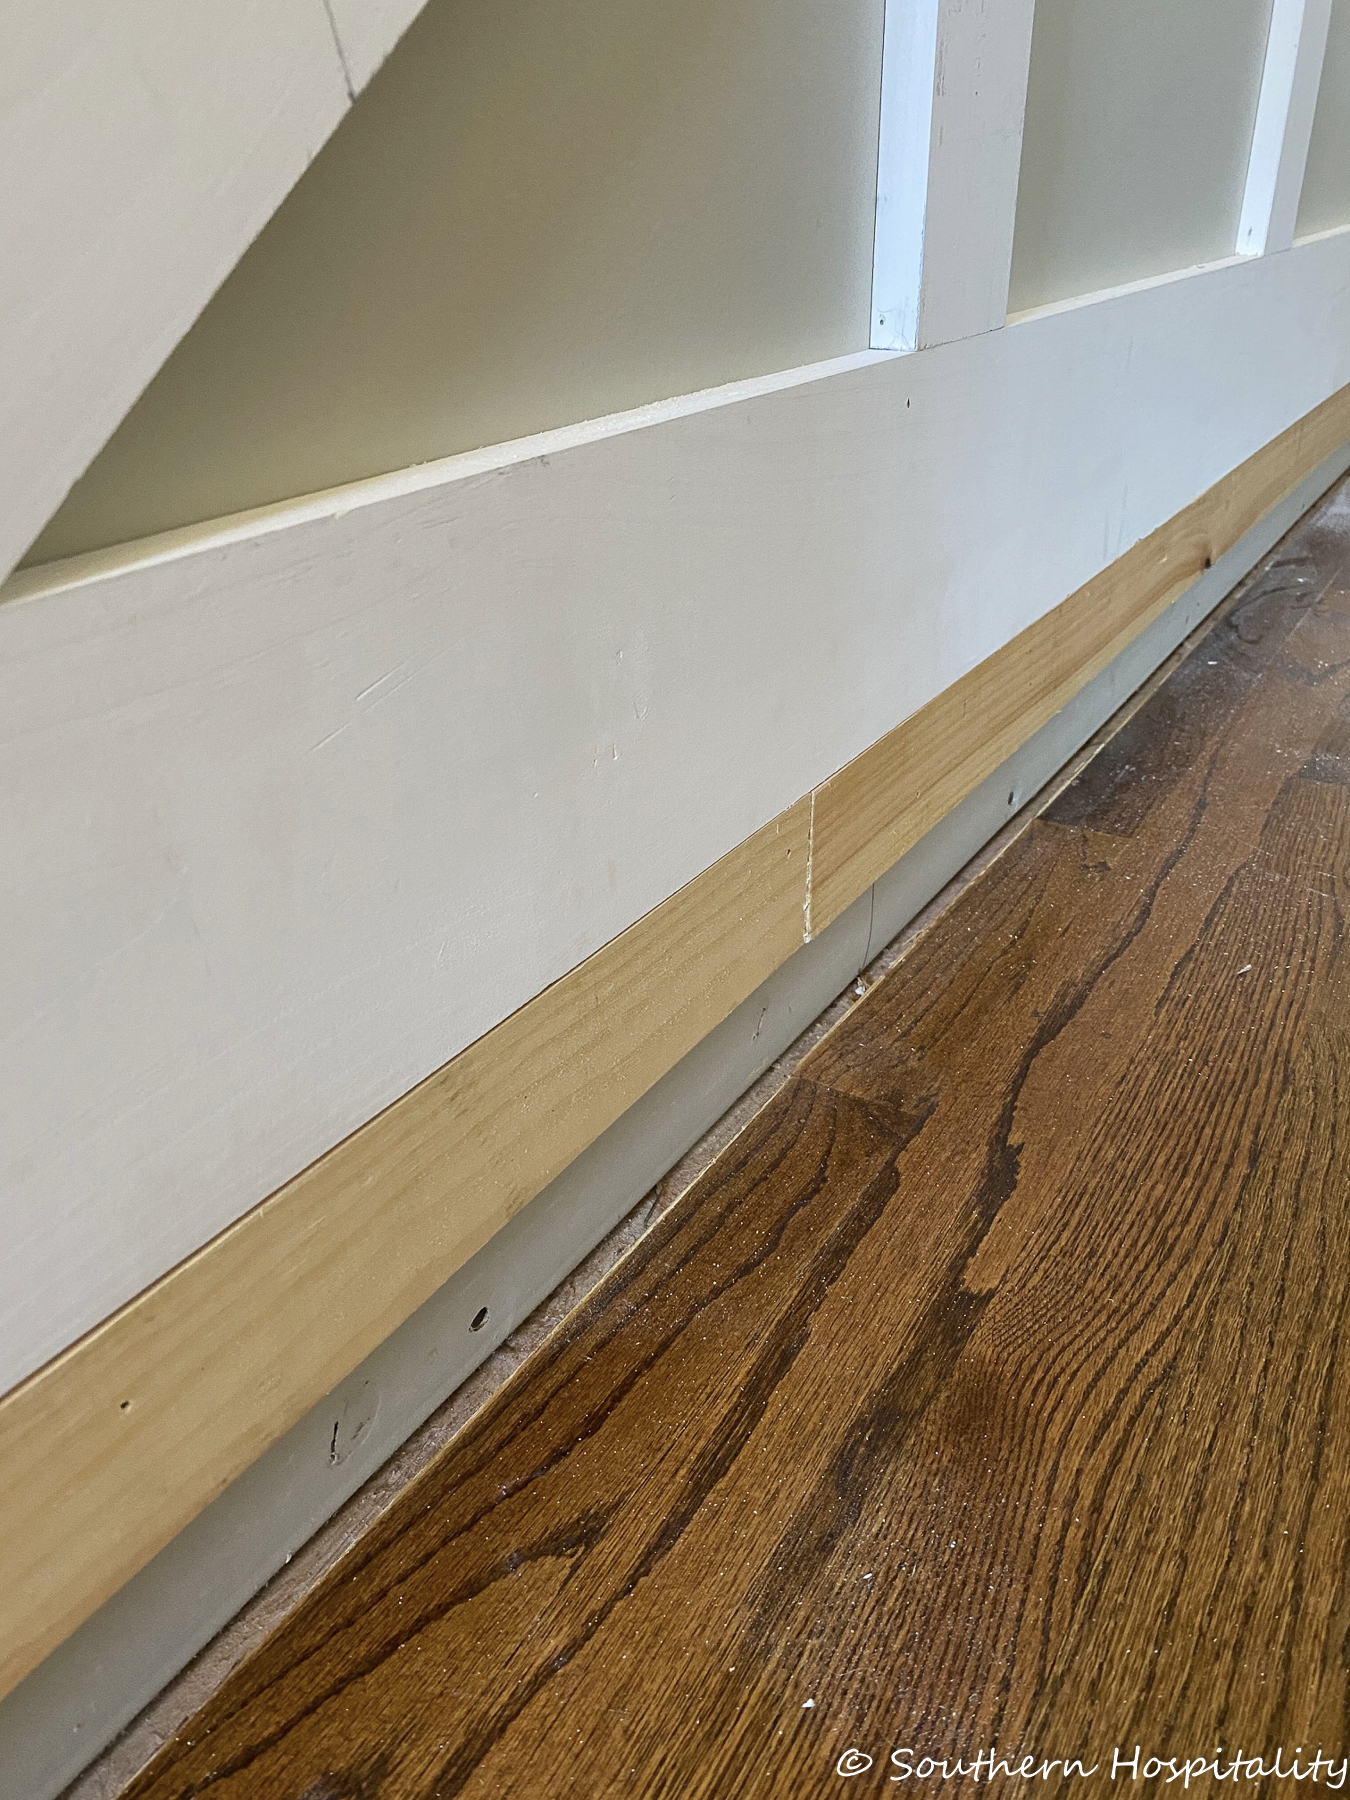
Here’s a look at the smaller wall in the foyer without the baseboards on. You can see he just added a 1×4″ piece of wood behind where the baseboard will go. This is his method of bringing the baseboard out so it appears to be sitting firmly on the baseboard. You can’t just add in thick battens like this and have them sit on your old baseboard. Chunky 1×6″ board above and then the extra piece below to nail the old baseboard back on.
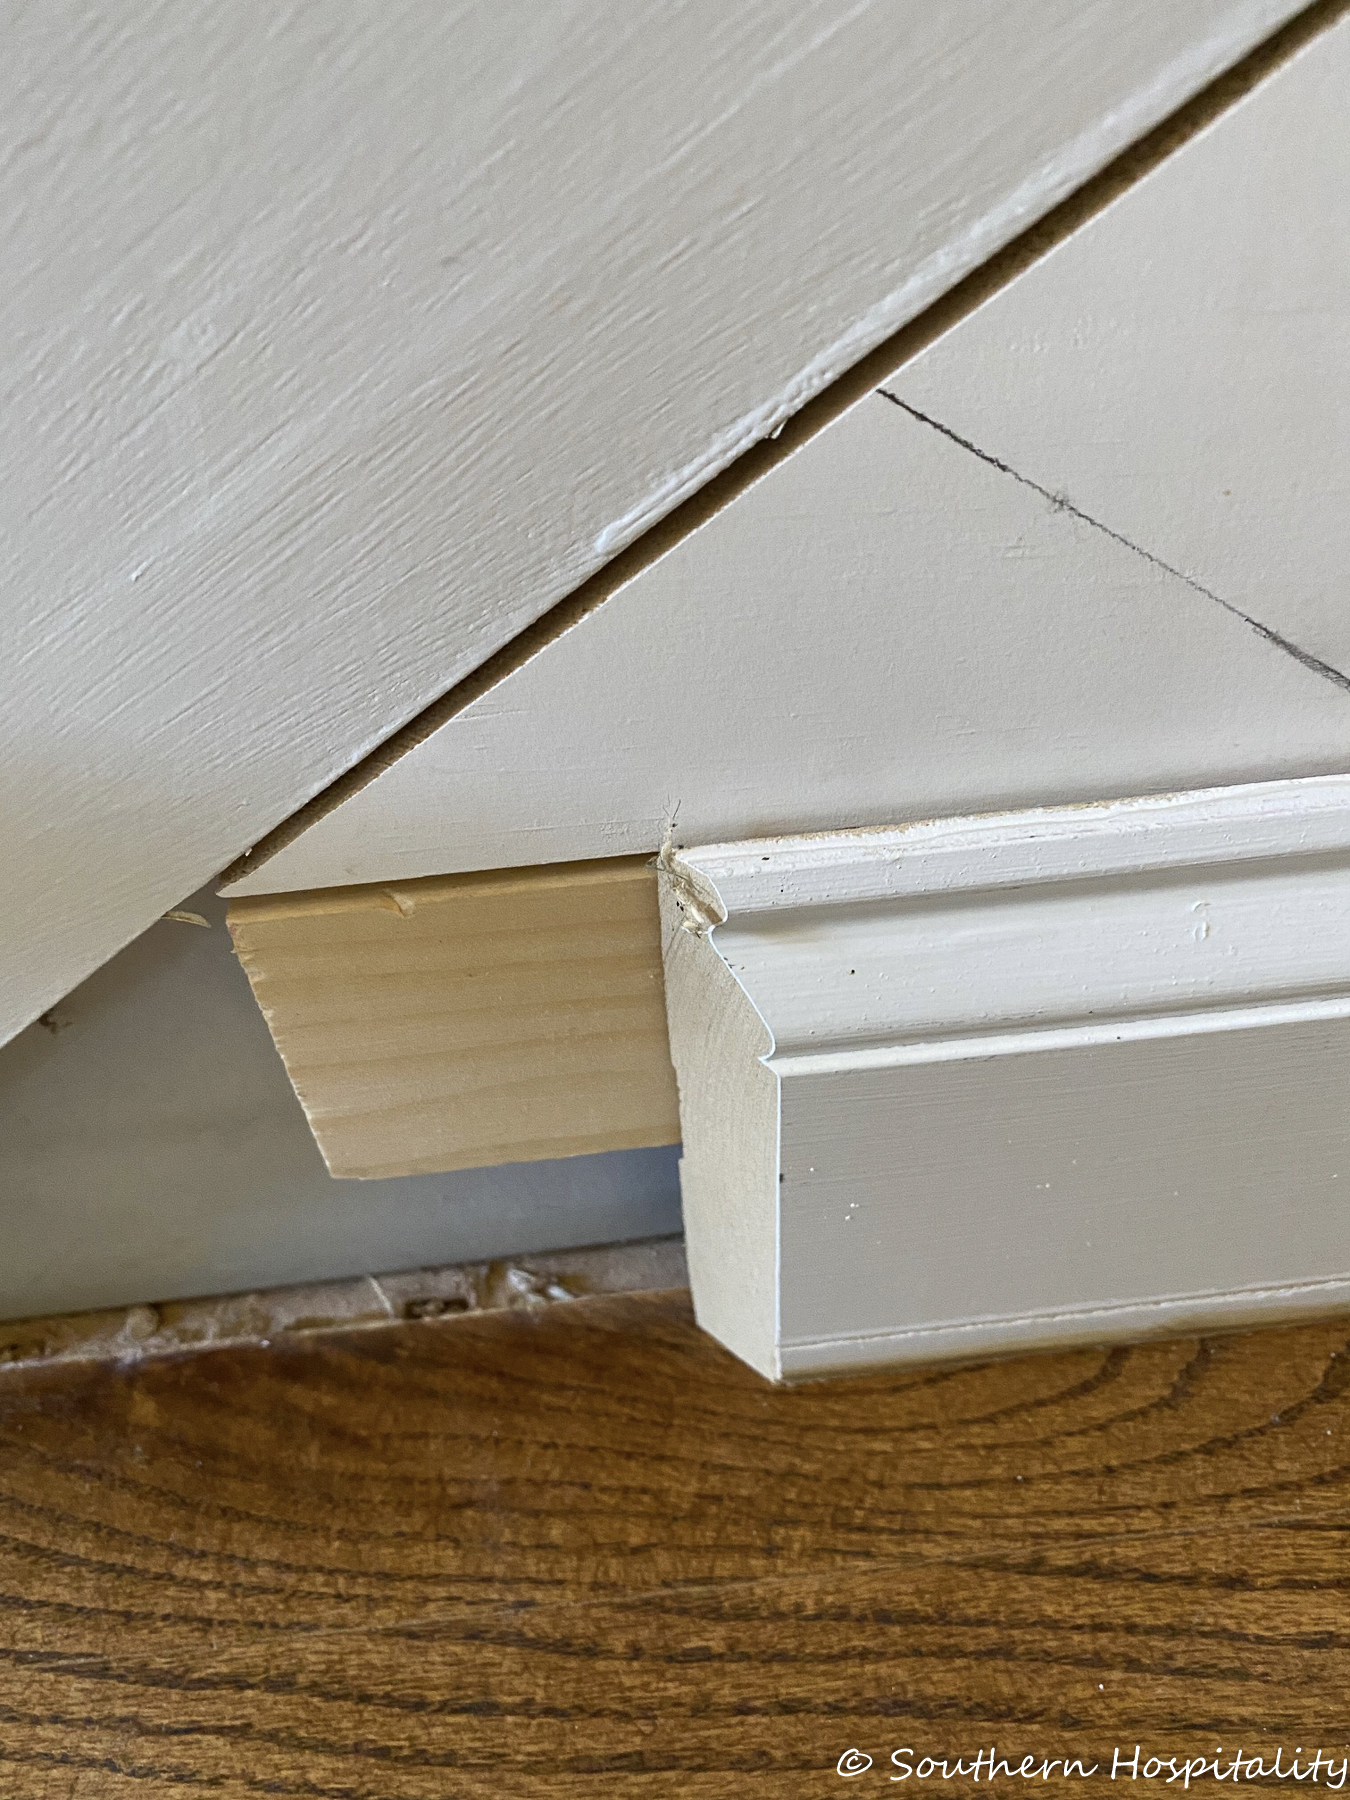
I had people asking to show this part, so here you go. It makes more sense to show it.
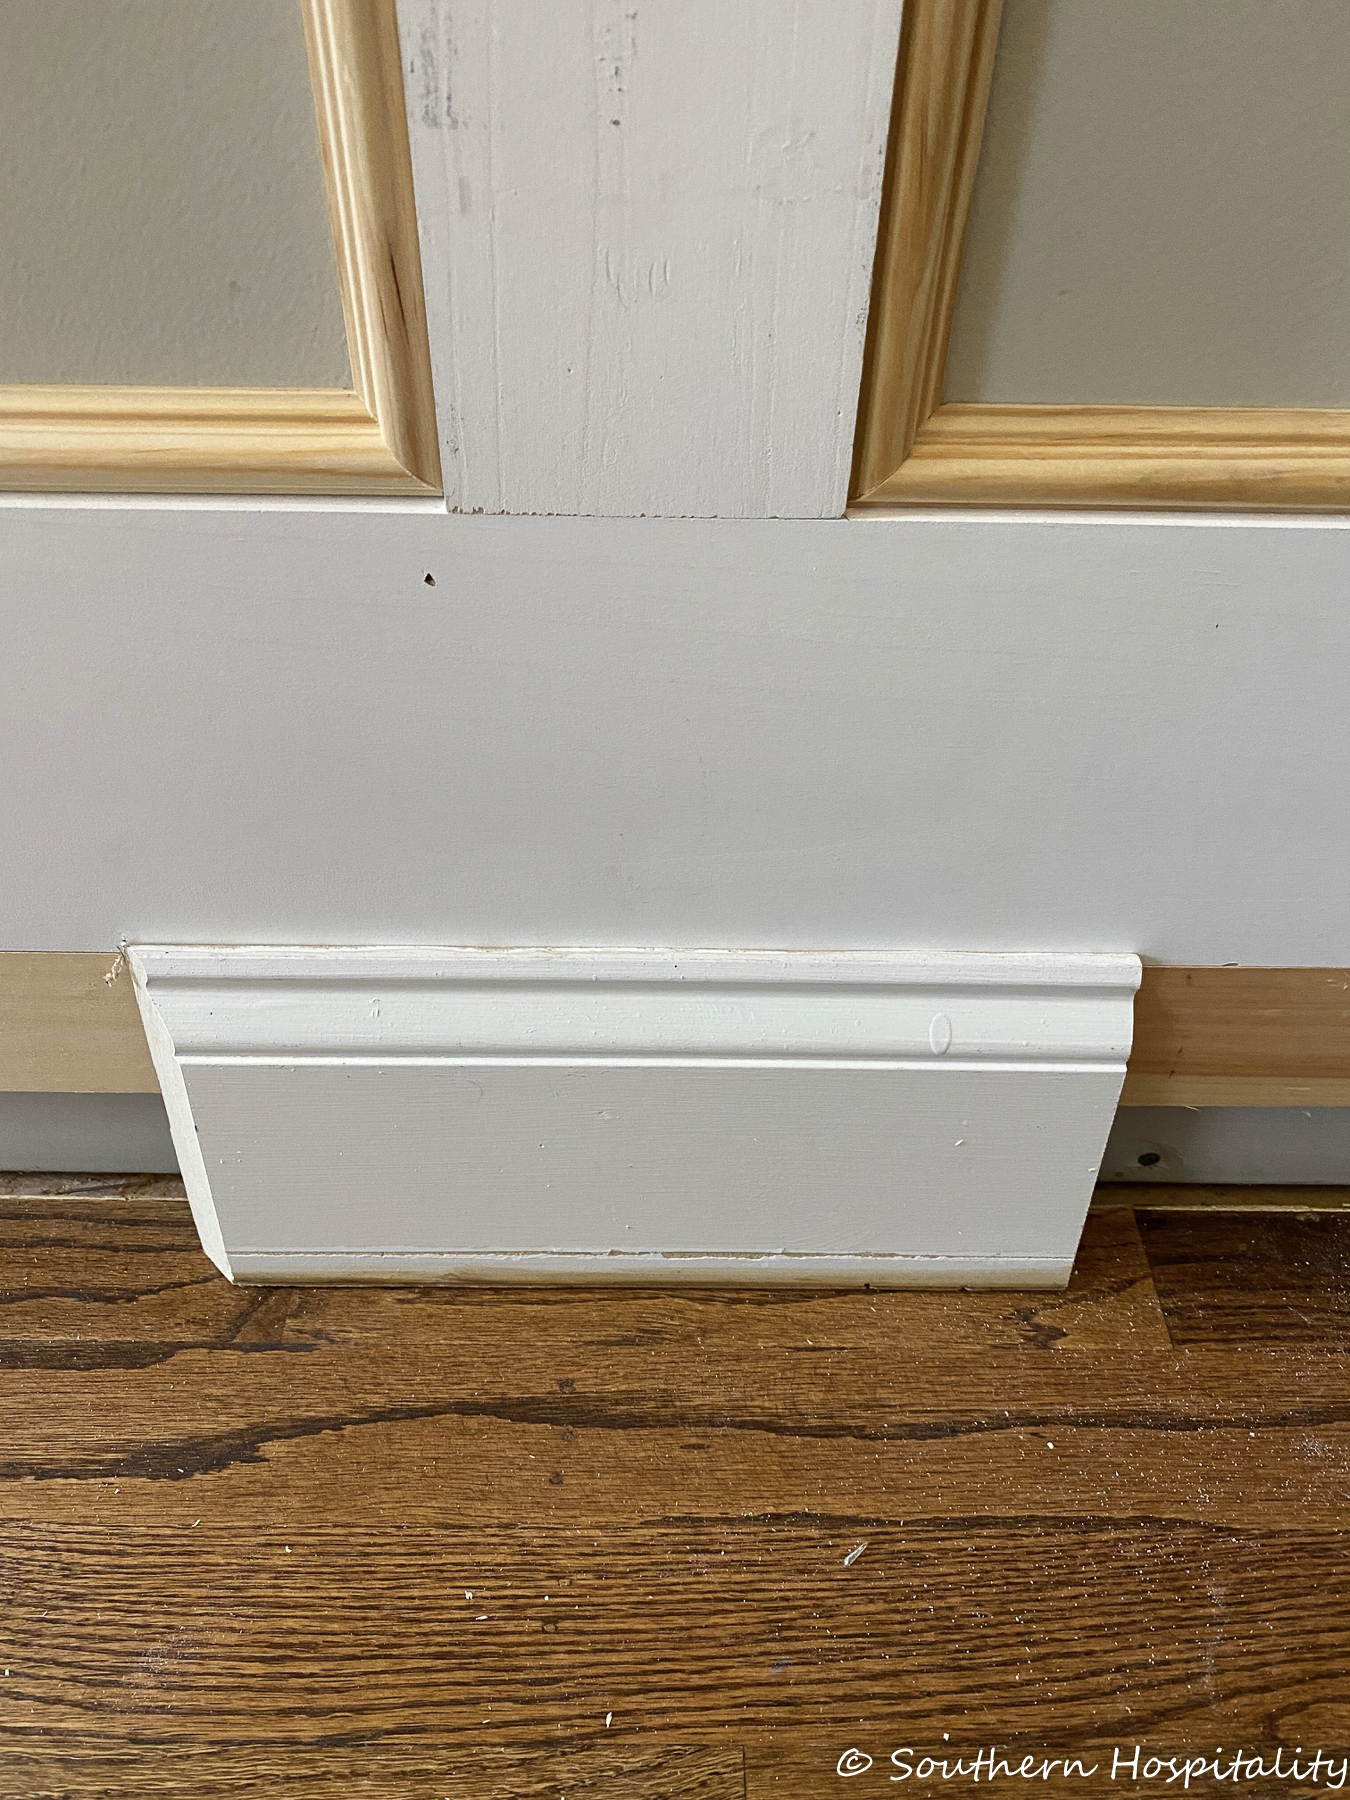
Chunky 1×6″ board and the baseboard covers up the extra piece behind it.
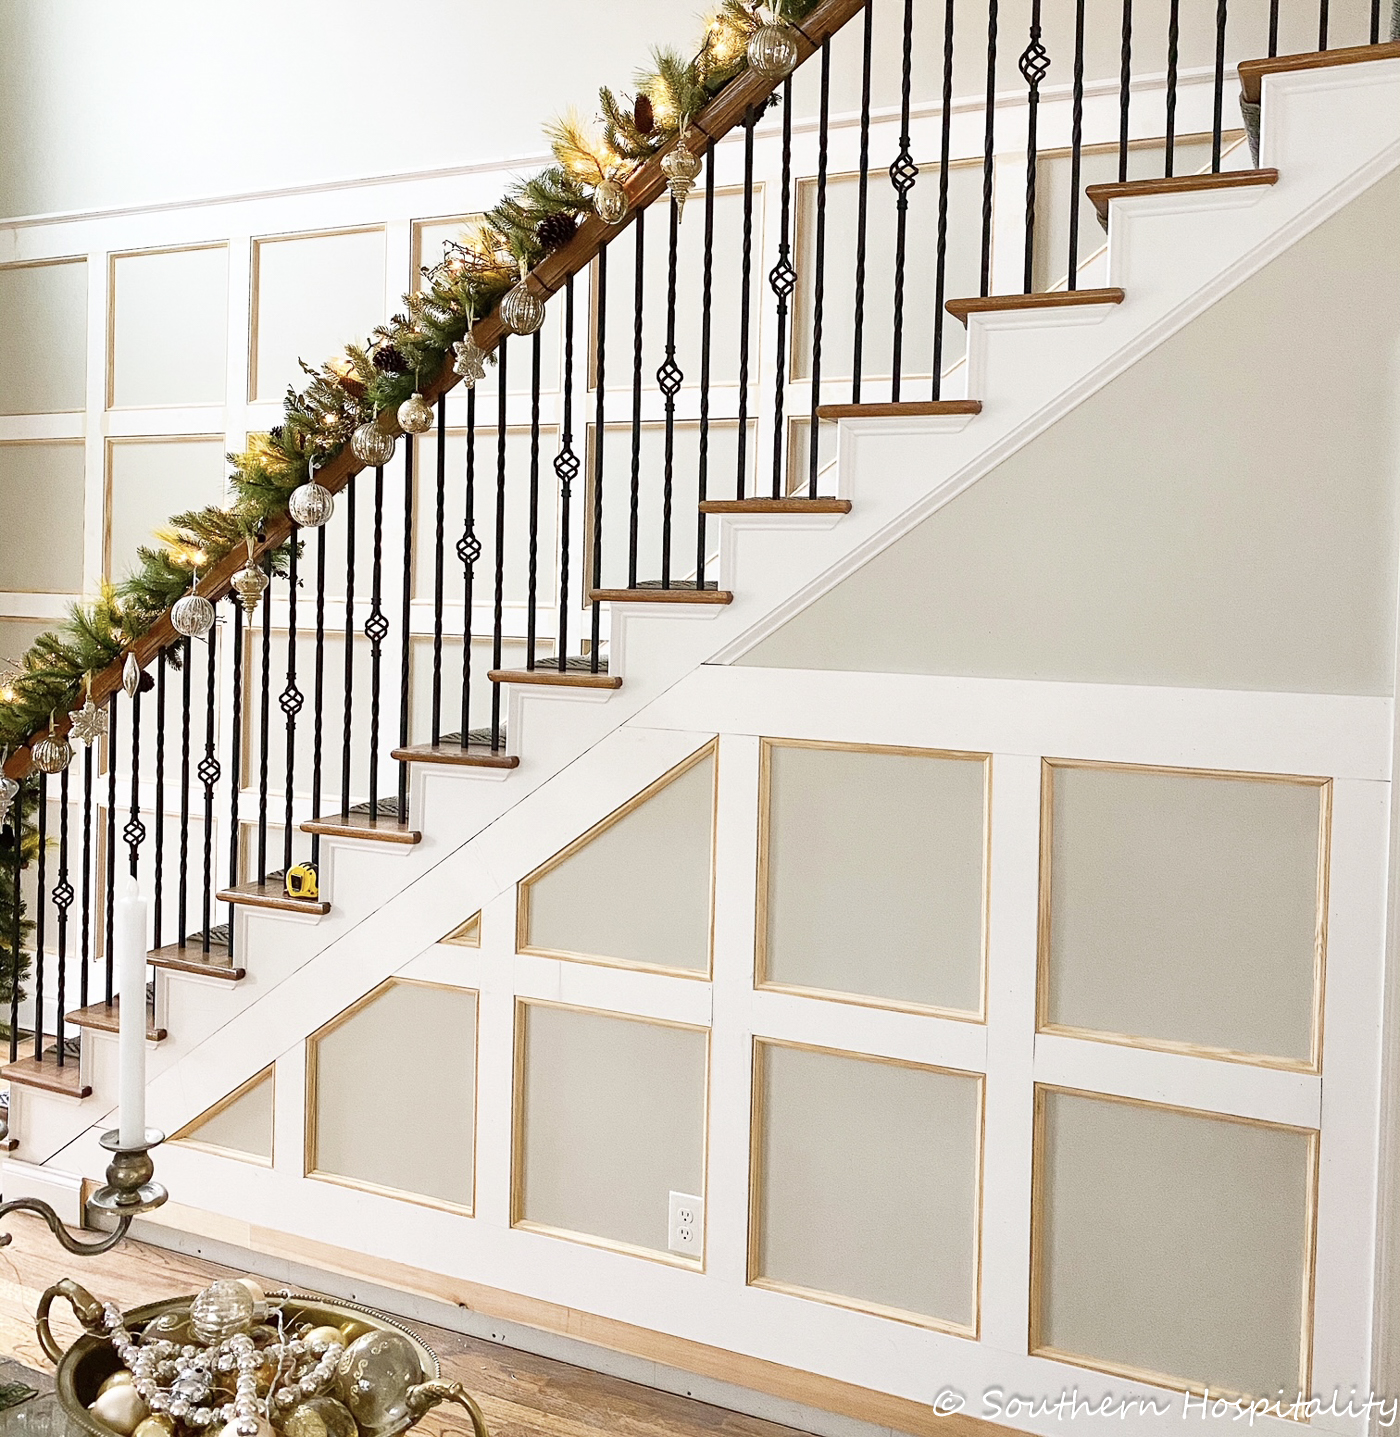
Here’s the wall all finished with the molding inside the boxes. You can see he ran the 1×6″ board at an angle here too.
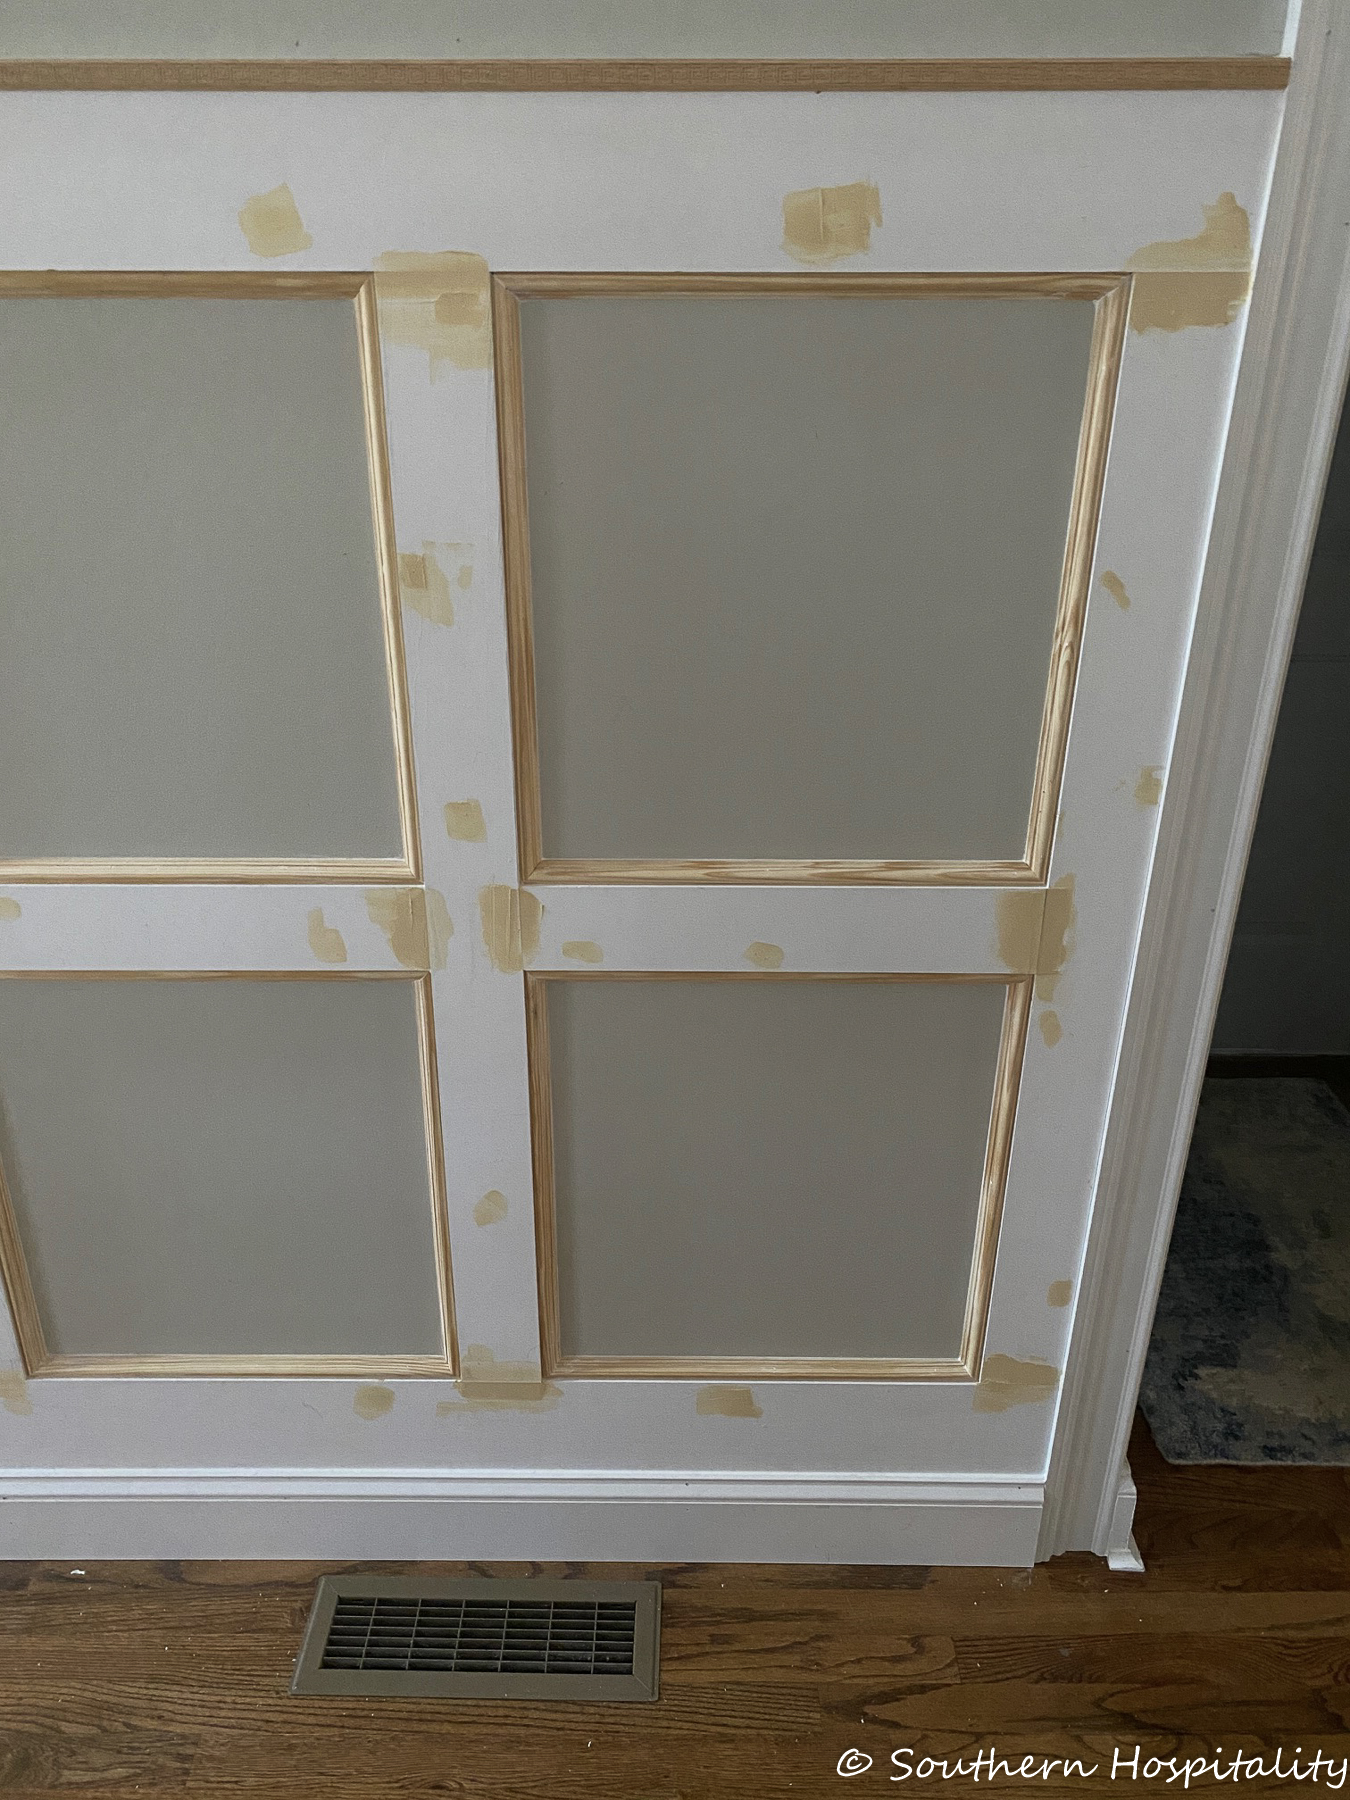
Puttying and sanding is next.
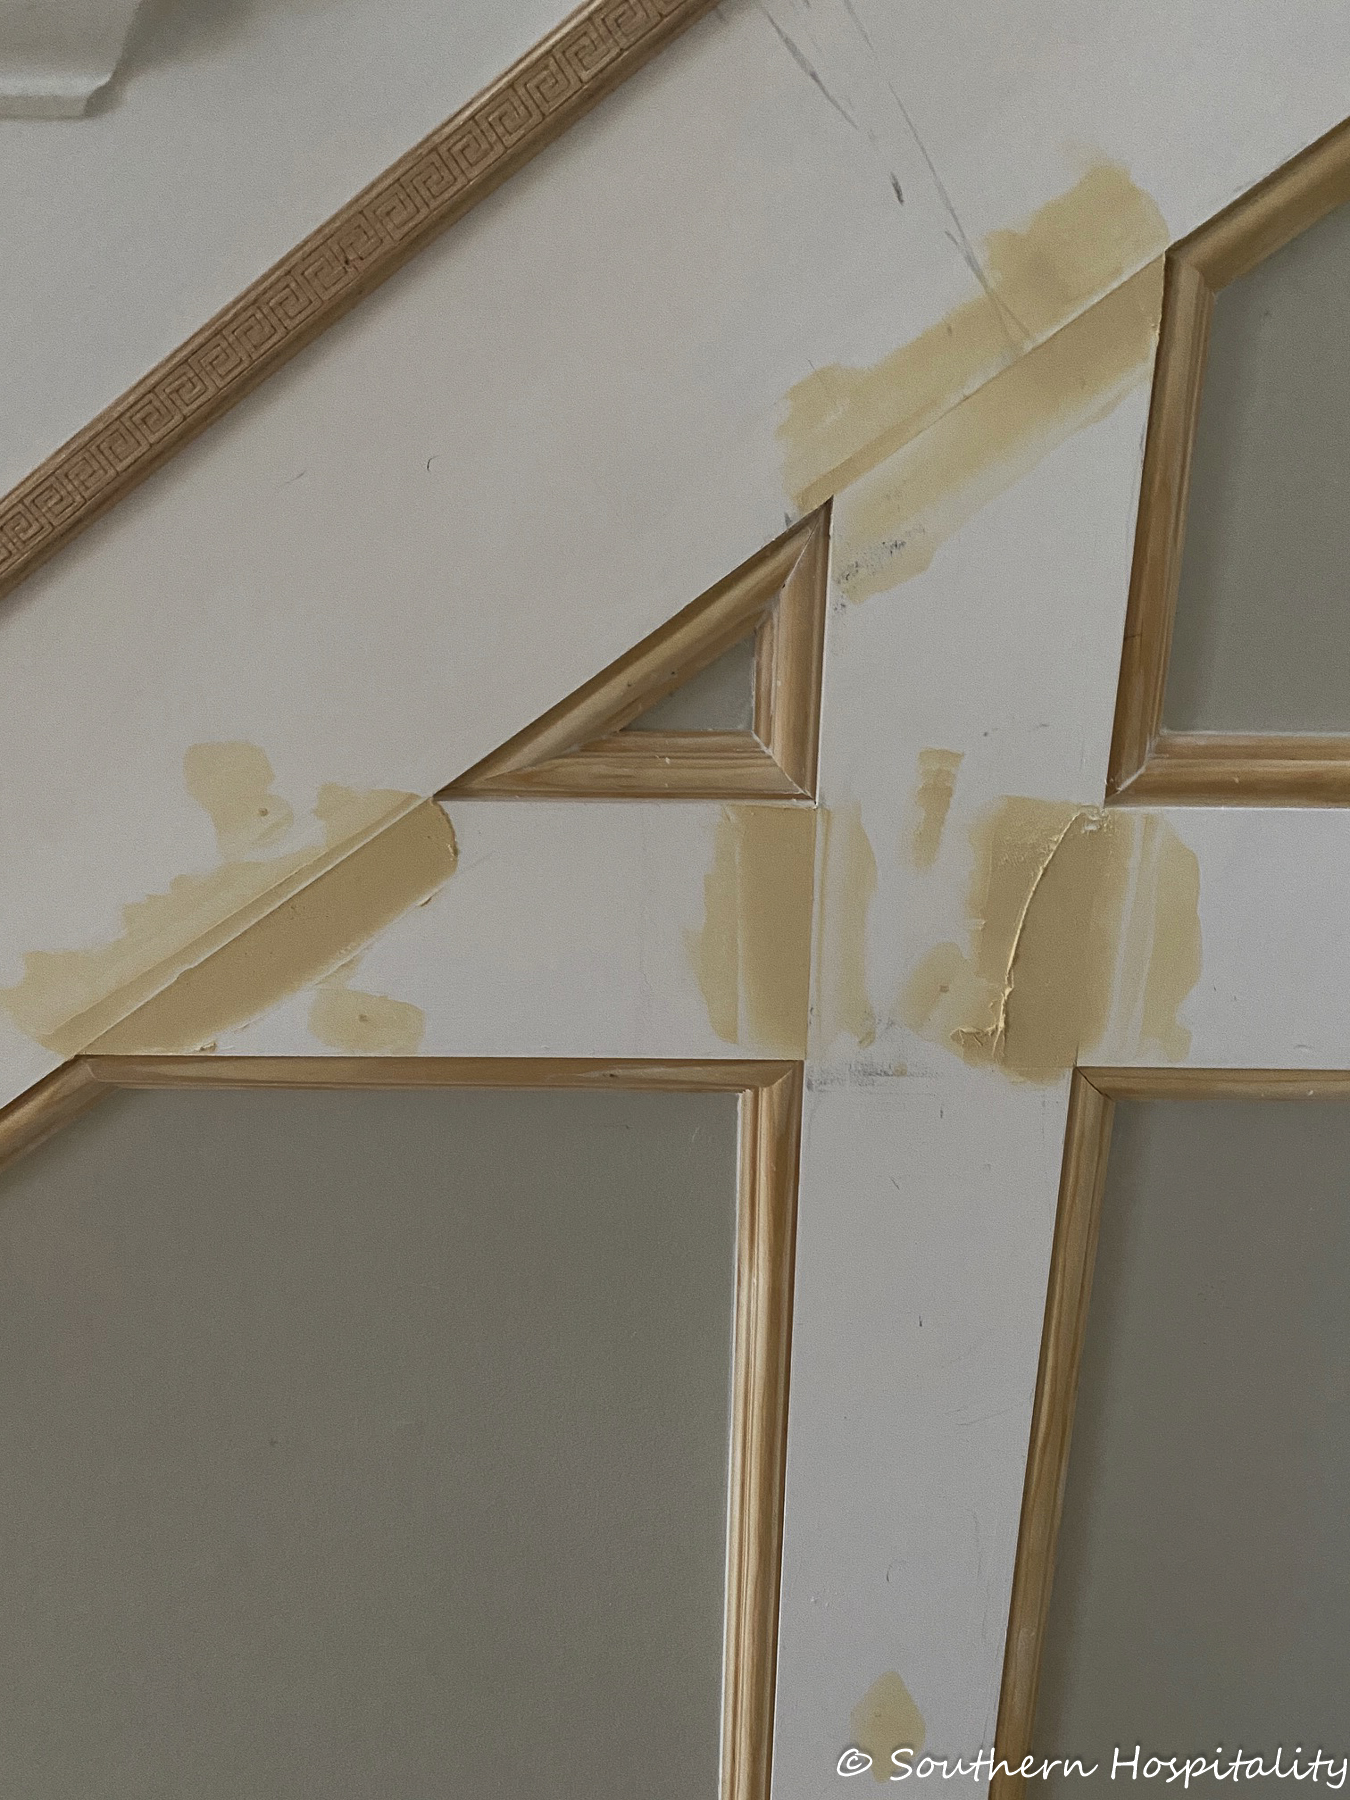
He used an electric palm sander to sand it all out smooth.
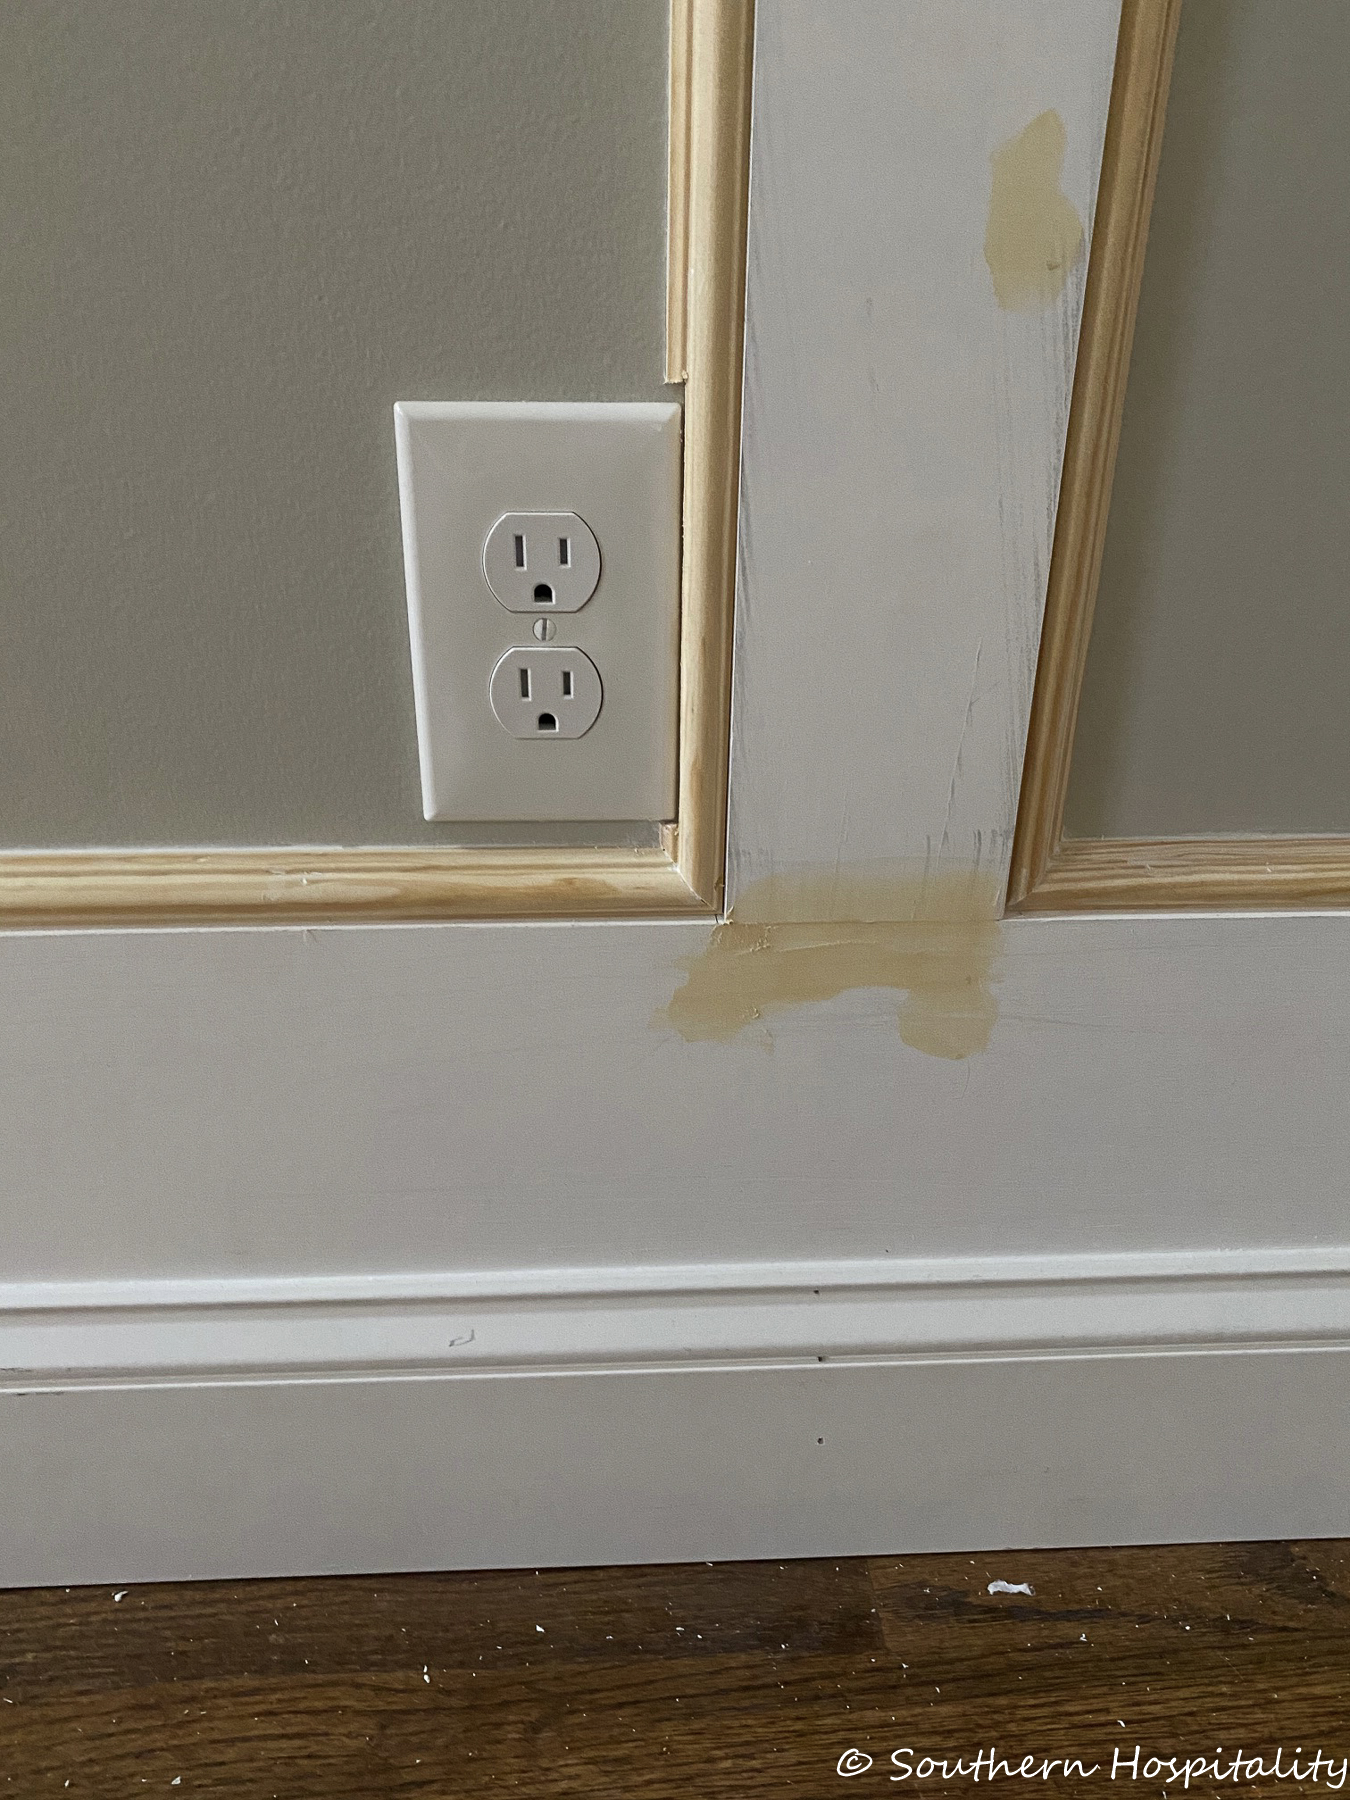
He notched just a bit around the outlet.
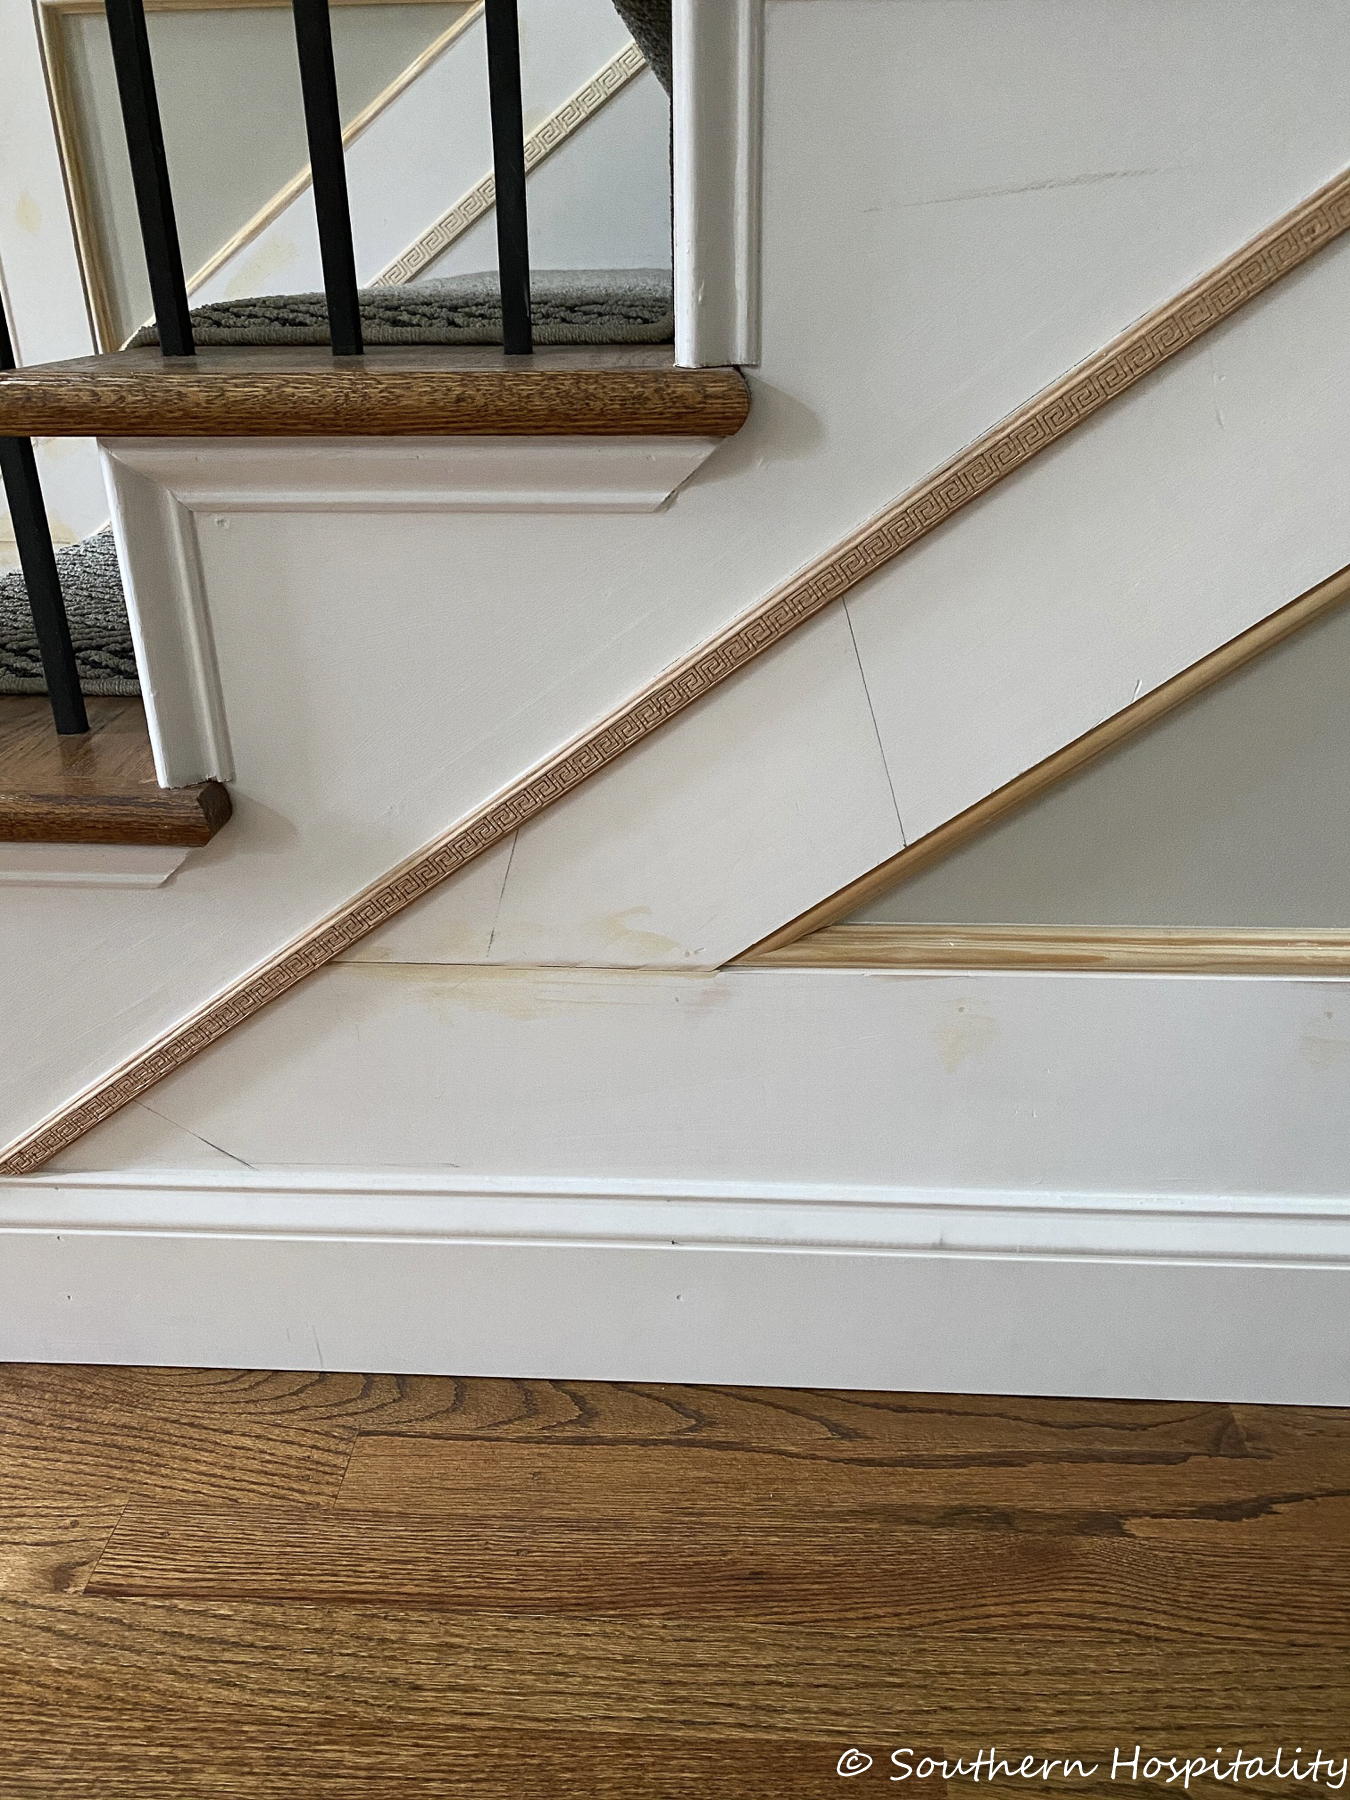
After baseboards are back on and you can see how these pieces of wood came together. Everything below the Greek Key trim piece is new wood. Again we added this Greek Key trim piece on top of the seam and I like how it looks.
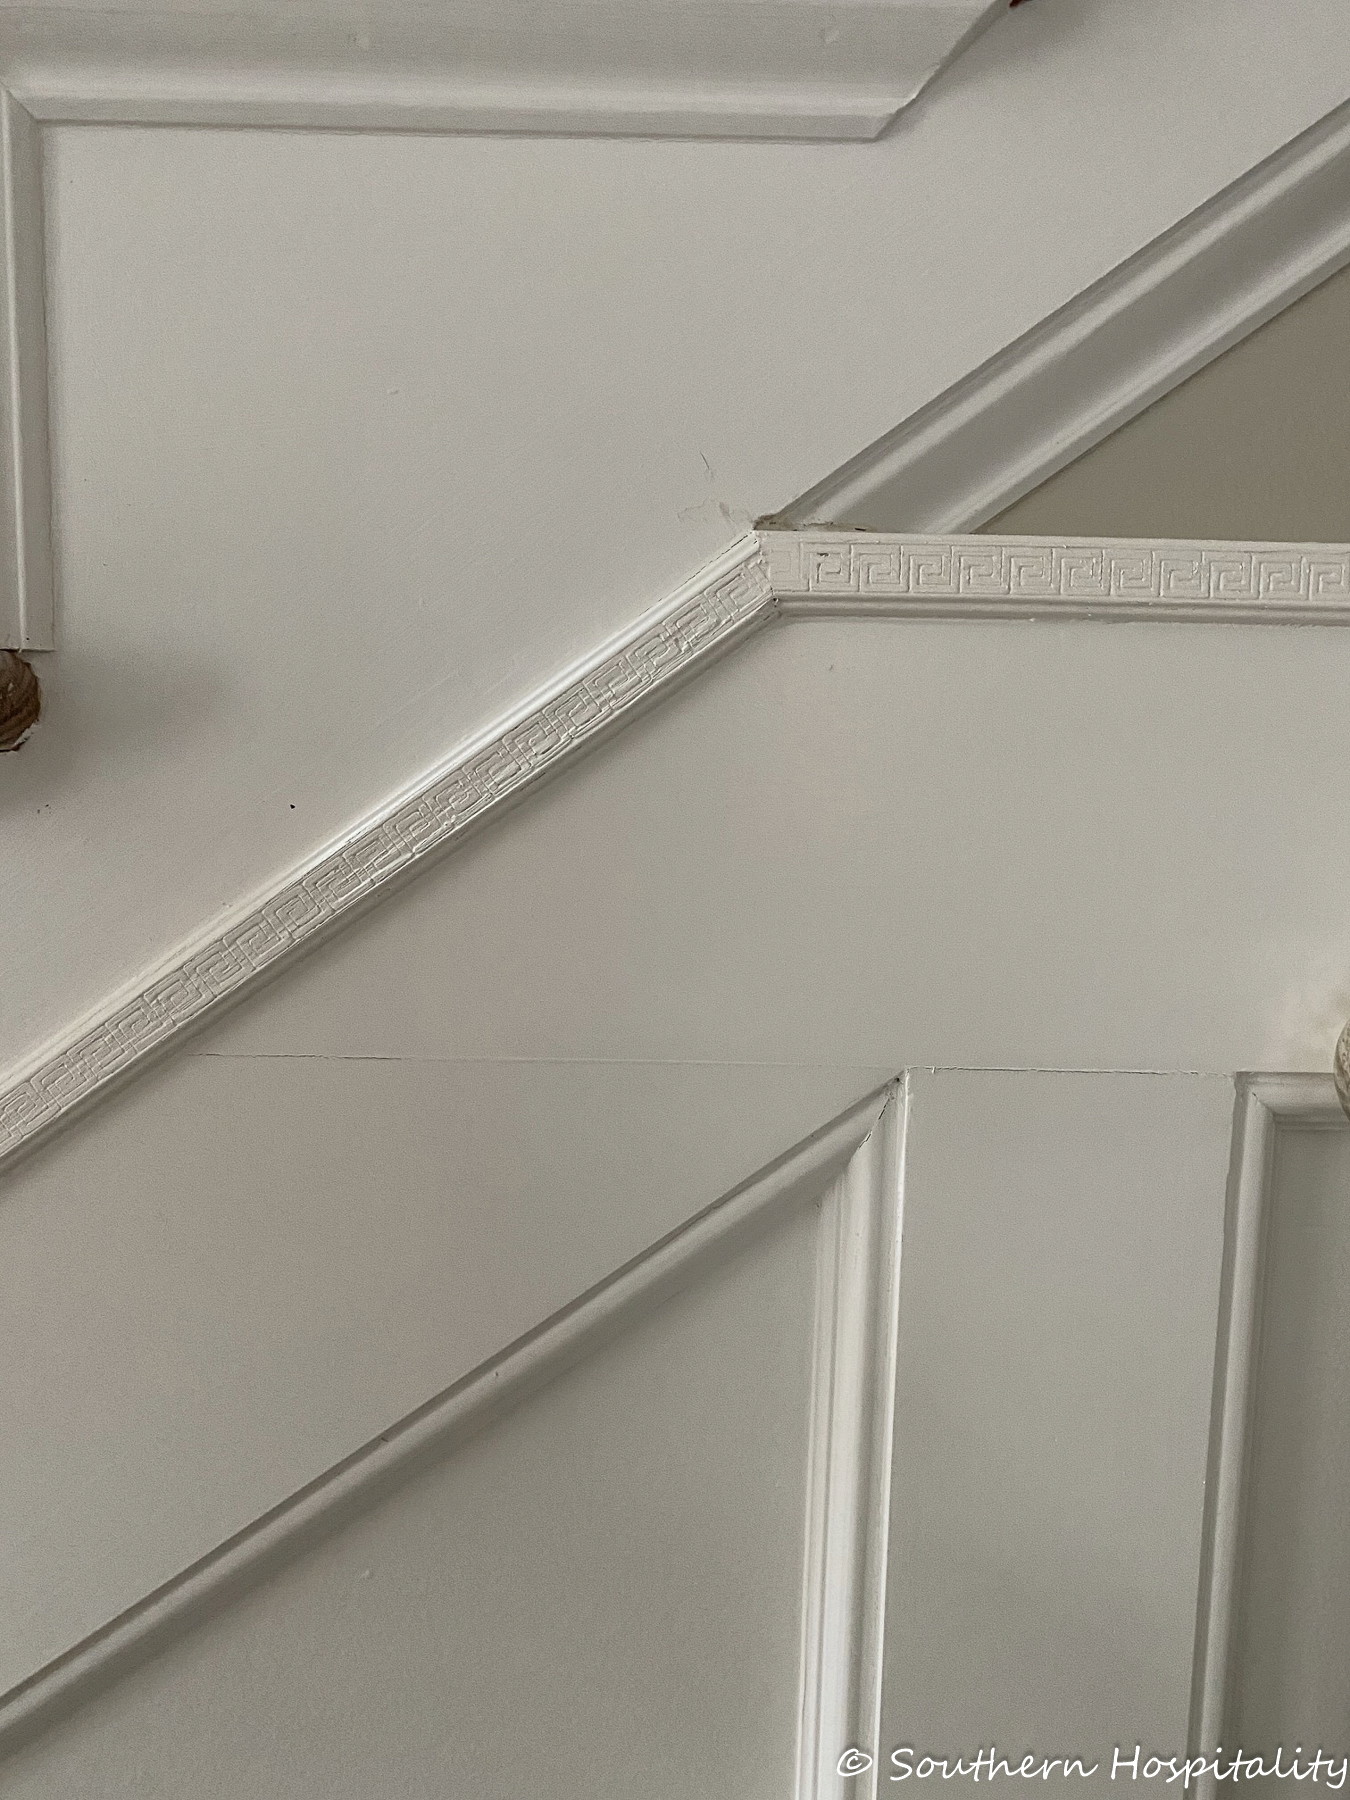
Here’s a look at that area. He cut the old molding trim piece off and removed it to add in the new wood pieces. Then he just brought the Greek Key trim piece up and angled it right over the new wood for a clean finish. The paint almost covered up the Greek Key design on this one.
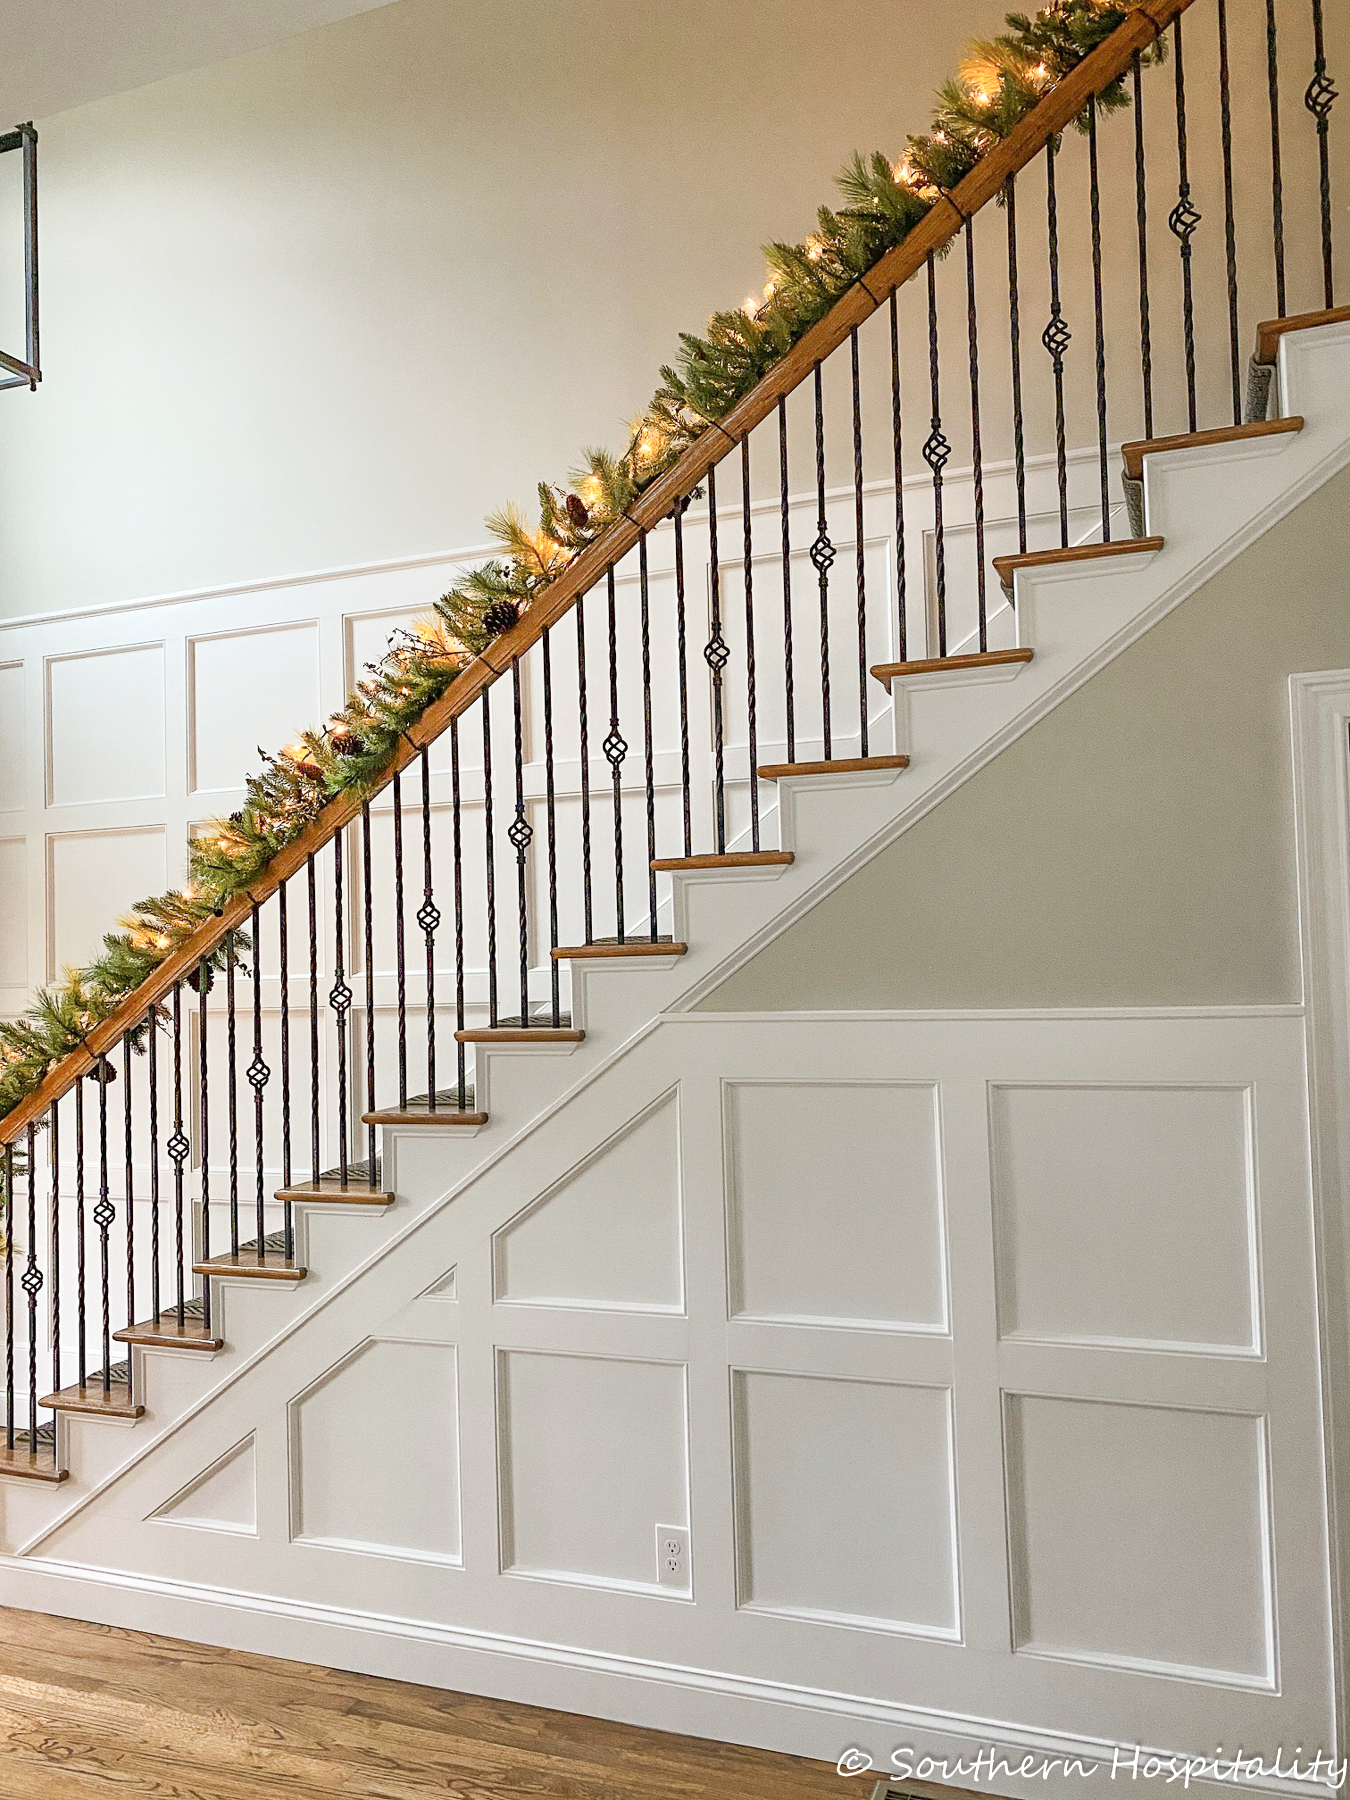
You can see that in this big picture. Just a little trim piece to finish it all off.
Ready to Paint:
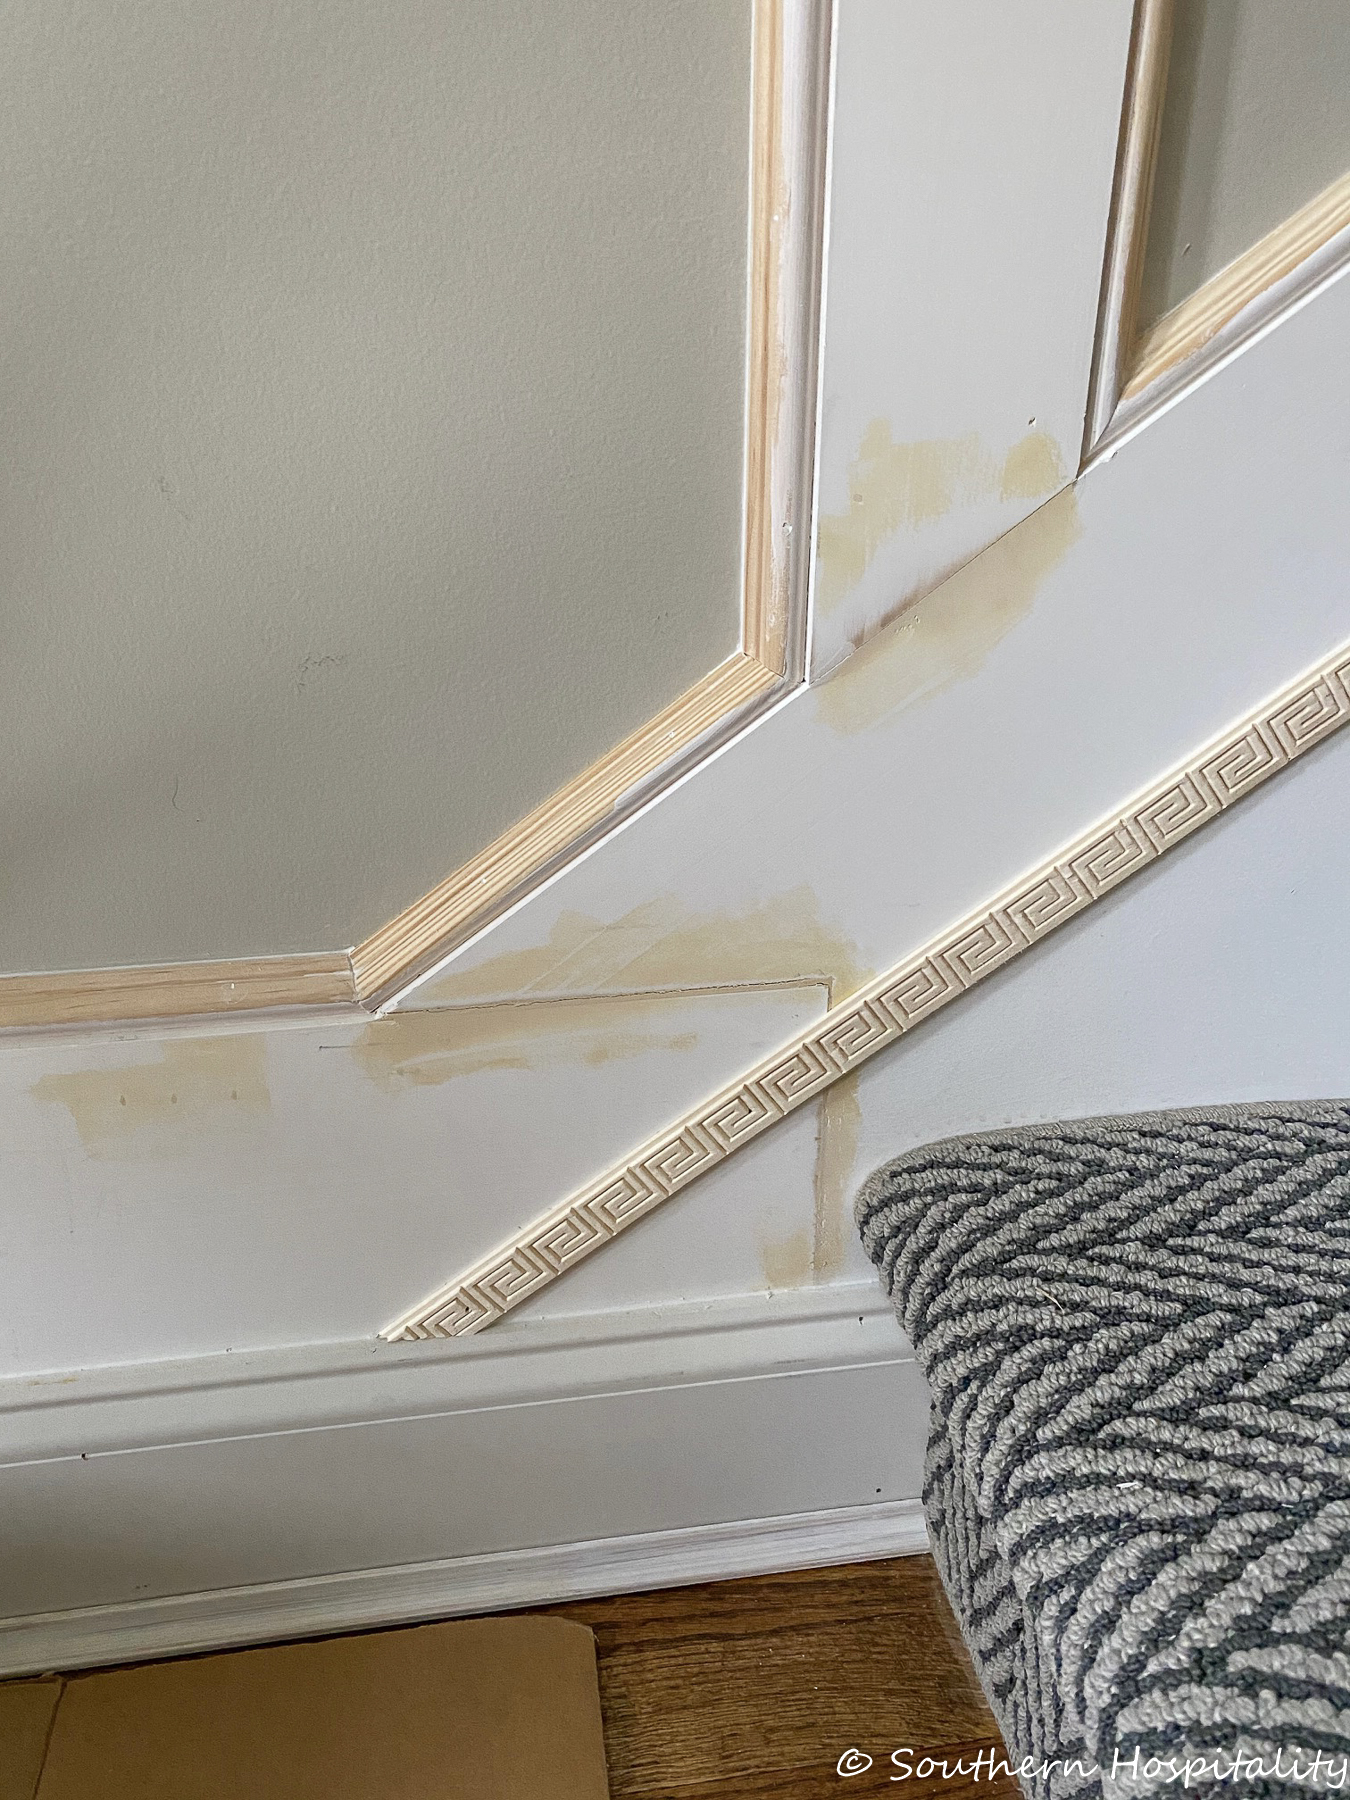
This larger Greek Key trim was added on the long wall going up the stairs. These are the same design but this one is slightly bigger than the other one.
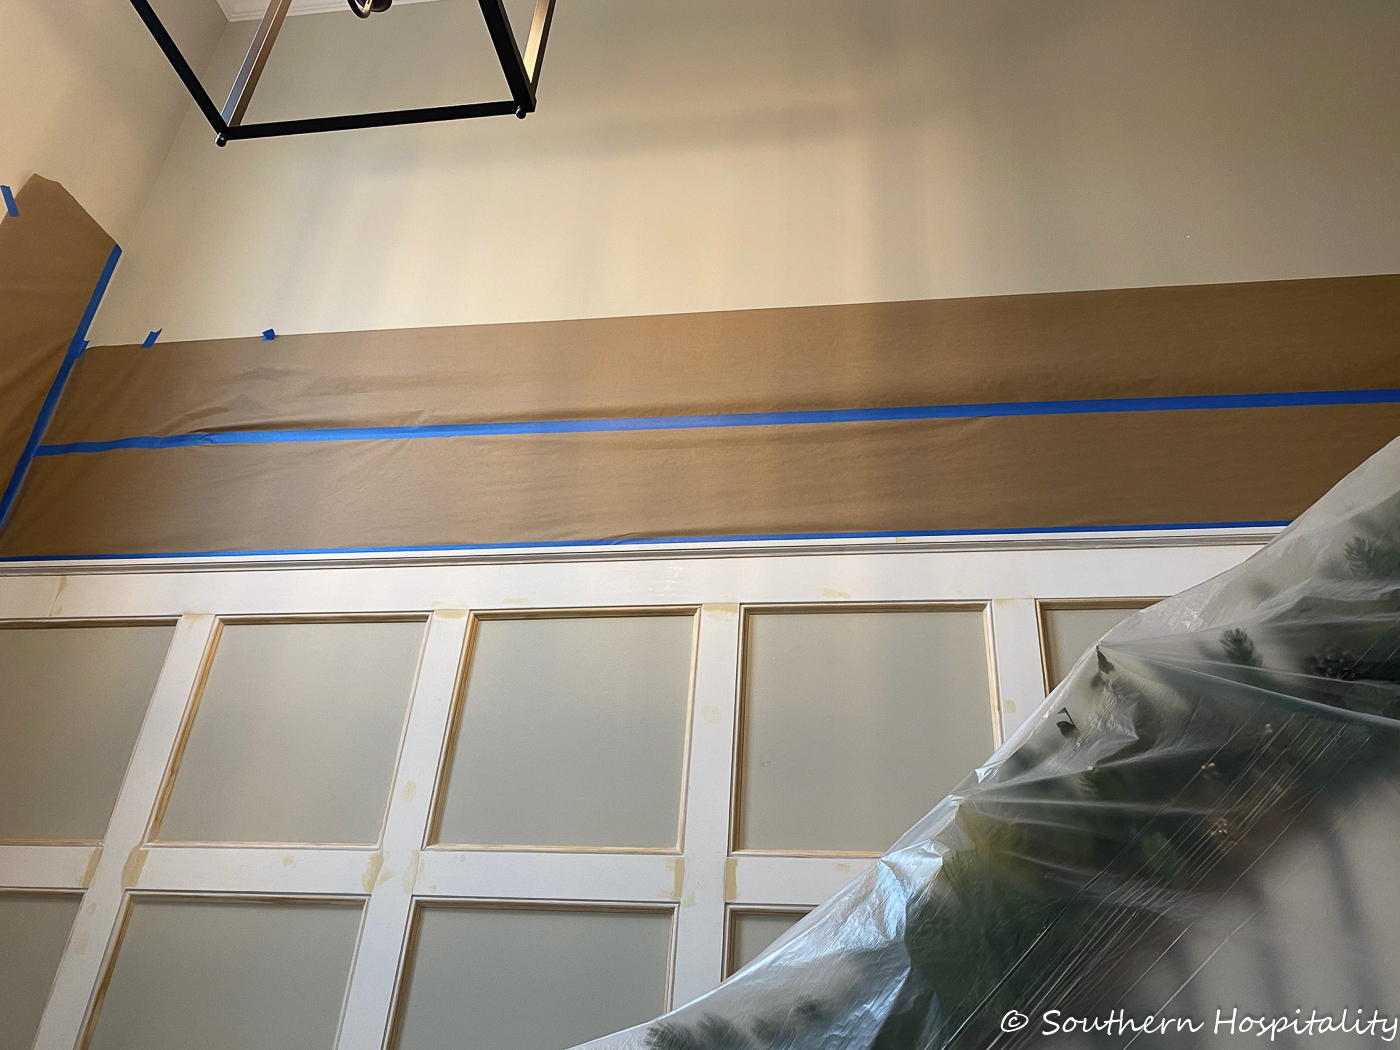
I hope most of that made sense, but feel free to ask questions if you have them. Now onto painting it all! We did hire our painter to come back and paint it all. Mark wanted as smooth a finish as we could get with drywall and new molding.
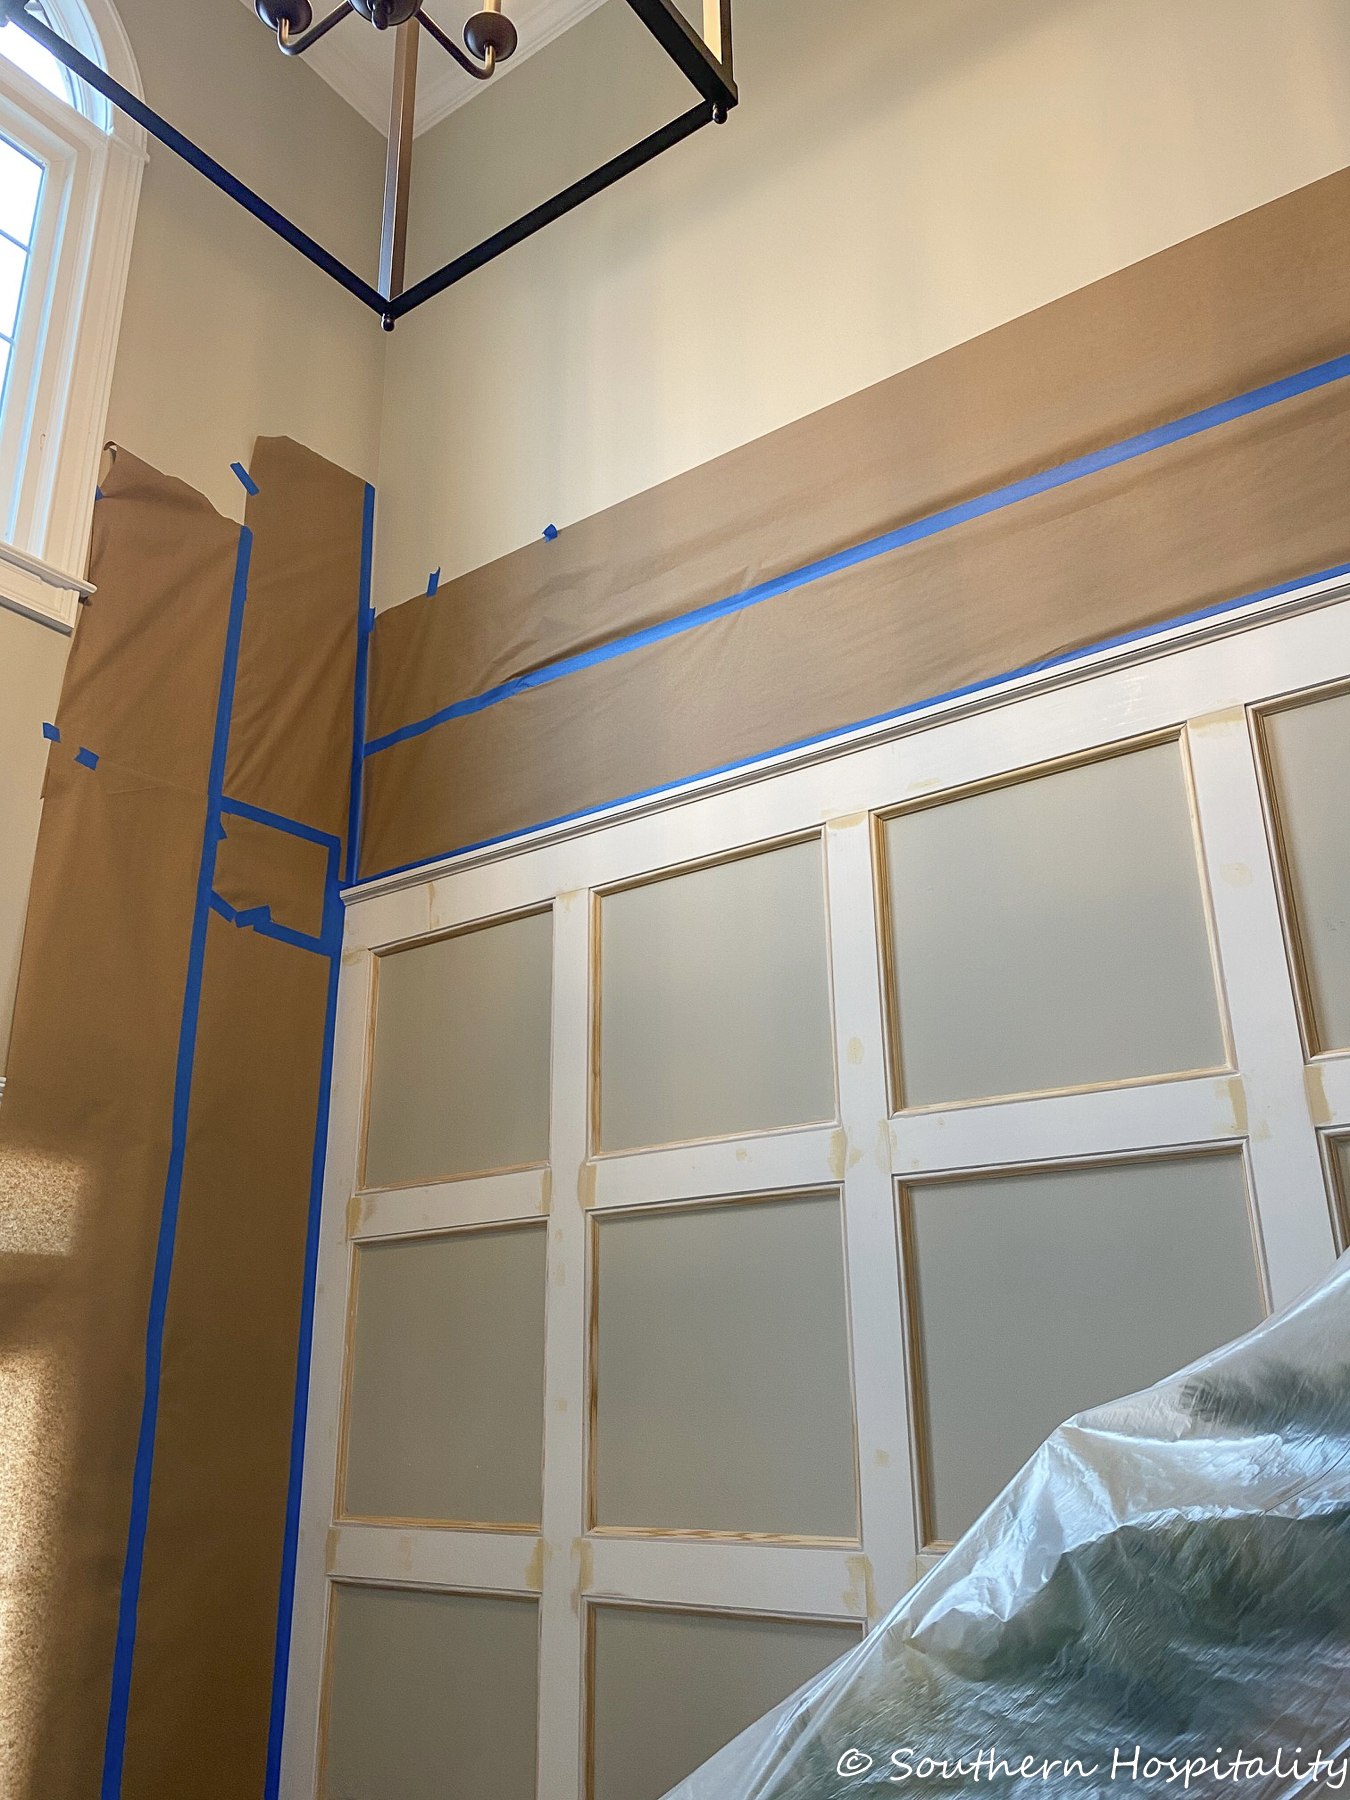
Our painter did a great job as always. He taped it all off really well and also hung up plastic over the living room and dining room openings as well as the opening of the family room. Everything was well protected and his spray gun isn’t bad with overspray he said. We had no issues at all with spraying.
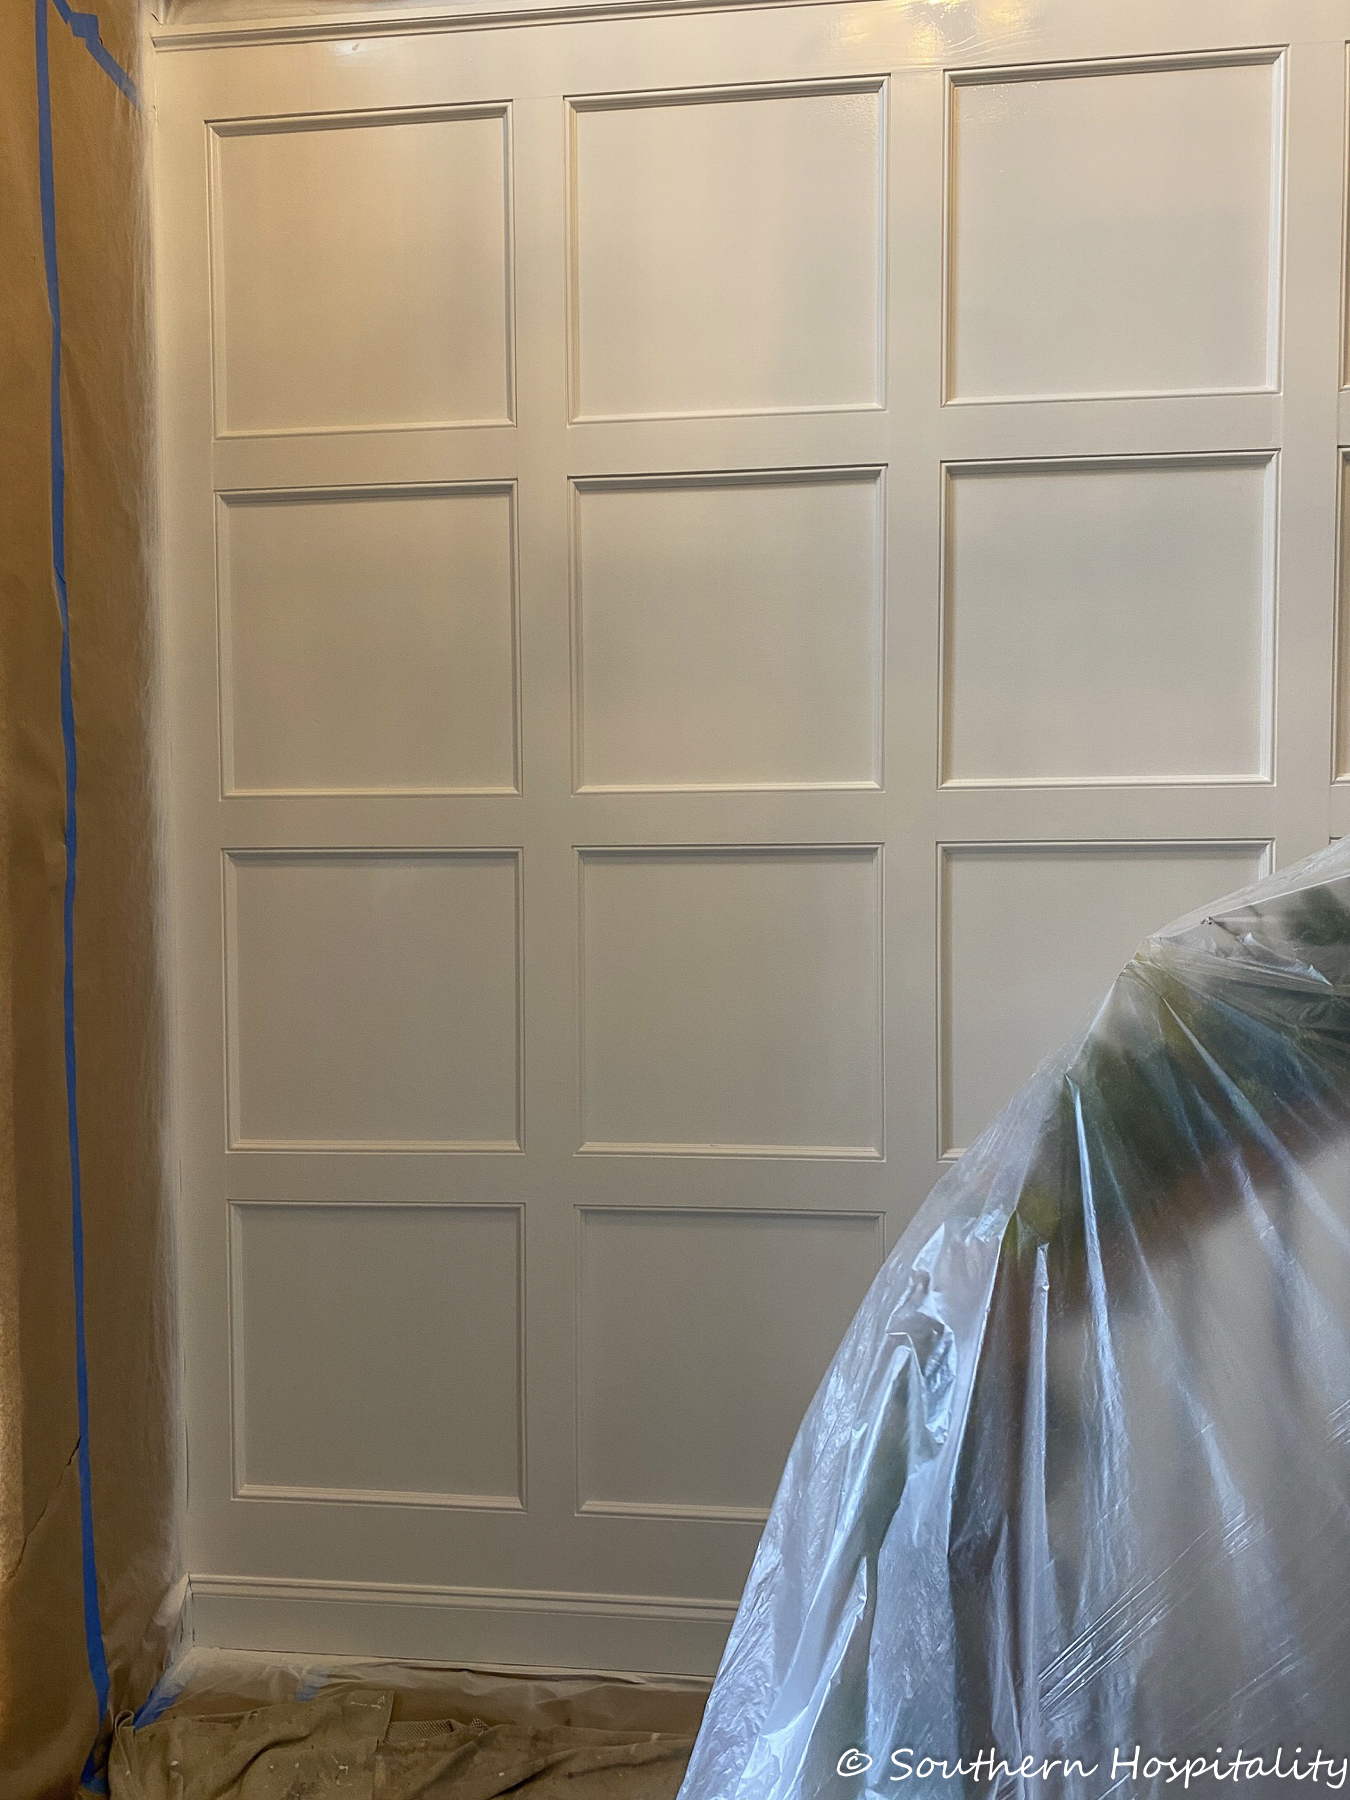
We used Sherwin Williams Pro Classic trim paint and it’s color matched to all our existing trim paint so I don’t have a color, but it’s a bright white. He used a Sherwin Williams primer first and then the semi-gloss trim paint went up.
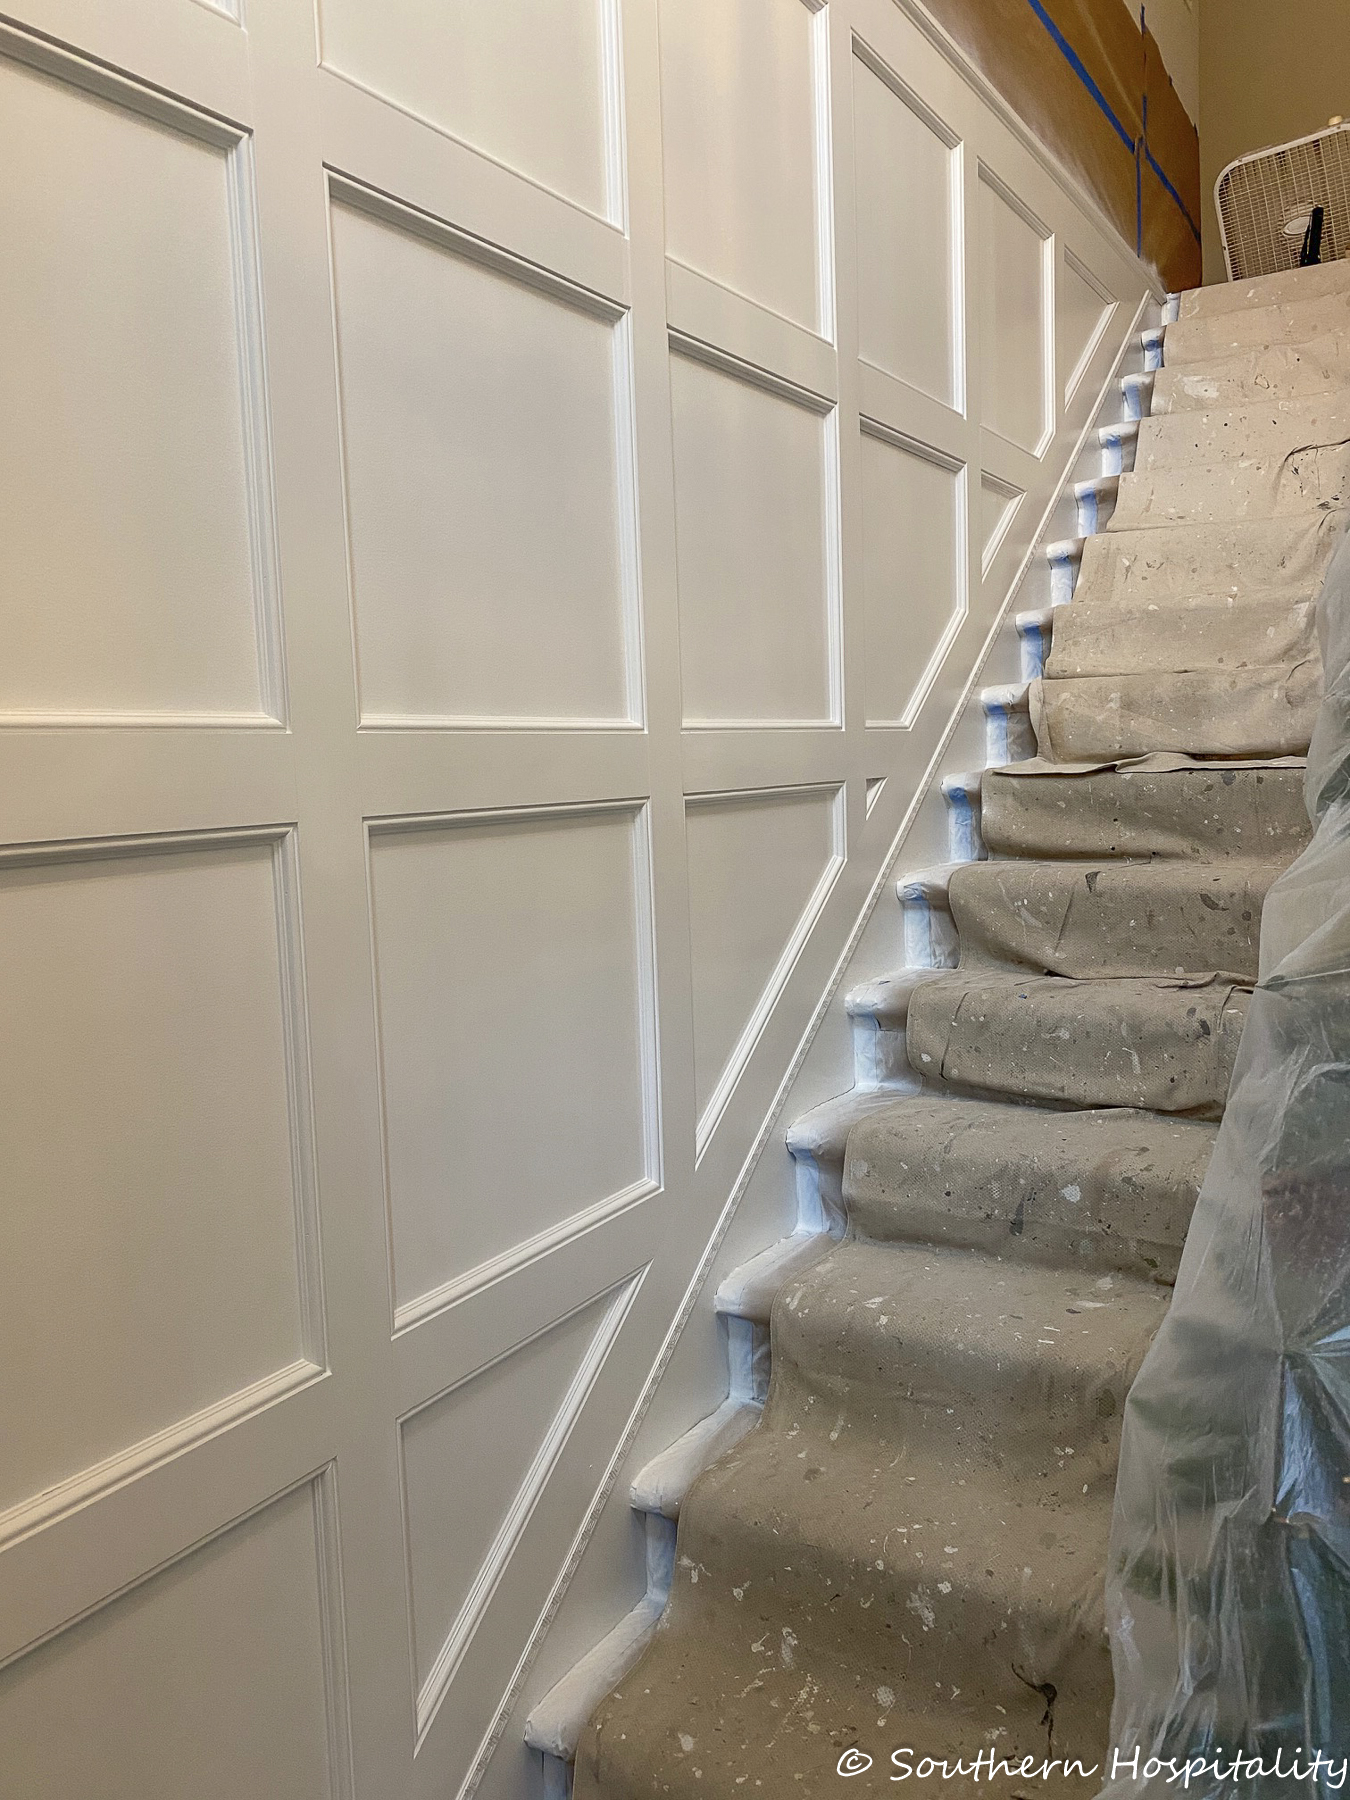
Looking good!
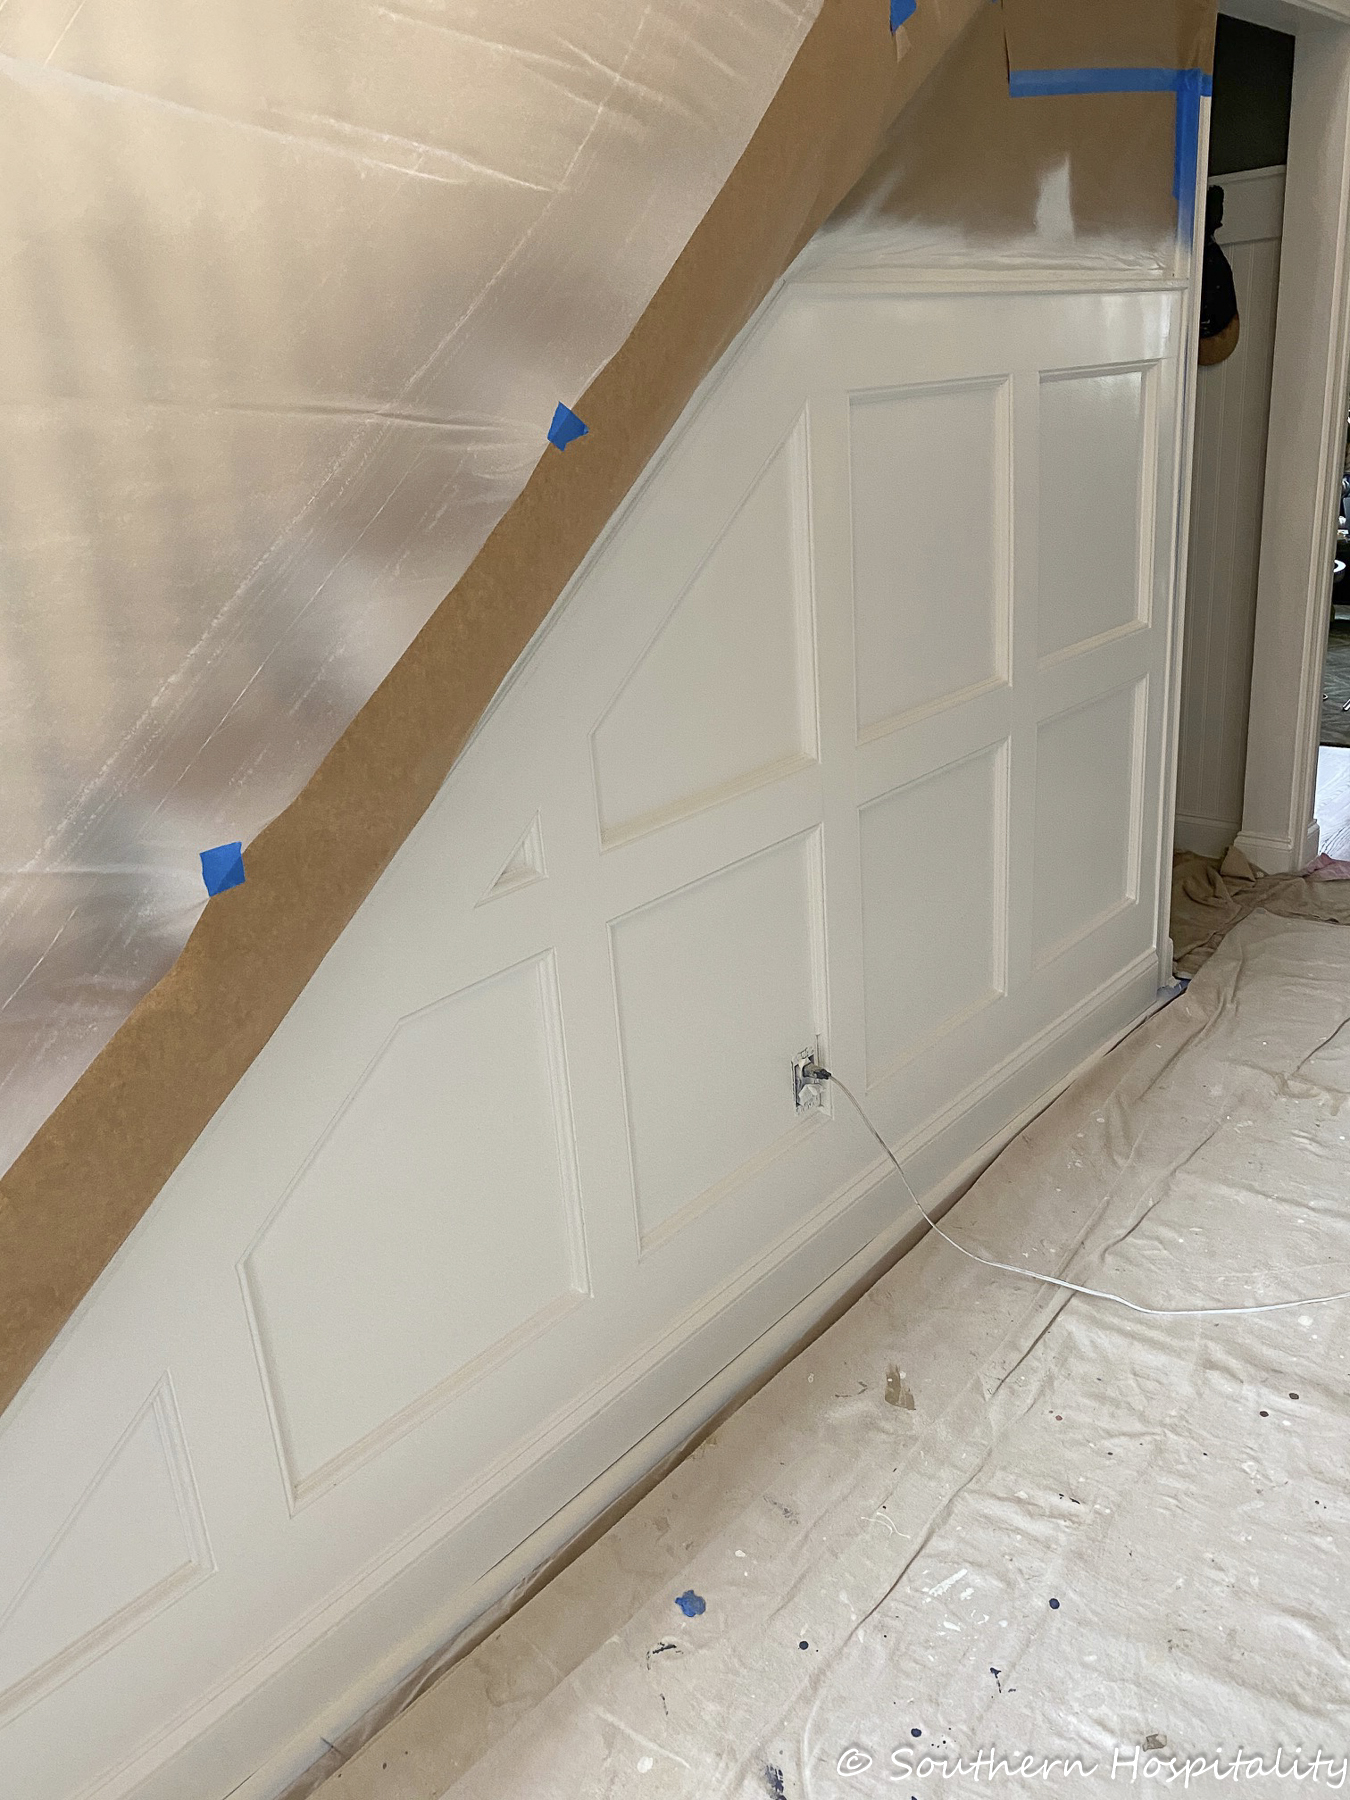
It all dried really fast and they were done in just a few hours. We were so happy to get this all done just in time for Christmas! We had a few friends over and Mark’s family came over Christmas Eve, so it was nice to show it all off.
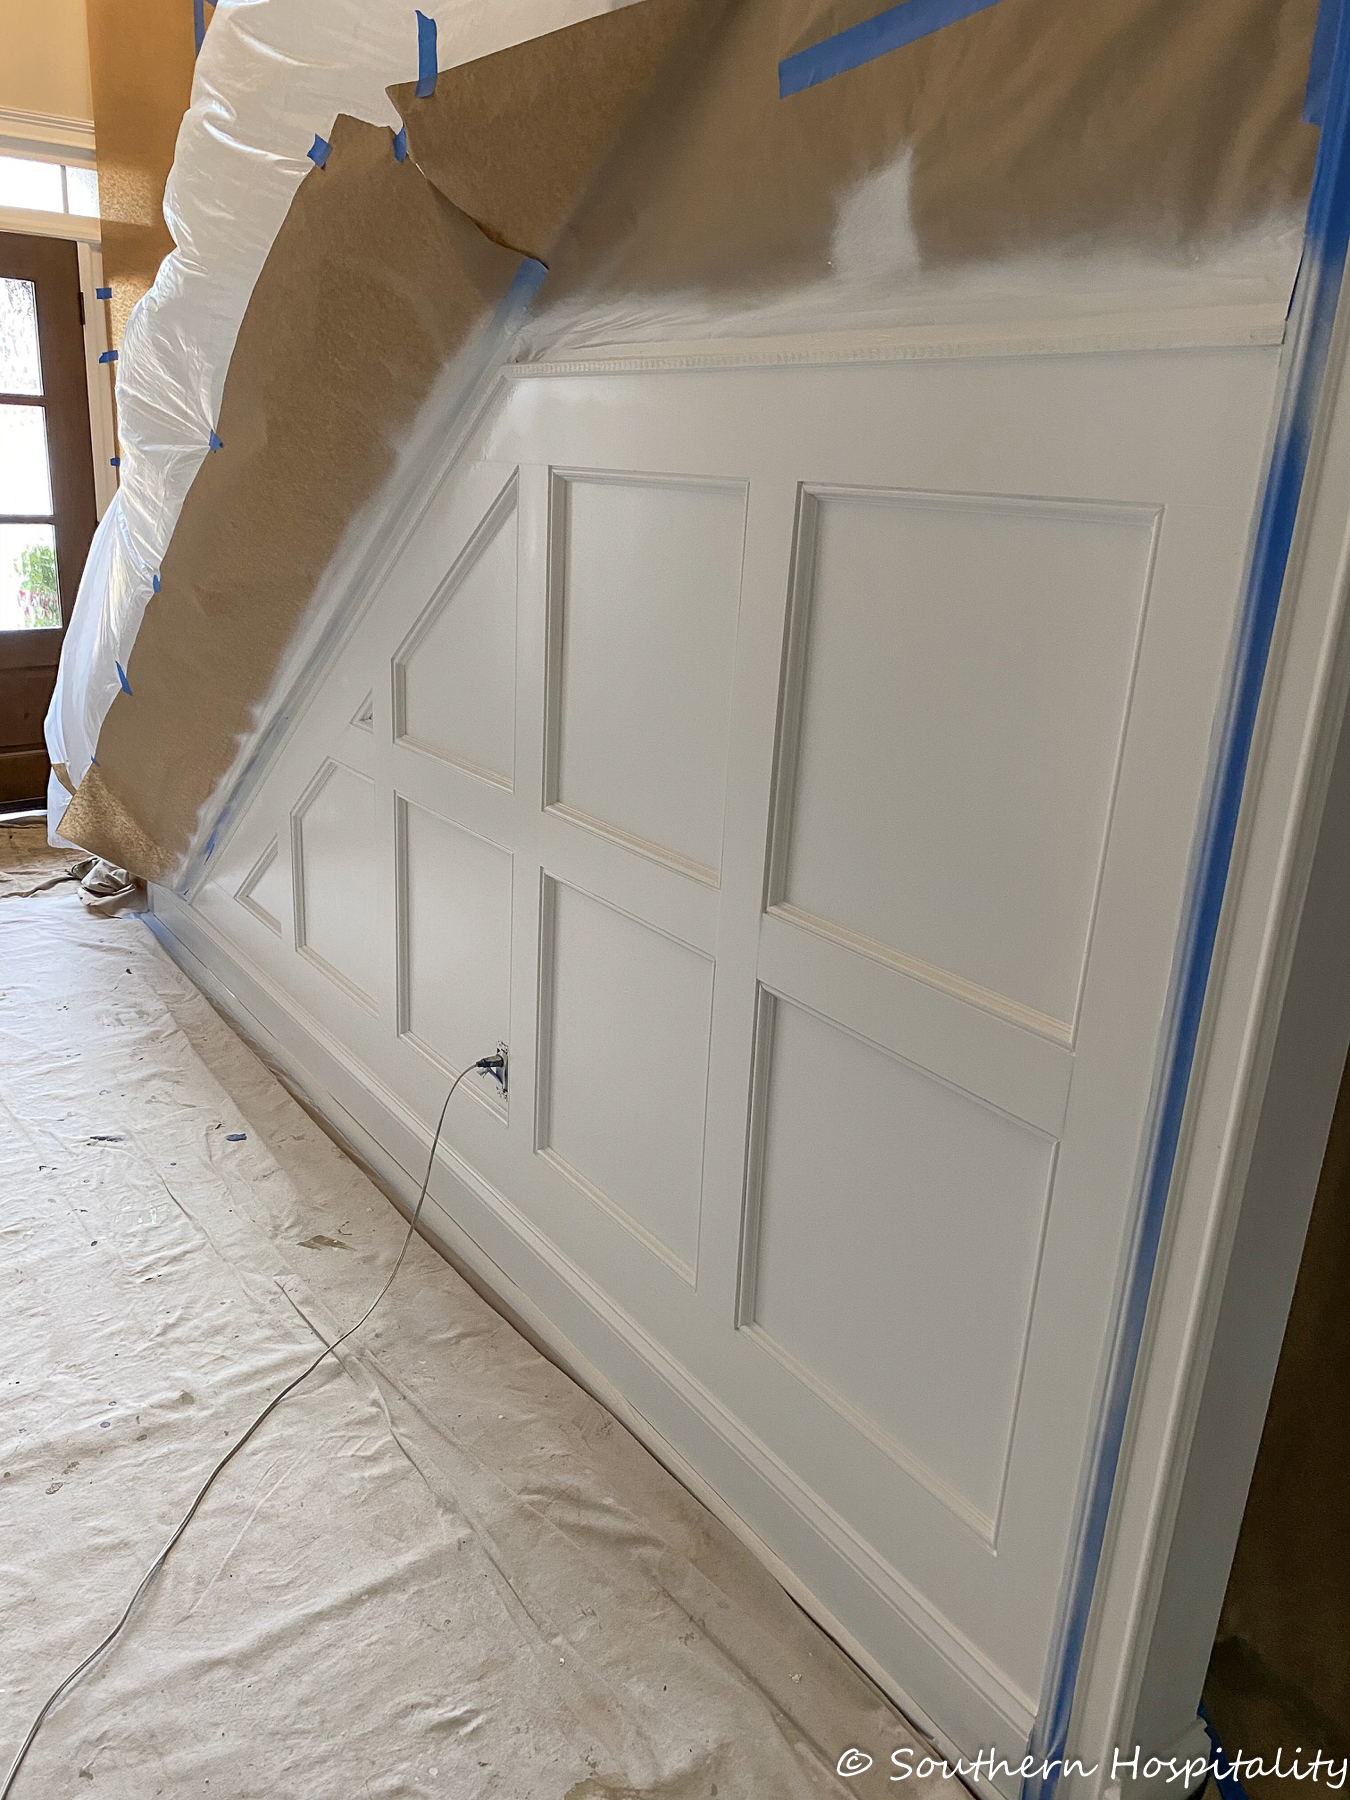
We are so happy with the end result. After planning to do this for 3 years, it’s finally done and we couldn’t be happier.
The Box Molding Finished:
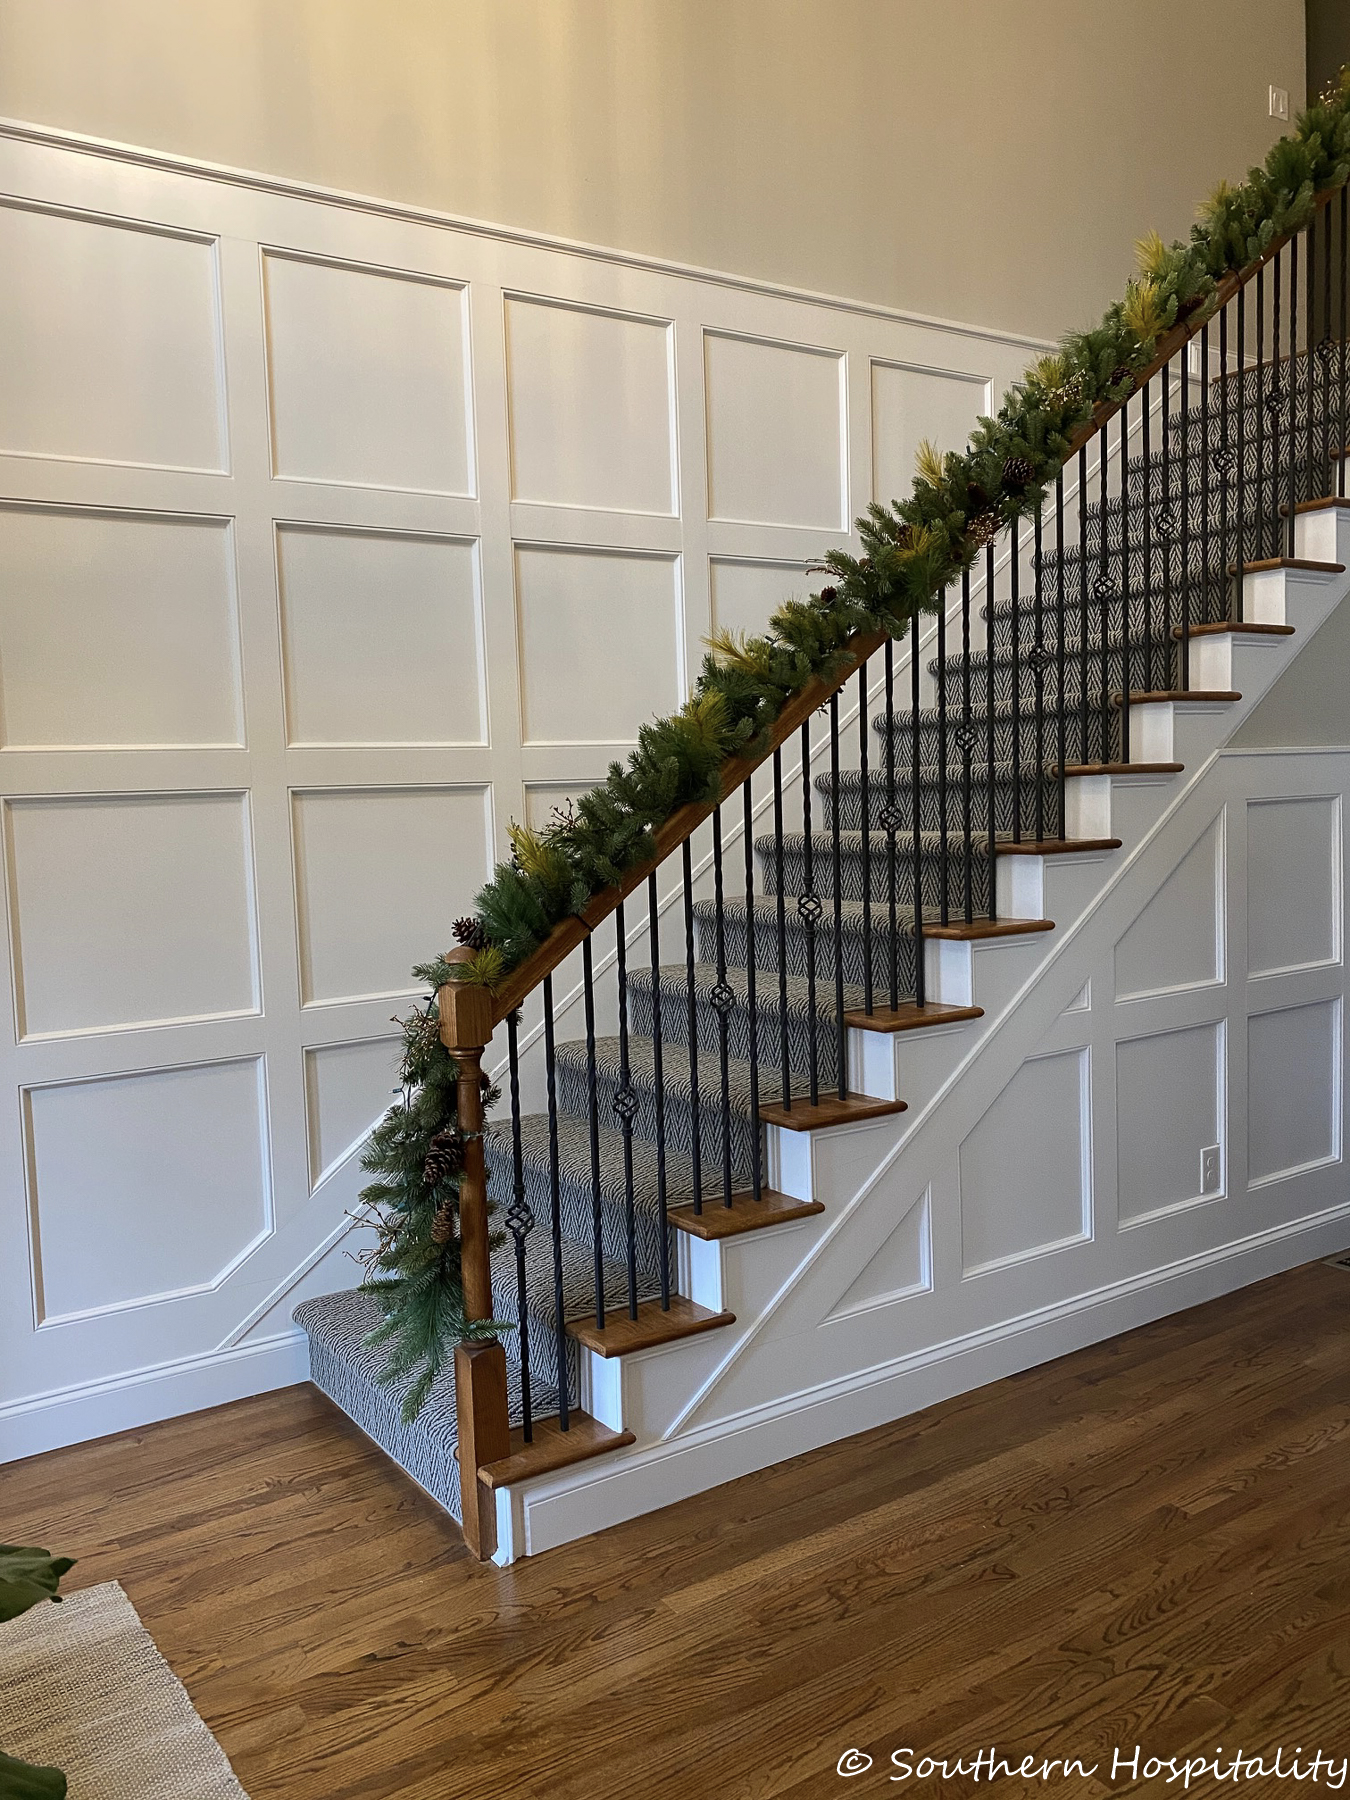
Before cove molding went back up, but this is so pretty. After they took off all the plastic and paper, it was a sight to behold.
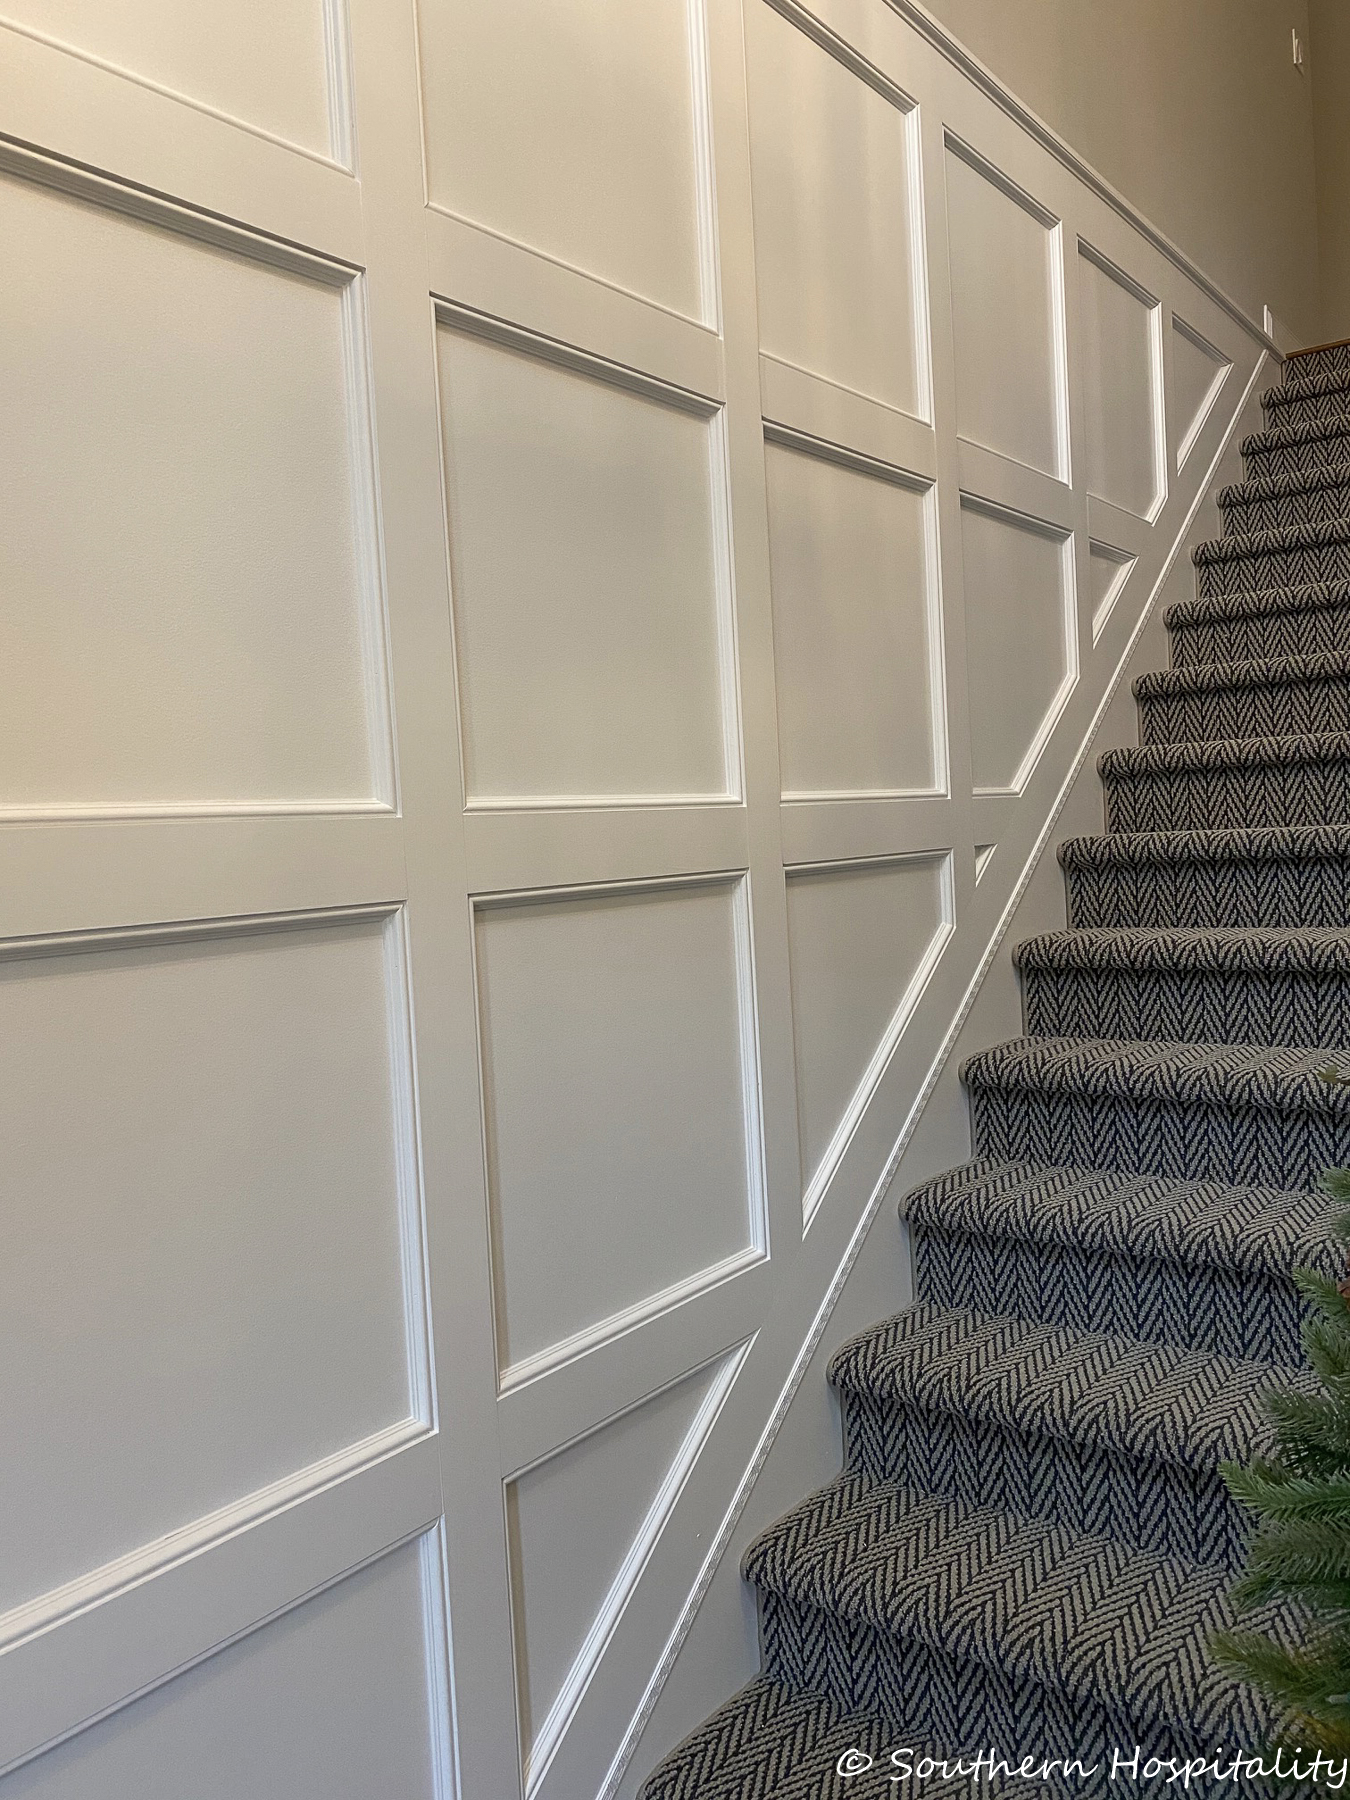
We couldn’t stop petting it as we went up the stairs. Mark did such a great job with it all and I’m so proud of him.
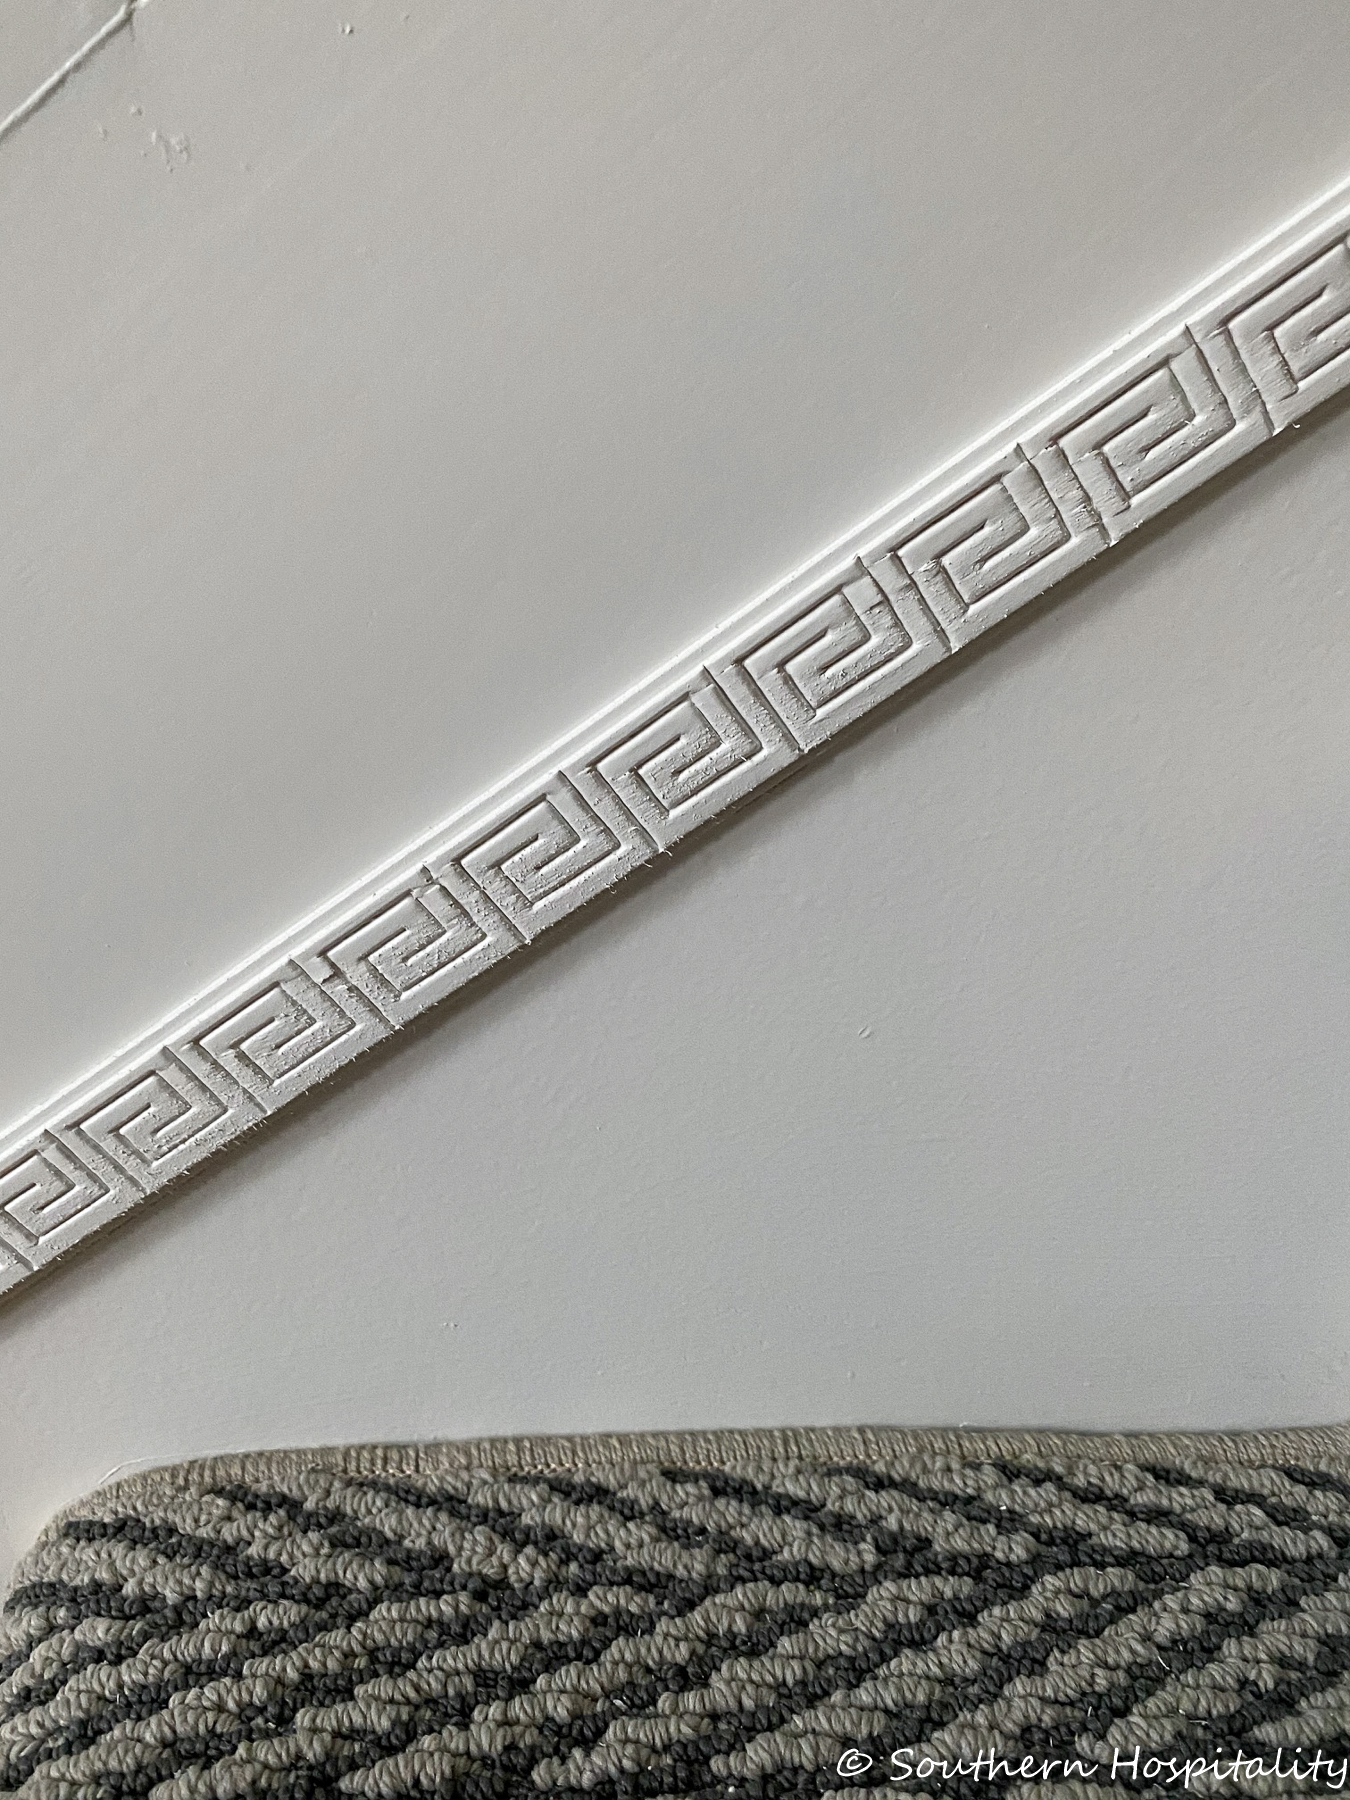
I love this little Greek Key detail and it was perfect for covering that seam.
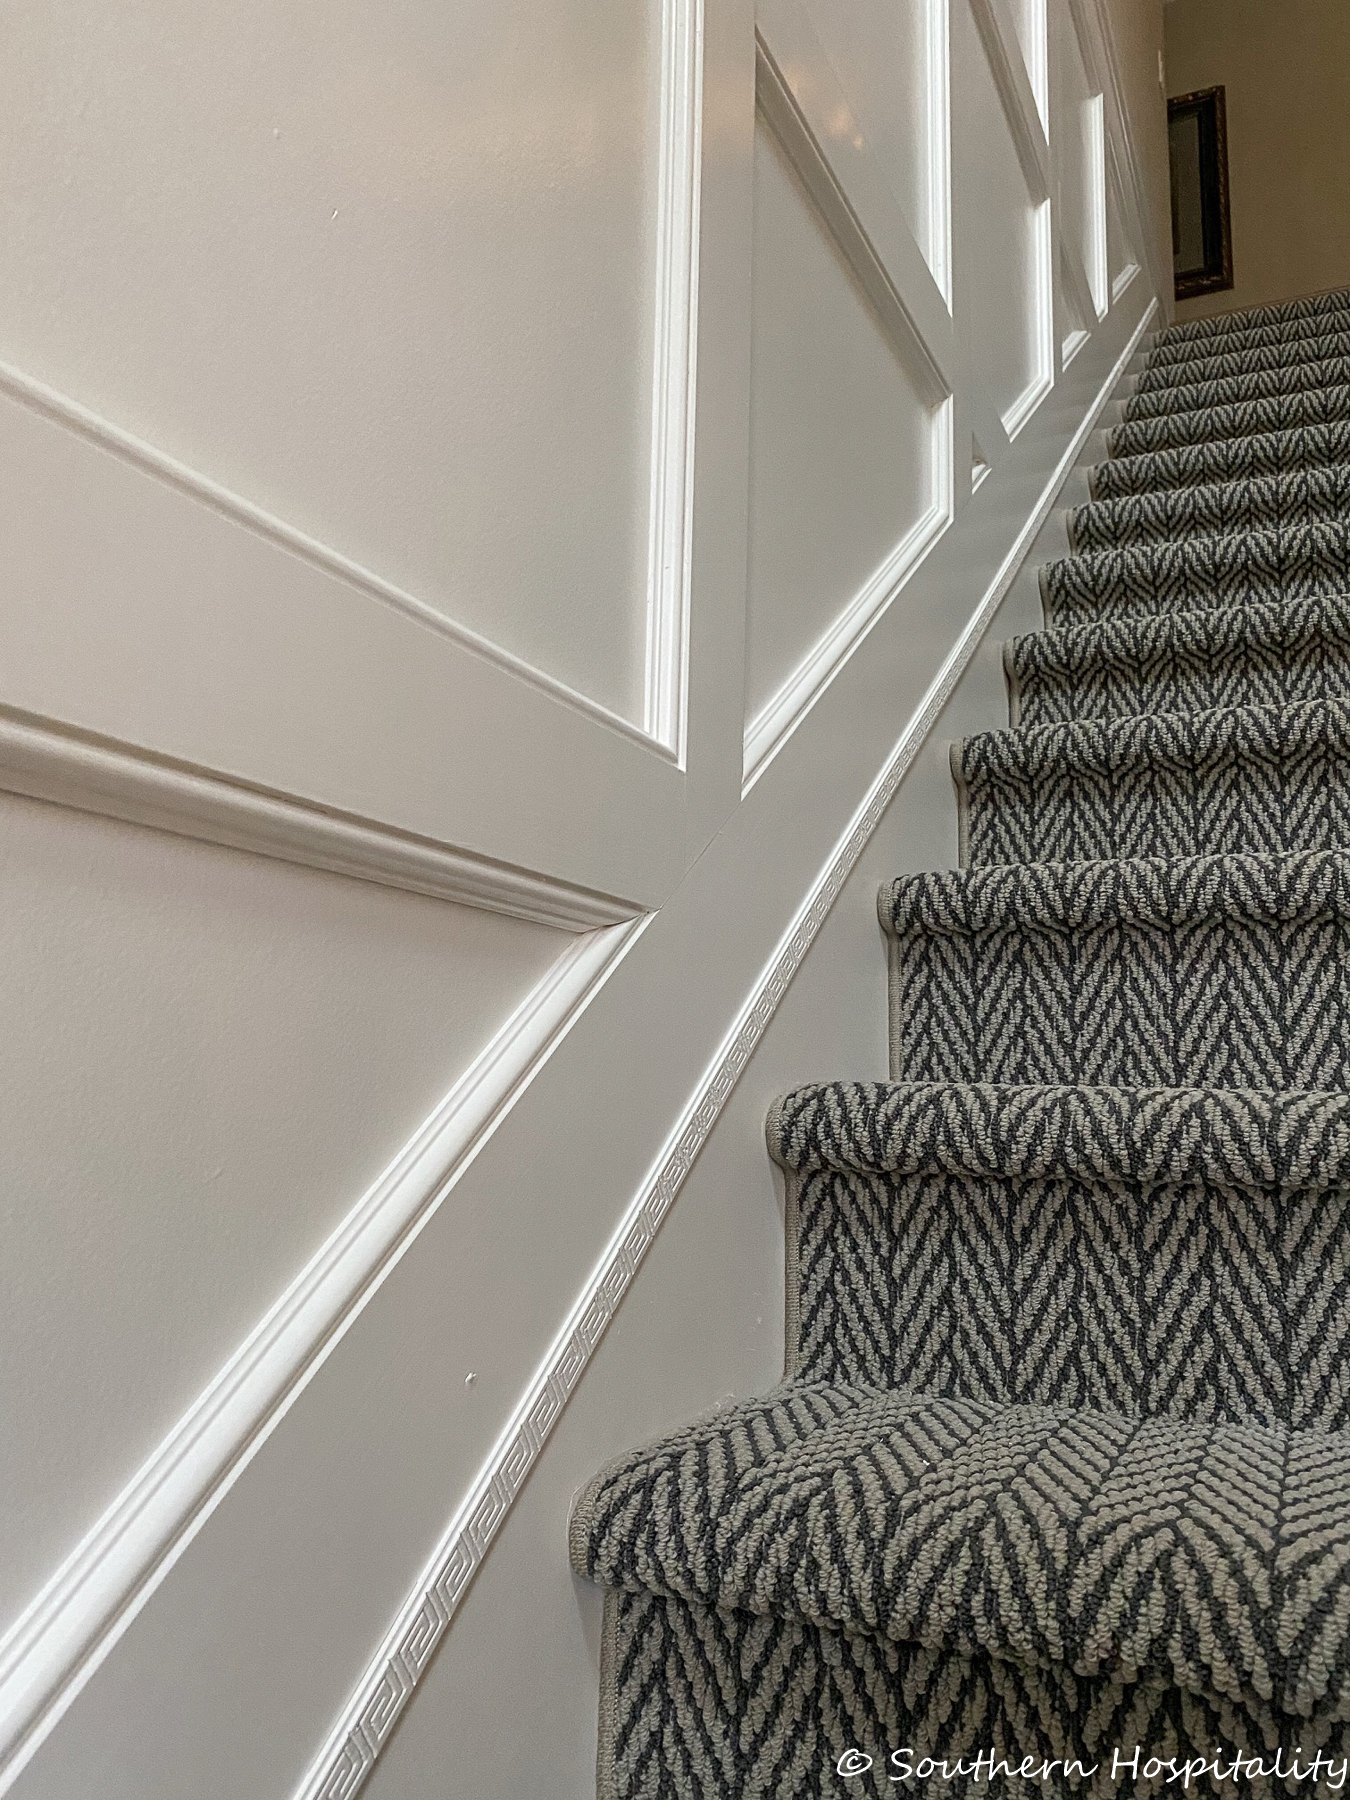
It all sort of looks like it’s been there forever, doesn’t it?
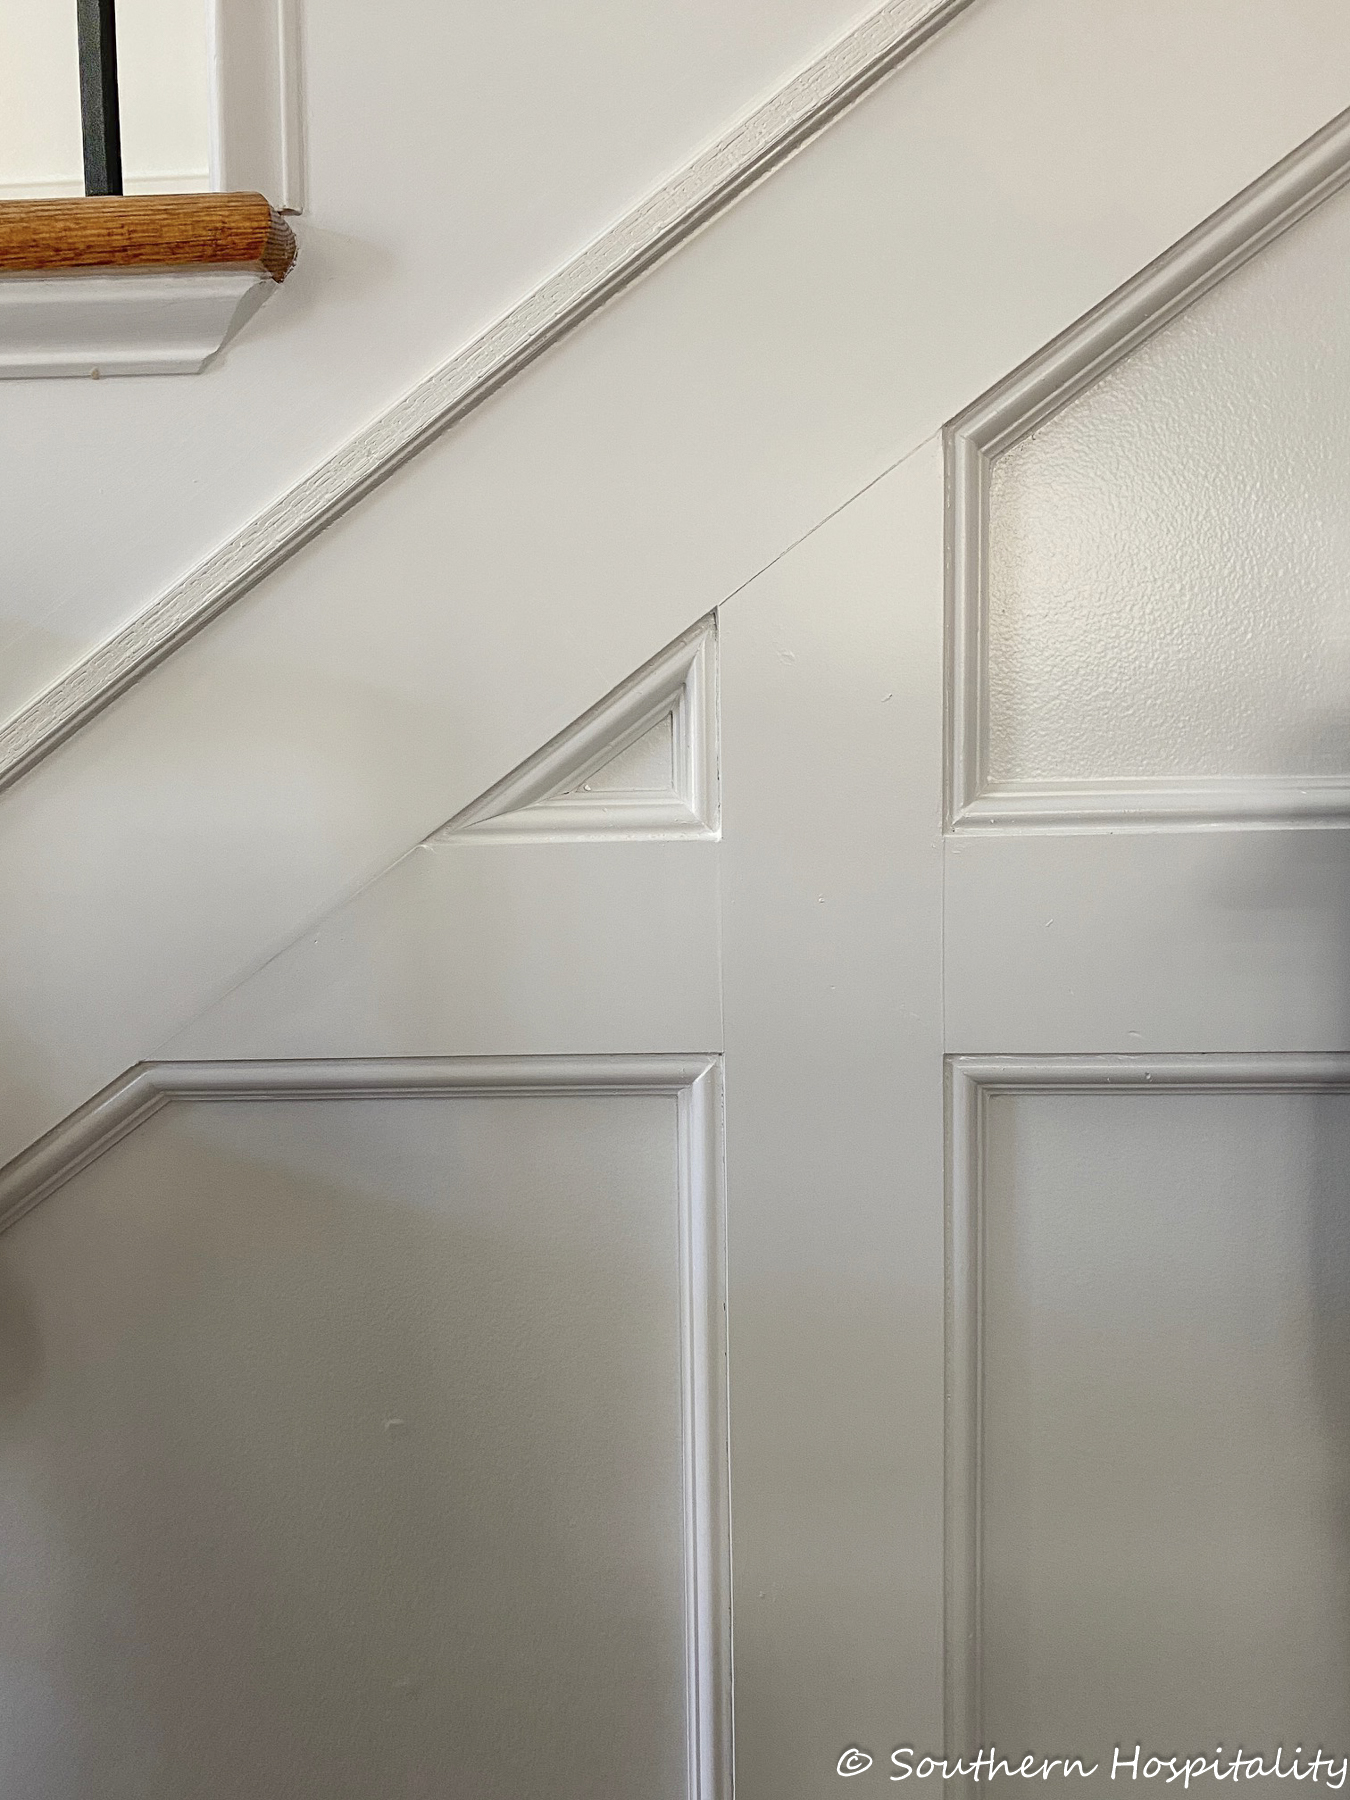
It was still wet here, but looking so good.
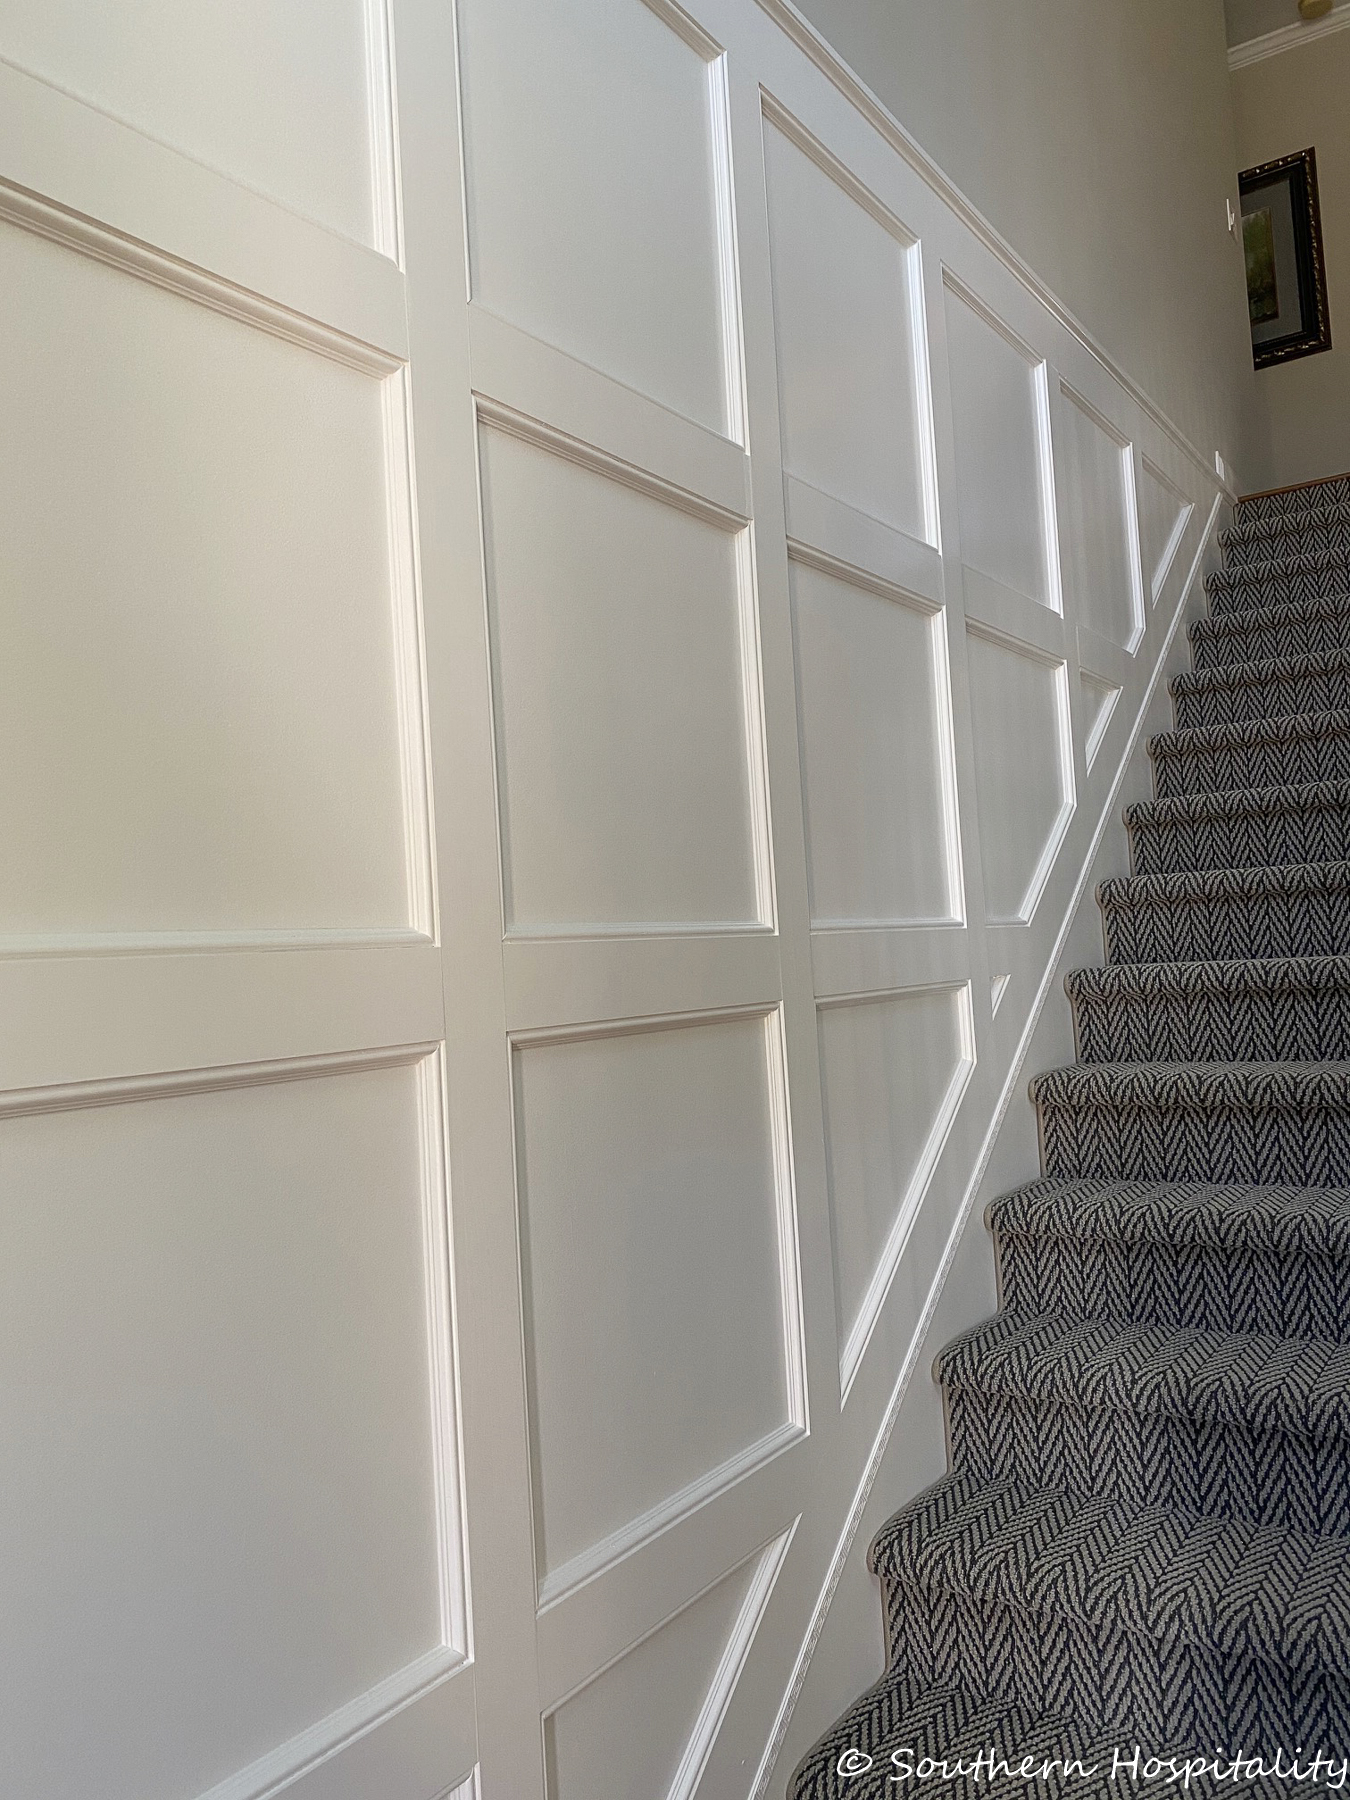
We can’t stop staring at it!
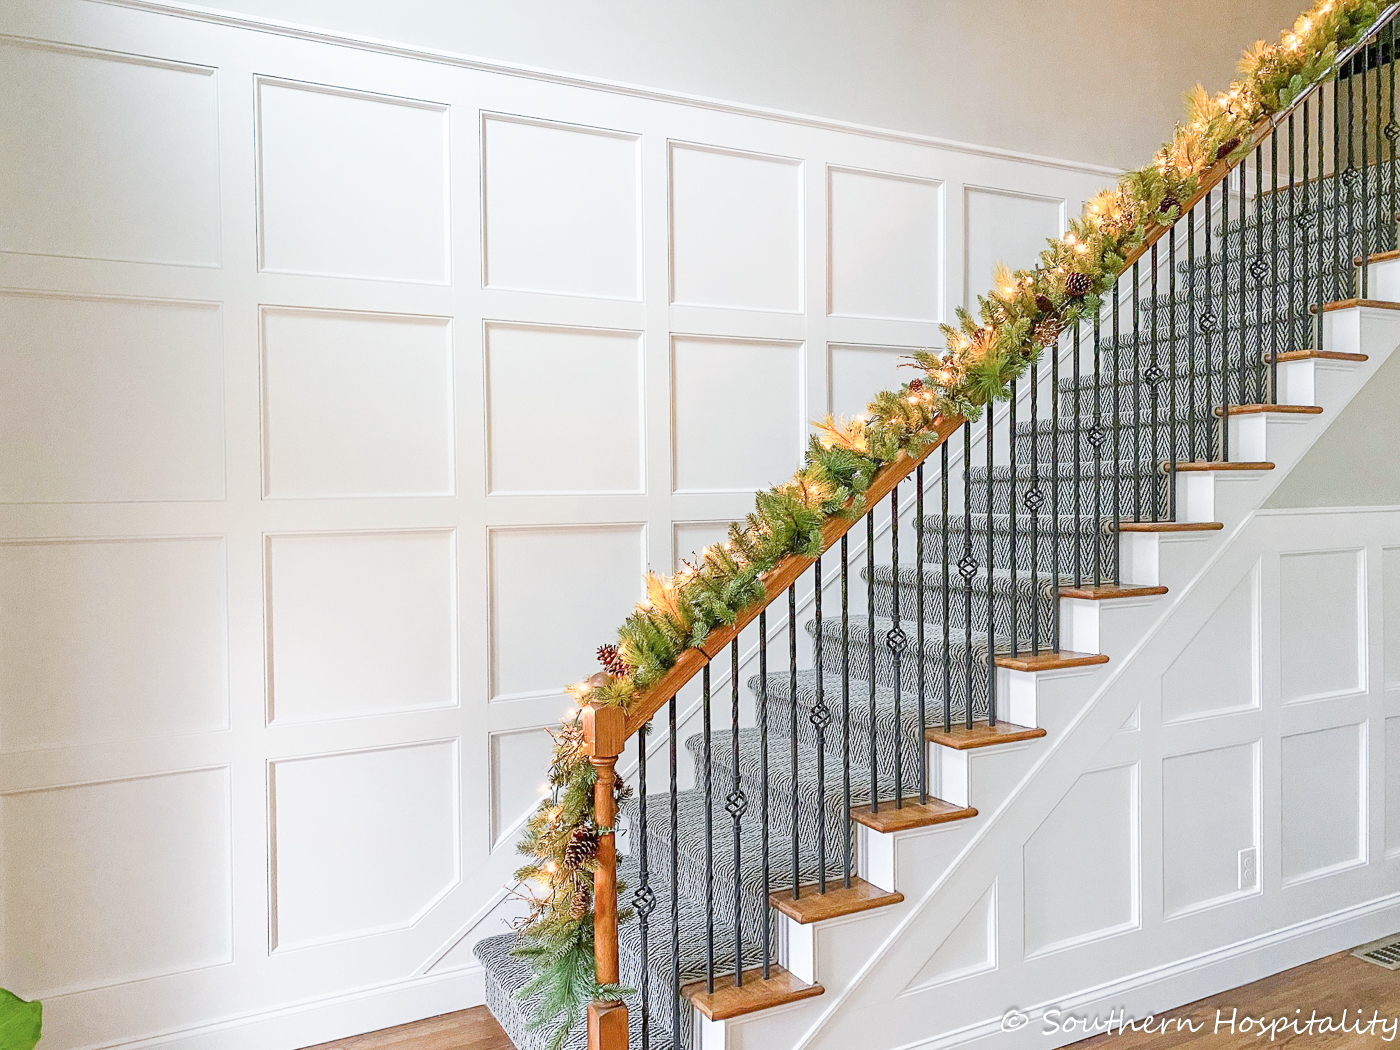
I took down all the glass balls off my stair garland just so they wouldn’t get broken, but it was all covered up and did fine during the painting.

So pretty!
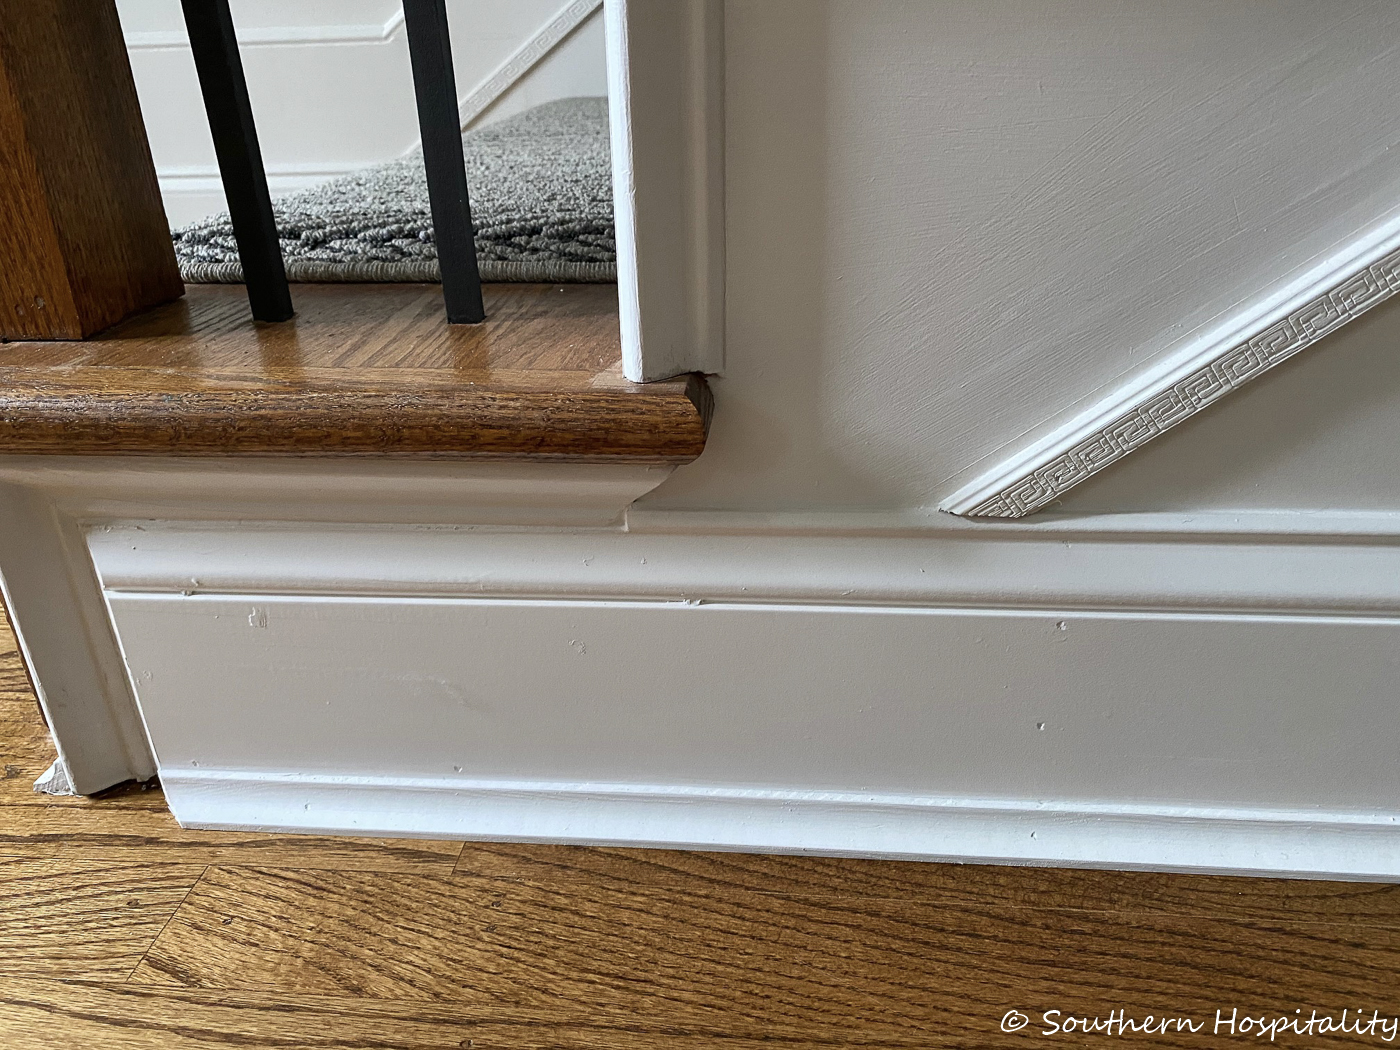
Here’s how this part looks with the cove molding added back.
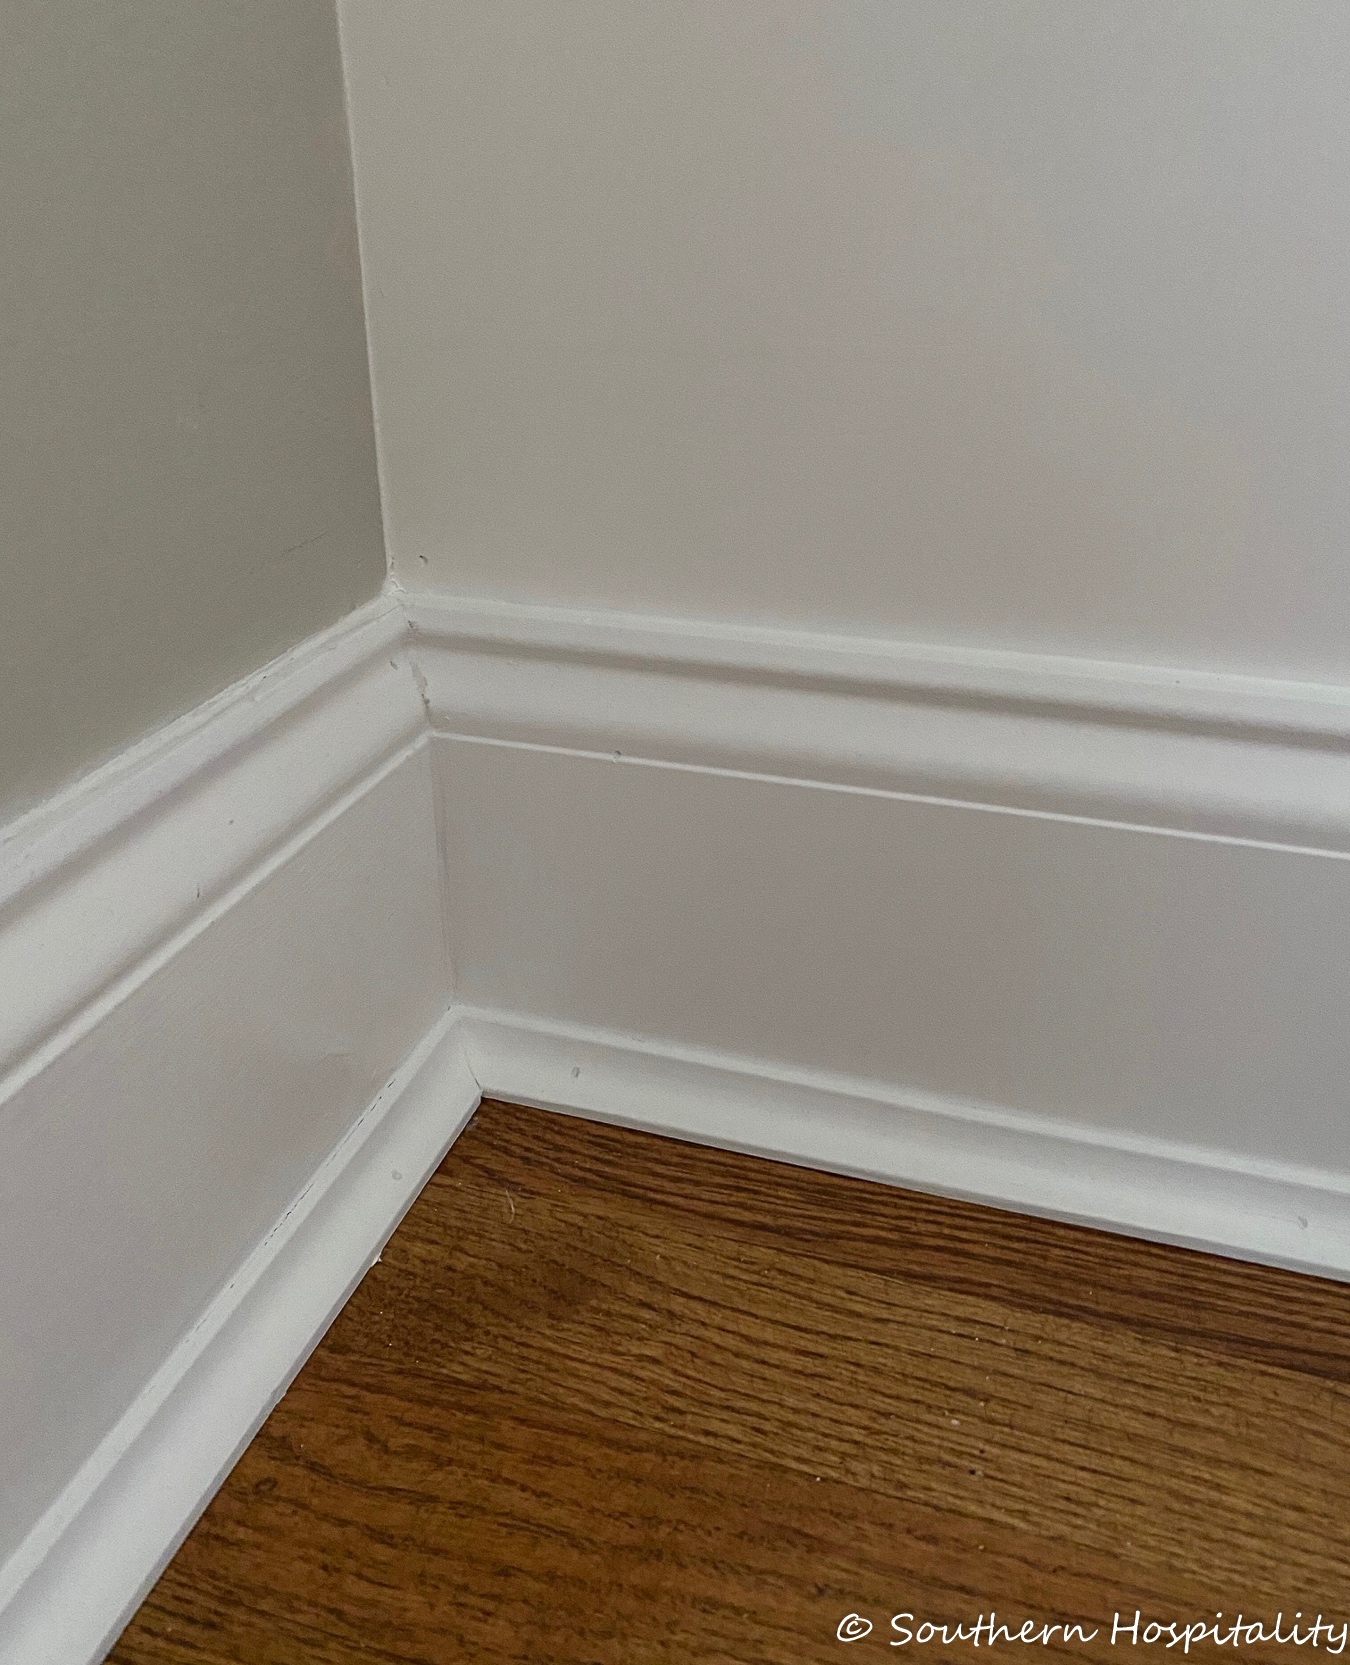
He simply added the old baseboard back on top mitering the corner to match the other side to accommodate that chunky board that’s behind it.
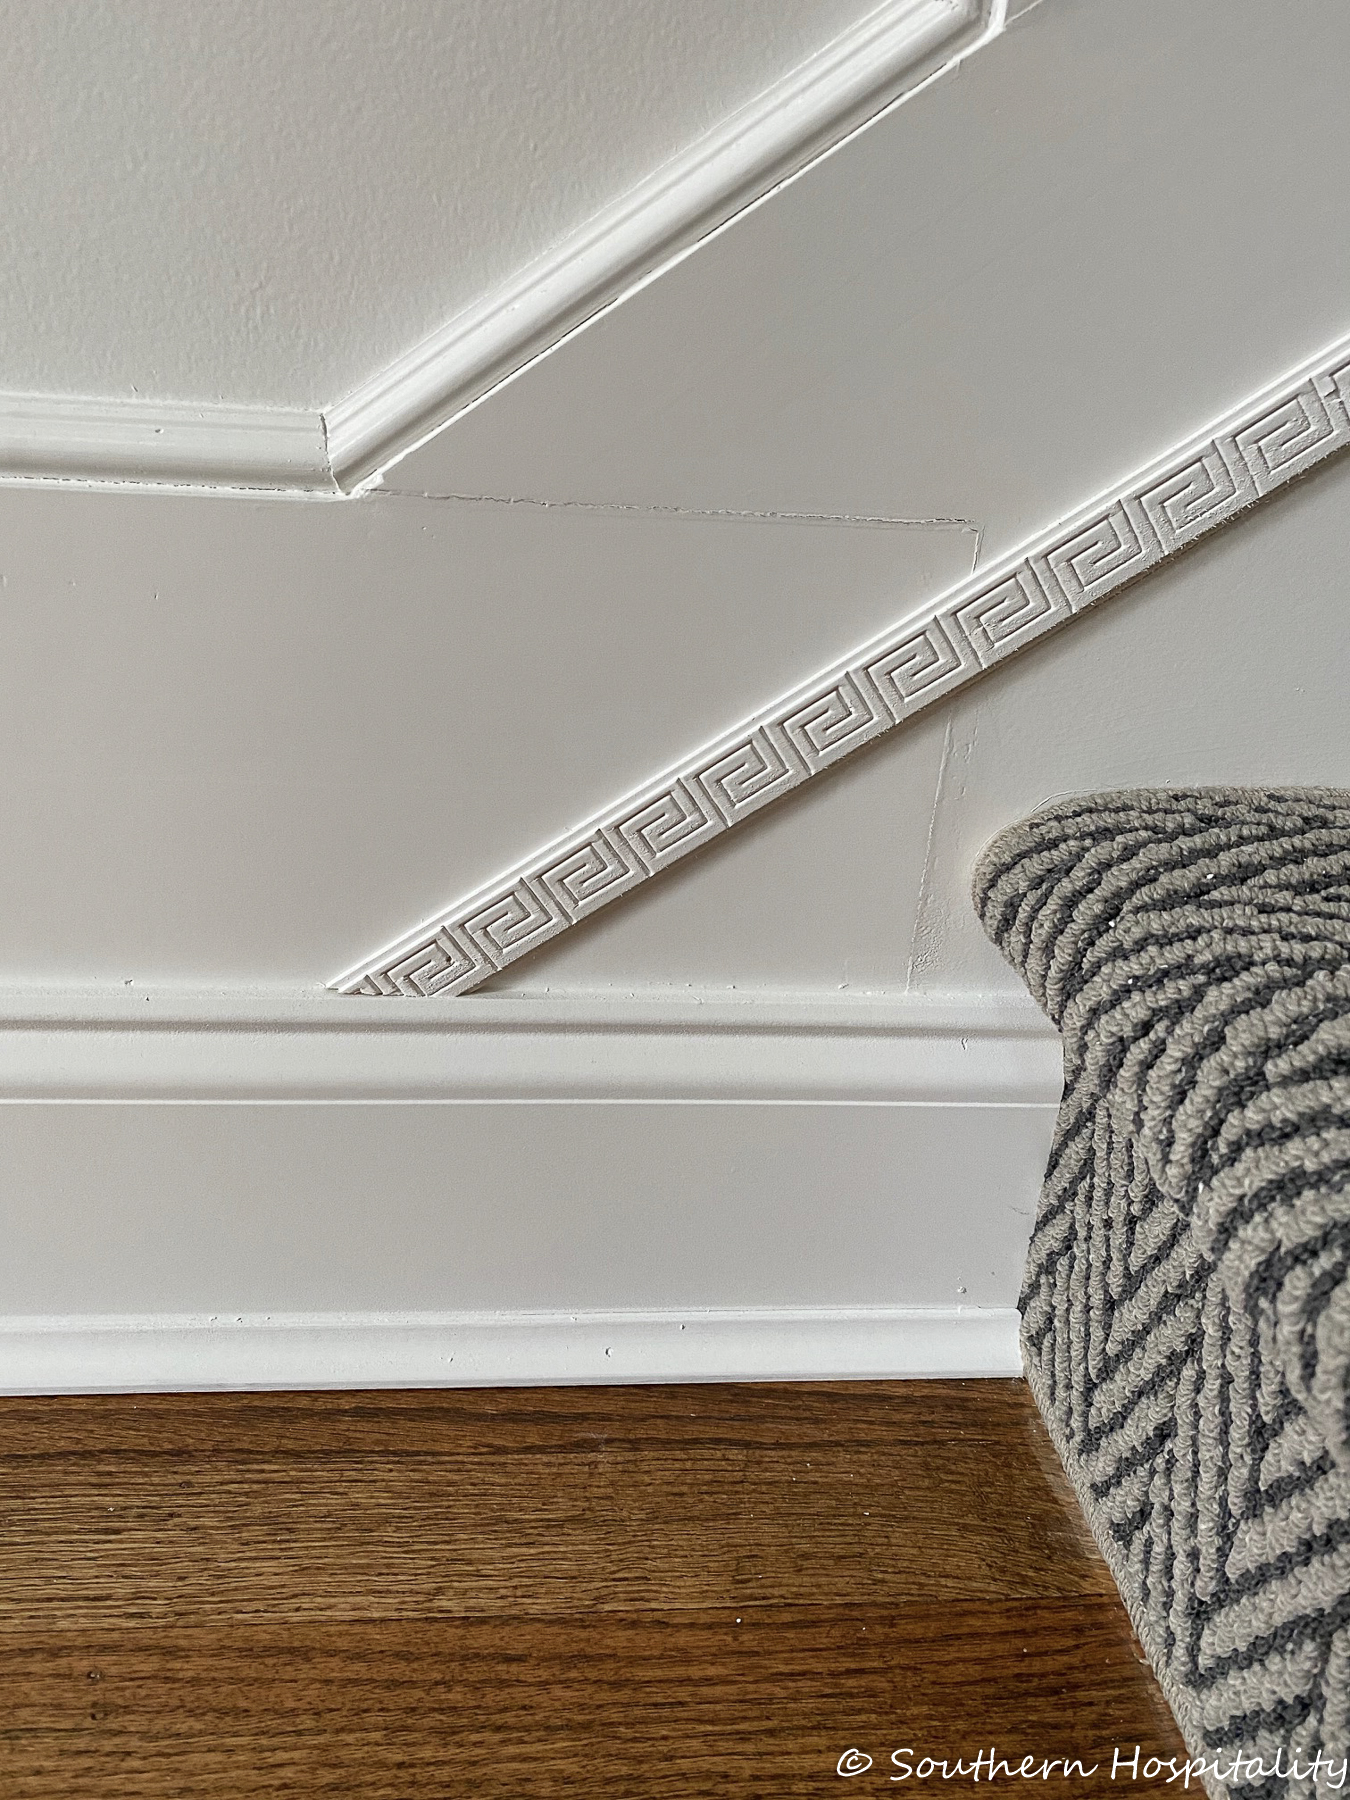
Old and new wood coming together. Might have to touch some spots up as the caulk and paint expands, but we sure love it all!
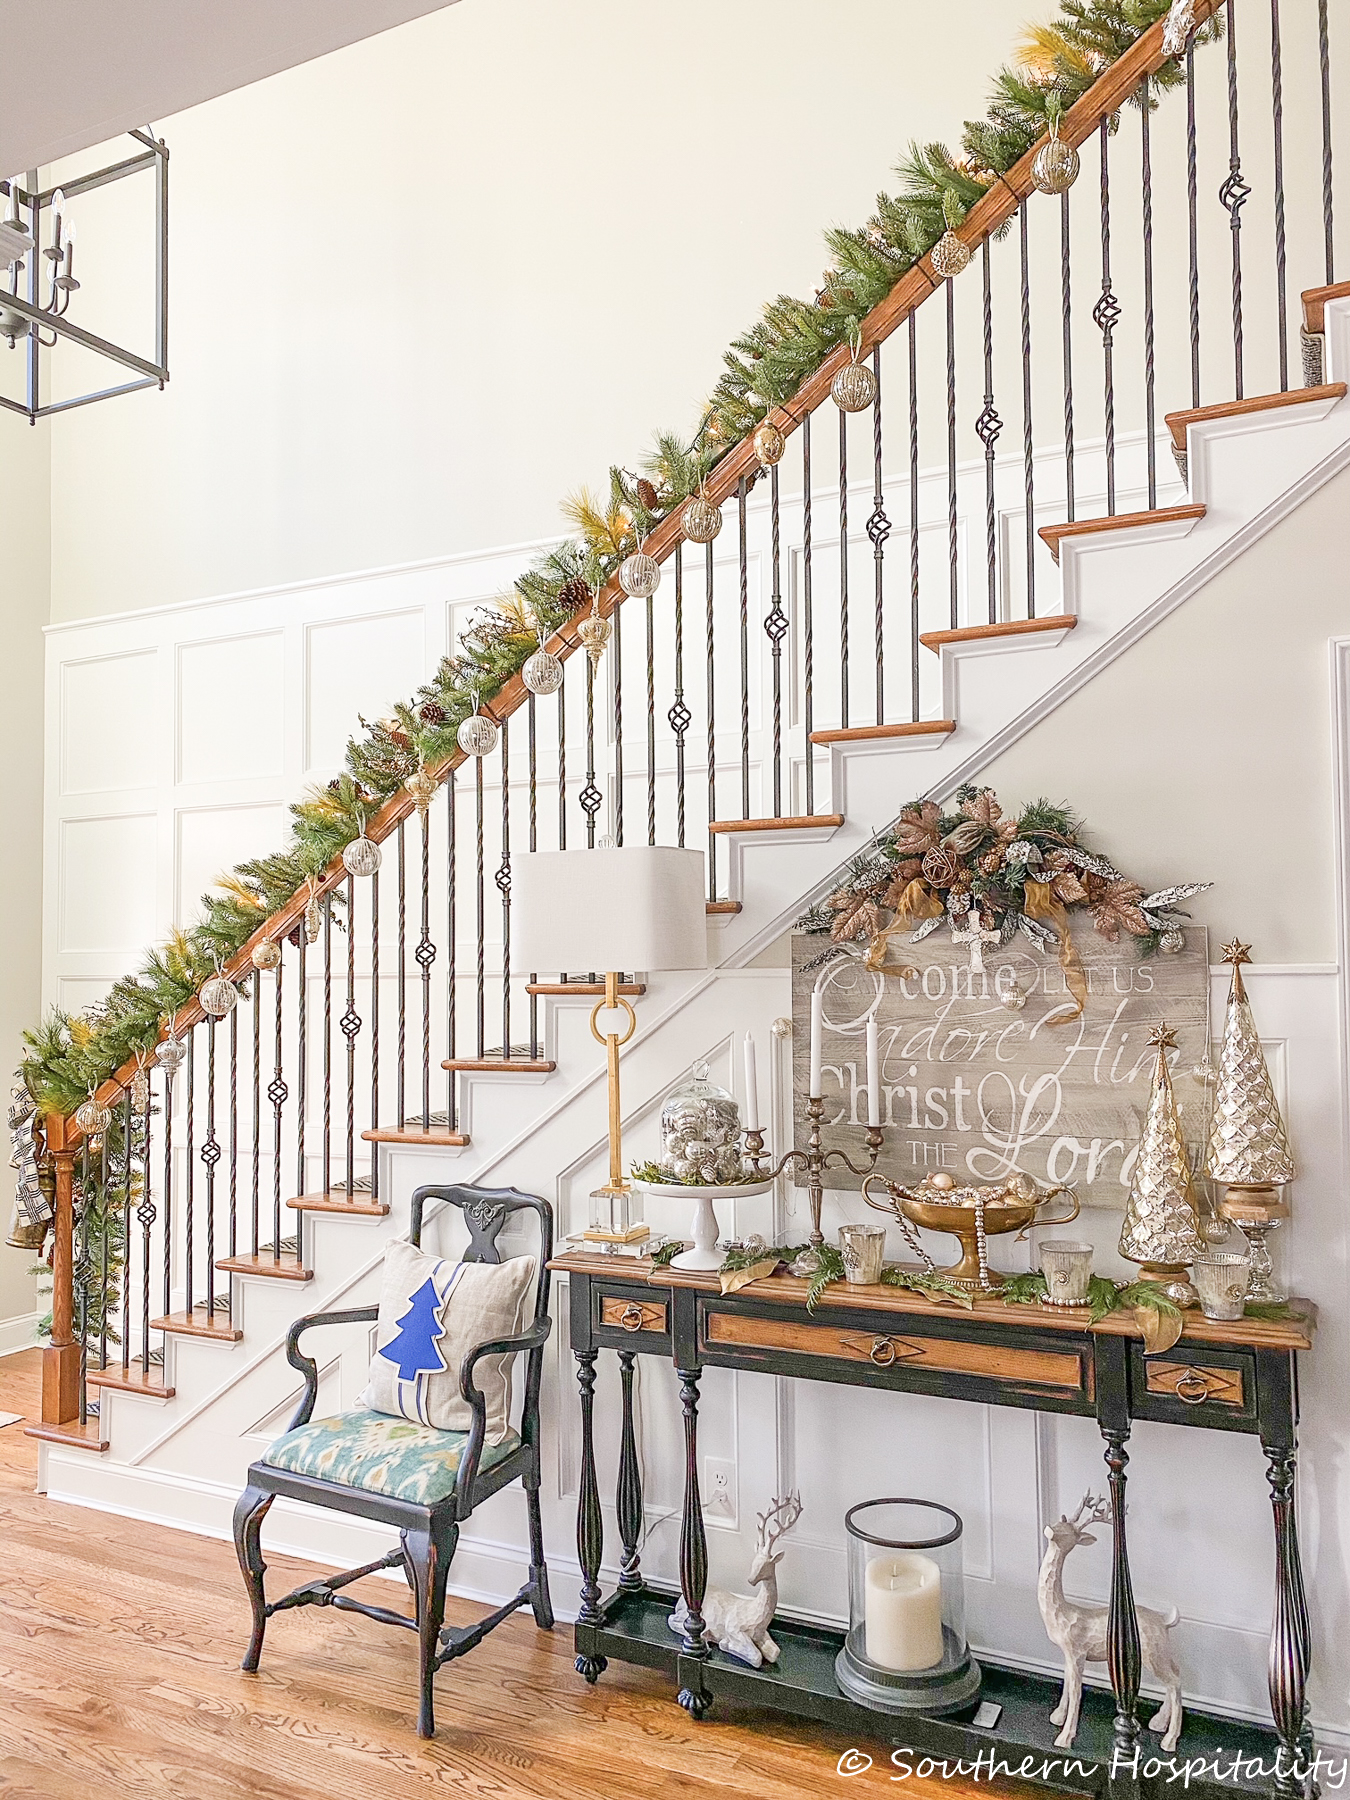
And another reminder of the after with things back together for Christmas.
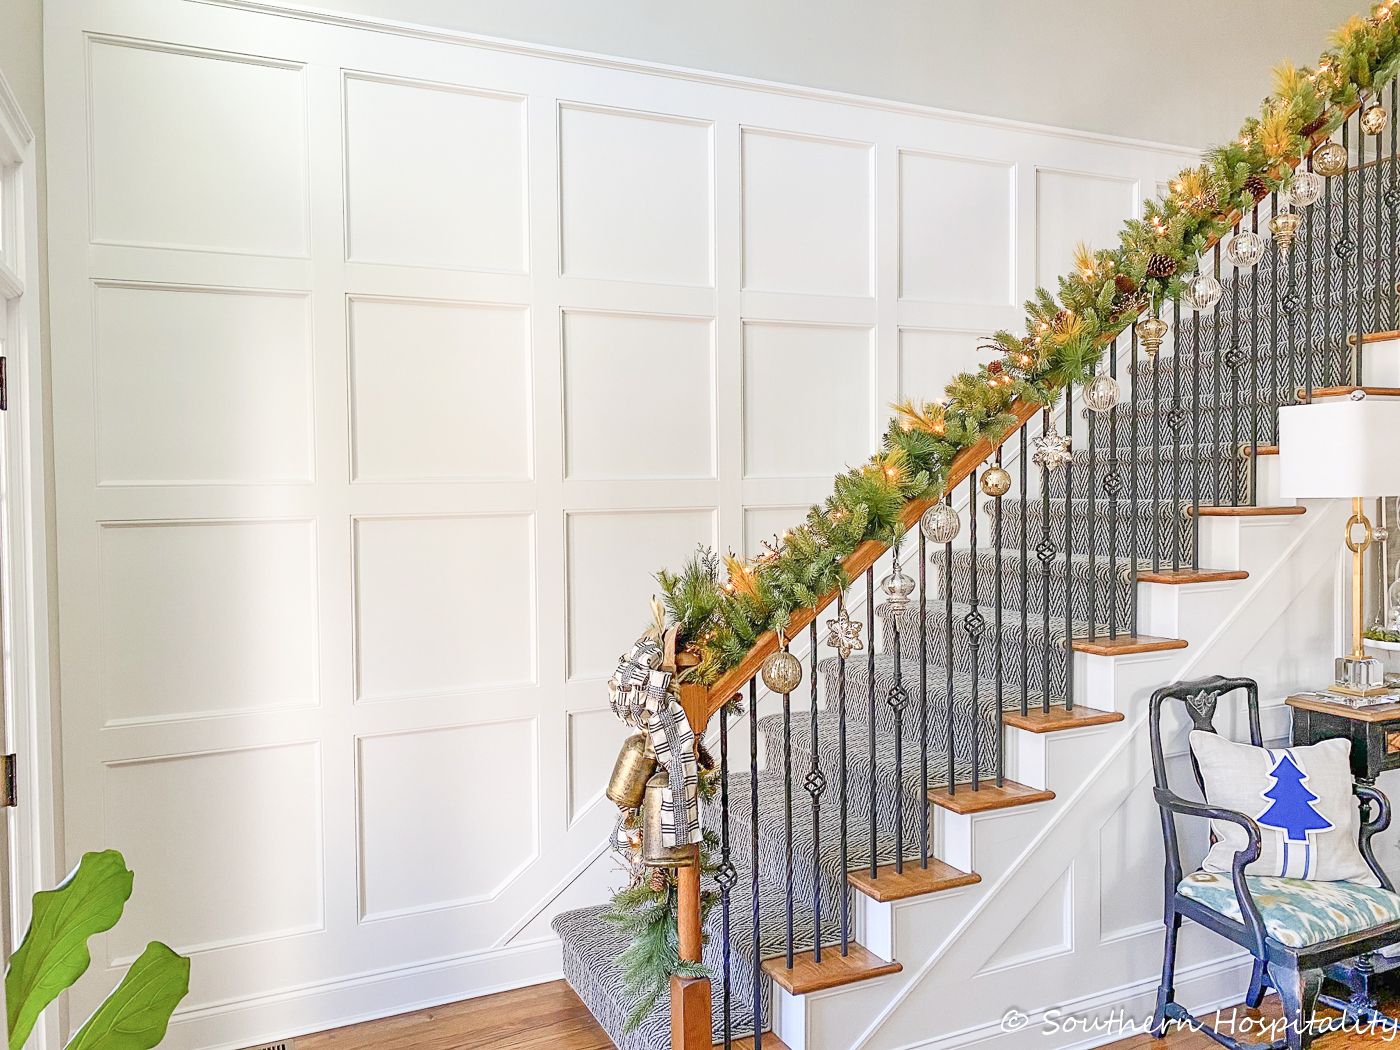
It sure makes a beautiful backdrop that is for sure. Very proud and happy that this project is completed and now we can move on to more! Mark is getting ready to do the hallway wall at the top of the stairs next.
Cost of the Project: The cost of the wood materials was around $600 and we paid $950 for the painter to spray it all. If you’re interested in our painter here locally in Atlanta, his name is Nicholas Romero and his # is 770.900.6740.
Happy New Year! Please pin for later!
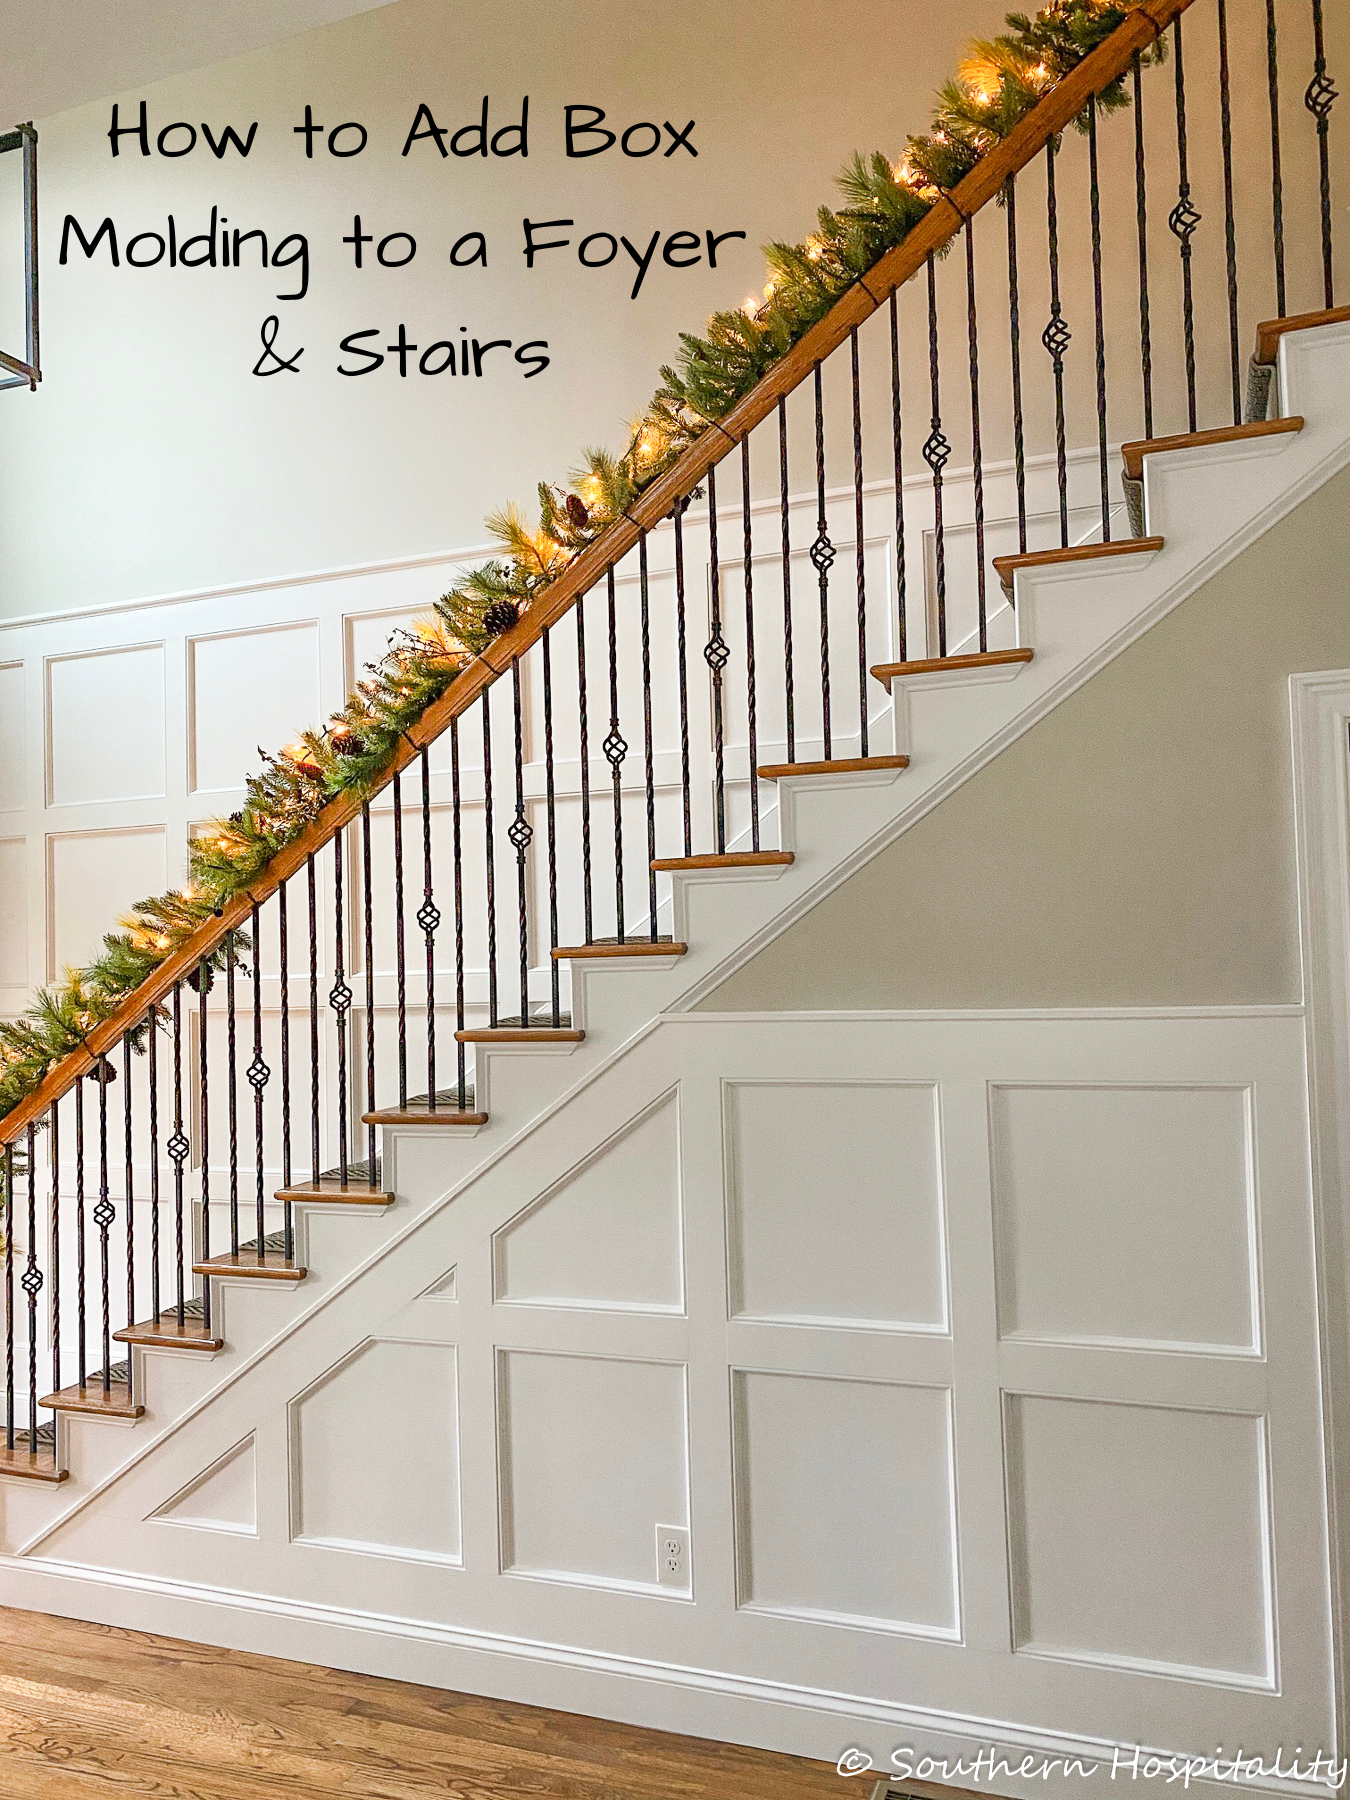


Great Job!!!
Quick question: You used 1×6 across the top, what size boards did you use vertically?
Thanks~
Those are 4″ boards, technically 3.5″ I think.
When the old base trim is reattached with the new chin my piece behind it, how do you account for where it meets the door trim? In one picture it looks like there is a door way. Wouldn’t the bast trim stick out too far to align with the doorway?
Thanks for sharing this project. It looks great and added so much to the foyer!
This looks fantastic! We are embarking on the same project. Our existing molding (boxes) in the hall leading up to the stairway looks the same as this. The boxes are 25″ not including the inside trim moulding. What is the size of your box minus the inside moulding? Is the box going up the stairwell the same size box as the front of the stairwell?