Adding picture frame molding and painting it all one color and sheen is a great way to update a room on a budget. This wall treatment completely elevates a space and gives it such an upscale look for not much money. We spent about $200 on this project and it was well worth it.
I got the inspiration for this project from several bloggers and others online, but especially from Alisa at A Glass of Bovino. I shared her home on a Feature Friday and love what she’s done with her home.
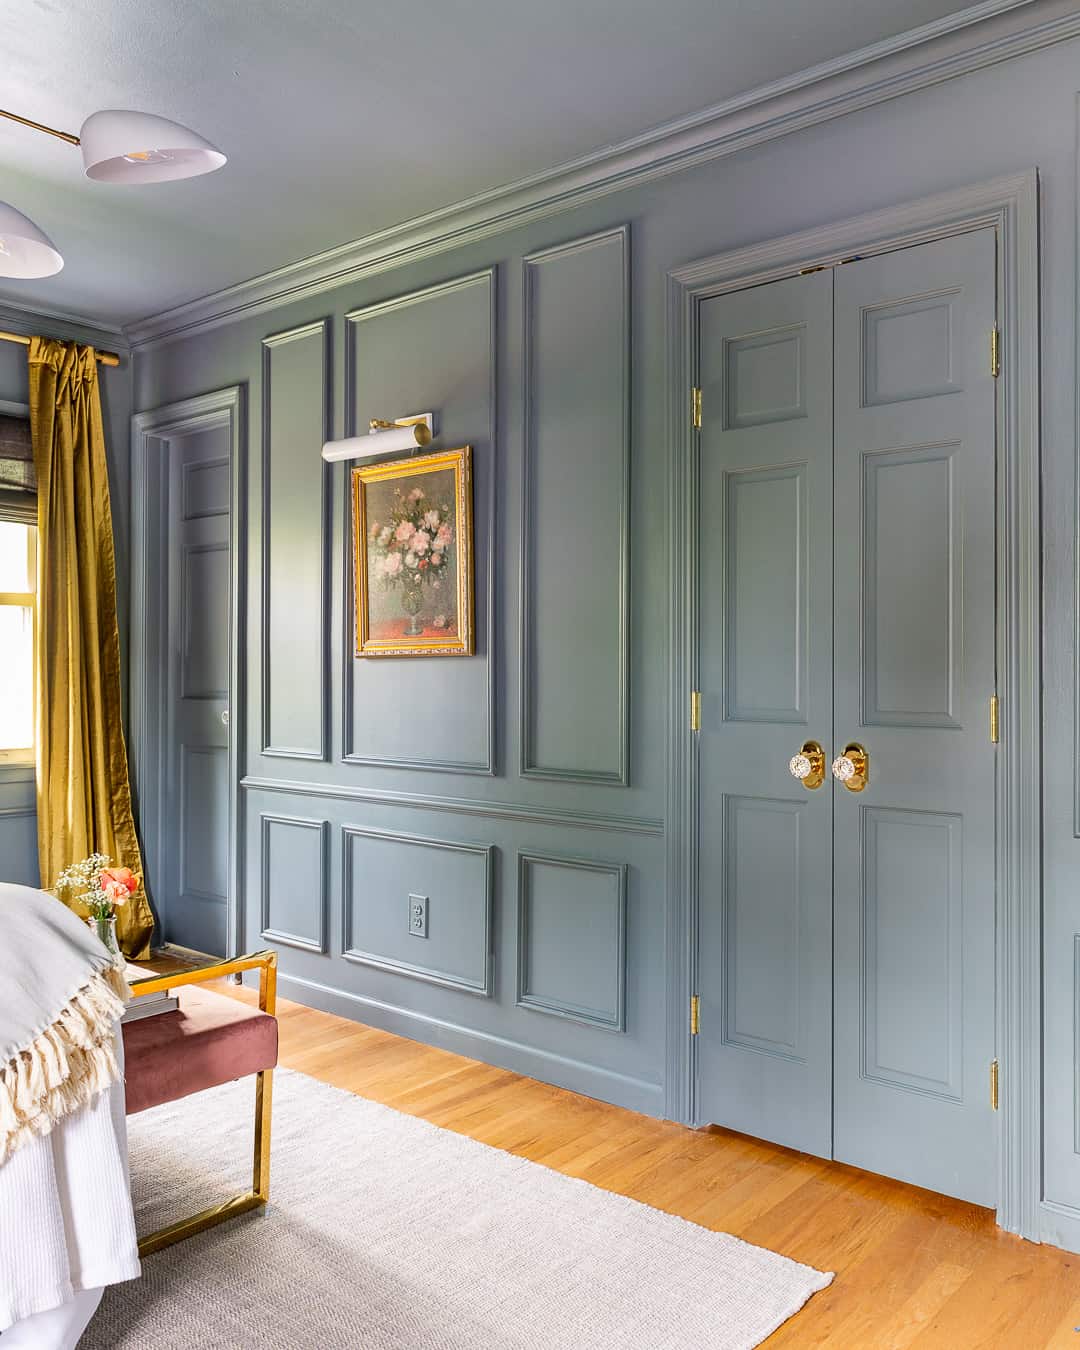
Isn’t this beautiful? I loved how her bedroom turned out so much that I could totally see this working for us in the master sitting room. She shared a picture frame molding tutorial and we loosely followed that too. I went by her placement for the most part in how we laid out the room with the molding. We used stock real wood picture frame molding from Home Depot to get the look.
Today I’m sharing how we did it and the steps we took to achieve this elegant look. We did the basic chair rail molding at 36″ from the floor and decided on a 5″ spacer board for the big wall, so those are the measurements we went by. Alisa shares her measurements and how she came up with the plan on the link above so check out her page too for a detailed look at how to figure out measurements etc. We used the 5″ spacer board on the big wall especially, but for the smaller walls, we changed it a bit because visually you want it all to flow and using a smaller measurement was better for the small walls. You can see in the above picture that Alisa did a bigger box in the middle.
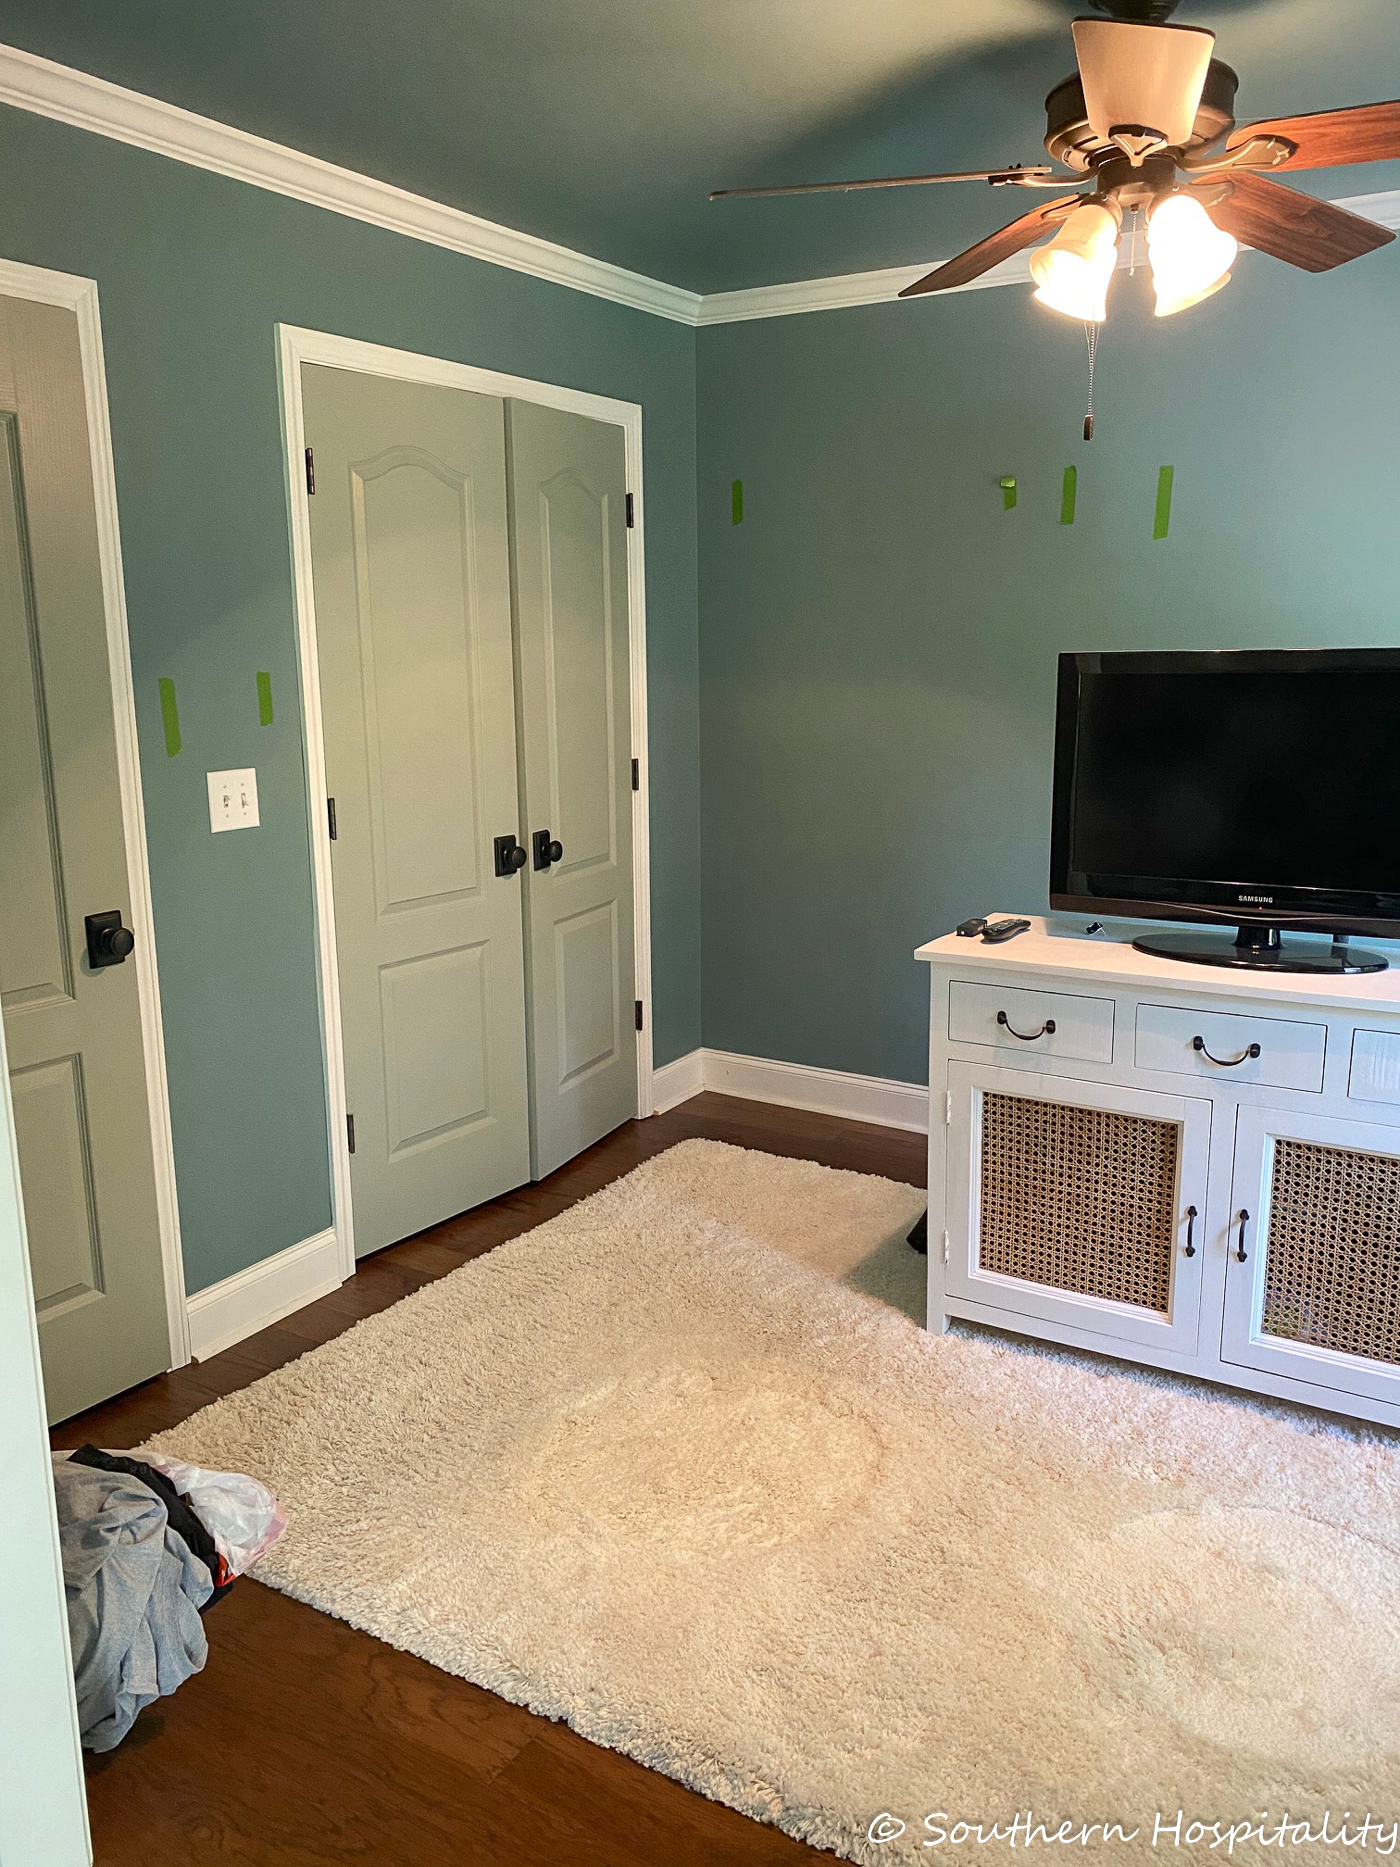
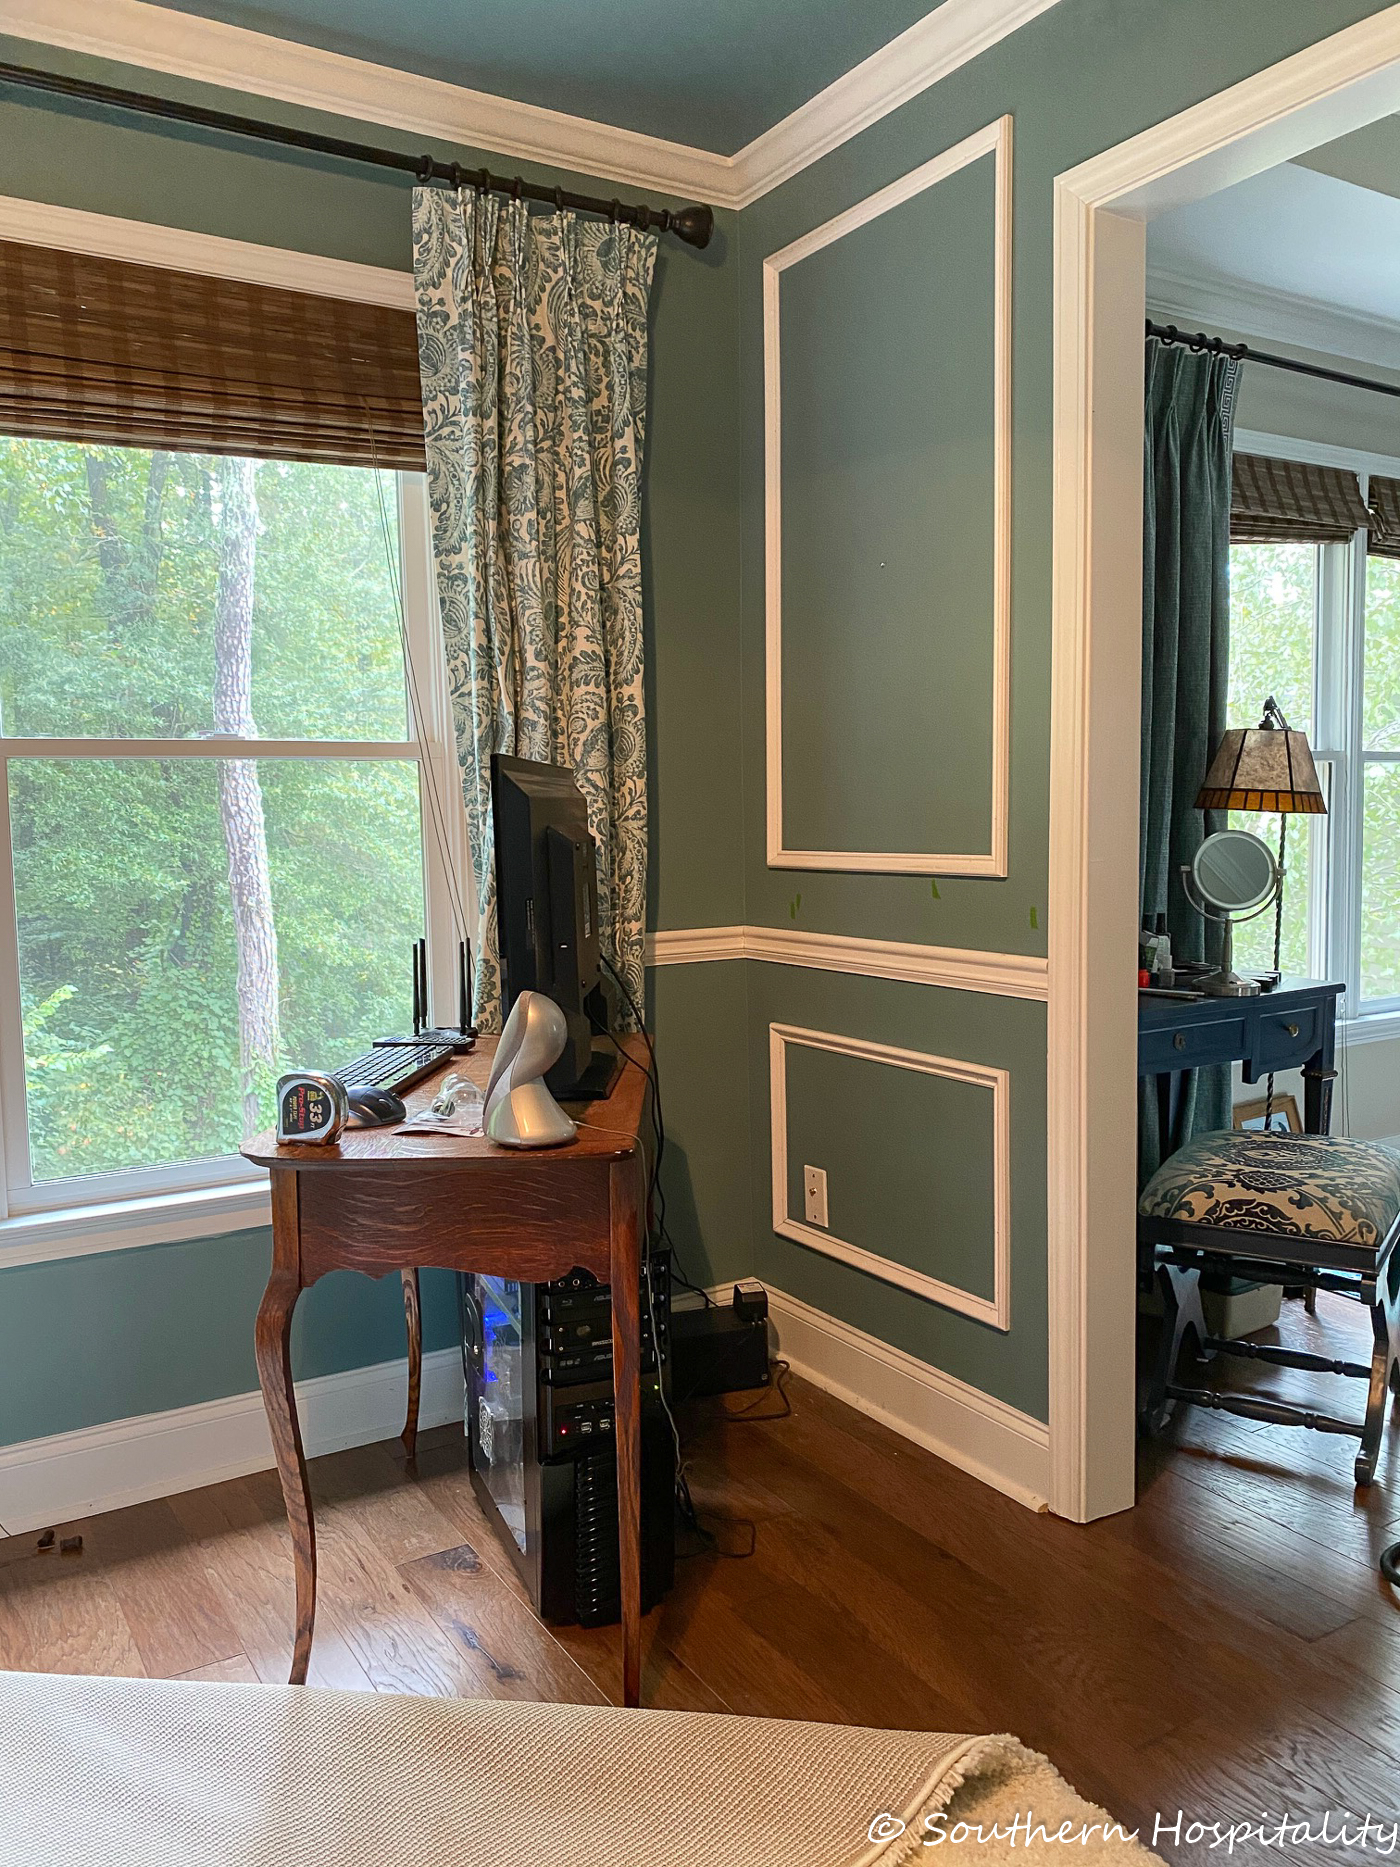
Again, here’s the before that we started with. I had painted the walls and ceiling in Moody Blue two years ago, but this extra picture frame molding treatment really took it over the top pretty.
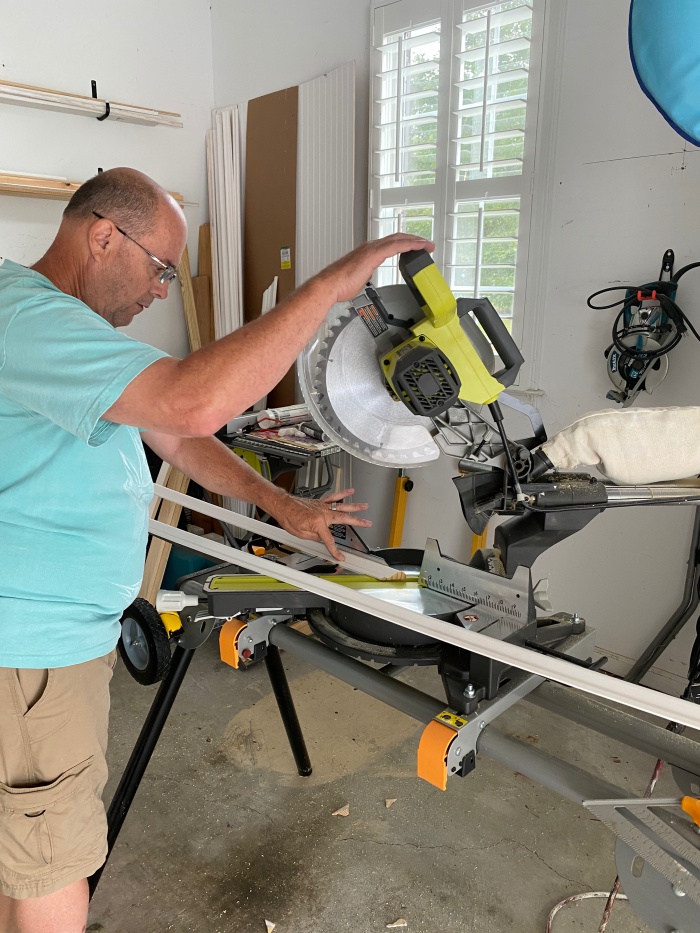
First, I want to give a huge shout out to Ryobi for gifting me this sliding miter saw. Mark sure does love it and it makes all these projects we do so much easier. He can cut anything on here now. You will definitely be cutting a lot of 45° cuts if you tackle this project. And you have to keep up with left and right cuts to be sure you get them all right. Your brain will be working overtime. My brain doesn’t handle math all that well, but Mark is way better at that part.
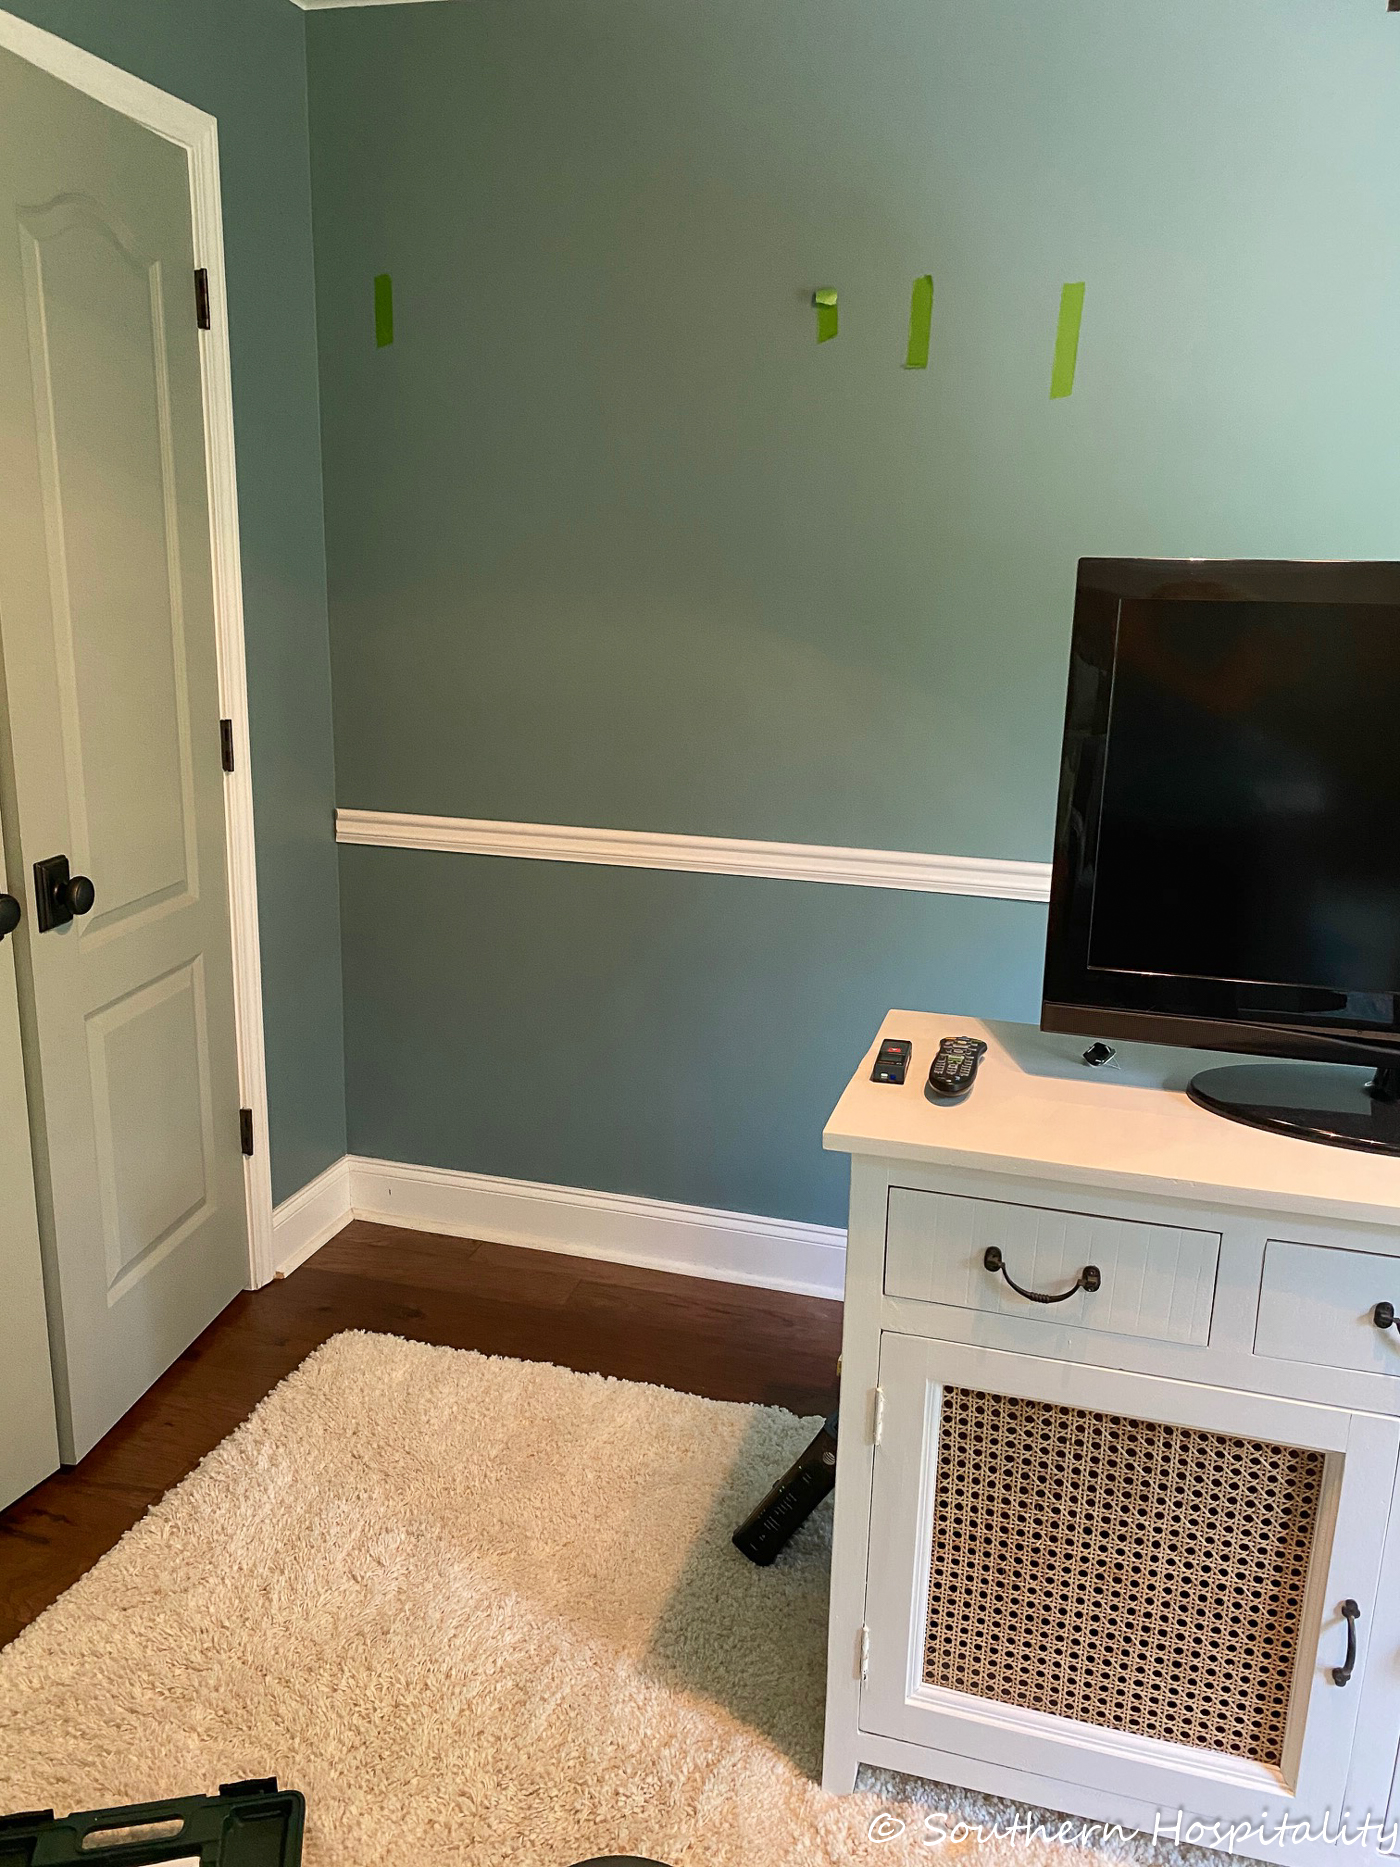
We started with the chair rail, 36″ from the floor and put that up first. That went really fast since it’s all straight cuts.
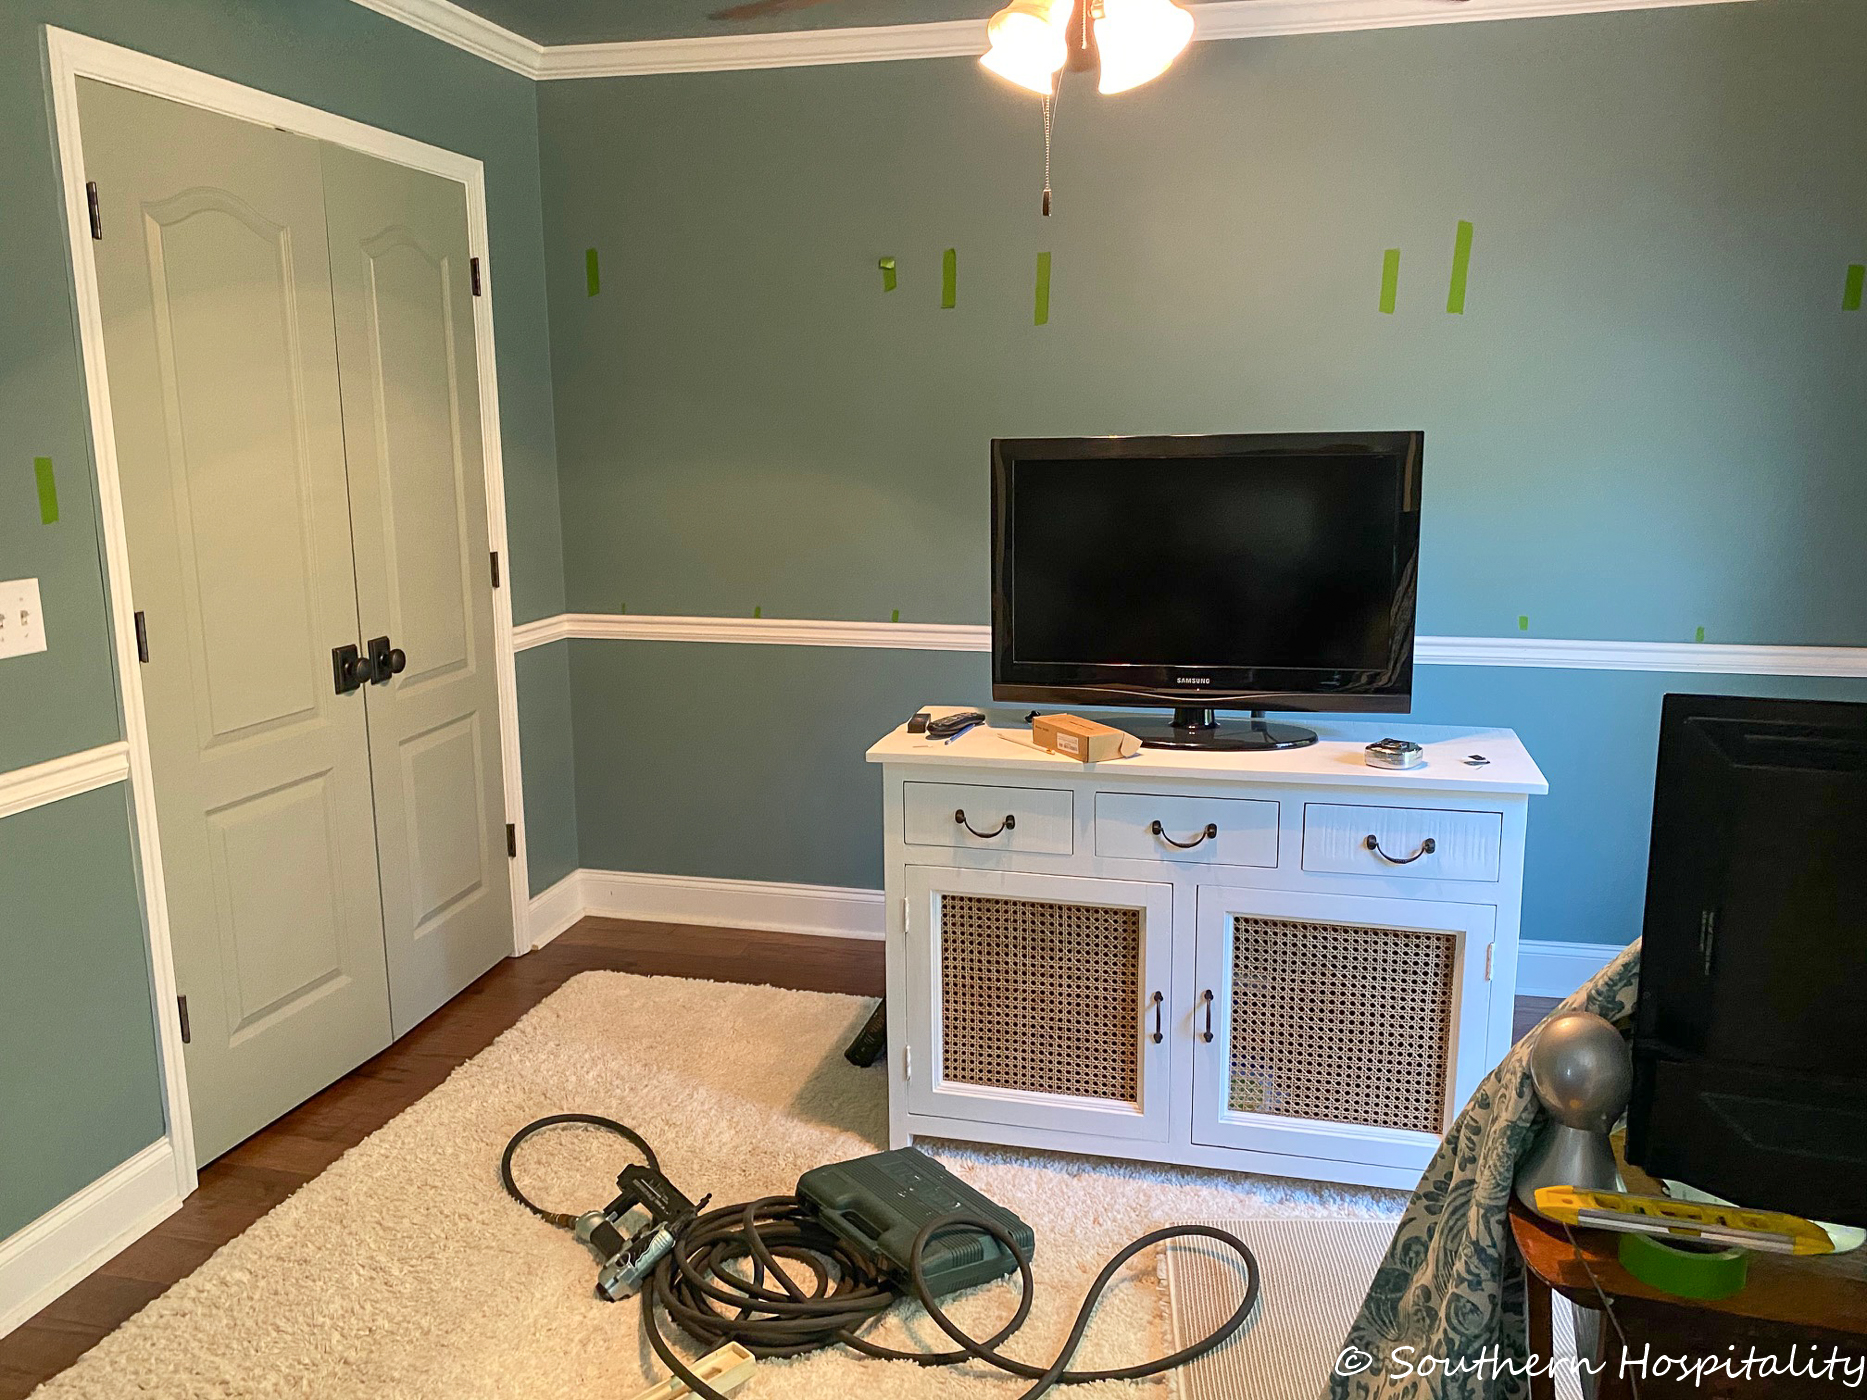
All finished with the chair rail. Next we had to figure out the placement and sizes of our boxes. The big wall was the feature wall with 3 boxes. We opted to make all 3 of the boxes the same size, but if you look at Alisa’s examples she did a bigger box in the middle on some of hers. It just made it easier for us to do all 3 the same and I’m glad we did for balance.
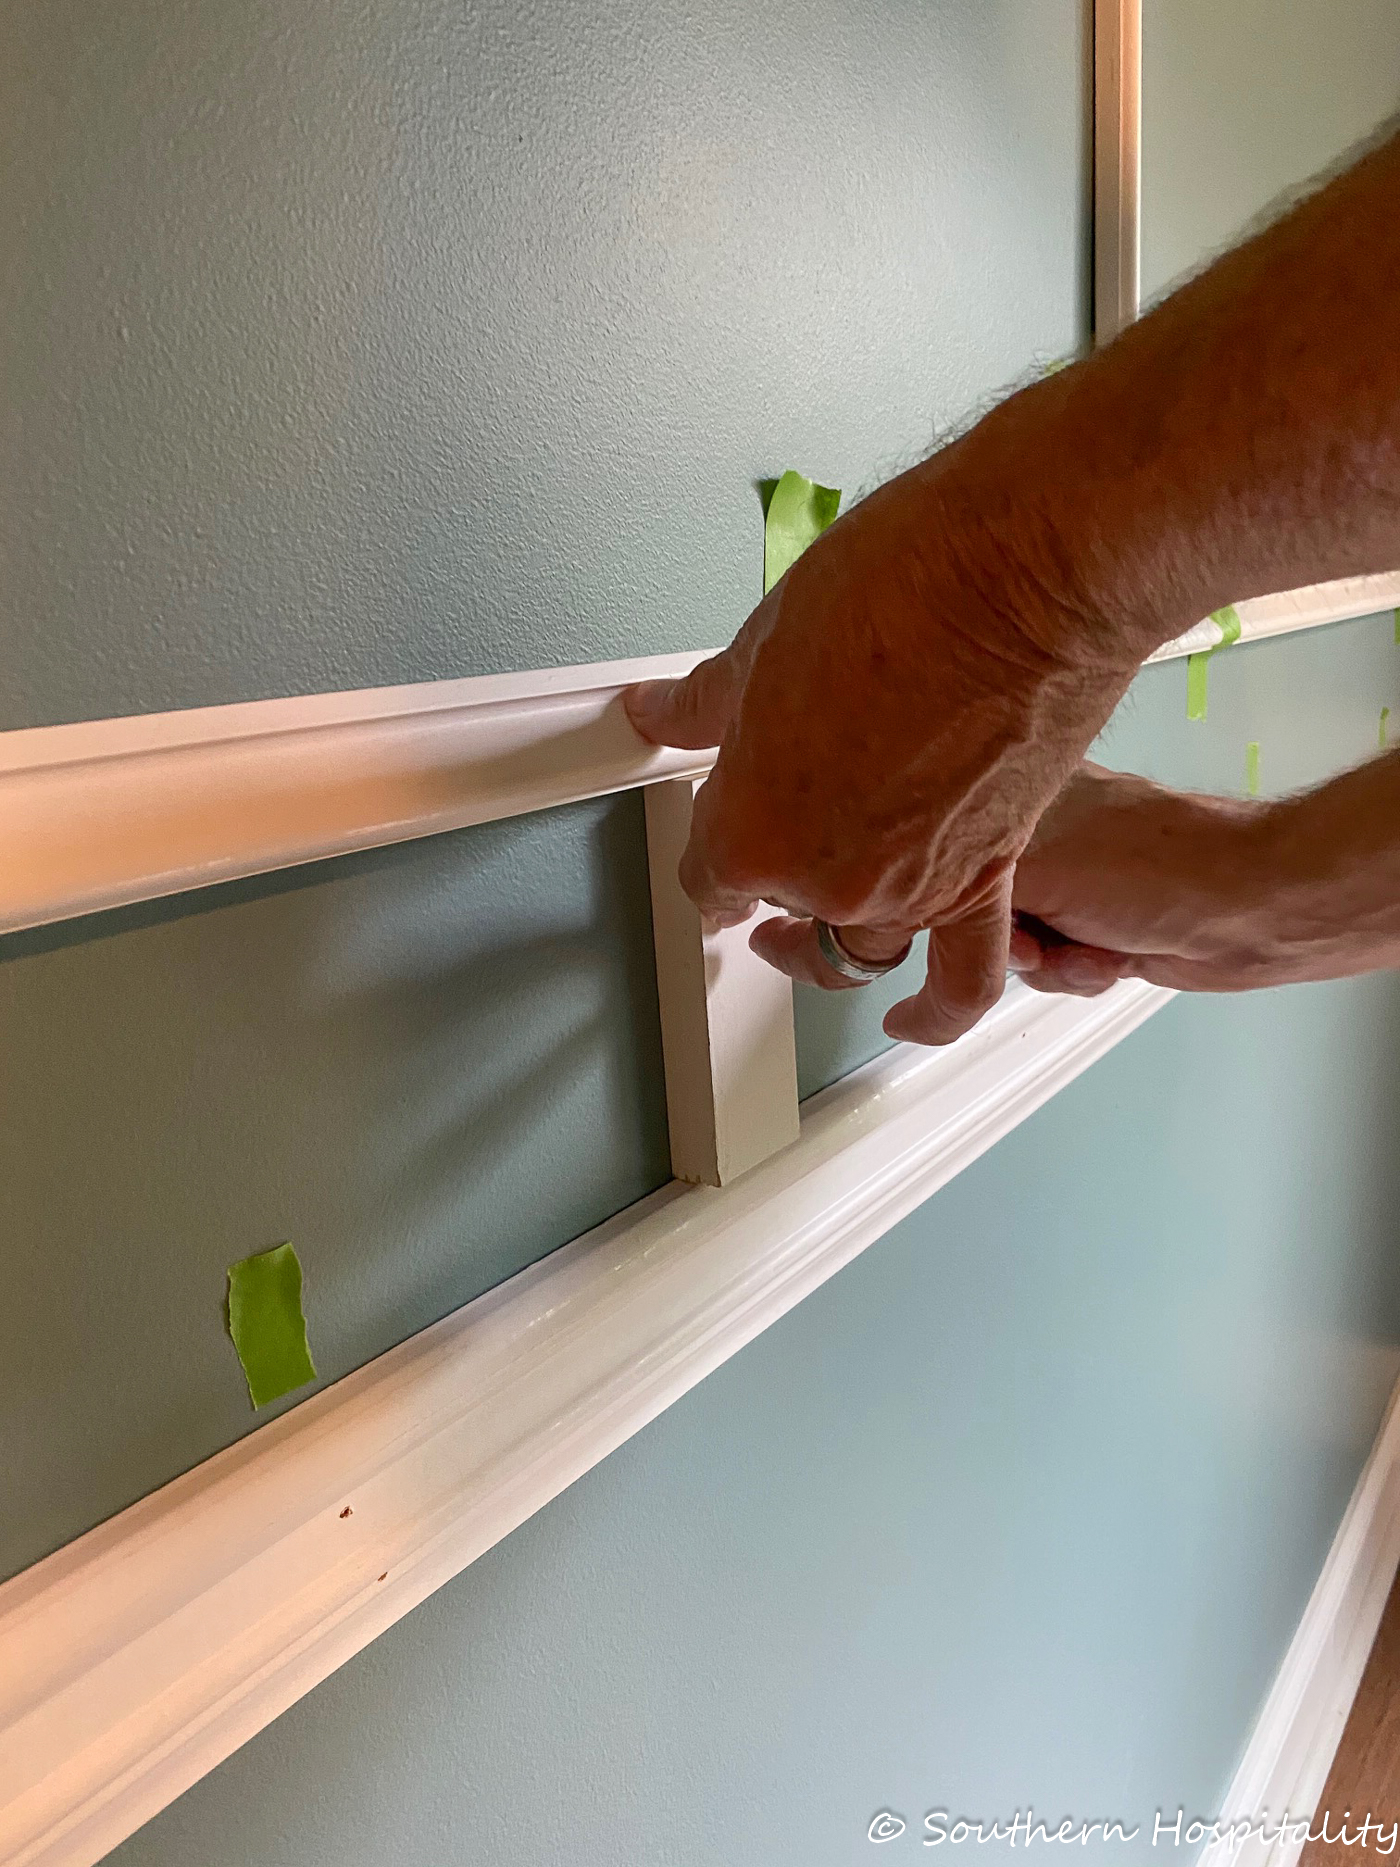
Mark cut spacer boards so that we could use those to help keep everything the same. He cut a 5″ spacer board as well as 3.5″ and 4″ which we used on the smaller walls. The main thing you have to do is try to make sure all your boxes are the same size. This helps in the cutting process too because once you start cutting the vertical boards, you can cut them all at the same time for one wall and the bottom works the same way, once you know your measurements. Makes it easier when you’re cutting and setting up the saw to go ahead and cut all that you need in one go around.
On Alisa’s tutorial, she shares a diagram showing how she came up with the box measurements and that helps a lot in figuring out how to do this. Basically, you take the width of the walls and divide it by 3, taking into account your molding measurement. If you’re a visual person like me, her diagram will help a lot. She gives a lot of detail on the measuring part of this project.
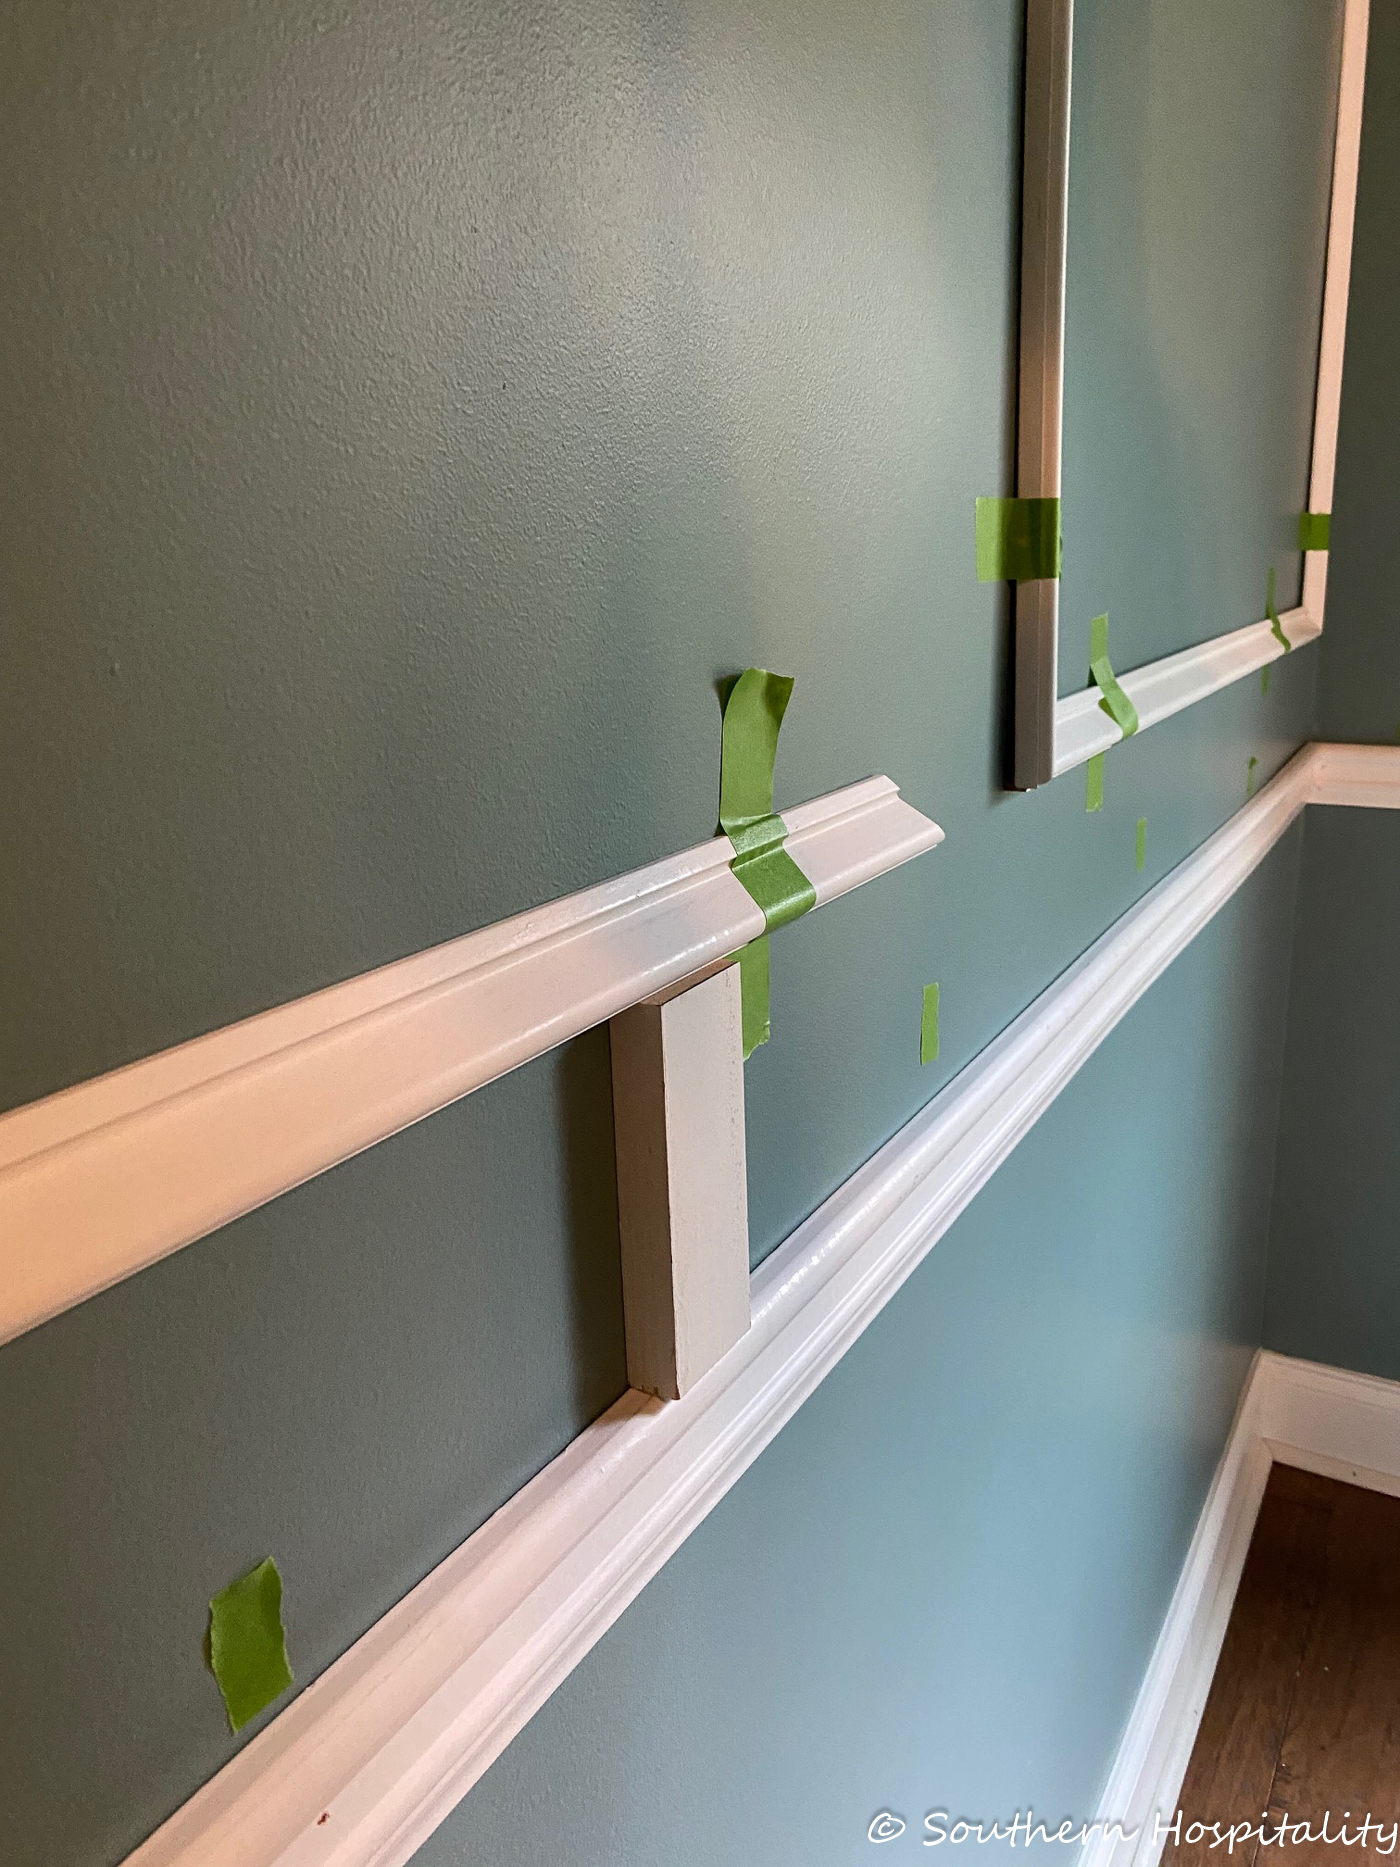
Then you have to measure the horizontal boards and use that same measurement for all 3 boxes and the smaller boxes at the bottom will be the same measurement. To make it easier to get right, we used Frogtape to tape up the cut boards in the right spot before we nailed them all in. We wanted to make sure we were spaced exactly even all the way across before we nailed them in place.
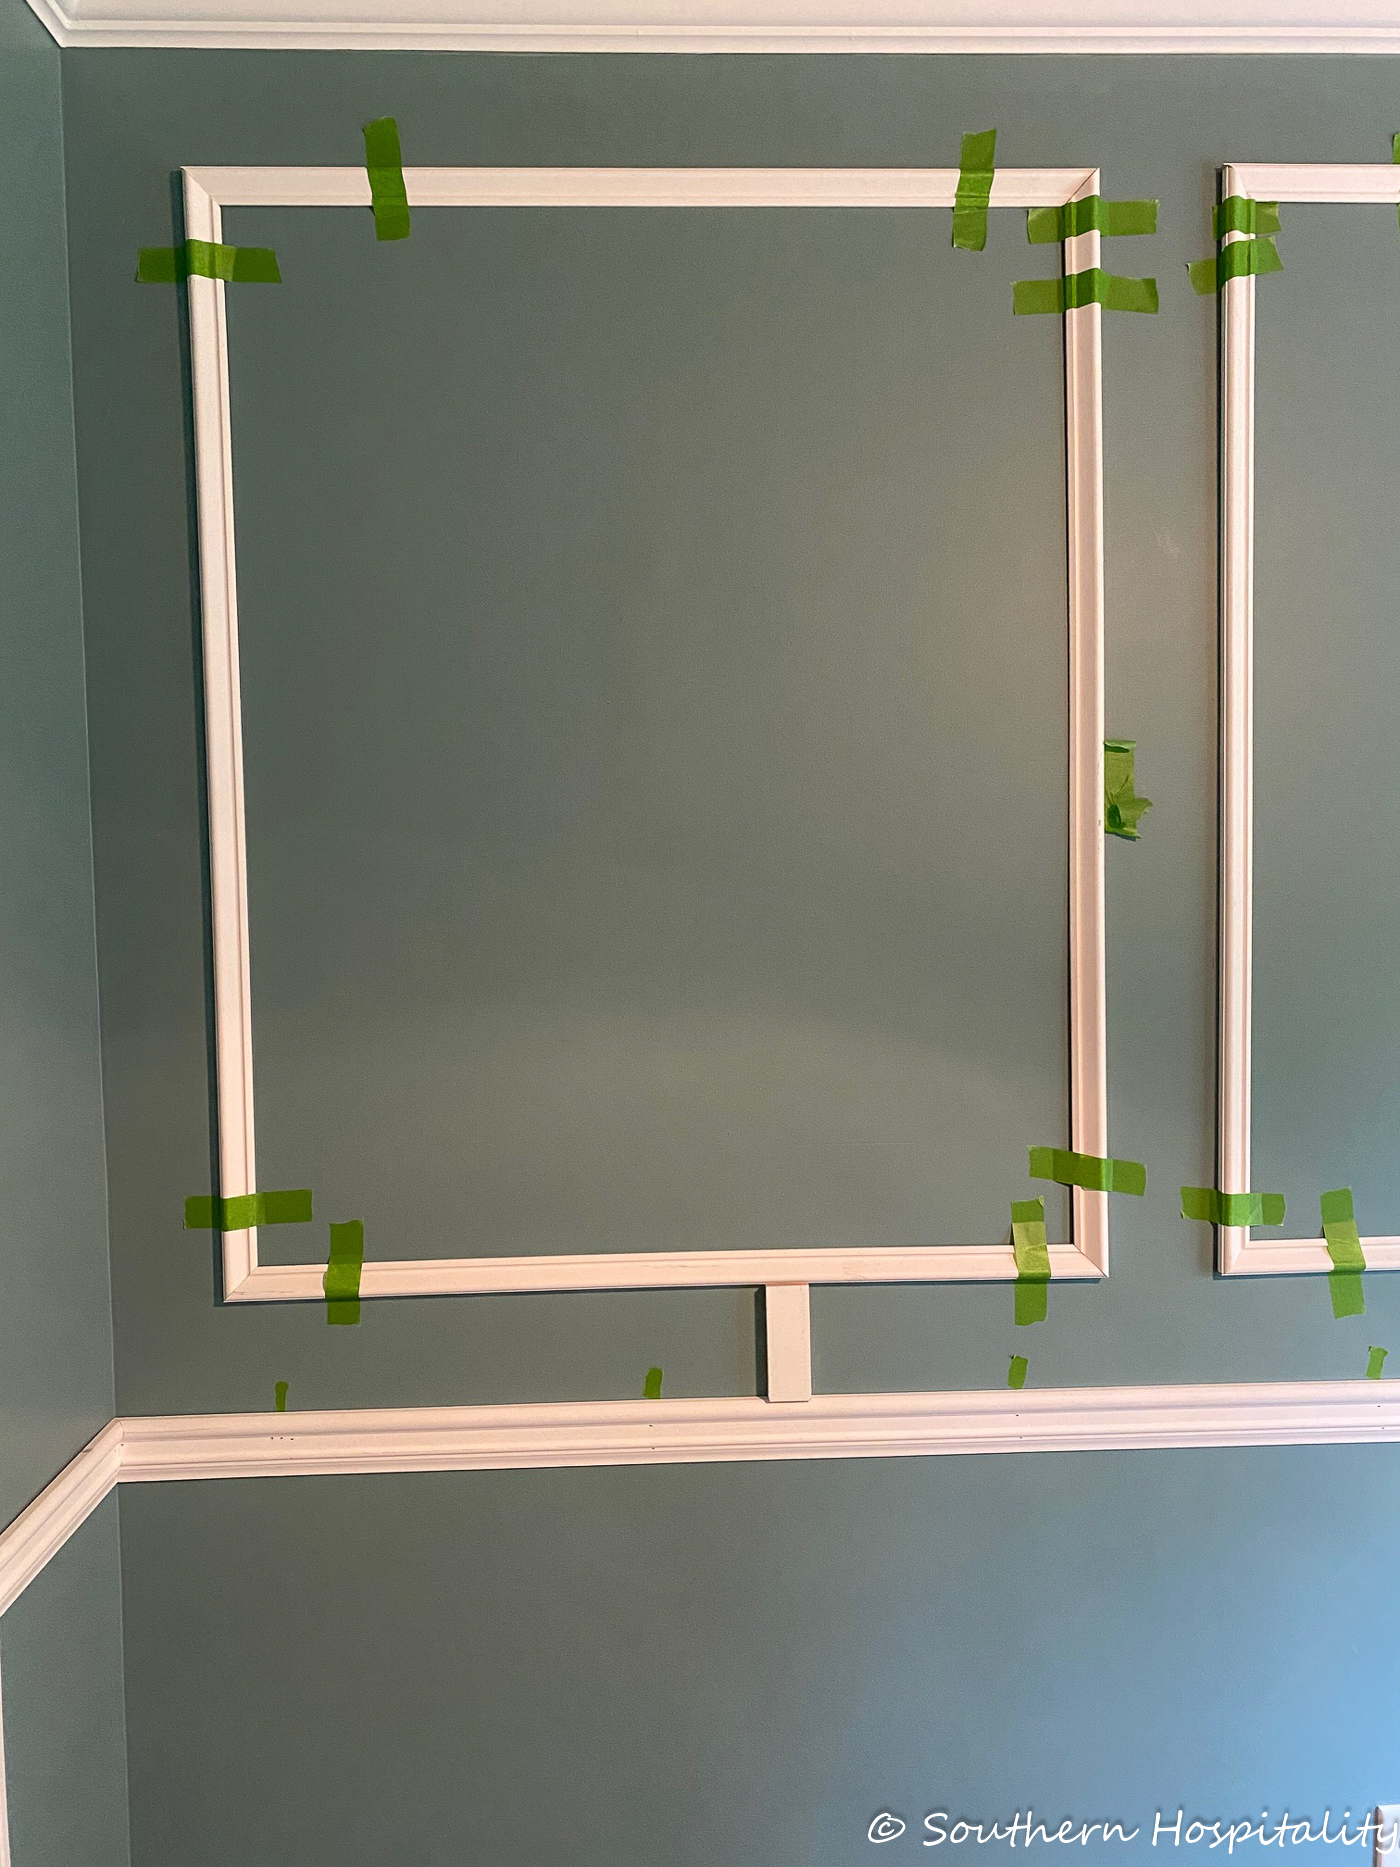
It helps me visually to see things and this was a good way to start. We also used a pencil and drew on the wall in each corner of the molding pieces as we moved along and that helped to keep each box in the right place as well as using a level on everything to keep it all level and straight. Mark is really good at all of this and we both worked at keeping it spaced correctly and level. It’s not perfect, but it’s pretty close!
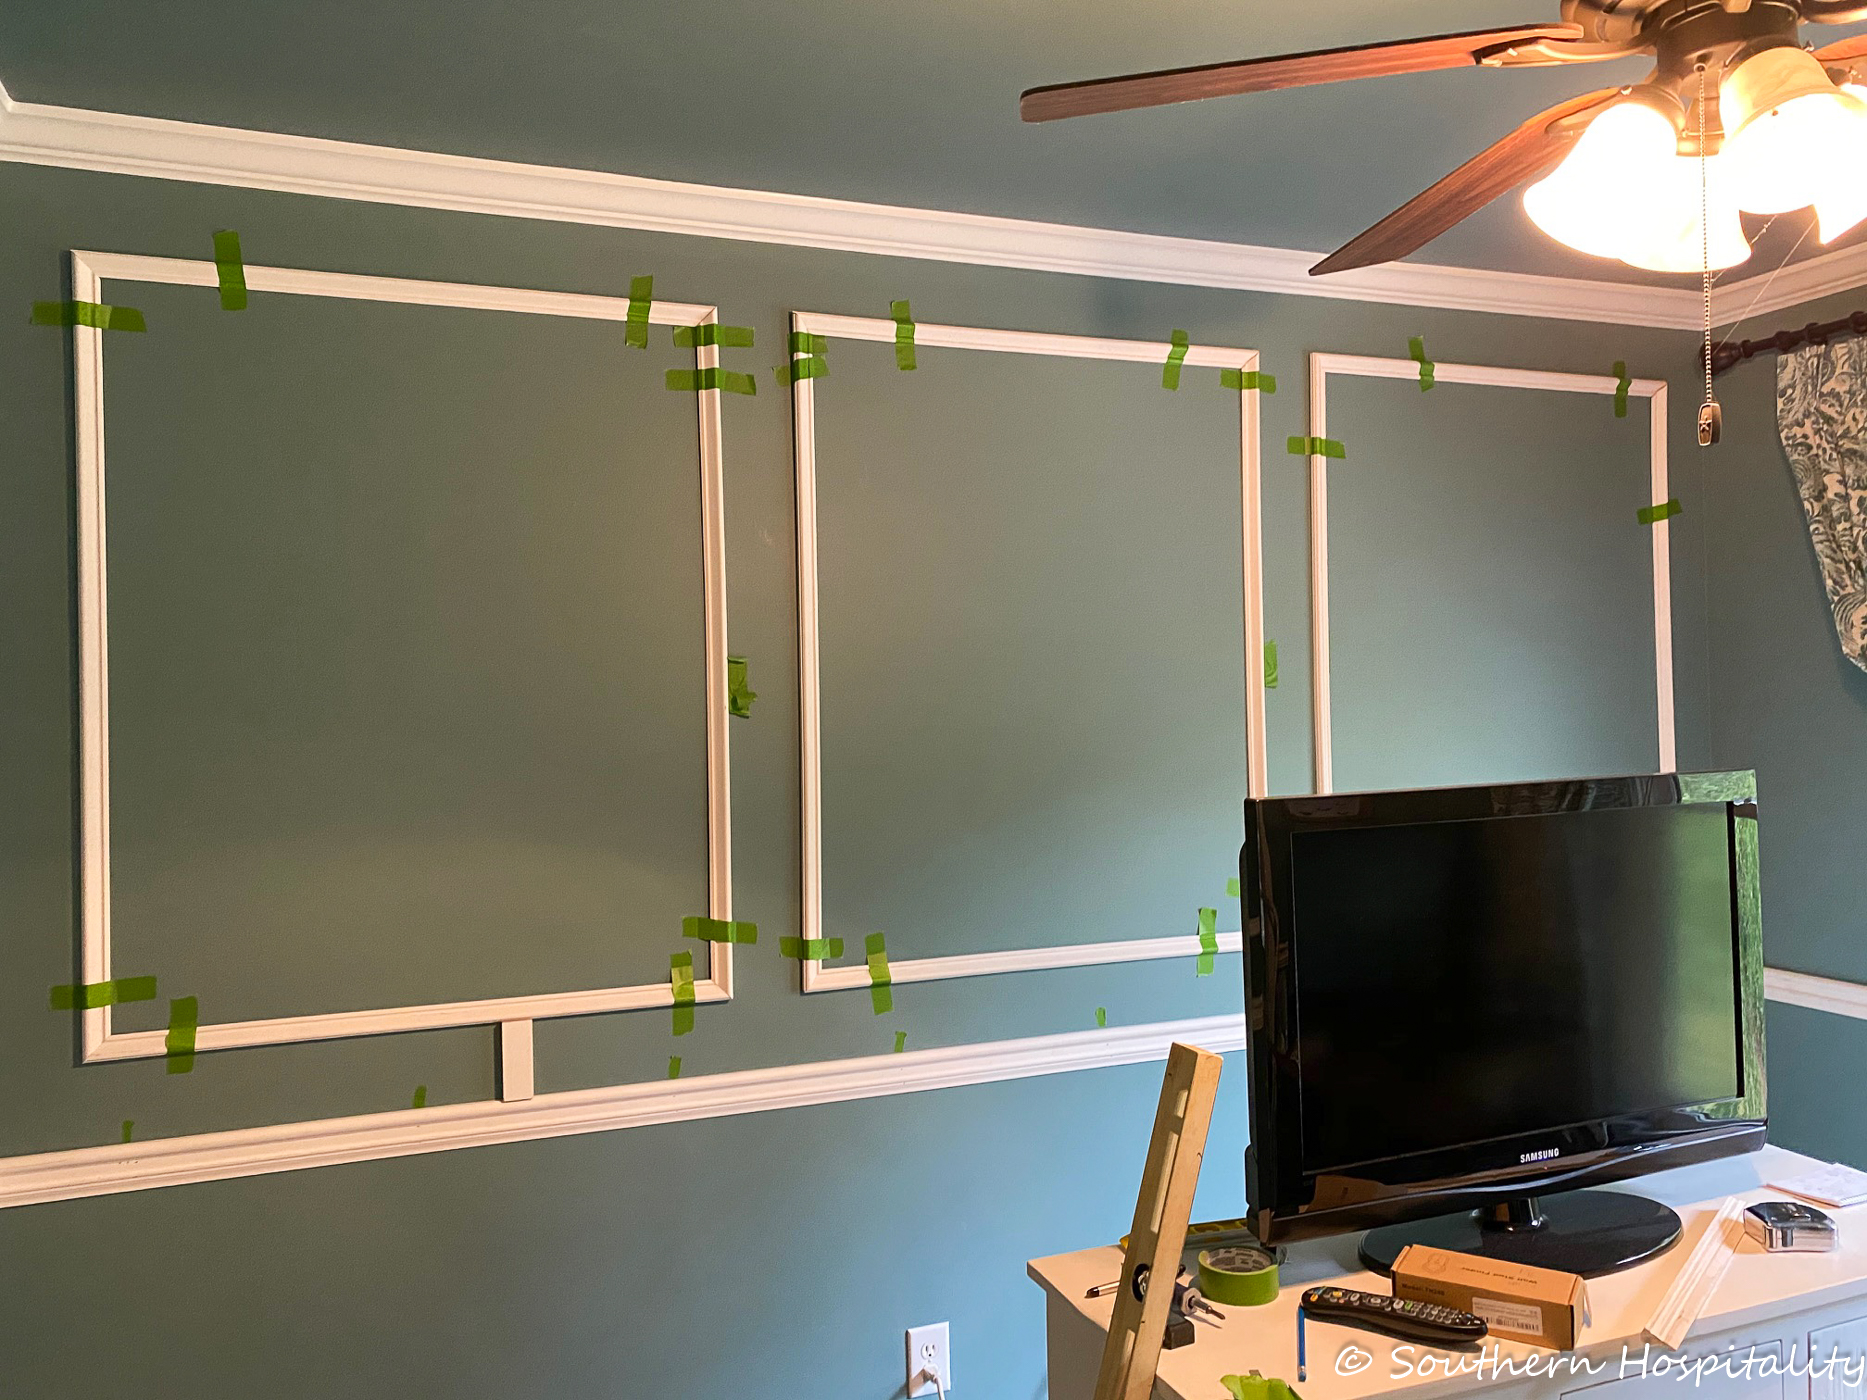
We used the 5″ spacer board on all sides and after taping the molding up, it looked good to us so we started finding studs and nailing it into place. After all the nailing is done, then it’s time to caulk and get it ready for painting.
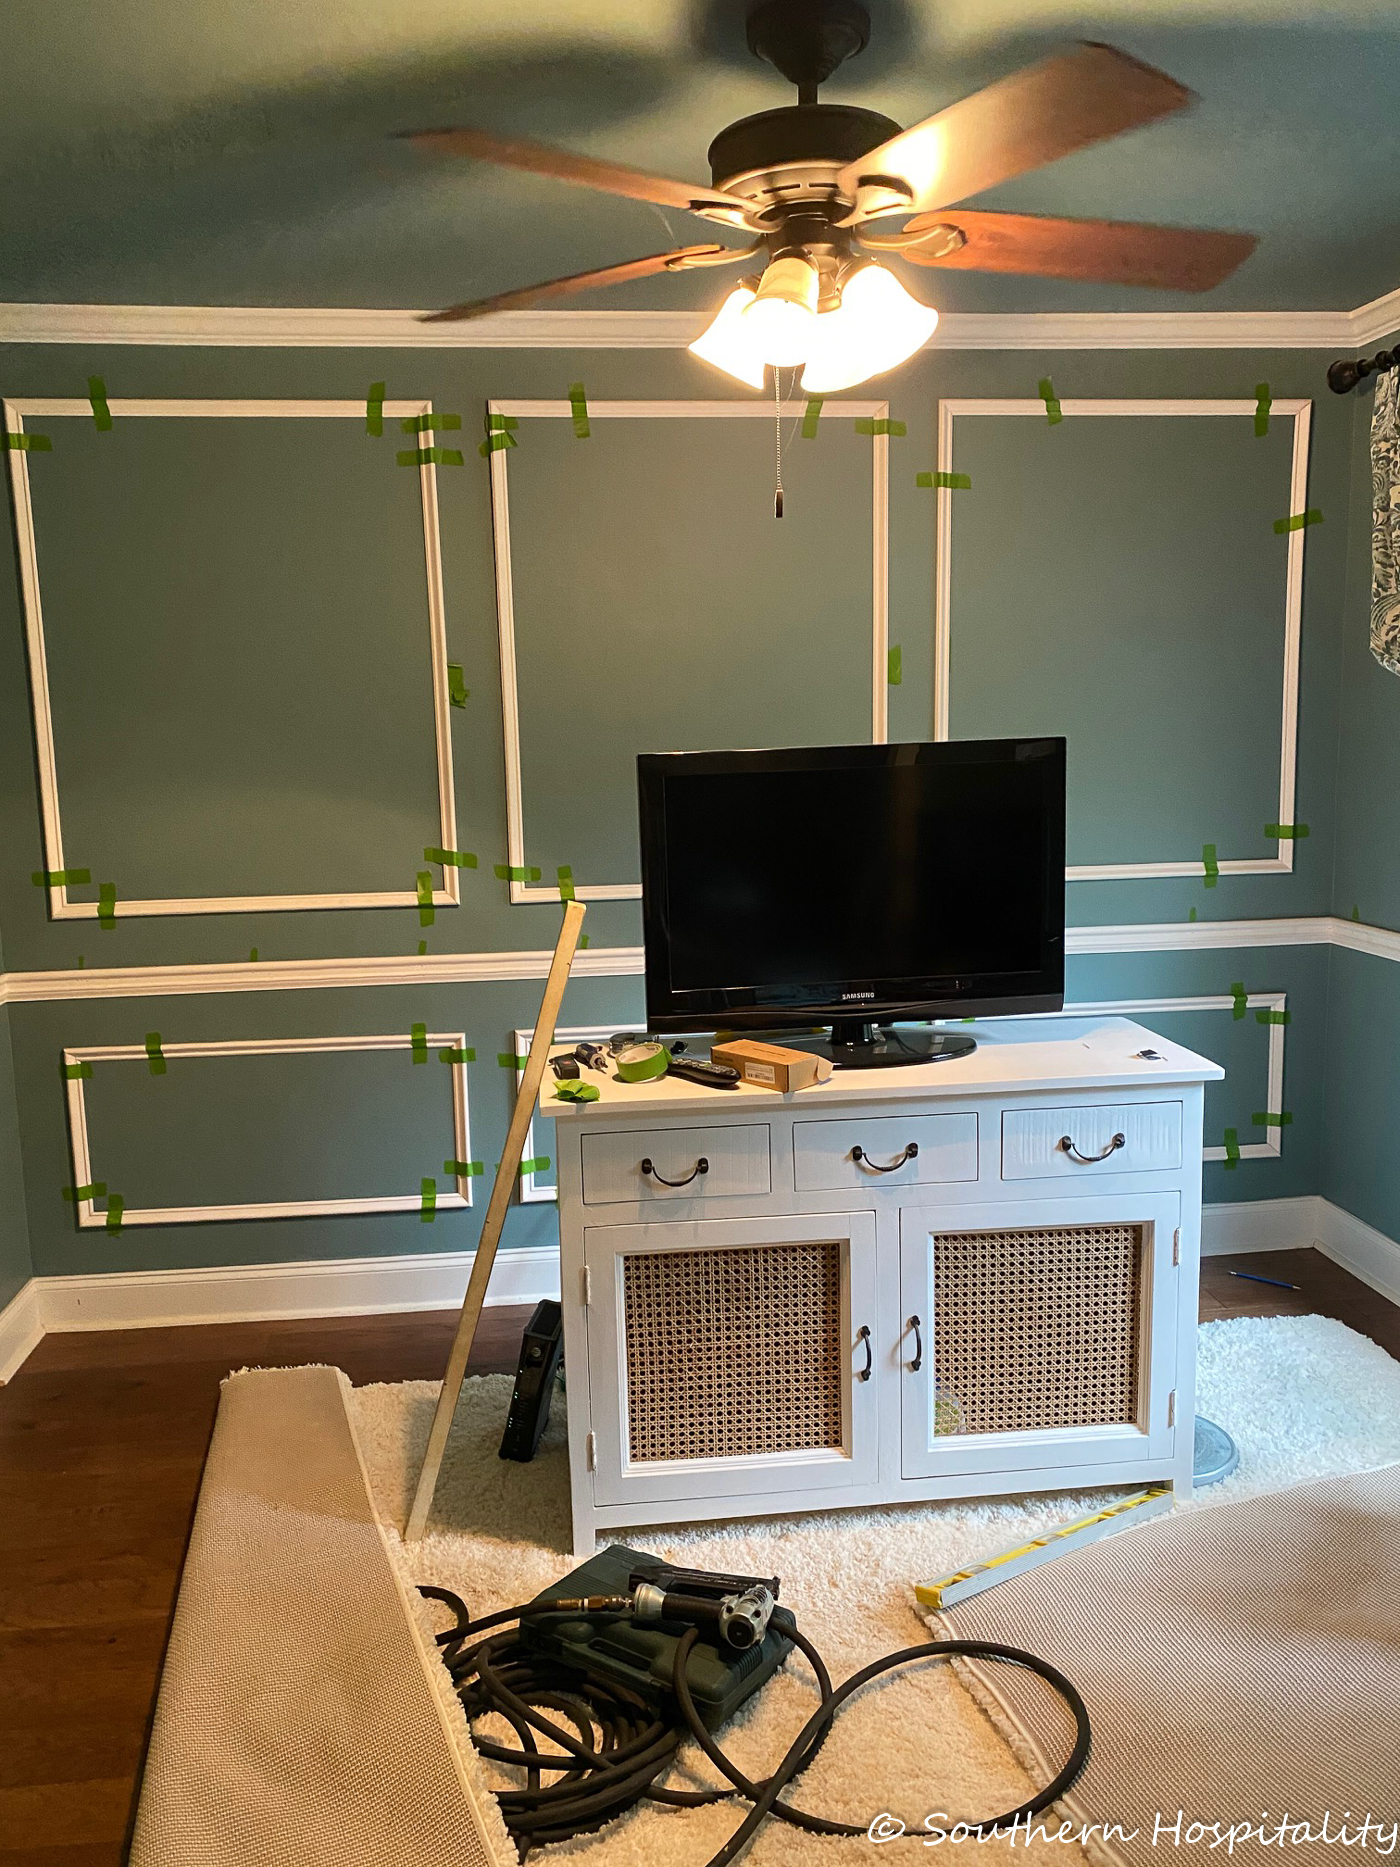
It was amazing how visually the added molding made the room so much prettier. I loved it immediately even before it was painted and I knew that painting it would be the icing on the cake. You can see above how when you start cutting the molding pieces if you go ahead and cut them all at one time this saves time. We cut 6 verticals the same, and 12 horizontals the same. And the smaller boxes at the bottom got 6 more shorter verticals cut at the same time. You can also use these measurements for the smaller walls too, at least some of them to save time with the cutting process.
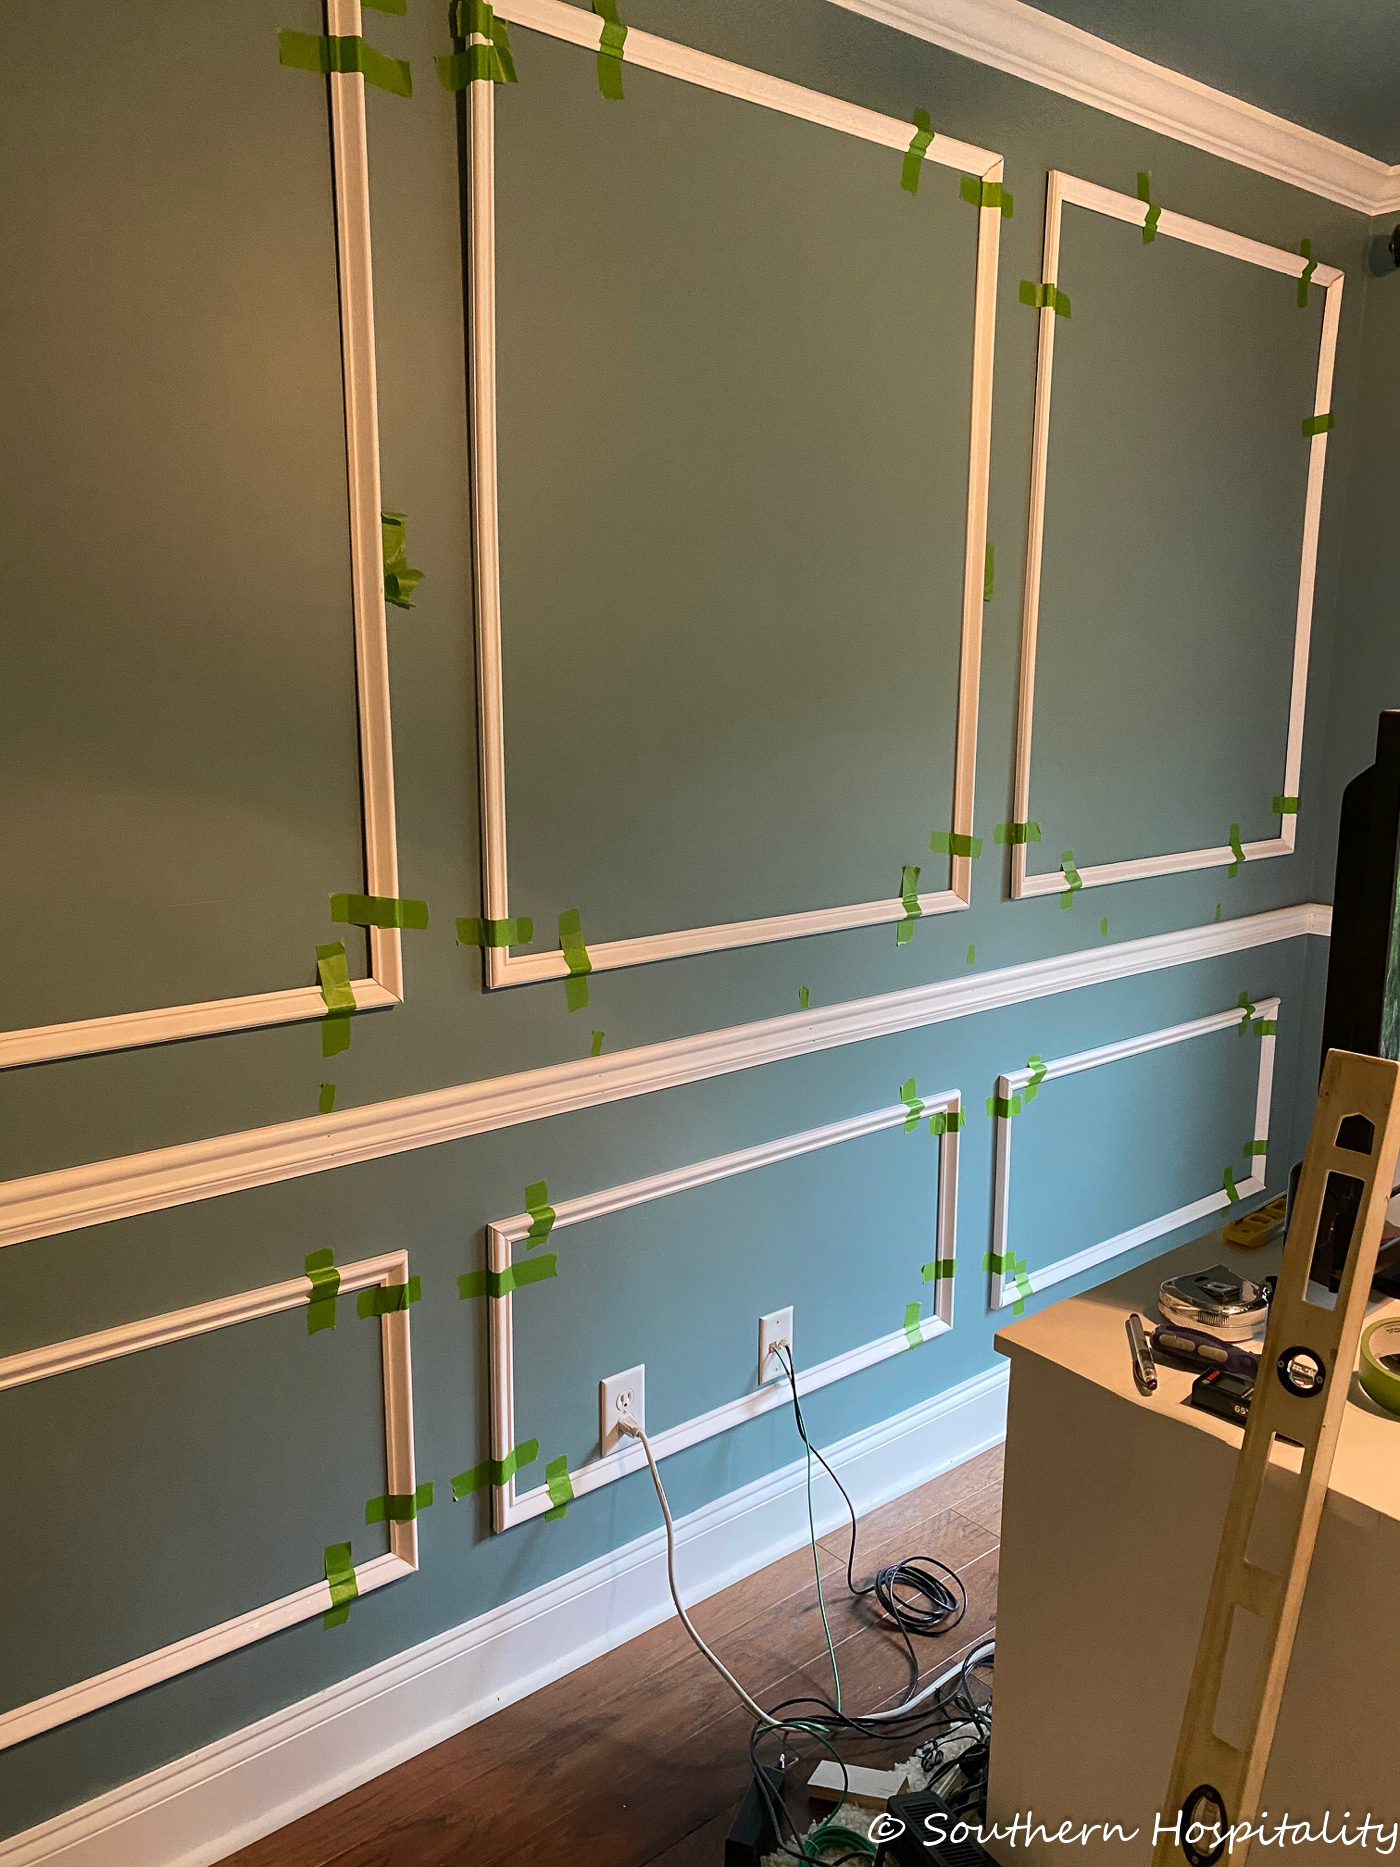
Ready to nail. We got this big wall done first using a nail gun and compressor and then started moving around the room, figuring out the spacing of those smaller walls.
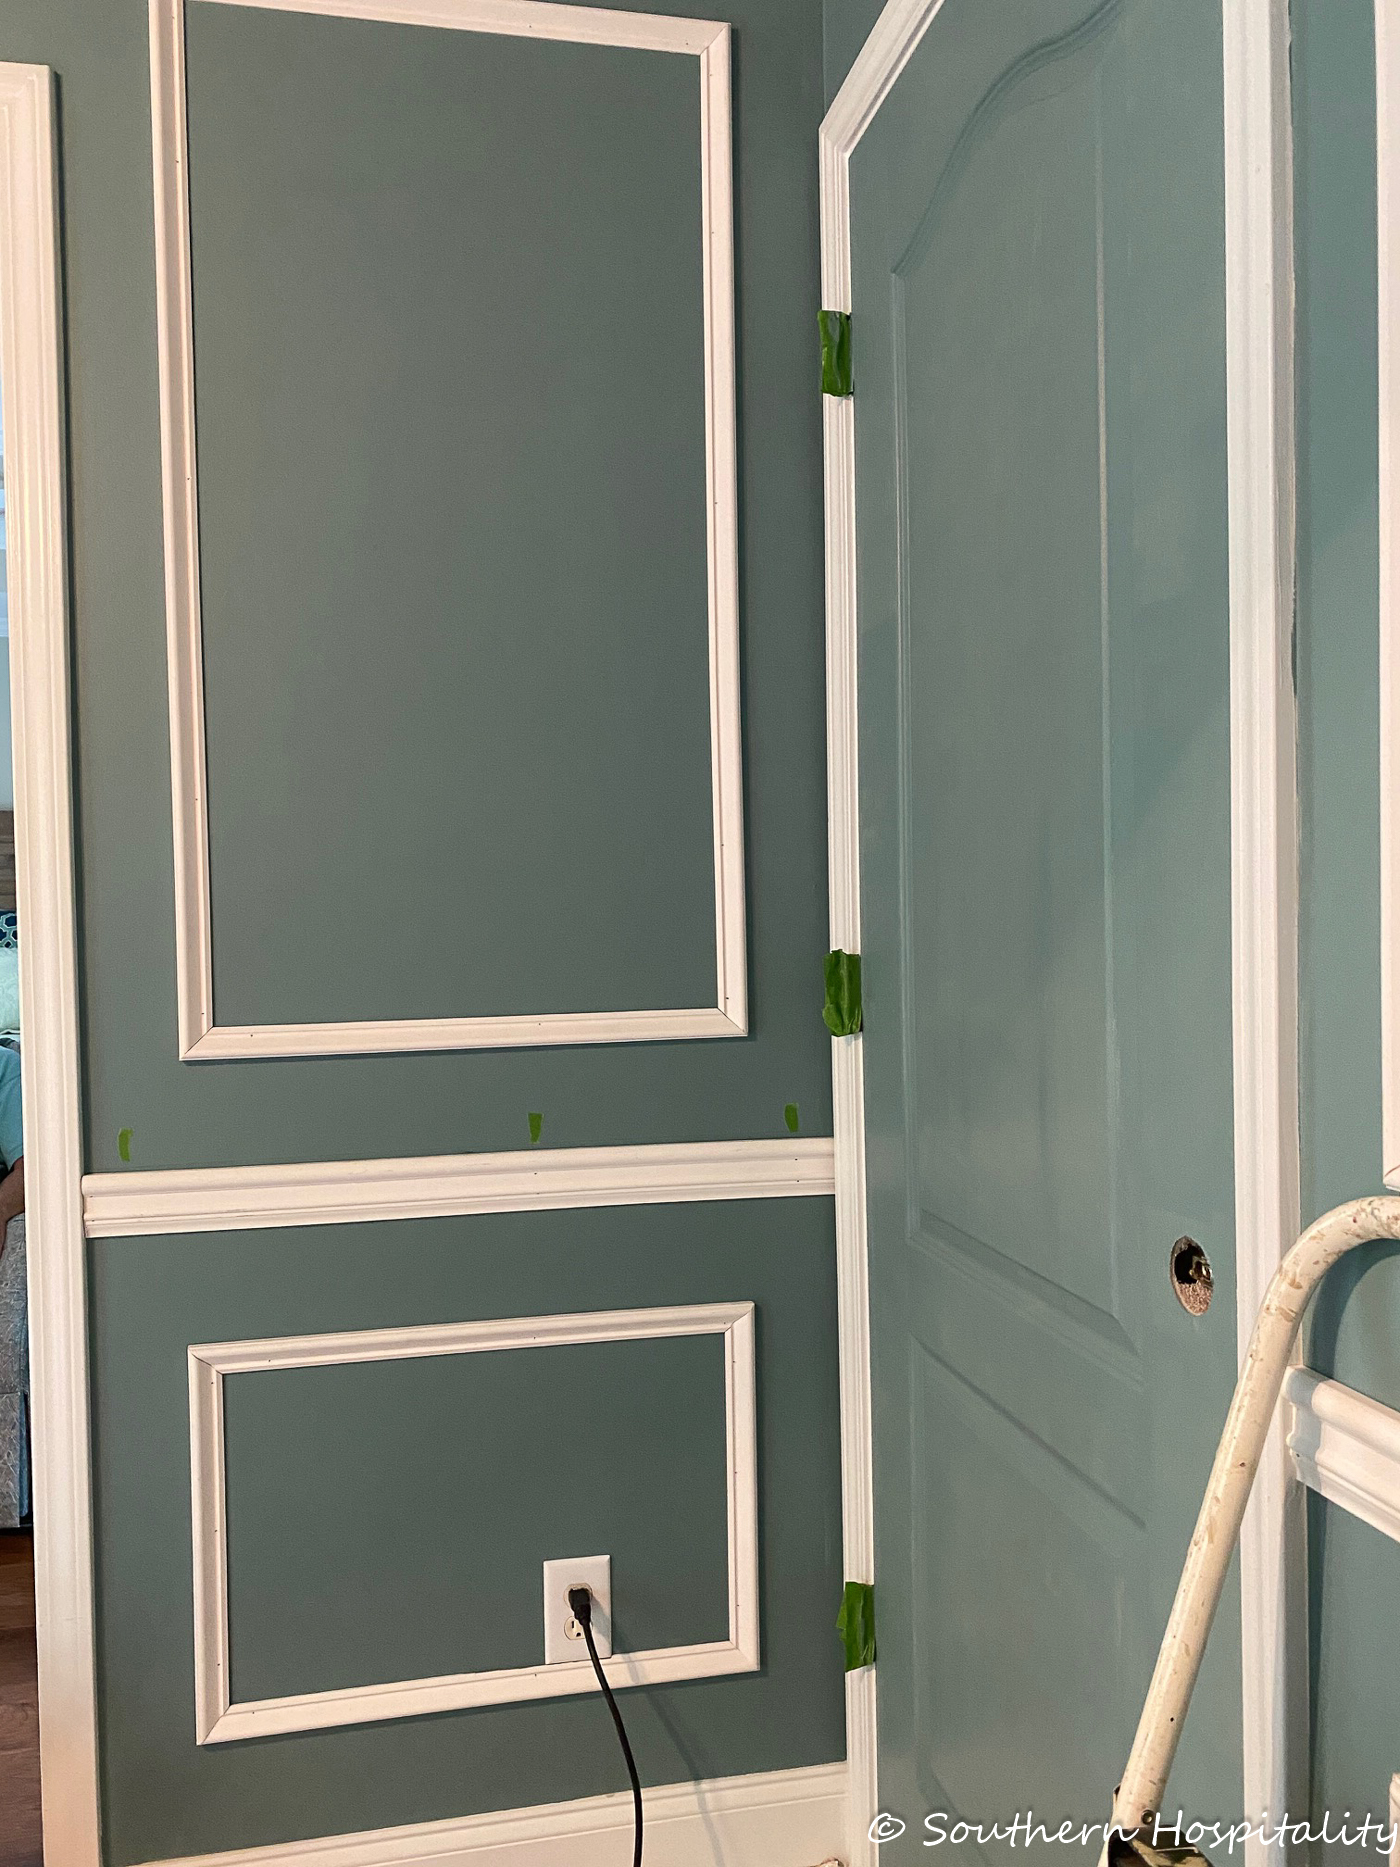
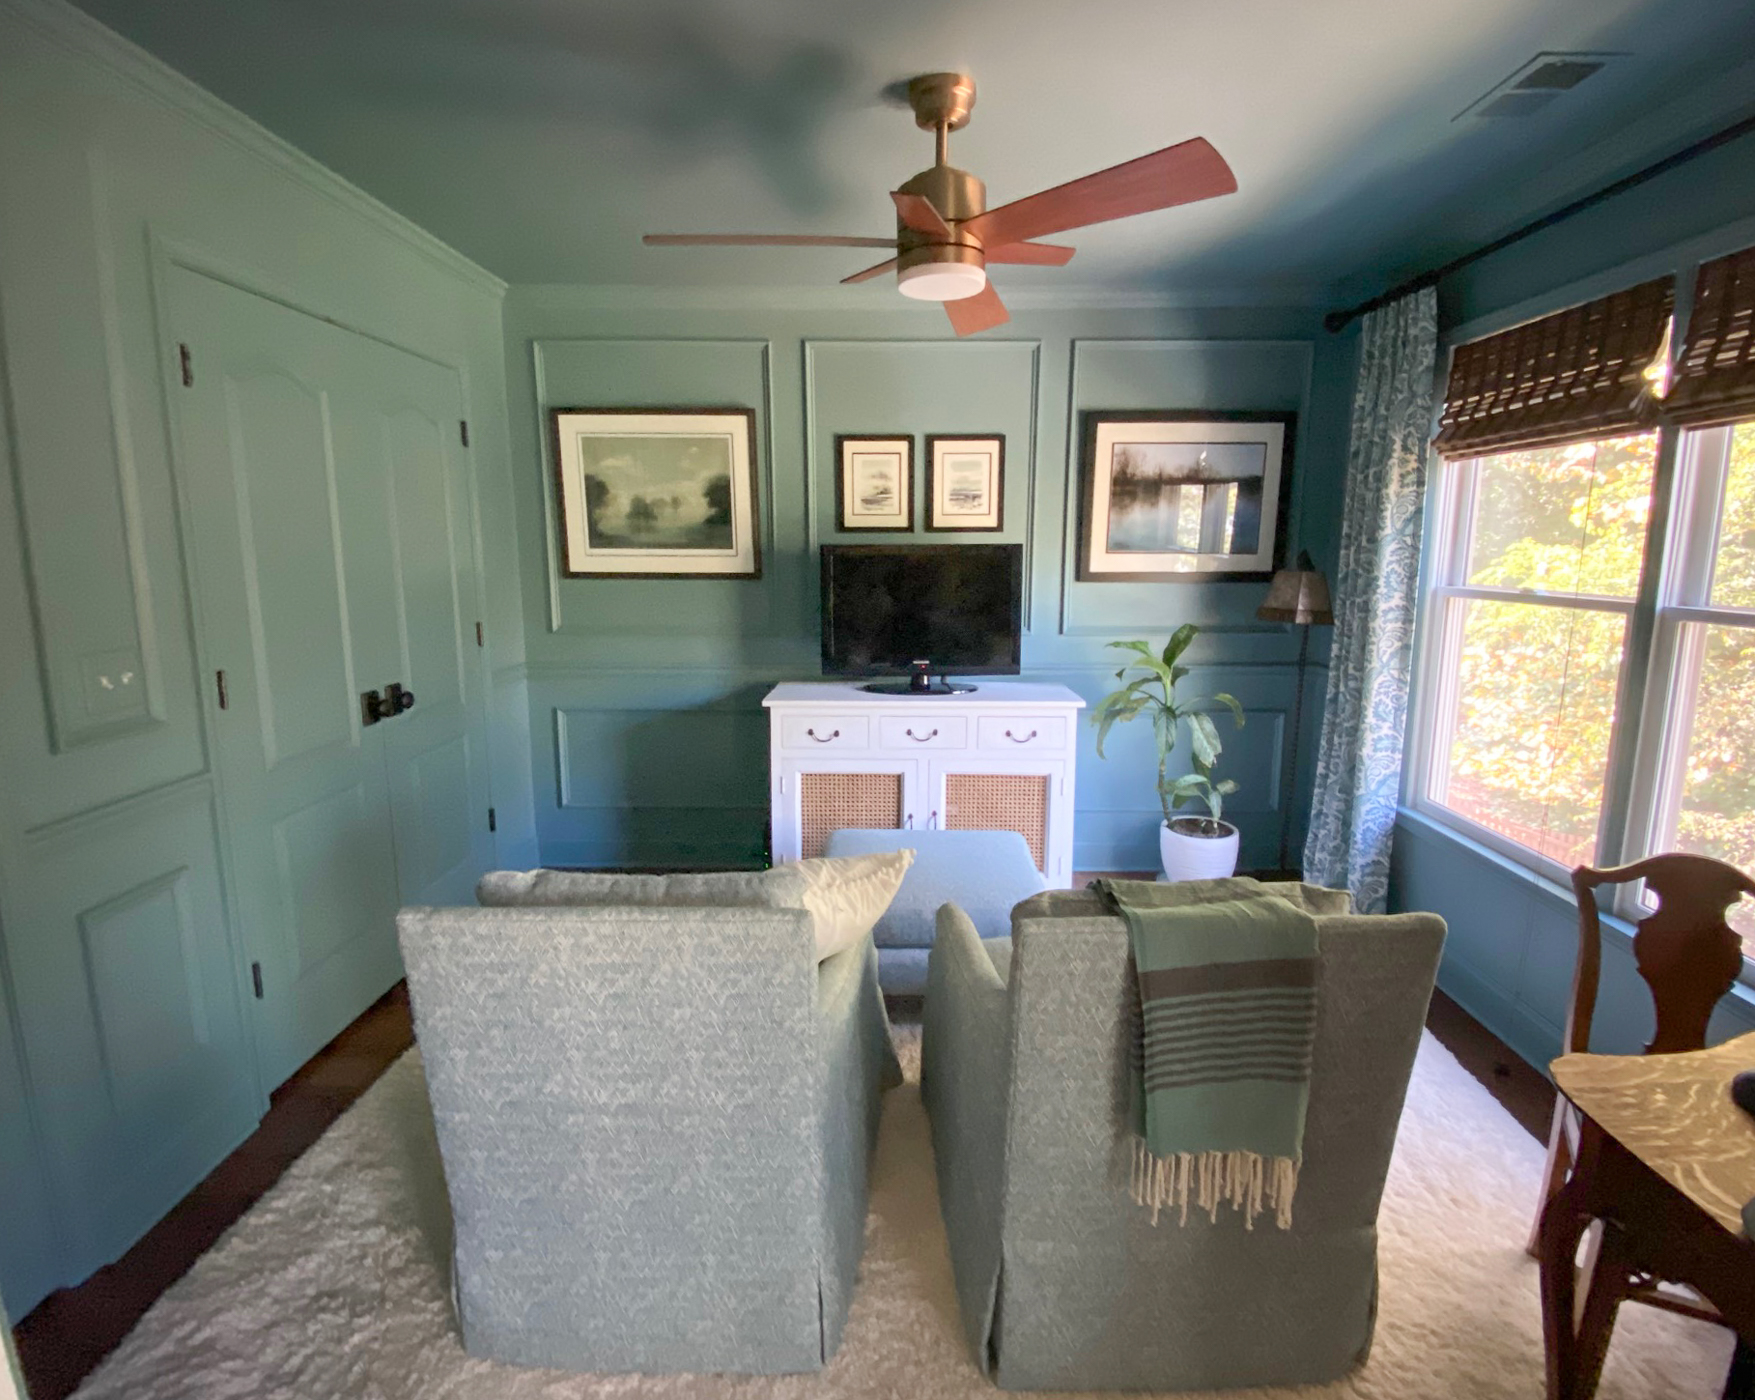
We used a smaller spacer board here, I think the 4″ board. I did the same thing Alisa did and all the very top boxes all line up with each other so they are all 5″ from the crown molding all around the room. You can see in the picture below, they don’t line up with the doorways, which I think looks good. They are stepped up a bit.
We did the same thing on the other smaller wall. Some people add molding above a doorway or window or below the window, but our spaces were so small that it would have looked really funny to try to cram in a box below the window. I think it turned out just right like this.
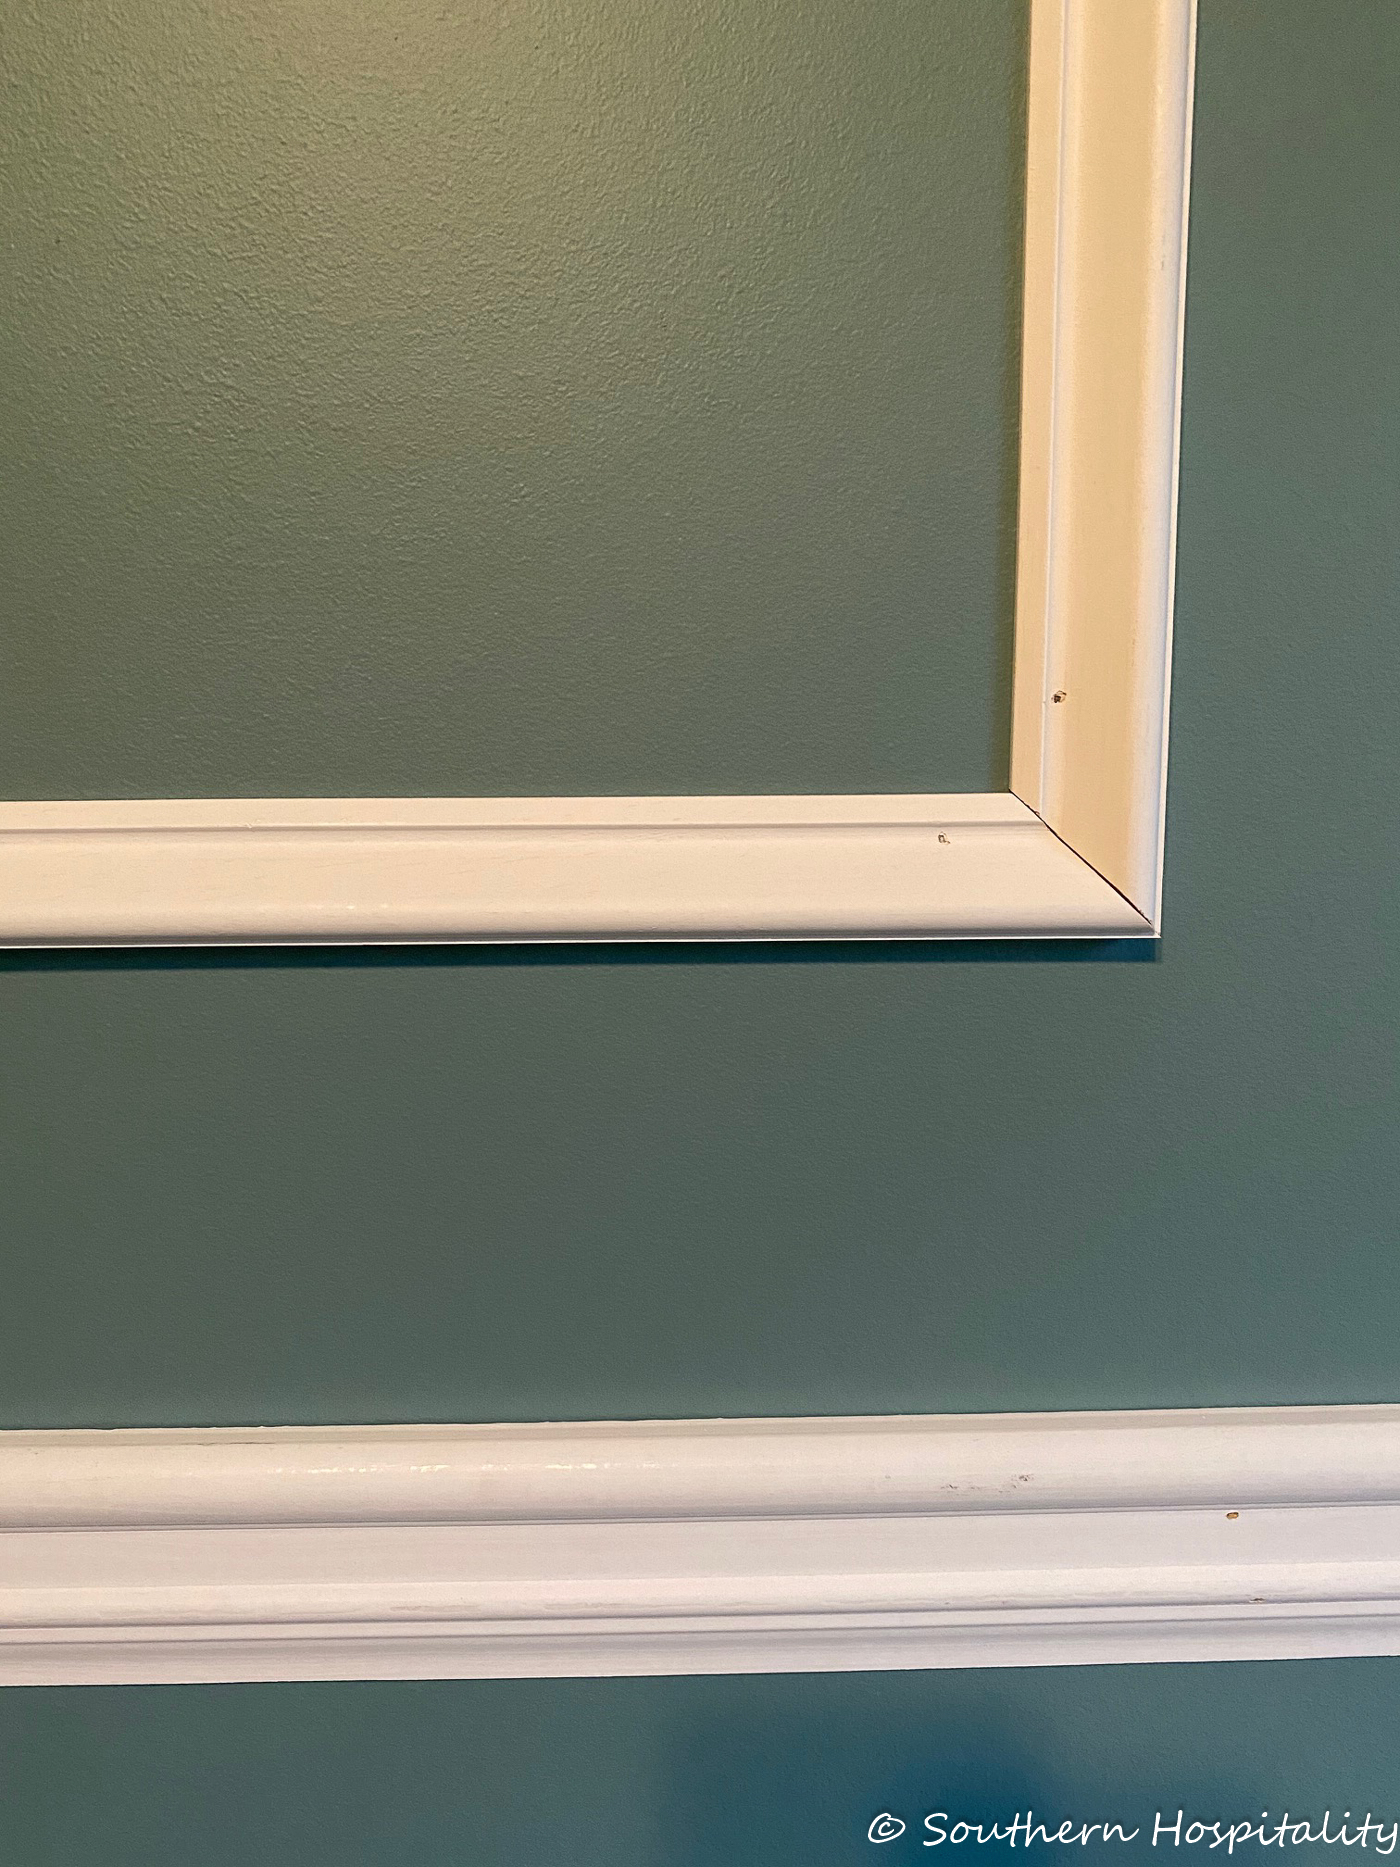
Everything is nailed and ready to caulk and that’s not such a fun job, but I tackled it and got it done. Again, it’s not perfect, but it painted up really nicely and I’m super happy with how it all turned out.
We used a 1 1/2″ preprimed molding for the picture frame and a standard chair rail molding, all from Home Depot.
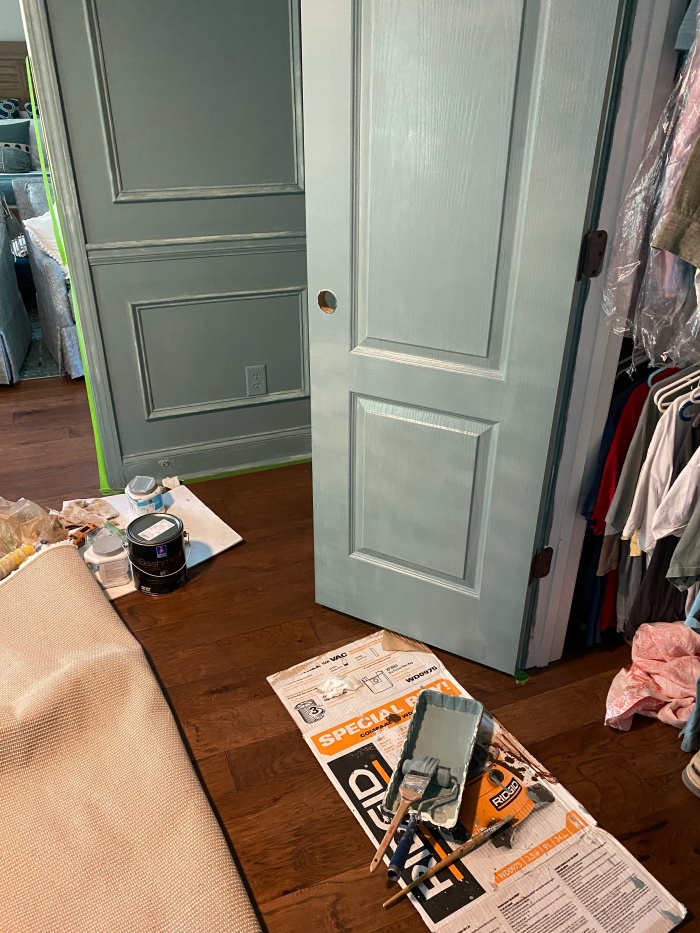
Here’s an in progress shot of painting it all out. It took two coats on everything to cover up the white well. I also painted the light switches and the outlets that showed so nothing white would jump out. It was a few days of disruption and mess, but so worth it!
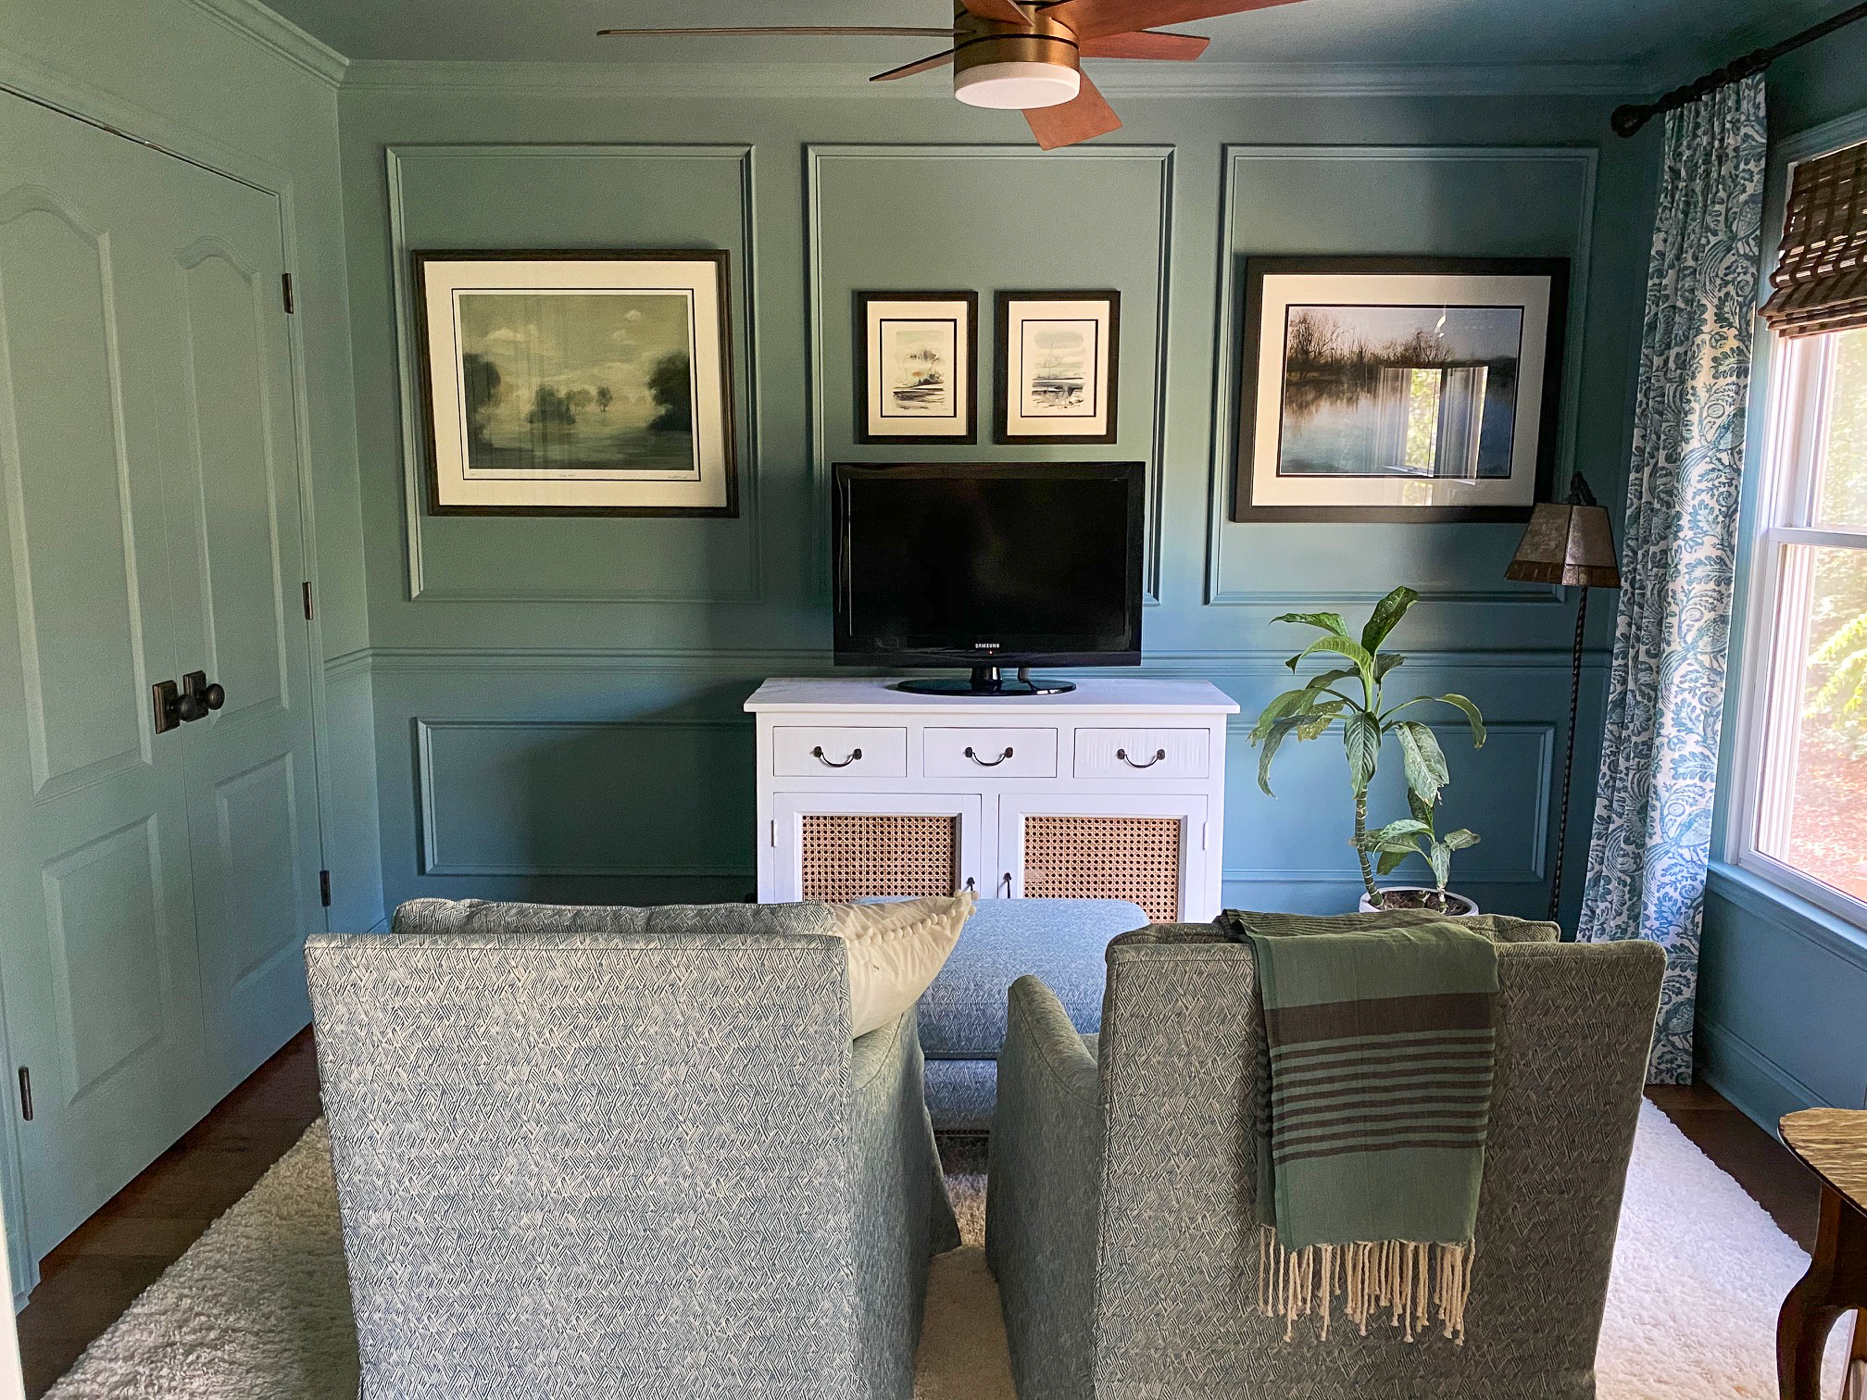
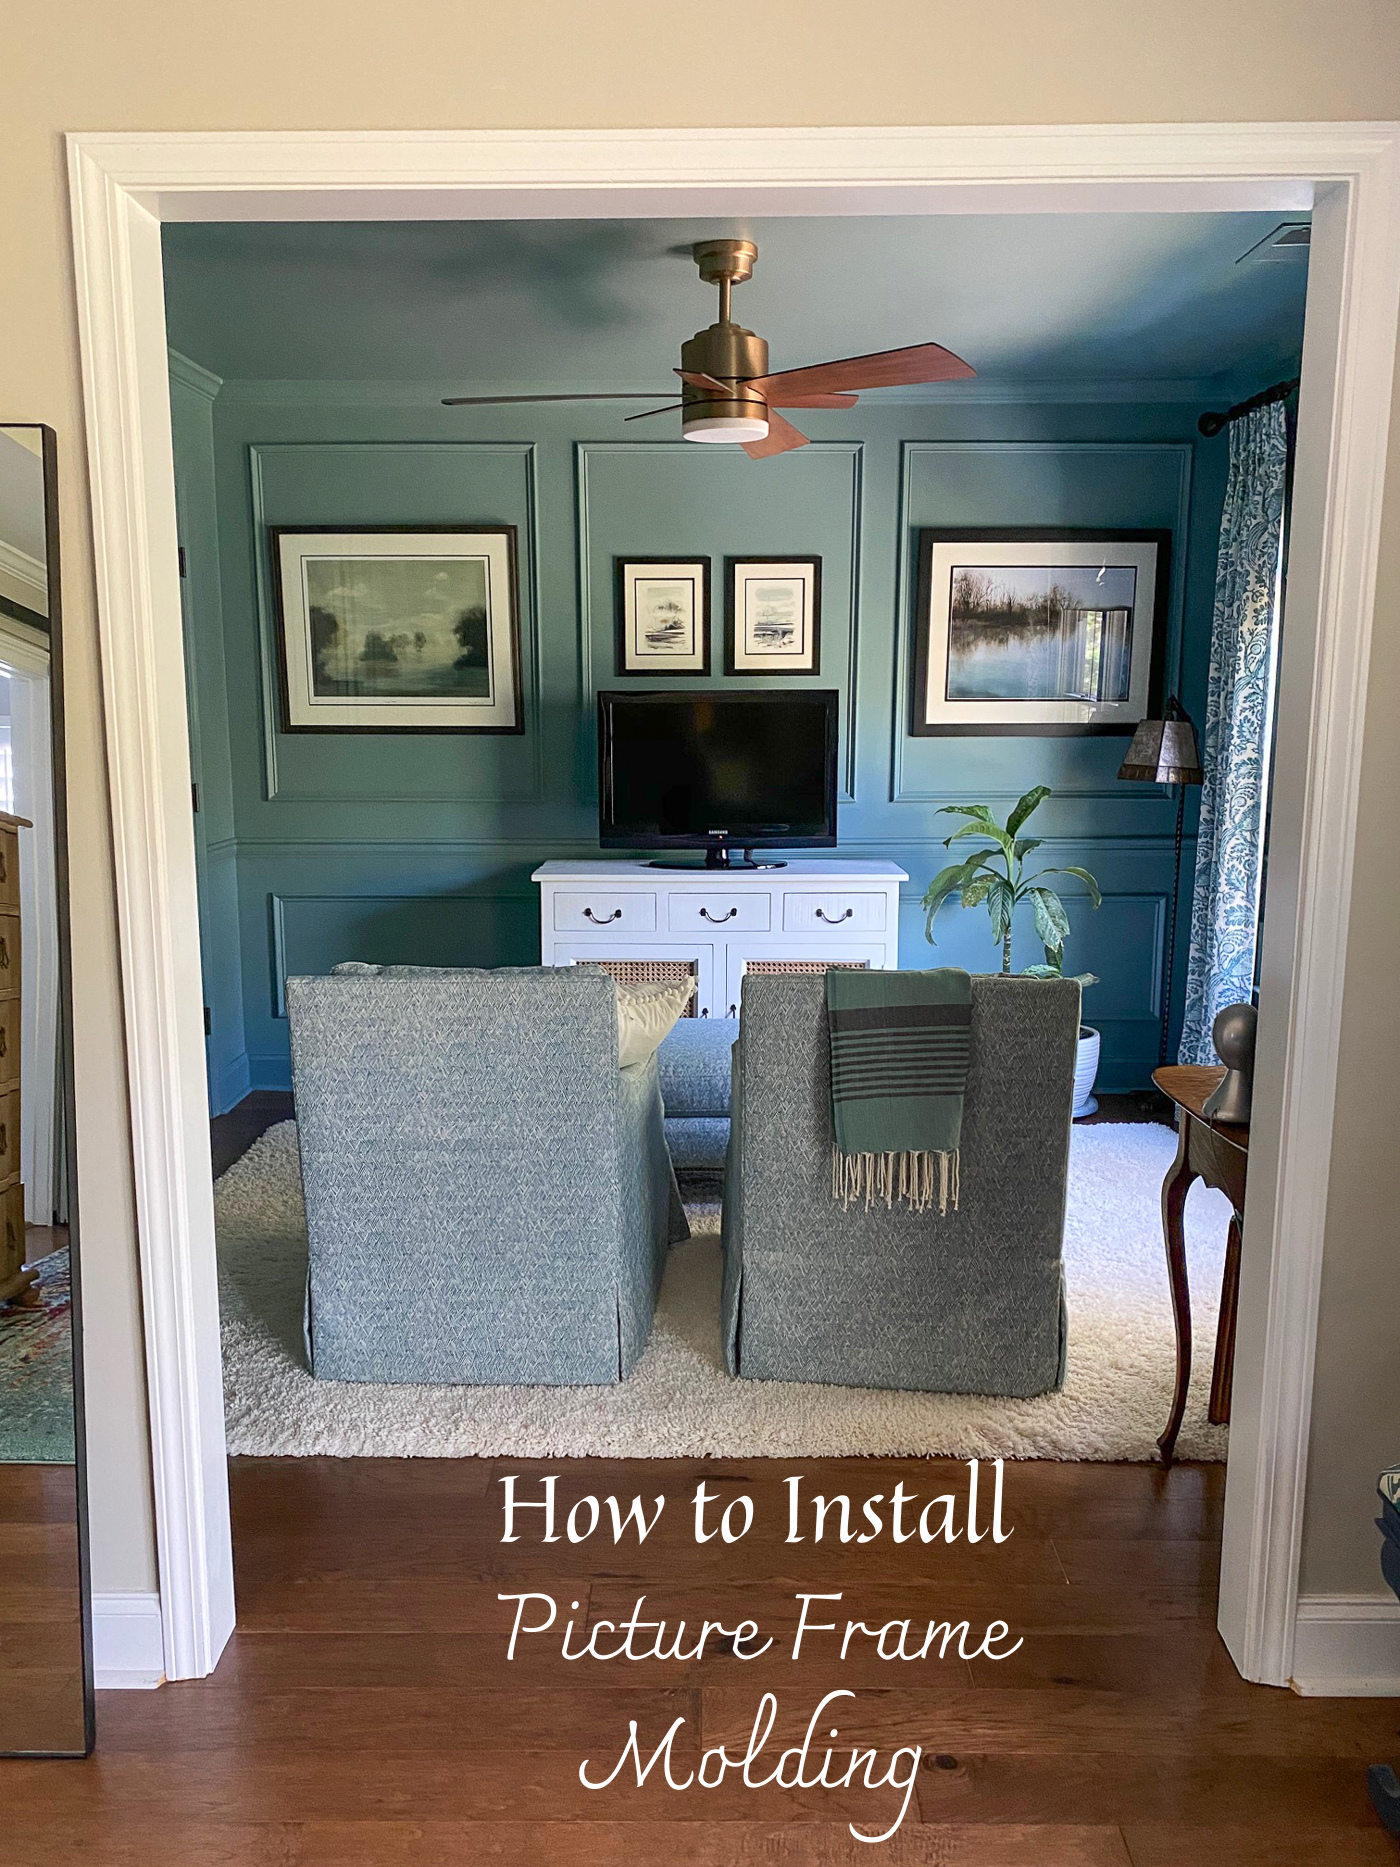
And here’s the room again, all painted out. I shared the whole room in this post if you want to see it all again.
Paint color is Moody Blue all in a Satin finish. Some people do the molding in a different finish than the walls, but I thought Satin was nice for all of it, so I just kept it all the same.
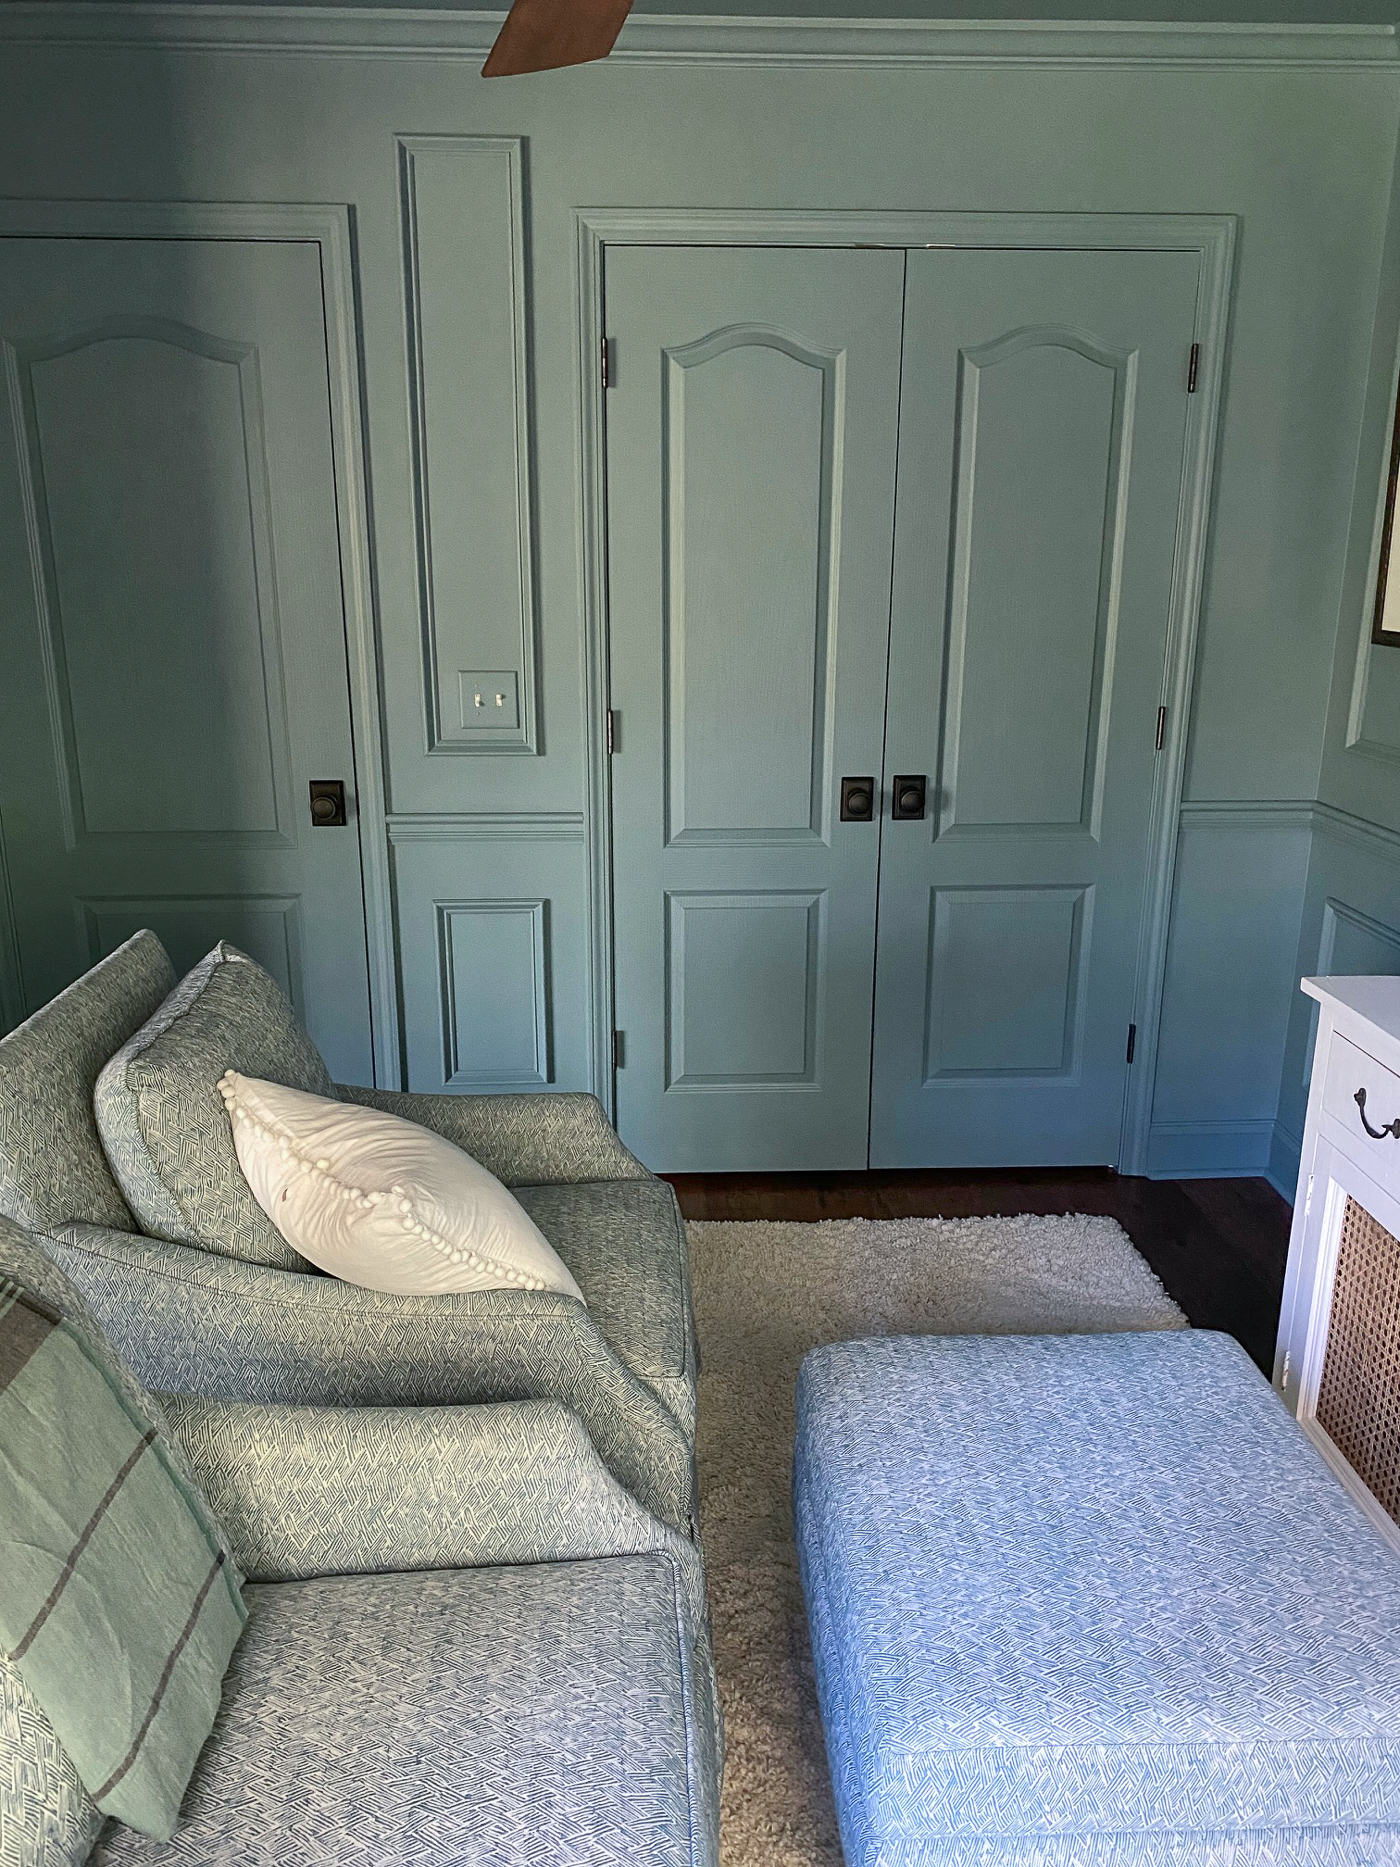
We added one little box molding on the small wall between the closet doors and it looks really good. When you’re doing a wall treatment like this you just have to figure out as you’re going along what looks good for your space. It made sense to leave any really small areas alone and let them rest and let the rest of the picture frame moldings stand out.
I’m really enjoying this cozy space and watch TV in here often.
Hope you enjoyed this tutorial on how to add picture frame molding to a room. If you have any questions, feel free to ask.


Love your decisions on which walls to put the molding on and which to leave blank. A question, how did you attach the molding in areas where there wasn’t a stud?
There were at least one or two studs in all areas, so they stayed in place and then caulking and painting helps it all stay secure.
This looks fabulous. It made such a difference in the feel of the room. Stunning.
I truly love how this room looks. The color is gorgeous…thanks for sharing.
Great post. Love this idea.
Can you share the brand of your chairs if you find them comfortable? I looked on your shop page, but didn’t see them
Hi, Melinda, I worked with Bernhardt a couple of years ago on those chairs. They were ordered directly from them, it’s a good brand and they are very comfy. I’ve bought Bernhardt before.
Thank you
Is it possible to share the link to the Home Depot picture frame molding? I’m trying to do a similar project and I honestly can’t find it anwhere!
HI, Chris, I asked Mark again and he said he got that molding at Lowes, but this one fRom HD looks pretty close to what we got. I measured the width of it on the wall and it’s 3/4 inches wide. It’s fat on one side and the inside has a small detail on it as well. Hopefully you can find something similar Wood sure is sky high now!
https://www.homedepot.com/p/HOUSE-OF-FARA-3-4-in-x-3-4-in-x-96-in-Hardwood-Picture-Frame-Moulding-3U/204296123
Love the look. Do you know what the brand/make/model is for that fan? It really ties the room together! Love the brass.
HI, Alex, I think that fan was from Home Depot if I remember.
Did you paint the ceiling moody blue also? Beautiful room.
Yes, it’s all the same color.
Hello! I had a question if you’re still monitoring comments on this page.
How did you handle the window? Do you take the chairrail into the corner so it’s actually touching the window? Thank you!
Yes we butted up the molding to the window trim too. I think you can see it in the pictures.