Tutorial on how to build an outdoor privacy screen fence with lattice, 4×4 posts, 2x4s and trim pieces to create an enclosure around things in your outdoor spaces you want to hide,like AC units and garbage cans.
Mark and I (mostly Mark) just completed another DIY project at our house that’s been on our list of to-do’s since we moved in 4 years ago. Our AC units and garbage can is on the side of our house off the driveway and by the garage. We have always wanted to hide the AC units as well as the garbage cans, since they are not pretty to look at.
We bought the materials months ago and as life gets busy sometimes, we never had a chance to finish this project over the summer months, but we are finished with it now.
I didn’t get good pics of Mark building the pieces that went together to form the privacy screen, but I’ll show you as best as I can with these instructions.
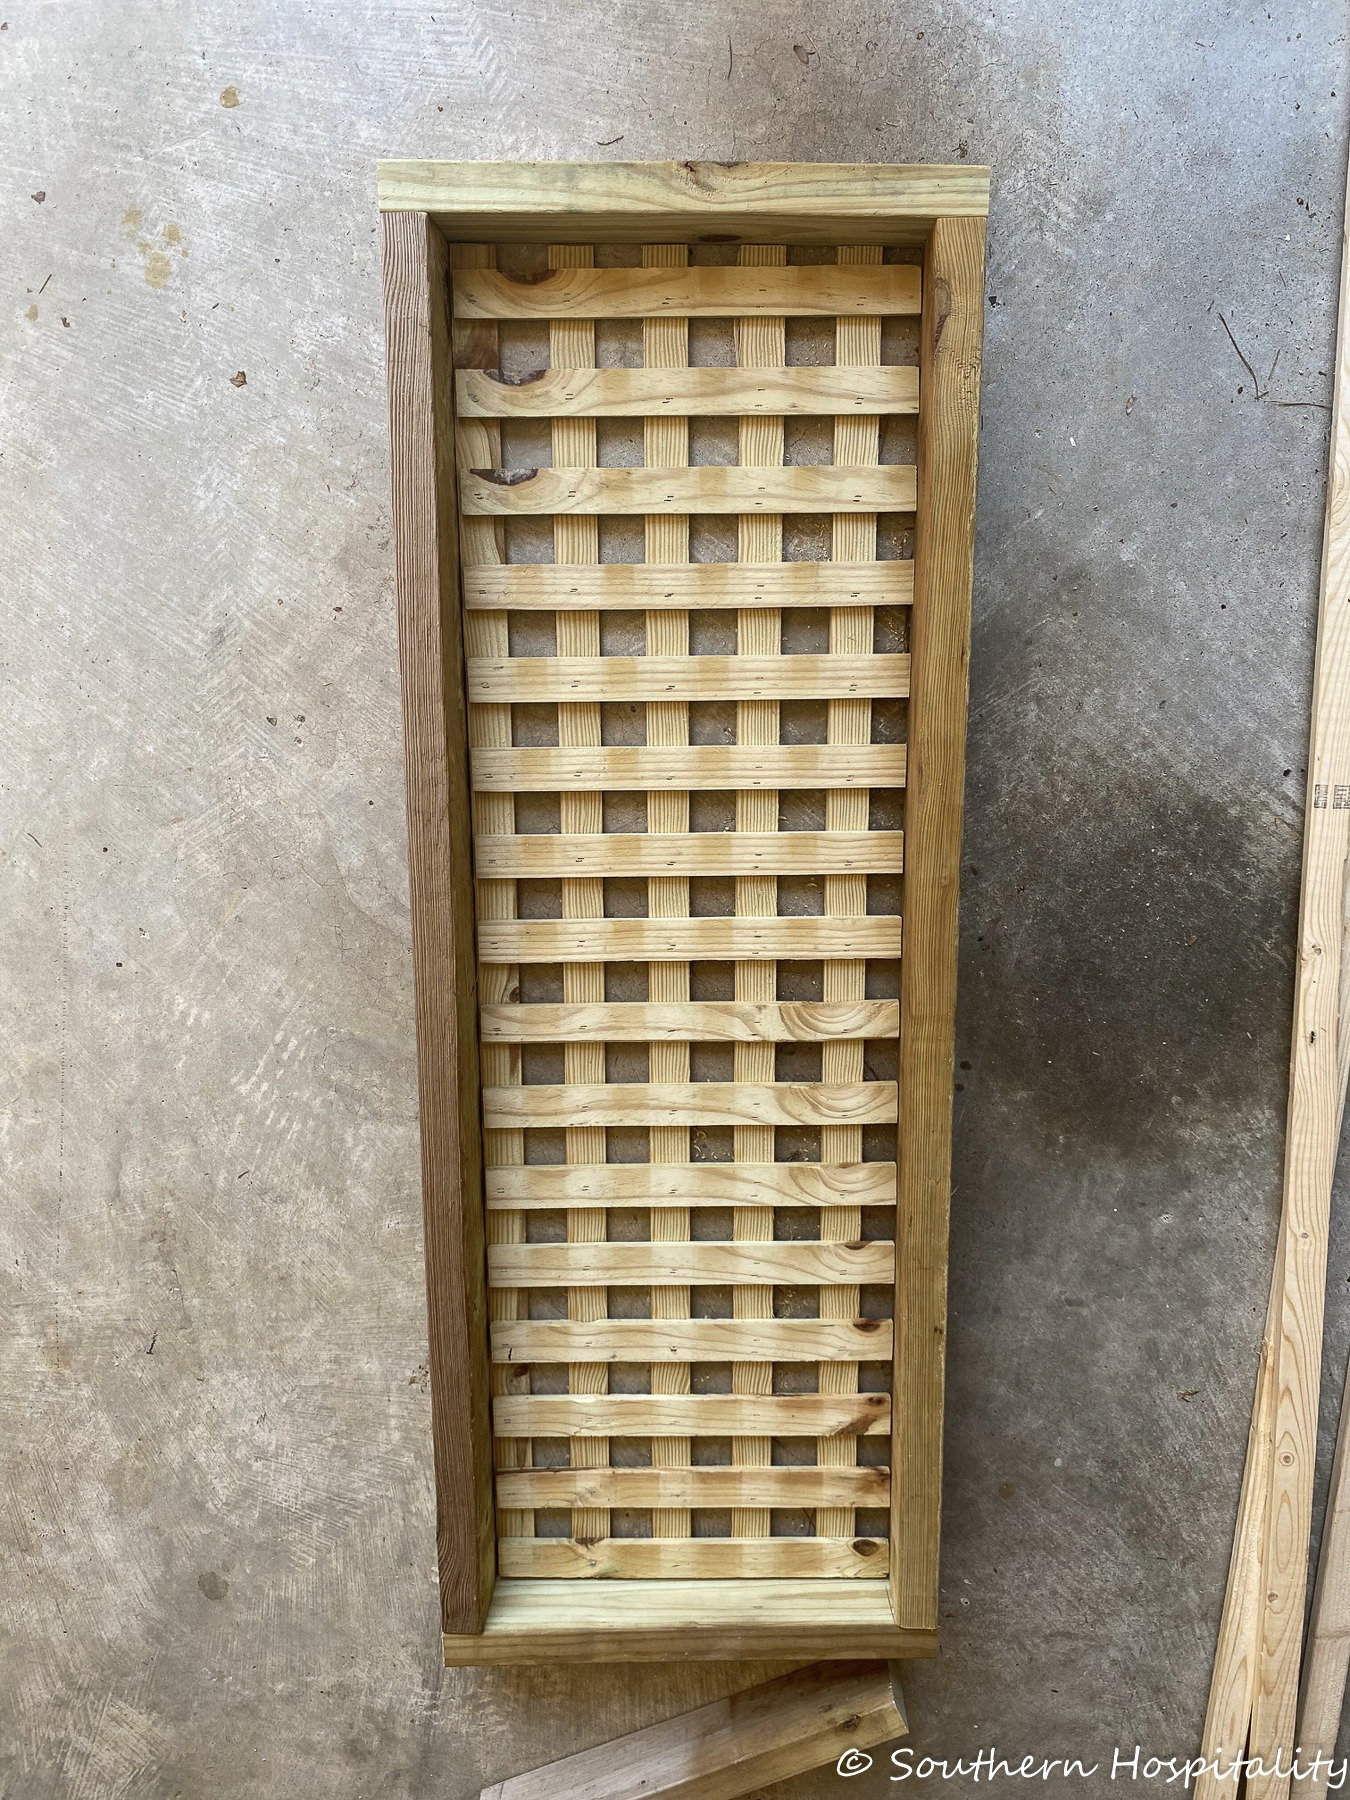
If you’re going to try this, just measure your space and determine how much area you want to cover. Mark figured out we would need 4 posts and each section was a 4×4′ piece of lattice (he cut one 4′ x 8′ sheet of lattice in 1/2) inside the squares. He used 2×4 boards to trim it all out and attached those to the posts with screws.
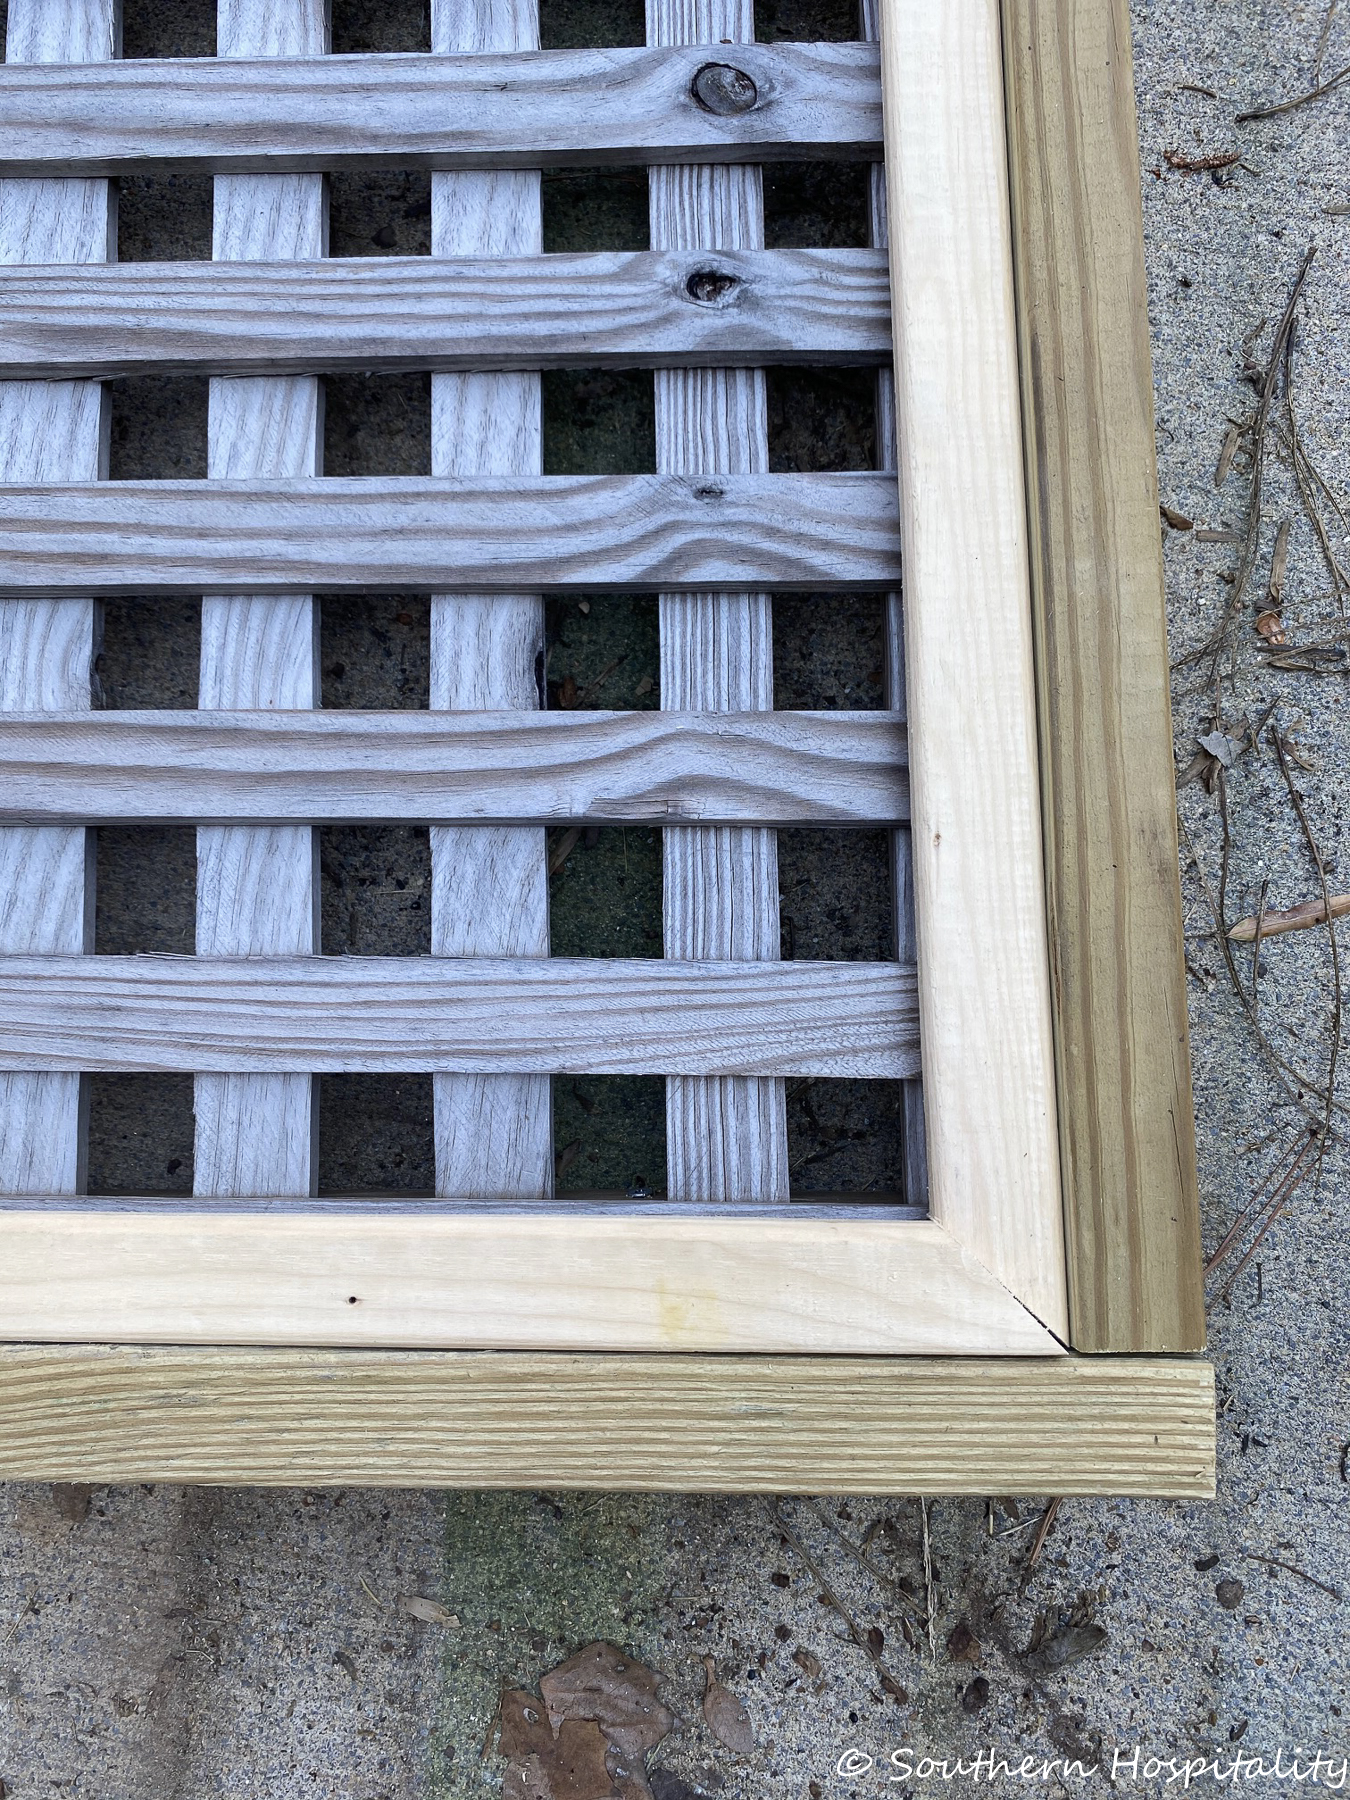
Here’s a list of the lumber materials we used for our DIY privacy screen. We bought all our materials from Home Depot:
4×4 pressure treated decorative posts (4)
4×8′ square lattice sheets (1.5 sheets)
2×4 pressure treated boards (fit to the lattice sheets and then cut to fit, butted together on corners).
2×2 boards attached inside the 2×4’s toward the back for the lattice to attach to
Trim pieces for around the lattice panel (only the side that shows).
Wood Screws
Heavy duty drill for drilling in screws
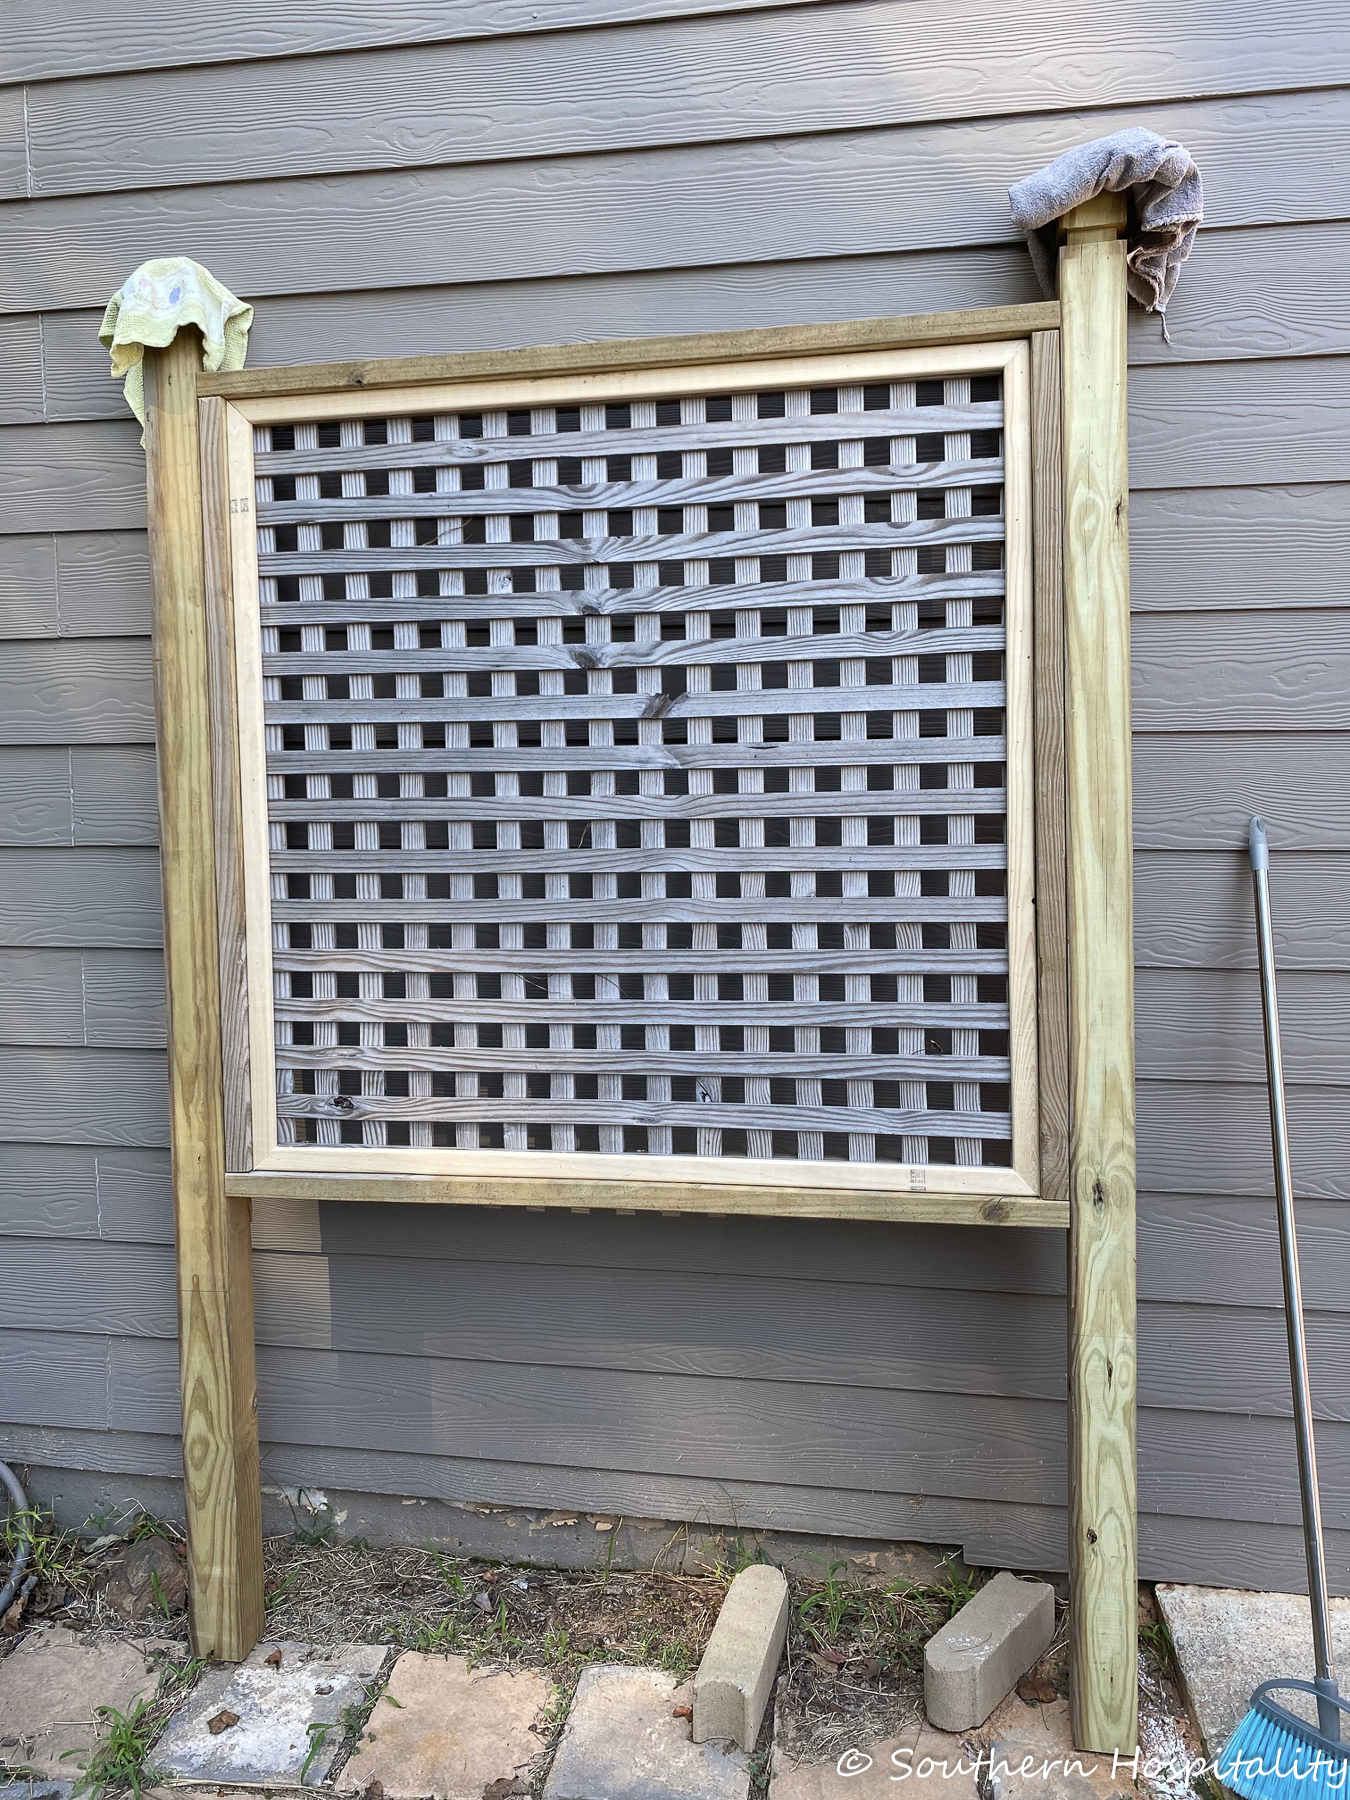
As he finished the square frames (with 2 x 4’s and lattice all nailed together). He attached the first one to two posts with screws. He drilled pilot holes first since pressure treated wood is very hard. That was the main one we started with above. So it was one complete unit when we put it in the ground. Instead of putting in posts first and then trying to make sure that they were perfectly spaced for each square frame, he attached the frame to the posts and then knew exactly where to dig the holes for the posts to sit in. Hope that makes sense.
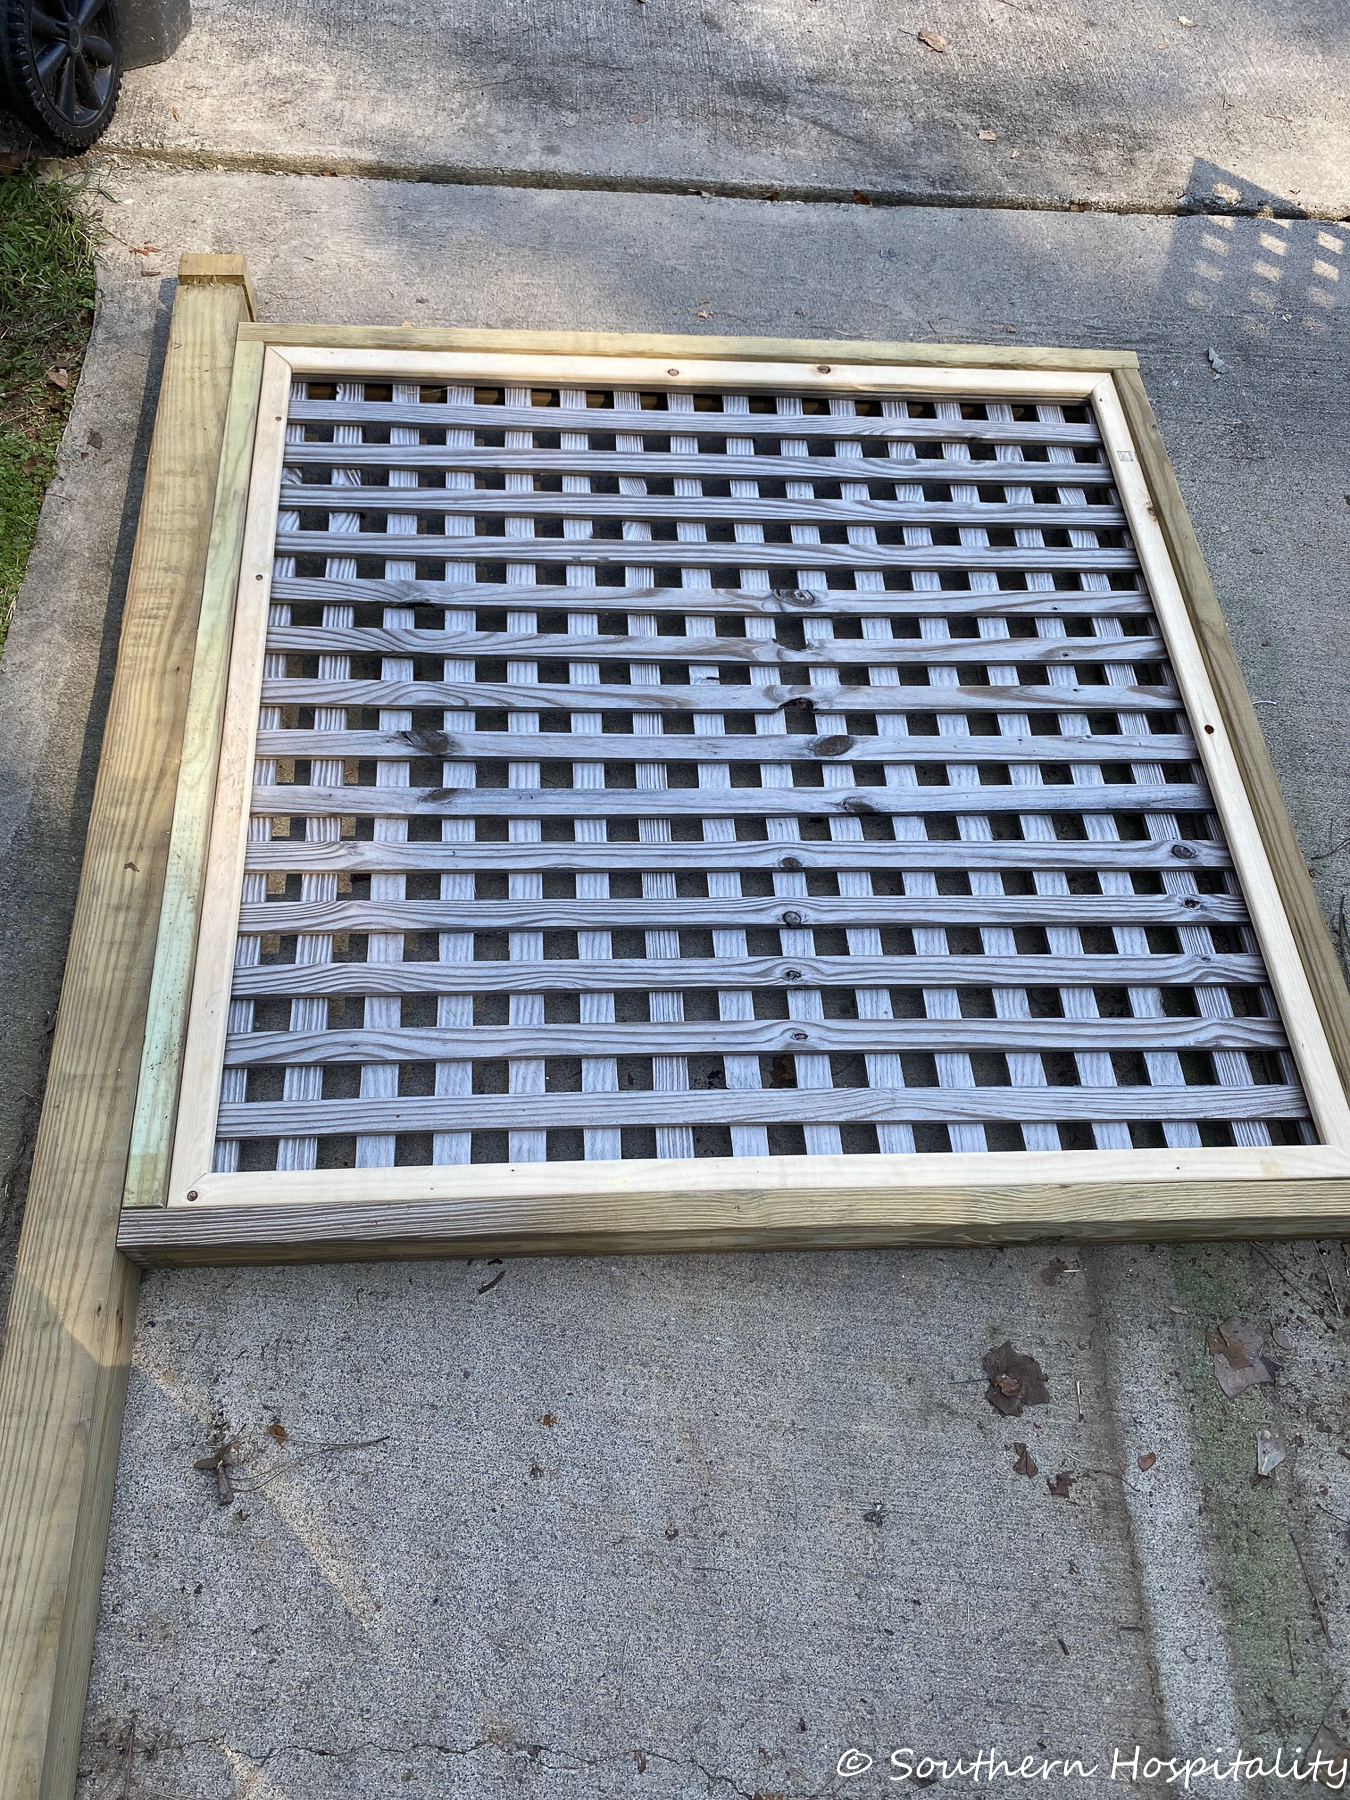
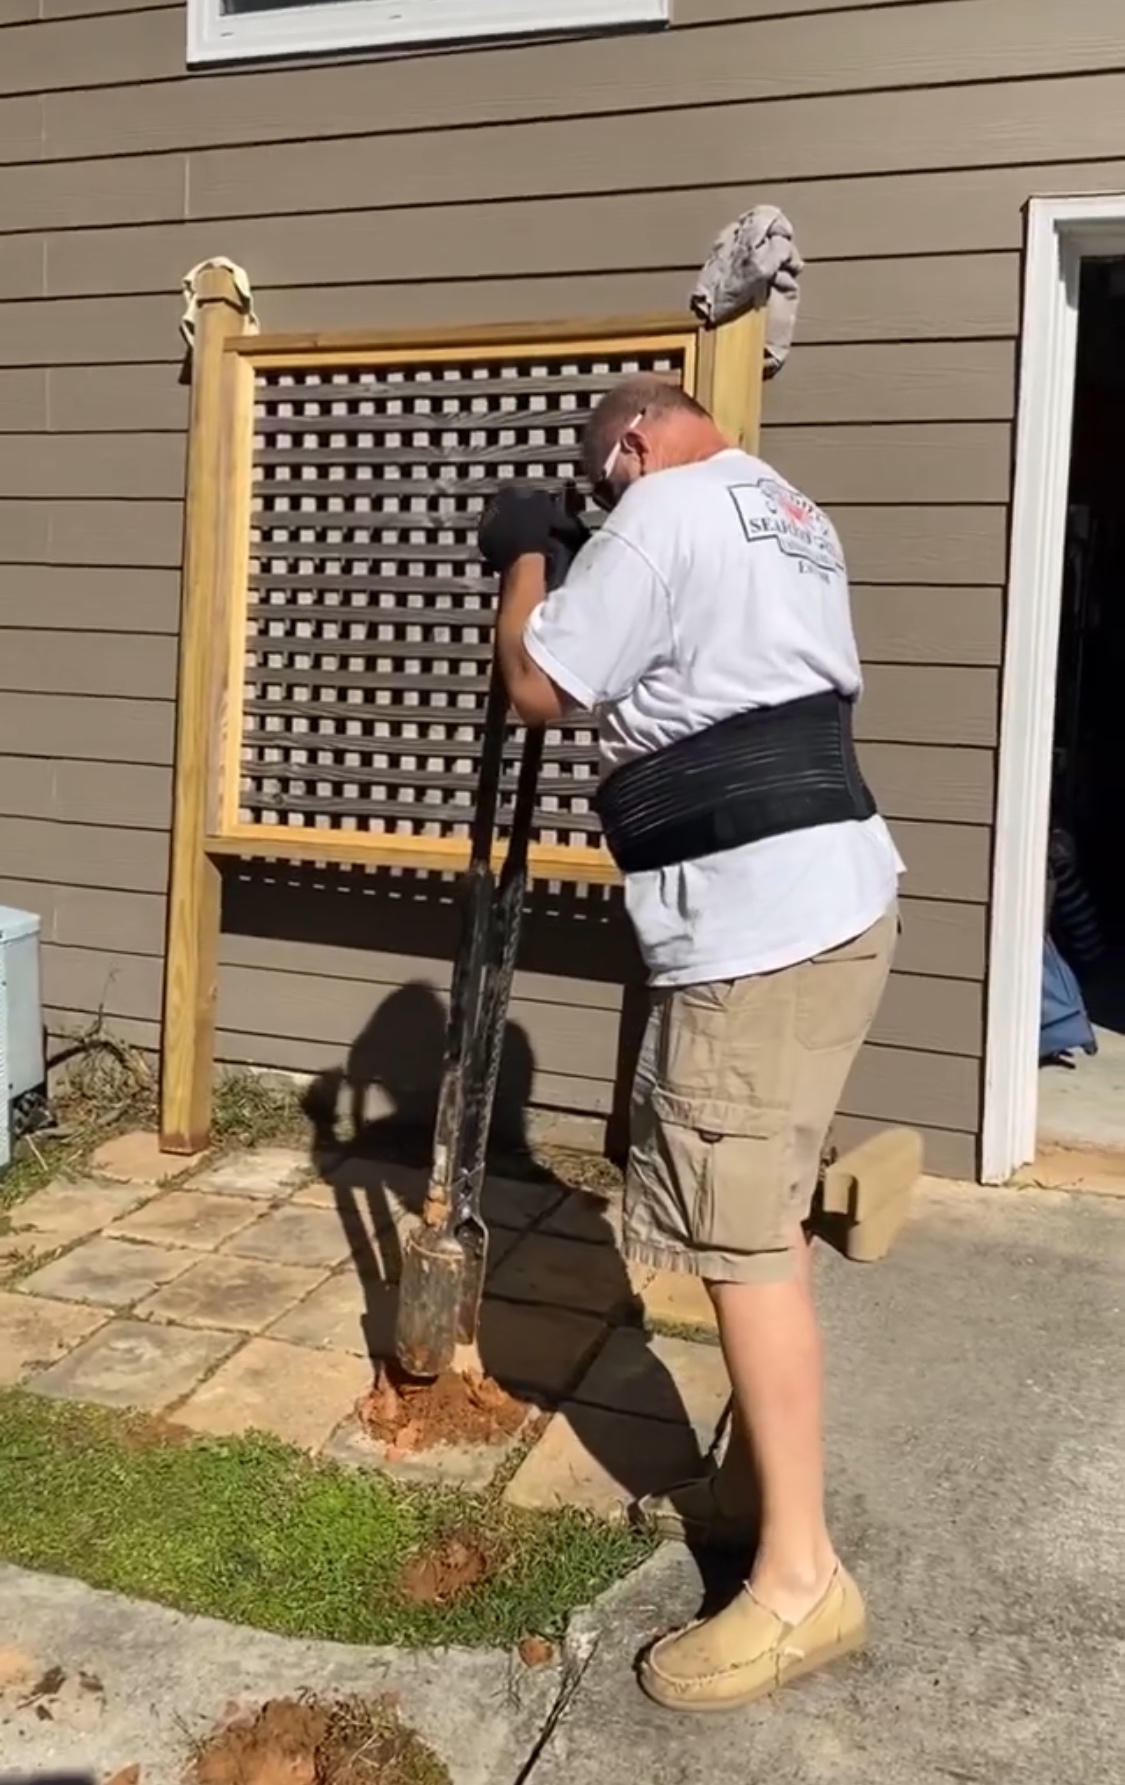
The next section would be screwed into the previous piece with 2 posts, so we just marked where the post would sit for hole digging and then leveled the 2nd piece with the first one so that it all lined up along the way. Make sure you level the top frames and the posts on all sides to make sure it’s all staying nice and level. Mark dug holes with a post hole digger (see 1st pic) and then we set the posts down in the holes and added Quickcrete concrete to the holes to hold them all in place. He did have to cut down the posts to make sure they were all even too in each hole. If you run into rock or a pipe you might have to cut down one side more than the other side. Just level as you go.
He wanted to keep the square frames about 4 to 6″ from the ground so as long as you keep them level as you set them, depending on the slope of your ground one side might be lower than the other. Our ground does slope a bit.
The last frame was a partial one since we only wanted to wrap this piece around as a corner piece to help hide the garbage can but not close up the entry too much. This last piece of frame would also attach to the very first frame post and then have another post on the right side.
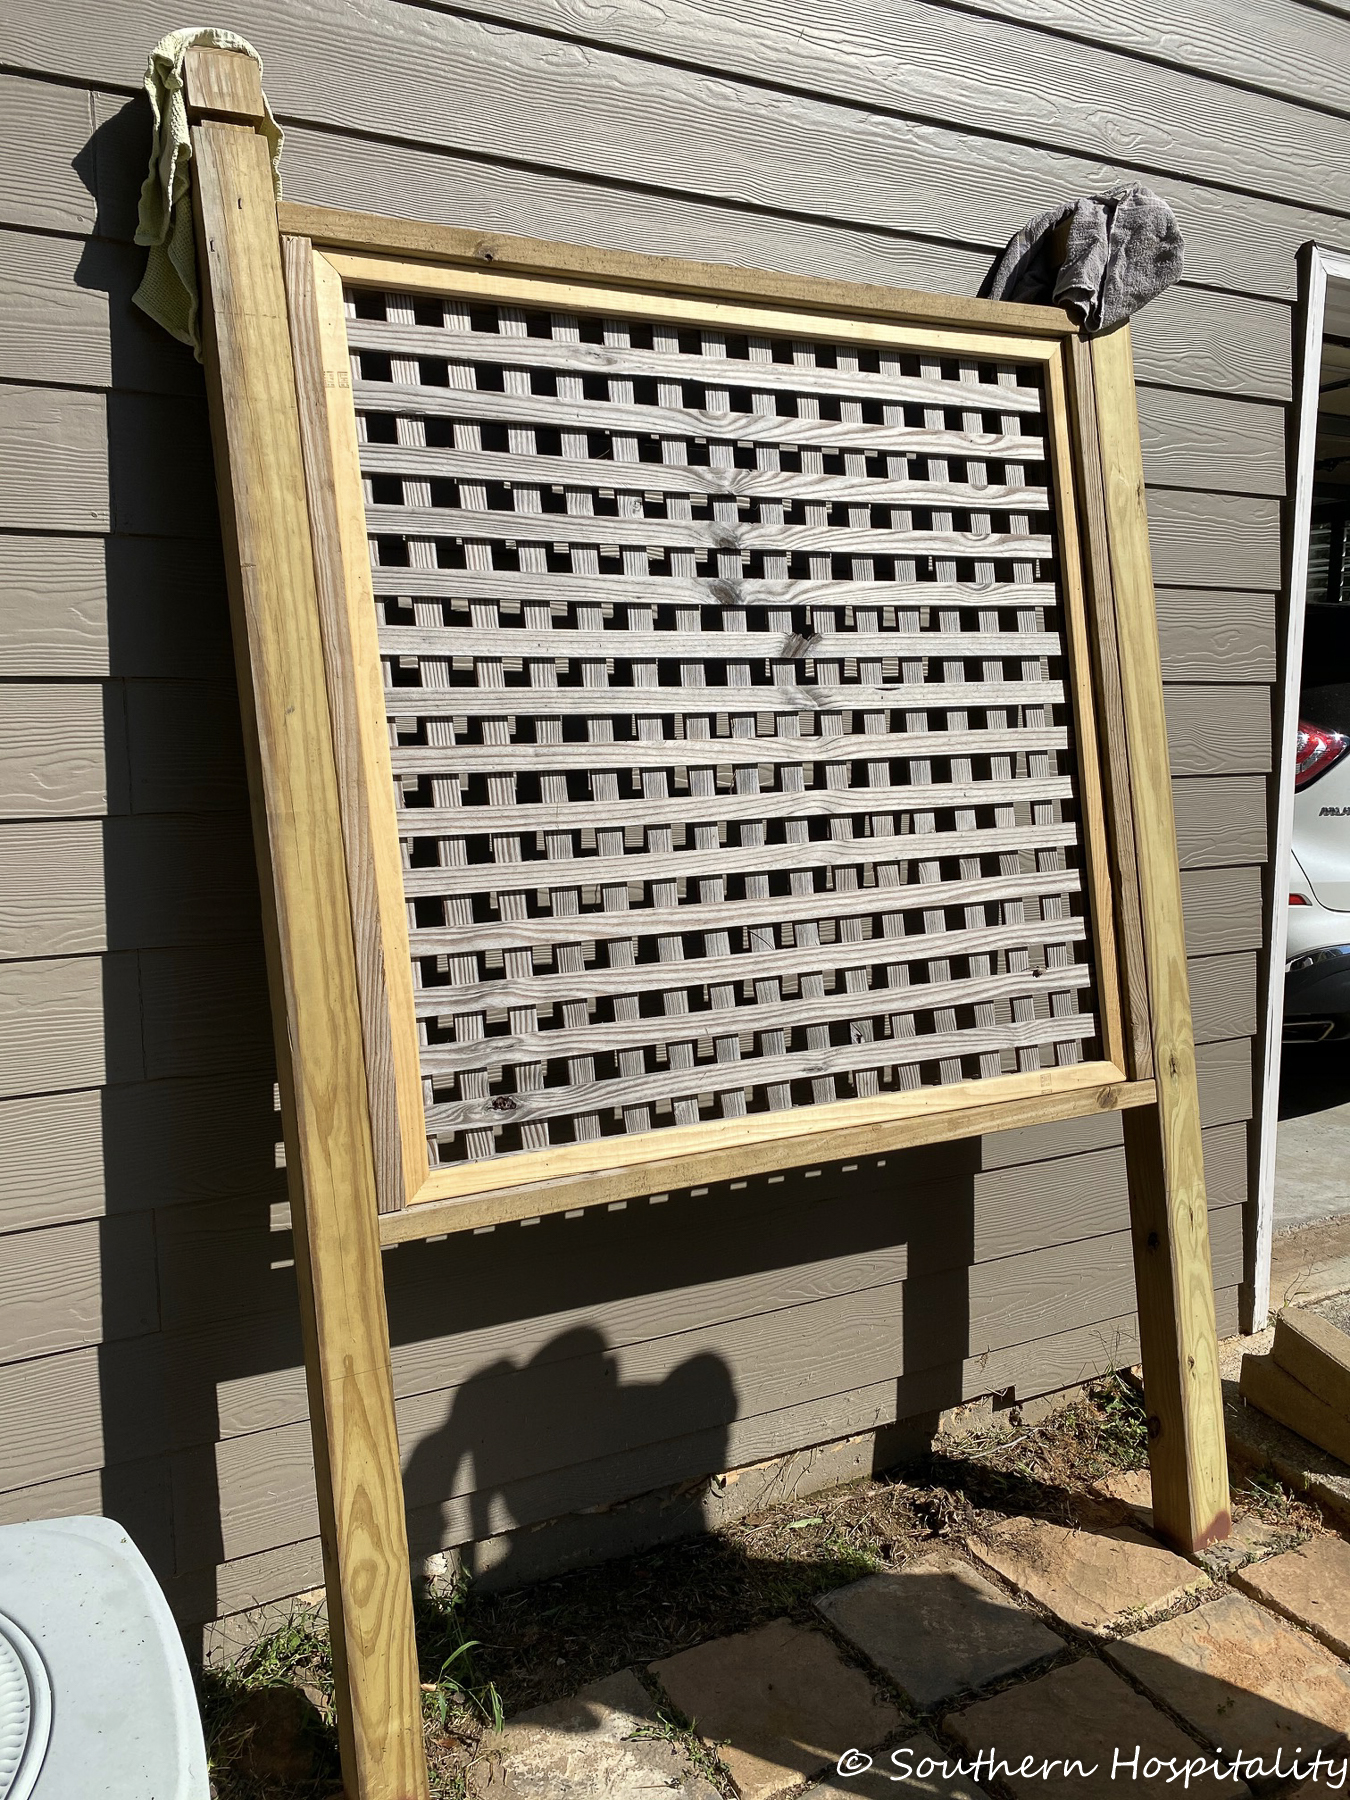
First main piece of DIY privacy screen.
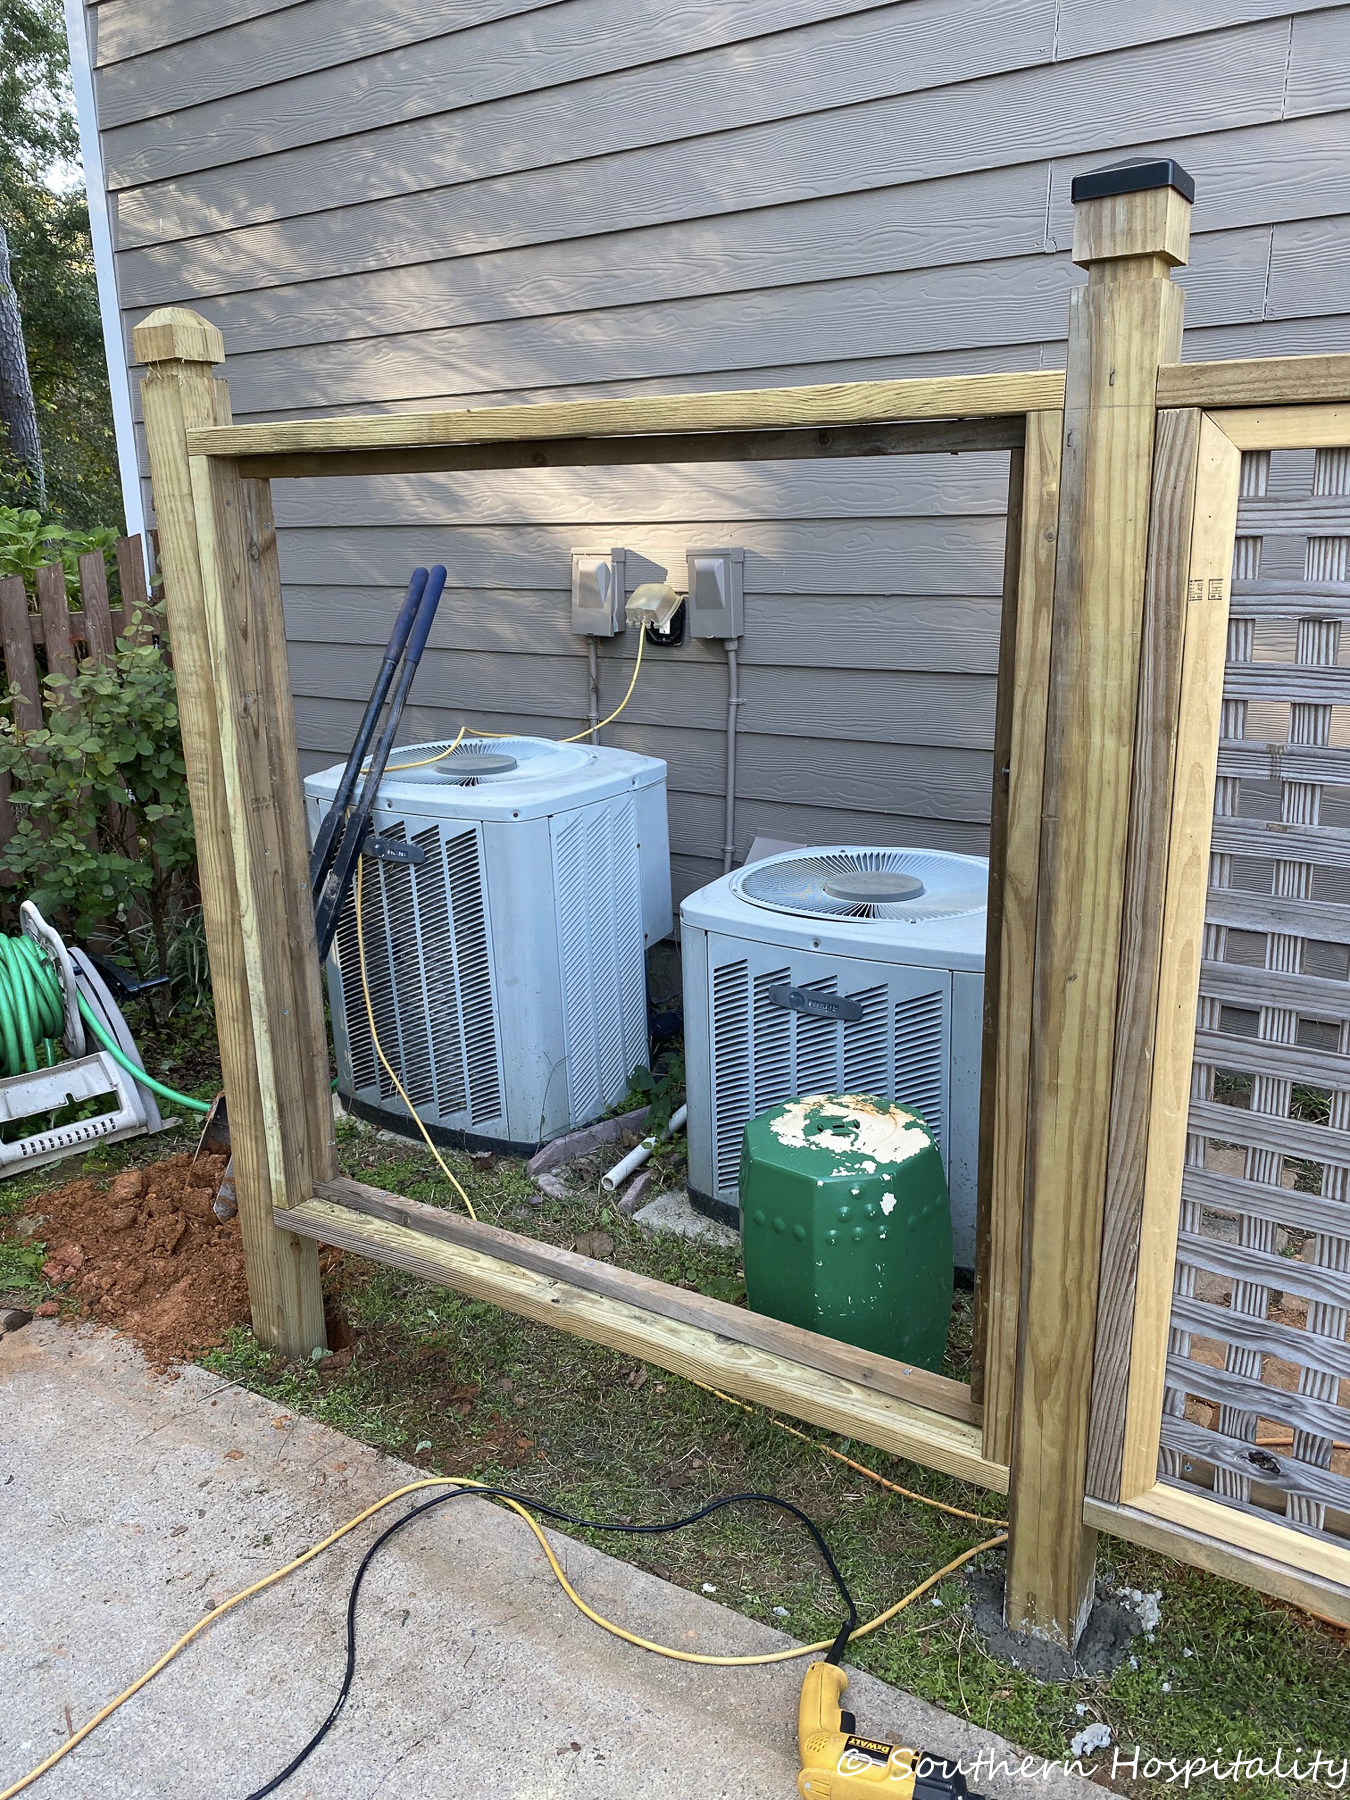
Here you can see them coming together. The lattice was loosely attached and so he took it out until we got the frame set and then nailed the lattice and trim pieces back in place. This second piece had one post attached on the left and then the right side attached to the first frame’s post on that side.
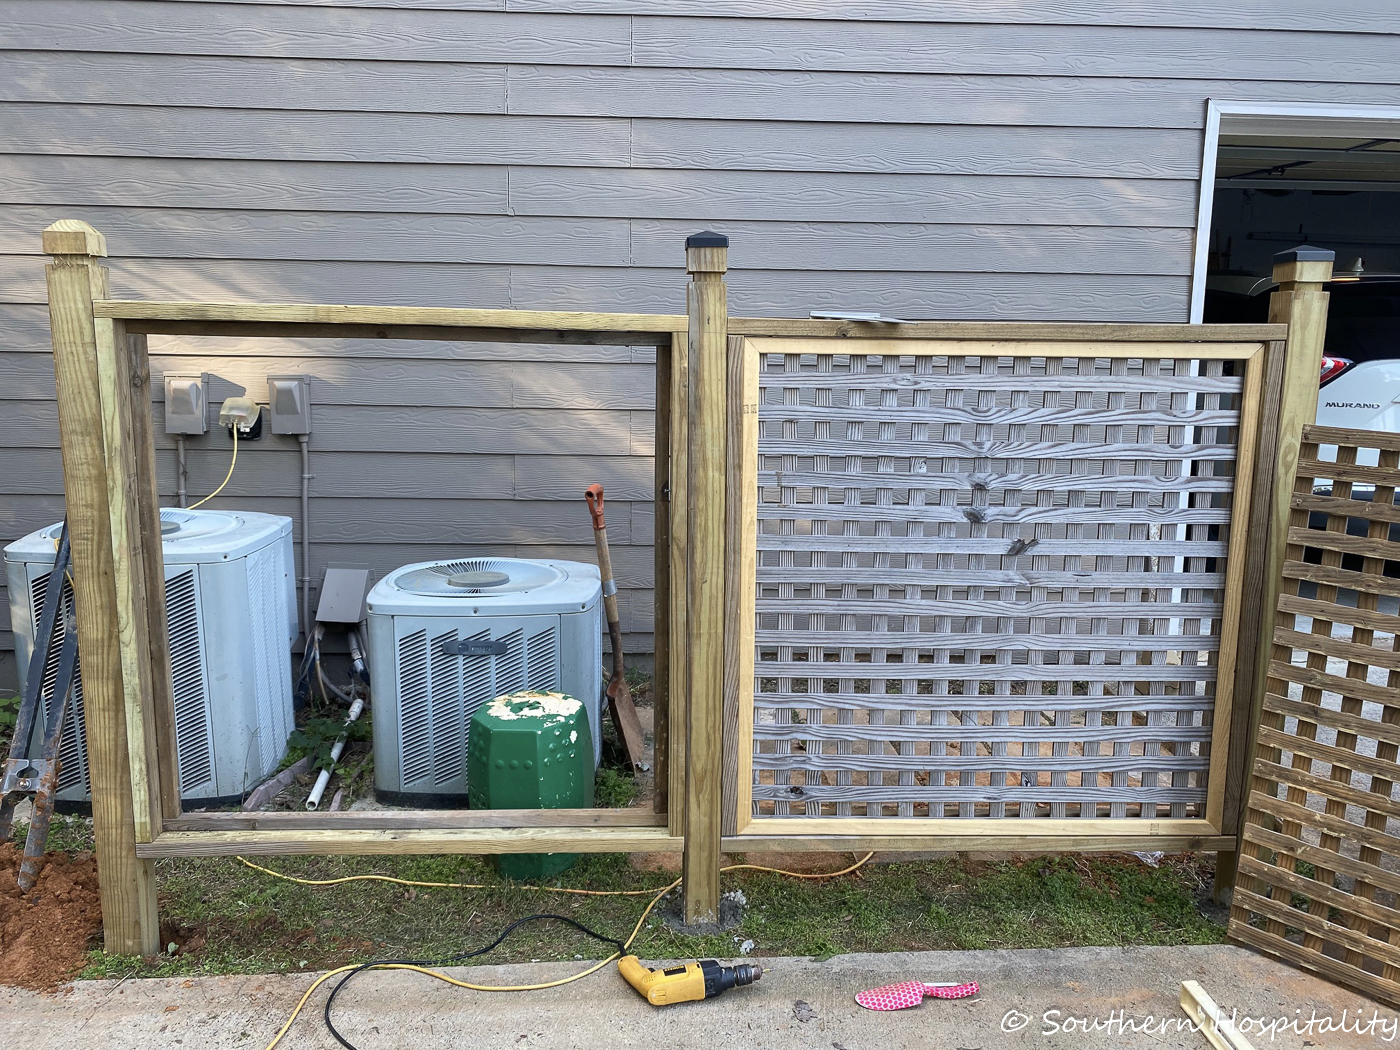
Another view of both frames set into place in our outdoor privacy fence.
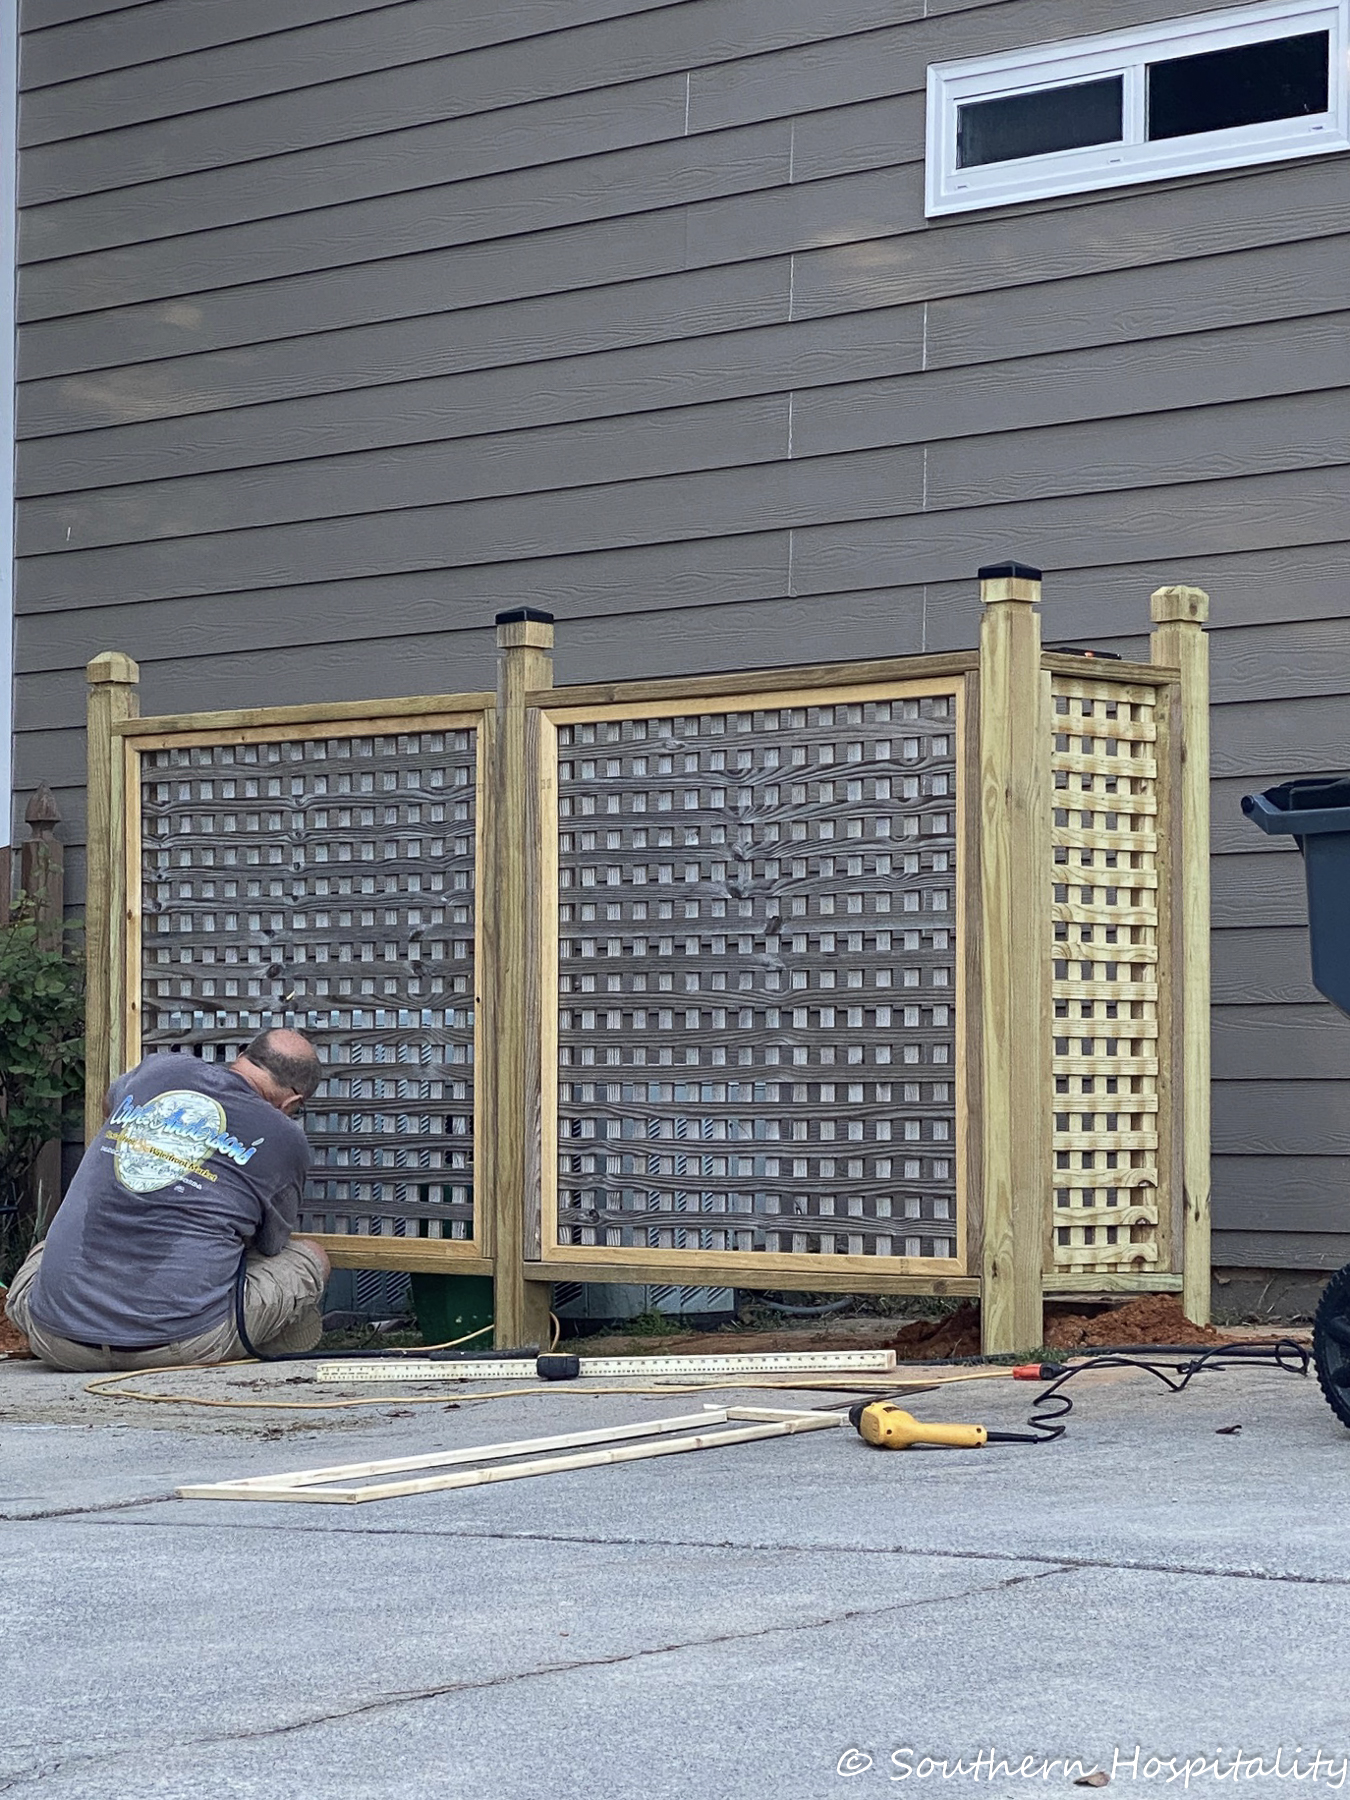
Here you can see the last smaller section attached. Once we knew where the post would go, I used spray paint to paint the grass around it and that’s where he dug the holes.
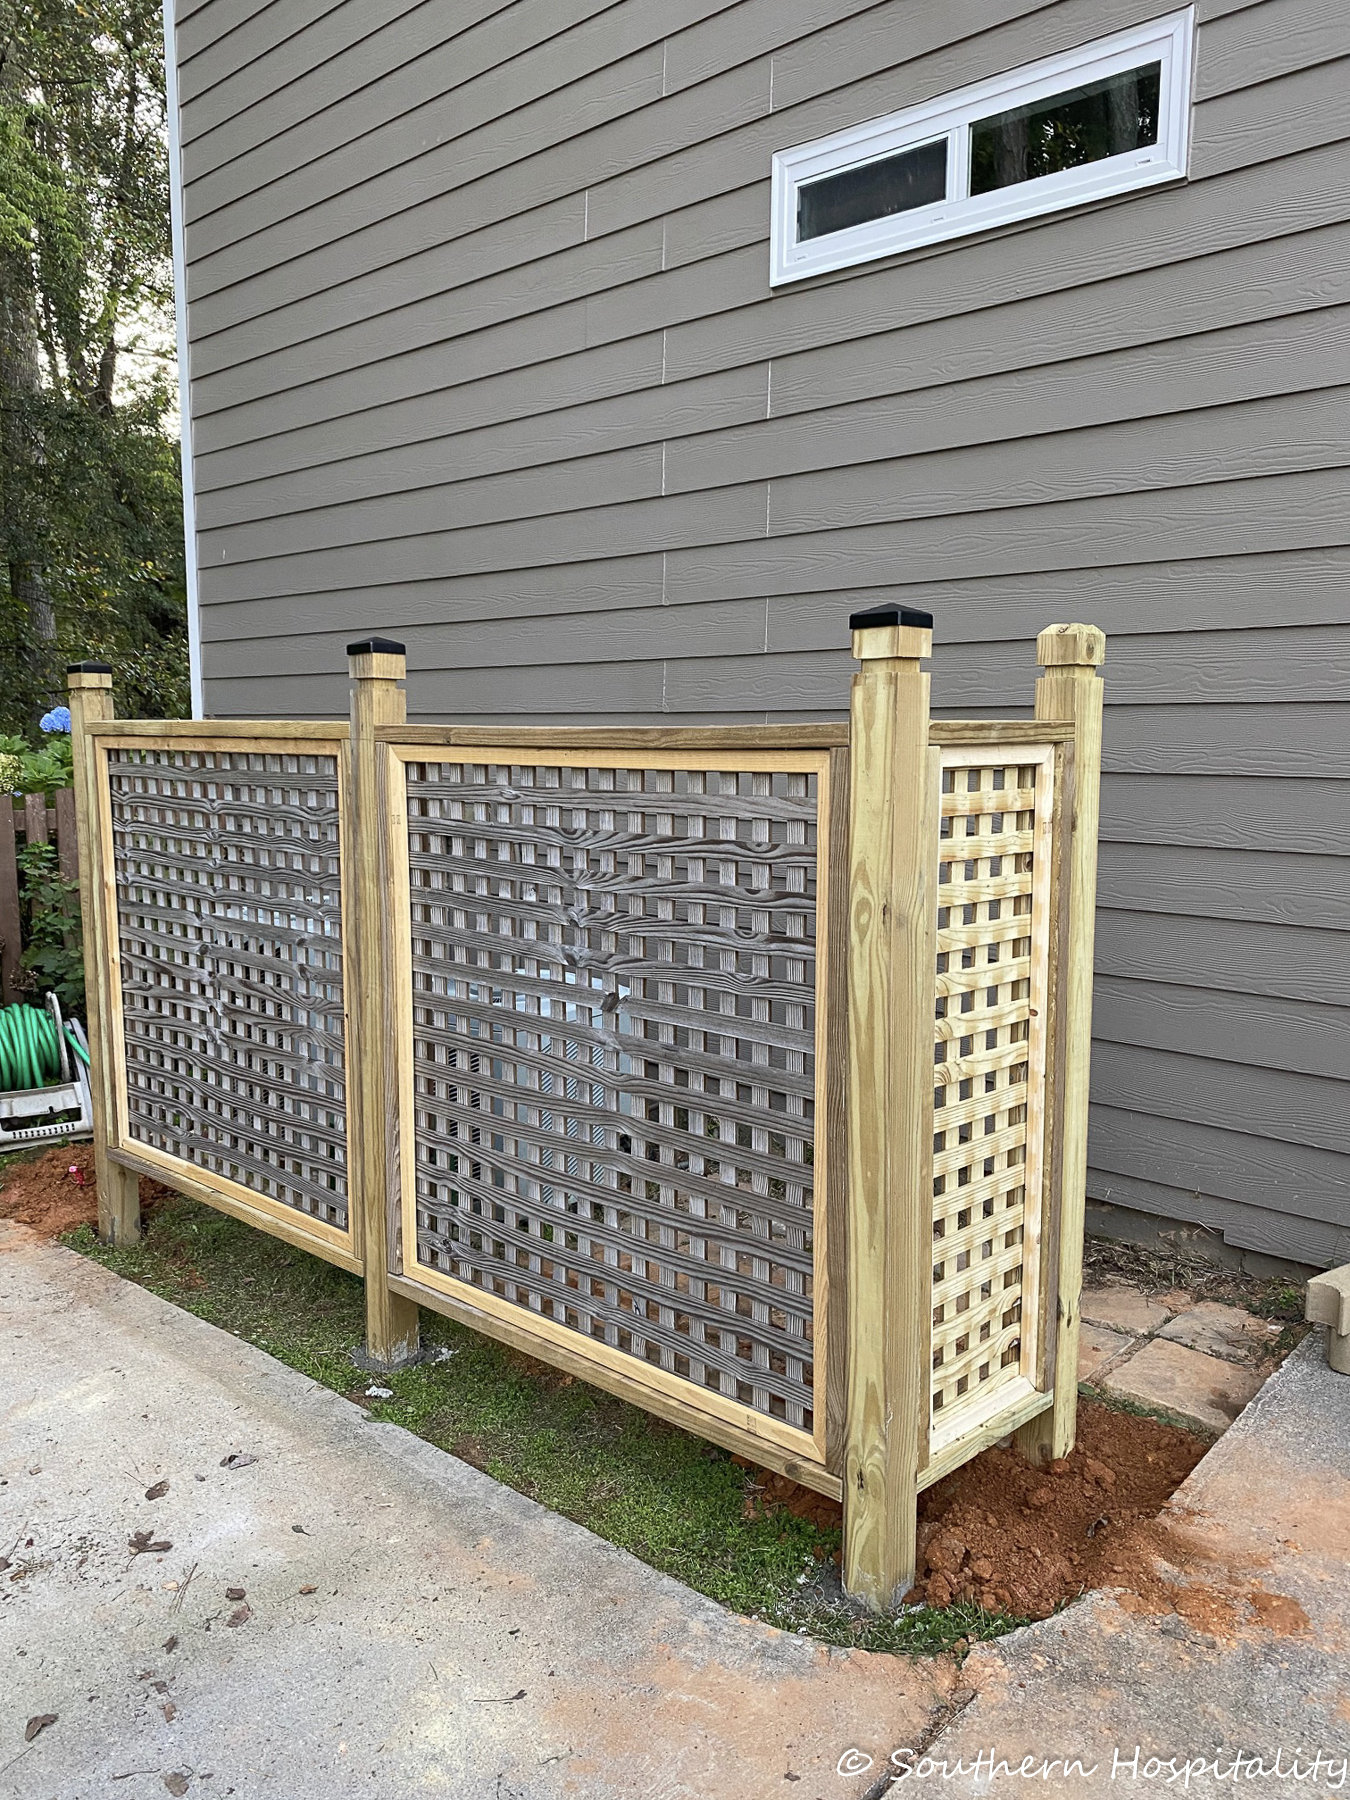
All set with concrete ready to stain. Those lattice pieces had been sitting so long that they turned gray so he got out our pressure washer and cleaned them up before we stained.
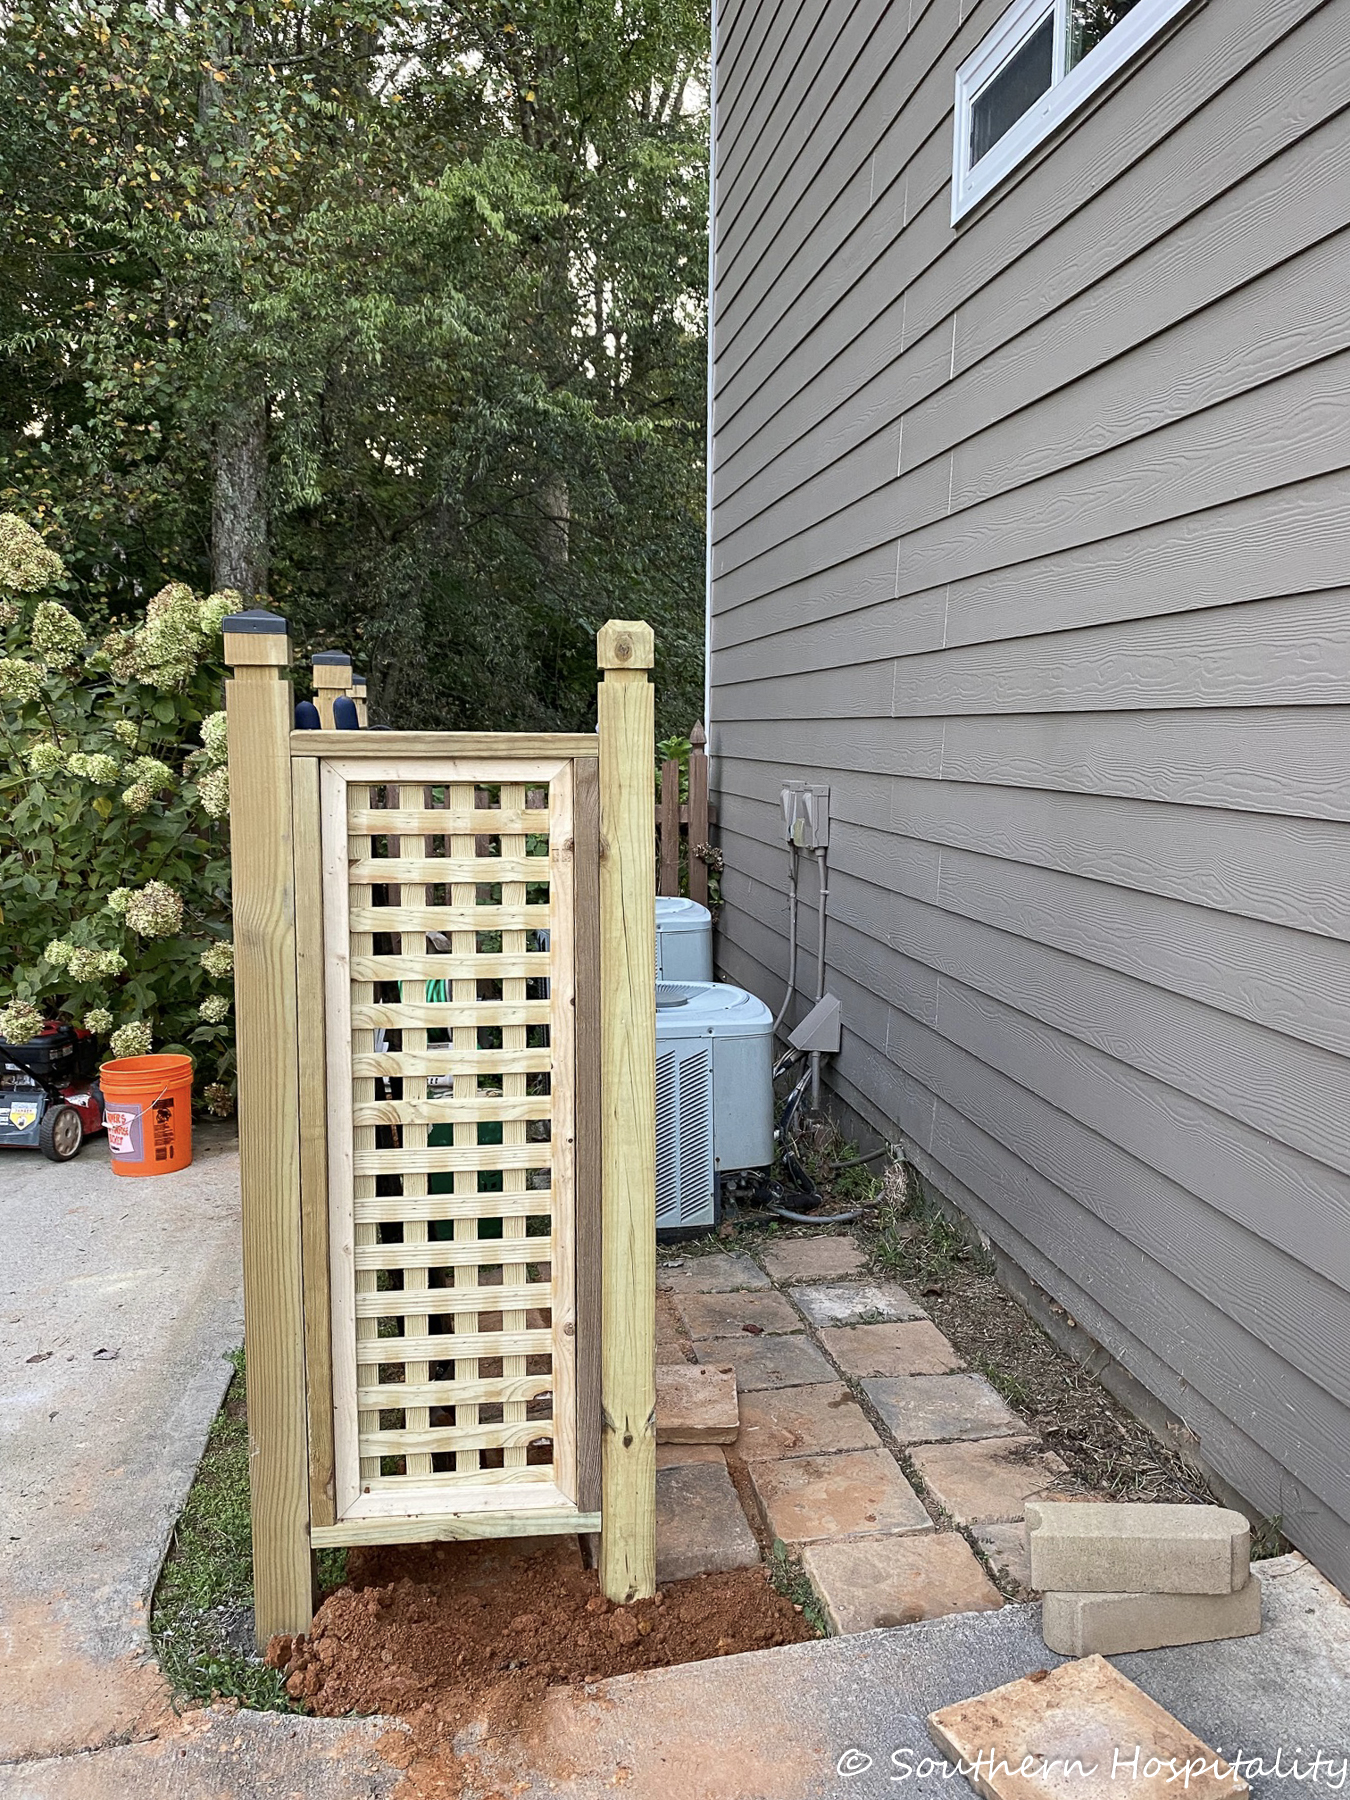
Ready to stain. The previous owners put down these pavers for the garbage can, so we will keep those and maybe add more of these under the fence too to keep the weeds down. This area tends to grow a lot of weeks so we need to get that under control too. There are also daffodils that come up right along the edge of the driveway under the fence line.
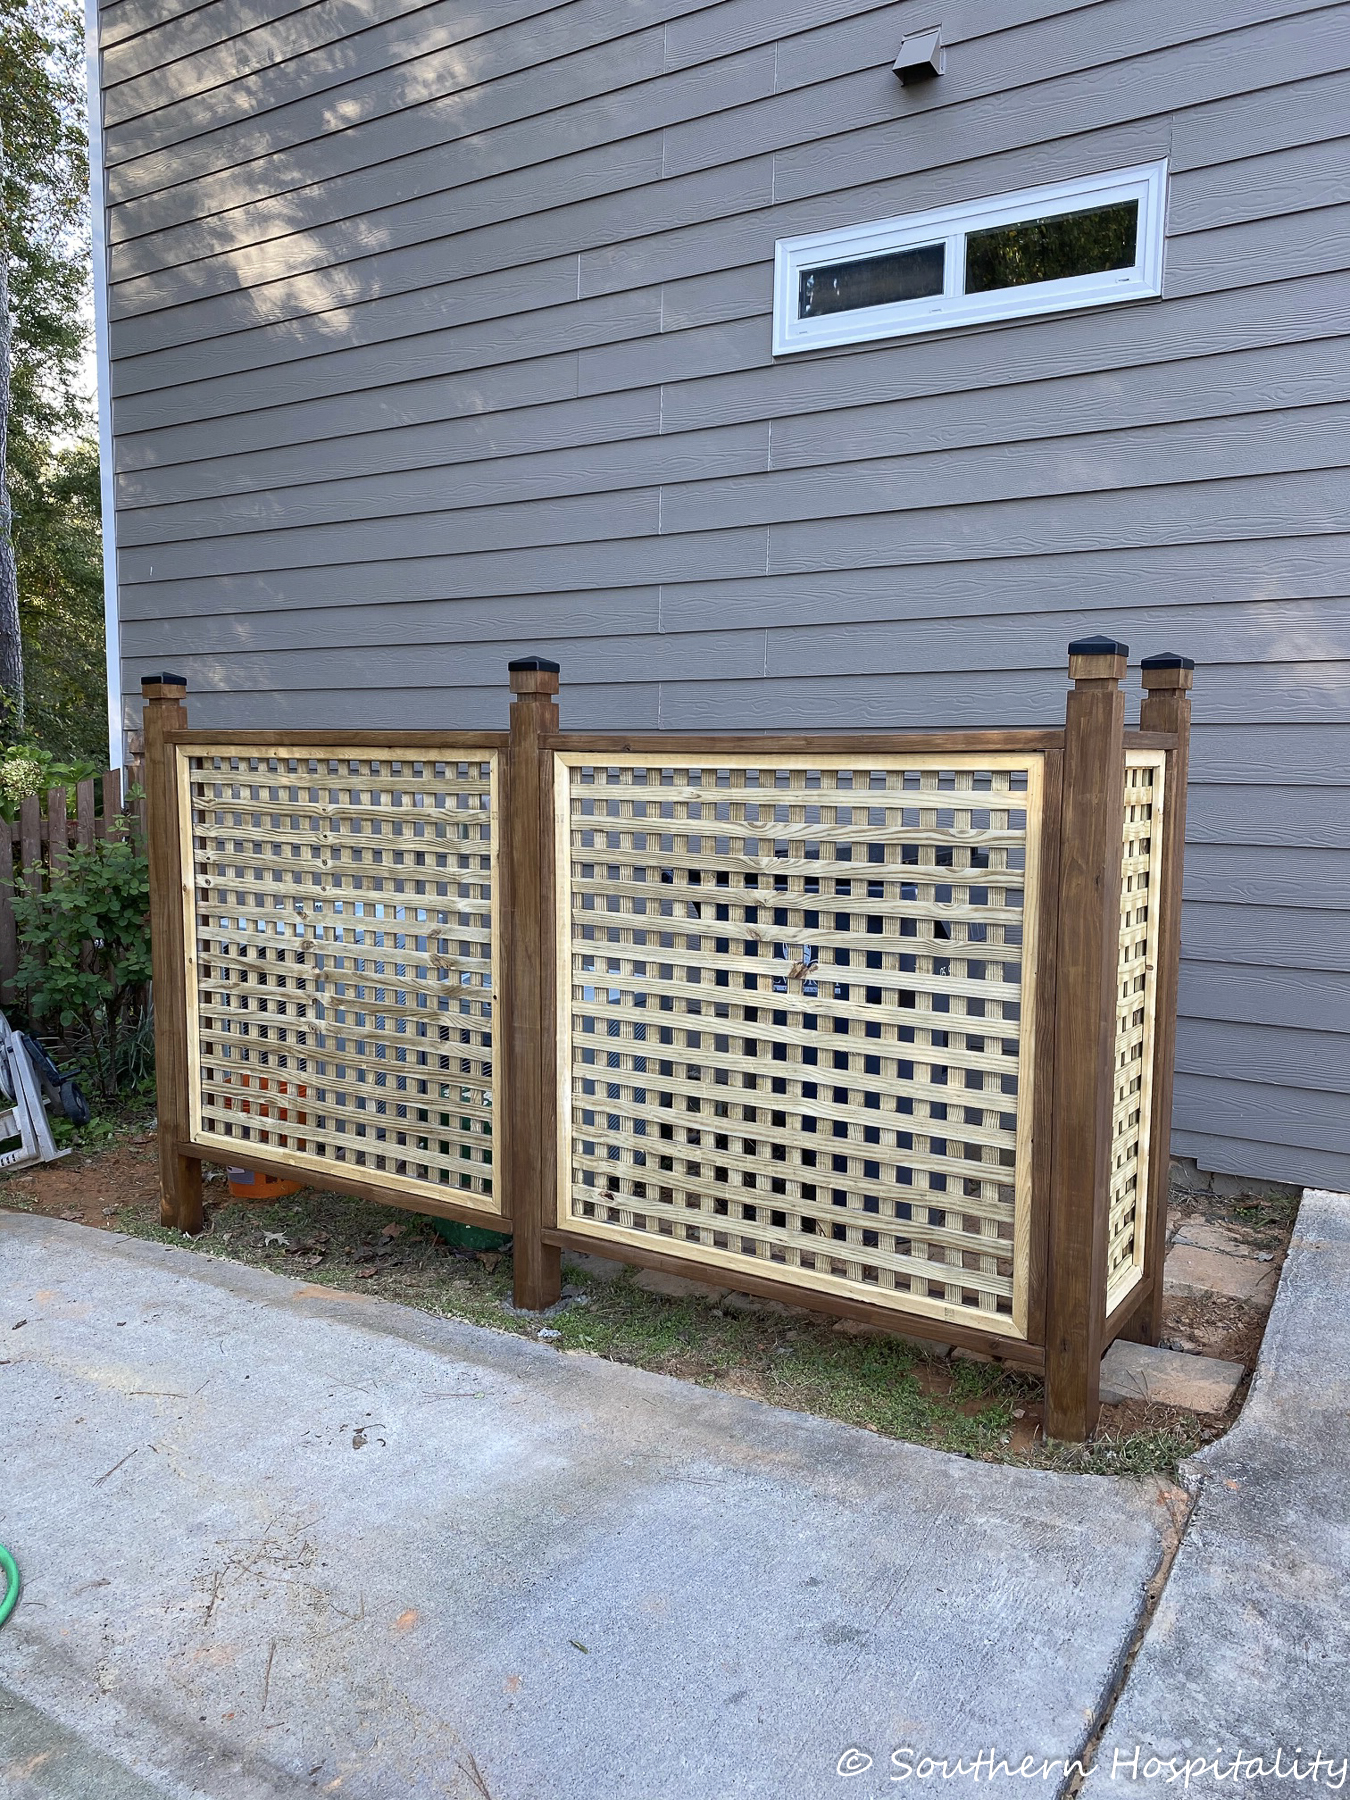
After pressure washing and before staining the lattice. We used the same stain that we used on our fence, Behr semi-transparent stain in Chocolate for the main boards.
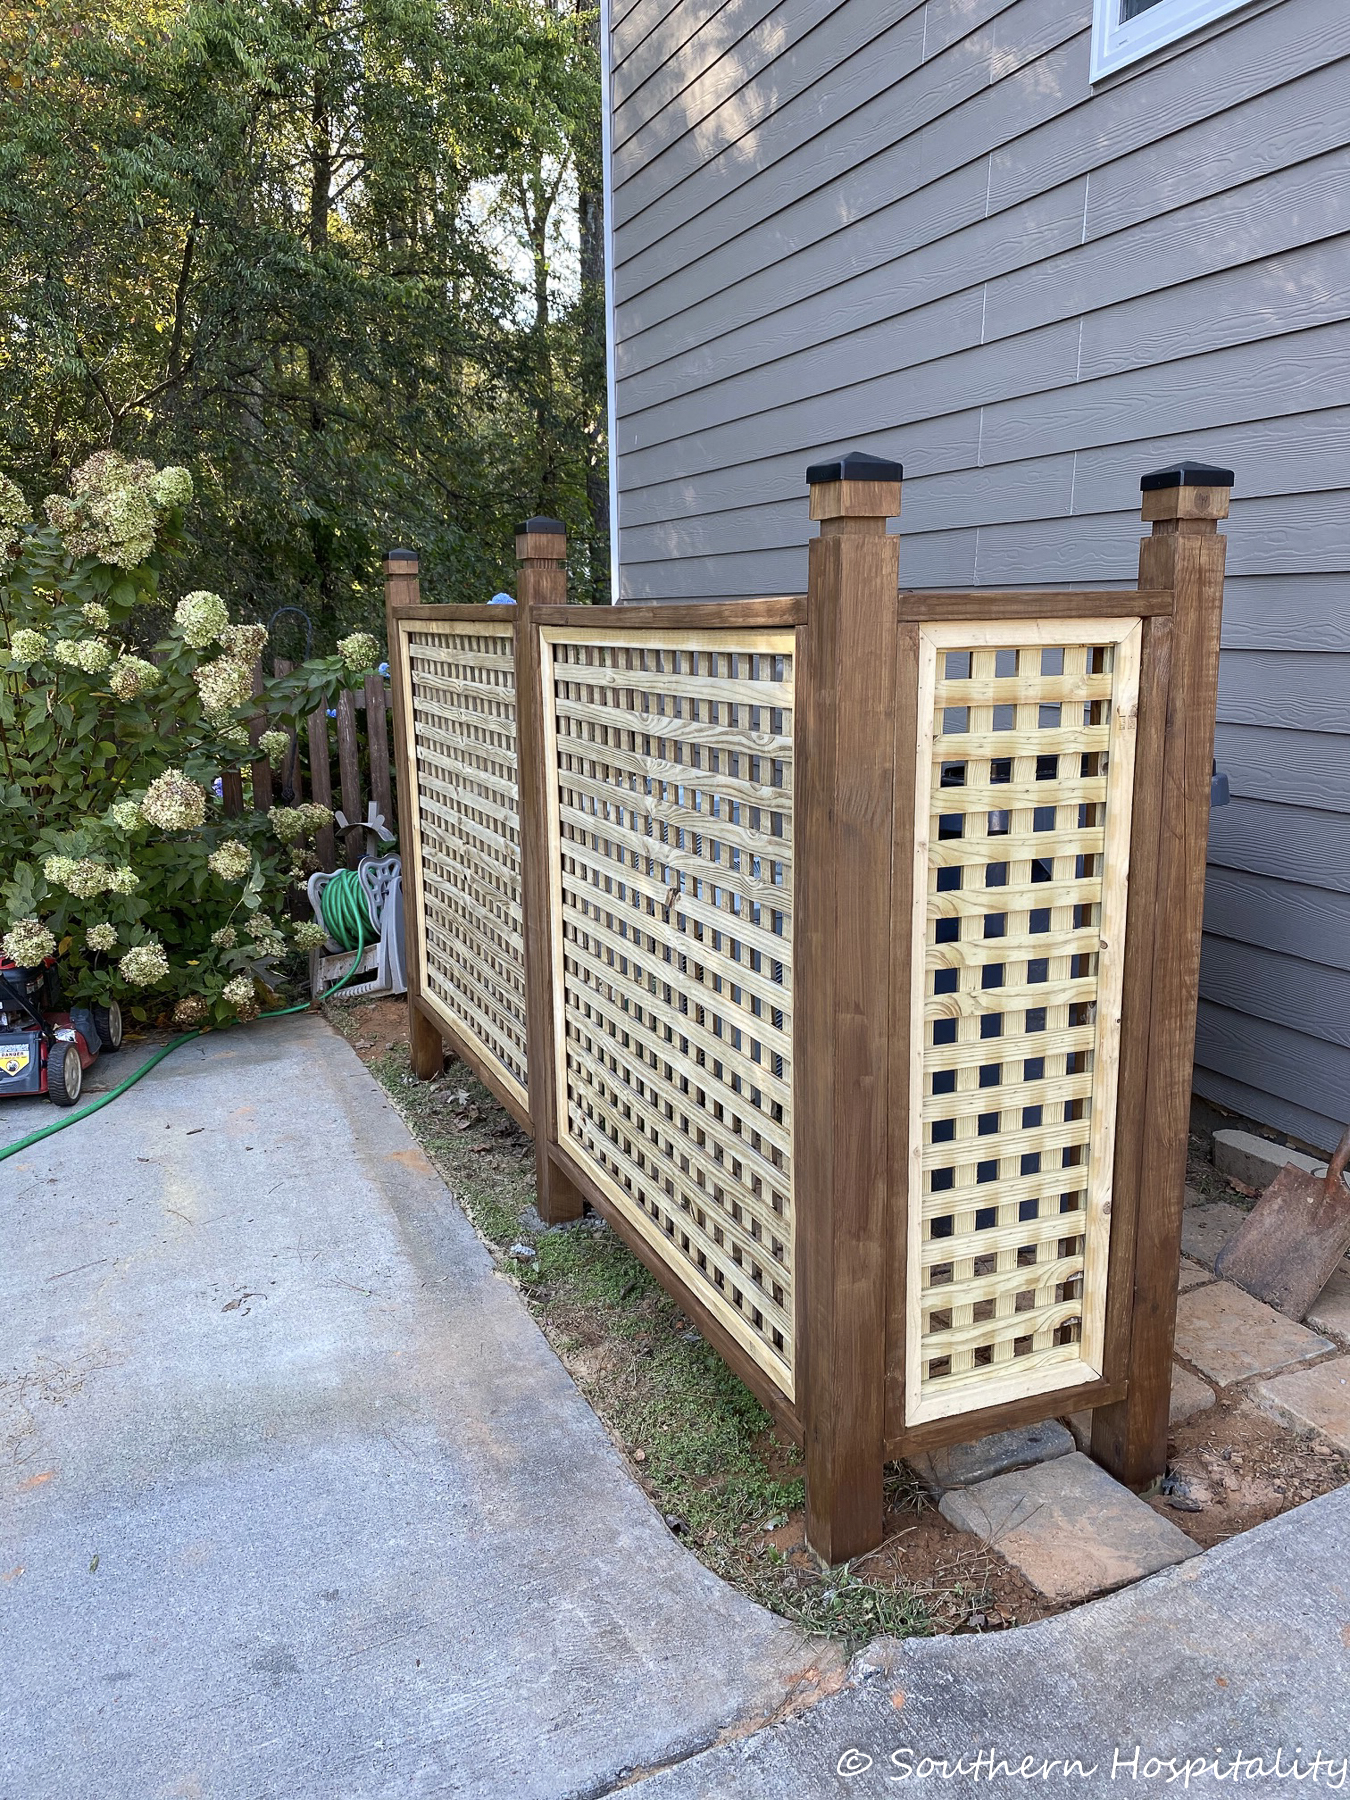
Before staining the lattice.
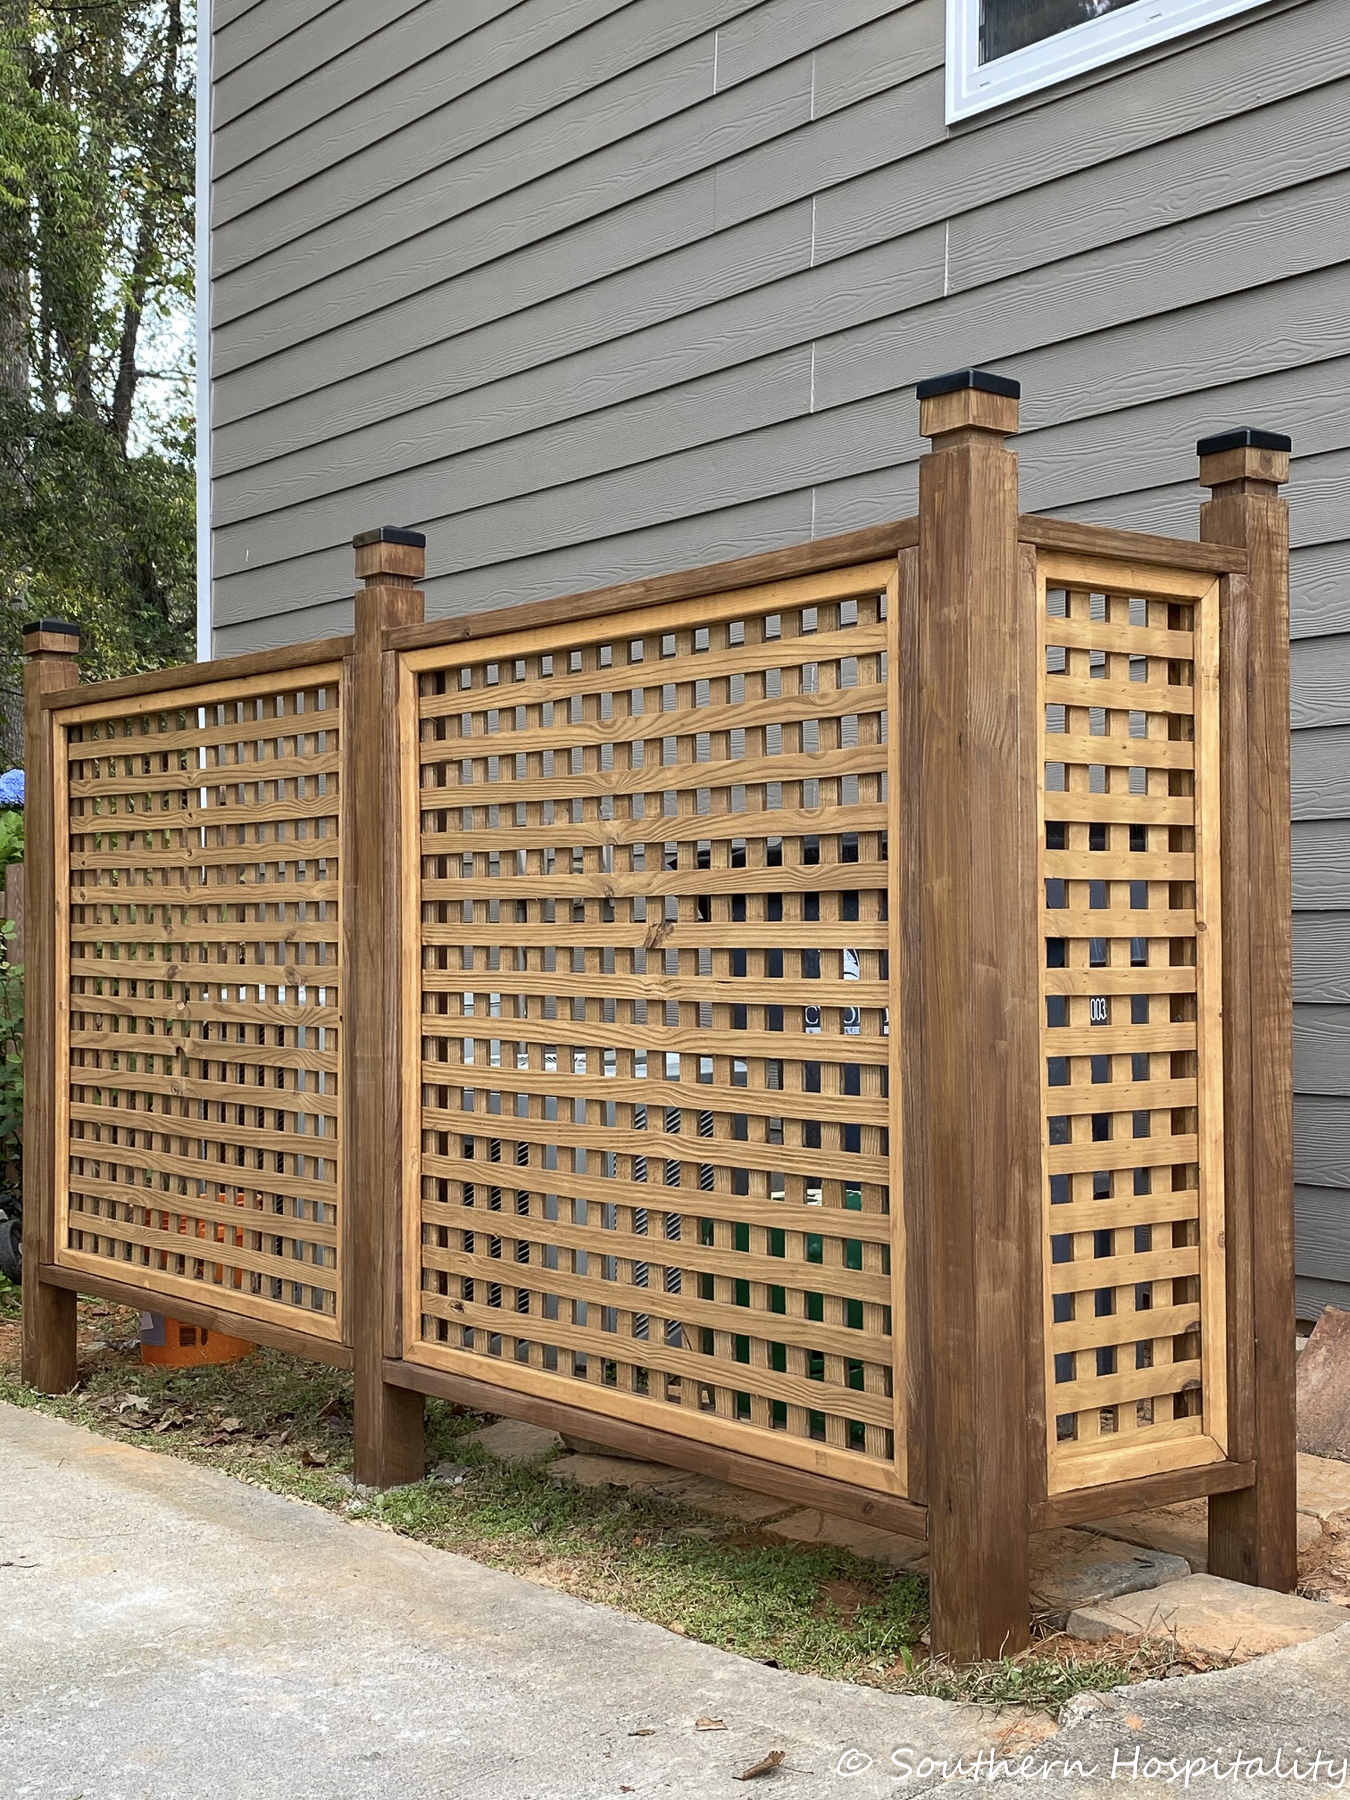
After: staining the lattice, all finished and stained. We used a Natural Cedar color for the lattice, which gives it a nice two toned look, also Behr semi-transparent deck stain.
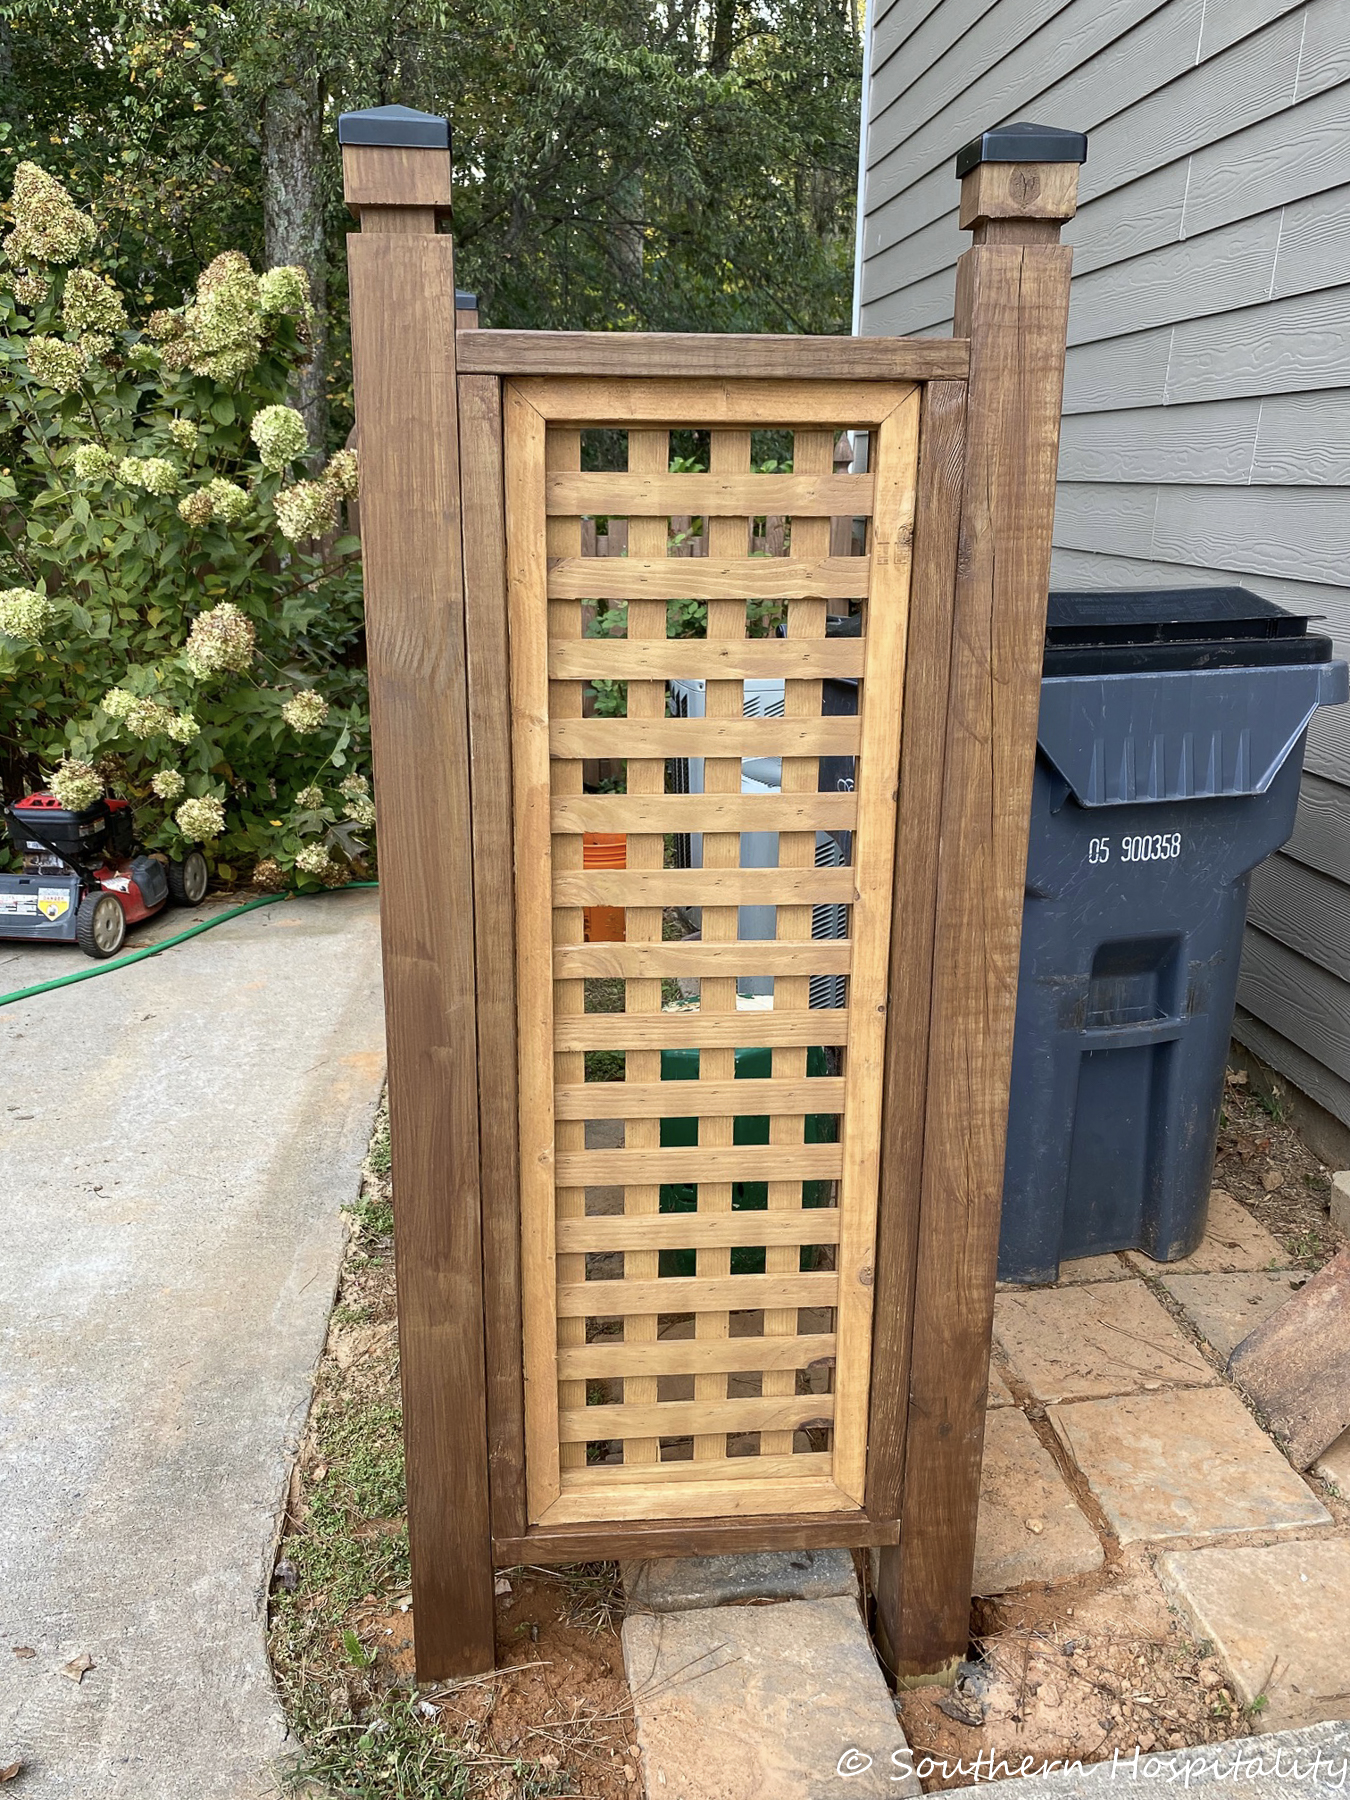
We added those little black caps to the top for a more decorative look. We will finish cleaning this area up soon and figure out what else we will do with the grass here, but for now we are so happy to get his project done. It really makes a difference when you pull in our driveway now and we are so happy with it. Hope this gives you some inspiration of your own if you have an area that needs to be hidden too. This is the perfect solution and fairly inexpensive if you are looking for lattice privacy screen ideas.


That’s terrific! I’ll be showing my husband! Thanks again for detailing all of your DIY projects! Keep up your good work! Let’s go!
This same project is on my list: one privacy fence for the pool equipment, one for the two AC units. I’ll be using a Ben Moore Historical Paint/Stain in ‘Gloucester Sage’ on both fences. It’s a great green that compliments plantings beautifully. Also thinking of adding solar post caps to the fence posts. Will probably put down black weed cloth and cover that with small river rock around the cement pads.
That small strip of soil could be planted with Creeping Thyme, smells great when you step on it after a rain and prevents weeds from growing. Plus you don’t have to ‘weed-wack’ or mow it.
Wow. That looks like a million bucks. Every project you and Mark undertake looks very professional. Mark’s carpentry skills and attention to detail are top notch. We just finished a small project involving 3 sheets of lattice with tiny openings. Guess who got to do the staining -both sides. Right. Felt like it took me forEVER to get that stuff stained, with all its corners, nooks, and crannies. Definitely a job for a sprayer.
Looks great! Handy husbands are the best. A suggestion for your weedy spot is a small, fine textured liriope or mondo grass. I’m in Athens and have a 4-5 inch tall, dark green one that is not invasive but thickens up in just a season or two and requires no maintenance. It chokes out weeds, and daffodils would come up through and over it.
Sounds great, Sally, I’ll definitely be working on that area.
The timing of this project is just perfect. We were discussing hiding our A/C unit a few weeks ago. My DH has been researching just how to do this. Thanks for the detailed how to on this one. Yours looks terrific.
Thanks Jan, it sure makes a difference and the components are not that expensive to build. Hope it helps you!
This projects turned out great! It makes such a difference to hide the ac unit and trash. Mark & you did a professional grade job, really impressive.
Looks so good! You and your dear Mark have done another fabulous job! Now you can cross that off your “To Do” list — or your “Honey Do” list!
Rhoda, maybe you and Mark should publish a book with all your DIY’s! It would definitely be a “best seller”!
Have a great week!
I love the finished work! We have something similar, but yours are nicer! Mark is a treasure!
Great job! It looks wonderful.
What a fantastic job y’all did! Thanks for all the instructions and little tidbits! After the final stain, it really pops! I know you’re thrilled with this DIY! Love to read your blogs!
great job Marc !!!
I need one too but not up to building it. An important note since most of us want to hide the AC unit- “Call before you dig”
There are a lot of underground wires near AC units.