How to decoupage oyster shells using tissue paper, Mod Podge, gold paint and clean oyster shells. This easy craft will make you want to collect more oyster shells just to have some fun with this cute crafty idea. Use as a ring/jewelry/trinket holder for a pretty accent!
Today’s post is a fun craft idea. I’m not a big crafter, but occasionally something comes along that catches my attention and I loved this one and thought you would too. This oyster shell craft has been around a long time and I’m definitely not the first blogger to share it, but since I just did them for the first time, I’m sharing with you too. I’ve noticed them all over the place the last few years and many of them are sold in online shops.
Happy May Day! A few weeks ago, I went with a local friend of mine, Pat, to a women’s retreat in St. Simons, GA. Being in a coastal area and as part of the weekend activities, Pat had a local to St. Simons gal come by and share this craft with the ladies. When I heard we were going to do these, I was very excited because I’ve seen these oyster shell ring holders for sale on sites and knew they had to be easy to make. And they are!
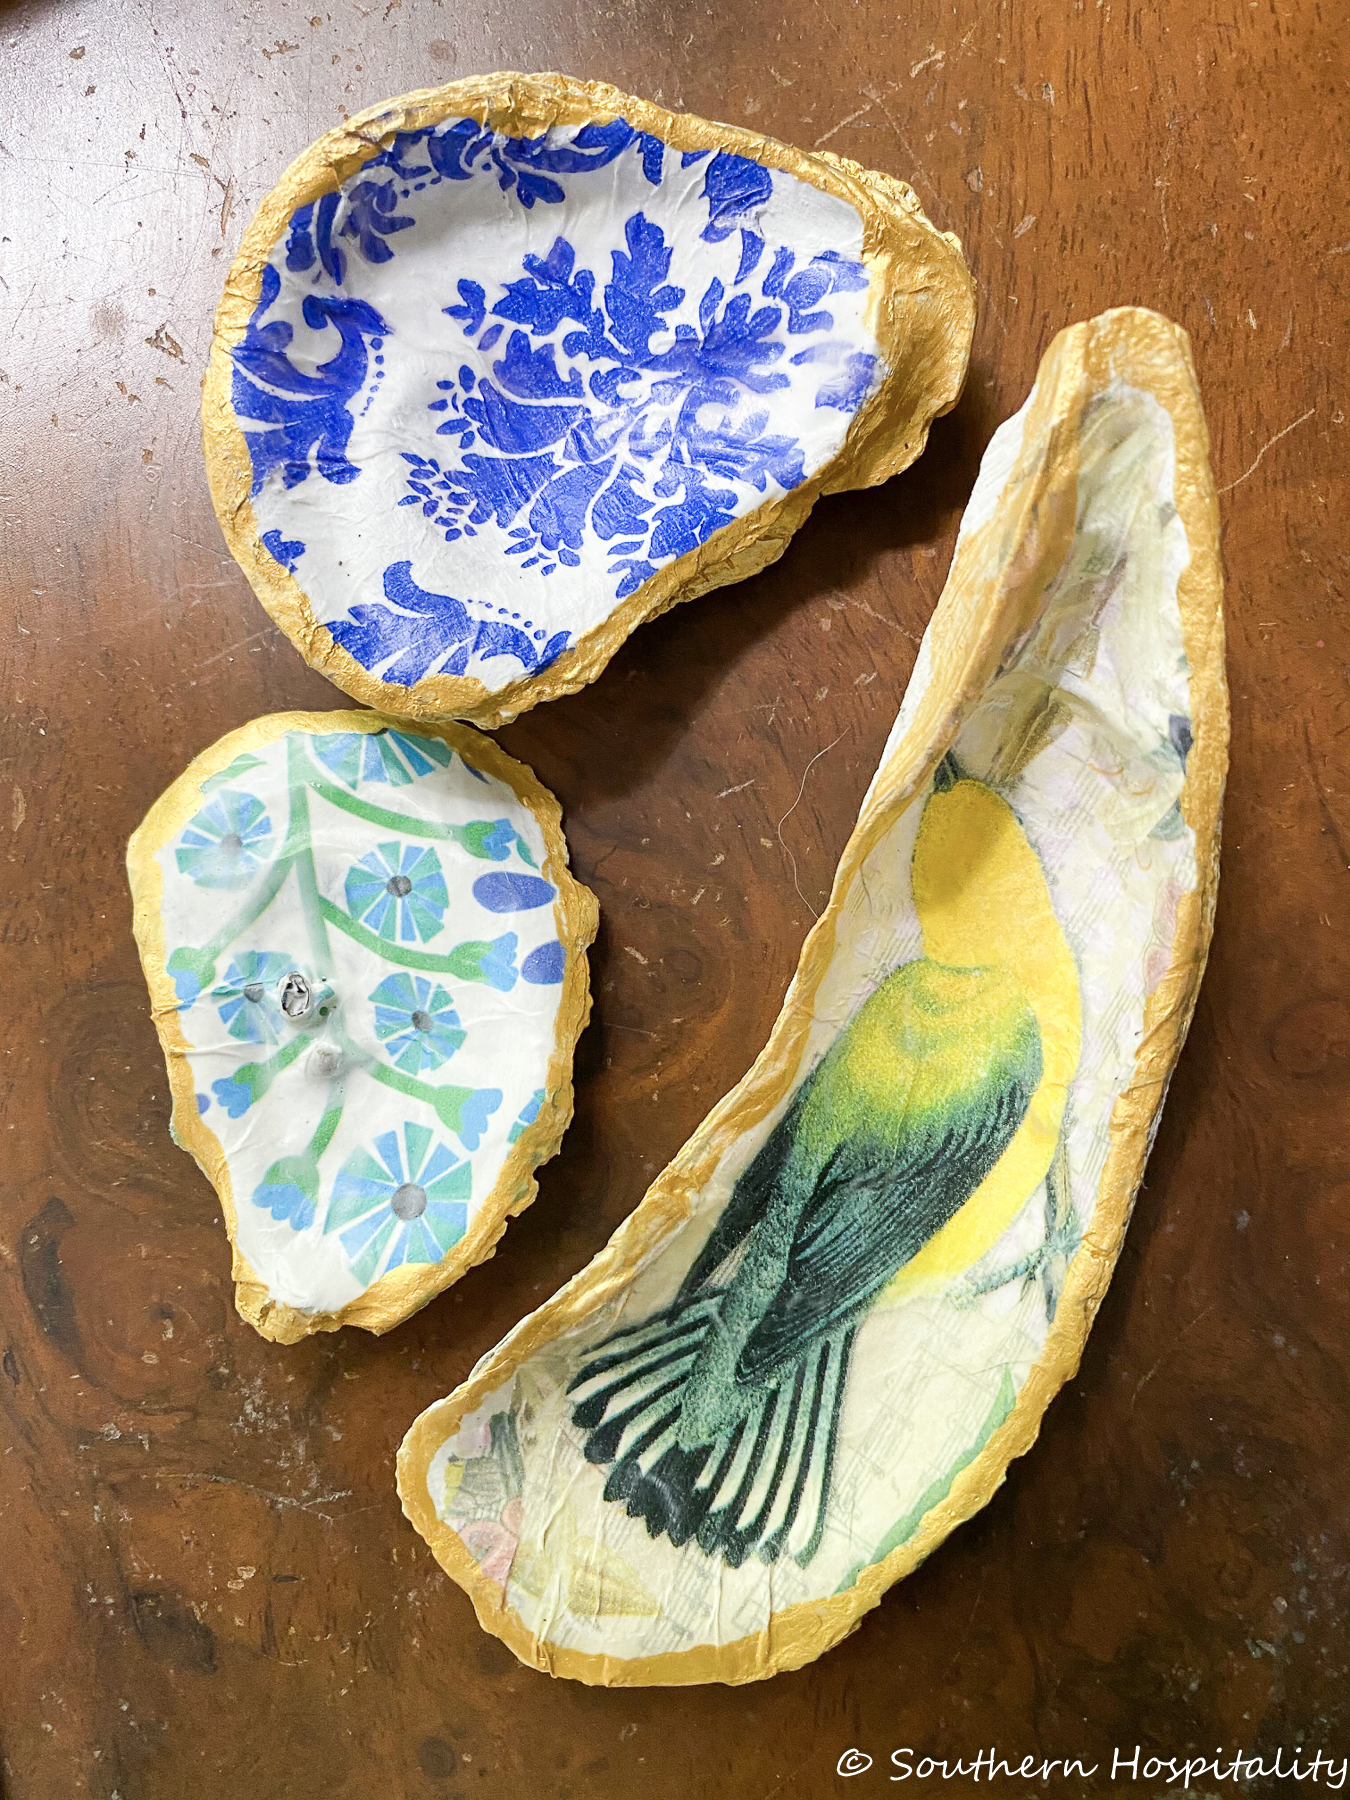
These are the 3 oyster shells I made over on that weekend craft adventure. I thought they were so cute, so I brought home extra oyster shells she had offered to make more. The gal that did the crafts is Small Town Table. Angie is the sweetest single mom and she has an online business of gift boxes and DIY crafts. She’s got spa gift sets, subscription boxes, soaps and more. You can find her DIY Oyster Shell Craft box here for $15 if you want to try this craft at home and don’t want to go and buy all the components. One box will do many oyster shells. I still have plenty of the materials left from my box. Many of us probably have oyster shells at home from collecting shells for years. Be sure your oyster shells have been cleaned thoroughly before painting them.
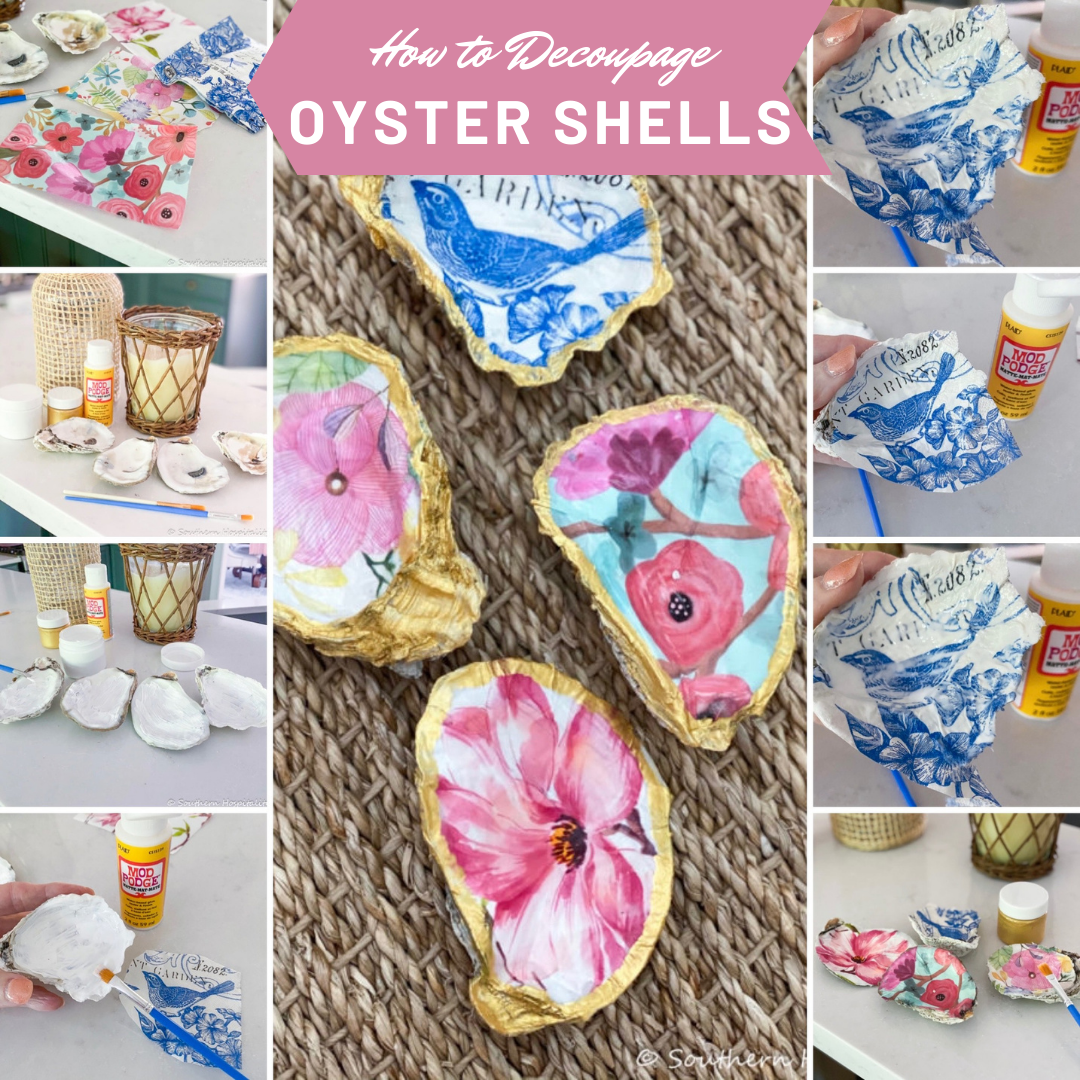
Let’s get started and be sure and save my collage for future reference. It’s so easy, you’ll want to do many of them.
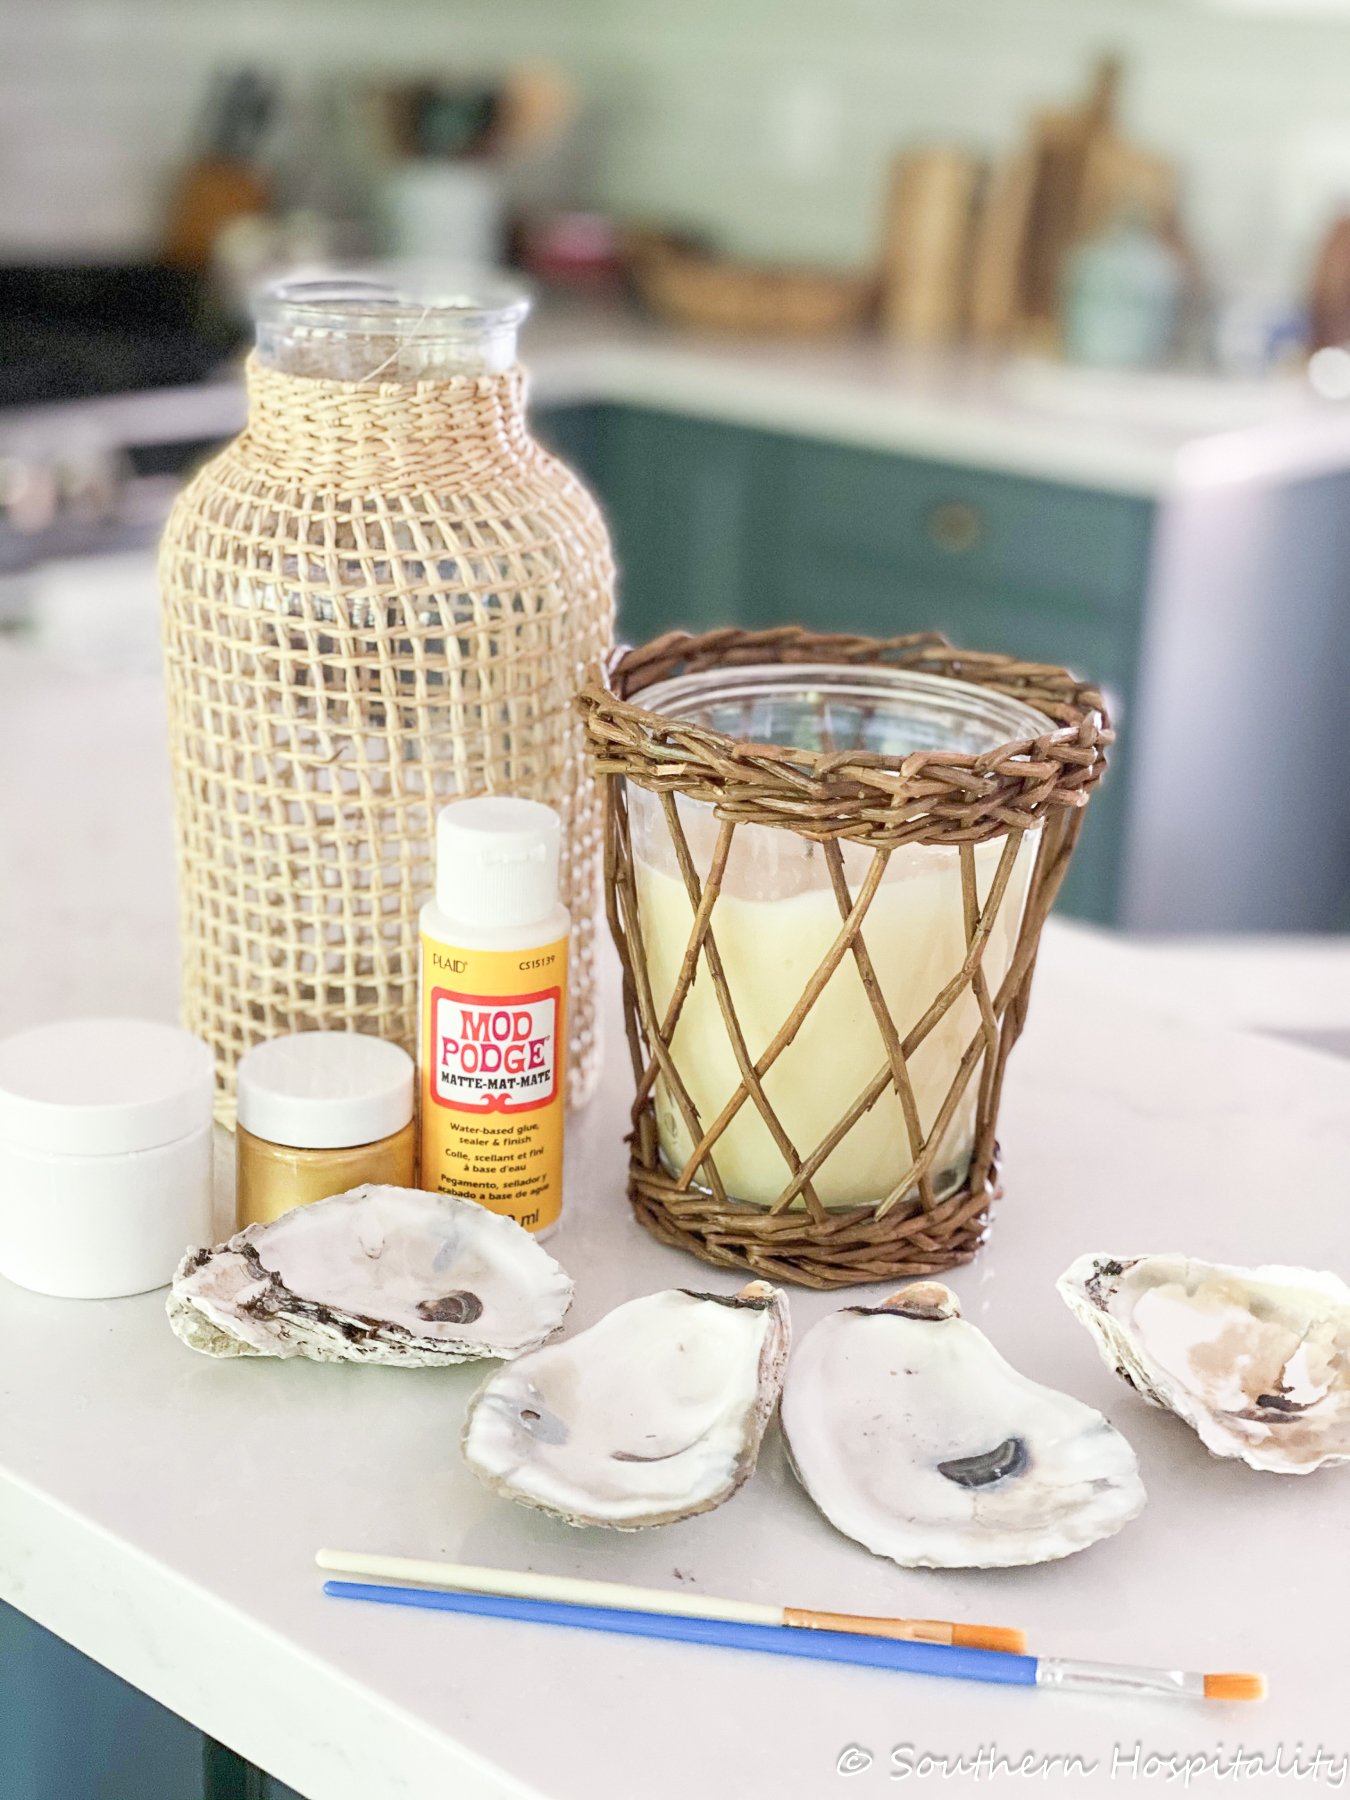
I had 4 extra oyster shells I brought home to do more crafts with. Her kit contains the brushes, white paint, gold paint and decoupage (Mod Podge) that you need for this.
Step One: Paint your oyster shell with white craft paint especially if it has dark spots. You don’t want those to bleed through your paper. Let dry.
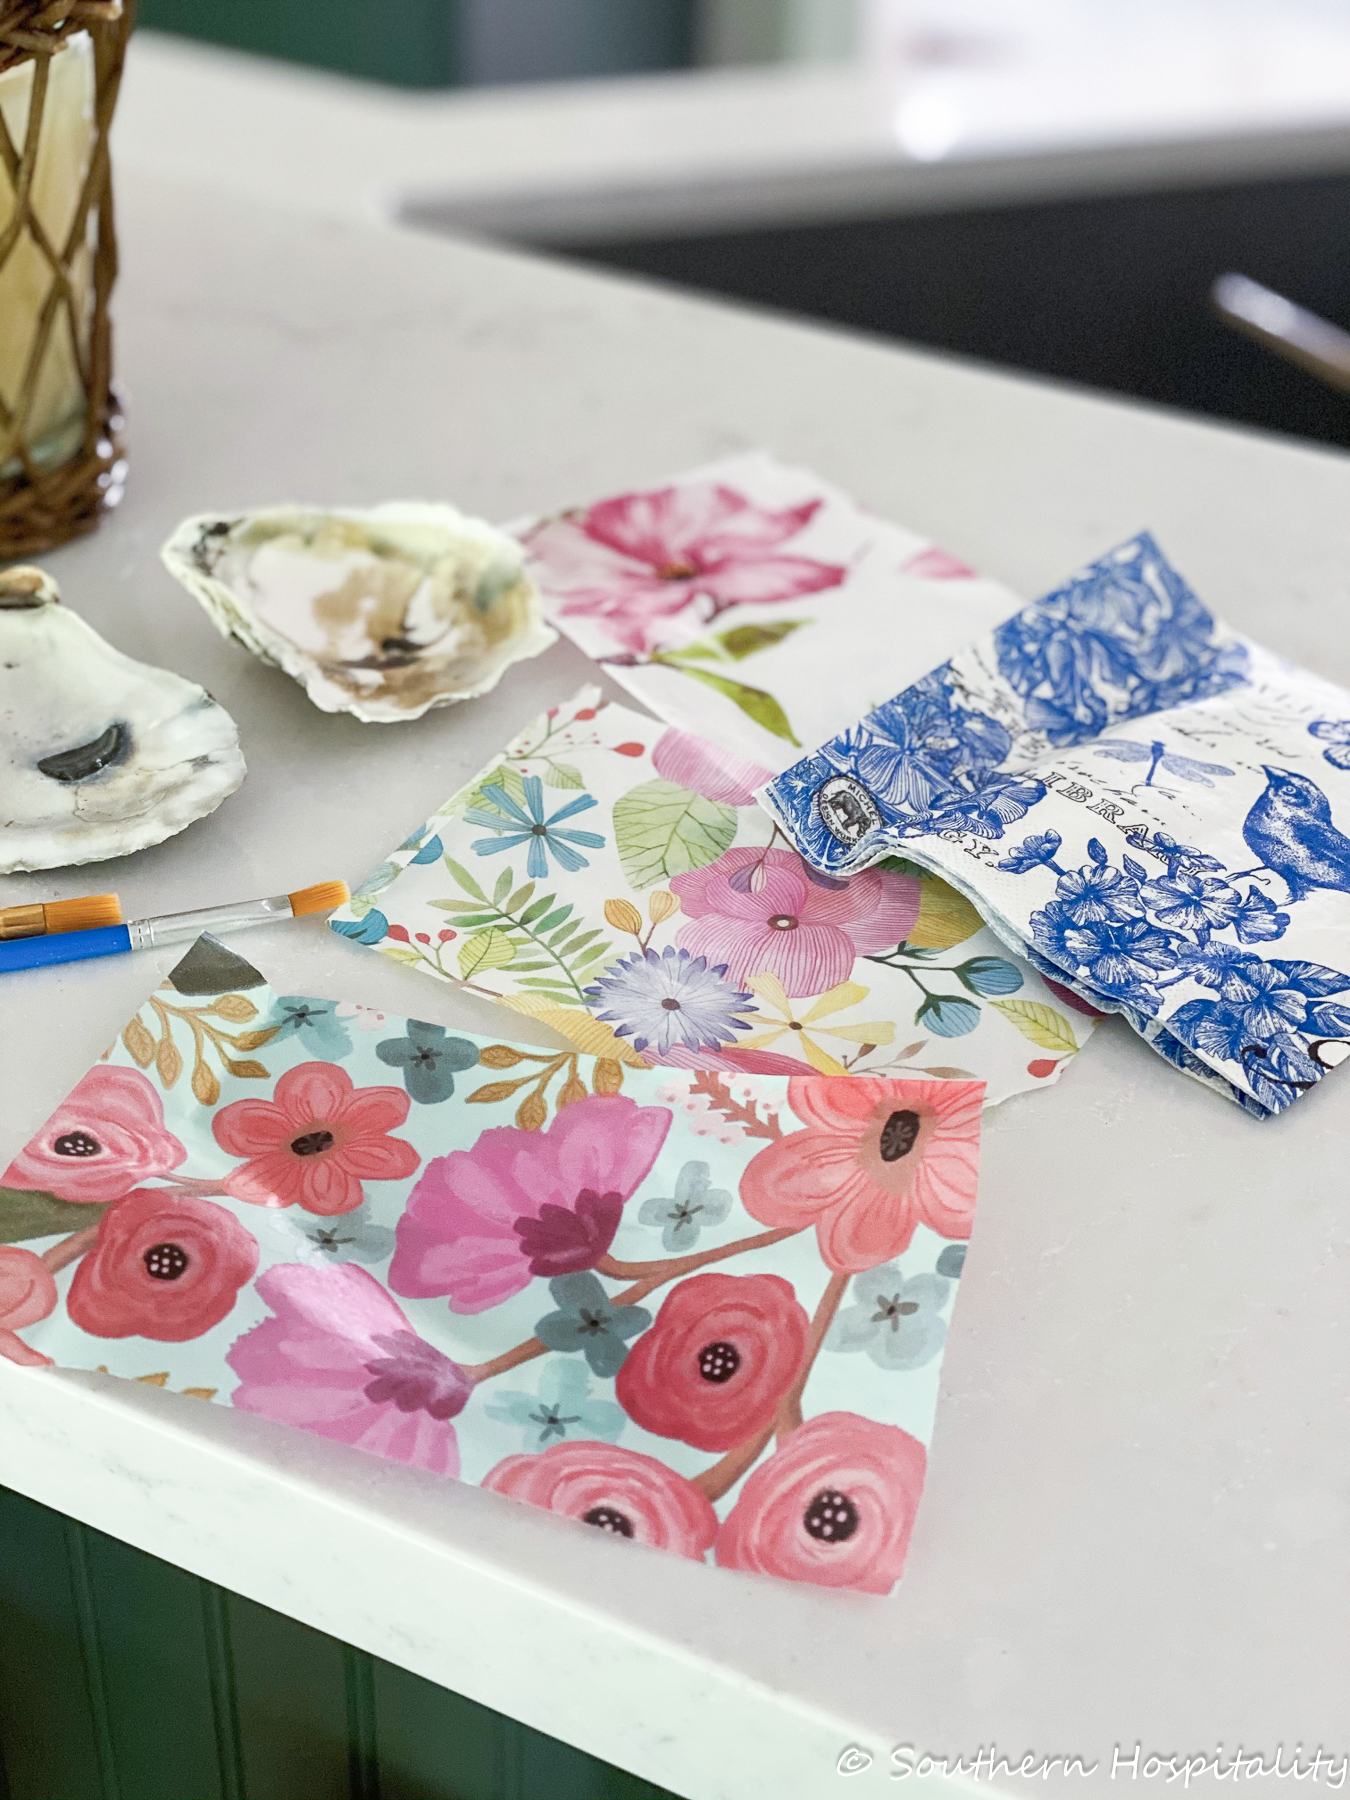
Angie provided us with several options in tissue paper. The thin paper is best for projects like this. I had the bird napkins left over from my Easter egg decoupage project I did a couple years ago.
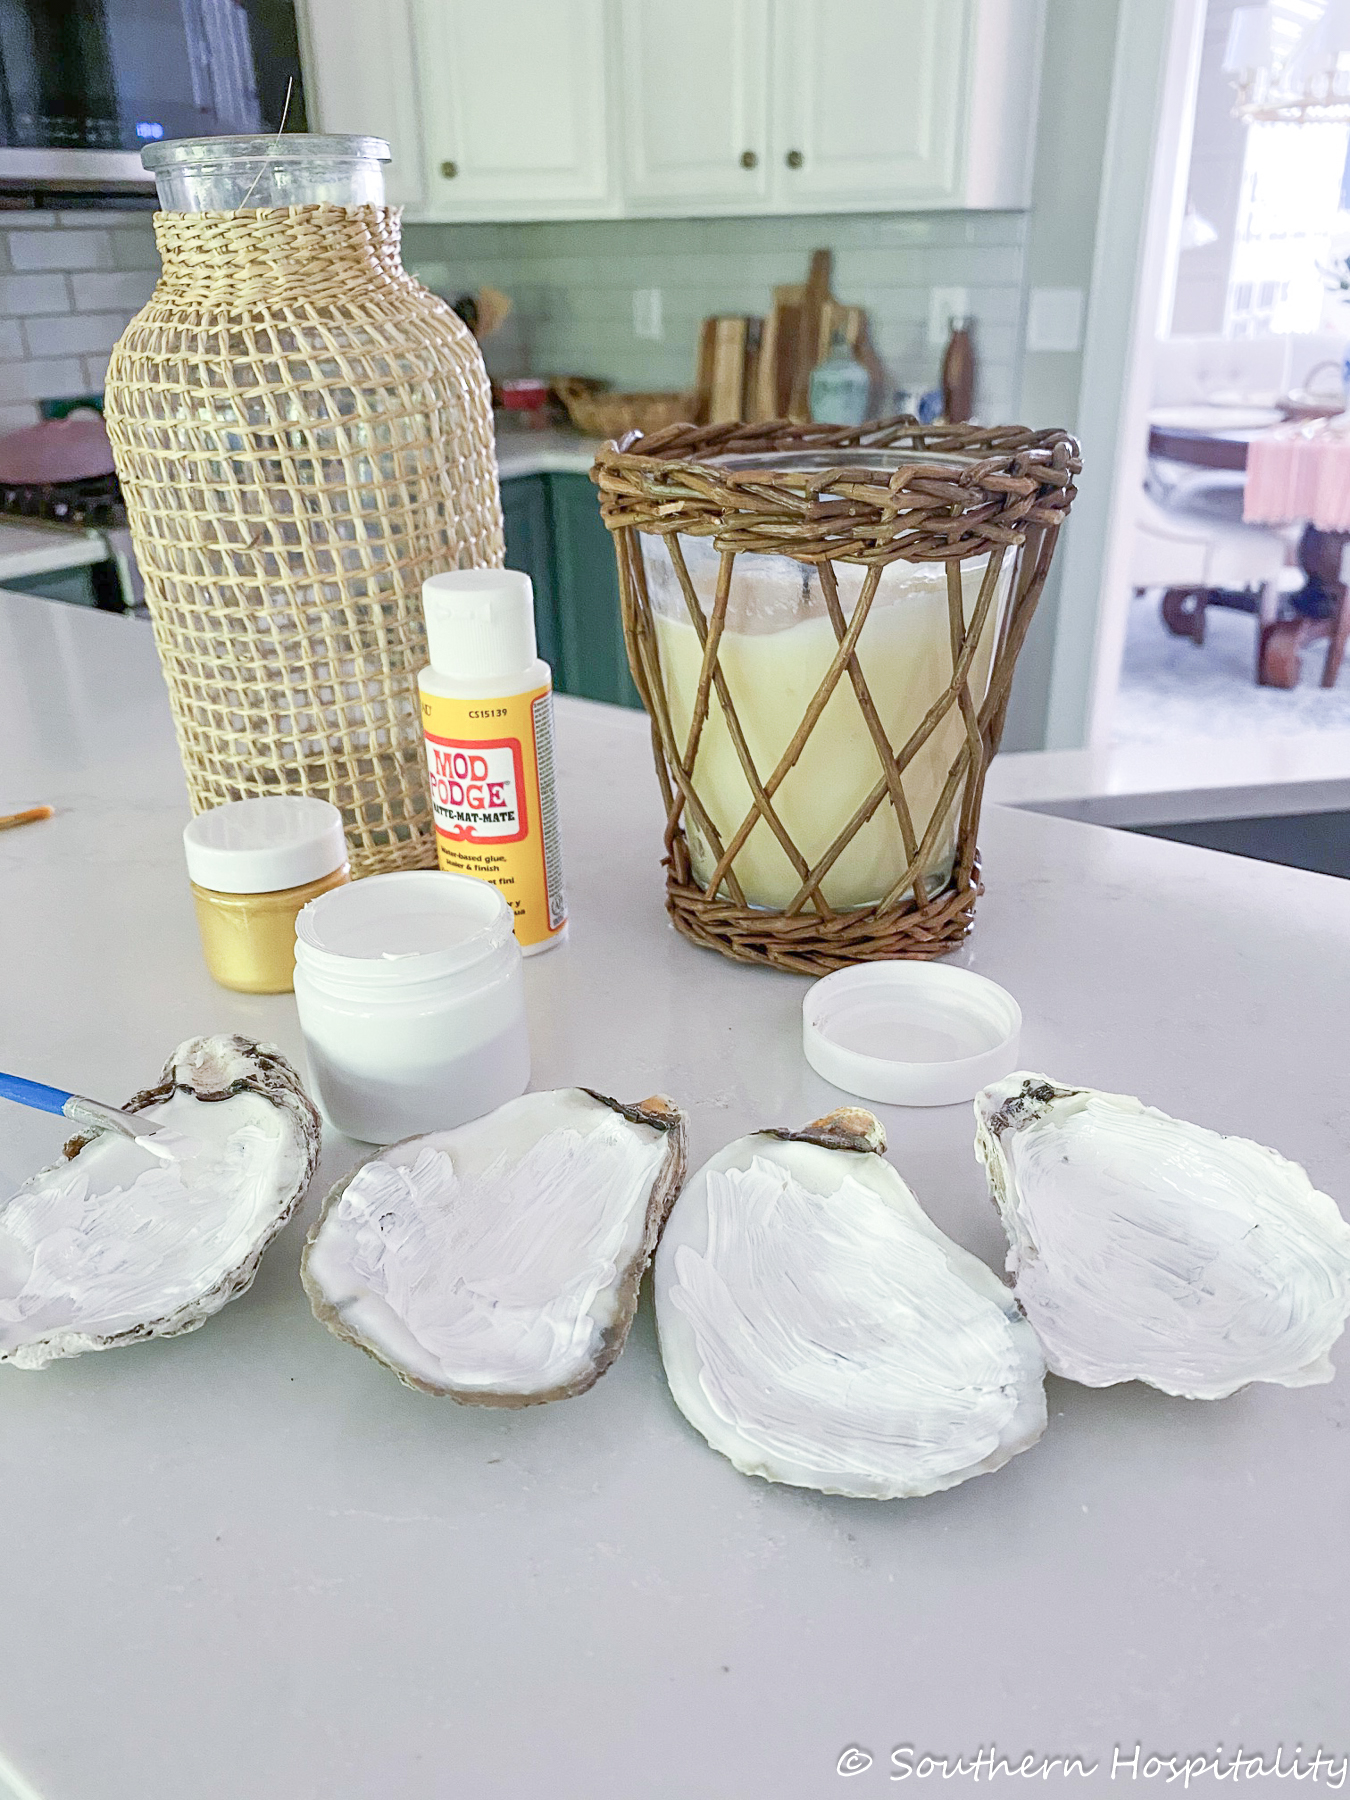
Painted white and drying.
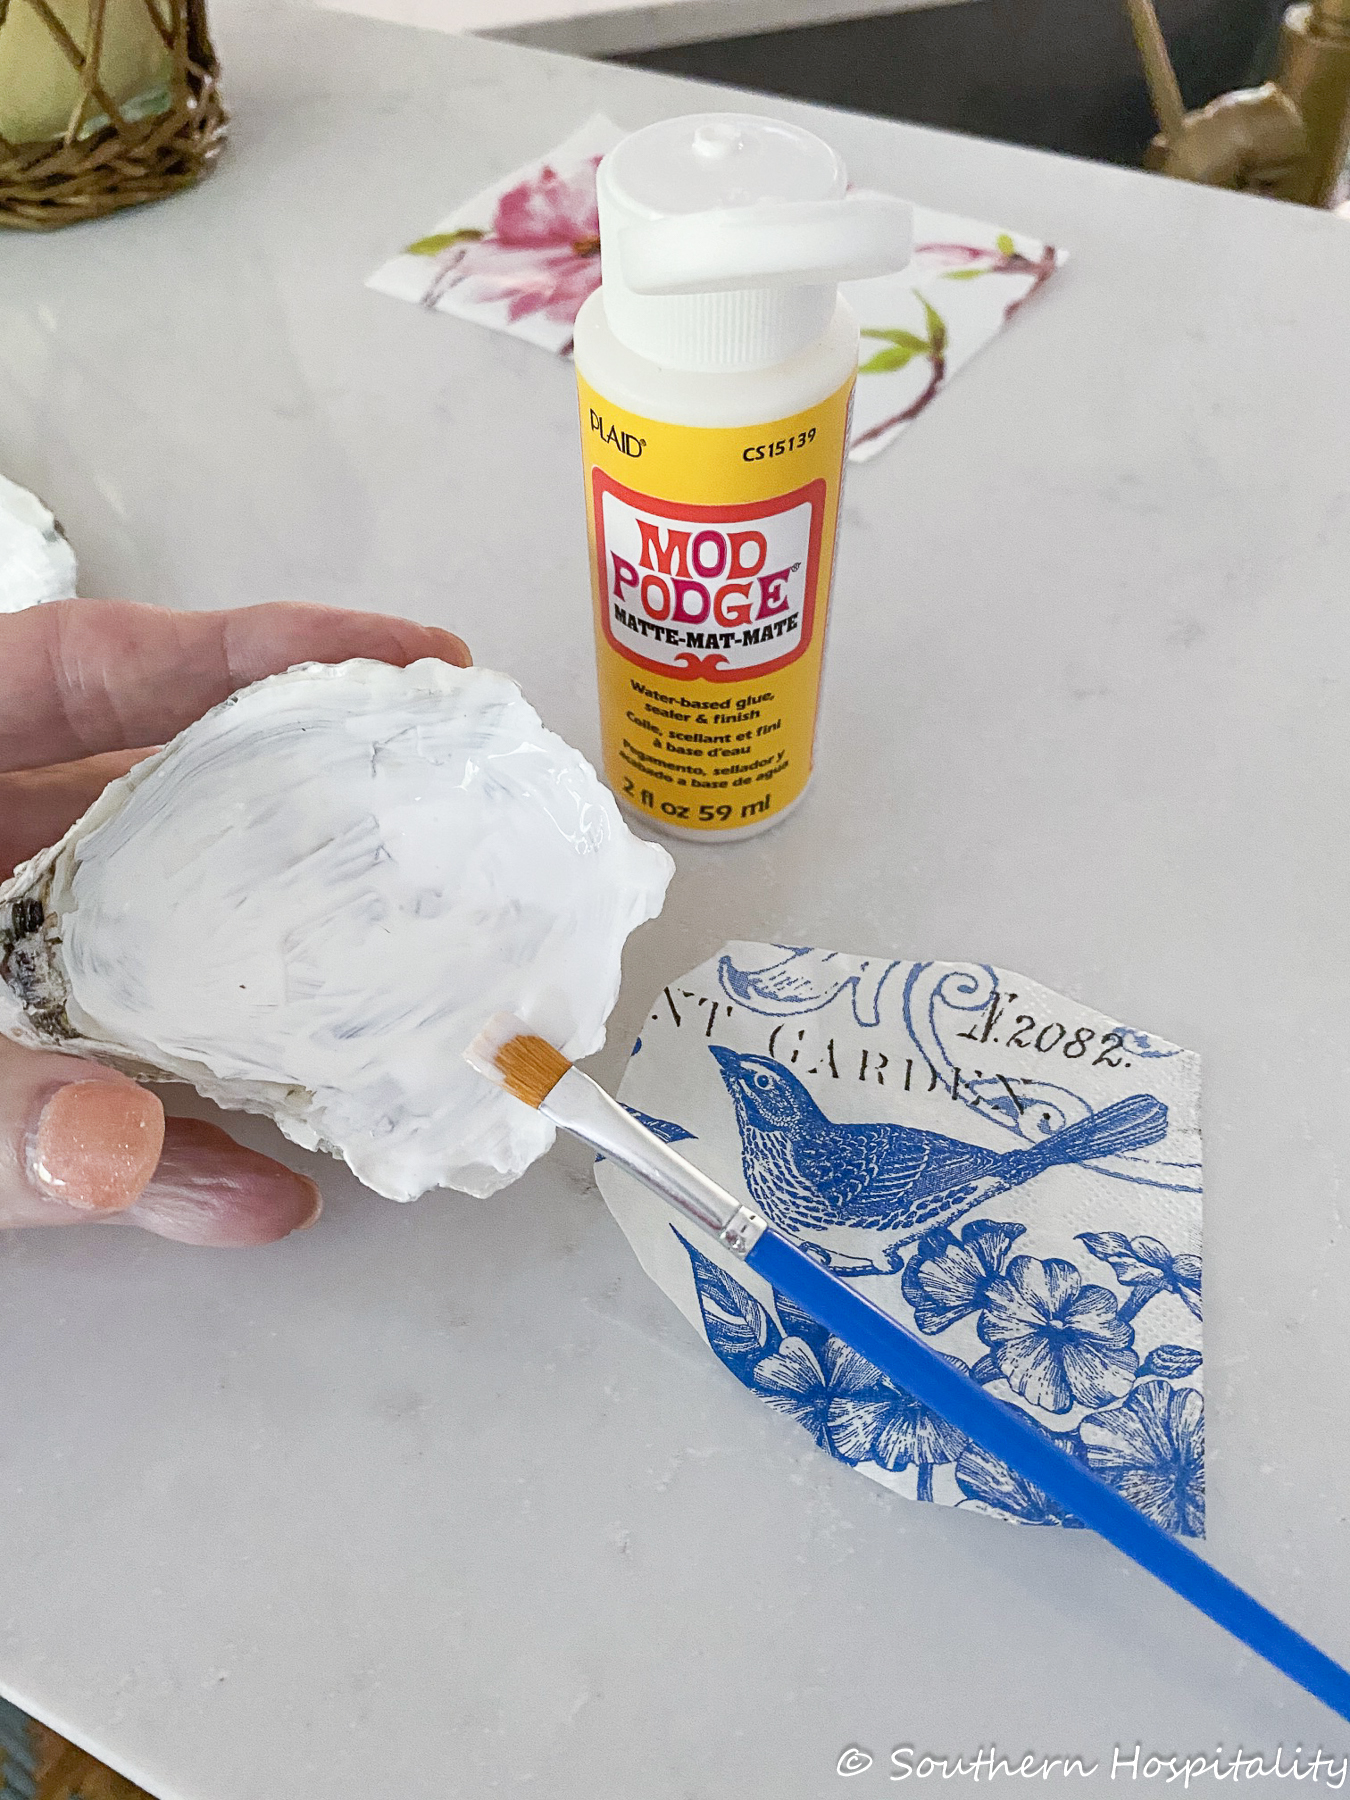
Step 2: After the white paint has dried, paint the interior of the shell with Mod Podge. You can use Matte or glossy, your preference. Cut out a rough shape of your oyster shell on the tissue paper/napkin. If you use napkins, be sure and remove the white outer layer and just use the colored part. Press down with your paintbrush and mold it to the shell.
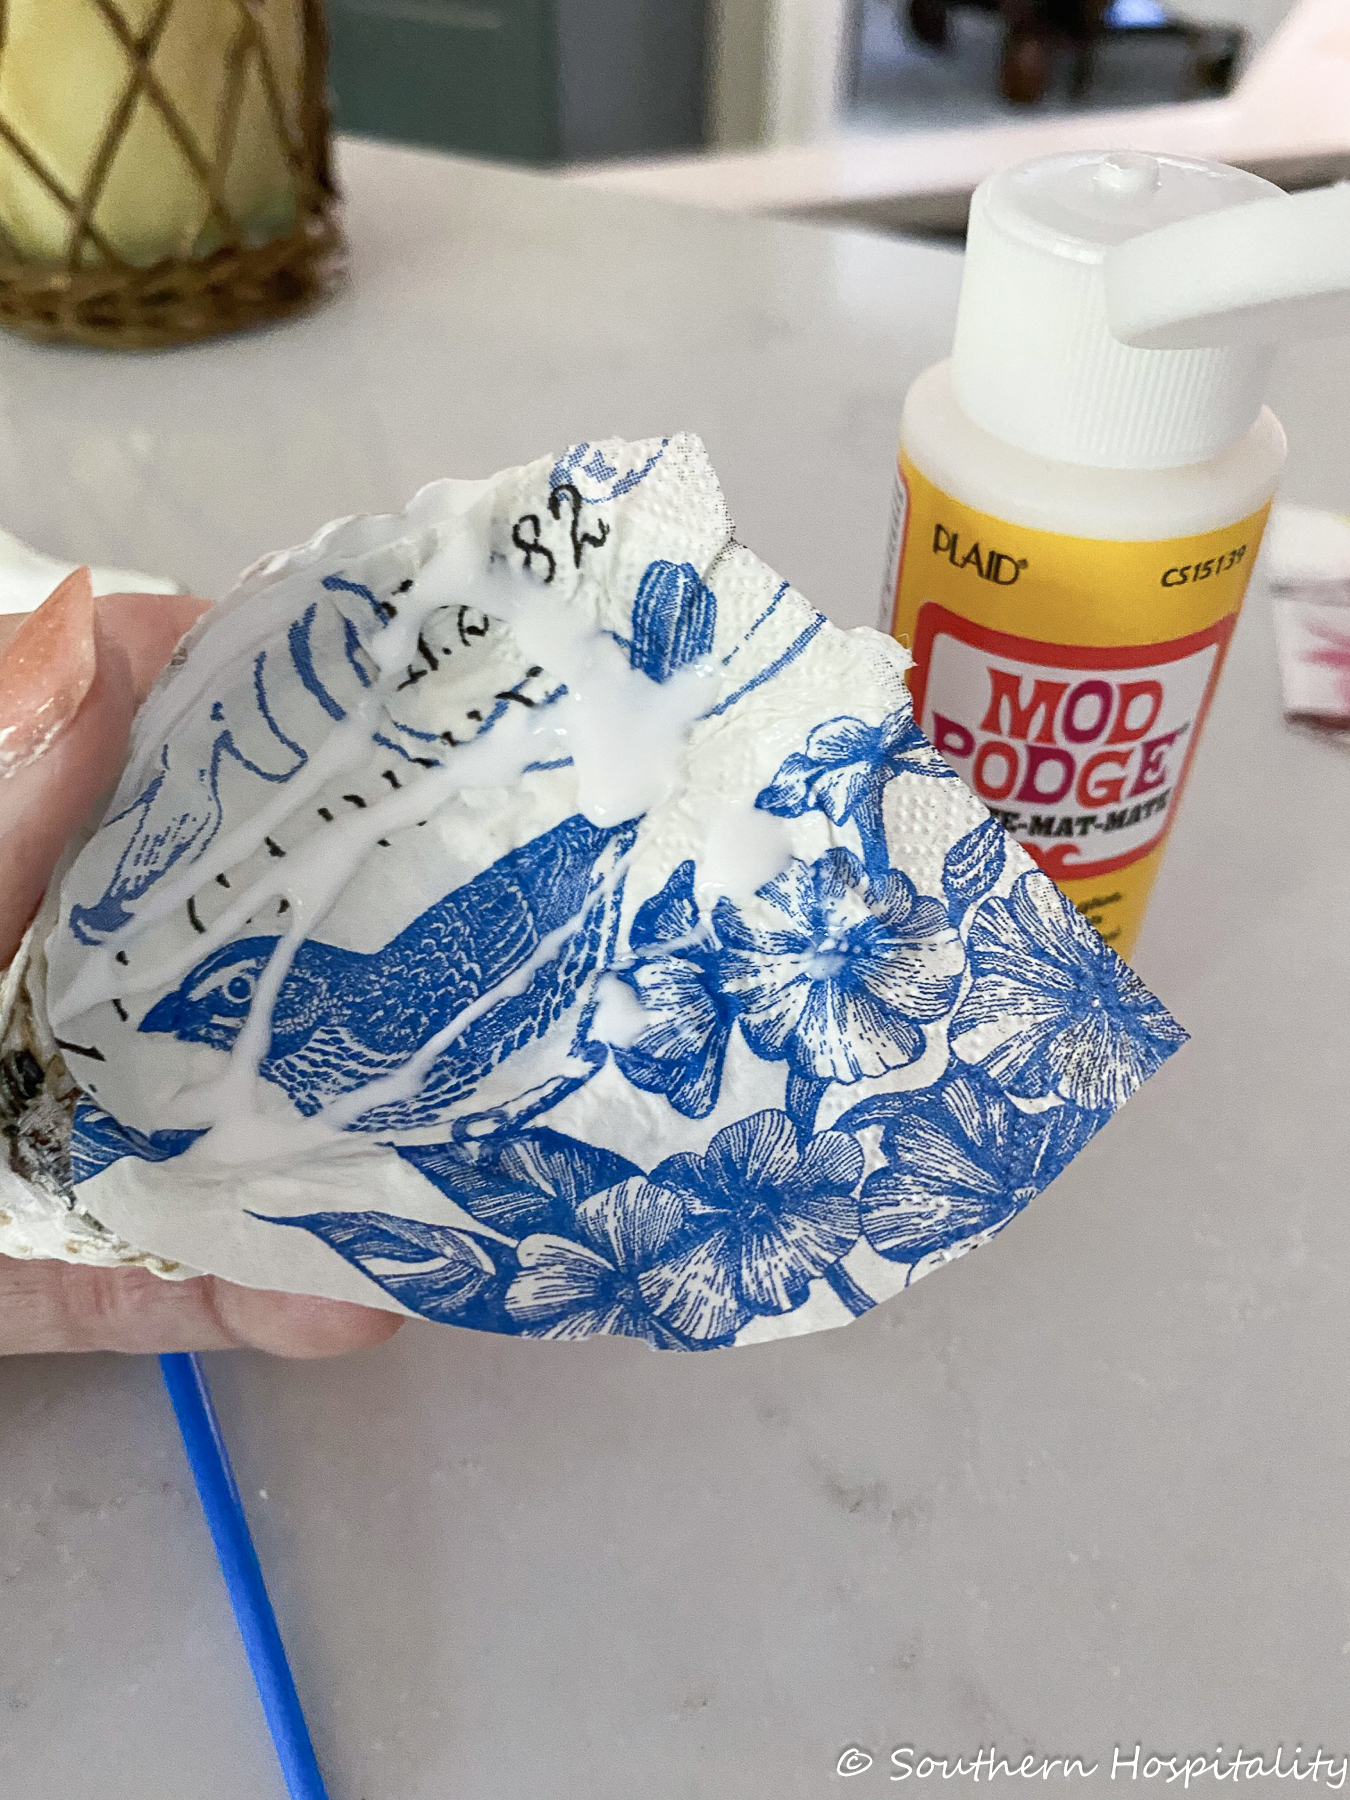
Step 3: Add more Mod Podge on top of the paper and spread it around with your paintbrush, brushing down the edges and smoothing out as best you can.
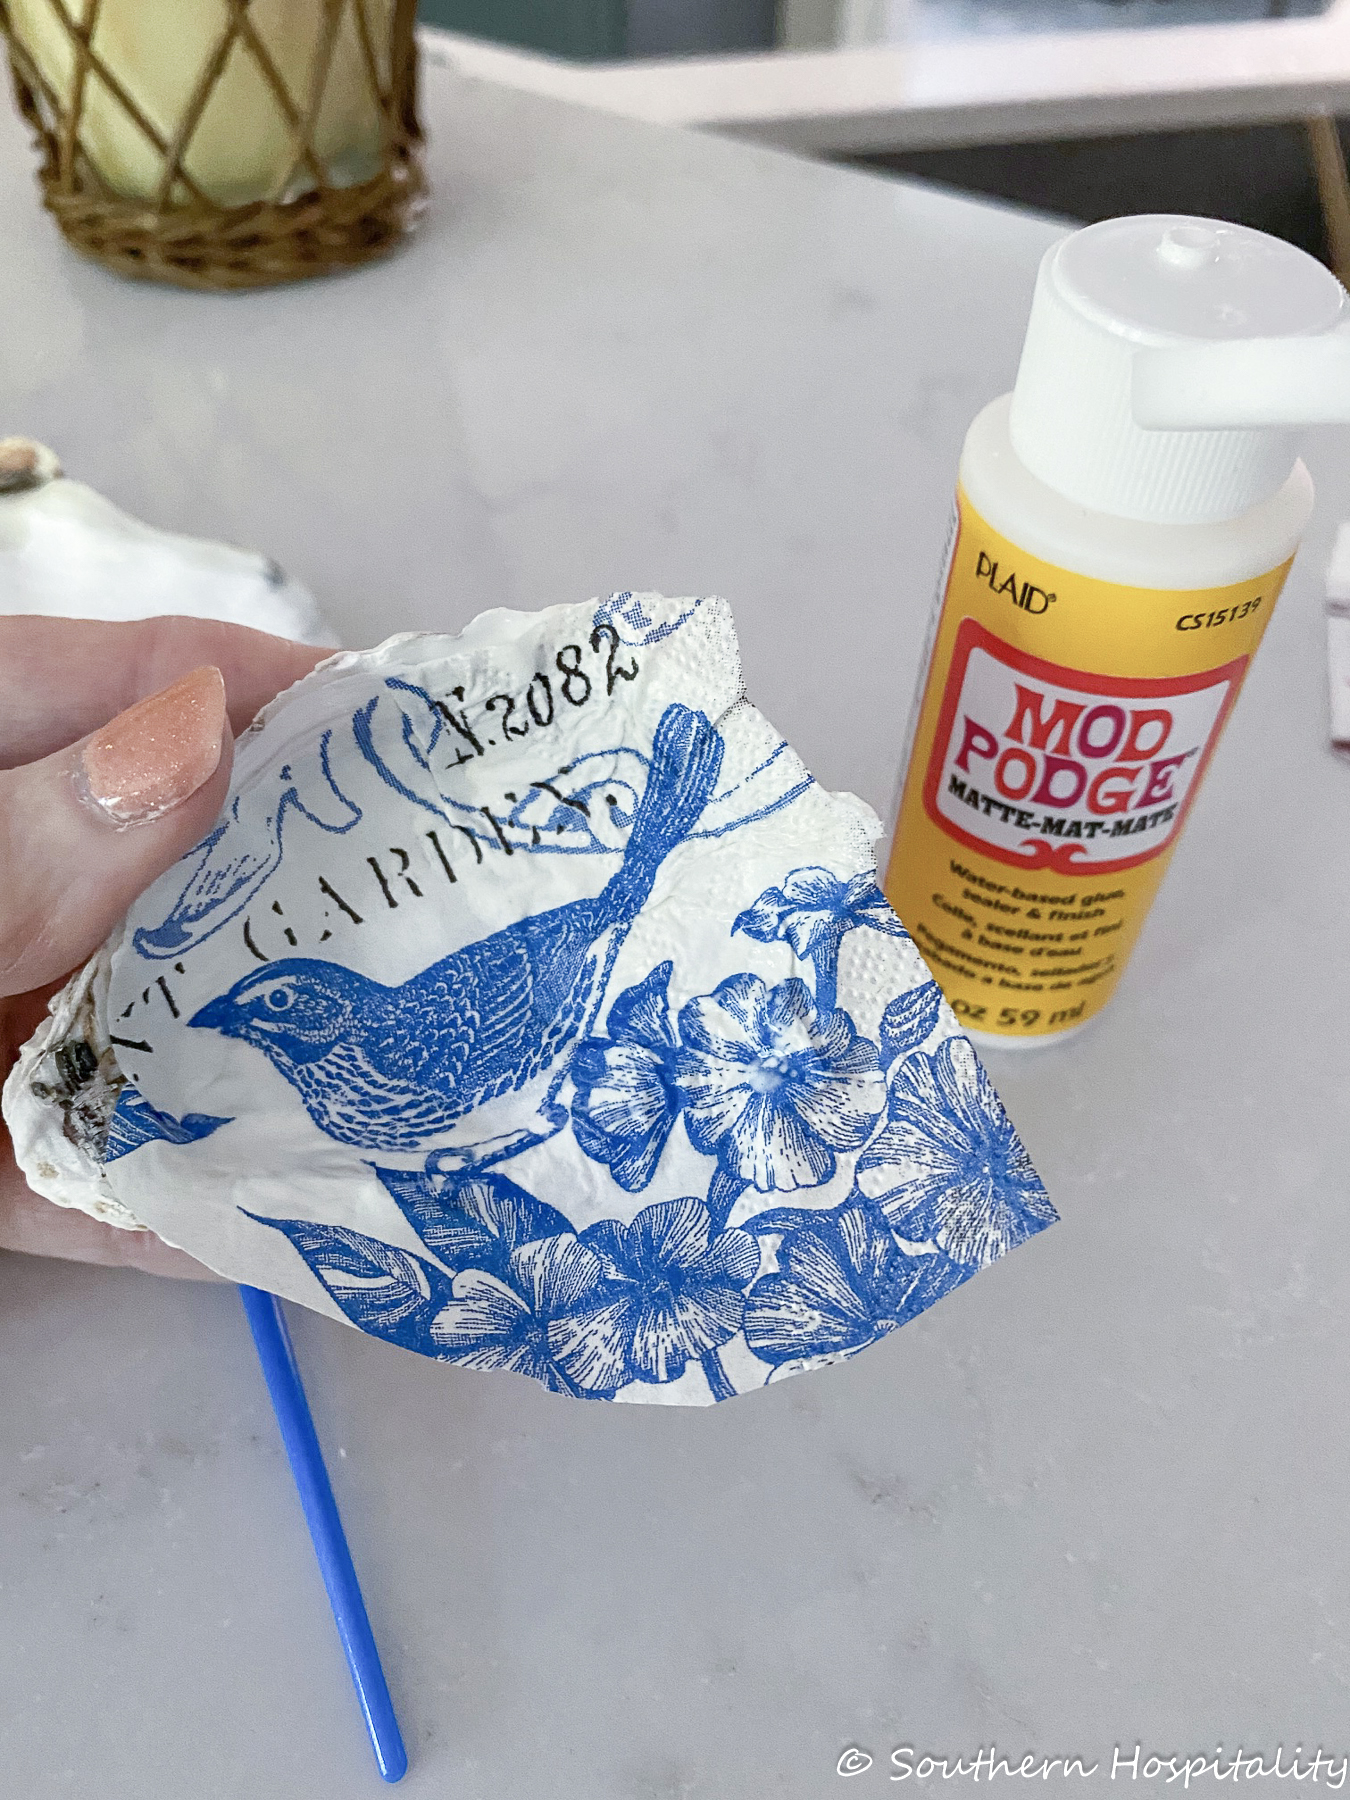
Step 4: Once you have it smoothed down and sticking well to the edges, make sure it’s plenty wet with Mod Podge and then begin tearing the extra napkin/tissue paper away from the shell edge. It will tear easily when damp.
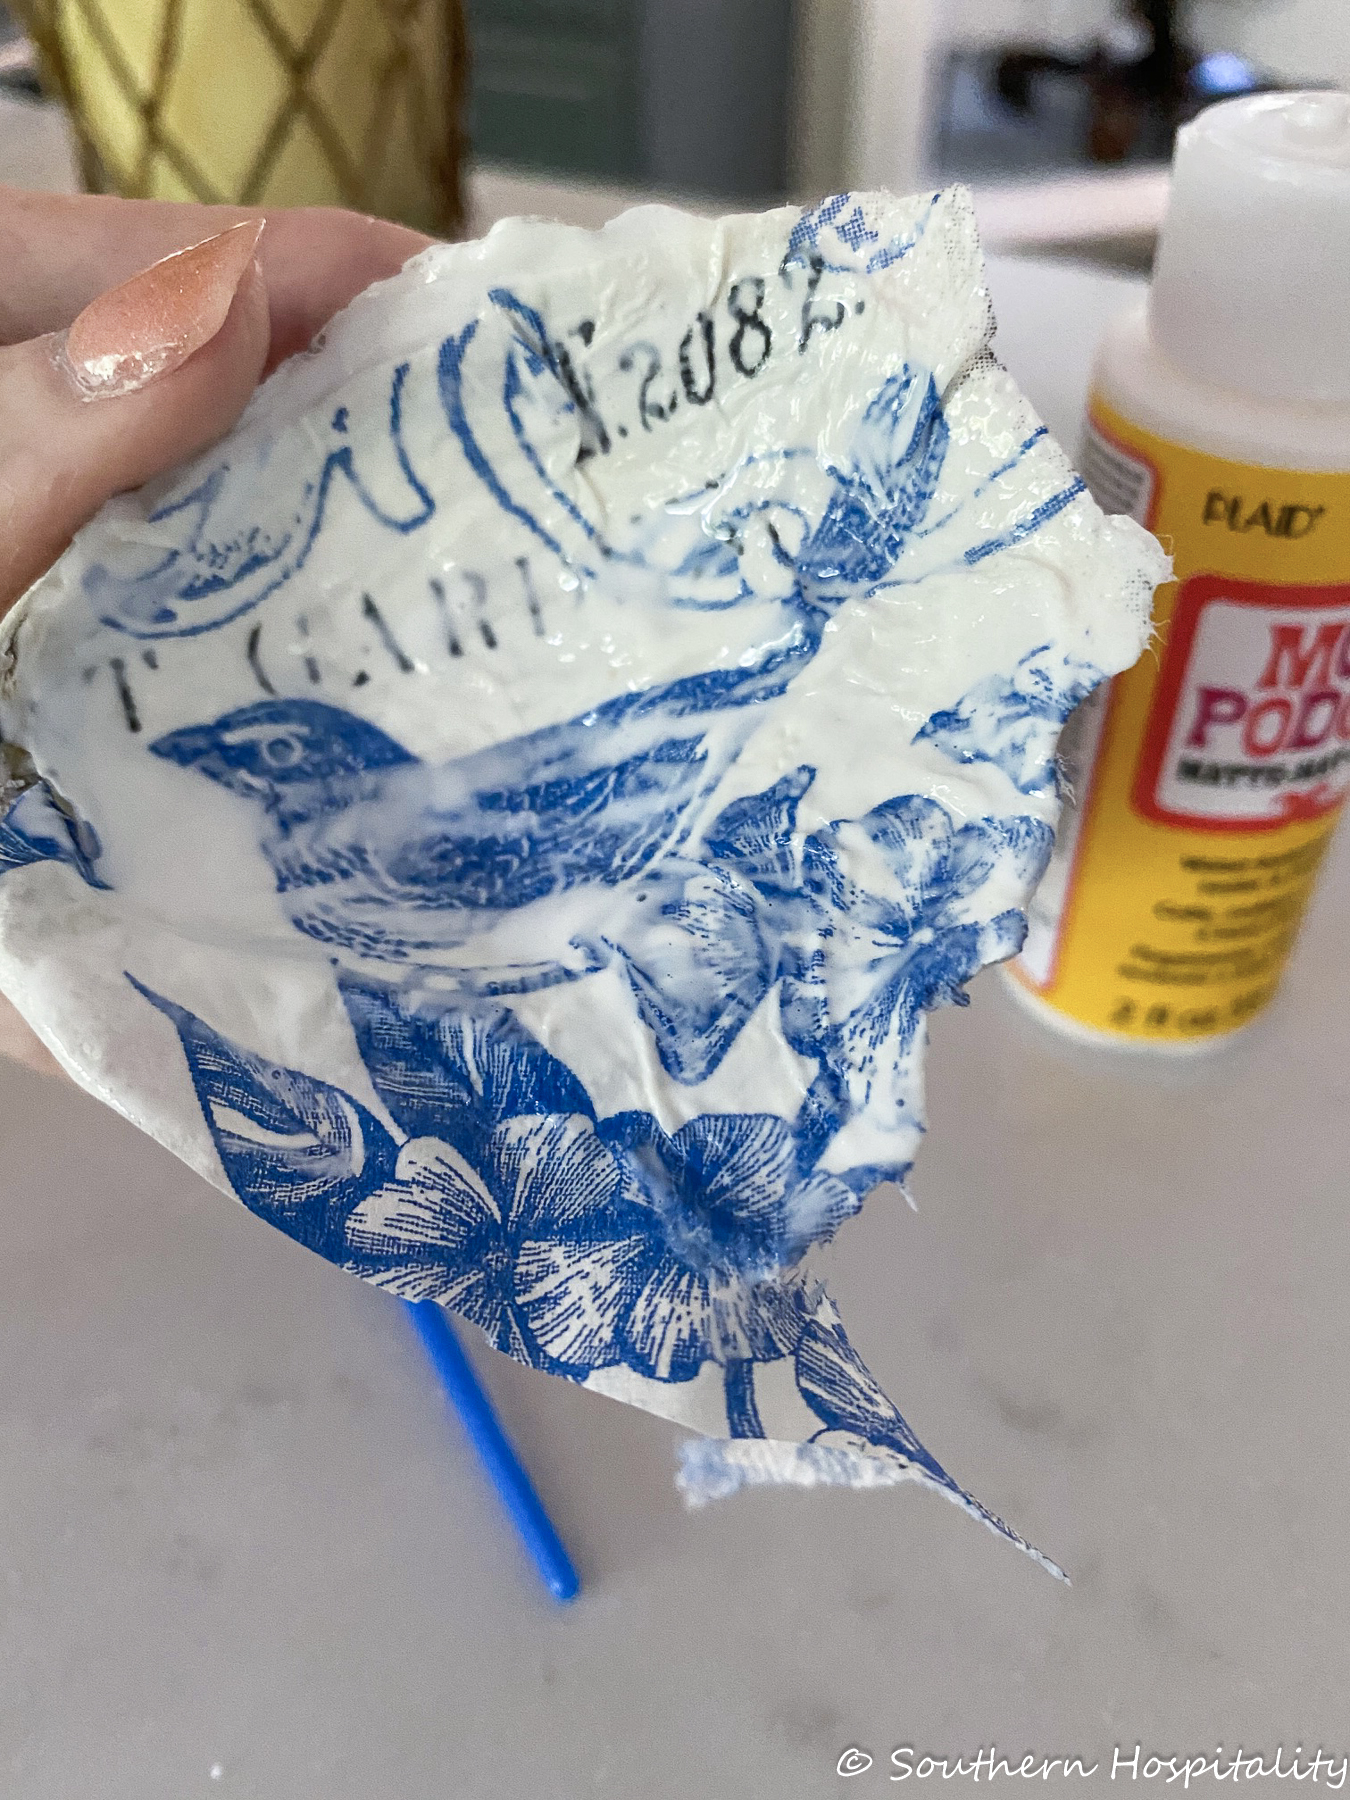
Once the edges are sealed down let it all dry well. Don’t worry about little imperfections in the napkin or tissue paper, they will dry flat and look great.
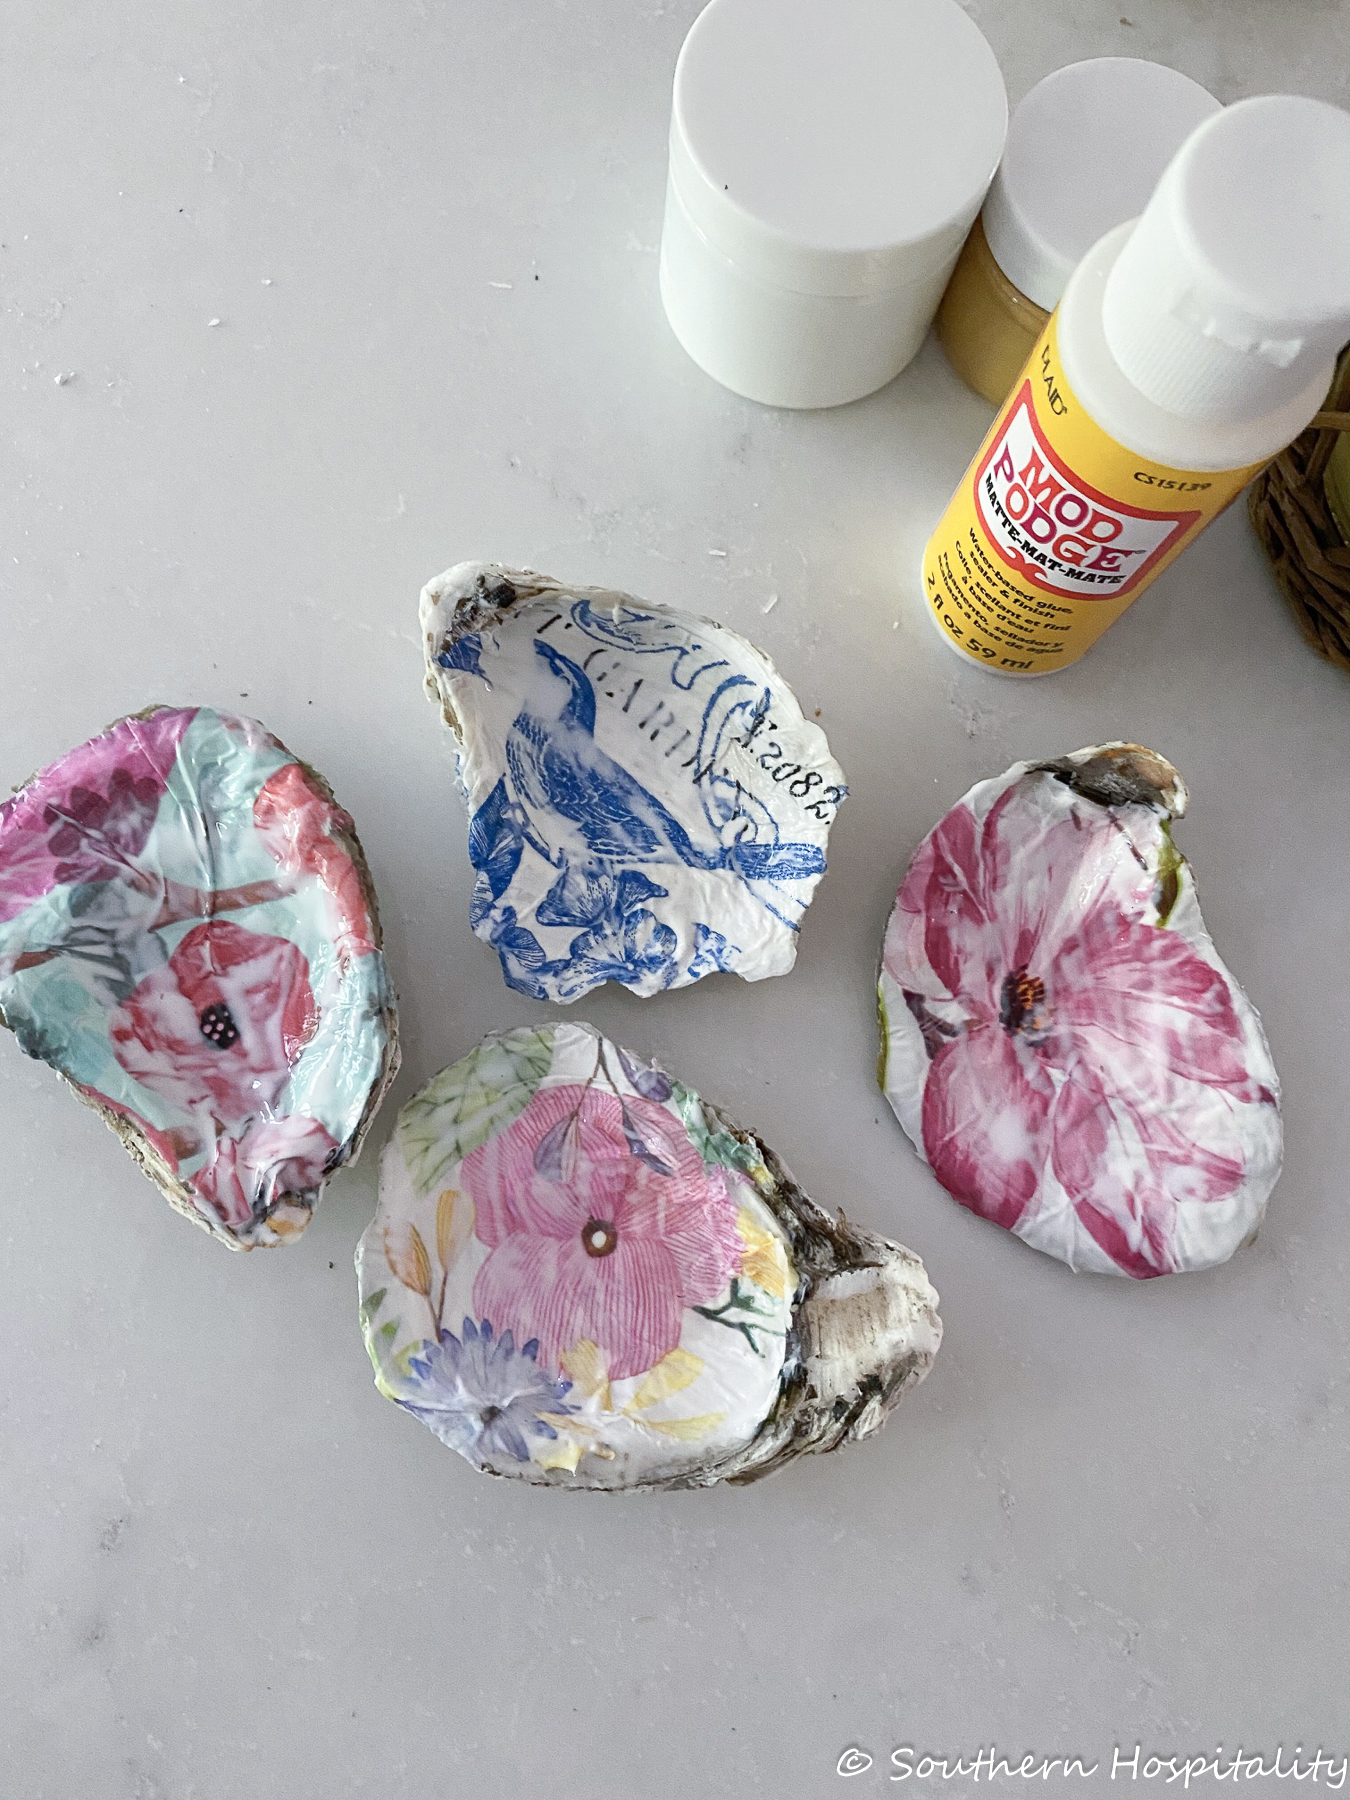
Step 5: Let it all dry well before the last step (or if you’re in a hurry I found the gold paint is fine to go ahead and paint on the edge, then let it all dry). But if you have extra time, let it all dry well. I did that with this batch and came back to them all dry.
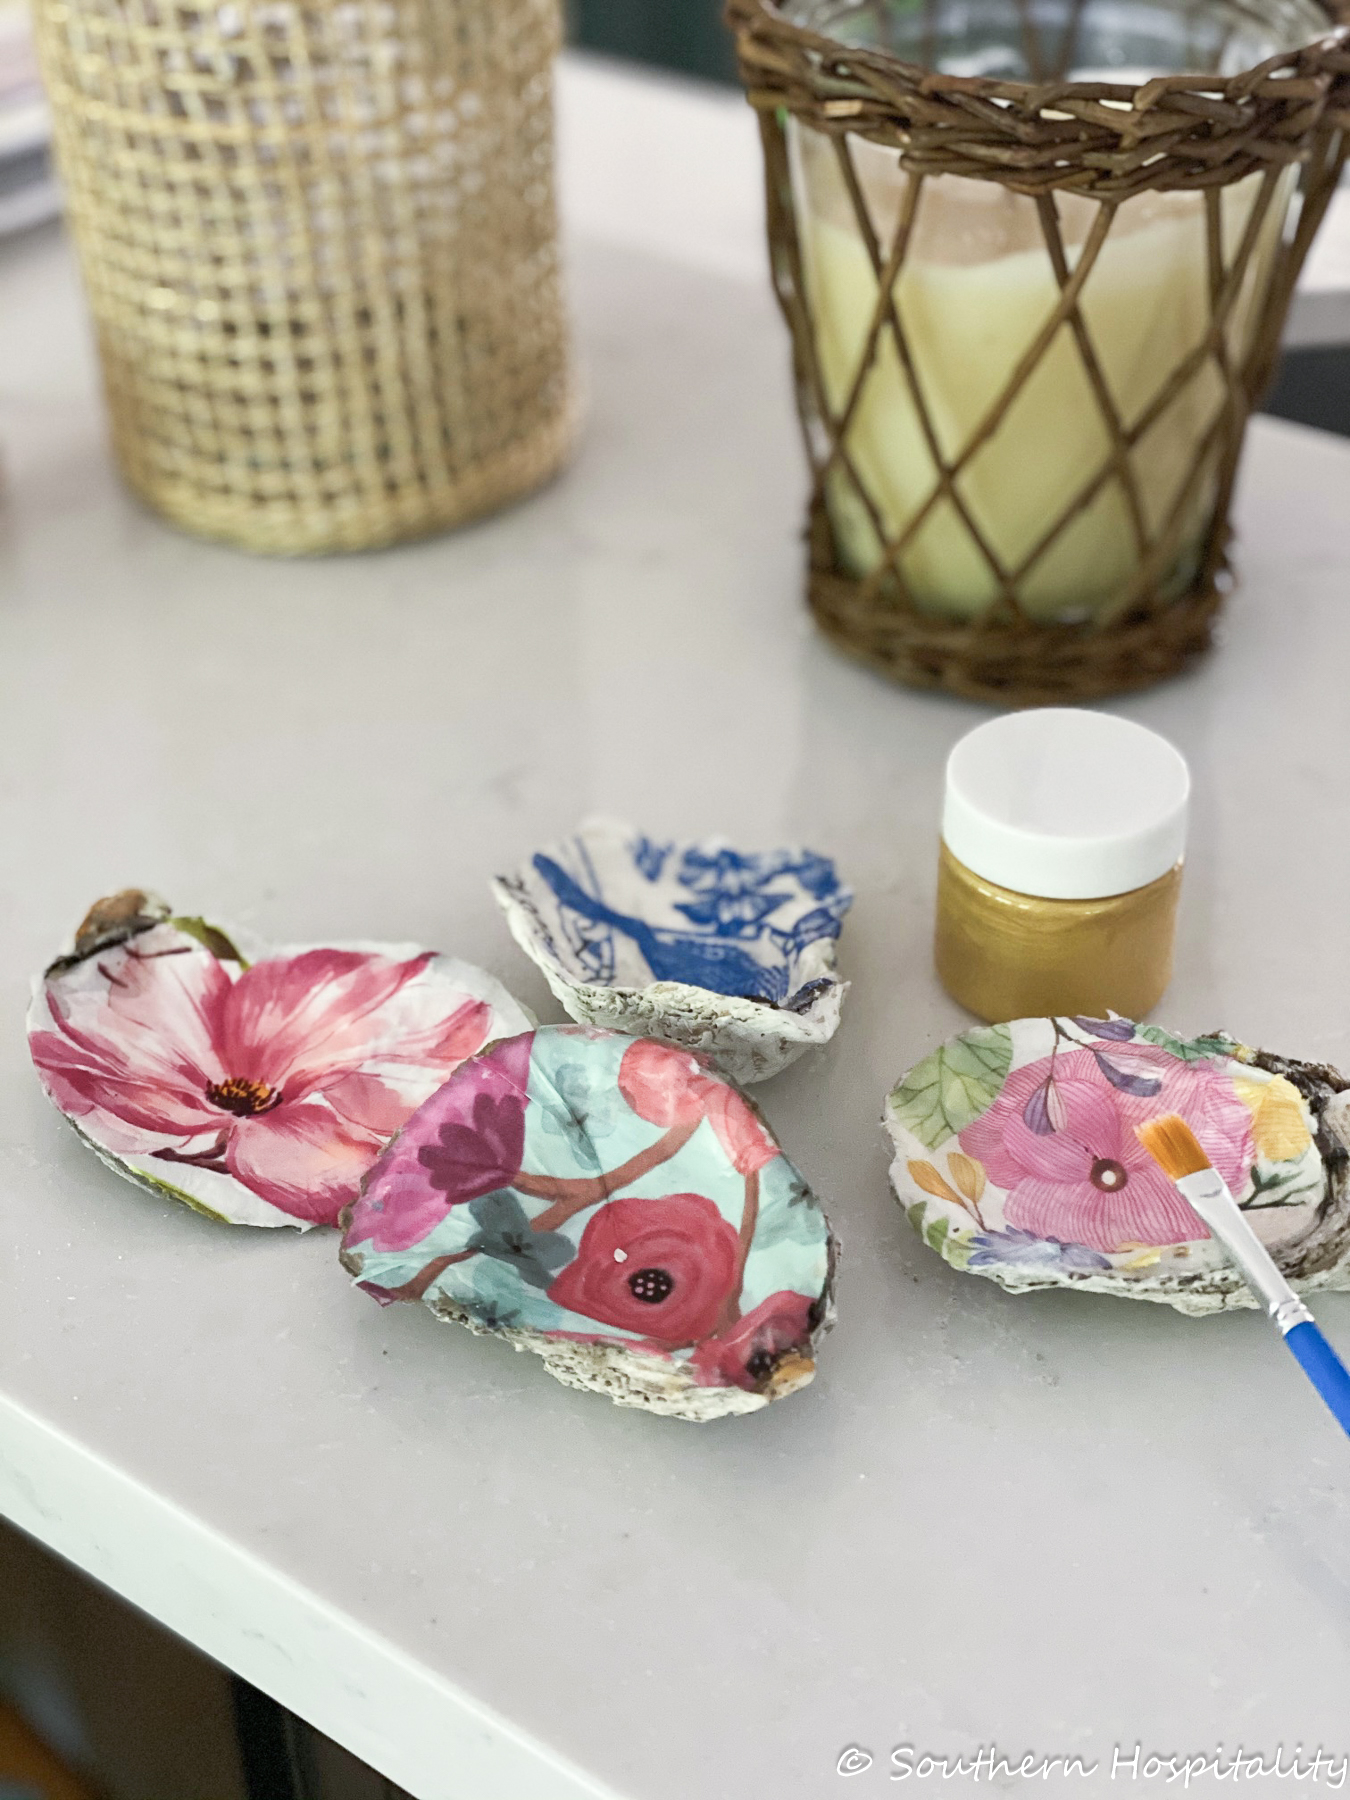
Step 6: Get out your gold paint and paintbrush and brush along the edges of the paper, giving the oyster shells a gleaming look. Be sure and cover the hinge part of the shell as it’s usually bigger. It’s so easy to just use your paintbrush and dab on the gold paint for a finished look to the shell.
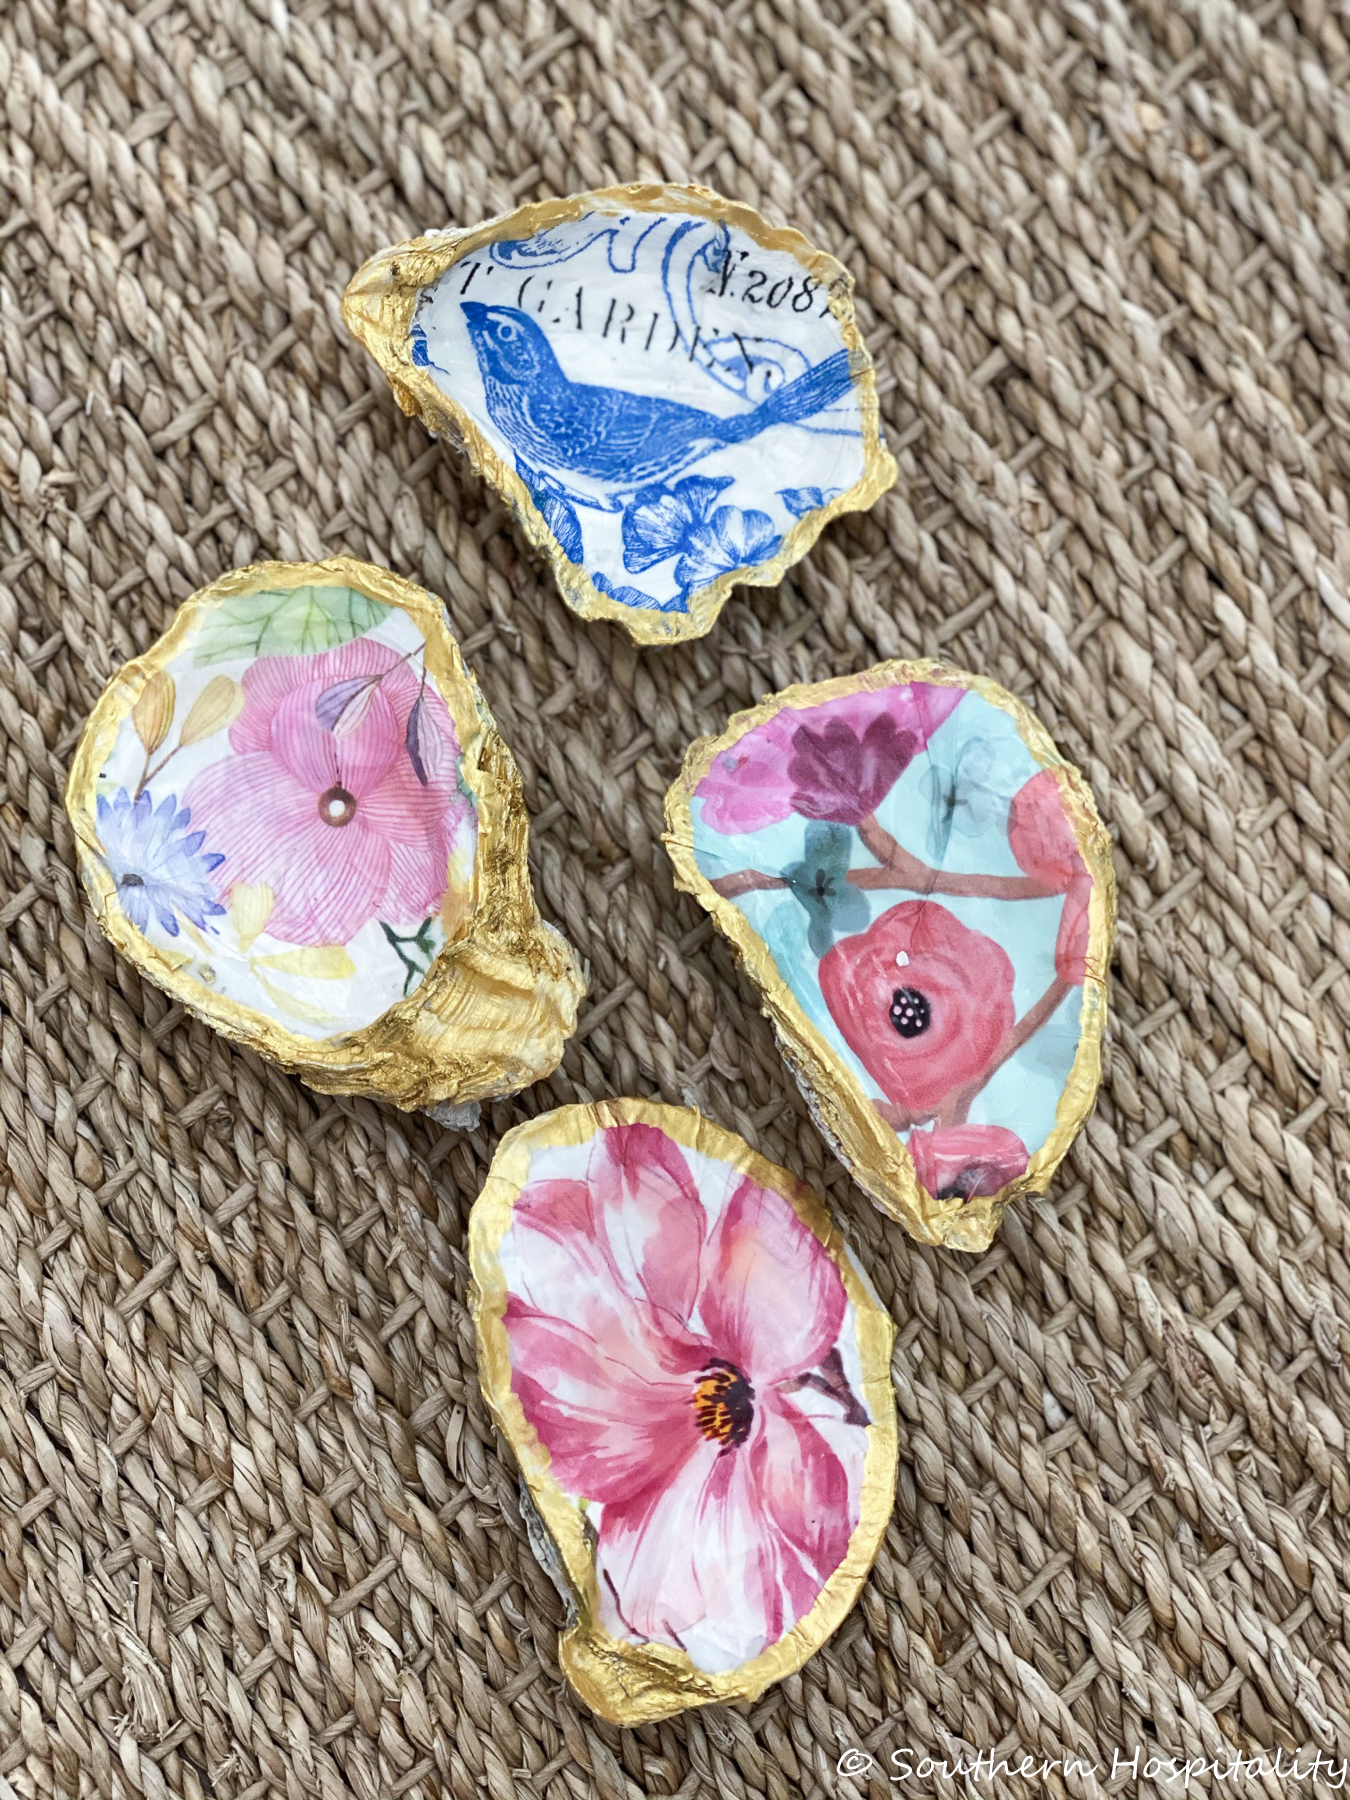
Enjoy your finished trinket shell/ring holder. They are so cute, it was fun figuring out which designs I wanted to go on each shell. These will all be one of a kind and a fun project to do with those little girls in your life.
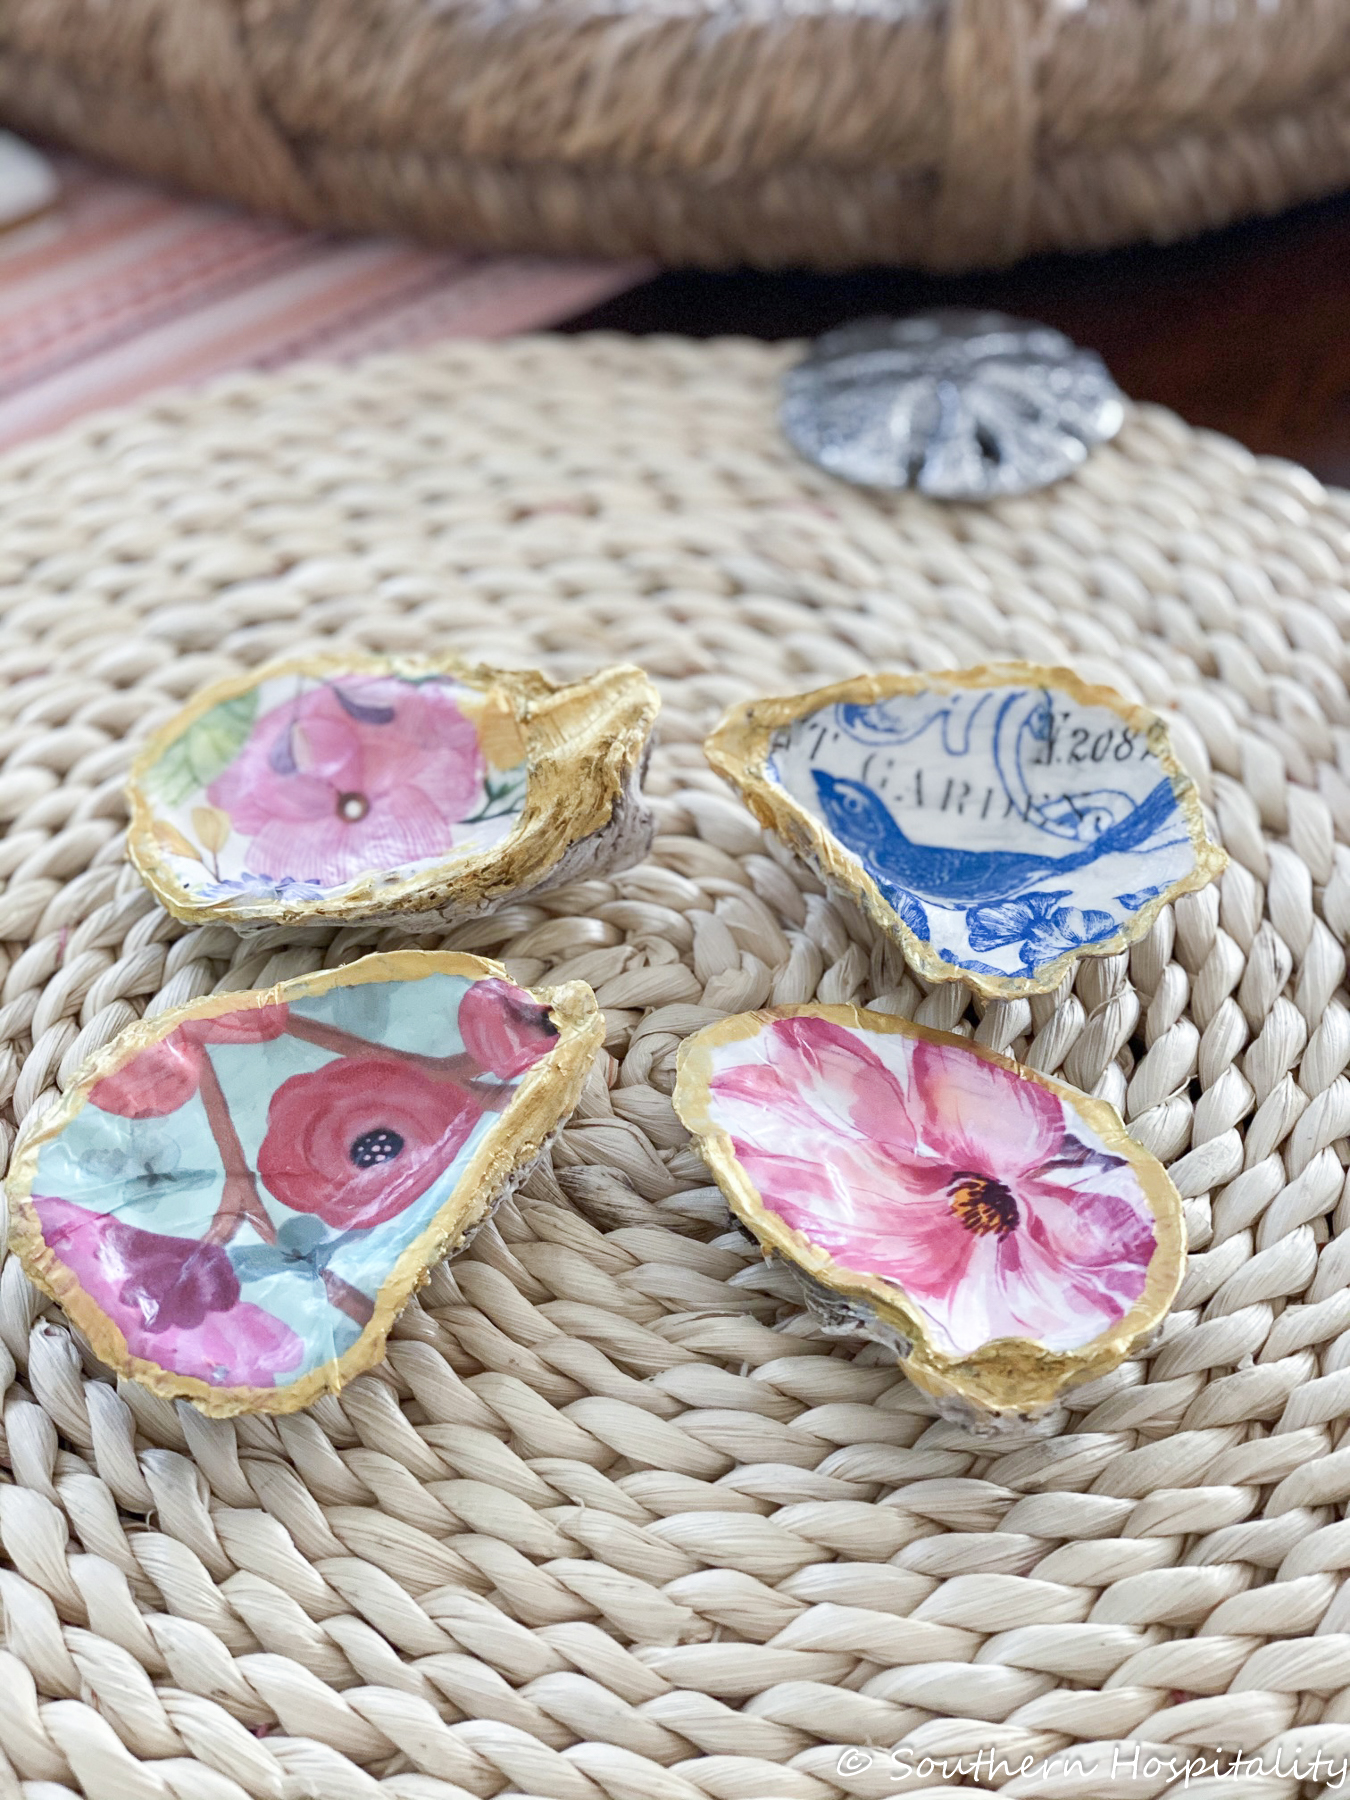
Each shell has a different shape, some are flatter and some are more rounded with a deeper scoop in the middle, but they are all fun and unique. I’ll give some of these away to my family and friends and keep a couple for myself. I love them all!
What do you think, is this a craft project you’d like to try? It’s really so easy that anyone can do it! These oyster shells have been quite the rage the last few years, have you noticed?


I have a friend who uses the smaller oyster shells to make necklaces. She gave me several and I get so many compliments when I wear them!
I would love to see your necklace!!!
I just tried making g one and it came out great. Did you paint the back of your shells? Thank you for sharing these directions. Happy Summef.
I did not paint the back of mine but left them as is.
Thank you! I’m going to try this. Saw some pretty Christmas ones in a shop today.
These are so beautiful and very expensive on some of the websites. I just made a few and they are so pretty. I think I will make some for Christmas gifts. I used clam shells.
These are really pretty. Do you ever spray them with something to make them shiny after? In the stores they usually look like they are coated with something?
The Mod Podge comes in glossy if you wanted to use that or sure you could spray with something to make them shinier. I like the matte version just fine.
Thank you so much for this! Do you have any tips if I want to add a personalization (like the date)? I’ve never used Mod Podge so I don’t know how to go about that and I would use to do that. Thanks in advance!
Hi, Ashley, you could definitely write the date somewhere with a Sharpie pen or a gold paint pen. Either on the back or on the front after it’s all dry.
Is there a specific type of paint you are supposed to buy for the gold? Acrylic I’m assuming?
Yes just any gold craft paint will work. I always buy water based.