Hey there and Happy Labor Day! We are having a low key weekend, no traveling for us this time, but we are enjoying being at home on this last weekend of the summer. Mark and I have 2 trips coming up in the next 2 months, so being at home on a holiday weekend isn’t a bad thing when lots of other people are traveling.
I’m going to share how I made a no sew bolster pillow in this post below!
We have a trip to Destin, FL coming up soon as well as a week long trip to Cape Cod later in October and we are SO excited about that one! I posted on Instagram that we were planning this trip and if anyone has ideas for us on restaurants or things we must see and do, please leave me a comment. Mark has been up there several times and knows his way around pretty well, so he is looking forward to showing me around. I’ve never been and it’s always been on my bucket list, so I can’t wait to see this beautiful part of our country!
In the meantime, I’ve been working on the master bedroom and sitting room, so wanted to share progress with you. It’s looking so pretty. I’m still not finished with everything, we have a few more things we want to do in the master, but it’s coming along. The sitting room is completely finished now and as soon as I can take some good photos, I’ll share it with you all!
I did a few projects for the rooms, so wanted to share this one with you which is really an easy way to cover a bolster pillow.
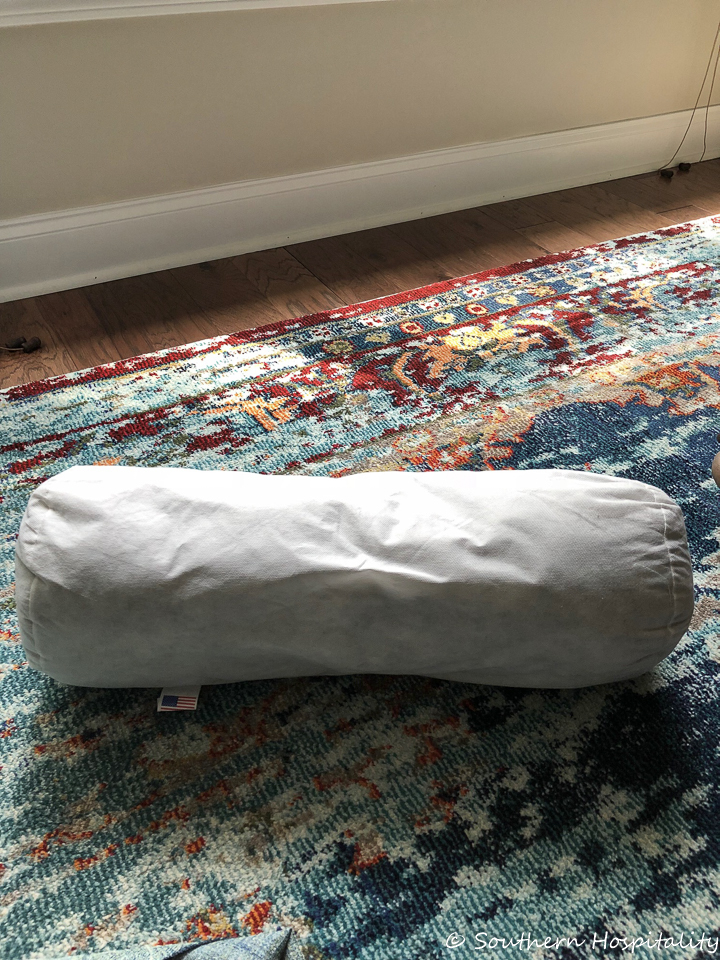
I bought the bolster pillow form at a local fabric store here in my town, so needed to cover it.
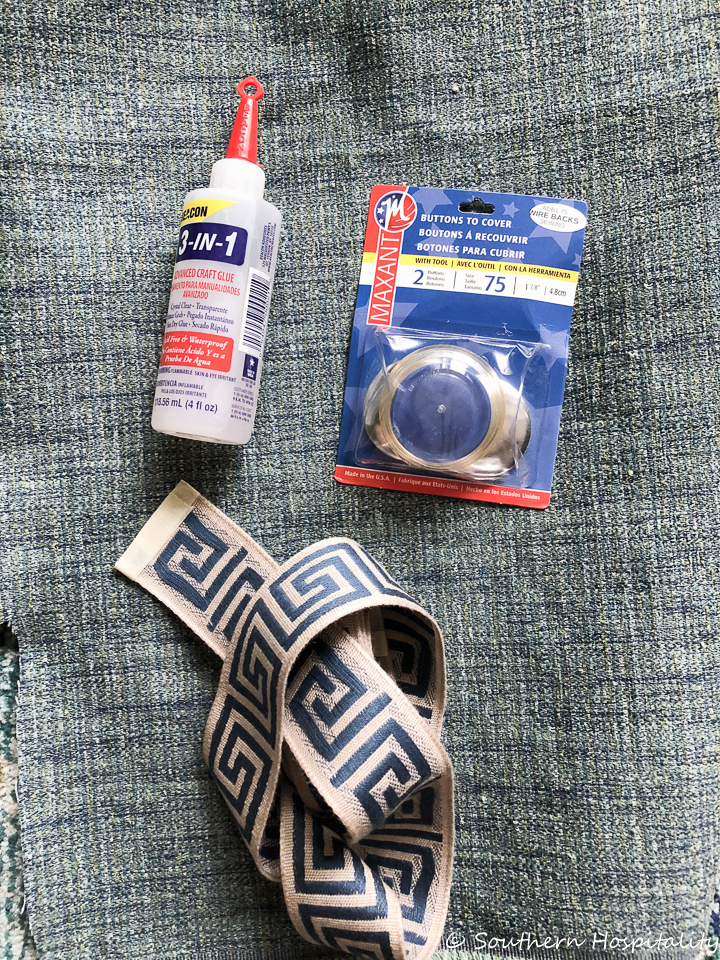
This is the fabric I used for the master bedroom drapes and I also got this pretty navy Greek key trim to add to the drapes, so I wanted to use it on the bolster pillow too.
There are a lot of tutorials online for new sew bolster pillows and I can’t claim this tutorial at all, I found it on my friend, Richella’s blog, Imparting Grace, so go over and take a look at her tutorial too and you’ll see how she did it all. I really liked her method for doing this. I’ll go through the steps here too, as I went along to make it all work out, but you’ll see it’s a really easy tutorial for covering a bolster pillow.
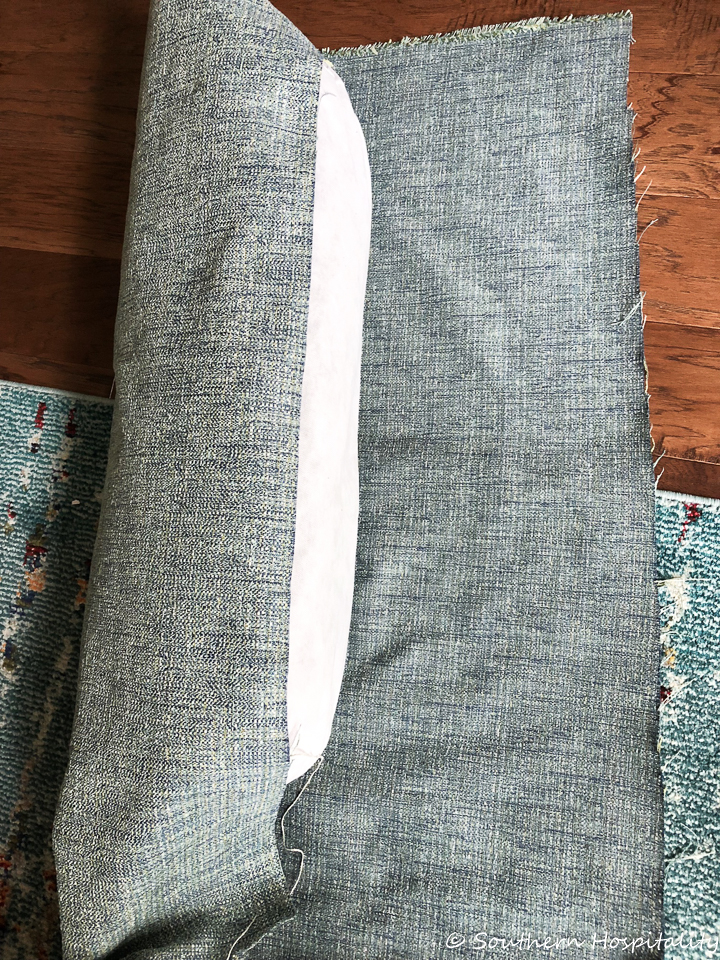
You want to make sure you have a piece of fabric that will cover the pillow and have enough on the ends to tie off.
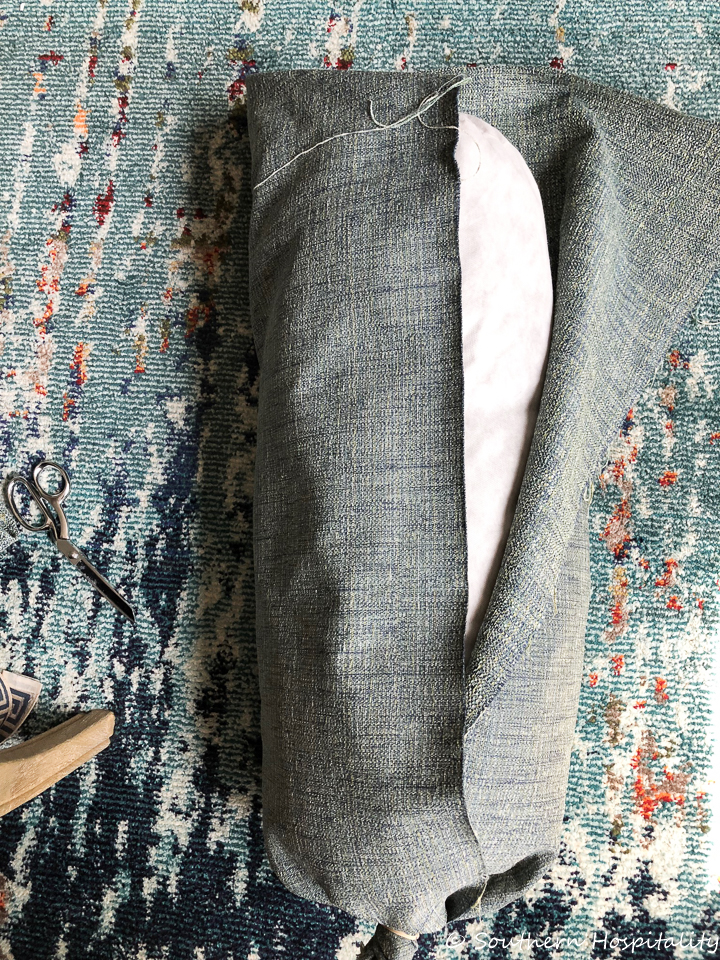
You’ll place the pillow on the right side of the fabric so the wrong side is facing out and then when you flip it, the right side will be out. Make sense?
Here’s a link to the (affliate link) master bedroom rug if you’re interested.
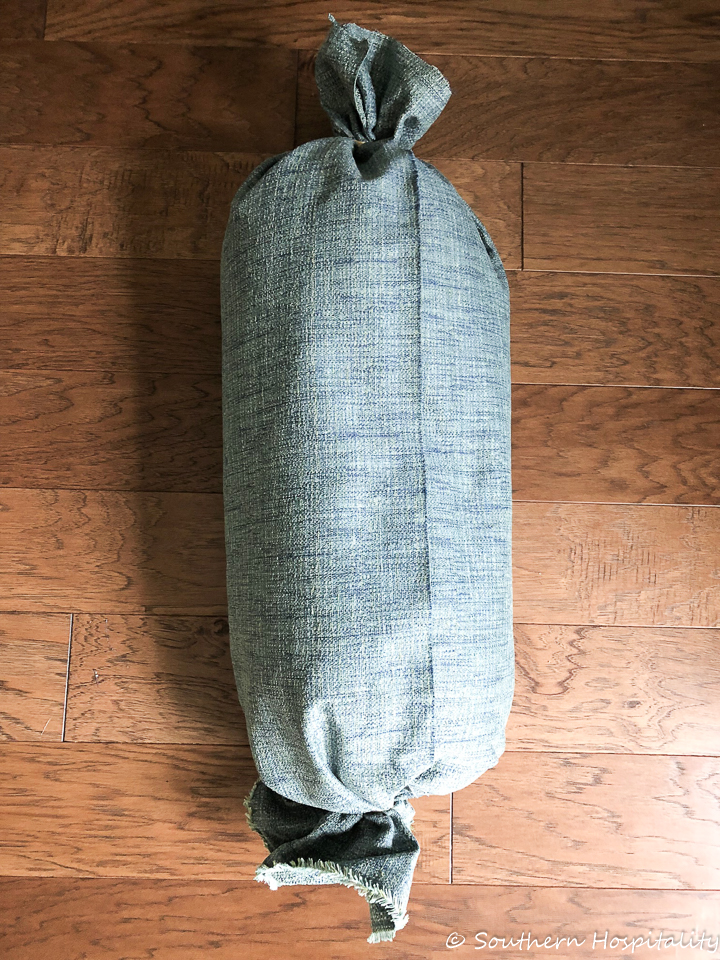
Using rubber bands, tie off each side of the fabric. My fabric was thicker than what Richella used, so it was a little more cumbersome to work with, but I got it looking pretty good after I flipped it inside out and pulled on it a bit. You’ll want it to be pretty tight against each end of the pillow. If you want to iron your seam you’ll need to do that before you do this step. I ironed the seam just a little bit before wrapping it up like a candy.
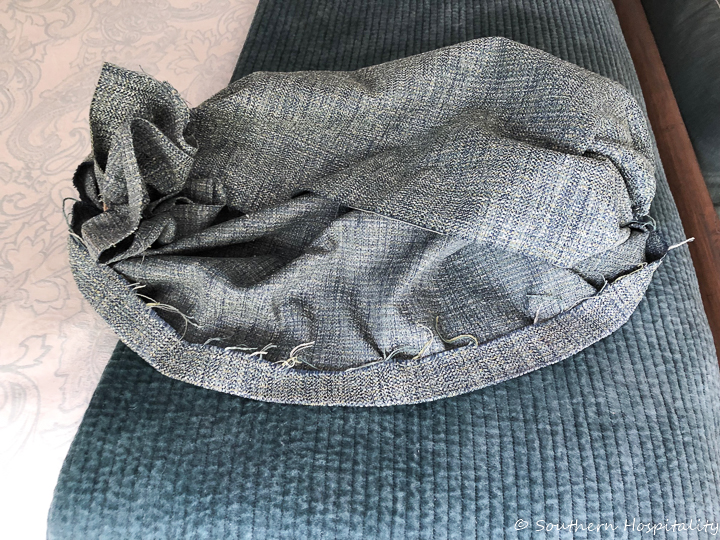
Take the pillow form out and it will look like this, a big lump of fabric. Then turn it right side out. I ended up with a little too much fabric inside the pillow where the rubber bands were, so I cut off some of that to take out some of the bulk, but you might want to wait until you have it really tight and secured before you take scissors to it. Flip the pillow cover right side out and then work with the fabric on the ends until you have it looking like you want it. The rubber bands are flexible and will let you move the fabric a bit to get it just right.
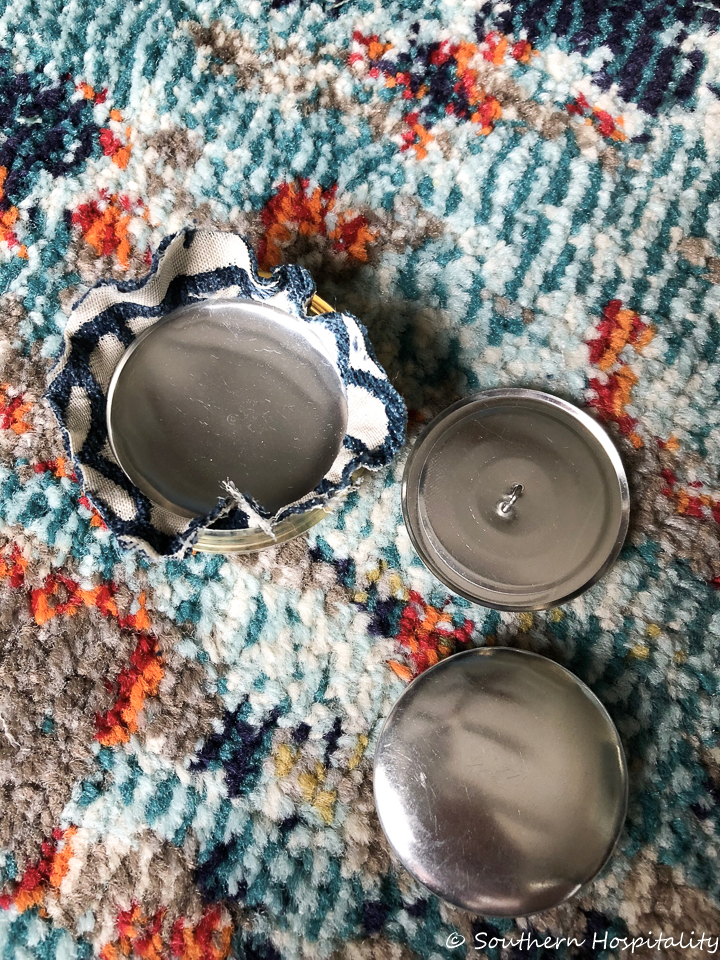
I also added decorative covered buttons on each end and used a bit of fabric from the fabric I used on my bench. These are easy to do and come with a kit that helps you make the button. I got the largest buttons my fabric store had.
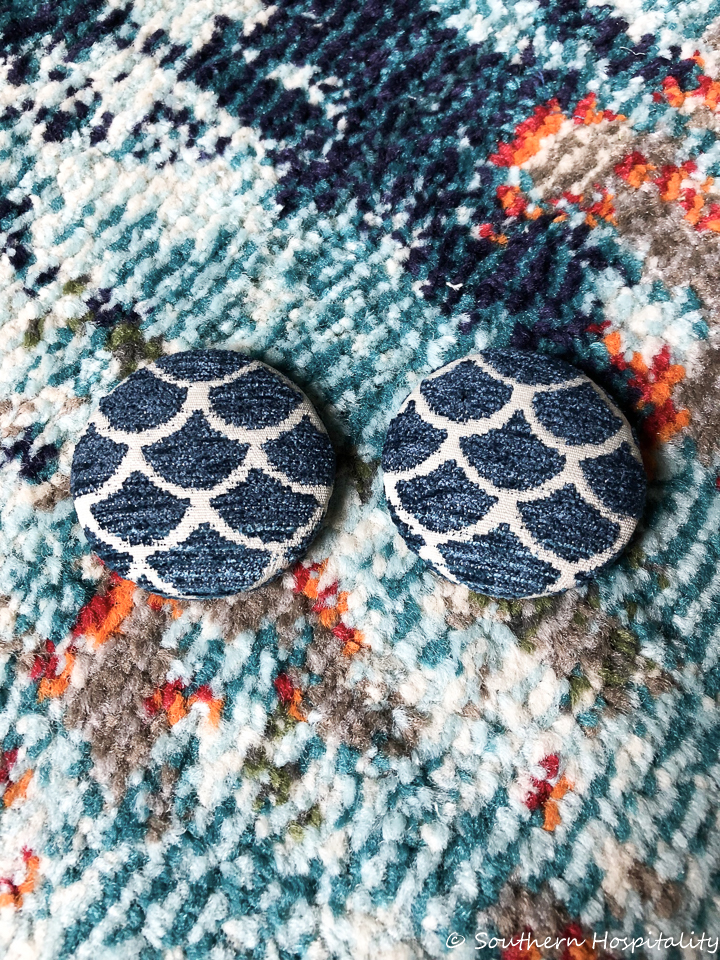
And here’s how my buttons looked after covering them with decorative fabric.
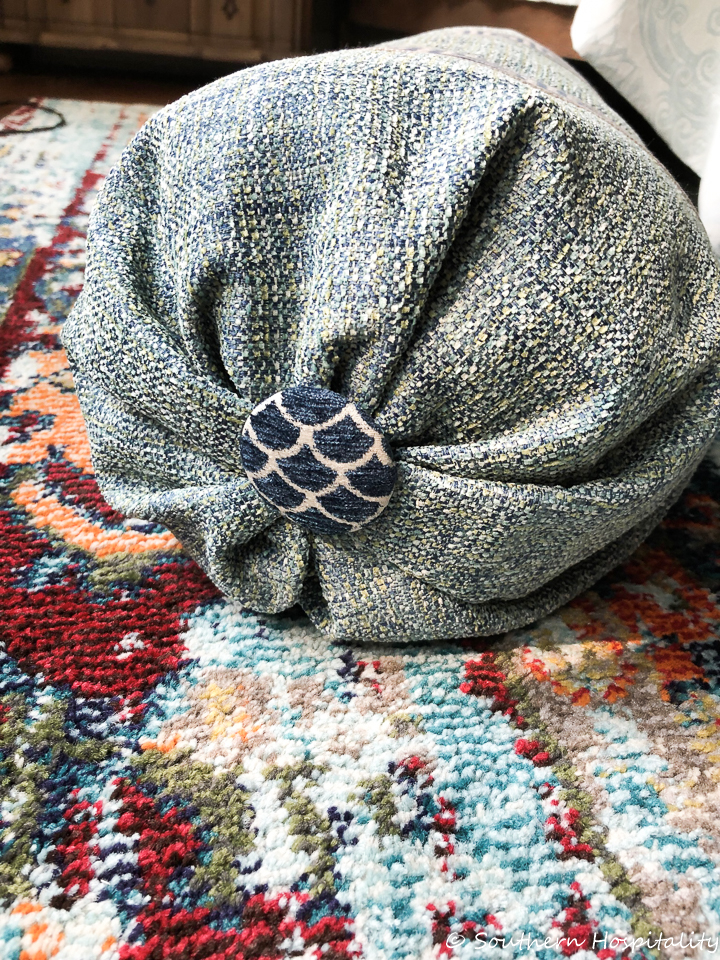
And here’s the finished pillow after I placed the bolster form back inside, using fabric glue to secure the seam. I did have to pull on the ends and get them looking like I wanted them to and they still aren’t perfect, but I’m very happy with my pillow and how it turned out. You can sew up the seam if you want, but fabric worked perfectly for me and it dries pretty fast too. I glued on the covered button as well.
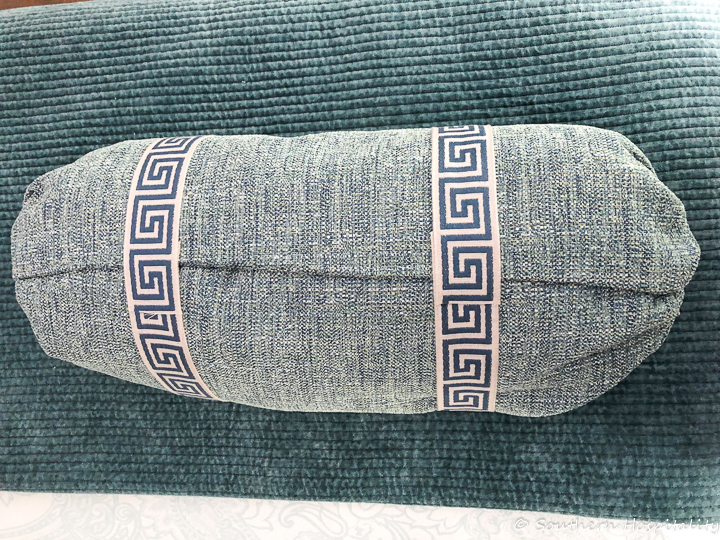
Here’s the seam I glued shut with the fabric glue. Just a bead of glue will secure it and I added a couple of pins while it was drying to make it stay in place. You could also use a glue gun, but I like the fabric glue just fine.
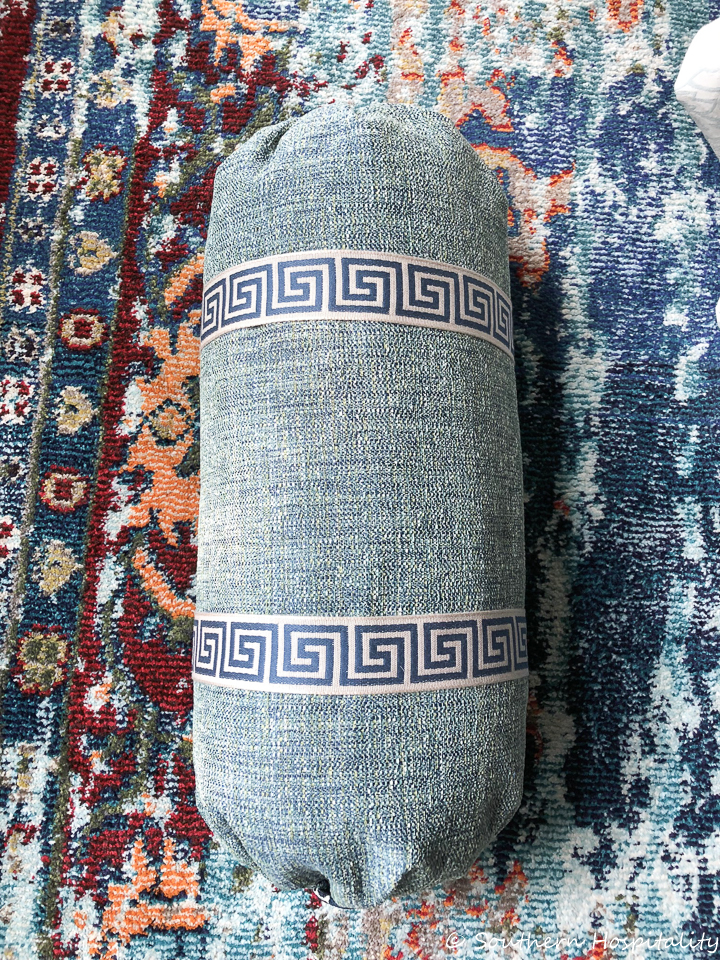
Then I measured from each end and added a strip of Greek key trim around both sides of the pillow to tie it all in.
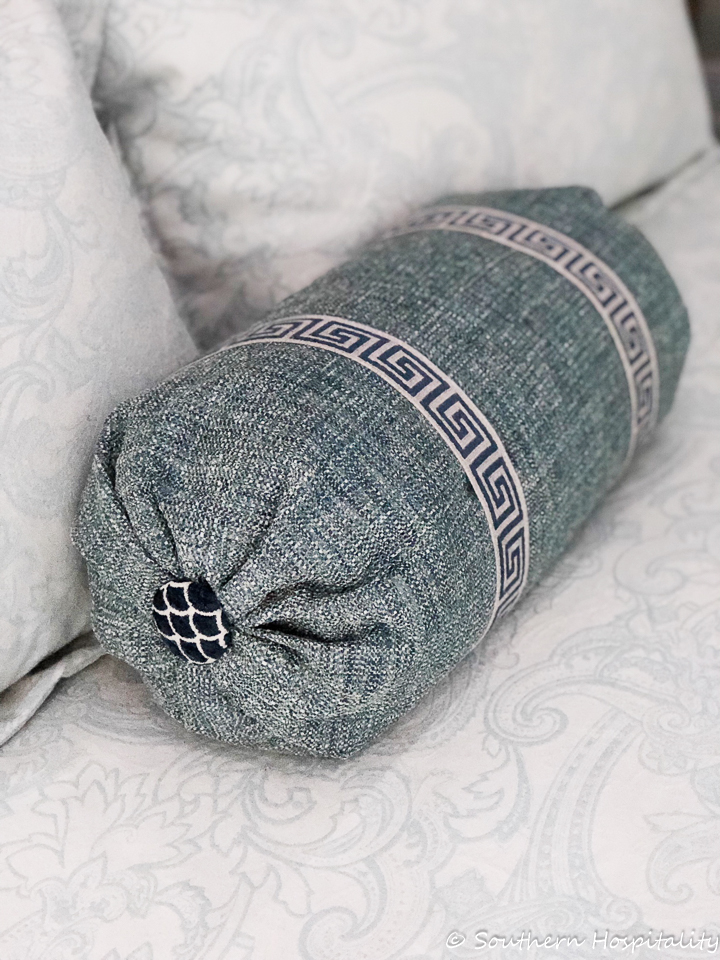
And here it is on the bed. I love how it turned out! The Greek Key trim really adds a lot to the pillow as does the covered buttons.
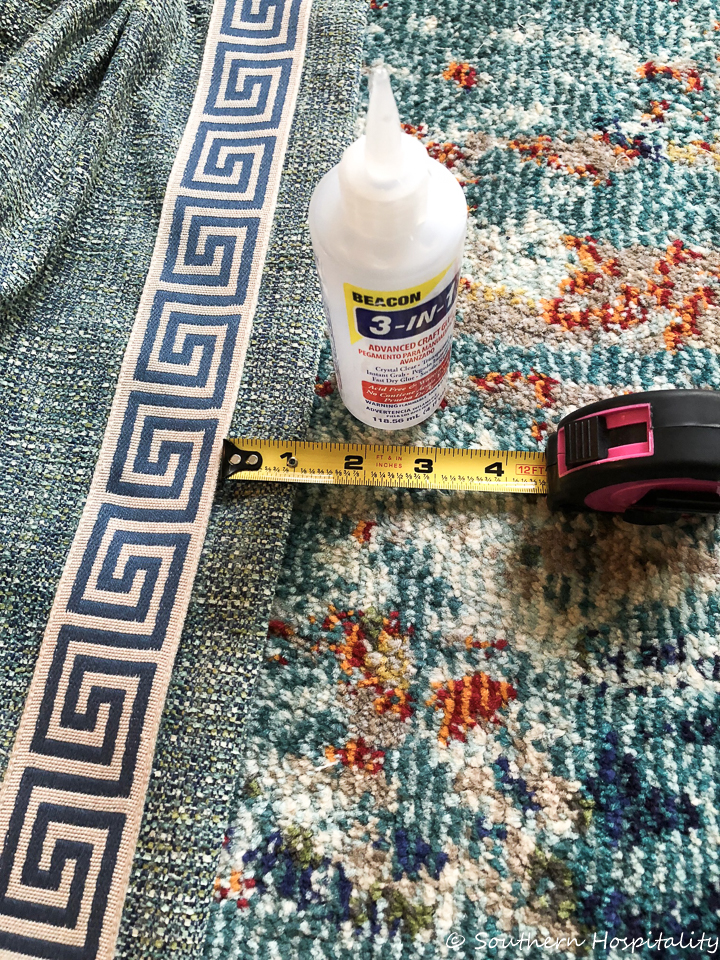
Next it was time to add Greek Key trim to my drapery panels that I had made. I use a local company, Fringe Benefits for my panels and Connie does a great job with them. I have used her for my drapes for at least 5 years now. She made all the panels in my old house and now this one. Her prices are so good, $55 a panel for labor on single width panels. She charges for lining, but it’s very minimal and then I take her my fabric for the panels. She made a set for the master bedroom and another set for the master bedroom sitting room, which I can’t wait to show you. All the drapes are up now and I just need to get some good photos!
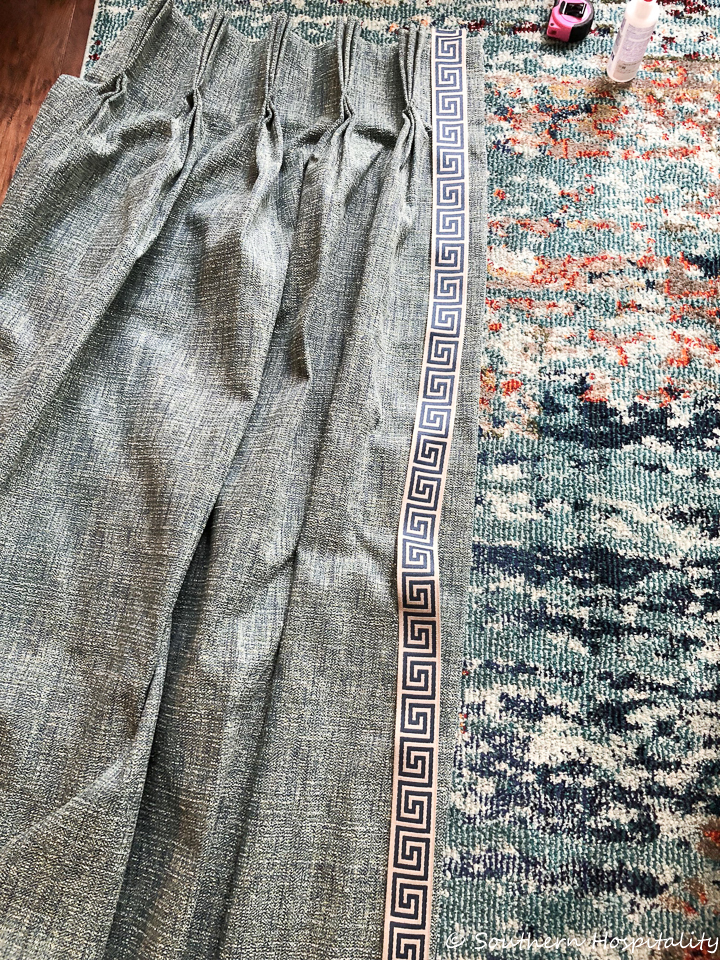
I measured one inch from the leading edge and this is where I placed the Greek Key trim, using fabric glue to secure. I made sure I was staying in the right spot by using a tape measure all the way down. It doesn’t take long at all to add this trim.
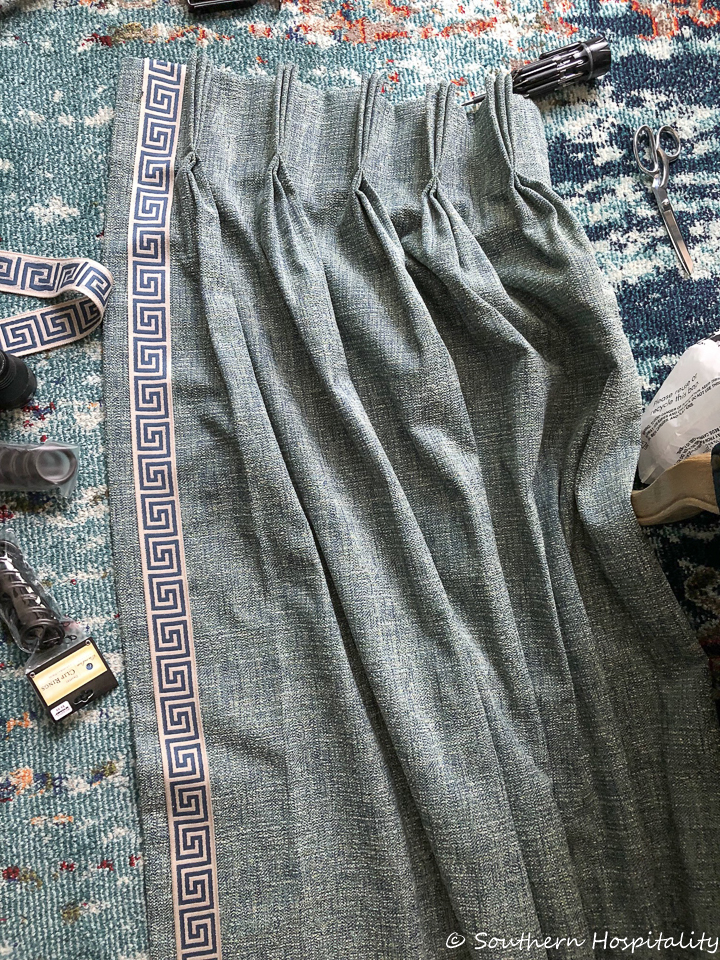
I did the leading edge of both panels and then I was done and ready to hang them.
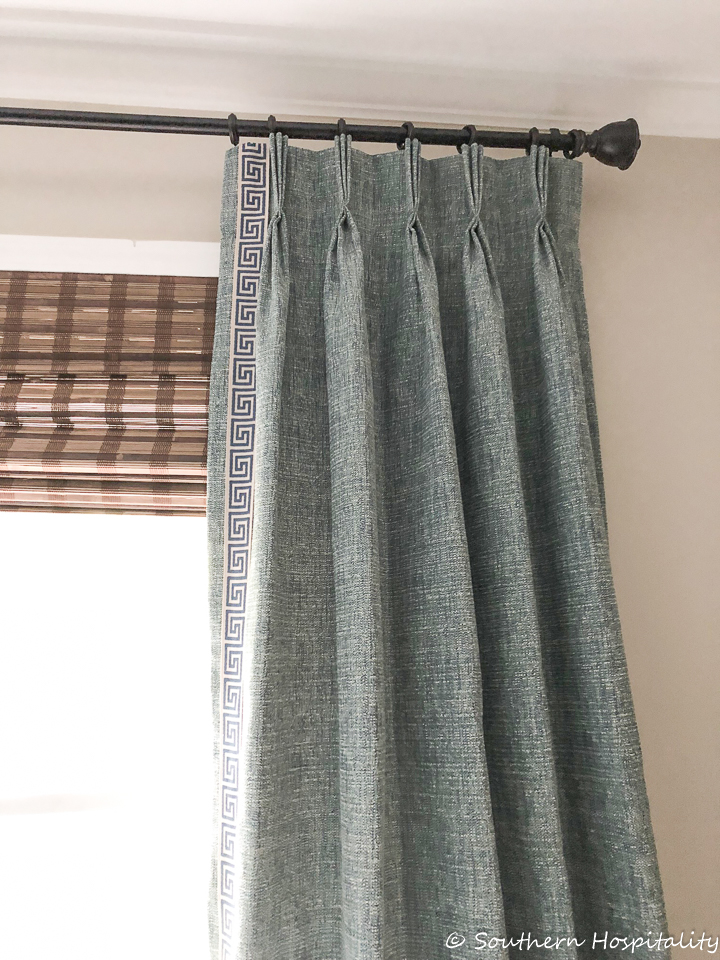
I found this rod hardware at Homegoods for a good price ($25) and just went with a simple black metal to hang these drapes. They add such a softness to the room over our 3 windows in the master bedroom.
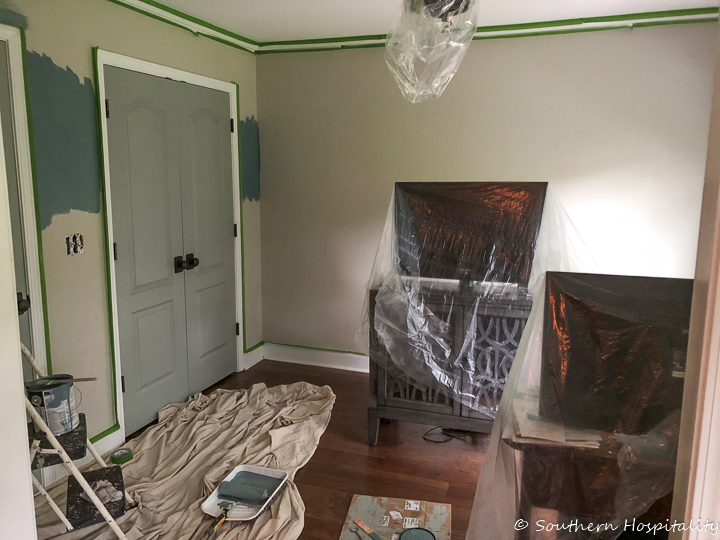
We’ve been working on the sitting room too and it is now all painted. I had painted the doors already and it was time to get the walls painted. We took the rug and two swivel chairs and ottoman out of the room and covered up the TV and Mark’s computer area with plastic.
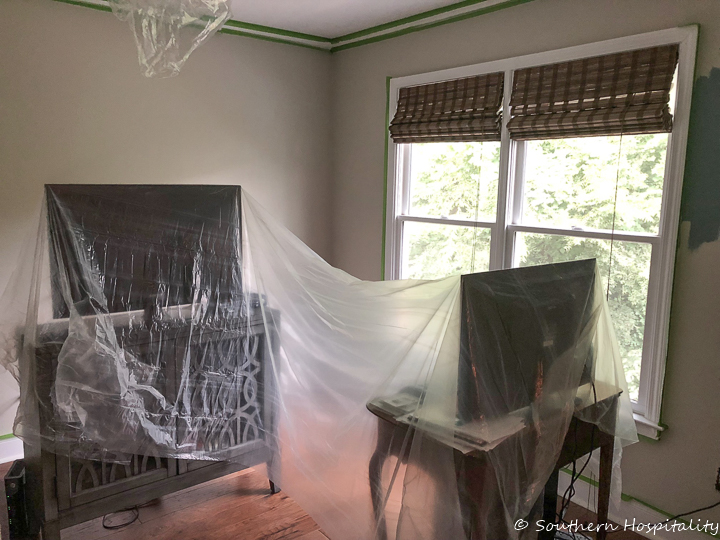
We taped off the crown molding and all the trim to keep paint off of those and I painted 2 coats on the walls and 2 coats on the ceiling. Mark helped me and painted the first coat on the ceiling and I did the 2nd.
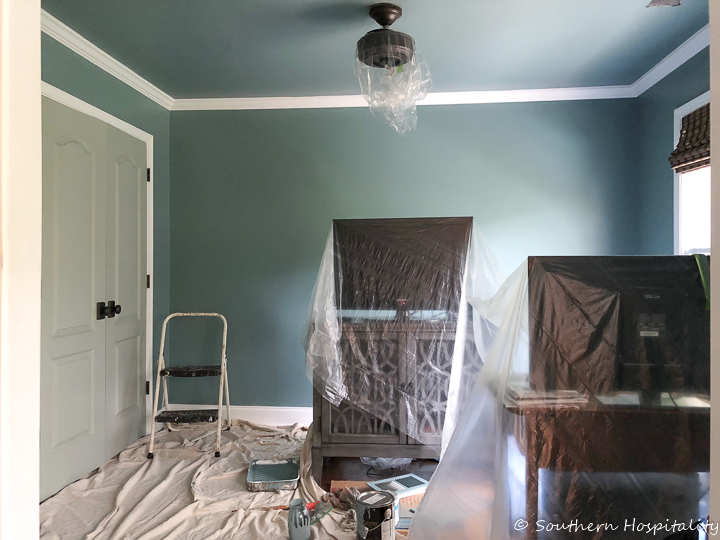
And here’s the color, Sherwin Williams Moody Blue on the walls. It’s a soft, soothing color and we love it!
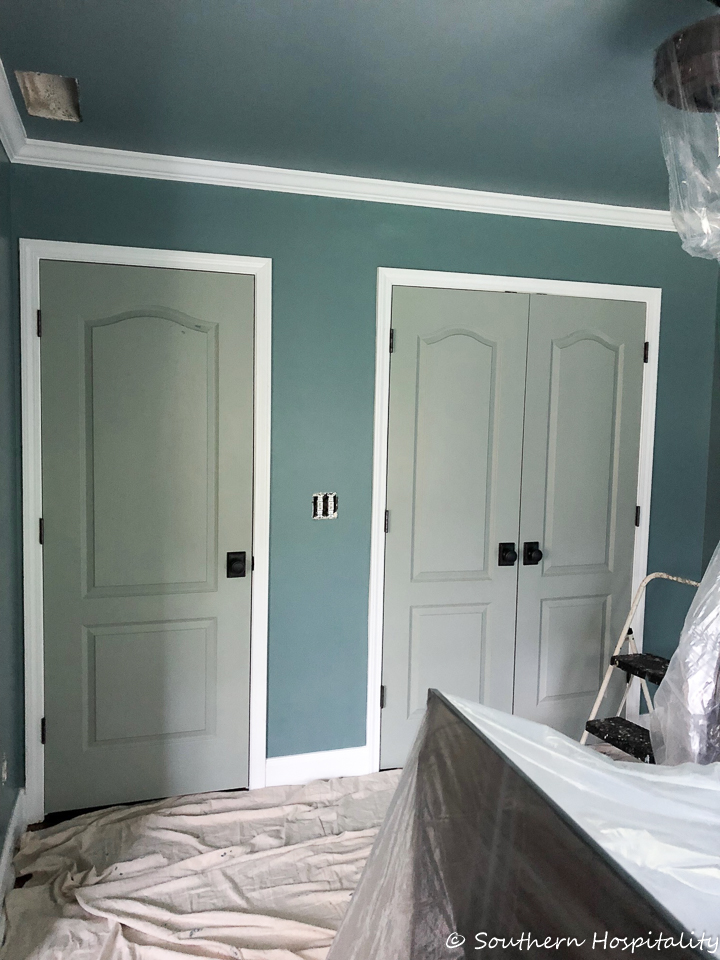
It’s not quite as bright as this shot is showing, but really is a gorgeous color and creates a wonderful moody feeling in this small space. I’m so glad we painted the ceiling too.
It all came together with the drapes hung and all the furniture in place, so stay tuned for that soon! I haven’t had a chance to take pics yet, but I will and wanted to share this progress for now. Our bedroom is turning out just as I had hoped and we love how calm and soothing it feels in there. A perfect retreat for us!


[…] Southern Hospitality | How to Make a No Sew Bolster Pillow […]