When we finished our backyard patio and screen porch, we decided we needed some DIY drink holders for the swing bed, so Mark set about designing and creating something out of wood to attach to the arms of the swing, so that we could easily set drinks down. He came up with the best little gadget out of scrap wood, so I’m going to walk you through how he made it. He made 2 of them, one for each side of the swing.
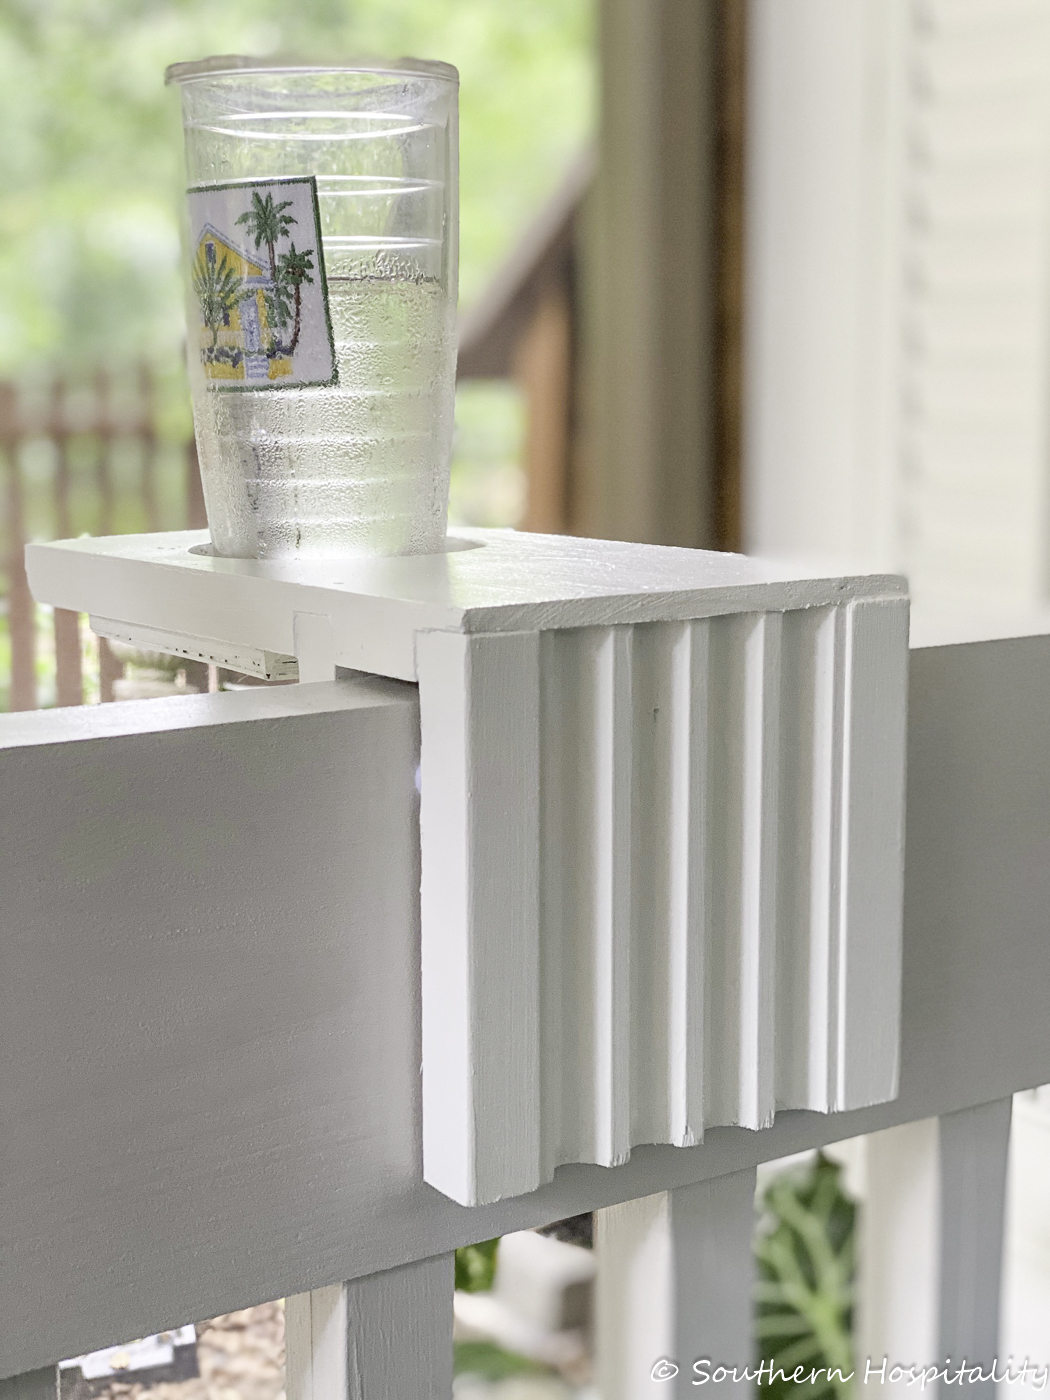
Here’s what it looks like from the inside of the swing. He had leftover fluted molding and measured and cut two of these for the inside and outside part of the drink holder. He used his table saw to router a cut into the long piece on top for the fluted piece to butt up against and used wood glue and nails to hold it together. You can see the routed indentation for the 2nd piece too from this angle.
He slipped it into place with wood glue to glue it in place, after measuring carefully to make sure the spacing would work and that it would hug the top of the swing bed rail. So if you try this project, just make sure you measure your piece to be sure you get a snug exact fit.
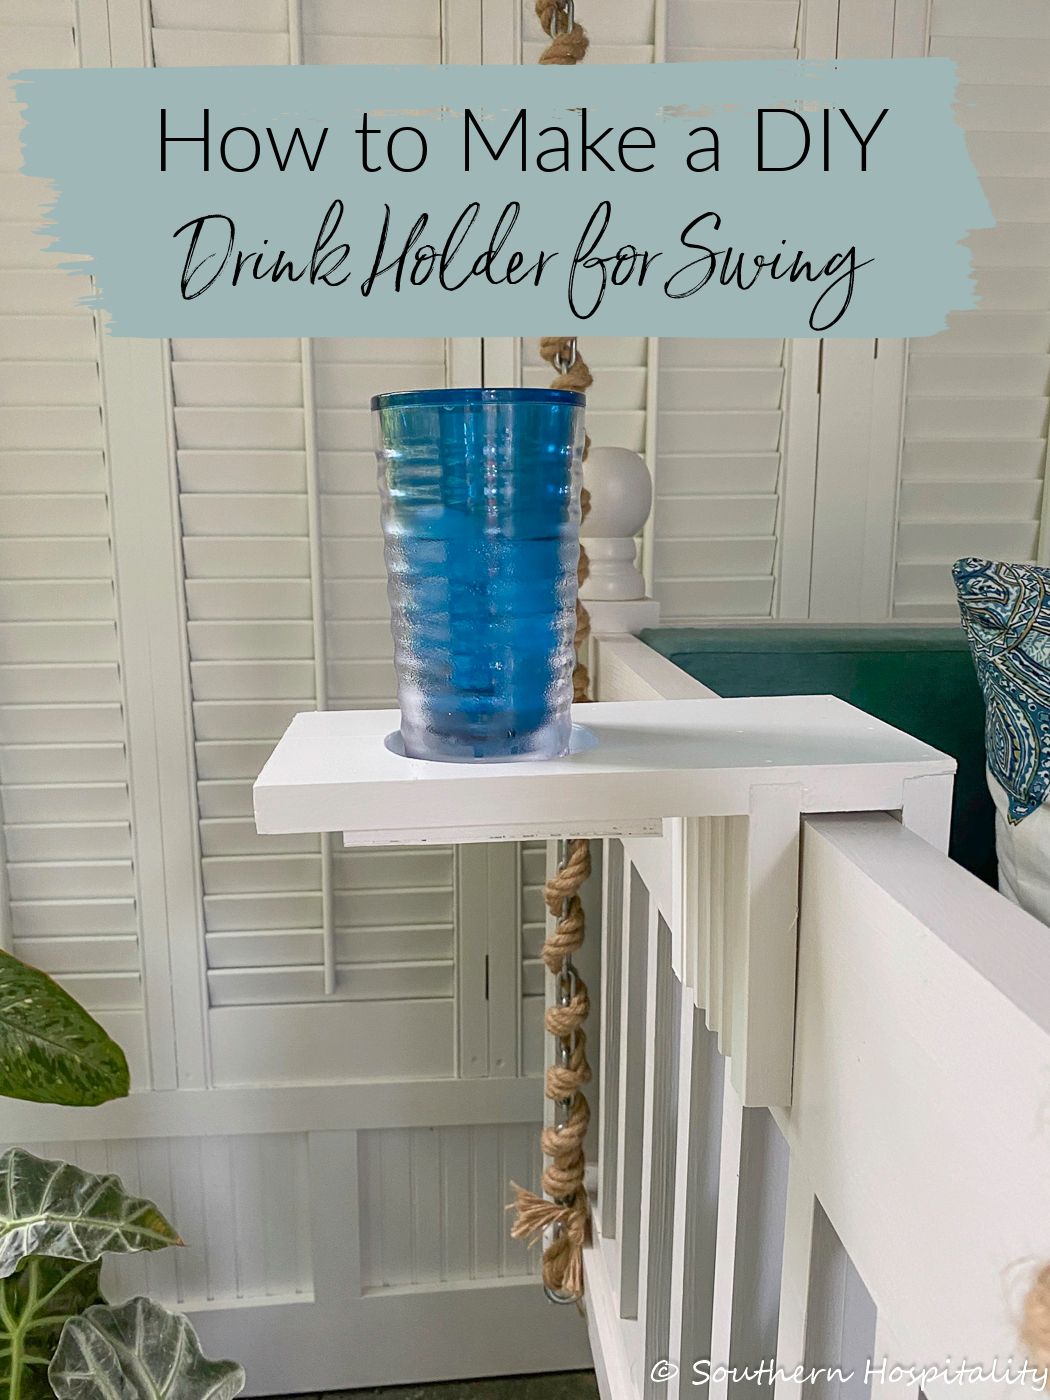
Materials and Method for Making this DIY Drink Holder:
- Determine the size you need for your swing. Ours is measured for the top of our swing rail. For the fluted pieces, they are 5.5″ and the top longer piece is just over 10″. These are both 5.5″ wide. Just be sure to measure the width of your swing railing to get a snug fit on top.
- Cut the scrap pieces of wood. Two for the sides and one larger one for the top piece. Cut a small square piece for under the hole to hold the glass.
- Mark routed out the larger piece of wood with his table saw to remove the wood where the other 2 pieces would be joined.
- Cut hole with hole saw and your drill. Add the small piece of thin plywood below. (Mark used 1/4″ plywood cut in a small square). We measured most of our glasses & cups to be sure they would fit the hole. It doesn’t have to be perfect, he used his table saw to router out the channel to fit the fluted pieces together and cut until it was a good fit. Glue and nail the pieces into place and let it all dry.
- Paint whatever color you want.
- He also added those felt discs inside the wood to keep it from scraping the wood on the swing arm. Slide it into place.
Sidenote:
We love Tervis tumblers in our family. My parents have them, as well as my sister and Lauren. We all love Tervis! They are double insulated and keep drinks much colder in the summer. Here are some I’d love to have, they come in so many styles, colors and patterns. These are definitely my colors! They aren’t completely sweat proof as you can see from my pics, but ice does stay in them longer than normal (affiliate links used):
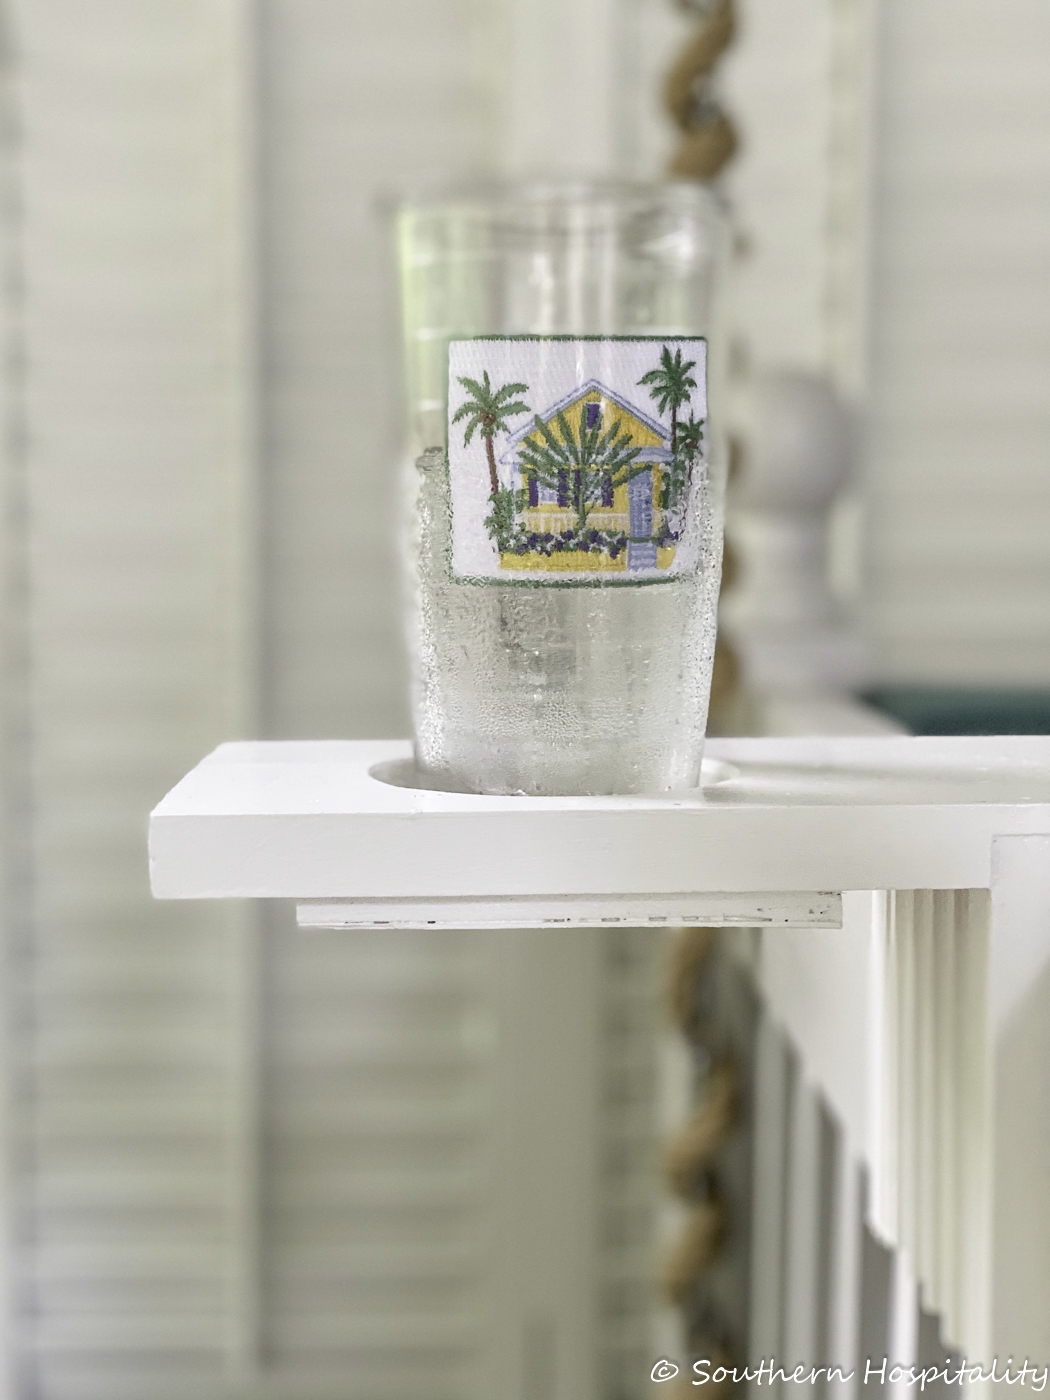
Here you can see he also cut a small piece of thin plywood for the bottom of the drink holder.
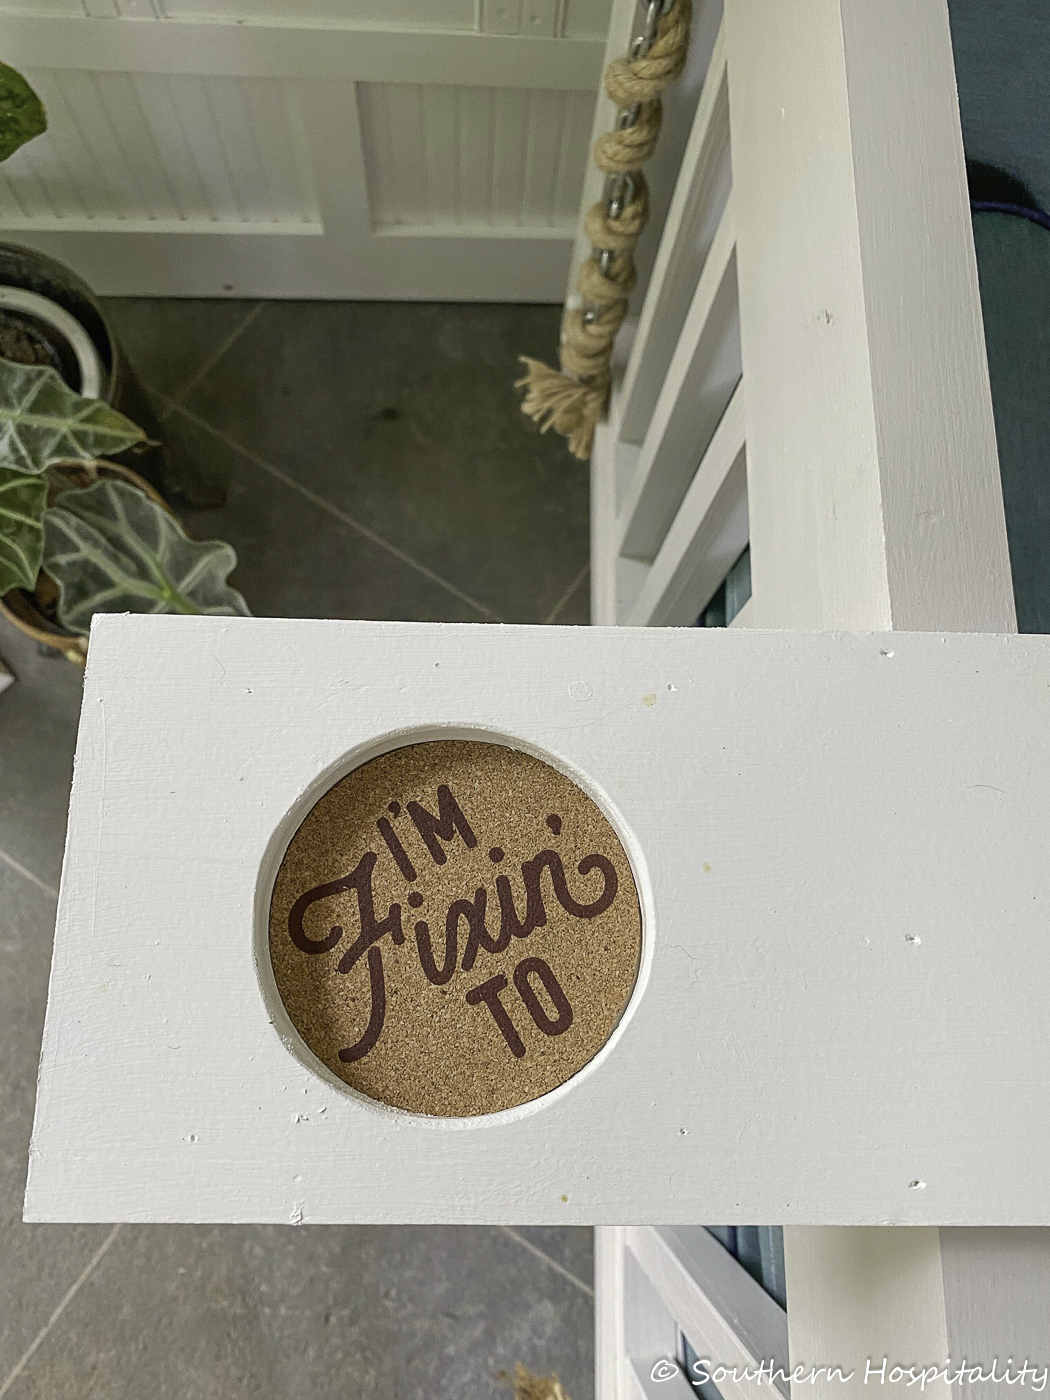
And this is the topside. So there are 4 pieces of wood put together to make this drink holder. This top piece is the longest and it’s about 12″ long. He found these cork coasters on Amazon to finish them off and they are so cute We use them all the time.
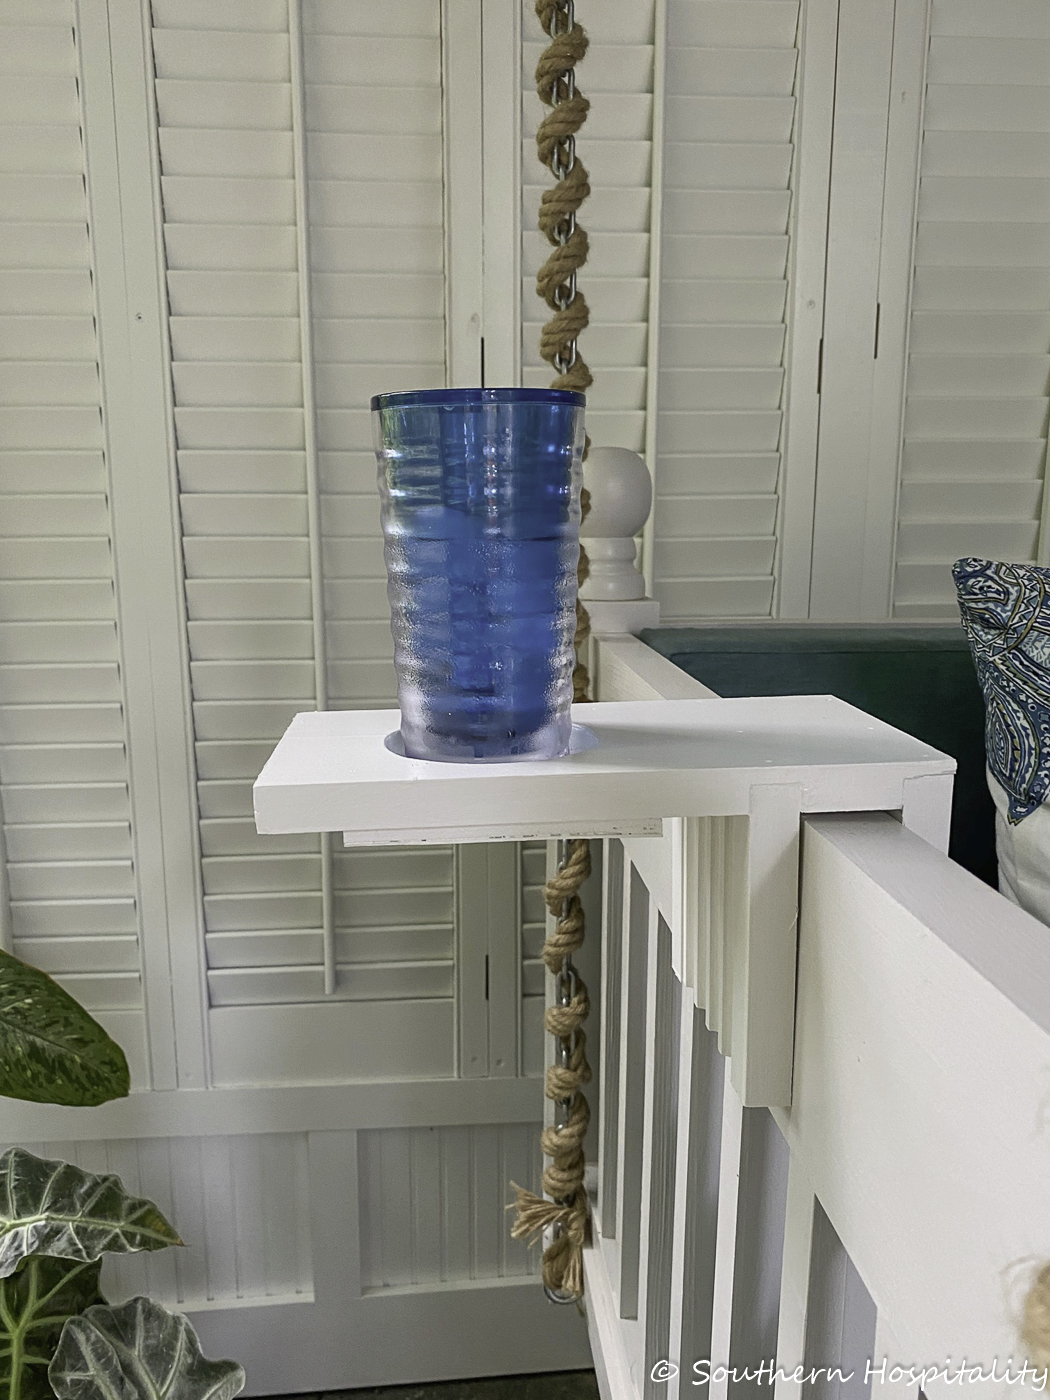
Isn’t that the cutest?
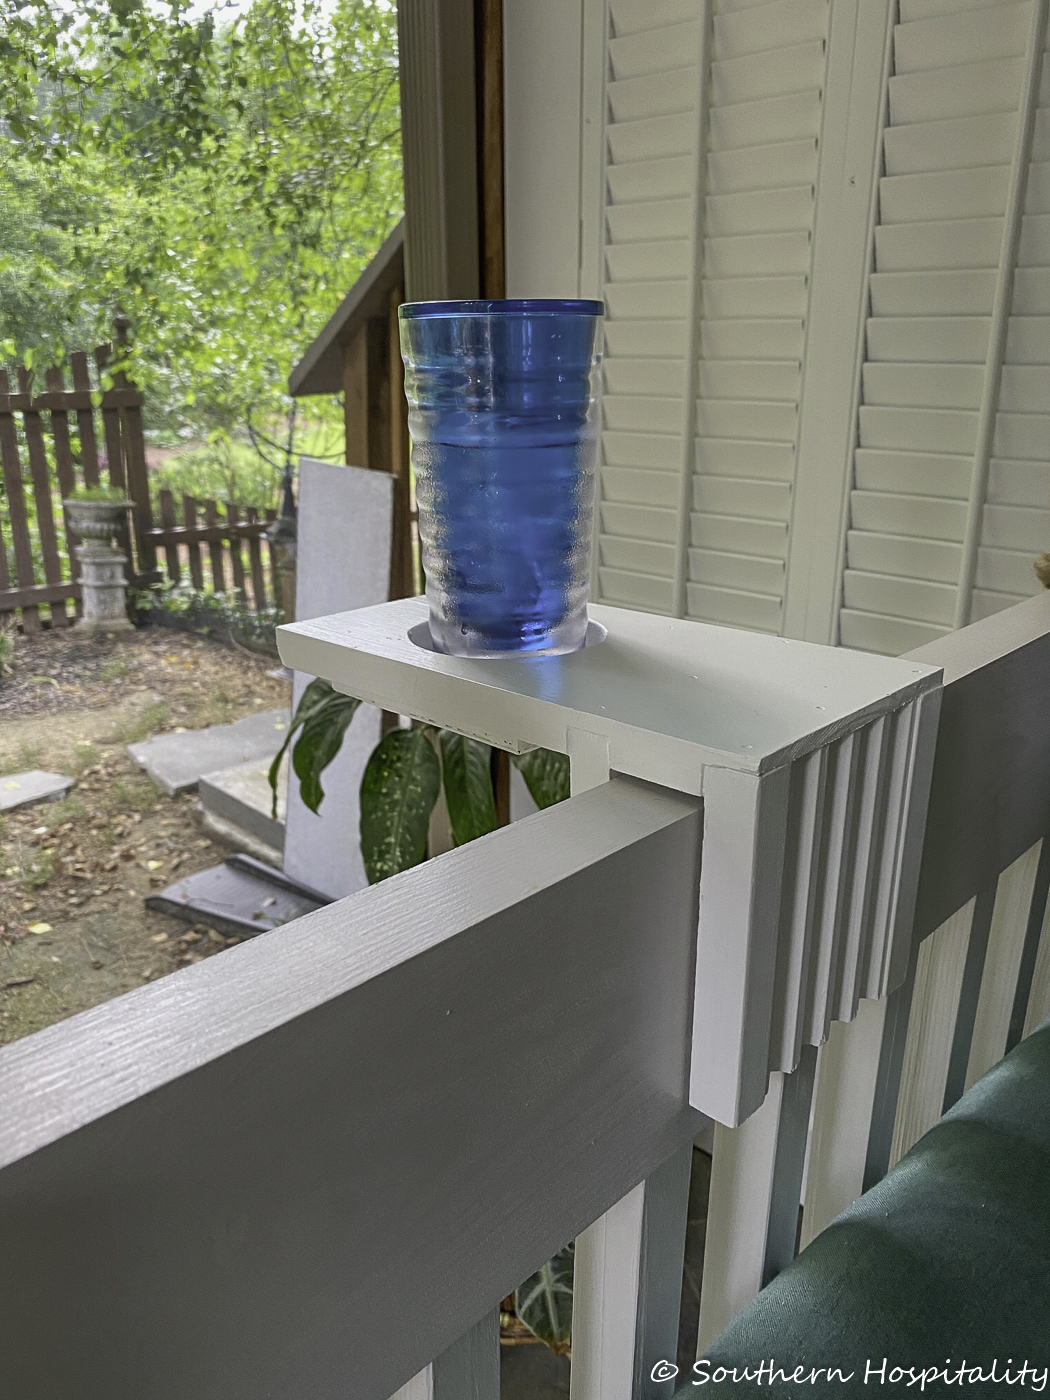
I had no idea when he started just what he was doing until it all came together, but I think it’s a genius drink holder.
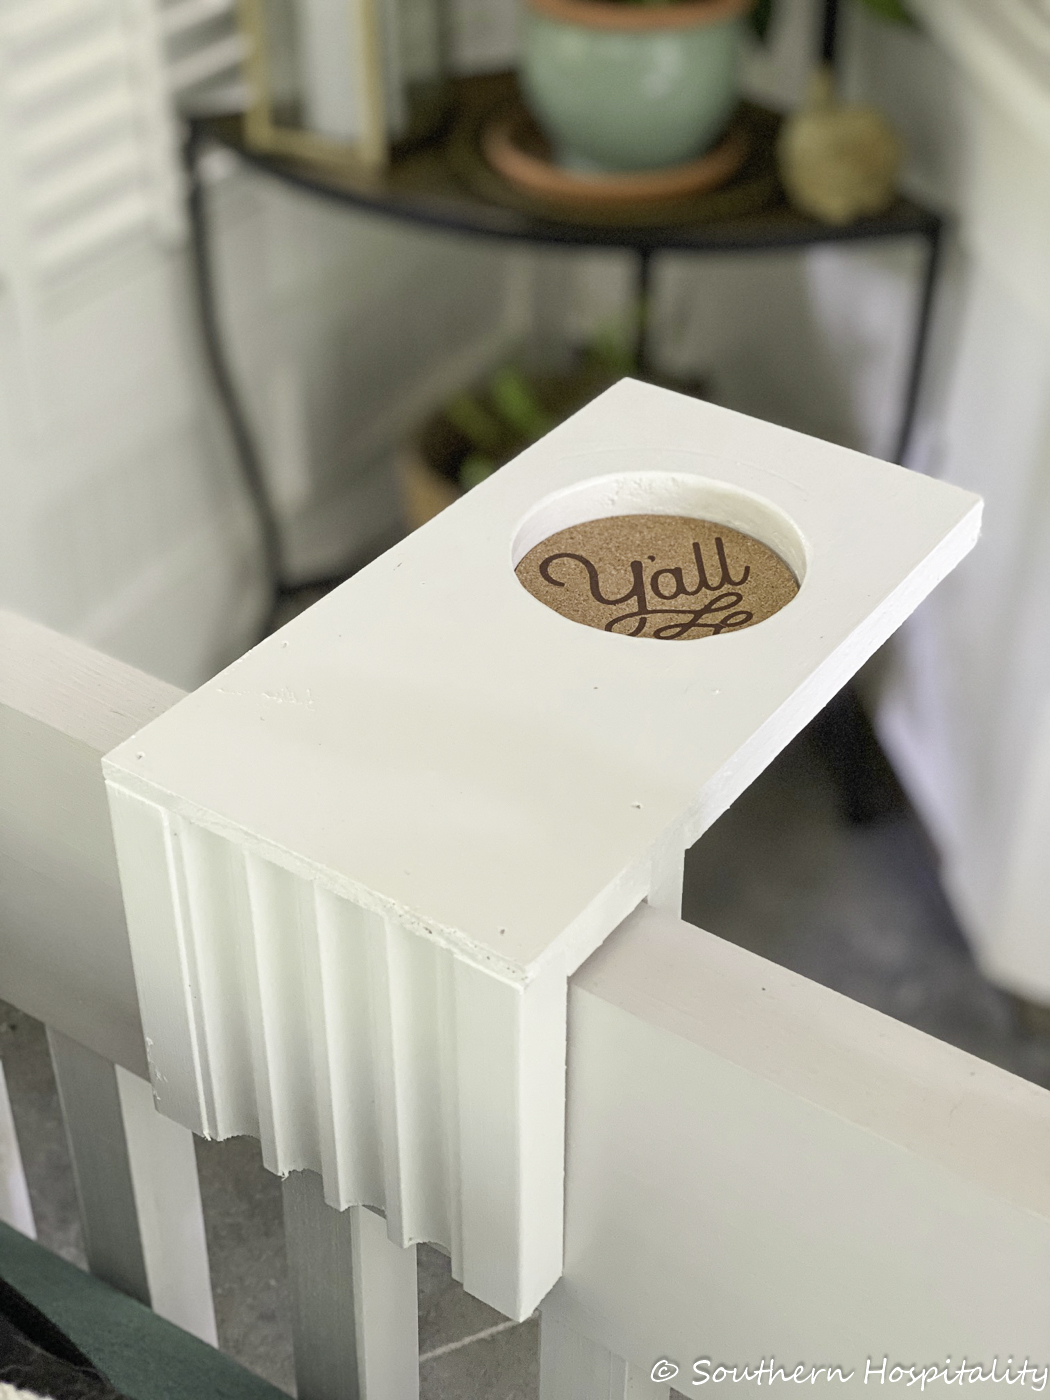
The coasters finish it off nicely.
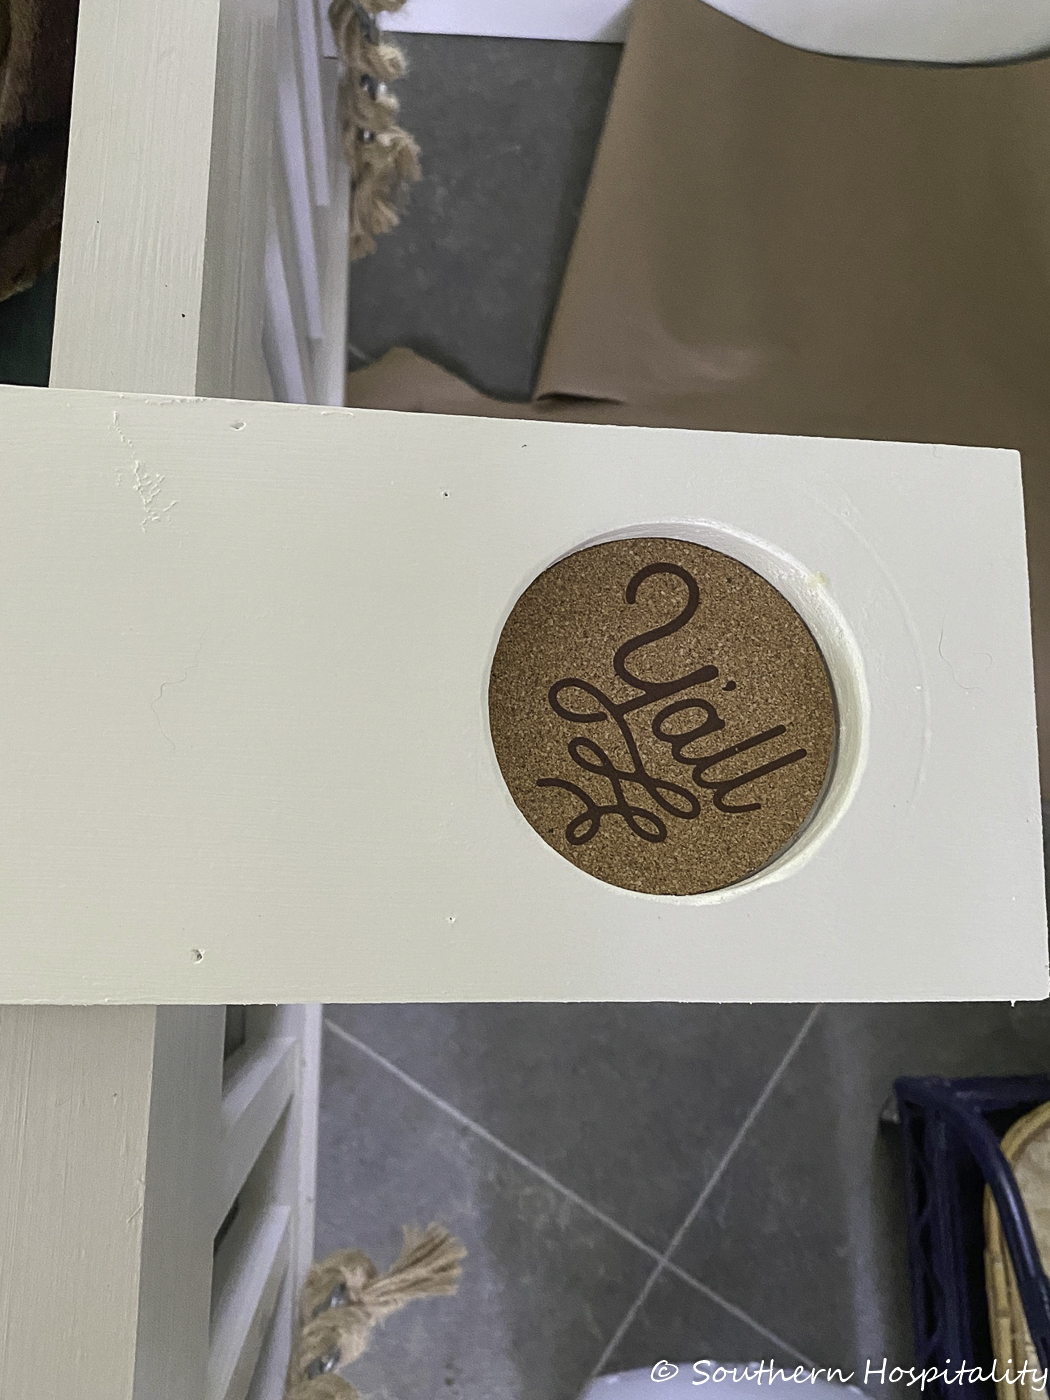
That’s a look at how Mark made DIY drink holders for our swing bed. I just love them and think he is so smart to come up with this idea using scrap wood we had laying around. He painted them the same as the shutter wall color and they look great on the swing bed.
I hope this gave you some ideas if you’re looking to do something like this! Here are the coasters from Amazon linked below (affiiate links used):


Well! Isn’t that the handiest little gadget?! I love it and it is attractive too!
I use Swell cups or Orca ones…. no sweating and my water is cold the next morning!
I love Swell bottles too and the other one, but around the house we do love Tervis.
What an excellent idea! Married to a man who enjoys such carpentry activities, I think that your Mark has put together a most usable, and easily constructed project. Thank him for his innovation, and you for sharing.
HI, Celia, he is very clever and figures things out so well. I love these!
Oh my goodness! You both have created such a lovely, serene place to unwind and entertain family and friends. I wanted so badly to come curl up with a good book and a snack!!! The drink holders are very clever!!! Love the colors you chose for the pillows, rug and accent pieces. Wonderful use of space. Thank you for sharing.
Thank you so much! That space is getting lots of use this summer and we can’t wait for fall on the porch.
Such a clever design and there’s even a place for a small snack. Great job, Mark!
better than nice. thanks for sharing.
wow! he better patent that one – ! great idea