You’ve all seen those peg boards, usually brown and non-descript, but functional, with move around pegs that hold tools in place. I’ve seen them all my life in so many workshops and utility rooms. They really do help keep things up on the wall and organized in plain sight. That’s what I need! Right in front of my face. I lose tools all the time, misplace them and have to look all over the place for a screw driver or tape measure.
You too?
I browsed on Pinterest and found hundreds of pegboard ideas, so this is nothing new and I didn’t come up with it. Some were framed, some were not and many were painted happy colors. How fun and fresh to paint pegboard and get rid of the plain brown! I really needed to get my main tools organized and handy to use and a framed pegboard would be perfect for my needs, so that’s the project I did this month for Lowes. With the new year rolling in, I always get motivated to get more organized. Clean up the clutter and organize my things so that I can find them easily. Since moving in my house a year ago, I’m still not fully organized the way I want to be, so this year, I’ll be tackling all the areas of my house that still need help. And there are definitely a few that need lots of help!
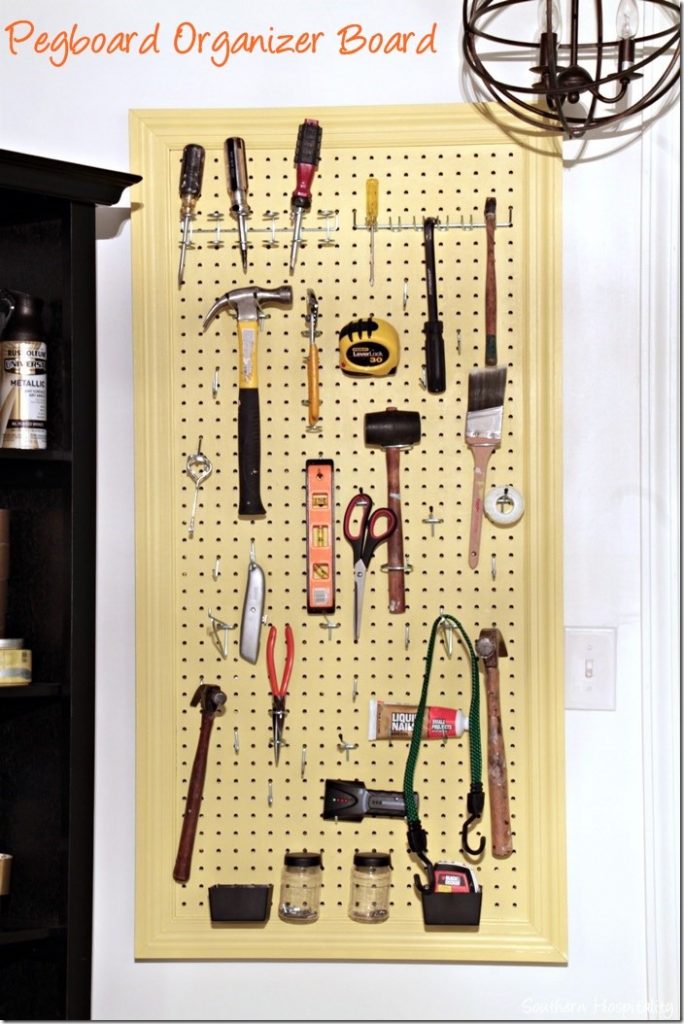
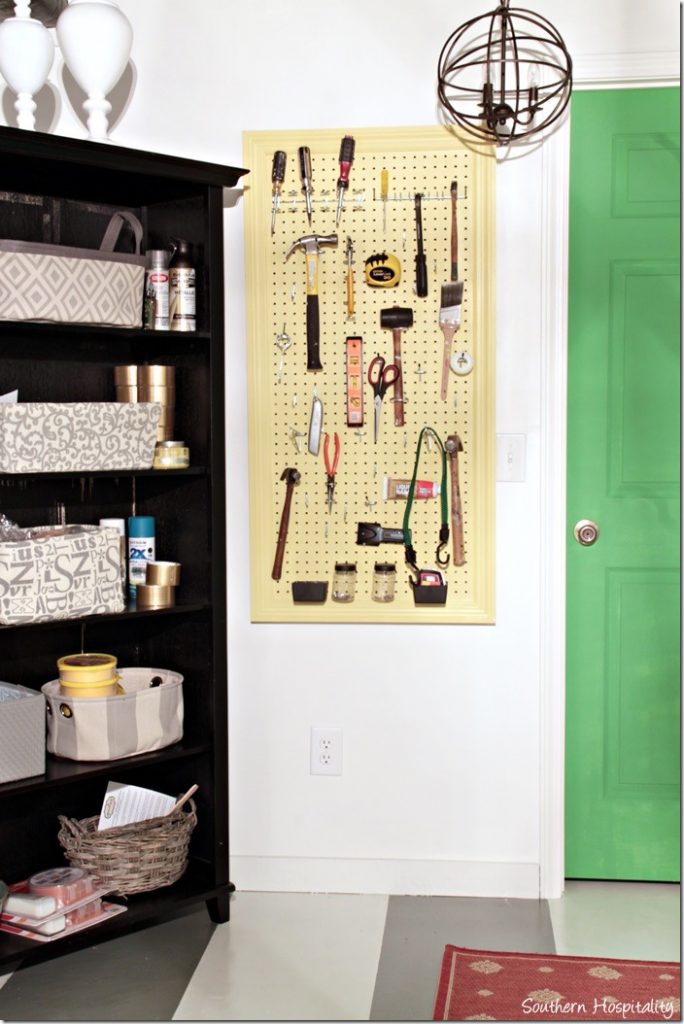
Here’s the finished project and I love how it turned out!
I’ll share how I made this one. It’s really so simple and easy to make, but I did have help from my brother-in-law, Bruce. It’s been cold here lately and too chilly for my dad to do any outdoor projects, so I enlisted my brother-in-law to help me put this together in his basement workroom.
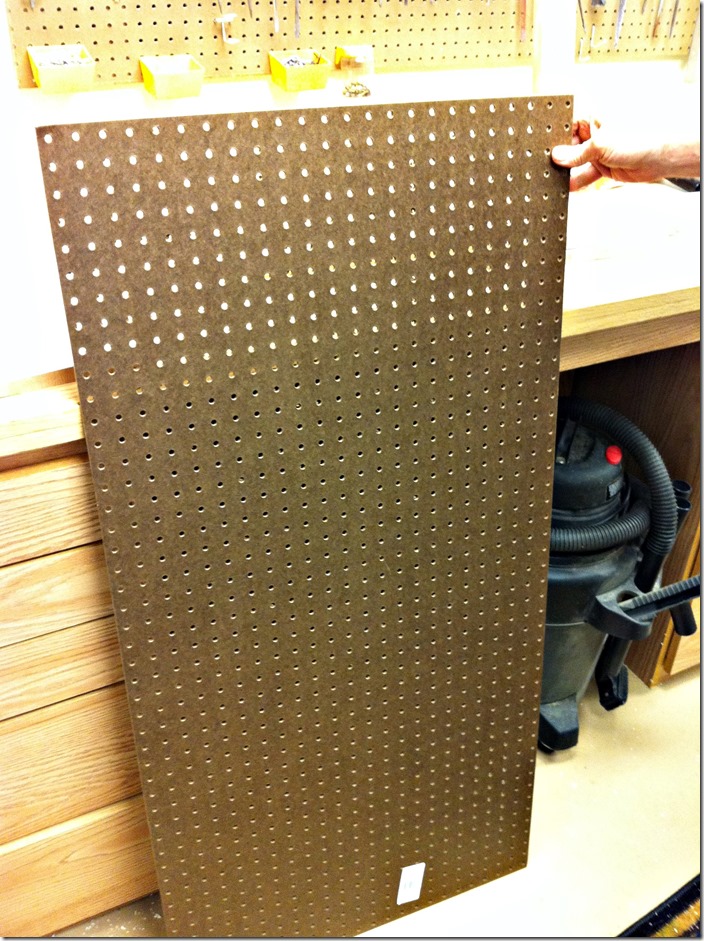
I bought a 2×4’ sheet of pegboard from Lowes. These are really inexpensive.
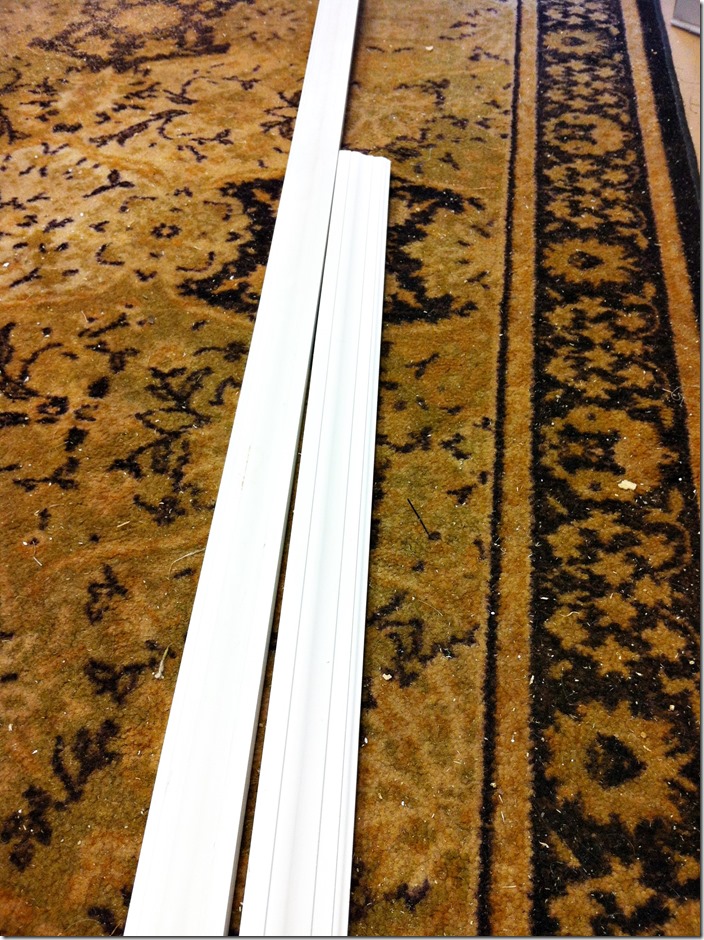
Two long pieces of doorframe molding from Lowes.
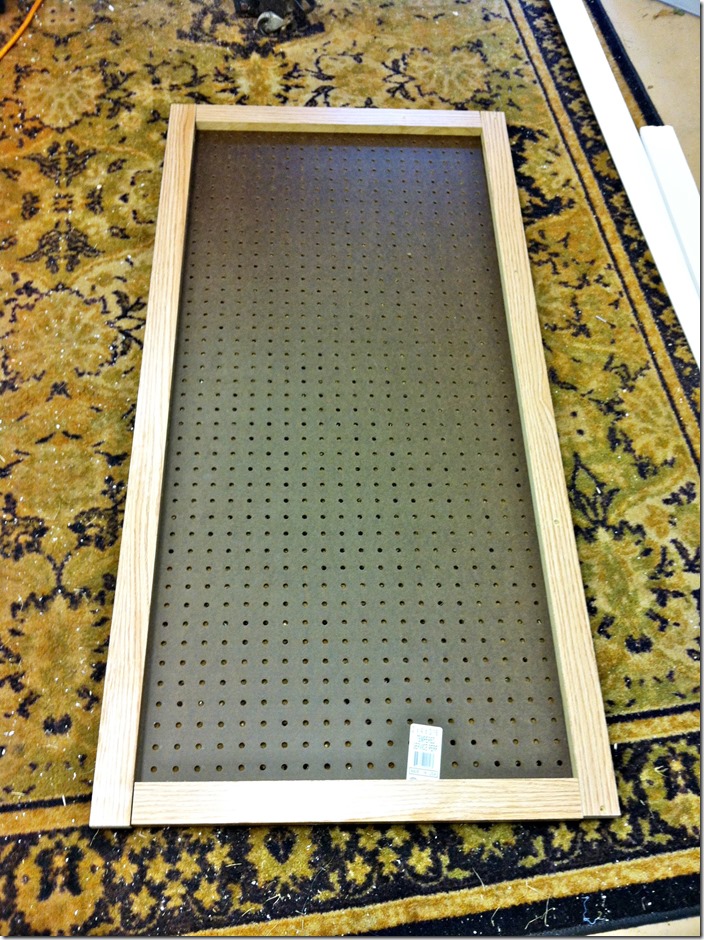
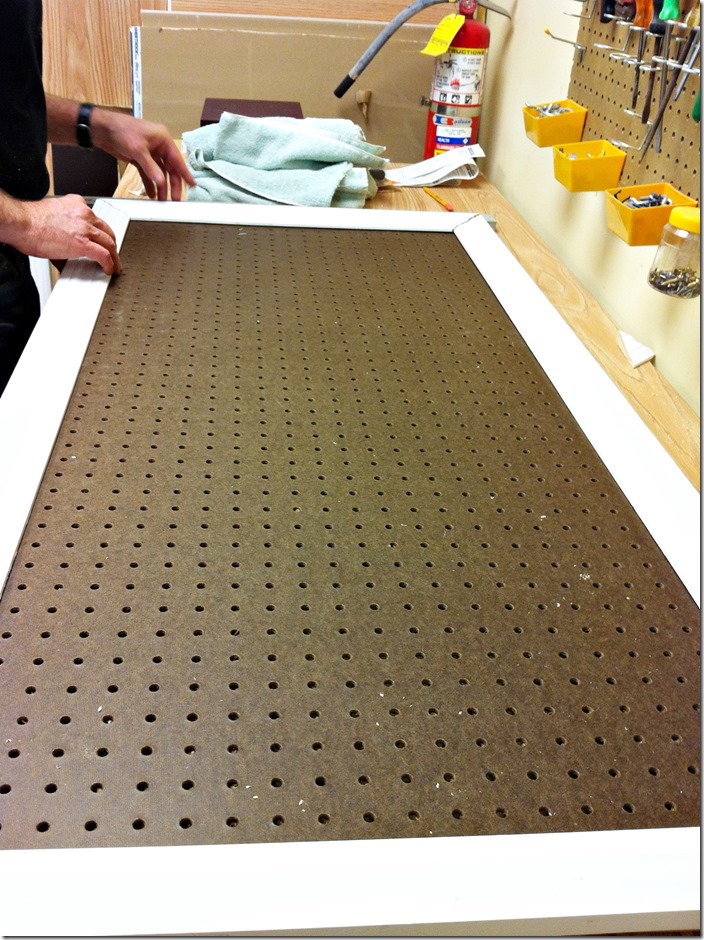
Bruce has this left over MDF that was about 1” wide and deep, so that was perfect for the backing. When you frame out pegboard and hang it on the wall, it needs to stand out from the wall a bit, so that the hooks can slide into the pegs easily. We cut the side pieces to fit on the back and I nailed it all in with a nail gun. You could also use wood glue to further stabilize it, but mine was fine with the nail gun.
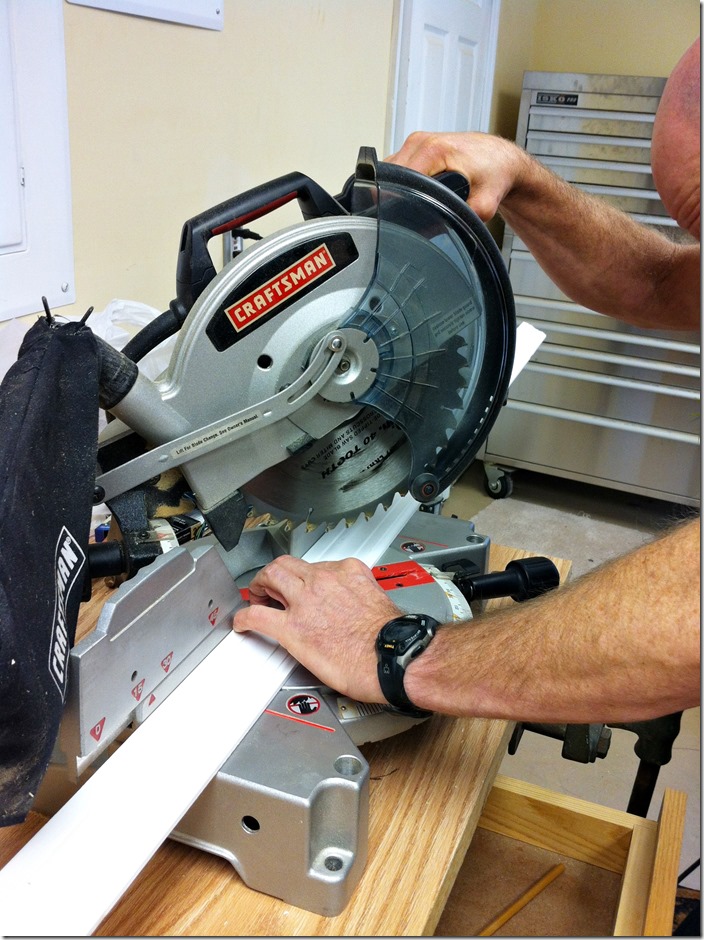
For the front side, I wanted to miter the corners of the molding, so Bruce measured and cut for me and then I nailed it all together. One of these days, I’m going to get my own miter saw!
You can see in the pic above that Bruce’s workshop has a big pegboard in place too. He’s an organized guy. So, with all 4 pieces of molding cut and nailed in on the front side, my pegboard organizer was ready to paint. I did slightly overlap the molding on the front to hang over the sides a bit and I’ll show you that on the finish.
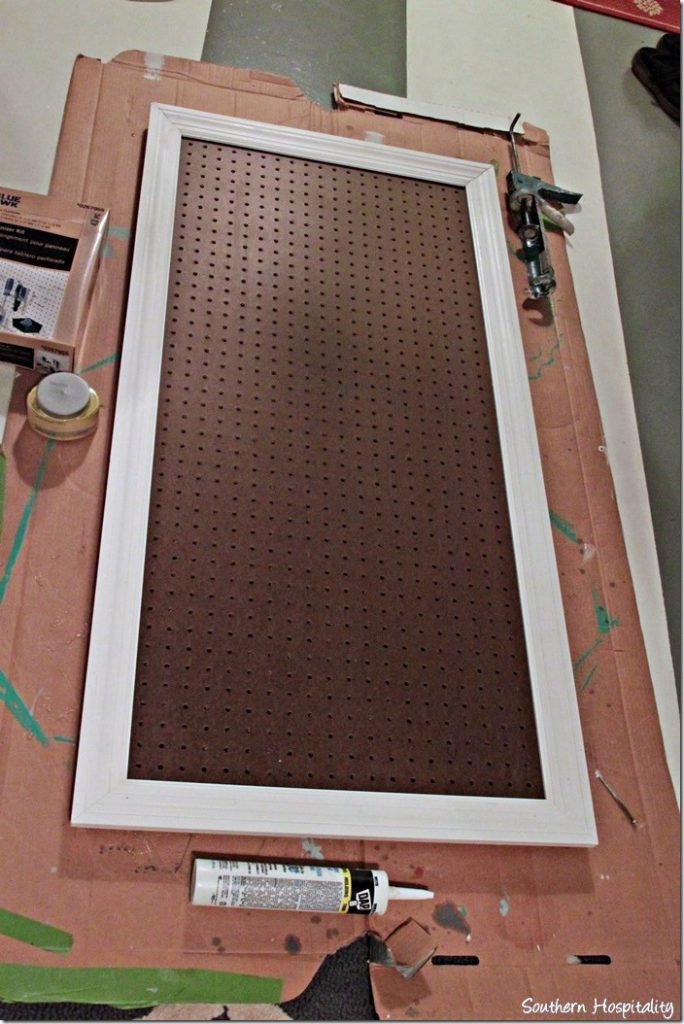
Back to my house I went and spread it out on my laundry room floor to paint. This big space comes in handy!
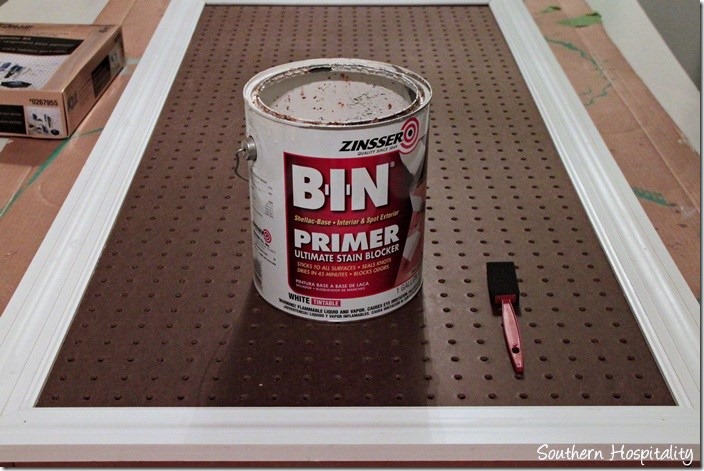
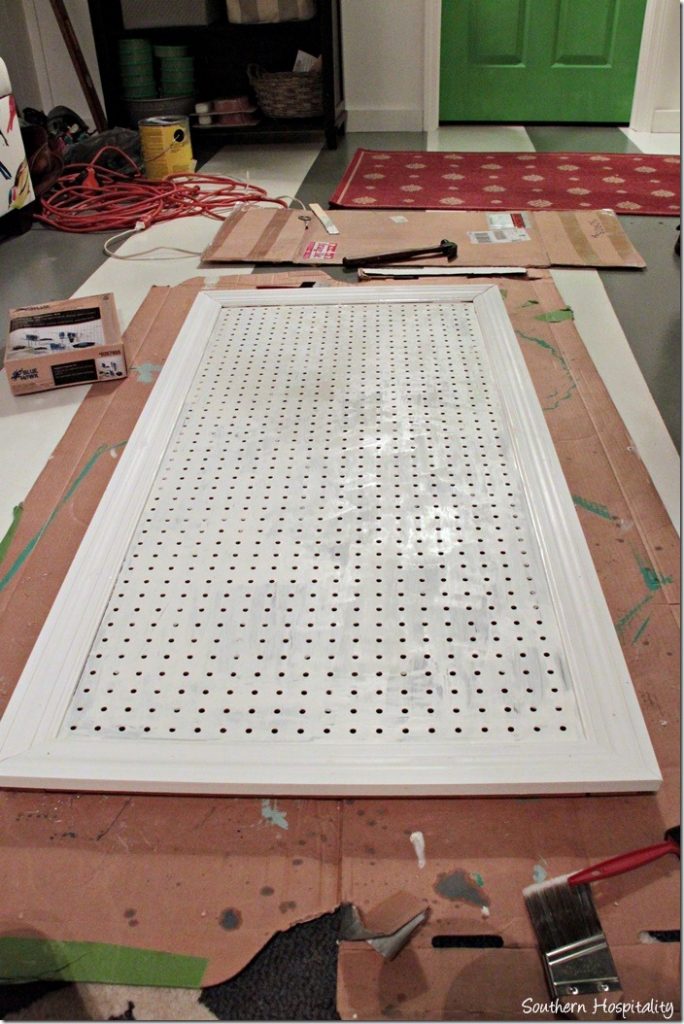
First I primed the pegboard since it was dark brown and I wanted my paint to cover. I used what I have on hand, a really good covering primer from Zinsser, BIN shellac based primer. It’s good stuff, but hard to clean out the brushes, so I used a disposable foam brush. You have to use ammonia and water for clean up on this primer.
All primed and waiting for paint.
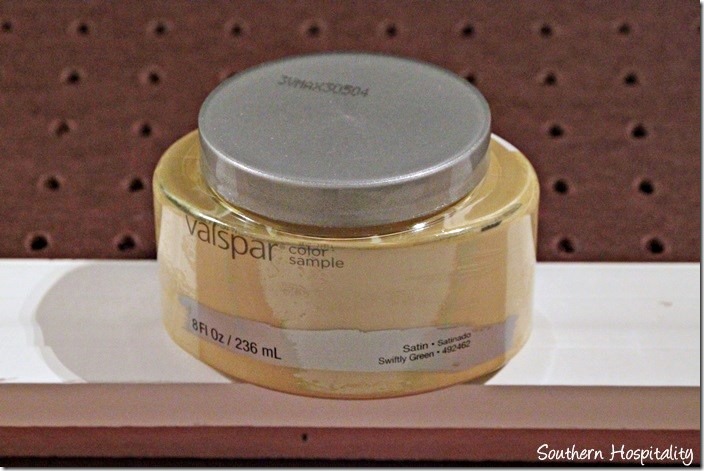
I picked up a small sample paint from Valspar, in Swiftly Green. It’s a chartreuse green/yellow shade which I thought would be pretty in my laundry room space.
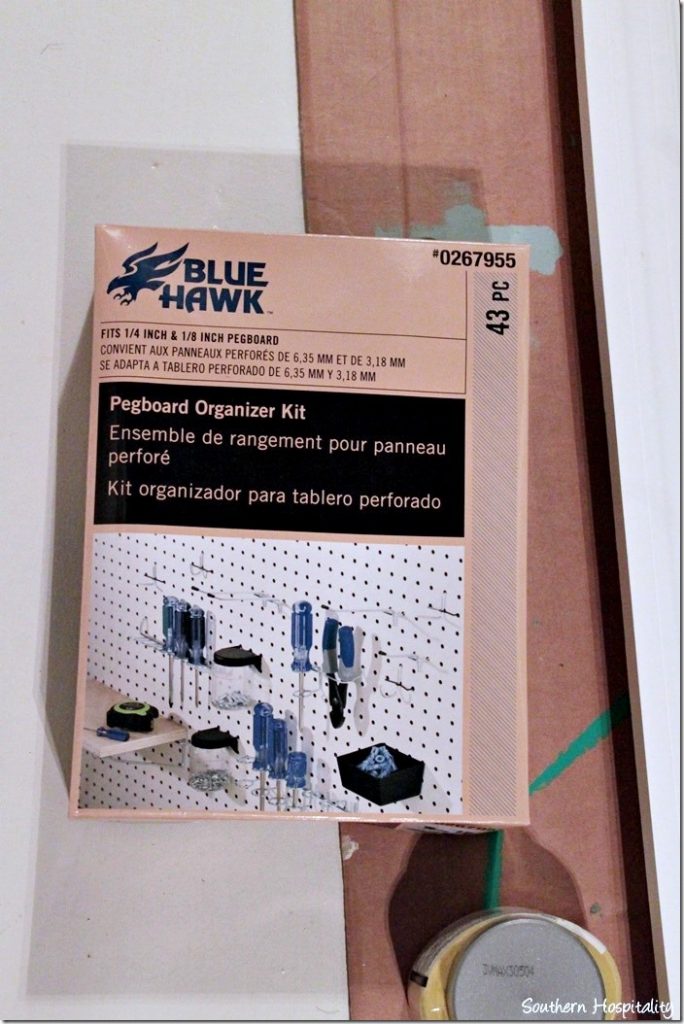
I also picked up a box of organizers from Lowes, the Blue Hawk organizer kit. All of these fit on my small pegboard and will hold a lot of stuff for around $12. I used a paintbrush and painted it with 2 coats of the Valspar paint and still had plenty left from my sample pot.
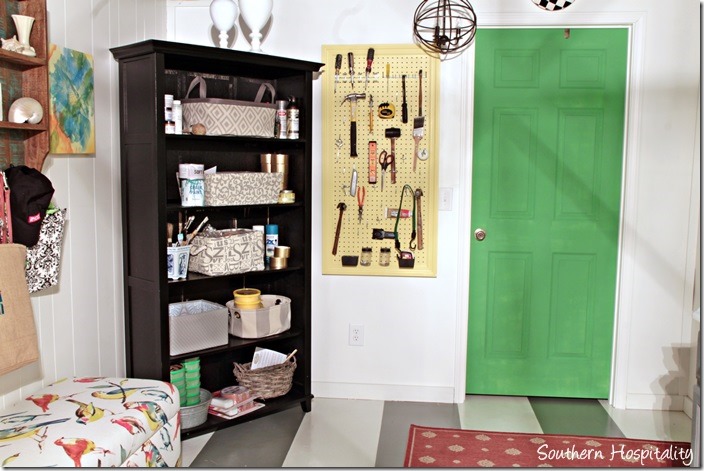
And here’s the pegboard hung on the wall. To hang mine up, I found the stud and screwed in a long screw on one side. There wasn’t a stud for other side, so I used a heavy wall anchor to hold the other screw in place. It’s heavy, but not so heavy that I had to worry about the weight. I simply left the screws out from the wall about 1/2” and hung it from the boards on the backside of the pegboard. To have room for my new board, I angled my bookcase in the corner and it all fit nicely on my wall.
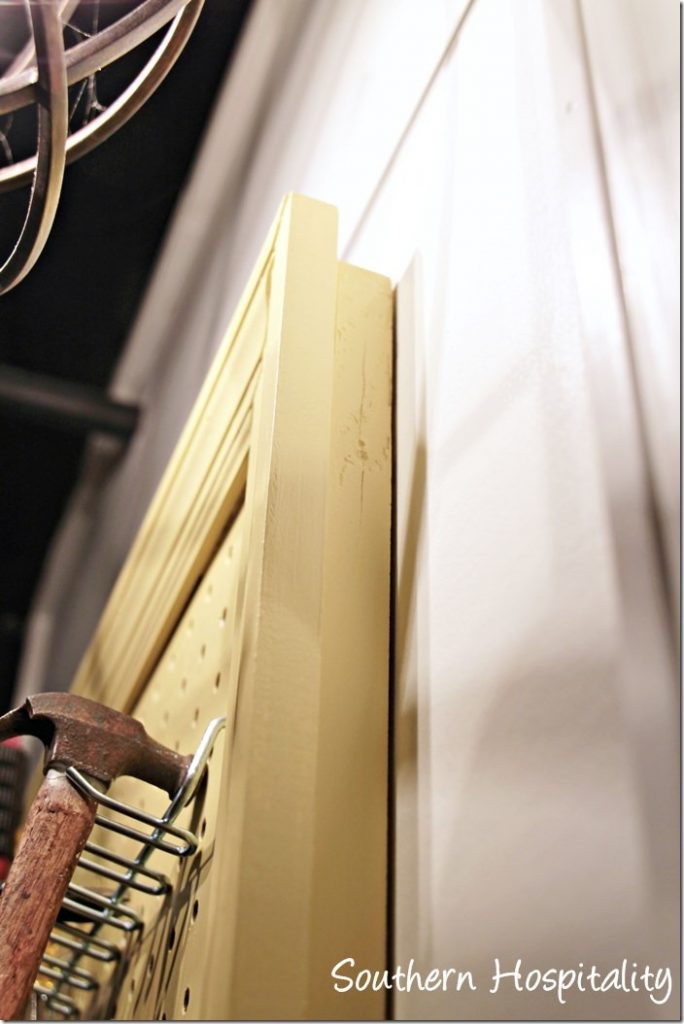
Here it is from the side and you can see that I painted the 1” boards on the backside to match the front and I hung it on screws from that back board at the top. It’s up there nice and sturdy.
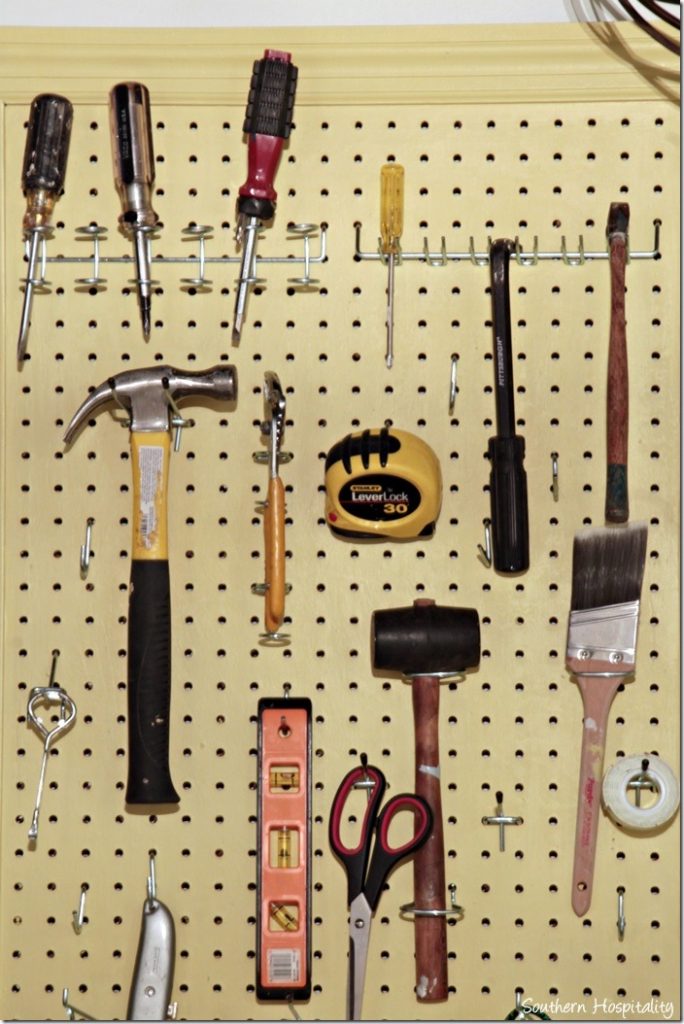
I began adding in all the hooks and moving them around until I got all my main tools that I use a lot placed on the board.
Now, I have my screw drivers, scissors, paint can opener, paintbrush, level, tape measure and more all handy and ready to grab at a moment’s notice.
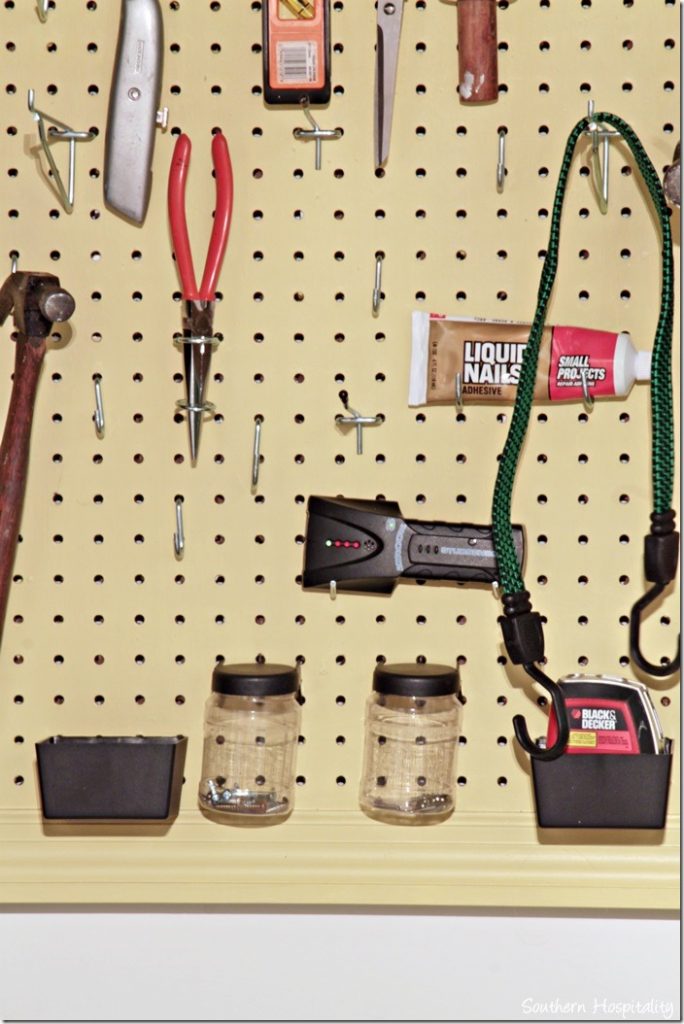
The kit came with those little trays that hook on there, as well as the plastic bottles to hold screws and other small things. And there are plenty of extra hooks left over that I can add lots more small items to the board.
I love how pretty it is and now I’m feeling extra organized going into the new year. This will be the perfect spot to leave it, because it’s not only cute, but functional. No reason to leave a pegboard utilitarian when you can amp it up with paint and molding! This is an easy project that most anyone could tackle.
Are you getting organized this month? I’m feeling the need to do more and more and it really feels good!

Check out Lowes Creative Ideas Magazine app, visit Lowes on Facebook, and Lowes on Pinterest.
You can see Lowes on Instagram as well. Instagram is fun for every day real life happenings.
Disclosure: As a Lowes Creative blogger, I am sent gift cards to spend on projects and to blog about them. This post is sponsored by Lowes, but all ideas and projects are my own.
Linking up to Beth’s Tutorials and Tips Party!


Now you just have to remember to put the tools back on the pegboard. It looks really nice framed. Great start to the new year on organization.
You did a great job. I love the tools out in plain sight in an attractive setting.
What a great idea! You did a great job. I want to do that too. We’ll just have to remember to put the tools back on the pegboard so we can find them. Ha!
That would be GREAT for jewelry on the back of my closet door too!
Looks great Rhoda!!
My father in law did this but went a step beyond. Once everything was hung, he took a Sharpie and drew around the tool so that it always went back in it’s place.
What a great idea. Thank you for sharing this.
I love this! I use to do DIY projects all the time, but have not done any in at least 5 years. This has inspired me to start back doing something I truely enjoy doing.
Great idea, Rhoda. You make it look so easy!
Take care.
Emily
great idea and pretty too, I will get to that as soon as I make my house look like Mary Kays and frame all my mirrors. What an insiration after these cold days in Talking Rock.
Anita
You go girl! Looks awesome!
Hugs,
Kat
Love this Rhoda~ so cute and functional too!
I’ve often thought about having one of these. Thank you SO much for the how-to. It looks great!
I have been needing a pegboard organizer for some time and this post is just the motivation I needed! I love the yellow color you painted it too! Pinned 🙂