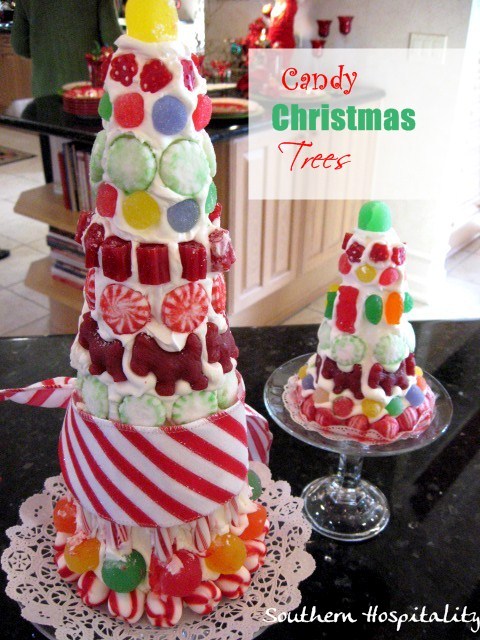
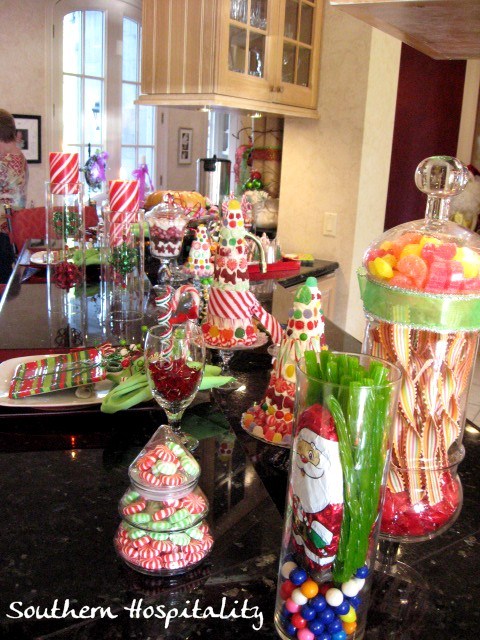
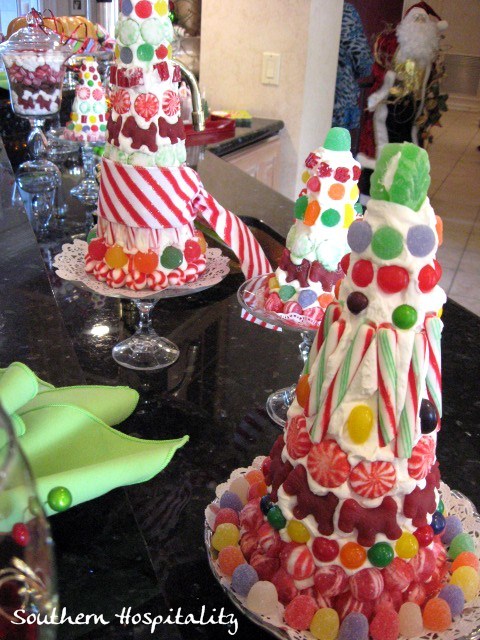
About 3 years ago, I took part in a Christmas showhouse over in Birmingham and had a lot of fun partnering with several other ladies and making some fun Christmas craft items to sell at the showhouse. One of the things we put together was Candy Christmas Trees. These were so cute and would make a great handmade gift idea for those on your list who love this sort of thing. They can be placed in so many areas and are just adorable and a treat to see this time of year.
They are just plain happy and fun!
The base is a foam cone and we did several different sizes. And if you don’t want to use powdered eggwhites, I’m sure the real thing will work great too and is probably cheaper.
Recipe for the icing for Candy Trees:
1 lb confectioners sugar (4 cups)
3 TB Powdered egg whites
6 TB Warm water
Beat 6 min. until peaks form. The most important part of icing is consistency. If it starts to get too stiff and dry out, add 1 TB of water at a time until smooth and easy to spread. Be careful not to get too thin also, as candy will slide. A little practice and you’ll get it!
Also, don’t cover the whole cone all at once. Sit your cone on a cakeplate or pedestal and start covering with icing at the bottom, about 1/2 way up, place your candies and then keep working up to the top. The icing starts to dry out pretty fast!
Compile a variety of pretty candies and then get busy crafting your very own Candy Christmas Trees. They look so festive sitting around a kitchen, placed on a cakestand!
I’m joining Kate’s Christmas craft link party today, so if you have a craft to share, go on over and link up too. If it’s not up yet, check back later, Kate’s on CA time.
Merry Christmas to all of you!


That is a winner, Rhoda! I’ll be pinning it on my Pinterest Board for tabletop trees, cuz I have a things for little trees this year. Very cute, and would make a lovely hostess gift when arriving for a party. Thank you.
That’s wonderfully colorful, but I predict that if I make that, more candy will be in my tummy than on the tree
They came out so cute, I made candy trees years ago and they got so old I had to throw them out, maybe I will do some next year again. This inspired me. Thanks.
Cynthia
Cuteness! My son would have so much fun doing this with me!!
I love these! Always looking for crafty things to do with the kids while they are on break. My daughter would love to do this!!! I plan to share on my FB page!
Rhoda..those candy trees are so cute!…What a great projects for kids too….love the “candy vignette”…
These can be fun – like Dr. Seuss, or elegant – like the Queen!
They looks so beautiful! If I made one, I am not sure mine would last too long… my kids would want to eat them! 😉 I am looking forward to the linky party later today. I have a shipping-box snowman advent calendar to share! Thanks for the post!
Love this Rhoda!! I can’t wait to do this with my kids during our craft night!! I am so glad I saw this, I wasn’t quite sure what we would do. Thank you for sharing!! ~ Lori
Ohhhhhh! I love these and they’re right up my alley. I can imagine what a great opportunity this presents for someone’s creativity and individual style. So cute!
This would be charming for centerpice aat an open house dessert table or anywhere really. Plus, it’s still edible. I also love the jars filled with old-fashioned Xmas candy. My mom always loved it, not to eat, but just because it reminded her of her childhood. It’s hard to imagine how ribbon candy and the like could have been such a special treat. I think we’re a bit spoiled now!
I filled some jars I had hanging around with wrapped chocolates. It so fesive and really woke up some areas I wasn’t into decorating.
Super cute post. CTD
I wish I could get those Christmas terriers. We have 2 terrier babies at home!
I like this idea!! my kids keep asking for gingerbread houses but they just fall apart and I’m tired of buying them the kits this would solve my problem (:
Made these with my sweet granddaughters,ages 3 and 5, this weekend! Easy AND a definite hit!
I made these today with my 3-yr-old. Thanks for sharing the recipe and photos! Great blog!
These are so festive and beautiful for the holidays. Kids AND adults will adore these!