Hey, friends! I’ve got a basic, but good kitchen project to share with you today, installing shelves that slide in a pantry. One of the things I miss most about my old kitchen is that huge Ikea pantry with pullout shelves I had. It was the bomb! So big and so deep and really a great pantry.
Our current house has a little pantry with shelves, but nothing pulled out, so on my list of things to accomplish was figuring out how to install sliding shelves on all of my pantry shelves. Doing that would make it so much easier to see what’s in the back. The back of those smallish pantries are like a deep black hole. Everything gets lost back there and it’s completely useless.
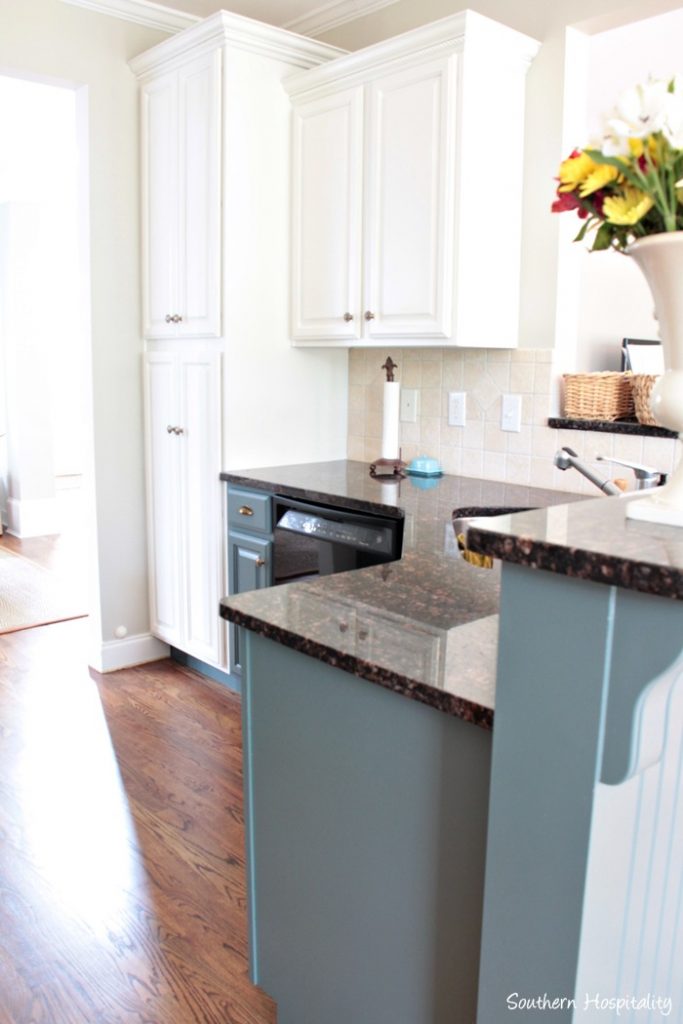
Here’s our kitchen just after we moved in and had the cabinets painted. I was happy to have a pantry, but knew it wouldn’t be very functional until I installed some sliding shelves in there.
It took me awhile to get to this project and figure out what I wanted to do. I looked online at several companies who did sliding drawers and found one called Shelves That Slide. Note, this is not a sponsored post. I did reach out to them, but they didn’t want to give me a blogger discount, but I liked their product so went with them anyway. I knew I’d be sharing it with y’all regardless since I think it’s a great product.
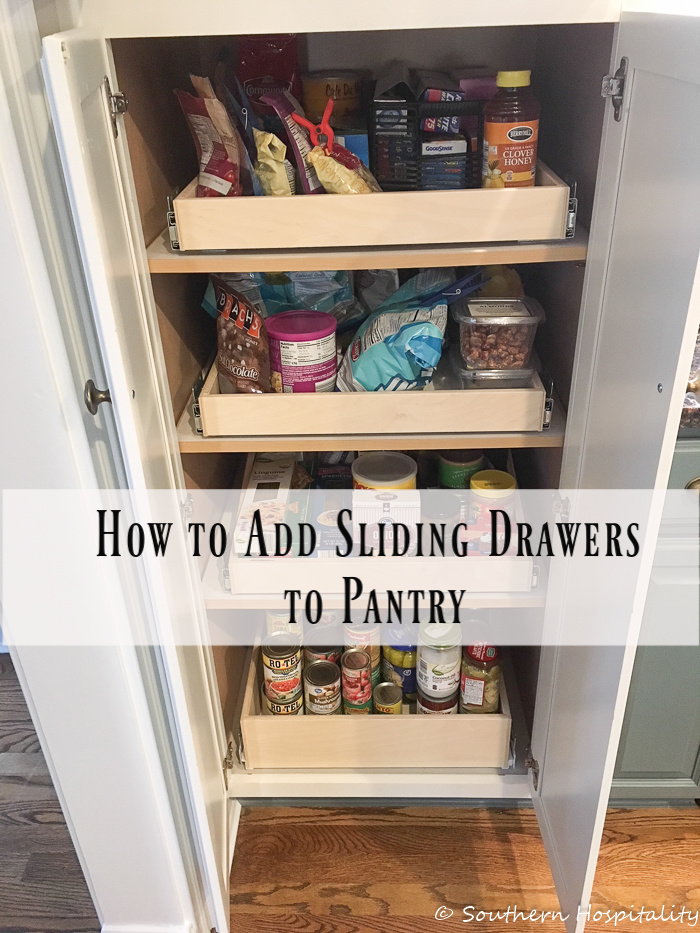
How To Add Shelves to a Pantry
After comparing costs, they seemed to be one of the most cost effective companies and they had pantry packs that would work for my needs. I did a lot of reading before I ordered anything and finally decided to order just one drawer before Christmas to see how it looked. I got that one in and installed it right away and loved how it functioned. The drawers are wood and very sturdy and you can get full pullout extension glides for the best effficiency.
I ended up ordering the 5 pack Pantry Pack for $379, which includes shipping. If I had more drawers to do, I would have gone with this 10 pack of premium shelves for $499. The great thing about this company is that you can put in your dimensions and get the exact sized shelves that you need. Be careful when you’re measuring. My first one fit, but if my left doors on the pantry had been any closer they would have scraped. When I ordered the 2nd pack, I did one inch less in width, to give me plenty of clearance on the doors when they are opened back, if that makes sense. You do lose a little bit on either side of the drawers, but it’s totally worth it for the extra functionality of the shelves you’ll gain.
It’s sort of hard to explain this, but I’ll try. I measured my door openings to get the correct measurement for the sliding shelves. Be sure and measure the depth too so you get that measured right as well. They also take into consideration the slides when you tell them the measurement so follow their instructions on how to measure.
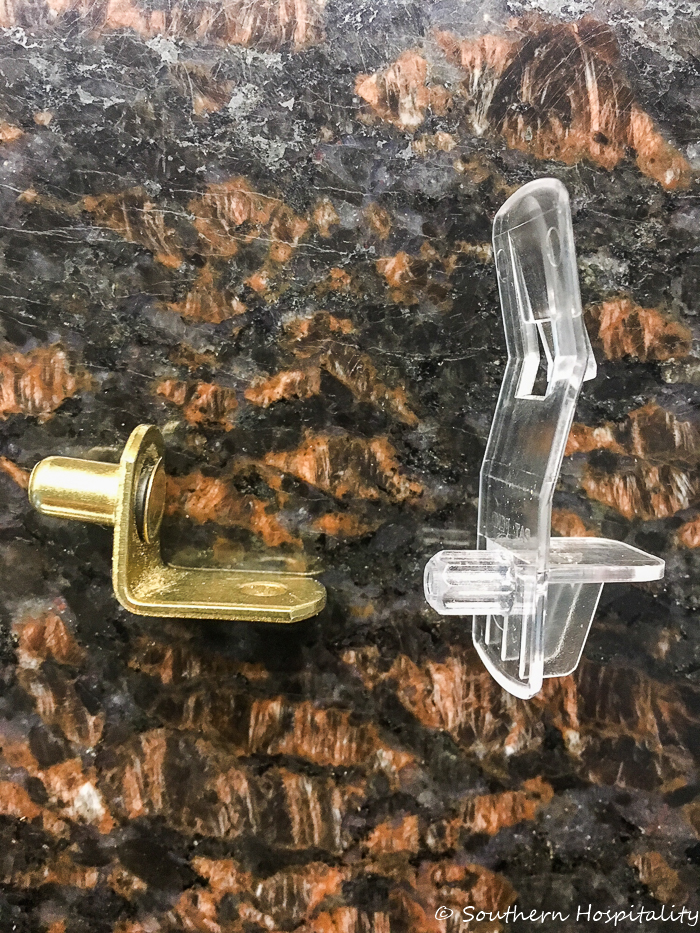
One thing you need to know is that they don’t recommend you leave plastic shelf holders in place to use these. My shelves all had those plastic shelf mounts on the right. They recommend metal ones so I did order metal ones. The ones I ordered didn’t fit the holes in my cabinets so I had to go to Home Depot and find others that fit the holes in my pantry. I bought the gold ones and those fit, but they didn’t sit flush with my shelves or allow the shelves to sit completely flat in place because they were thicker than my plastic ones were. The plastic holders allow the shelves to pop into place so they aren’t able to be raised up at all. I had 2 areas in my pantry to put shelves that were flat and not on a shelf, so those were no problem at all. The glides and shelves simply screwed in and worked great.
You only have to be concerned about the shelves that have plastic shelf hangers and if they are sturdy enough or not. I ended up changing out a few of my plastic ones for metal ones, which meant the metal ones were subject to raising up in the back because they weren’t held in place very securely. There was nothing to keep them from flying up when extra weight was on the shelf. I had that happen with one of my upper shelves that I did add the metal holders. The shelf flew up in the back when I pulled it out because of the weight. I simply added 3 screws to the back of the shelf, so that the screw head held the shelf down and wouldn’t allow it to pop up anymore. Problem solved!
I don’t know if this makes sense or not, but I’ll try to explain it. But in the end, I left my plastic holders in place for the most part and wasn’t able to change them all out, because those metal ones did not let my shelves sit flat and I would have had to trim down the shelves on a table saw to get them to fit. So, I’m taking chances that my plastic ones will work fine in the long run.
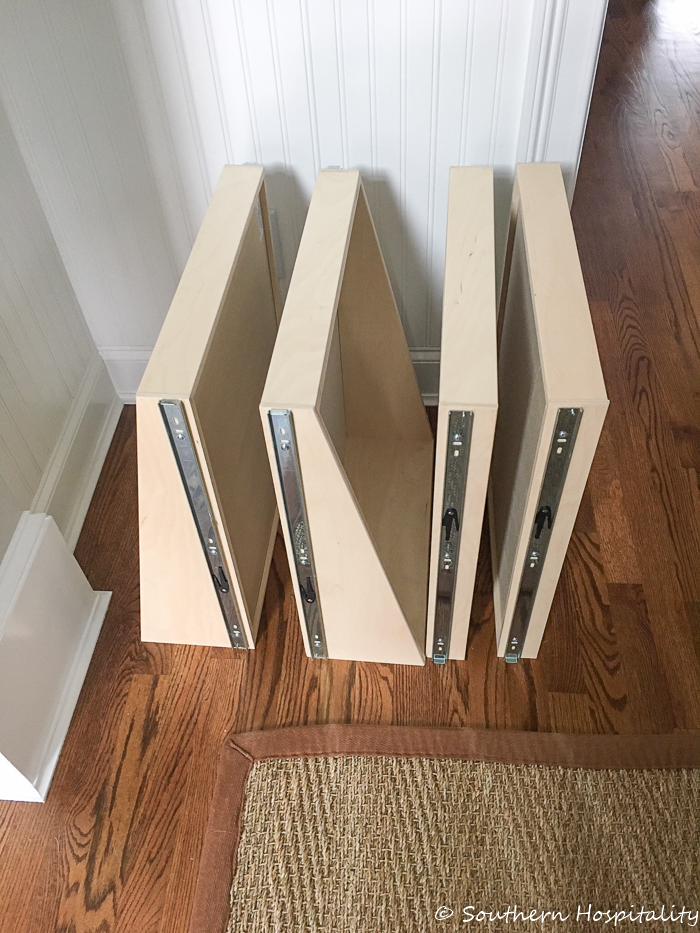
Here are my pantry pack of 5. I had already installed one at this point. This set comes with several different sizes, as you can see, some higher in the back and slanted. Good for cereal boxes or whatever.
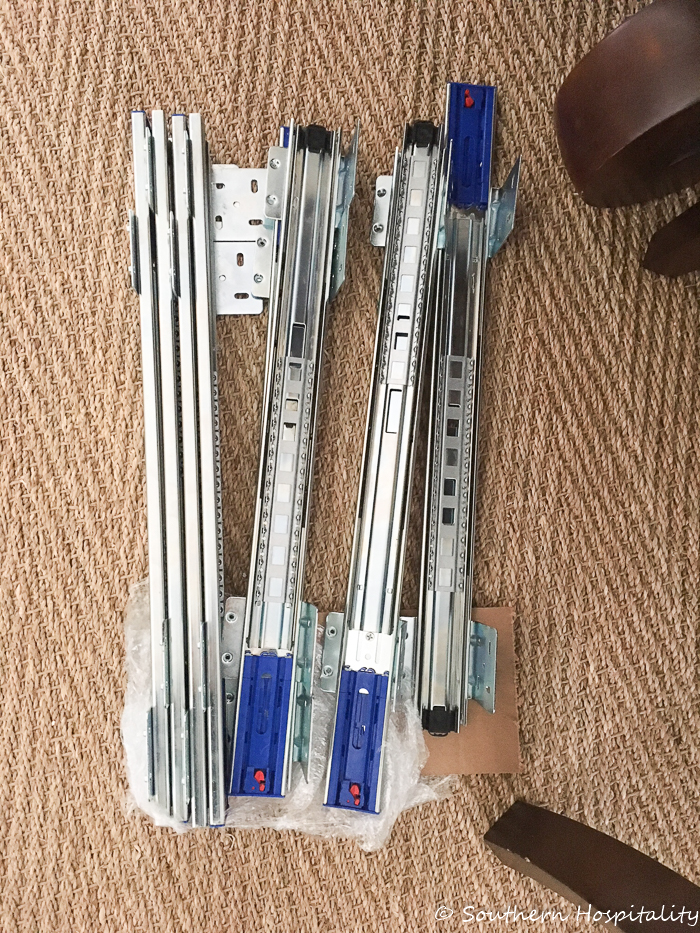
These are the full glide extensions. They are easy to understand, just read the directions to make sure you get them mounted correctly. I didn’t do a good job of taking pics as I went along, but I’ll tell you what I did.
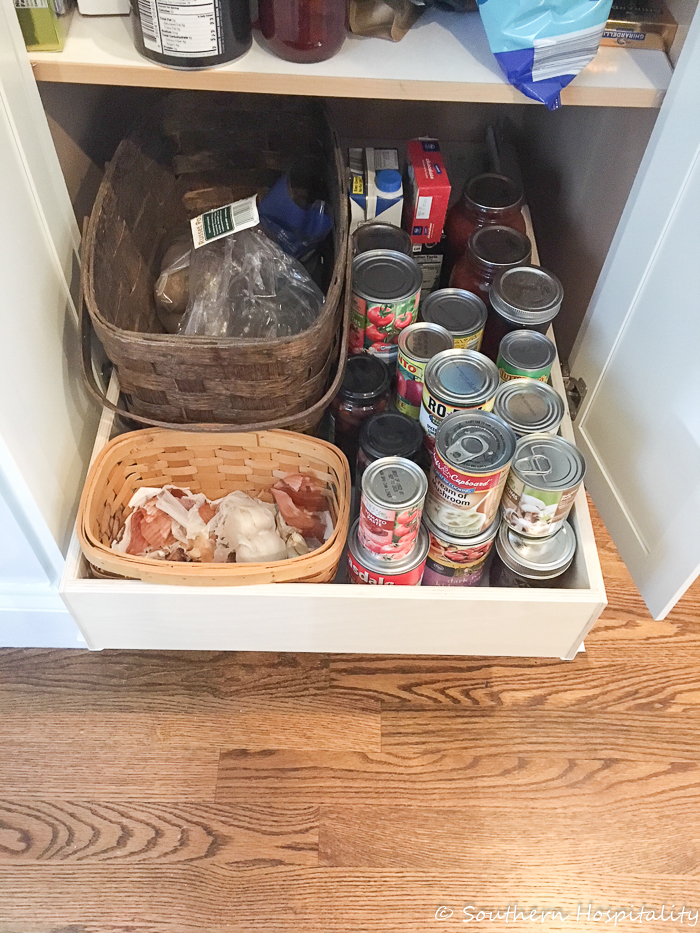
I started at the bottom shelf. This one wasn’t movable, so it was easy to install this one.
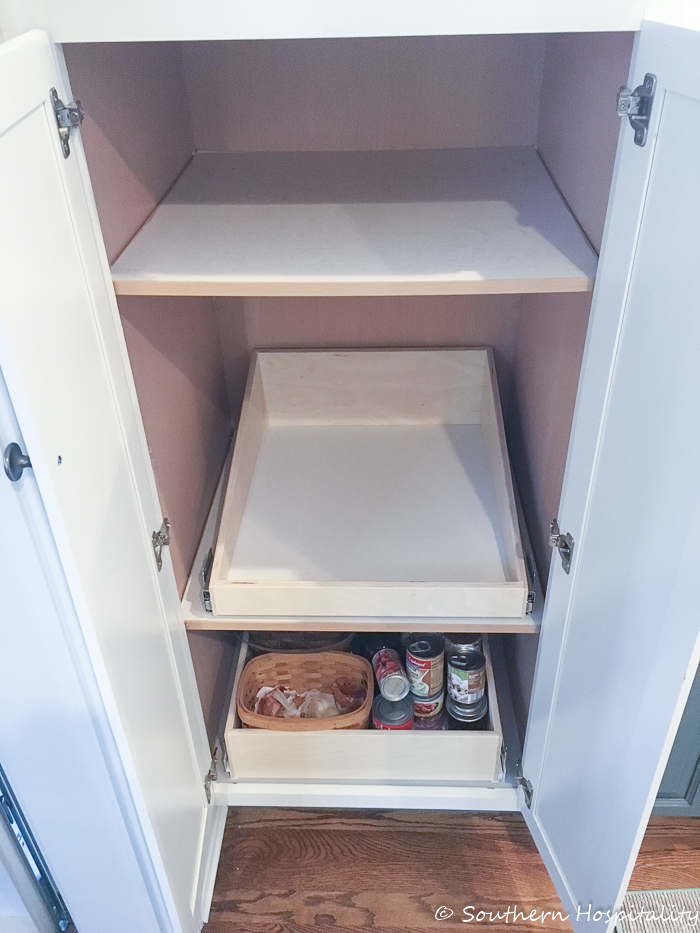
I found it was easist for me on the ones I could see and reach to the back, was to install the glides on the shelf and sit it in place exactly where I wanted it on the shelf. Be sure it will pull out without hanging up on either side. I took a pencil and marked the front edge of the glides so I could see them if I needed to move them. Then I just carefully pulled the shelf forward, leaving it in the glides and began adding my screws in place. I always use a battery powered drill when I do projects like this. Life saver! I have one similar to this one from Rockwell (affiliate link). It’s a great little drill. Mark even loves it. Mine is a 16 volt, but this one is even bigger.
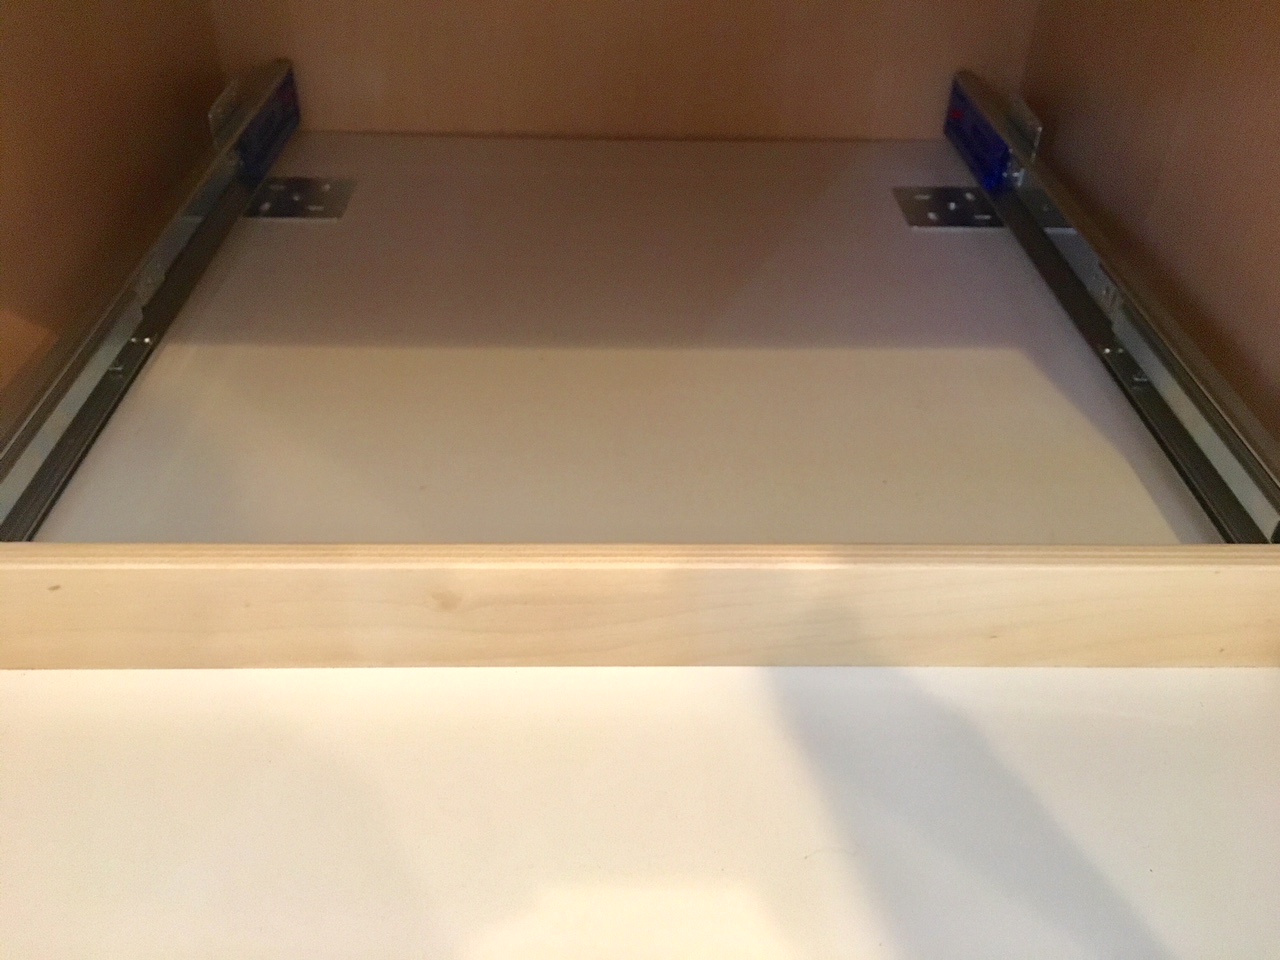
These pics aren’t great, but hopefully you can tell what I did as I installed them. The glides have screw holes and as long as you can get the screws in place, it’s pretty easy. The do tell you in the instructions that the right side is the main side and the left side should move left to right to adjust the shelves so adjust from the left side. That part is trial and error if you install it with the shelf OFF. I tried to put the shelf in place with the glides on as many as I could and install it right in the spot I wanted it. Some of them though I couldn’t see to the back so I had to install without the shelf in place. So just do what you can to get them in.
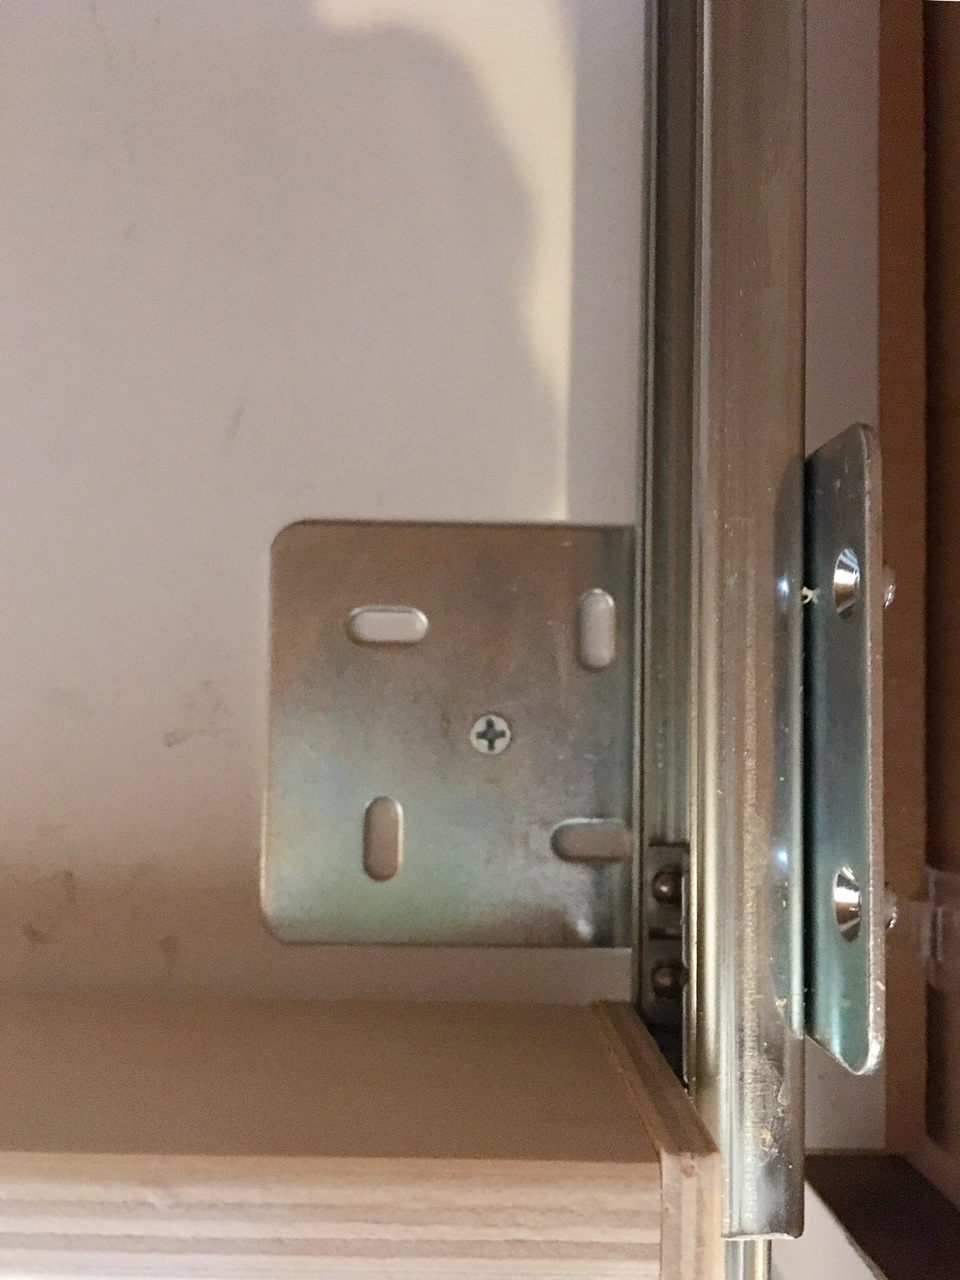
Here’s how the shelf glide looks from above. Those extra holes are for adjusting the shelf left to right or up and down. But the center screw holds it in place securely.
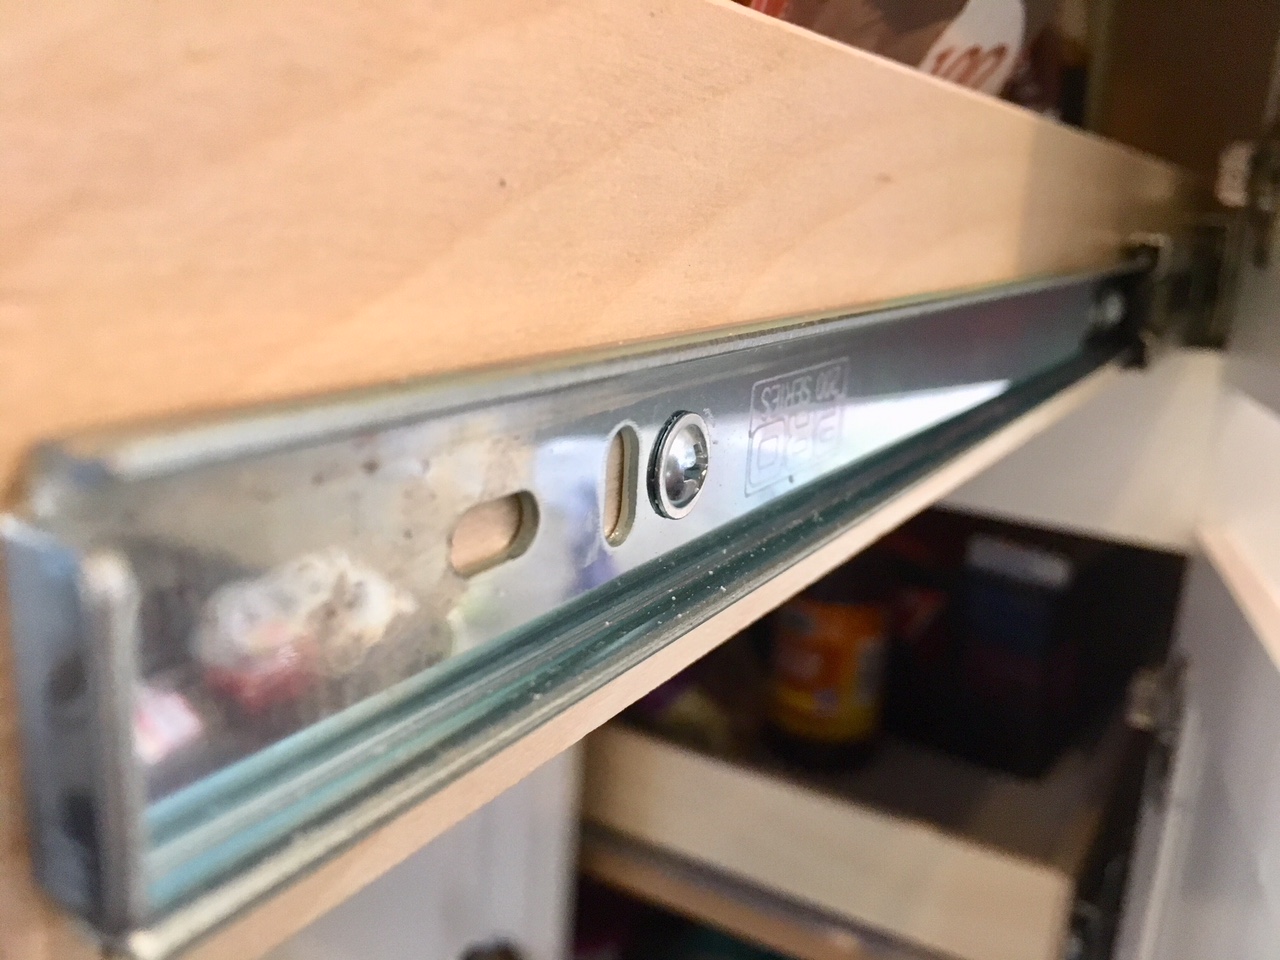
And here’s a look at the glides all the way out. The glides have ball bearings and slide out really nice and smooth.
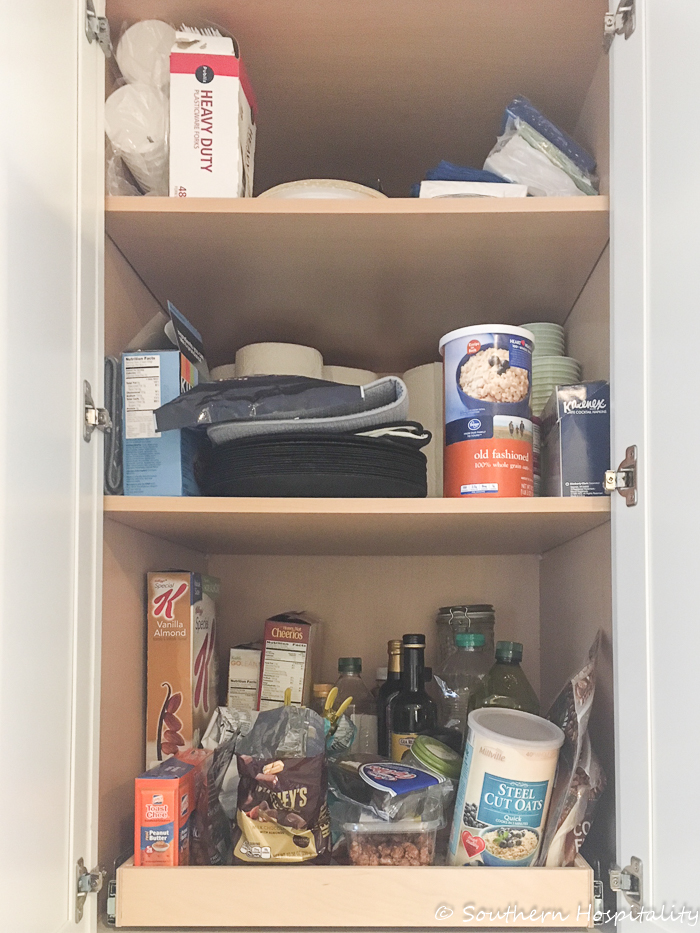
This was the first shelf I installed before Christmas and it was way too full, so I moved a lot of this out to other shelves. But this one was on a flat surface and not a shelf so it was easy to install.

I worked my way up from the bottom to the top, emptying each shelf as I moved up. Sometimes I had to remove an upper shelf, so I could see into the back of the shelf below as I was installing, but that was easy too.
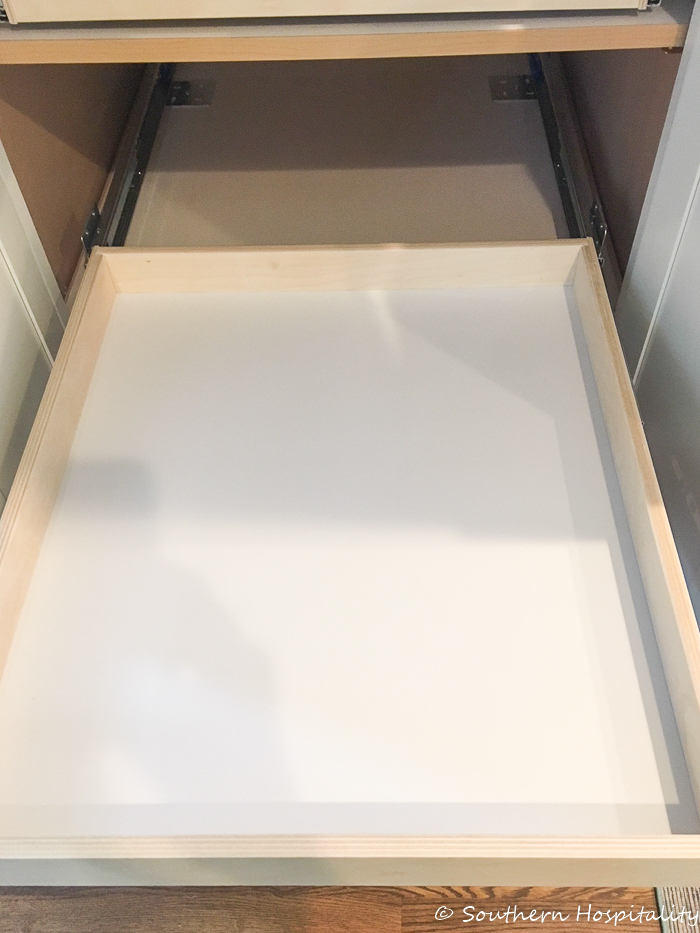 Once you get to a shelf that you can’t move the one above it to see, then you just have to work with the glides and install them first trying to get them spaced just right before you slide the shelf in place. That was more tricky than putting the glides on and installing, but sometimes you have to do that. I finally got them all installed and could sit back and look at them.
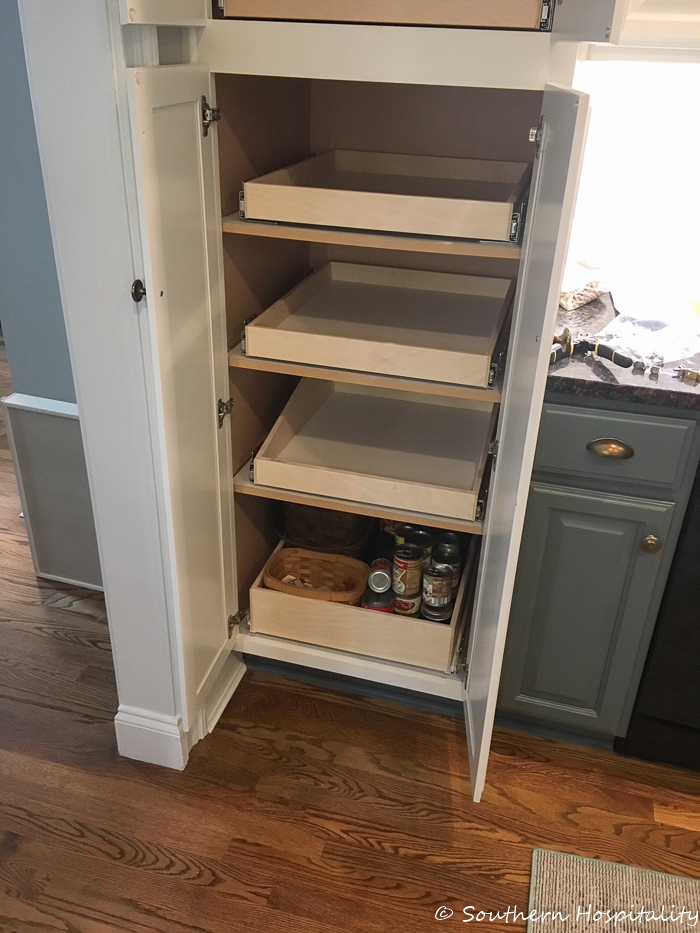
This was a happy moment, when I got them all finished!
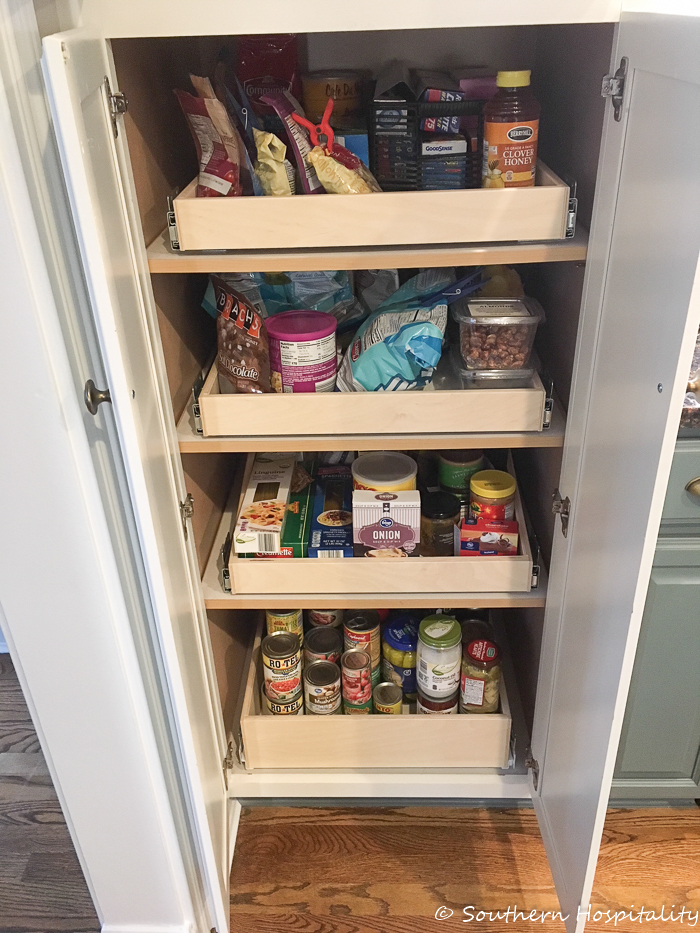
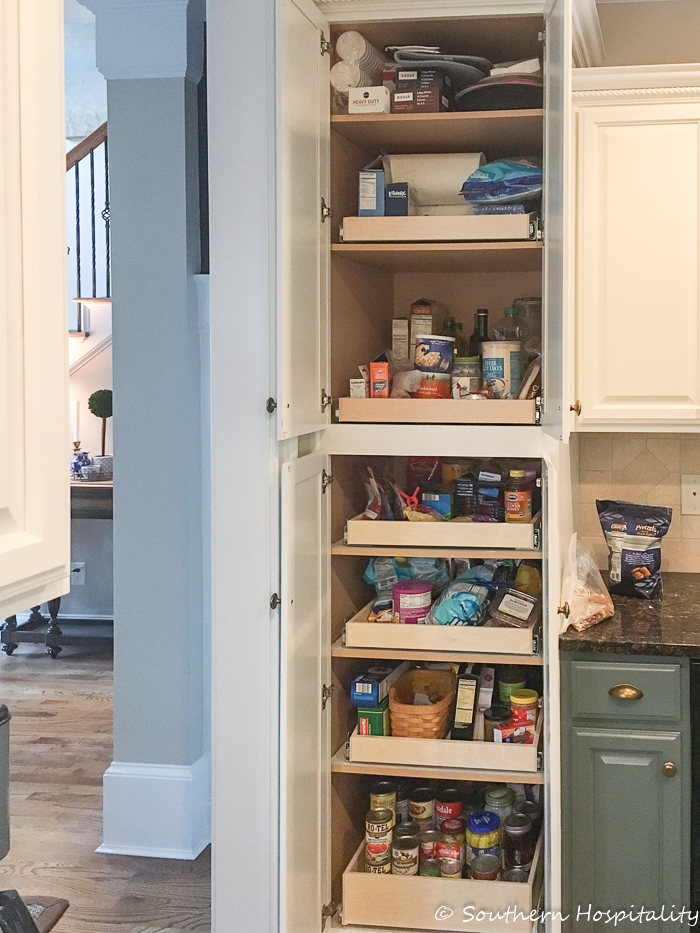
Then I filled them all up again, trying to get each one organized by what I put in there. I can see and find things so much easier now and I love them! No more black holes! You can see I did put my canned goods on the bottom shelf that is secure and not floating, for extra weight, but it still pulls way out so I can see the back.
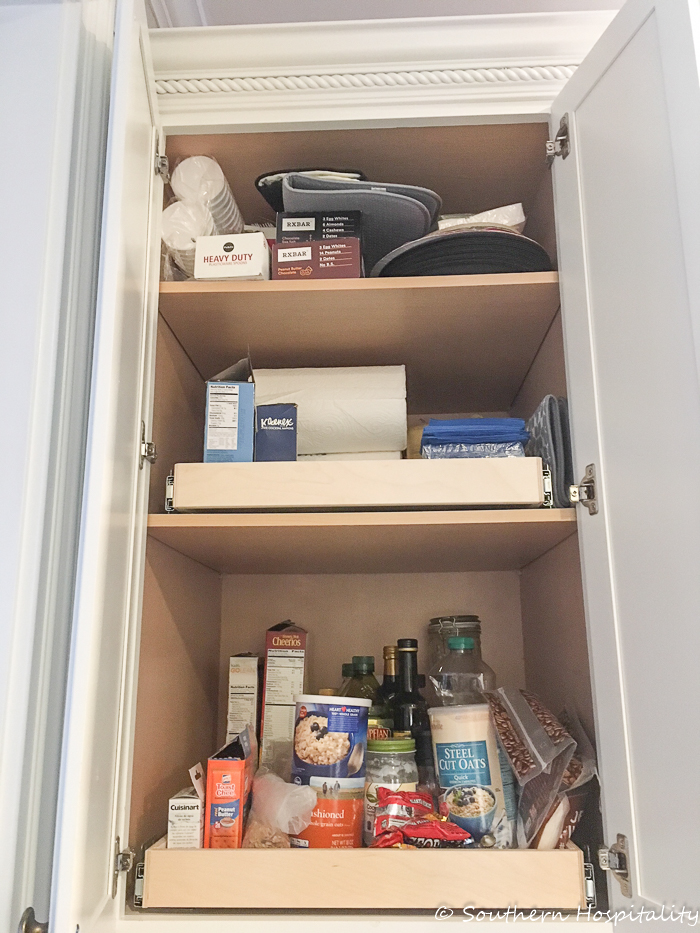
This was the first one I did, and I had enough to do the one above it even though that one is really high. I keep paper towels up there, so it’s nice it can slide out too. I used one of the tall slanted drawers up there and it holds paper goods.
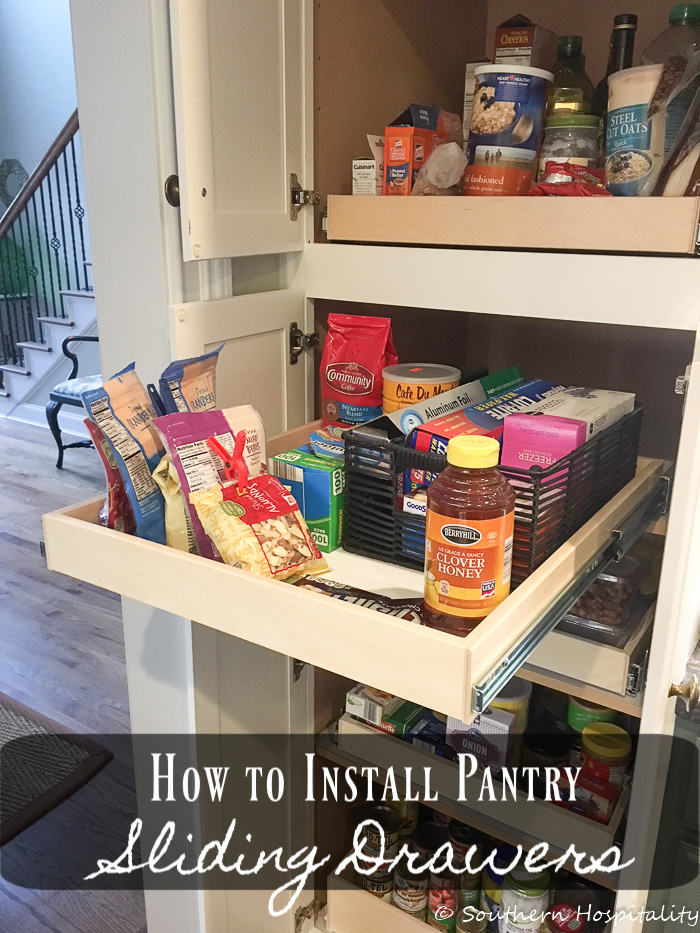
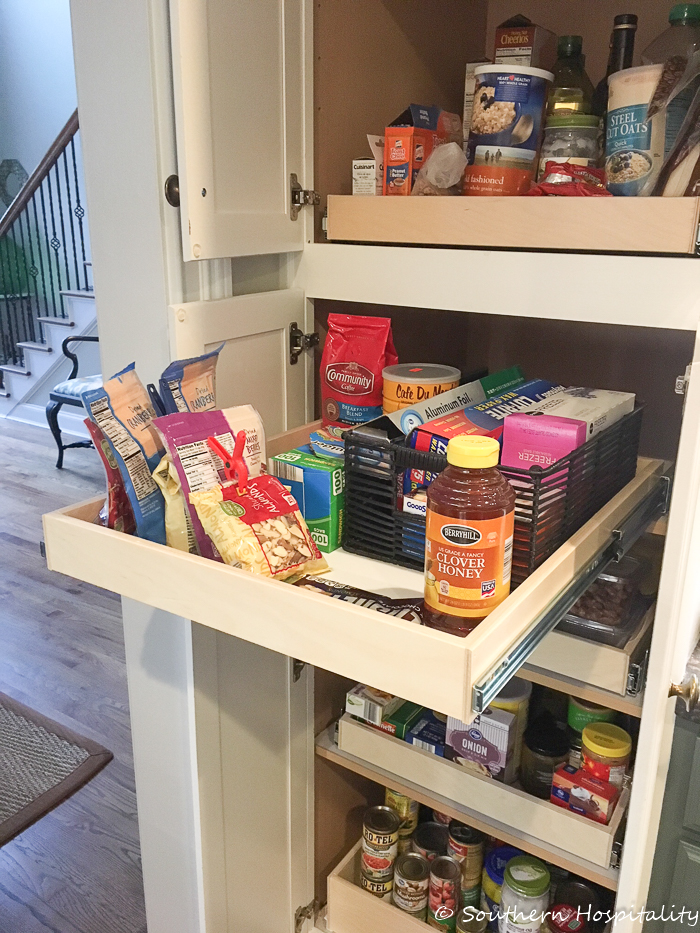
These are so handy now and I couldn’t be more pleased with how they came out. I would definitely recomend Shelves That Slide. I checked out Home Depot too and they have some standard ones in the store, but the prices were about the same so I like that you can custom order these and get exactly the size you want. I’m really impressed with their hardware and glides too.
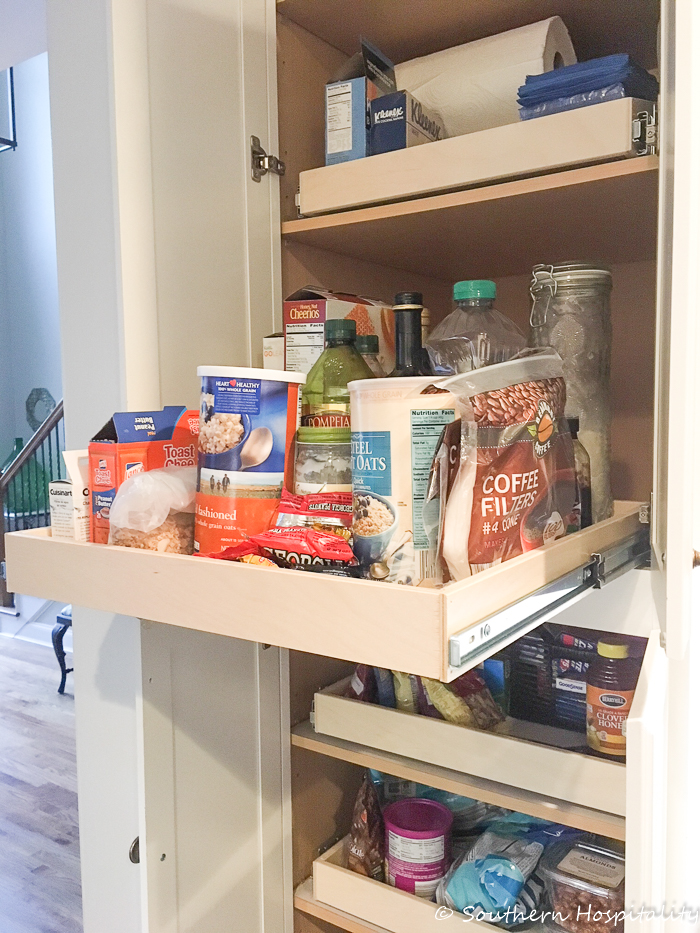
It feels so much better to have these sliding shelves in place.
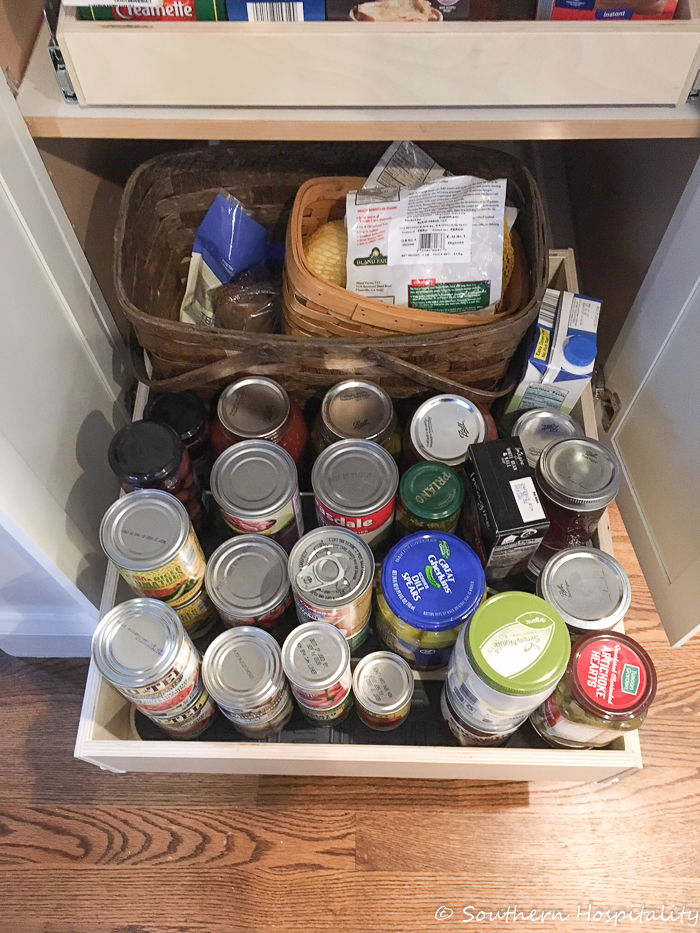
Canned goods and potatoes on the bottom shelf.
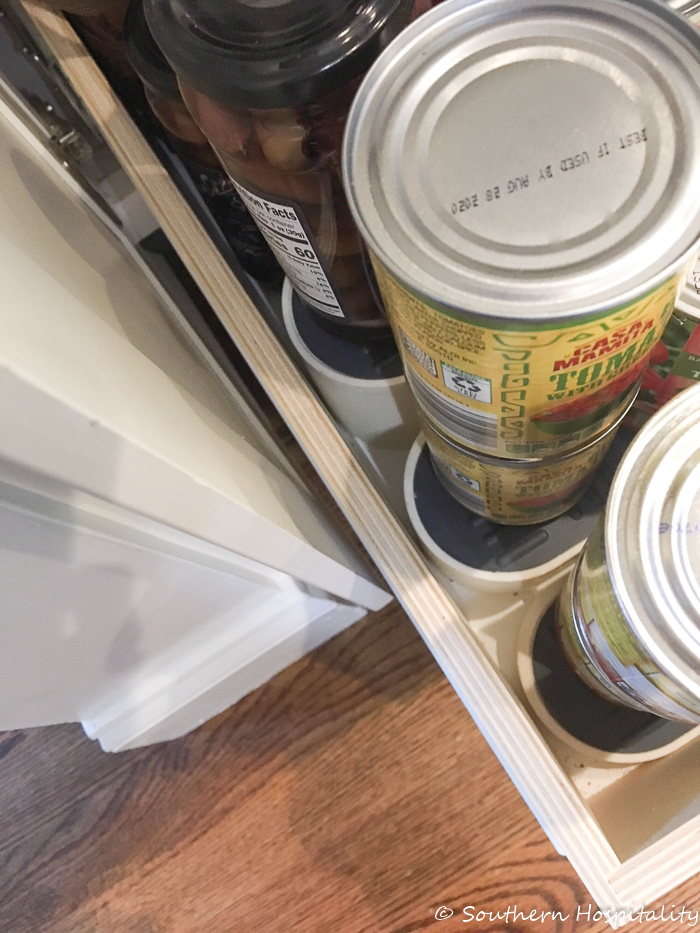
You can see here how little clearance there is with the door so that’s the main thing I’d caution you on. You may have to move the shelves a little more to one side than the other depending on how your doors swing open. This one has a wall behind it so it doesn’t swing as wide. It all works fine though, just be aware of how close you are getting to the doors.
I thought many of you may be in the same boat I am with a smallish pantry and no sliding drawers. I can tell you I was totally spoiled after having my Ikea kitchen, because it had so many nice features including that big pantry with sliding drawers and big pull out drawers to storage as well. But, I’m adjusting to a smaller kitchen and these sliding shelves sure make it a lot more efficient now. I couldn’t be more pleased with them, so of course I wanted to share with y’all too!
I know this post might be a bit confusing, it’s sort of hard to explain the process, but feel free to ask any questions in the comments and I’ll answer. If you have the same problem I did, I’d say go for it, you won’t be sorry!


I am new to your blog but so enjoyed this post. (Hopped over from Ann Sutton’s blog.) I am wanting to install slide-outs in my cabinets and you have inspired me! We moved to TX 8 years ago and when we moved in and I was organizing my kitchen, I realized that the shelves in my cabinets are FIXED and cannot be removed or moved to different heights — WHAAAAT??? (Apparently it’s just what they do here, as I have a friend who moved here from GA, and found the same thing in her million dollar home.) I put pullouts in one of my lower cabinets almost immediately, but have yet to do the rest and will probably have to build my own. Oh, a little trick for using those metal shelf holders — turn them upside down. I have had the same problem you experienced in previous homes, and this worked perfectly!
The holes in your new pretty gold shelf pins are there for a screw into the bottom of your shelf to secure it from lifting.
Hello!
I have a client needing this exact job! So glad I found Your post! I got my pantry pull out boxes from Home Depot and they fit the door opening yay!
My question to clarify- most of your shelves were adjustable and only the bottom or the middle were fixed?
Did you not need any cleat supper at all underneath the adjustable shelves? Or is drilling these pantry pull out boxes sufficient to the shelves itself enough support with the drill hole metal pins?
Thank you!!
Hi, yes, the top and bottom shelves are fixed and all in the middle were adjustable. I didn’t have any problem with the shelves with pins moving at all after I put the shelves in. They slide in and out perfectly.