Progress is being made at Andrea and David’s house, although not as fast as they would like it to go. I’ve got a little update at the kitchen and you can see how far it’s come in the last month or so. It is coming along and they are about halfway through the kitchen renovation and it’s looking so much better than it did originally.
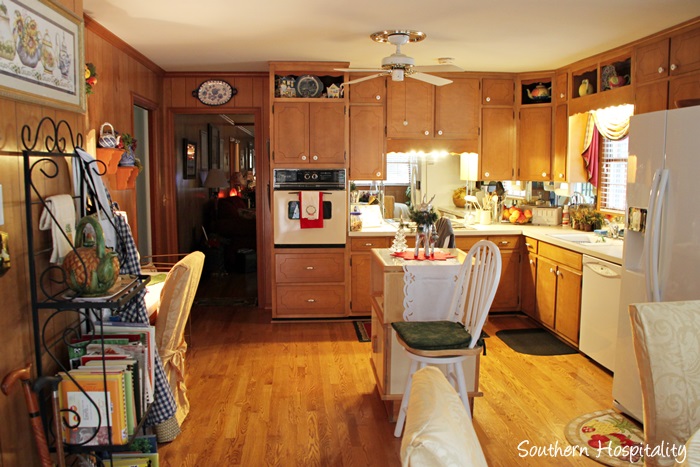
Let me go back and remind you where we started with this BEFORE shot of the kitchen. Remember this is a 1950’s original kitchen, with original appliances from that era and it’s never been touched.
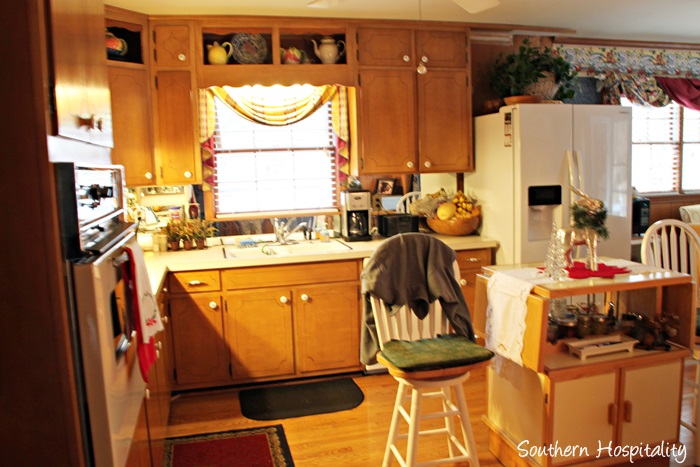
I advised them to get rid of the scalloped pieces of wood and so those have been taken down and not sure what will hide the lights yet, but we’ll figure that out as we go along. Also, this is being done on a budget, remember that too. No bringing in a whole team to update this kitchen. It’s paint and doing things on a budget that we are doing to make this happen. I think most people can relate to this process and not everyone can go out and do everything all at once to their homes to update. Notice the refrigerator is just hanging out by itself. The original upper cabinet had to be taken down when they got a new fridge and never got fixed, so we are doing that now. I advised David that he needed to make that fridge look built in by adding panels of wood and adding back in a cabinet over head and trimming it all out.
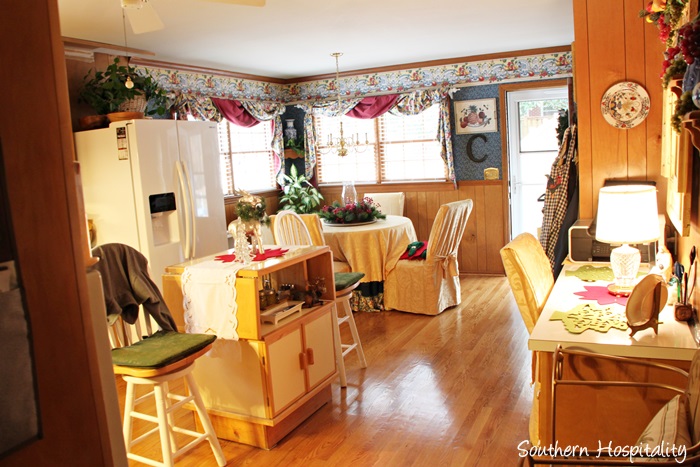
Looking back towards the eat in kitchen part. Remember the froufrou drapes and wallpaper? Thankfully, it’s all gone now!
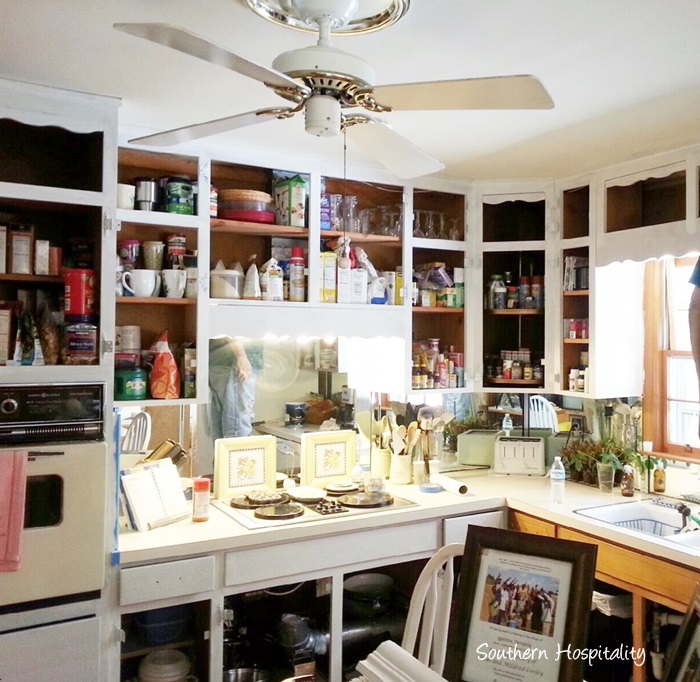
Here is it in process and they had a painter come in and help them with this part. All the doors were taken off and painted and then put back on. The cabinets were primed and painted with White Dove by Benjamin Moore. They ended up painting over the exposed hinges and we then got new knobs and pulls.
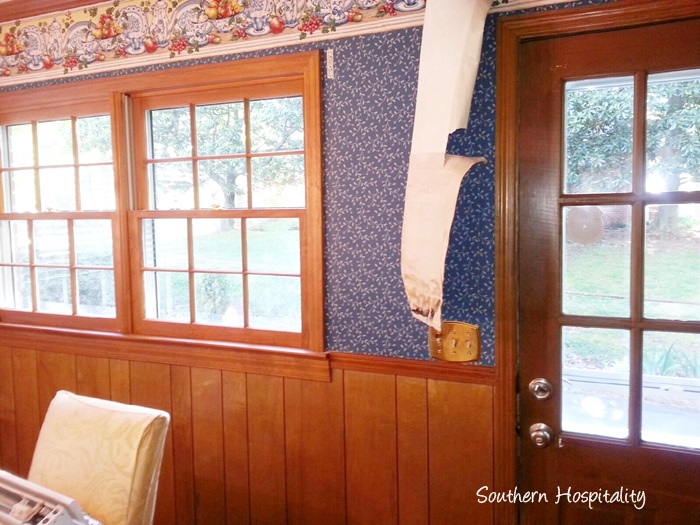
Wallpaper coming down. I couldn’t wait to see if after this happened. All the paneling was primed and painted White Dove as well and wow, is it like a new space now!
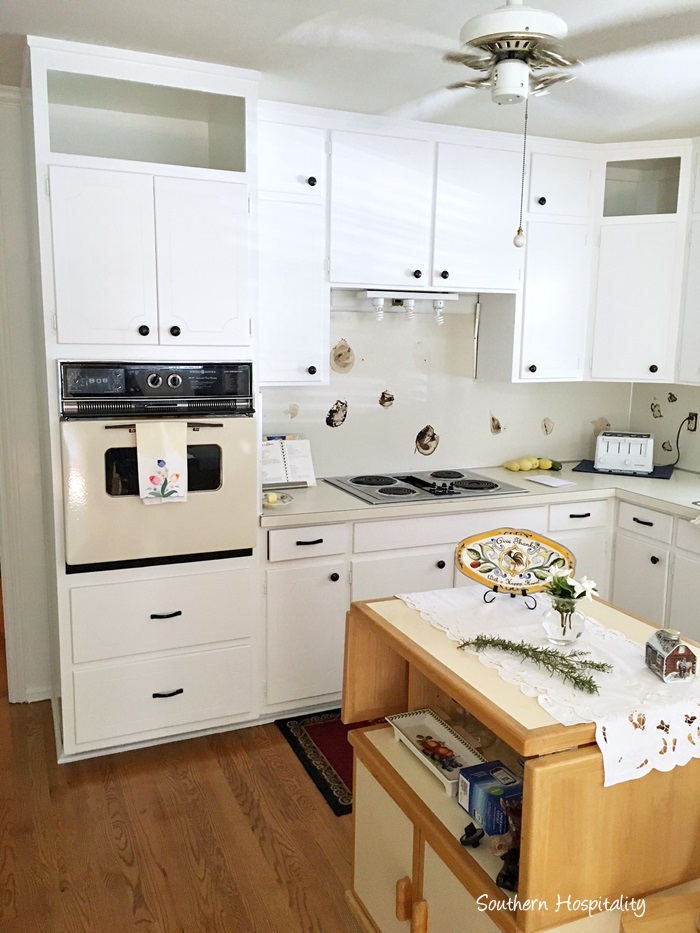
Again, we aren’t finished yet, but it’s looking so much better! That island is going. The old mirrored backsplash came down and they are shopping for new appliances. David wants to switch to a gas stove so they are getting that installed as well as a new stainless wall oven.
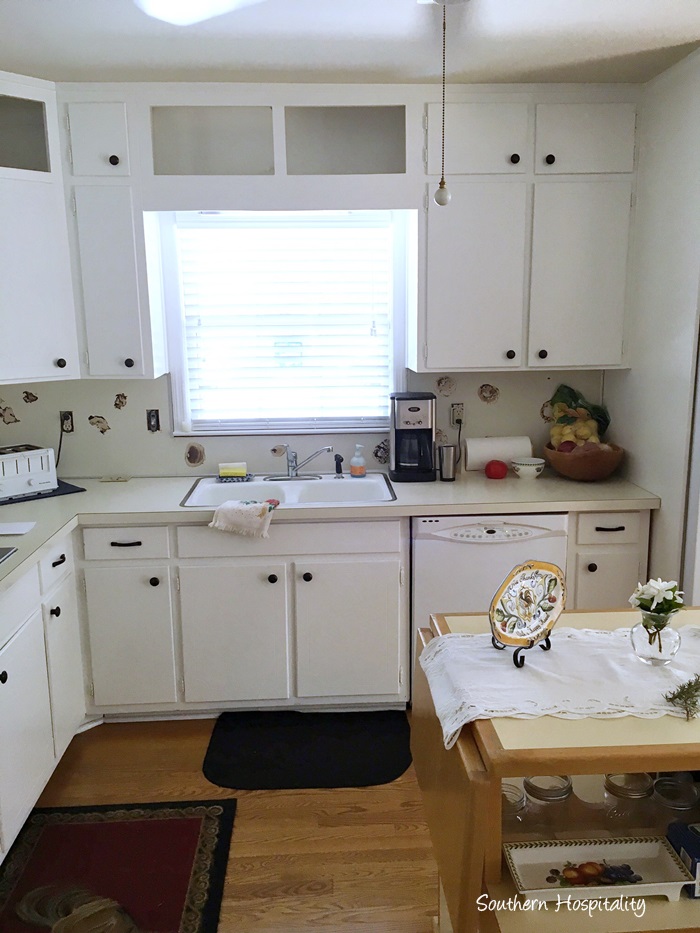
He’s still contemplating what to do with the open cabinets above. He may trim them out and use them for display. I want them to put in under cabinet lighting, but again, it’s one of those projects that require some electrical work, so we’ll see if it can happen.
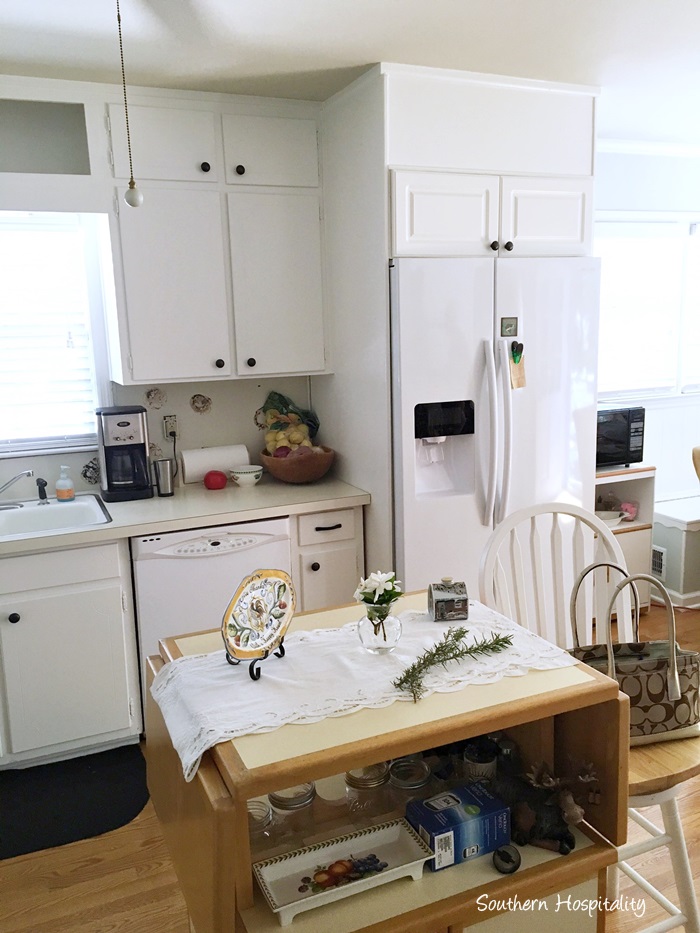
David bought panels and built in the fridge and added a small cabinet over head and then trimmed it out with crown molding. That looks so much better too, to build it in!
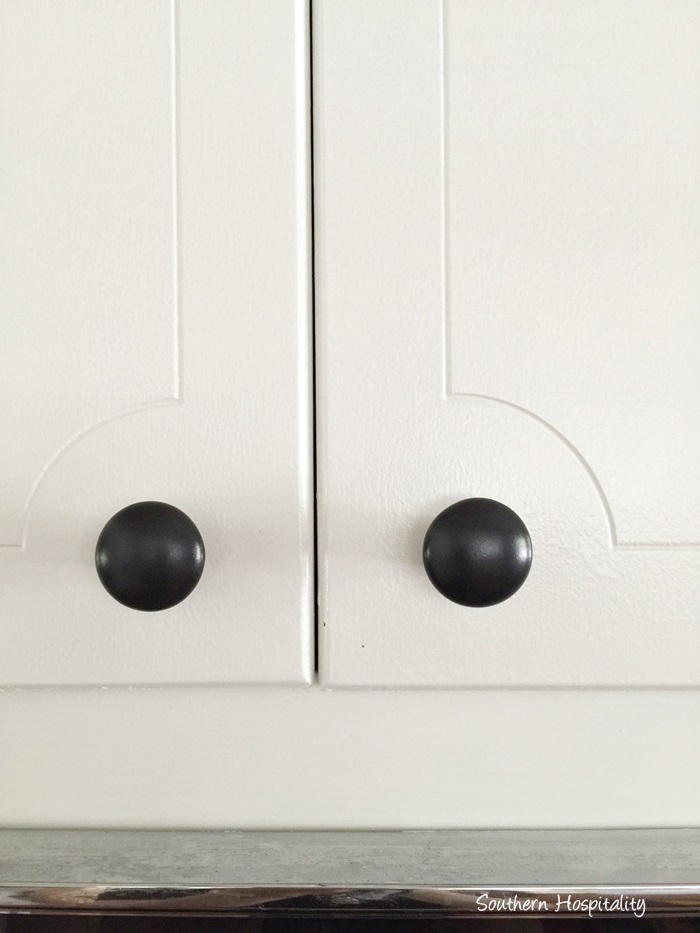
Just getting new knobs and pulls freshens things up. A big thanks to Liberty Hardware for providing these new ones for them. I’ve worked with them at Haven and asked if they would help out our project and they said yes! They had already picked out these particular knobs and pulls at Home Depot and it all worked out great.
If you’re interested in these, here is the information:
PN0120H-BL-C Ceramic knob in black
P18949C-FB-C Step Edge Pull Black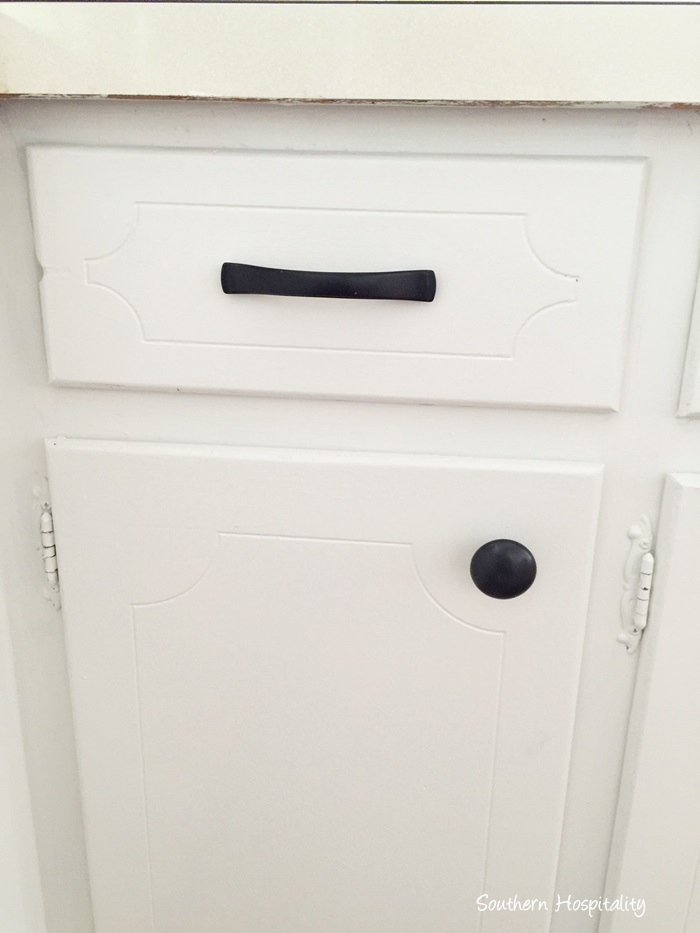
I think the matte black finish looks great in their kitchen and updates this 1950’s home really well.
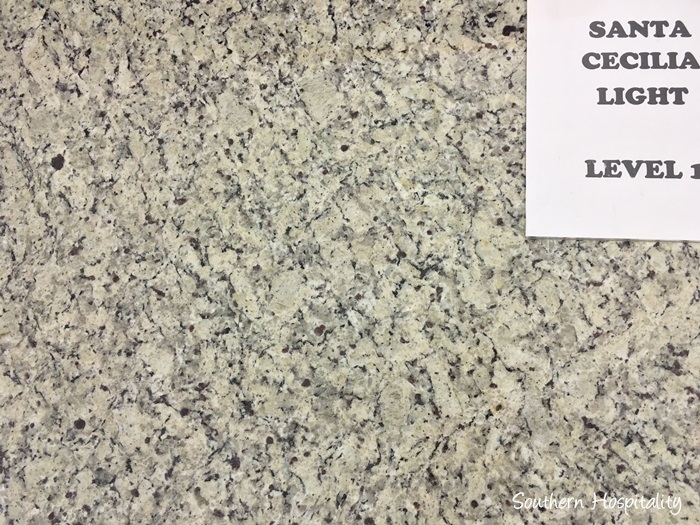
We shopped for granite on Saturday and have decided on this one called Santa Cecilia Light. It’s got lots of gray and black and is mostly neutral, without much of a golden tone, so we think it will be a good choice. I took them to my granite place I used 4 years ago in my house, Legacy Granite in Alpharetta and they always do a great job. This granite is priced at $29 a s.f., which is a great price. We think the backsplash will be white subway tile, which would definitely go with the feel of their house.
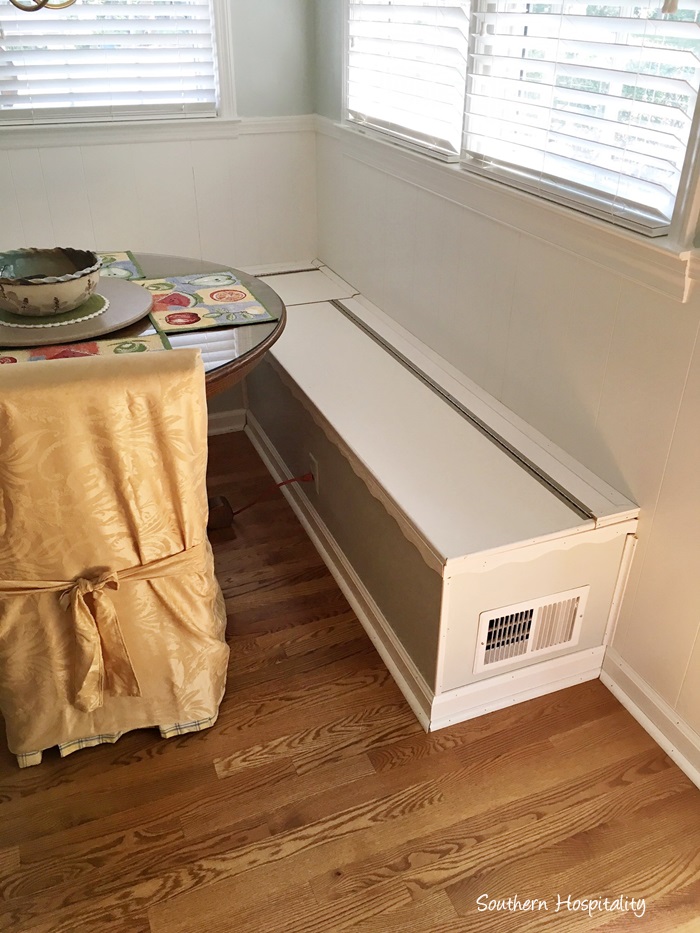
David has built in a banquette seating area in the eat in kitchen and this is going to be really cute when it’s all done. They will add a nice thick foam cushion, cut to fit and covered in a pretty fabric and we are going to do stationary Roman shades in a pretty fabric for the windows.
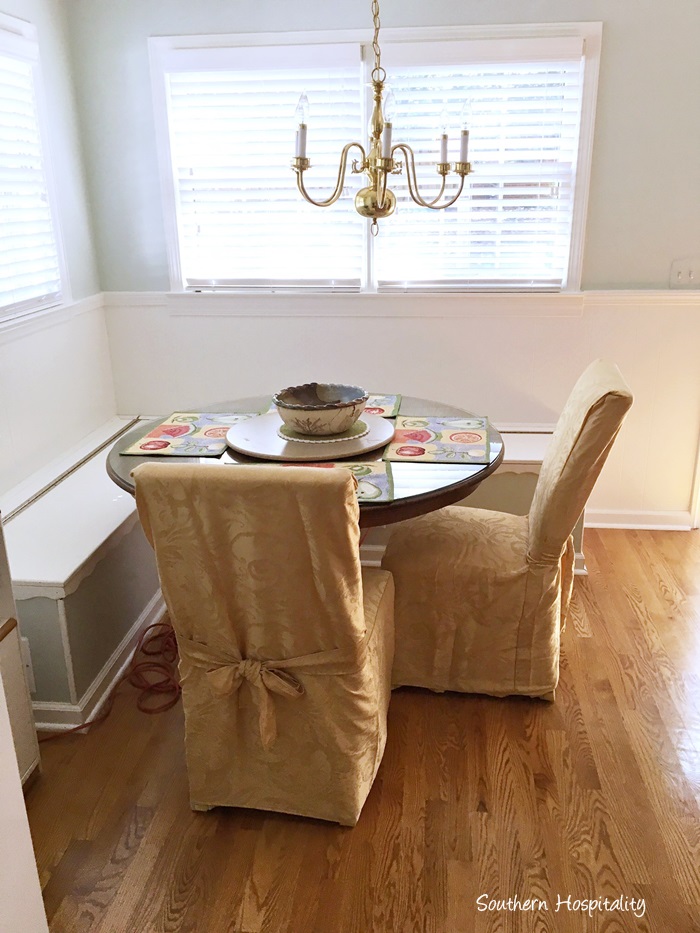
She’s going to get a more rectangular table to fit here and add 3 more single chairs and get rid of these.
Walls in here are painted Sea Salt by Sherwin Williams.
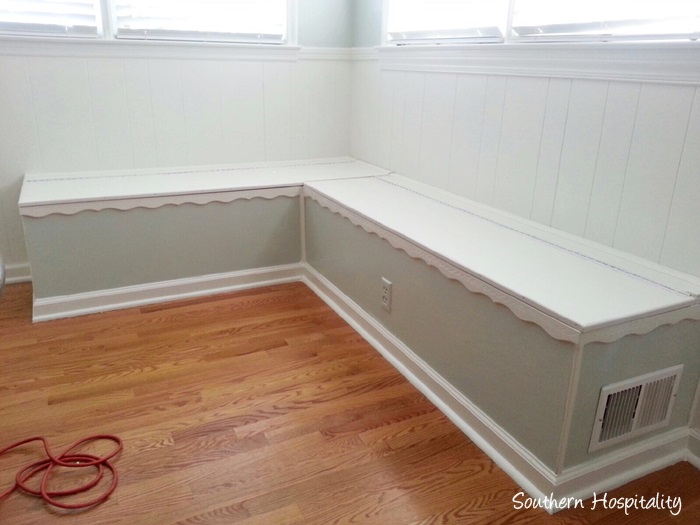
Painted and caulked and ready for cushions. I didn’t pick out that scalloped trim, by the way. 🙂 He added hinges on the top and these are also storage boxes, which will come in handy.
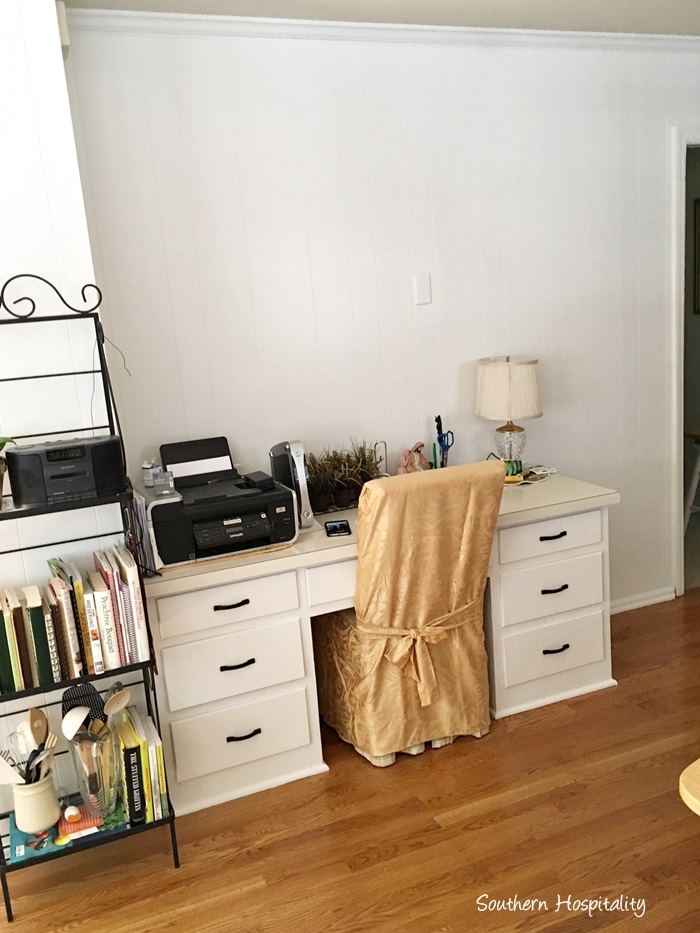
The desk area is getting a makeover too, so we are still brainstorming all this. We think a little bookshelf will be added on the far end and a new granite slab added to the top. Then above, we are going to add rustic wood shelving and brackets for more display and storage. The chair will go and that area may get built out with more storage too. Still brainstorming!
Doesn’t it look so much better to lighten this room up? I sure think so!
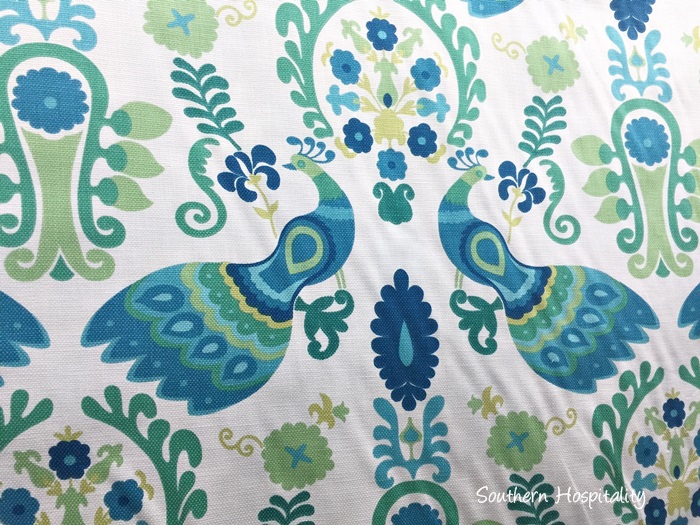
We’ve gone fabric shopping and pretty much decided on these two. The pretty peacock fabric will be stationary Roman shades and the geometric below will be for the banquette seating. It’s an indoor outdoor fabric, which should hold up well.
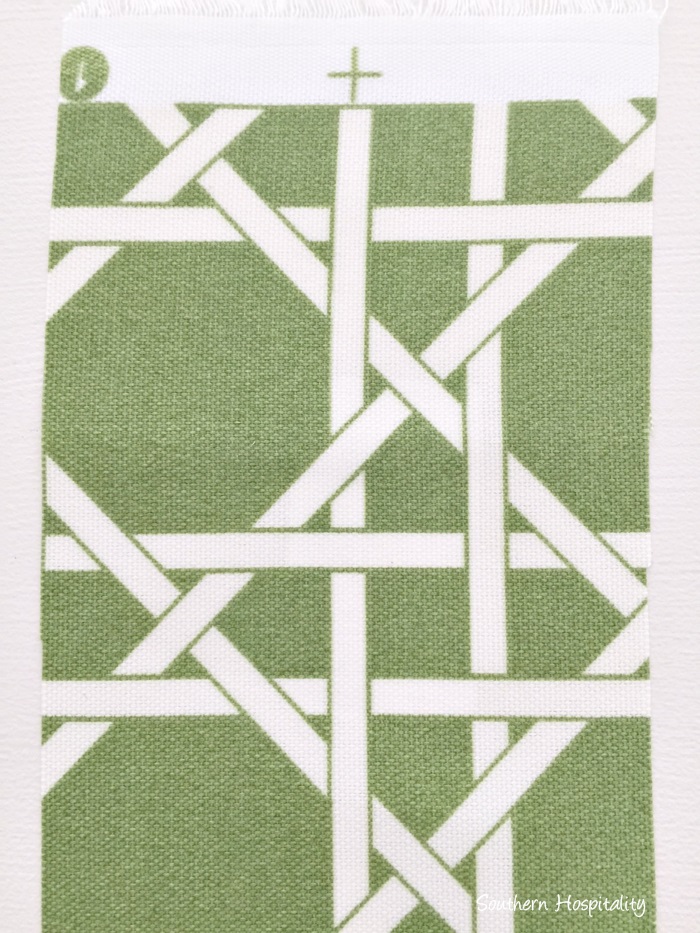
I think this project is going to be great! And getting the walls and cabinets painted and these new fabrics in here will totally liven up this kitchen so much. I knew you’d all like to see the progress and where we are now, so this is it!


Hey, I know you know Sarah; maybe show them a pic of above the cabinets open area with lights.
http://www.thriftydecorchick.com/2016/03/diy-upper-and-lower-cabinet-lighting.html
Tammie
Yes, Sarah does great projects! I love the upper and lower lights, but it’s up to the homeowners if they want to tackle this with an electrician or try to DIY it. I hope they do, I really think lighting makes a huge difference. I have used some battery powered puck lights in my bookshelves, so that might be an option for them too.
Have you seen Instant Stainless Appliance Cover Roll. It’s like stainless steel contact paper.Someone got it at Walmart or HomeDepot.
HI, Patricia, no I haven’t seen that, it might be an option for the dish washer.
Source for fabrics. Check out Allfabrics.com in SC. Has fabulous selection and prices on fabrics in huge warehouse. Open only first Thursday, Friday,& Saturday of each month.It is fabric heaven. Great road trip.
I went back to look at the before picture so many times. I couldn’t figure out what was making it so hard for me to look at it and focus. Then when I read that the backslash was mirrors that answered my question. Wow! That sure made it seem extra cluttered. With that down, and the other updates, it is looking awesome. Love the fabric choices too. Thanks for letting us join in on your fun.
It’s a big difference thus far. Looking good. Thrifty Decor Chick installed her own under cabinet lighting and it was fairly inexpensive: http://www.thriftydecorchick.com/2016/03/diy-upper-and-lower-cabinet-lighting.html?m=1
Indeed just removing the ‘mirrored’ back splash was a major improvement, and the makeover with the cabinets is a money saving idea. However, I probably would have chosen different cabinet and drawer pulls. The black ‘dots’ on the cabinets are a distraction to the eye – from a distance looking too small on such a vast expanse of white (plus draws attention to the cabinet over the refrigerator having a different front from the remainder of the cabinets). BUT I truly understand budgetary constraints and style choices, and don’t want to ‘shame’ anyone – it’s just my personal preference. Overall, I’d say they got a big bang for their $$. Good job everyone.
This is looking so awesome! I love the fabric you have picked and will look forward to everything coming together! This space is just gonna ‘smile’!
Those appliances sure have held up well considering they are 1950’s models!
Did they paint the hinges the same color as the cabinets or buy them this color? I feel like painted ones will start to chip down the road.
Big nice improvement on the cabinets.
I am getting ready to have my cabinets painted but don’t know what color of knobs & hinges to do since my fridge, stove top & dish washer are black. Any ideas?
HI, Kay, they did paint the hinges same color as the cabinet and they might chip eventually, but it won’t make that much difference I don’t think. We chose black for their kitchen and I have black in my kitchen, so I’d vote for black again with white cabinets. But you can do nickel or brass now too, those are both really popular.
Rhoda, do you think she will clear up some of the clutter on the counters? I think she’ll find it is much less distracting once the renovation is complete. Right now, my eyes are drawn to all the things on the counter. Not being critical, just an observation.
Yes, Jill, I’m going to help her declutter and get rid of some of that. She’s willing to learn!
Hi, Rhoda!
I am going back to catch up on old posts of yours that I missed. I am loving everything about this new kitchen….except – – the black hardware! Yup, I’m so sorry. As I looked at he photos I was thinking, “This really makes me think about what I’d like to do with my own kitchen……but something about it bothers me.” I couldn’t figure it out till the 3rd or 4th photo of the cabinets. It’s the black hardware! It really makes a small kitchen look crazy busy. And I just so happen to have black hardware in my kitchen. I just couldn’t put my finger on it till I saw it in photos. I think it would make a much more calm and updated feeling if the hardware was in white enamel (even if it was retro style). Just my opinion – but something to consider.
Big hug to you girl! cat
Thanks, Cat, for stopping by. You know we all have opinions on all this stuff, but the black doesn’t bother me a bit. In fact, I approved of their choice before they got them. I have black in my own small kitchen and like how it sets off the all white in there. But, we all have our own preferences.