{Giveaway is Closed}
The winners are: #64-Renee; #93-Maryellen; #224-Staci Congrats, ladies, you’ve been emailed!
When I last shared my laundry room with you, I had just added a Lutron Occupancy Sensor switch which I totally love, by the way! Now, when I open the door and walk in that room, the lights automatically turn on and when I walk out, they automatically go out 1 minute later.
So, after getting the backyard all cleaned up with the Bagster, it’s time to move on to the next little project on the list: adding a new wall in the laundry room. This long bowling ally laundry room of mine has lots of space and I’m so happy to have it, but to really utilize it well, I needed to add a wall for storage, since most things in storage are not meant to be seen all the time. That’s where we want to hide things, right? Plus, the toilet that I added in that space sits in the corner, so it only seemed right to add a door and a wall to that end of the room. That way all those things that I don’t want to look at all the time will be hidden from sight. Perfect solution, that wall!
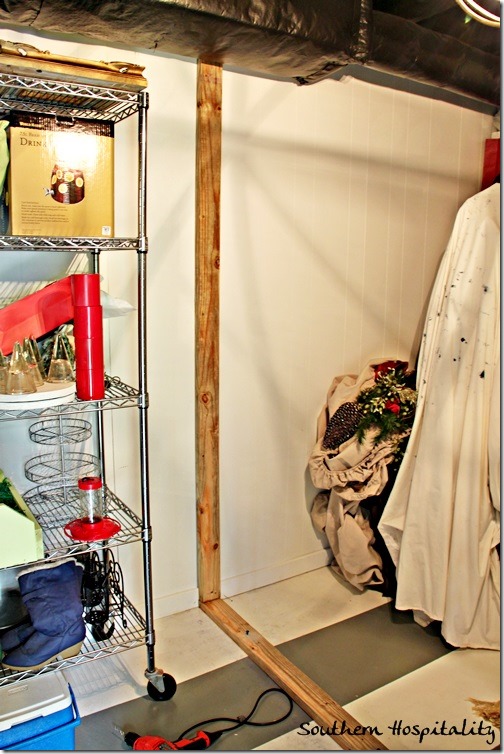
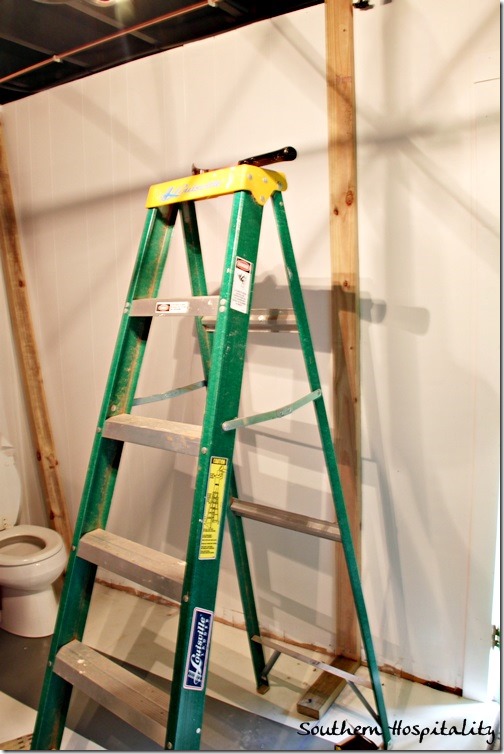
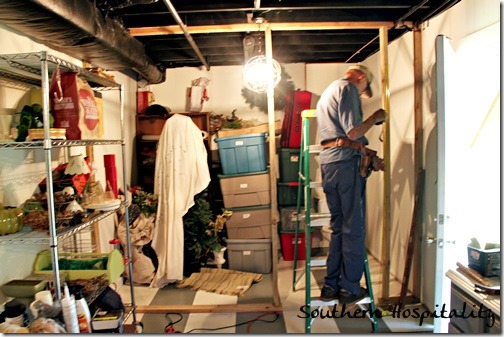
First things first, we got 2 by 4’s to start adding wood to the floor, walls and ceilings for nailing up studs which are needed for framing up a wall. Dad used special screws in the concrete to get them set in place. He’s so good at knowing how to do this stuff.
All the 2 x 4’s are in place and ready to go. We decided to bring the wall out 1 foot from the right wall and frame the door there. The door will open into the storage closet right in front of the toilet and I’ll be painting this interior door the same green as the door that’s already in here.
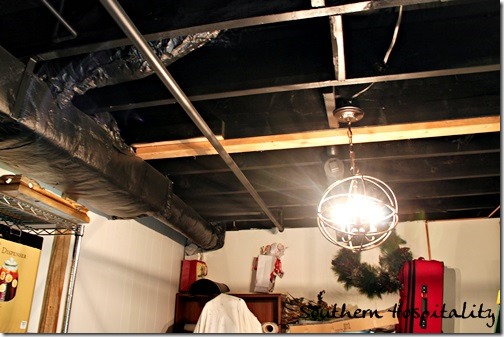
Framing up the ceiling for studs.
Adding the 2 x 4 studs in place so we can then start the drywall process.
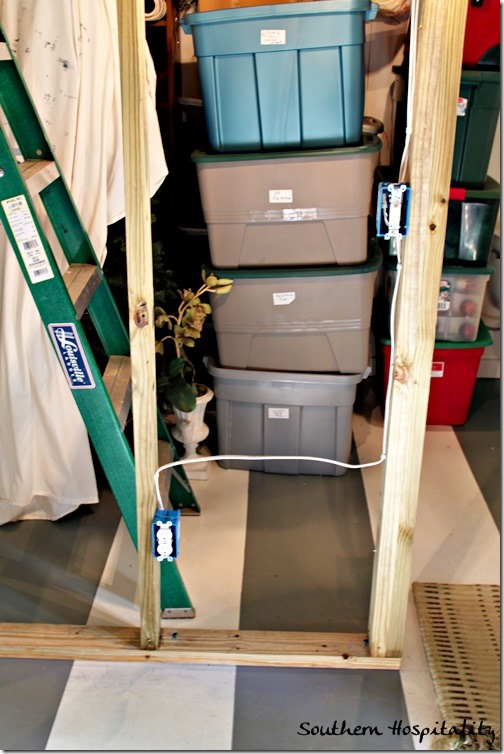
Studs are all in place and ready for drywall now. I did have my electrician come in and add a light switch and separate overhead light in this room, so that I would get plenty of light in there. I just did a bare bulb light socket overhead since this room is just storage. Nothin’ fancy! A new wall outlet was added too, since you can’t have too many of those.
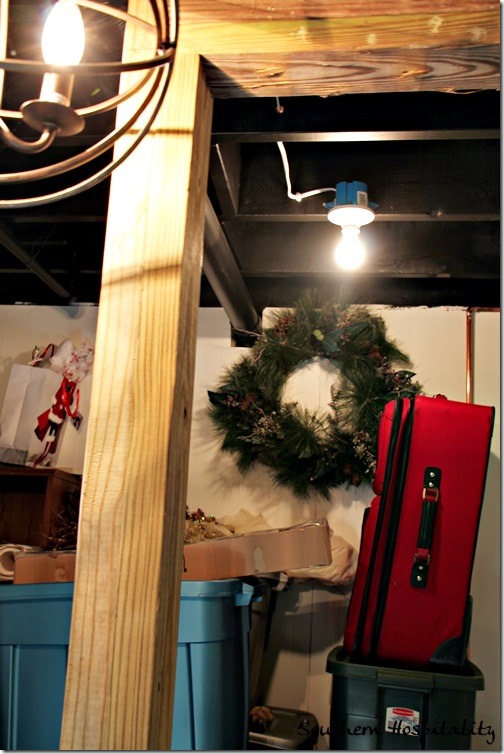
There’s the bare bulb overhead light. Since the ceiling in here isn’t finished and I painted it black, I didn’t worry about doing anything fancy, just functional.
Now, we’re ready to start adding drywall, so piece by piece my dad measured and cut, adding it inside and then outside the studs.
He used a utility knife to cut out some notches and for the wall outlets.
We had several cutouts to make around the pipes and all.
And you can see the first piece nailed in place and ready for the next piece.
We got busy cutting, fitting and nailing each piece into place, one by one. I was helping with the nailing too and didn’t get a lot of in progress pics, but it went pretty fast and about 2 hours later, we were finished with putting it up.
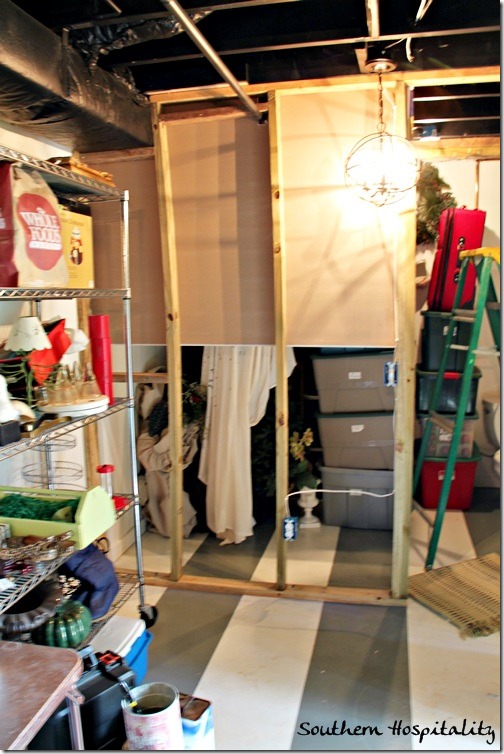
And now it looks like this! It’s fun to see a wall go up, ready for taping, mudding and sanding next. Then the door frame and door will slide into place and we’ll finish off this wall with baseboard trim and lots of paint, like the rest of the room. It’s going to be so great to have this storage area away from the main room with all that stuff hidden away. It will end up being a 5×9’ space and I’ll have room to add some utility shelves for all my Christmas stuff. Nice!
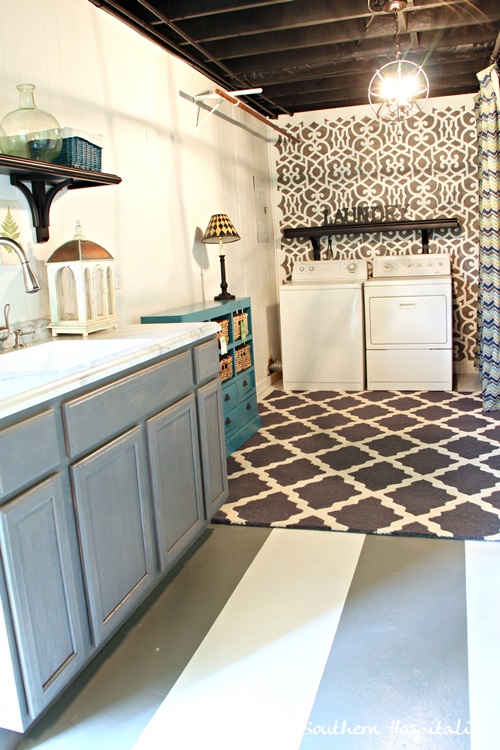
That’s the latest update on the laundry room space. I can hardly believe how far this room has come since we started renovating this house last year. When I look back at the before pics, it blows my mind! It’s gone from SUPER UGLY to really functional and half-way pretty now. Getting this room completely organized and cleaned up is going to thrill me and it’s getting there now. Organizing and cleaning up this room and my garage is on my short-list of projects to do soon. I want this laundry room to be very functional, but also very pretty too. Even though it’s sort of industrial looking, there’s no reason why it can’t be pretty too and one end is already there. The other side of the room will soon be catching up, can’t wait!
Part of my update was adding the Lutron Occupancy Sensor in here and it’s been a great addition. I love walking in and having the lights FLIP on just like that. CLICK! ON! With movement in the room, they stay on as long as you’re in there working, then when I leave, they click off again in one minute. I’d highly recommend these sensors and can think of a few more spaces to put them. Got kids? Get yourself one of these. Here’s a chart showing how much energy they save and I can imagine they would if you have kids around leaving those lights on all the time.
I’ve got THREE more Lutron Occupancy Sensors to give away, so if you’d like to win one of these for yourself, please leave me a comment saying which room you’d put this in. I think you’ll enjoy it too!
If you don’t win and would like to purchase, here’s a coupon code for you!
25% off Maestro occupancy/vacancy sensor dimmers and switches on LutronStore.com PLUS one free Claro single-gang wallplate ($4.90 suggested list price) with each qualifying item.
Promo Code
wholeftthelightson
Code expiration date
Sunday, Oct. 31, 2013
Note: This is a sponsored post by Lutron. I was compensated to try this product out and share it with all of you, my readers. All opinions and how it was installed are all my own words. I happen to think this is a really cool product!






Probably in my laundry room. (Mine is not as pretty was your laundry room, however)!
I’d love to have those, one for my master bedroom as well as dining room. Thanks for the opportunity.
Loving your laundry room. Love the floor! I would like to put the light in the entry way, carrying groceries and not have to turn a switch while juggling three kids.
I’d put the light in our master closet. Somehow that light ends up staying on much more than it needs to!
I would put it in the upstairs hallway.
Currently painting my floor in laundry room with stripes too! I’d love this light option in my kids bathroom. Let’s just I always end up turning it off hours later- what an energy waste!