Mark just saved us about $6 to 8K in rebuilding our deck and I’m so proud of him! We began talking about replacing our deck this year, since there were several rotting boards on the floor and now that the deck is 18 years old, it had seen better days. The rest of the deck underneath is still solid and in good shape, but the deck boards were not. He decided while he was at it to take off the old railings and spindles and replace those with black metal railings. He began doing some research and looking for the best price and material. I’ll share it all with you below! And it’s your lucky day! I talked Mark into contributing for this post, so enjoy his usual witticism on this one and don’t believe everything he says!

I’m going to share Mark’s viewpoint of the project here and then you can scroll down and look at the pictures and my captions for those.
Hello everybody,
Don’t you love Mark? He’s a lot funnier than I am.
We had tossed around the idea of doing Trex, which we’ve heard mostly good things about, but we weren’t going to replace our stairs (that are only 6 years old), so we didn’t think it would look great to mix it up. Plus Mark wasn’t sure about DIYing the Trex or composite product. So we went with the tried and true yellow pine pressure treated wood. He sourced it from a local lumber supplier, Lummus, for less than it would have been at Home Depot.

Here’s the deck stairs that we had built 6 years ago. That was the first outdoor project we did after we moved in and we hired it out, telling them to just match what we had, so they did that. We definitely needed stairs to get from the kitchen down to the back yard and I’m not sure how the other families that lived here survived without stairs. It was a must for us. These are still in great shape, so we will just blend everything together with stain and it will look great when it’s done. We will wait until after the wood has dried out a lot more before we stain it all.

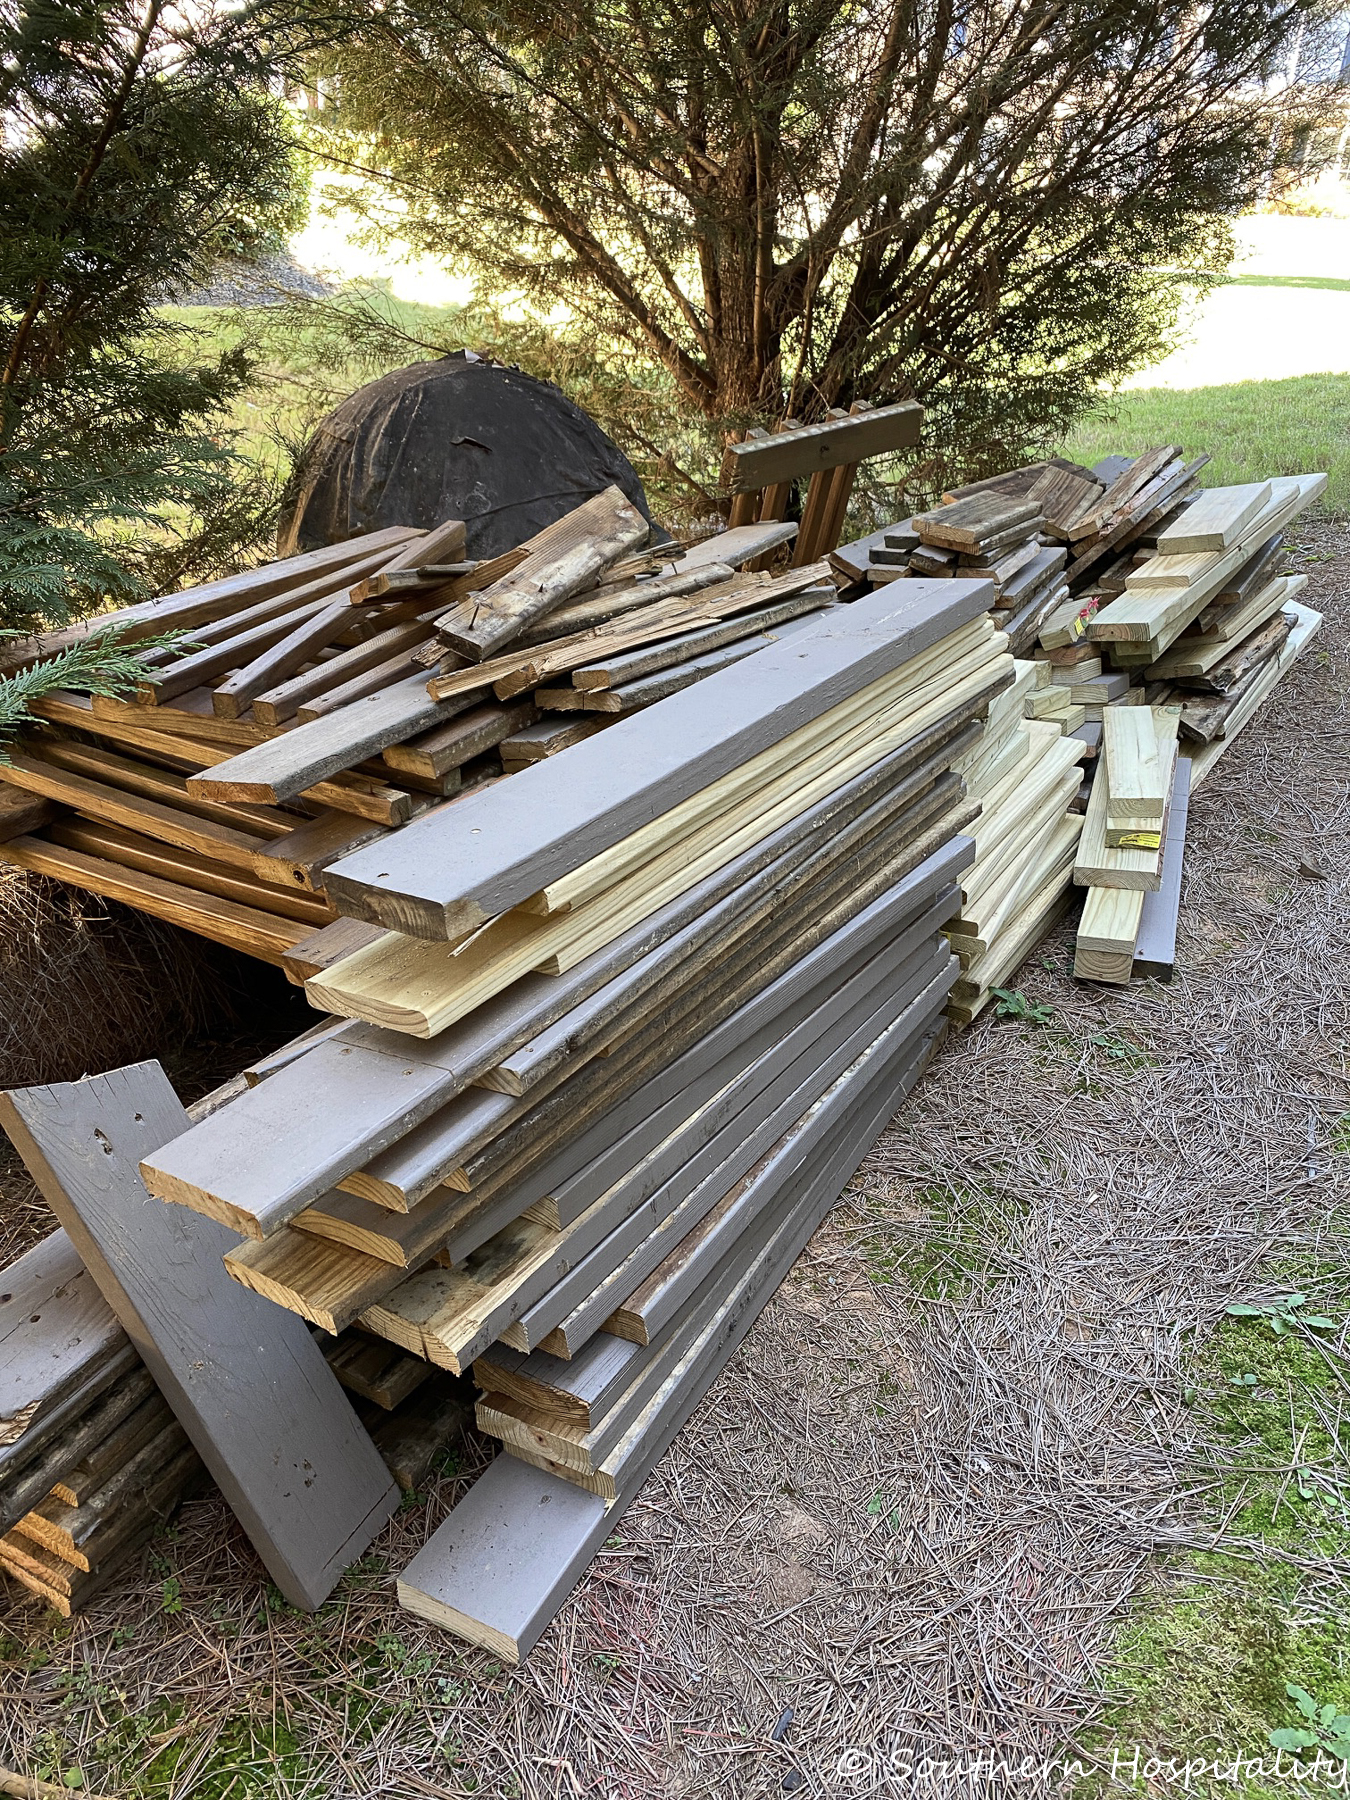
Mark and I both moved the old railings down to the side yard and it was my job as clean up lady to pick up and stack all the old wood as Mark took it off and moved along putting down the new wood. That was the least I could do, right? I stacked most of it and Mark did some too. We called a junk pick up service to come out and pick it all up and haul it away.
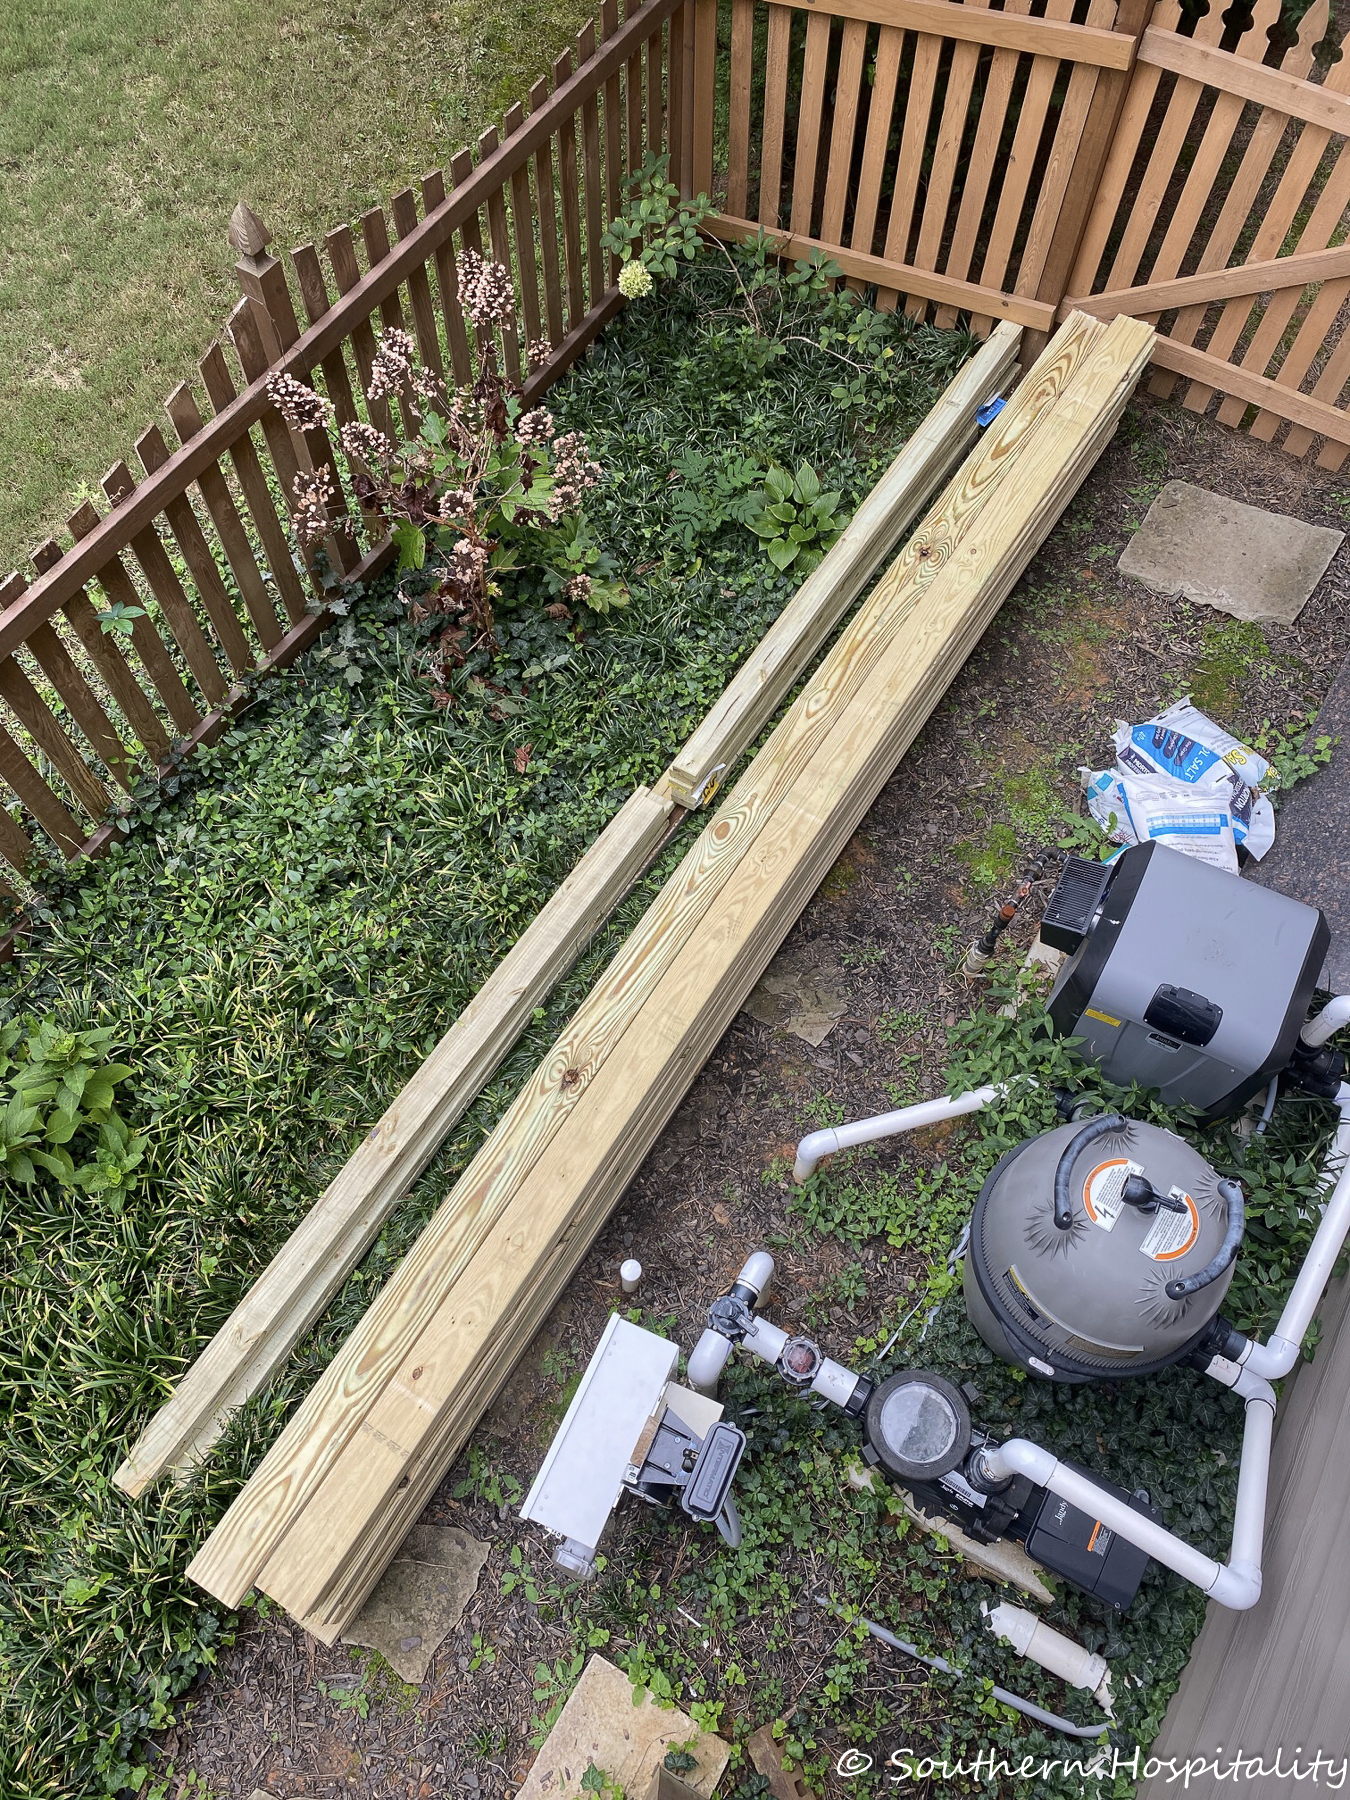
You should have seen us carrying 30+ 16′ boards in the back of Mark’s pickup truck! It was quite the sight and weighed the truck down too. Luckily, we made it home with no mishaps and we stacked it in the side yard ready for the project to start.

He worked about 5 boards at a time and started at the very edge of the deck, ripping up each board and cutting them in pieces. This was after taking down all the railings.
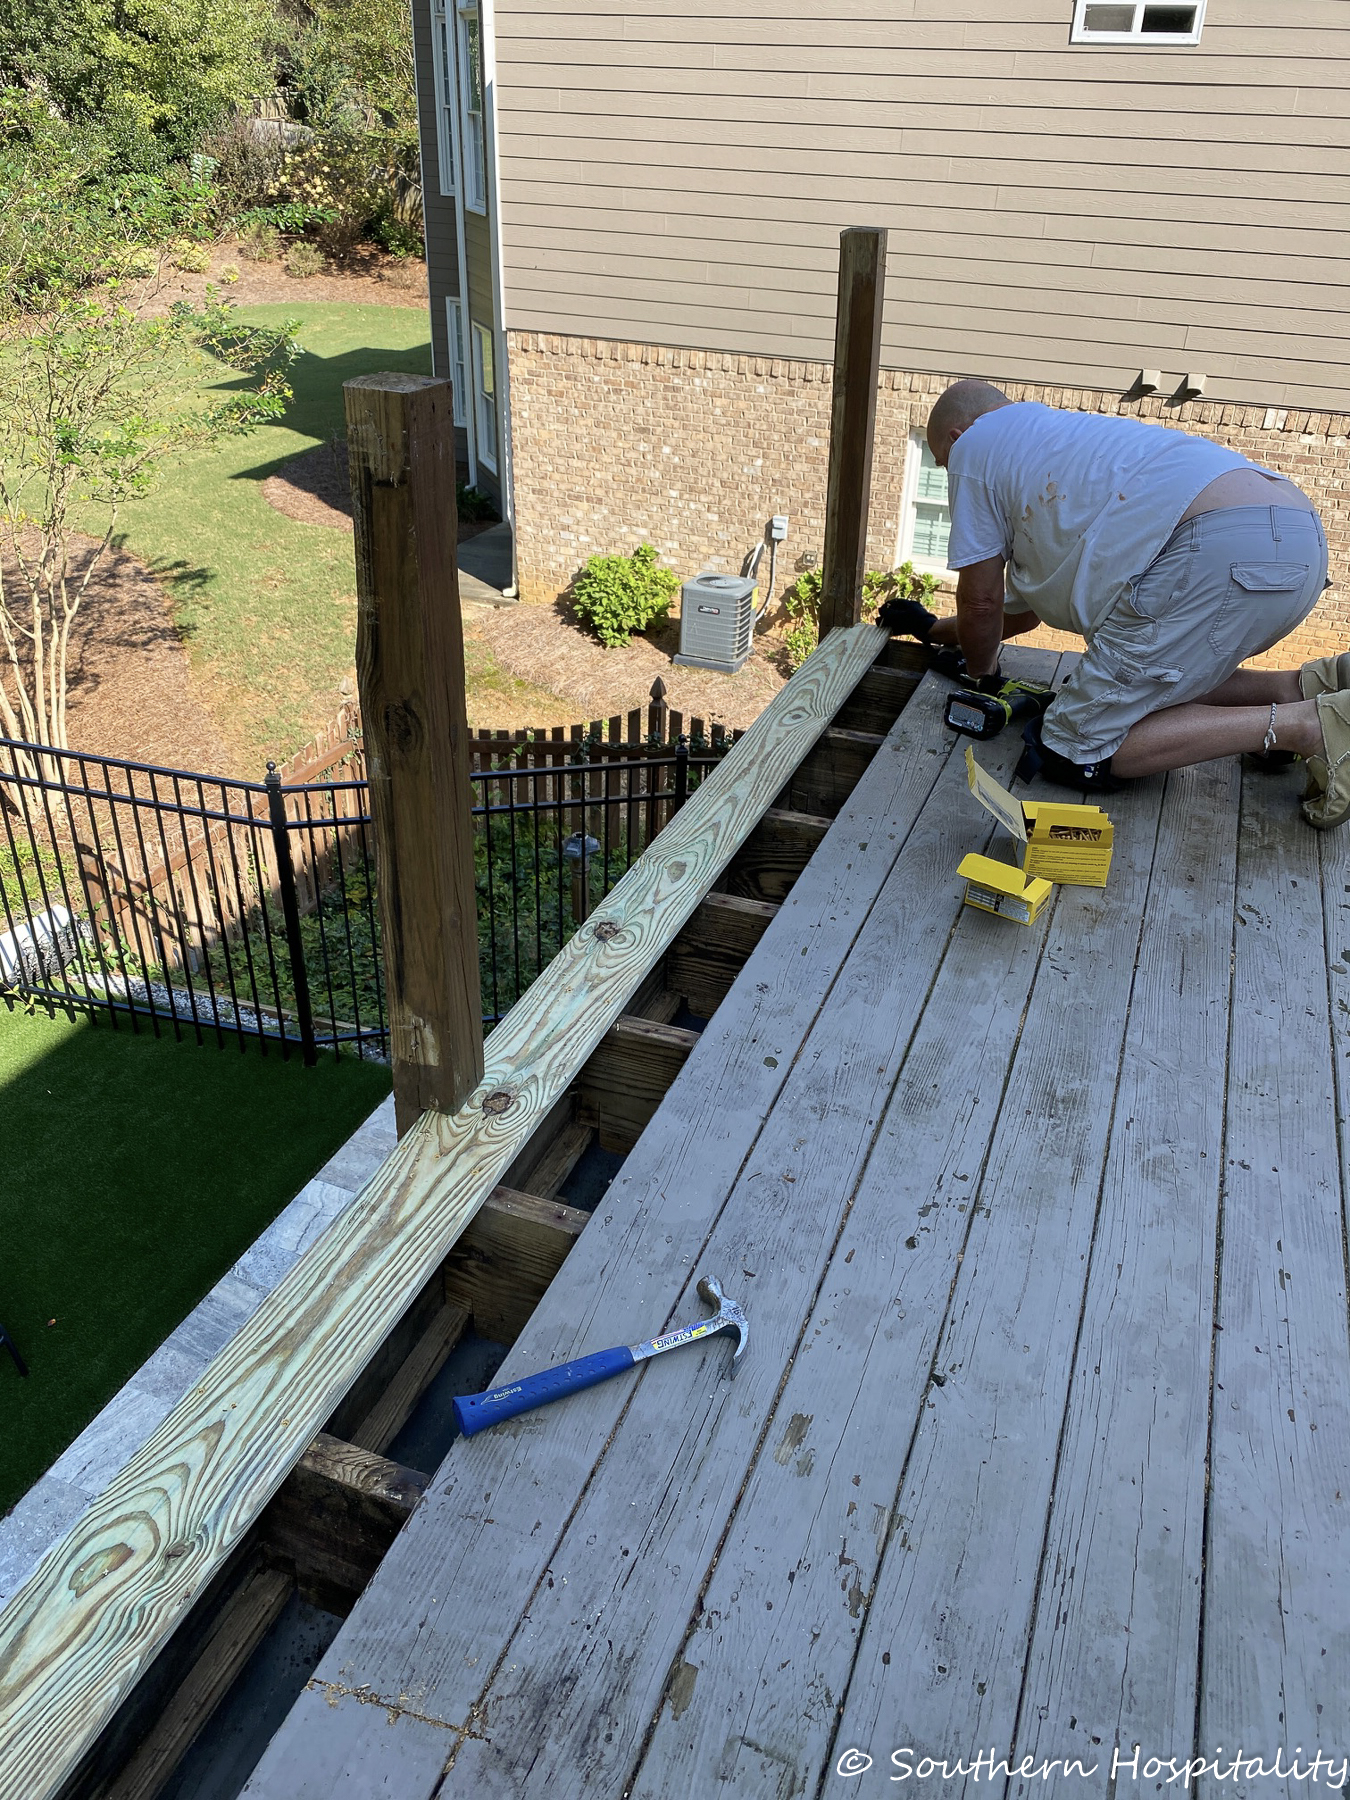
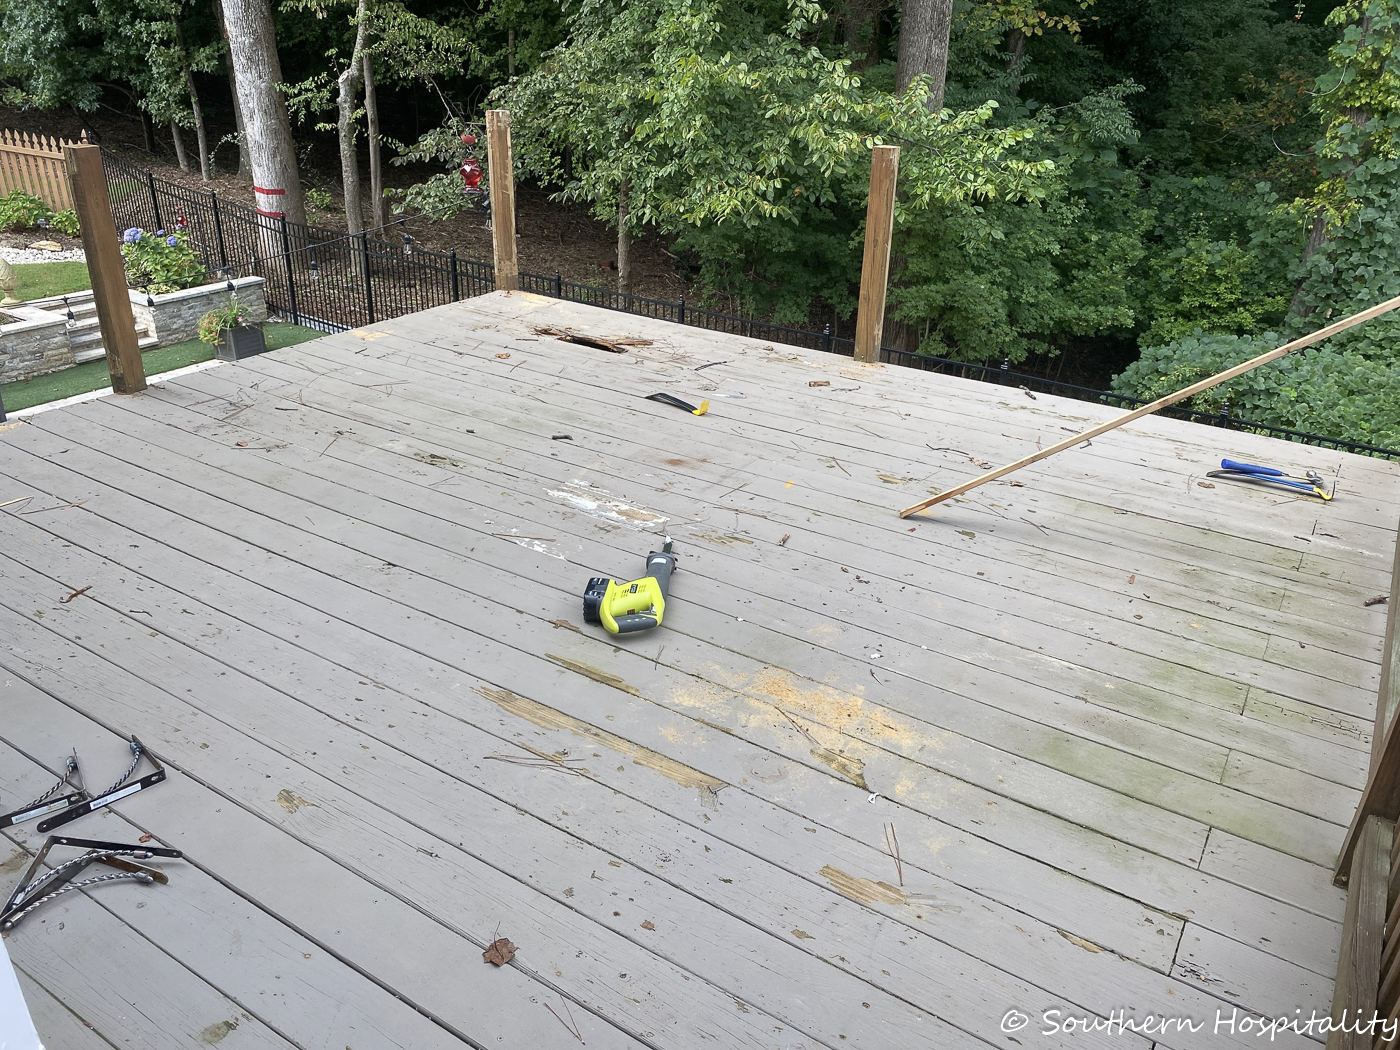
I showed some video on Instagram with the railings all gone and people were having a fit telling us to be careful. We were, believe me! I was very happy when that first board went in and he could move back towards the house, one by one. This time around he used 16′ boards for our 13′ wide deck. The first time the floor was built, they pieced the deck and it had cuts on some ends, so this time we have all solid pieces so that looks much better too.
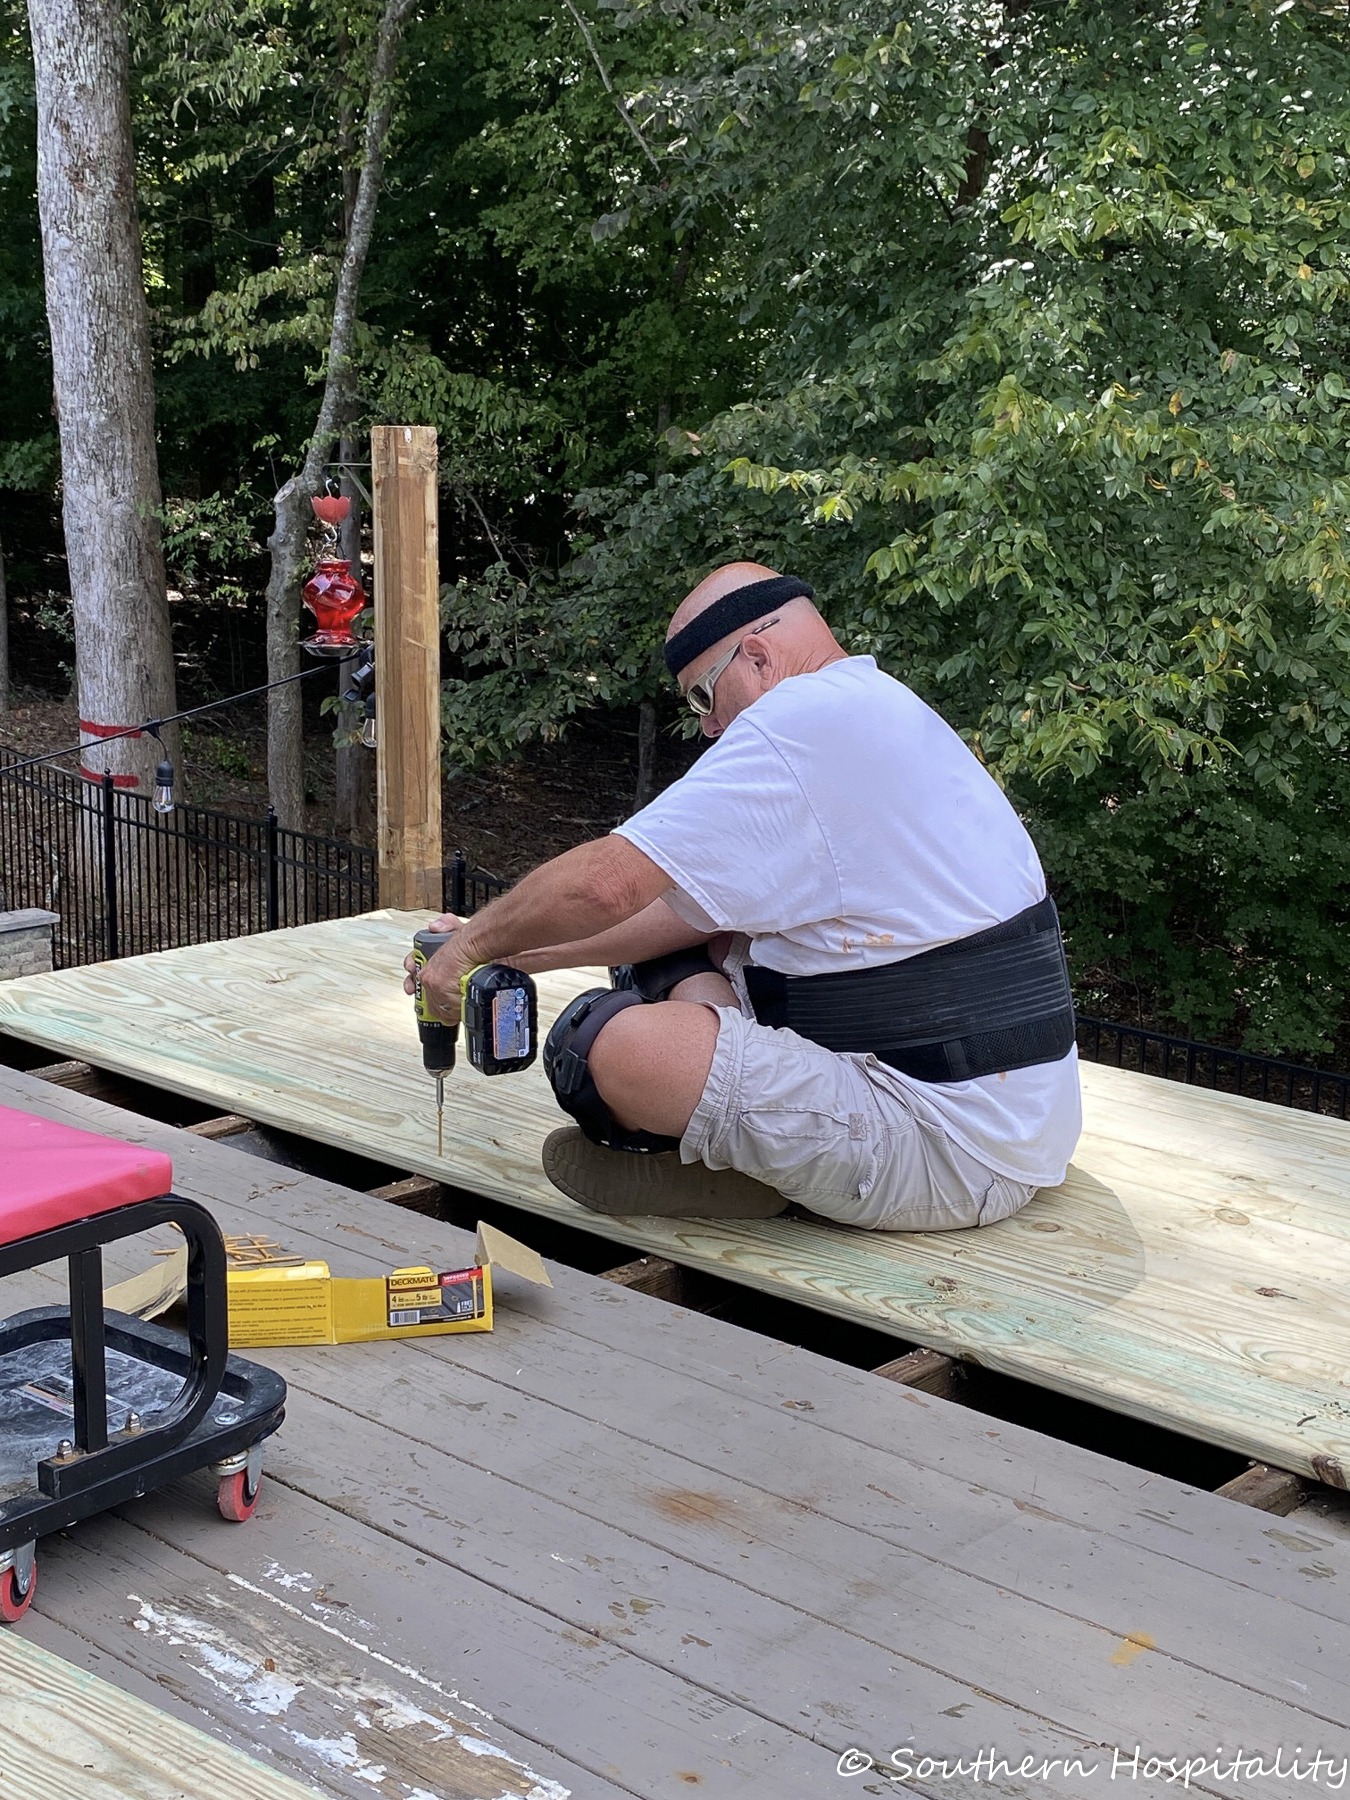
This job was hard on his body, but he hung in there and got it the floor done in about 4 days, with the railings taking another 4 or so. Board by board, he moved towards the house. He used wood screws to screw all the boards in place.
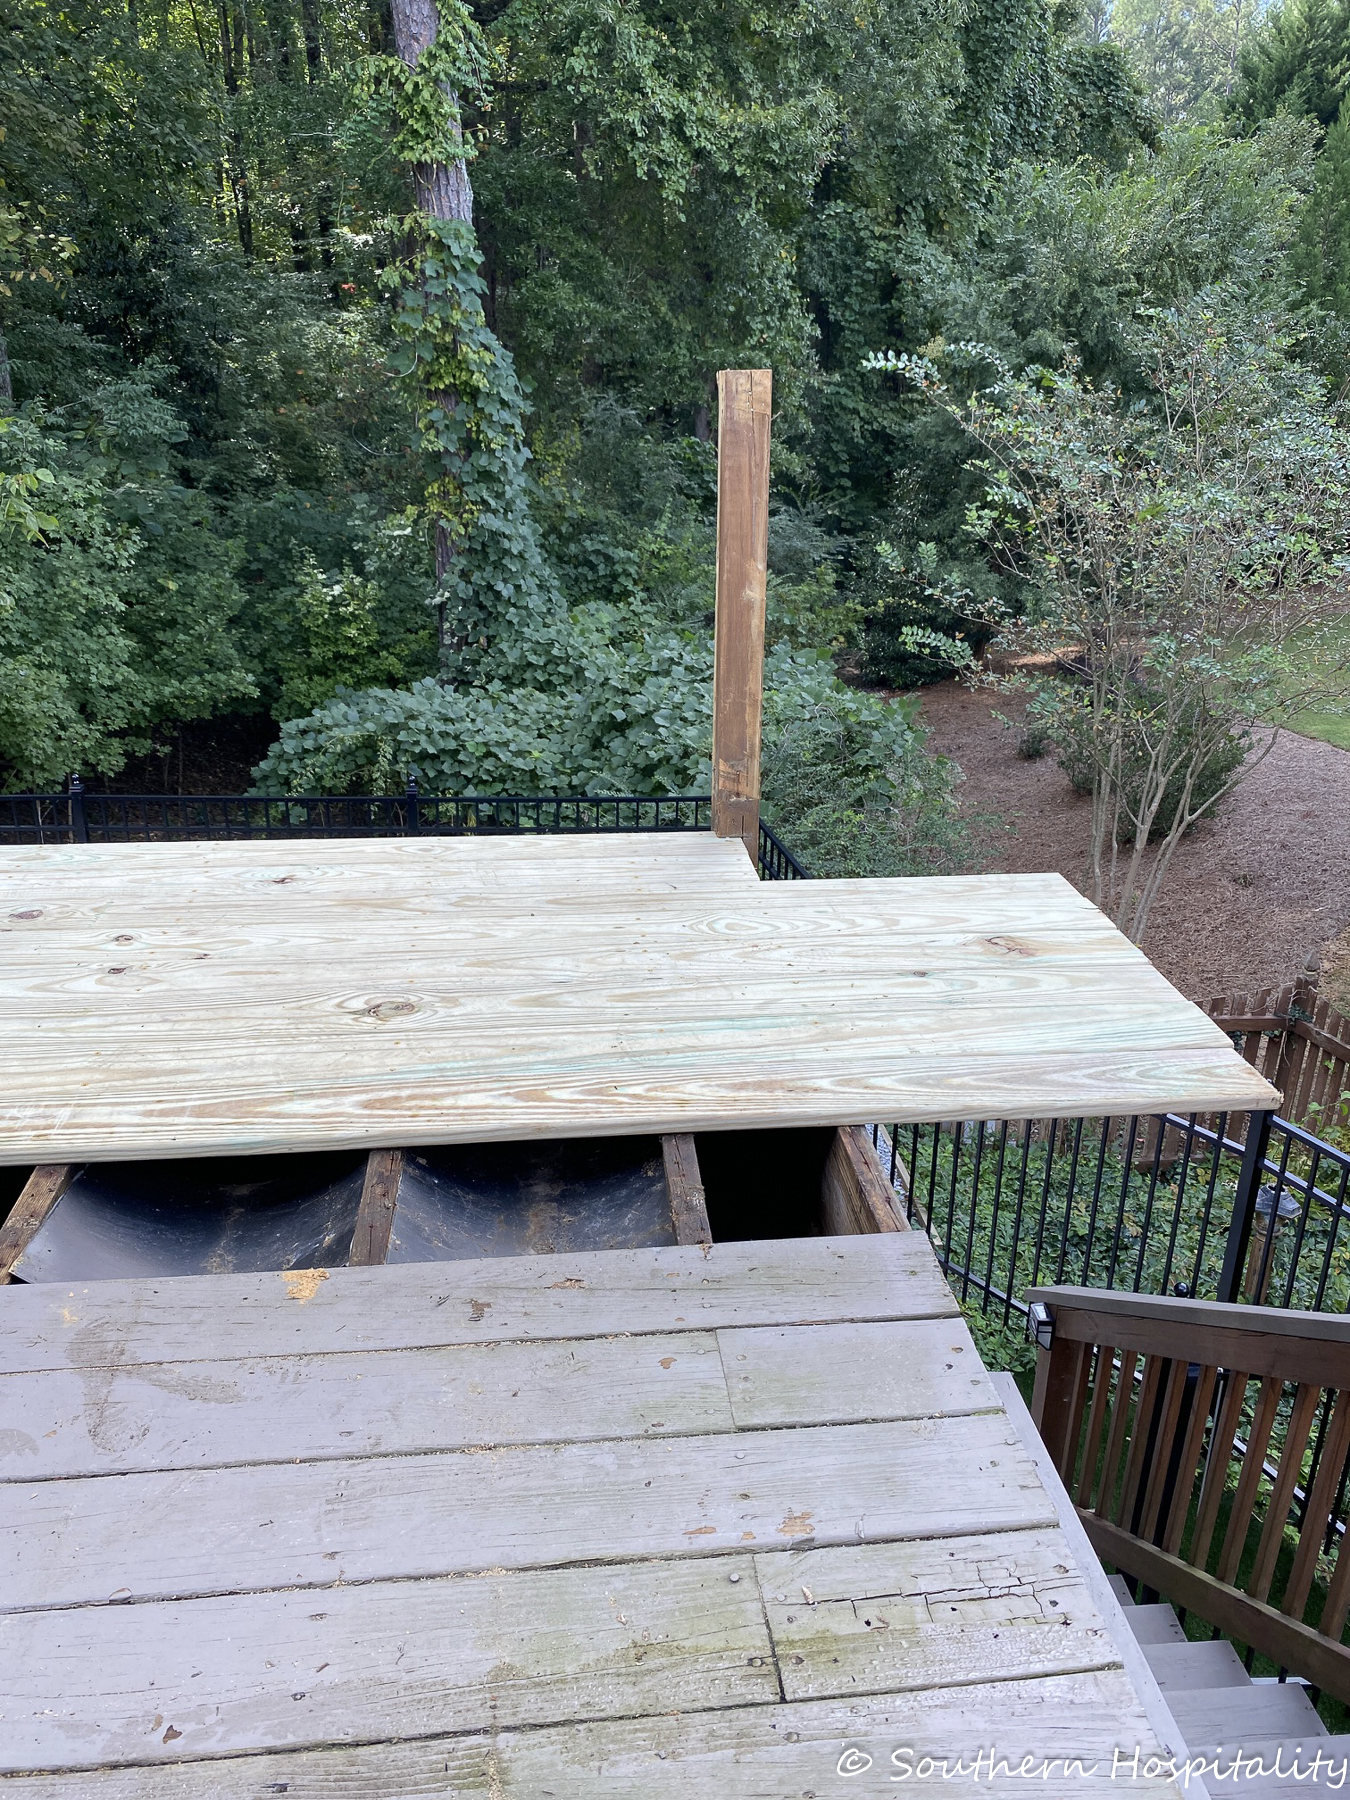
All the posts were in good shape, so we left those. He took down the two corner posts that we put up when we had lights installed and those were added back too, which I’ll show you below. He left the boards hanging over and then when that whole run was done, he used his skilsaw to cut off the ends as I caught them. We put down a chalk line first so he could stay straight.
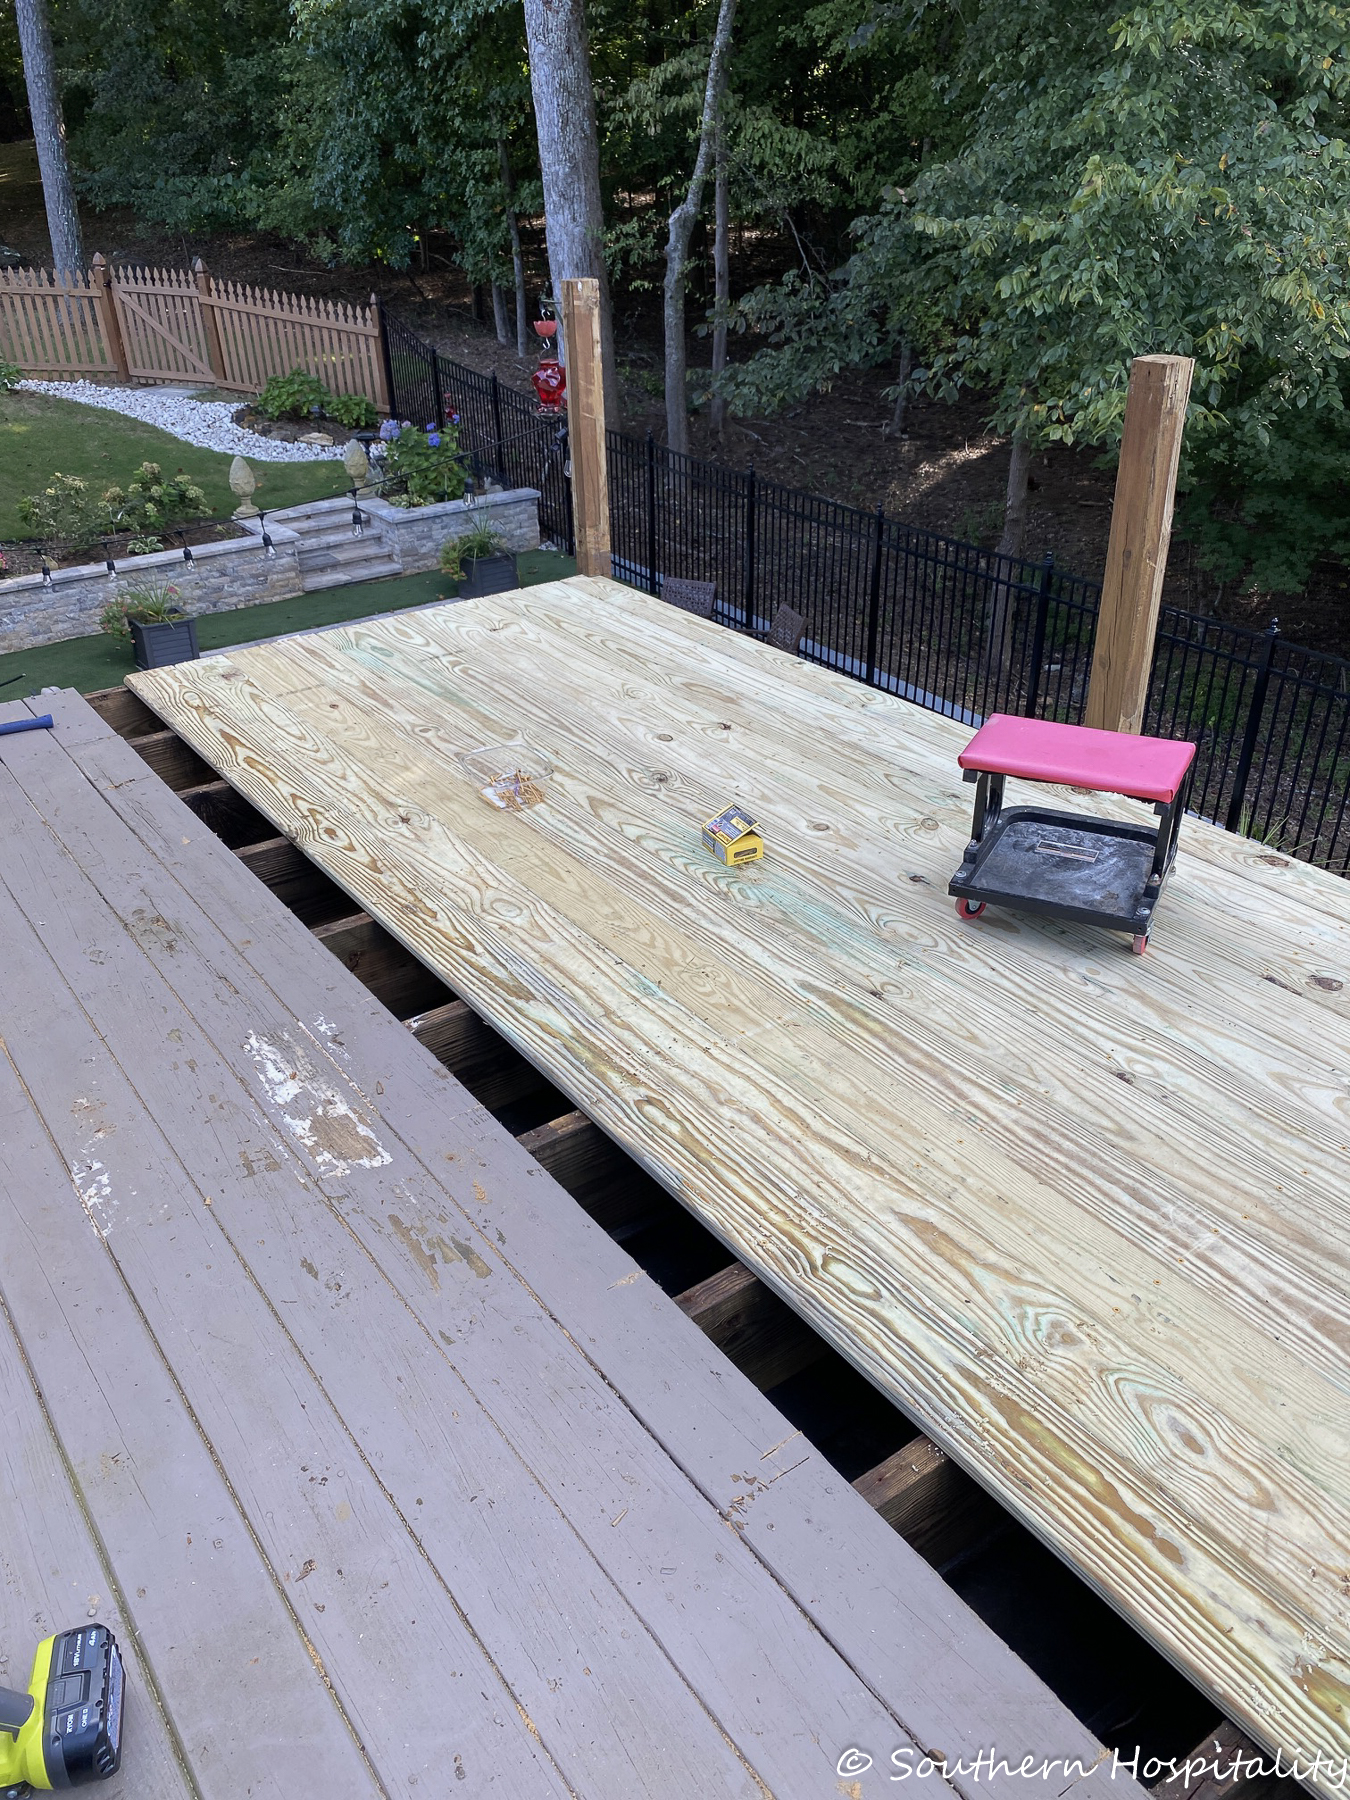
Progress after a couple of days. Once he got going, he moved along pretty fast.
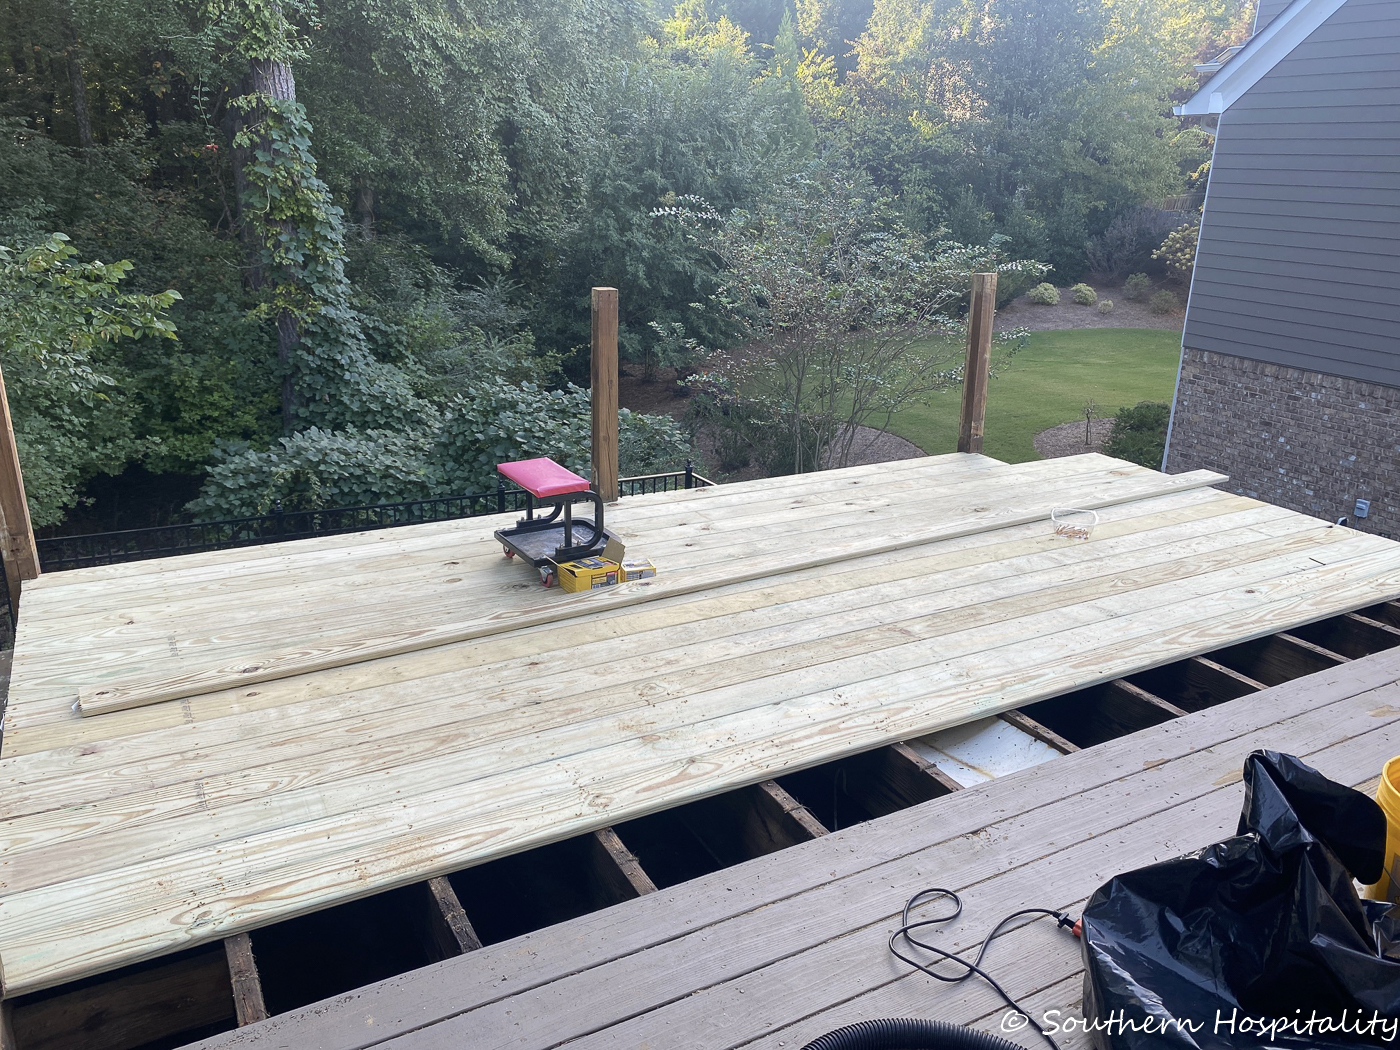
I was cheering him on!
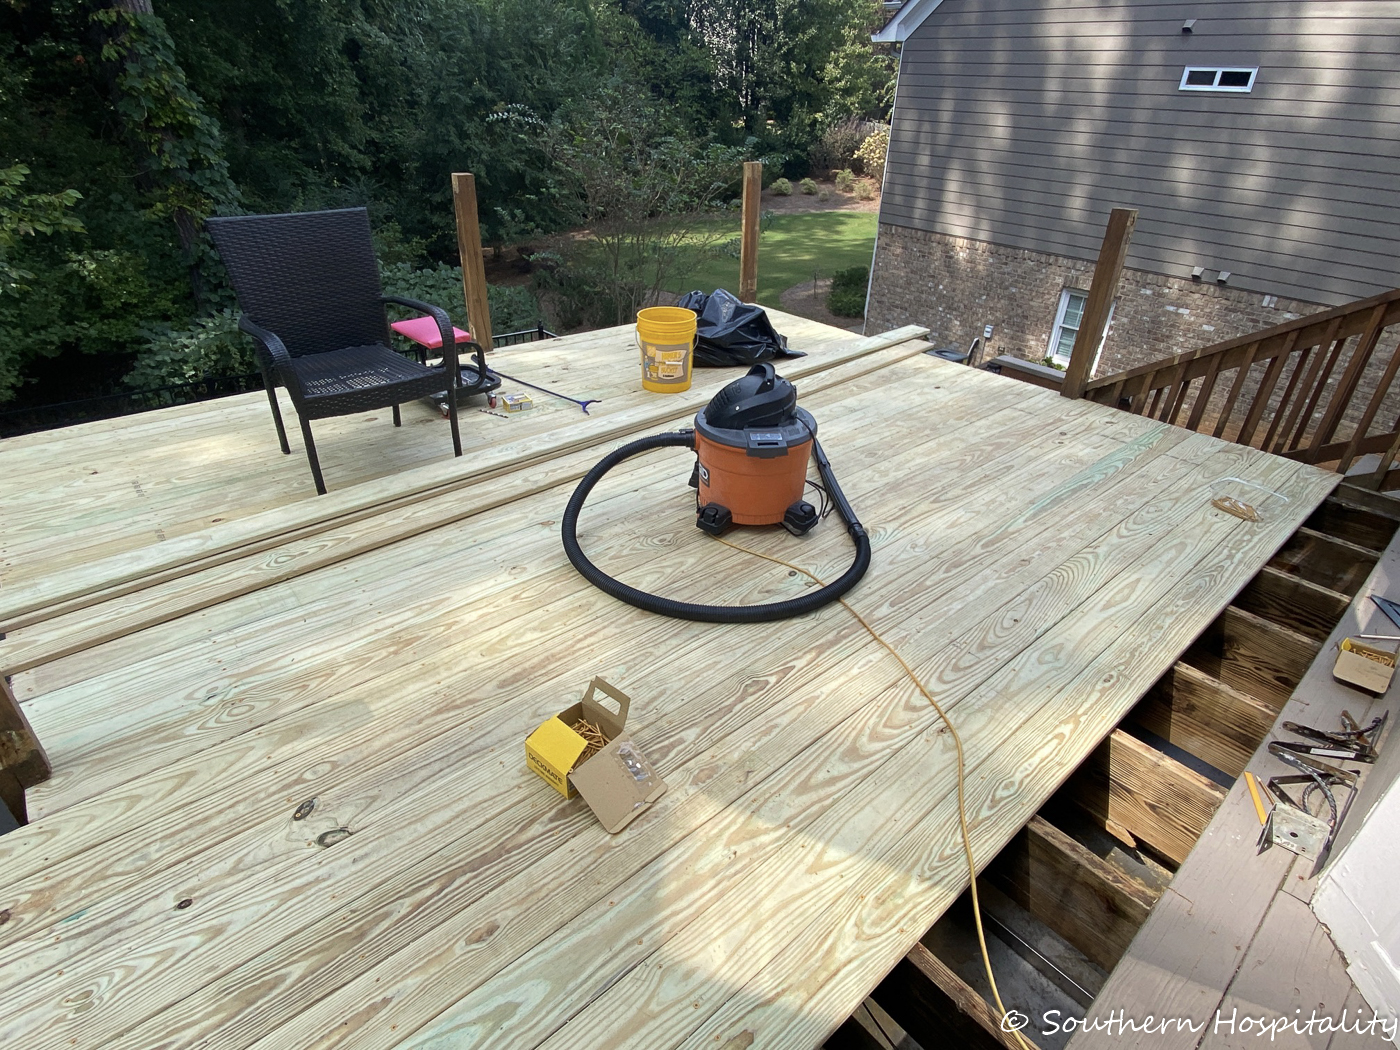
Day 3 or so.
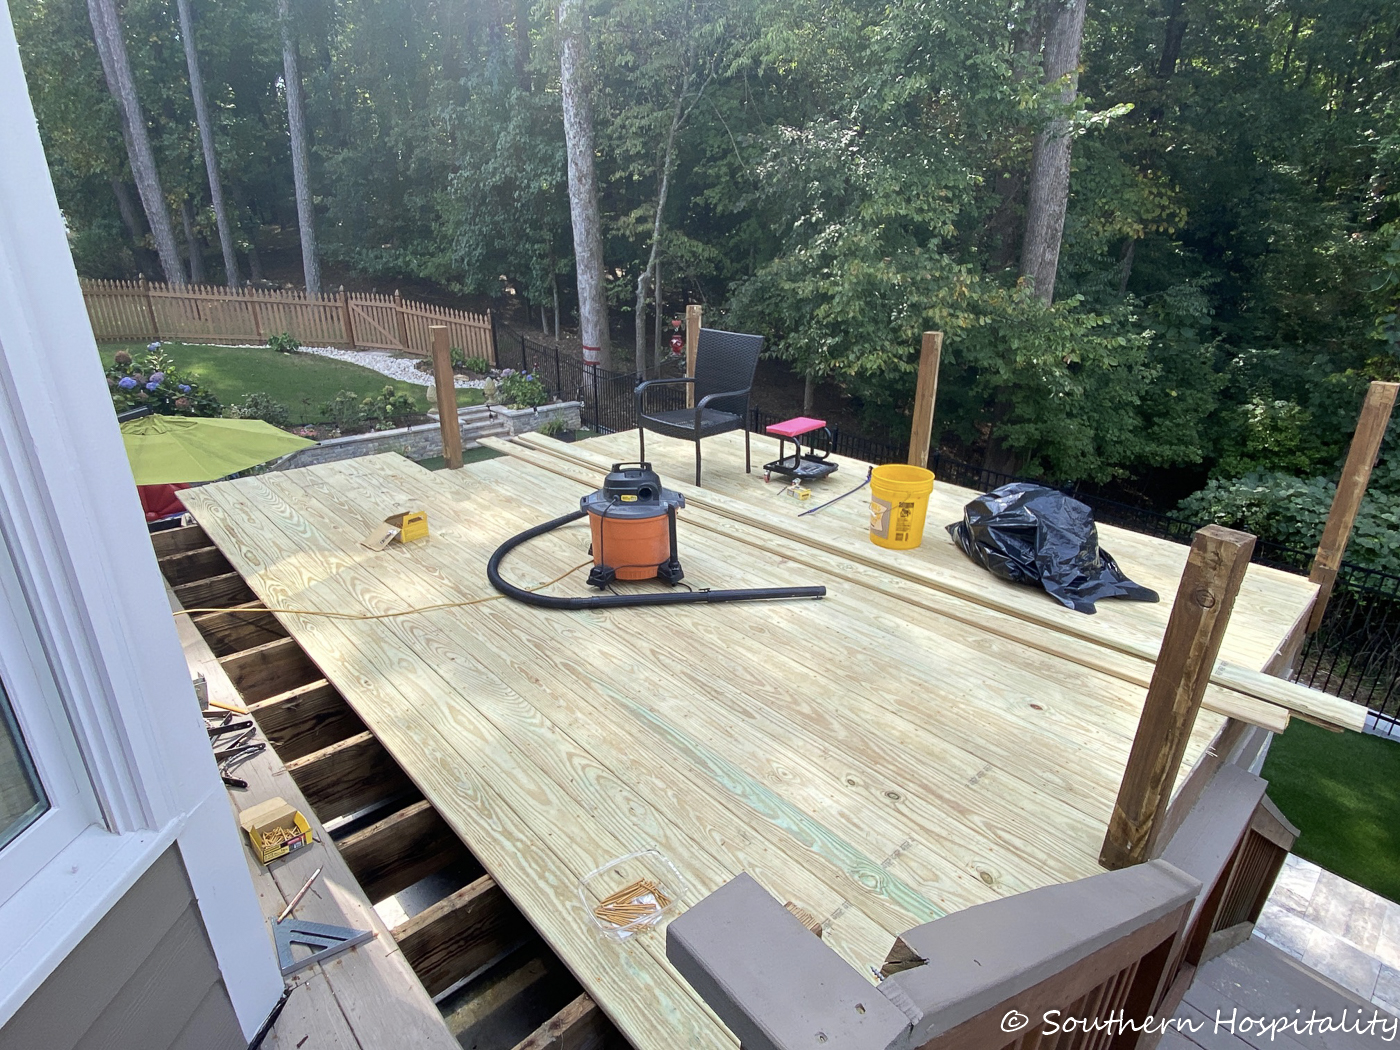
Moving along and getting closer to the side of the windows.

There was one piece under the windows that was tricky, but he figured it out and it turned out great. He did an even better job than the first crew did and his cuts fit closer to the siding.
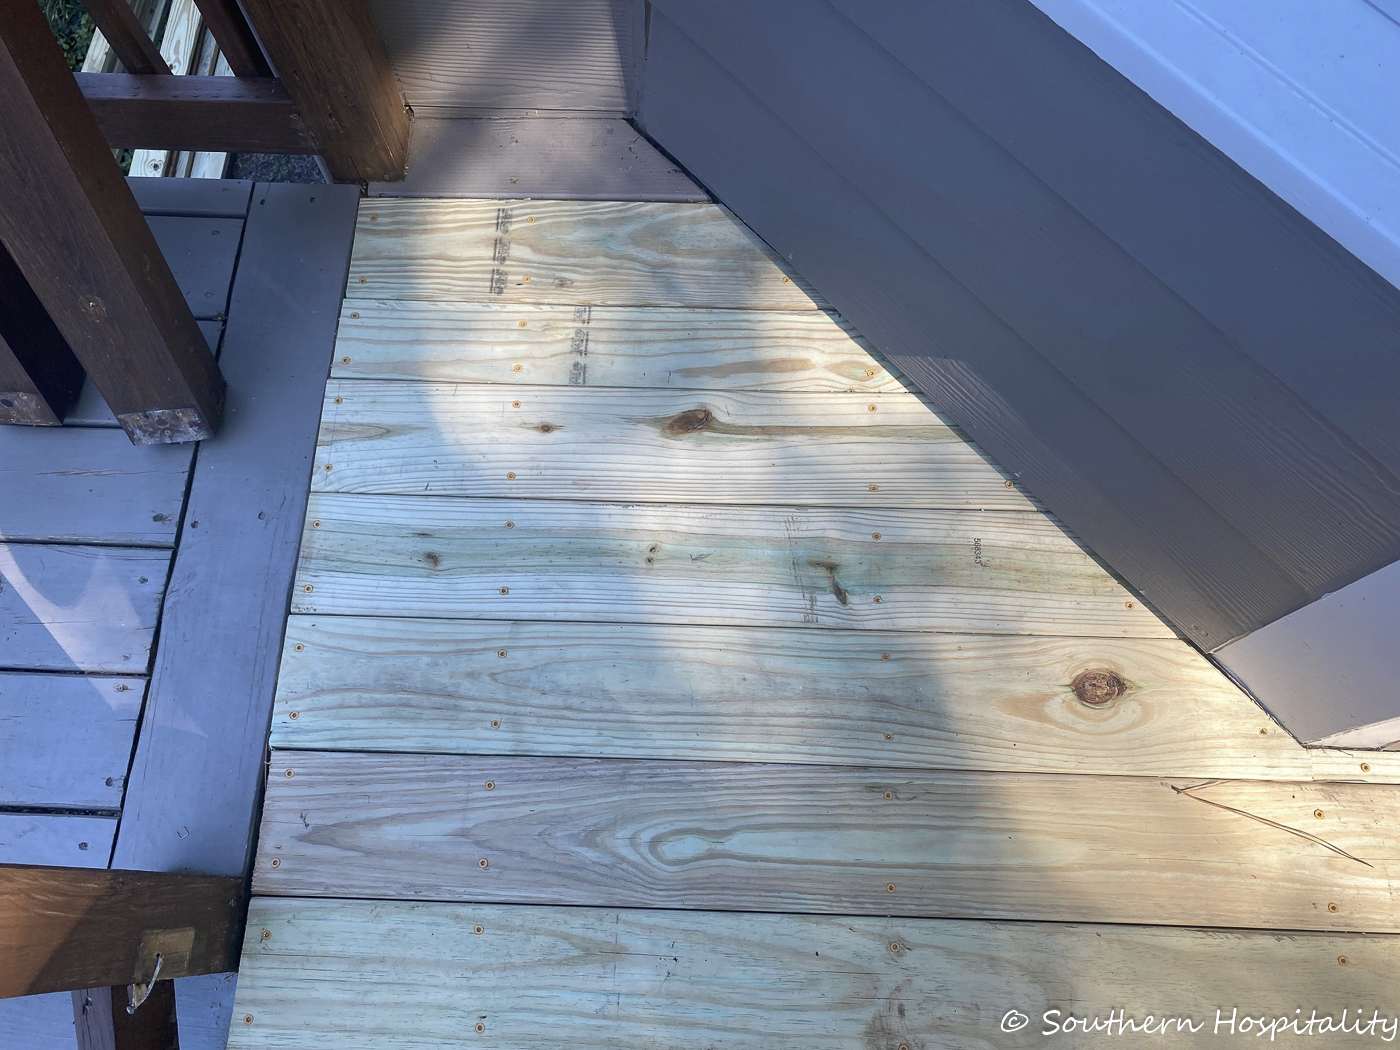
See the finish that Mark did? Looks great!
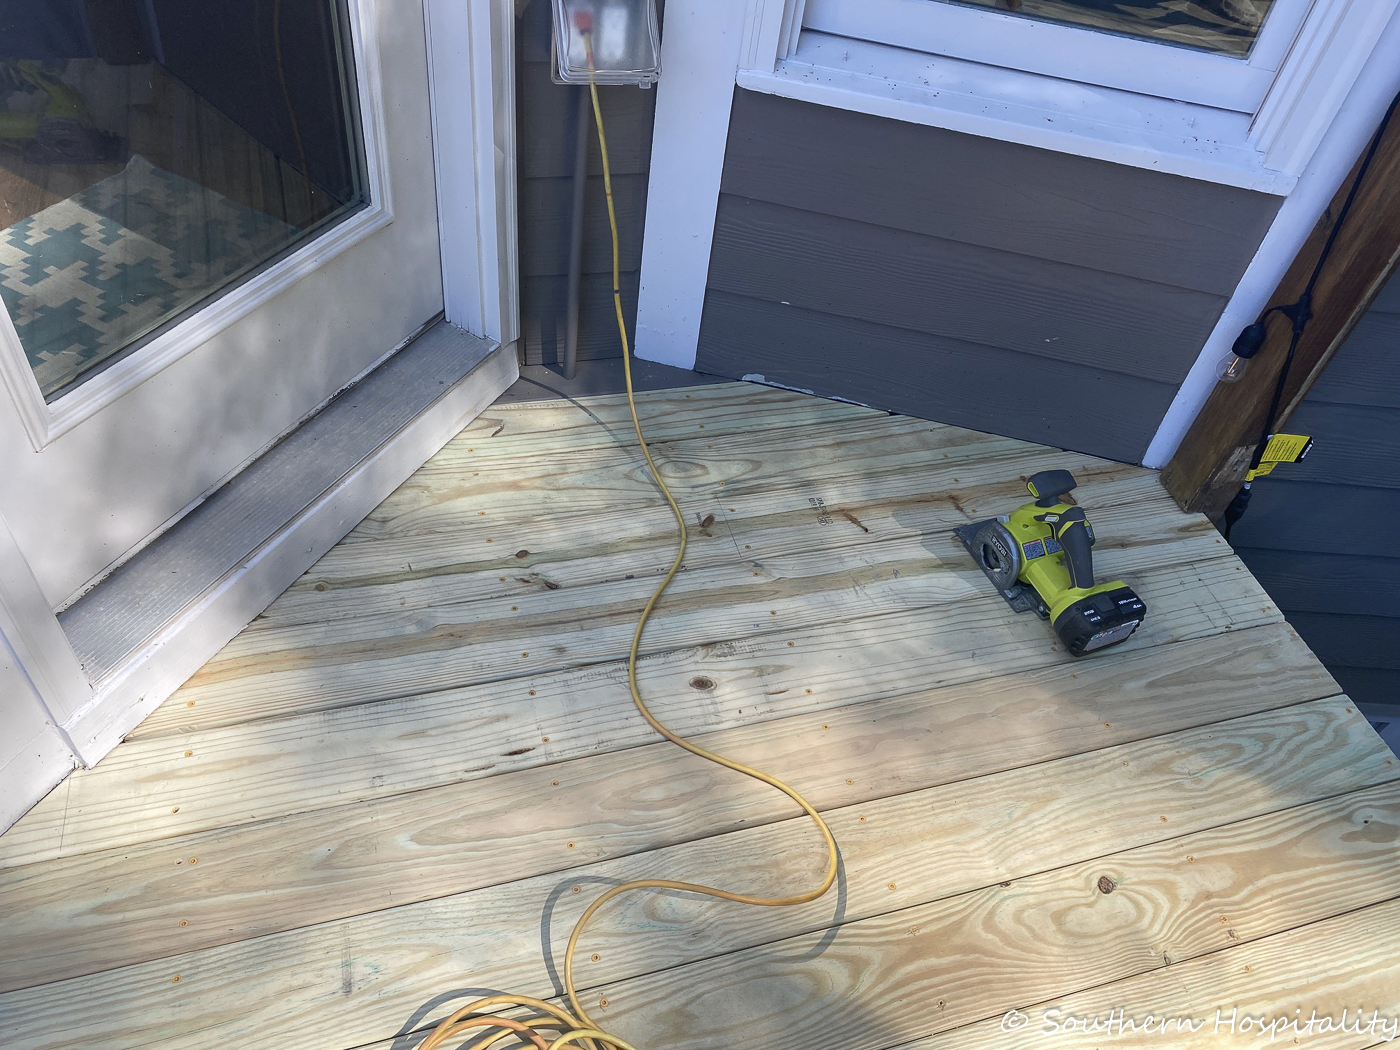
And the other side next to the door. He had to angle and piece these smaller pieces in, but he did a fantastic job.
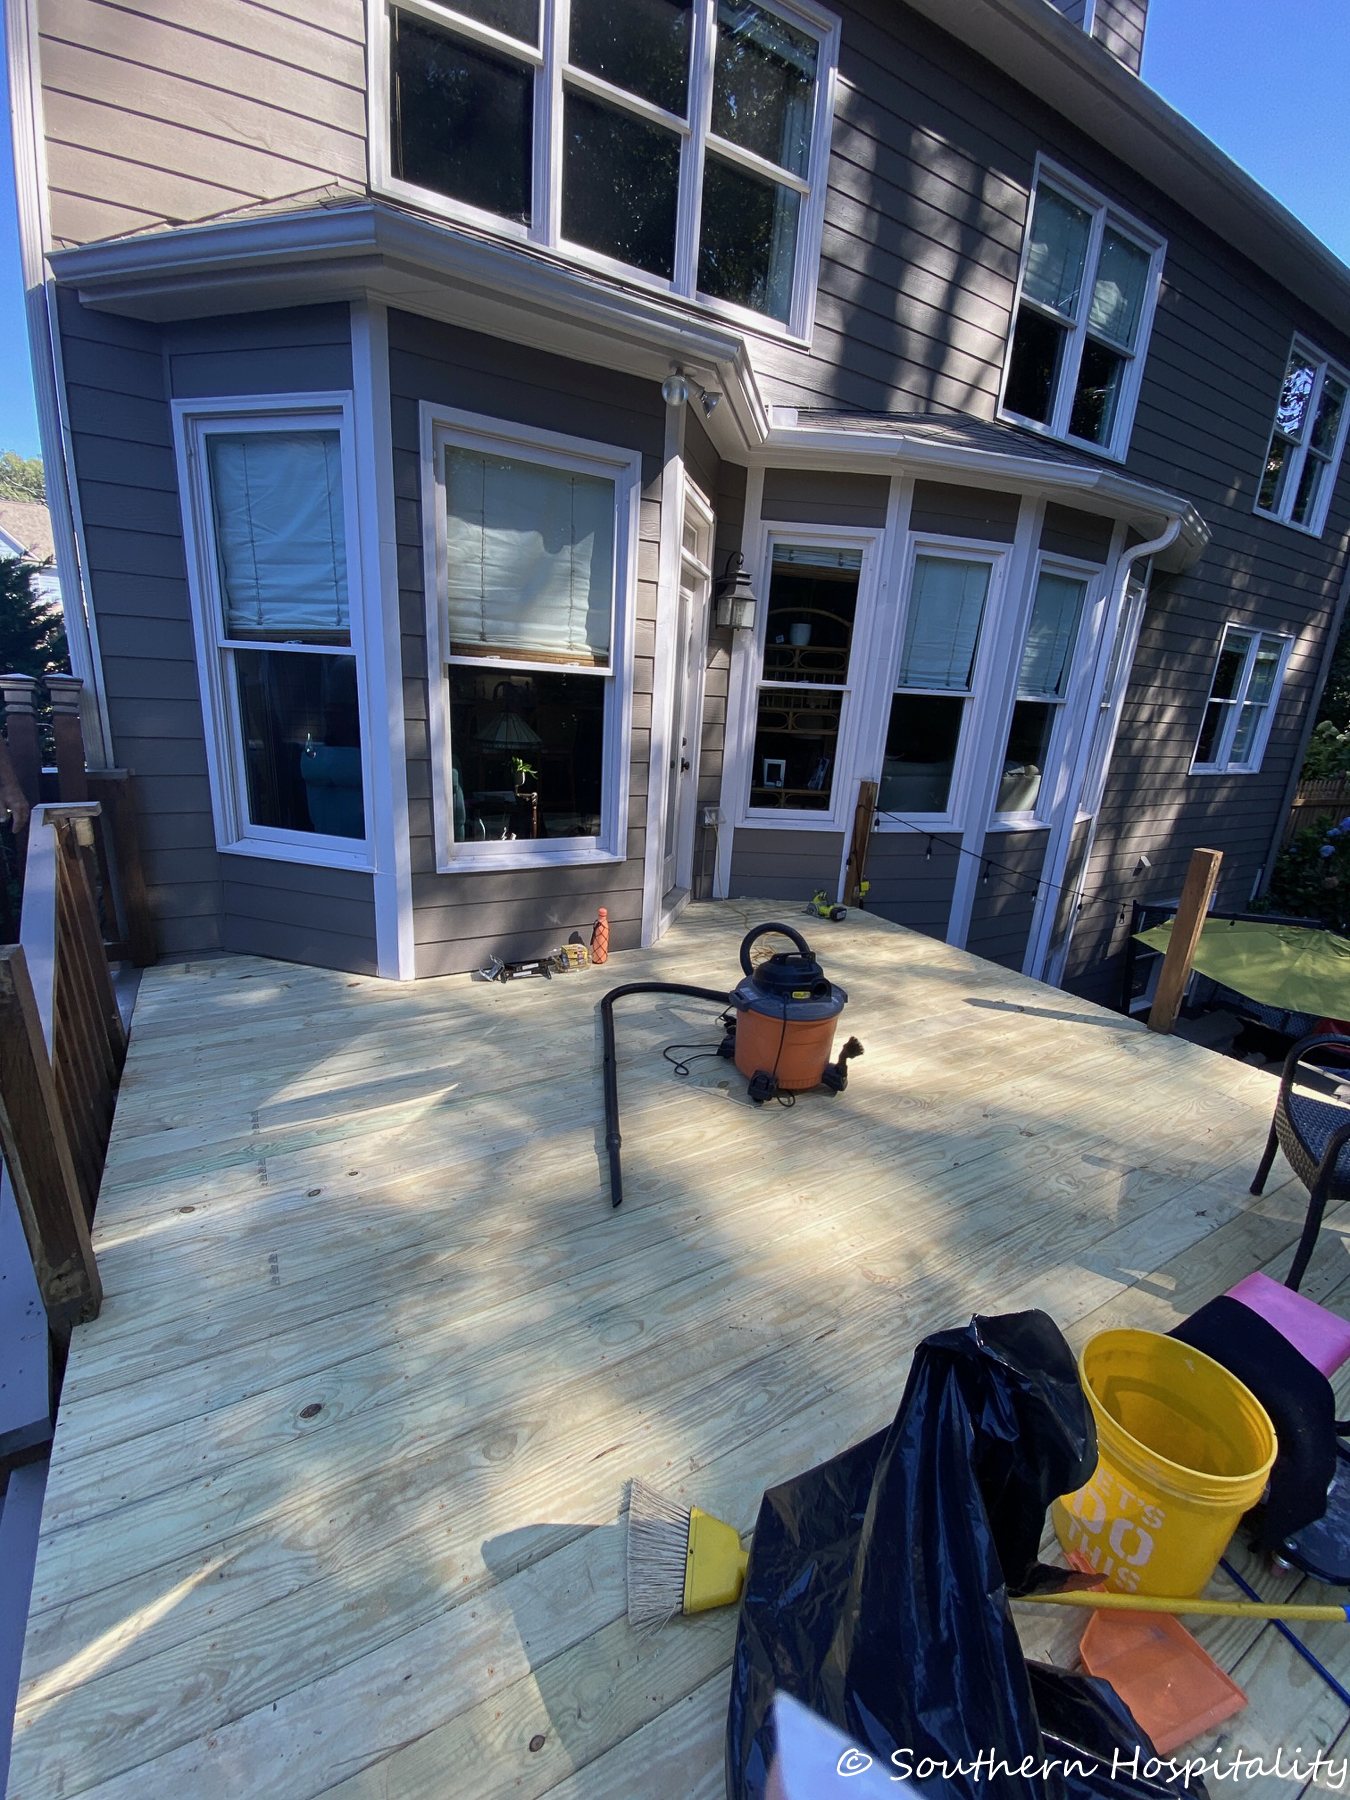
I didn’t show a close up, but there was one board under the middle window that he had to scribe and cut more off one side than the other and squeeze it into place. And here it is all finished, looking great! I’m so proud of him! I think even he was surprised that it turned out so well. Wait until you see the railings!
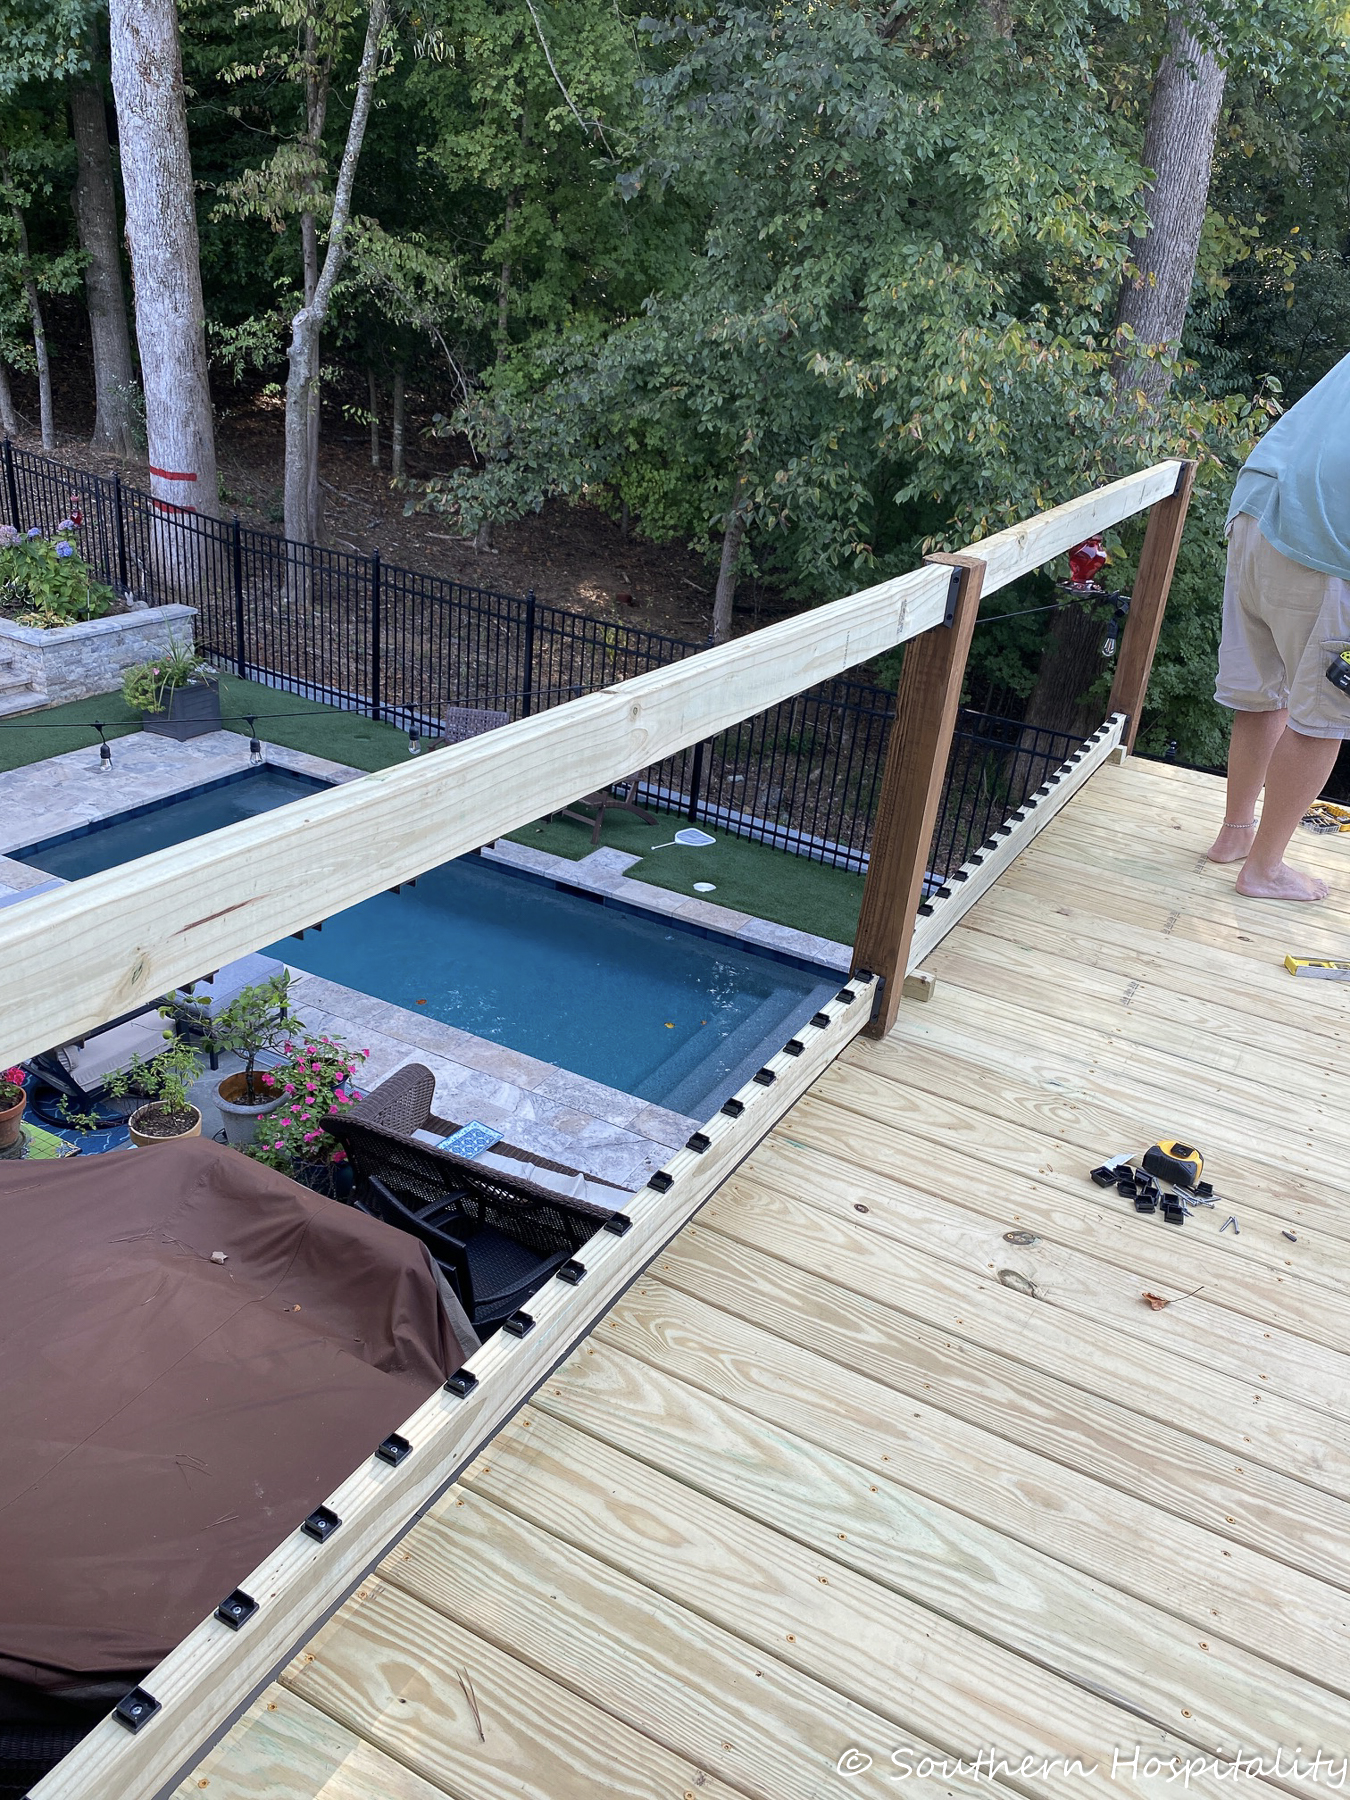
When I left for Las Vegas, he had just started this side of the railings. He bought this kit for the black metal spindles and had to line up the top and bottoms and then cut the spindles to fit so they would pop in top and bottom.
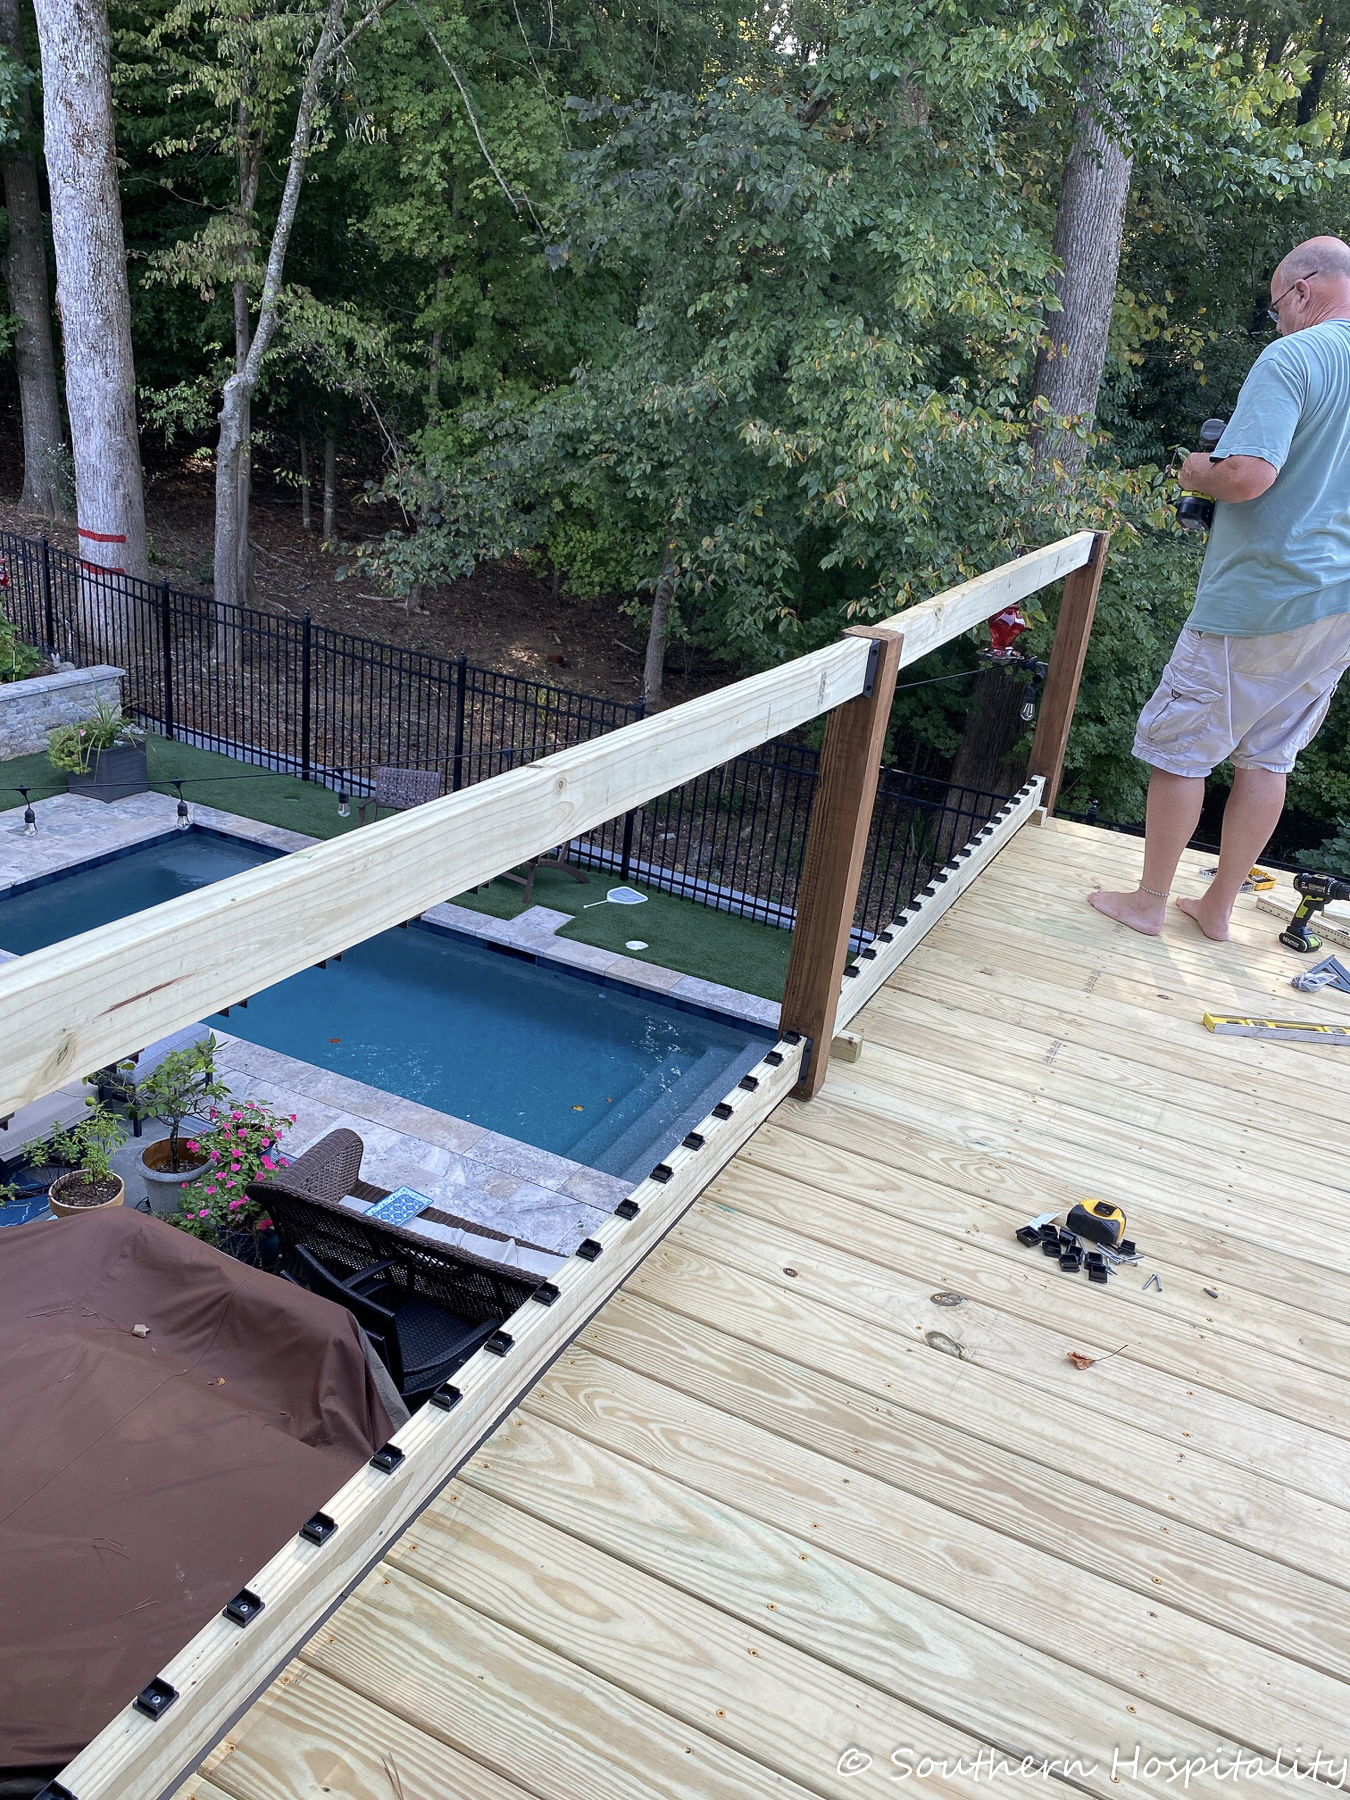
That was a lot of mathing and figuring, which is definitely not my strong suit. It’s a good thing I wasn’t doing this project.
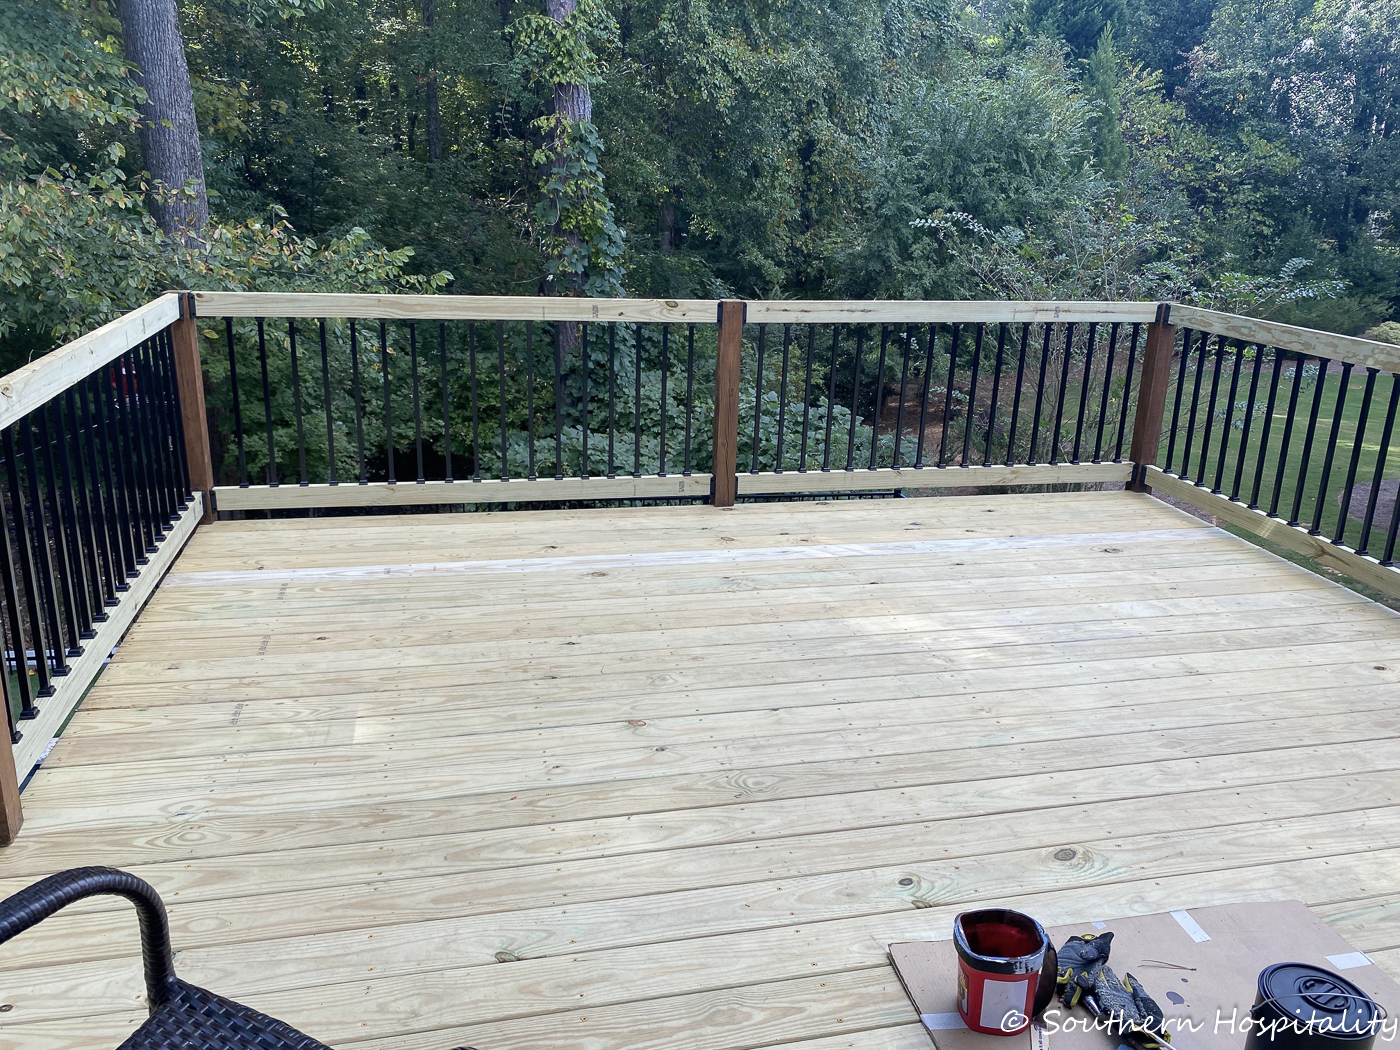
And here they are all finished. When I came back from my trip, he had all but the right railings all done. The top boards haven’t gone on yet.
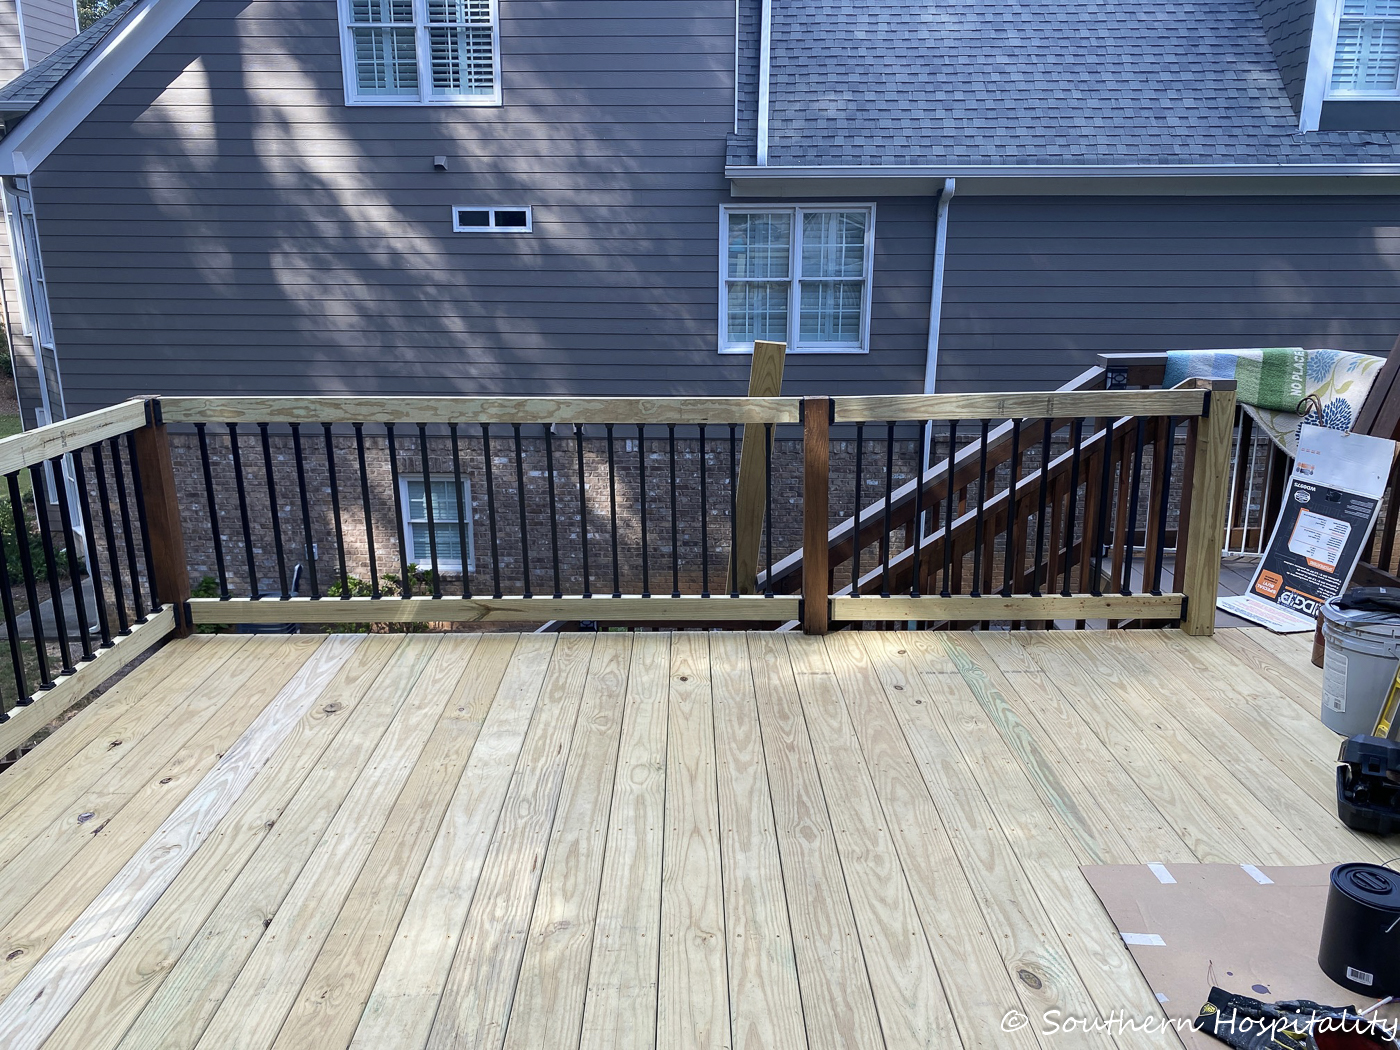
Aren’t they pretty?
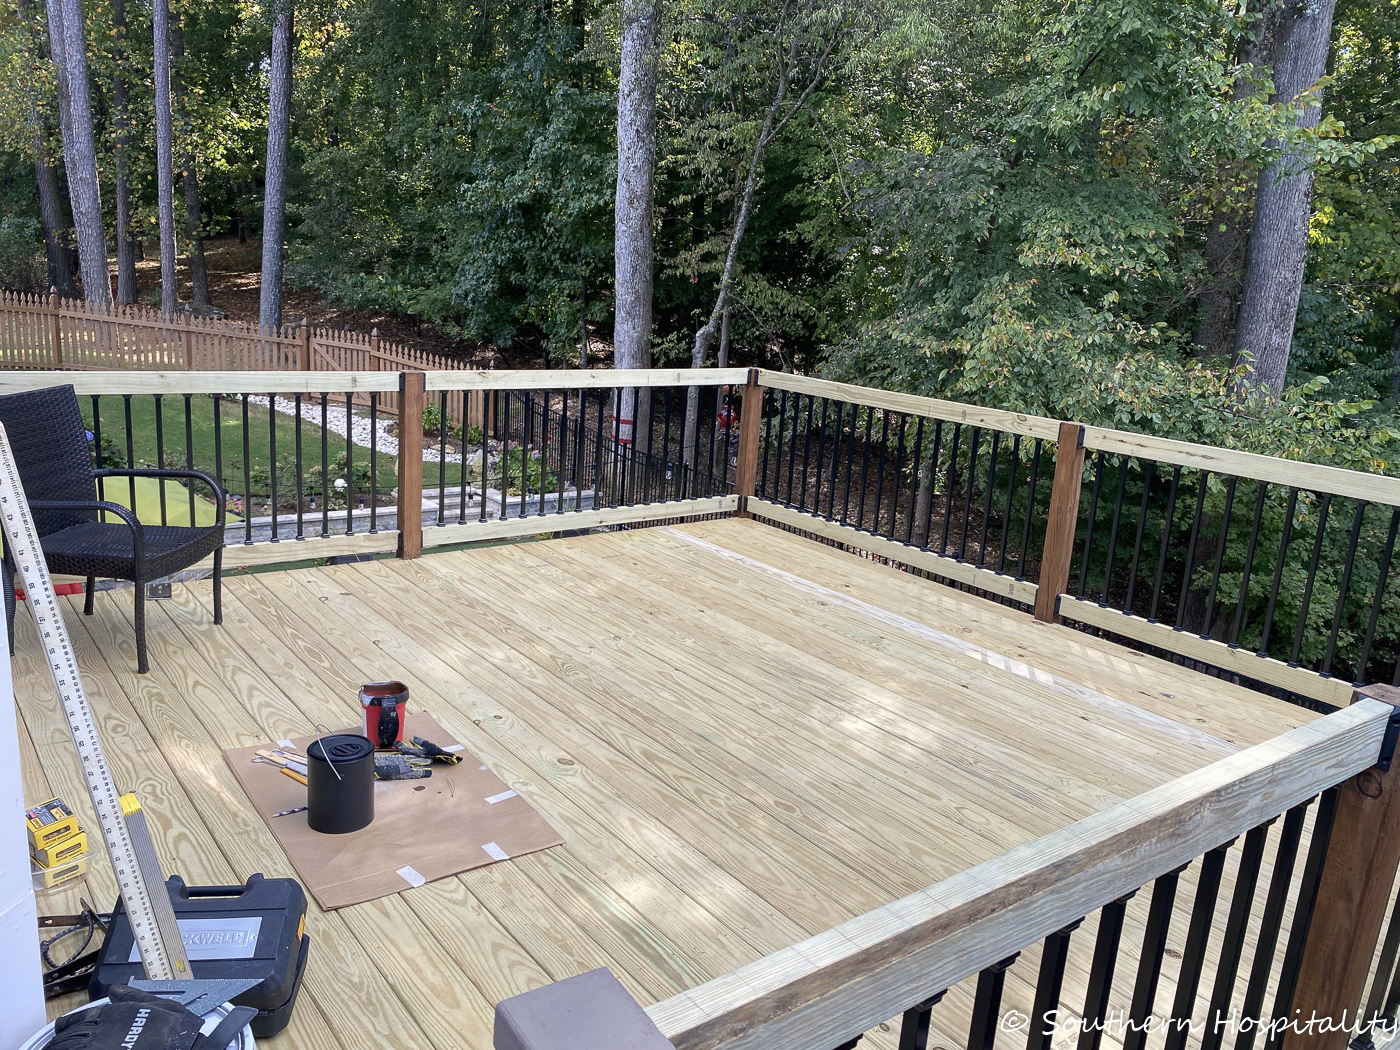
He did an outstanding job and I love how the black spindles turned out. It will really look great when we get it all stained again.
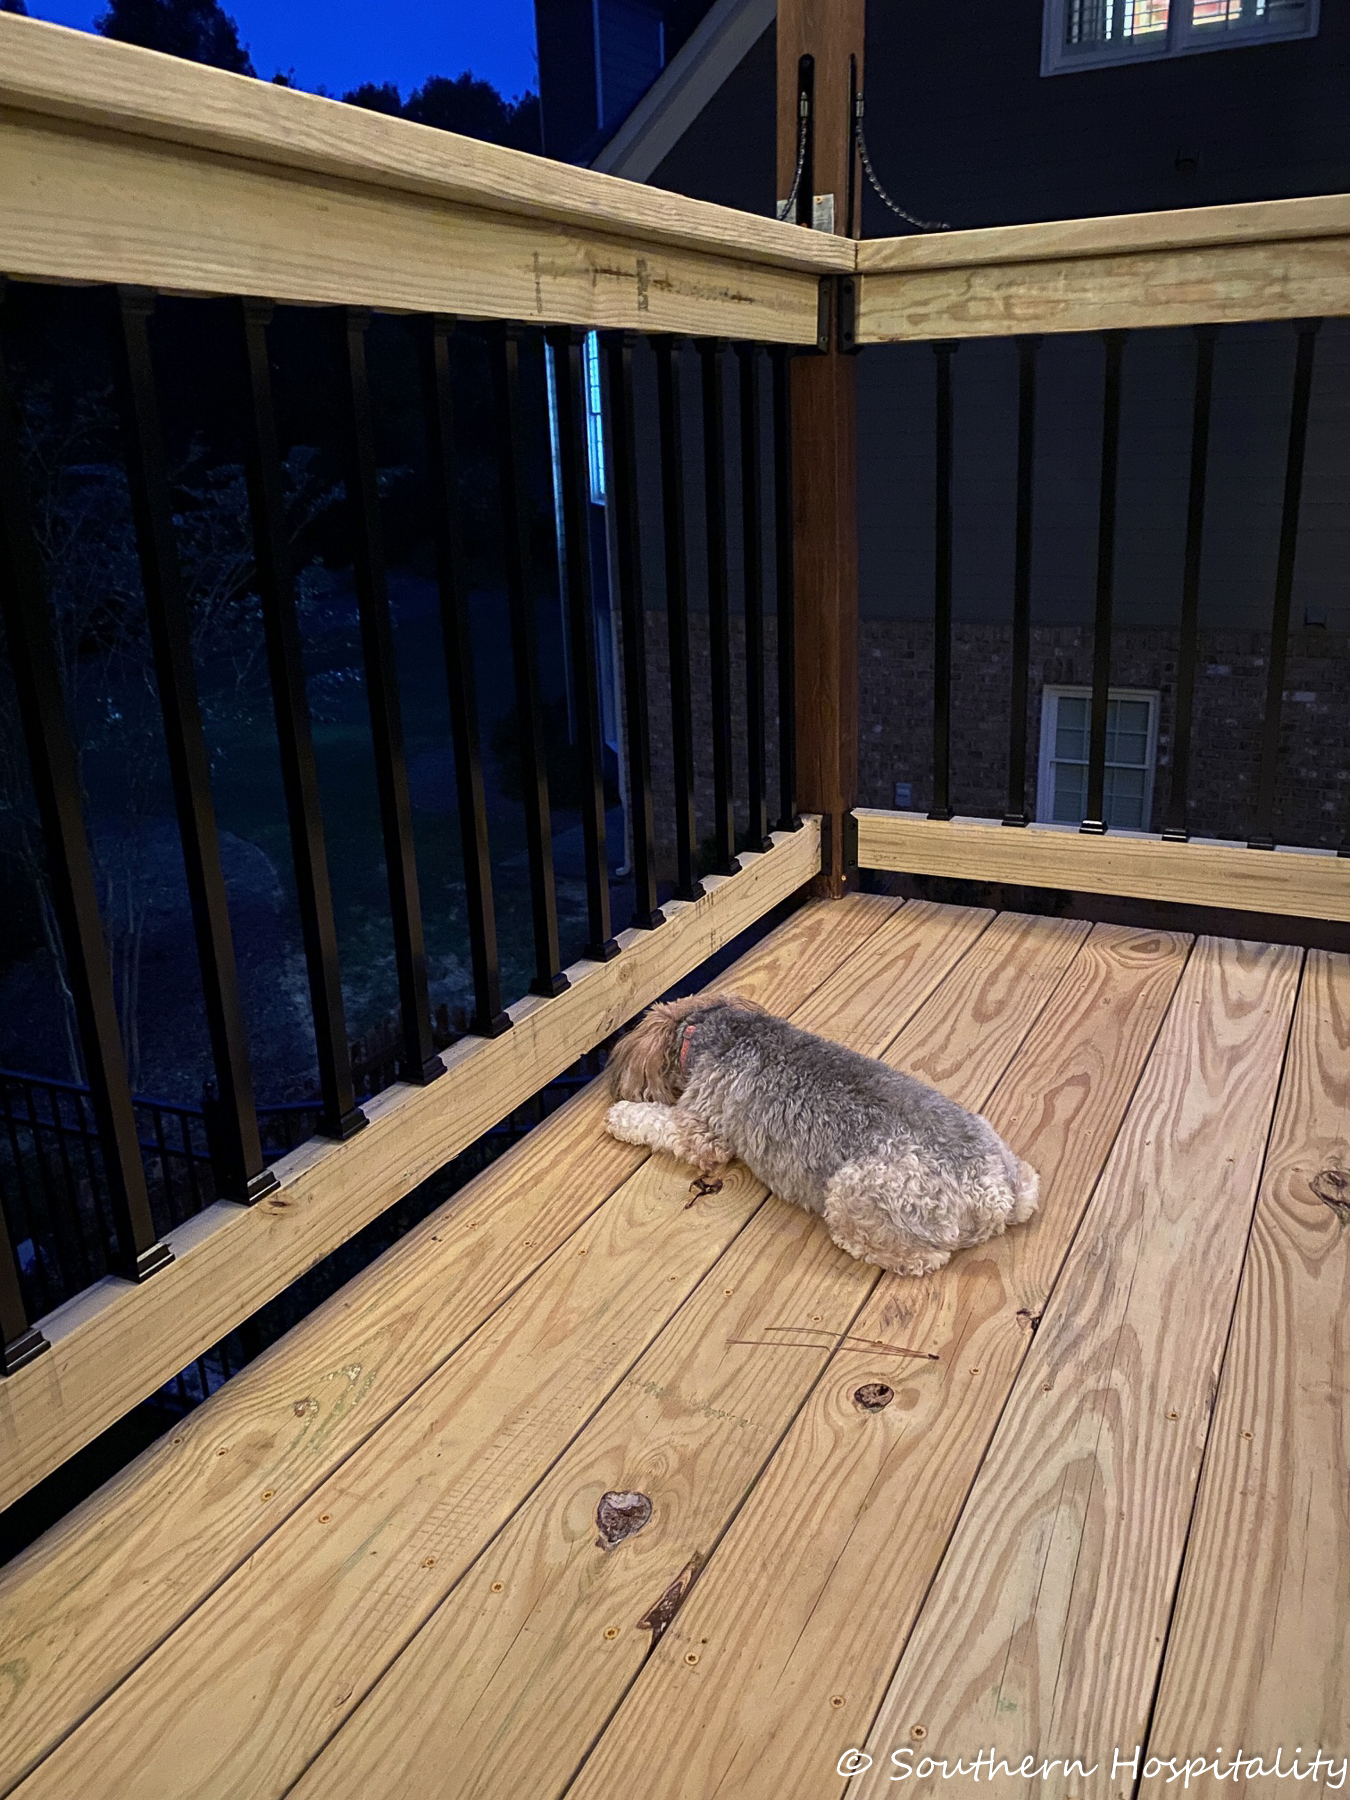
We sat out on the deck a couple of nights with Daisy and she loves looking through the spindles and under the boards to the woods. He added 1×6″ top boards to the railings and that really finishes them off.
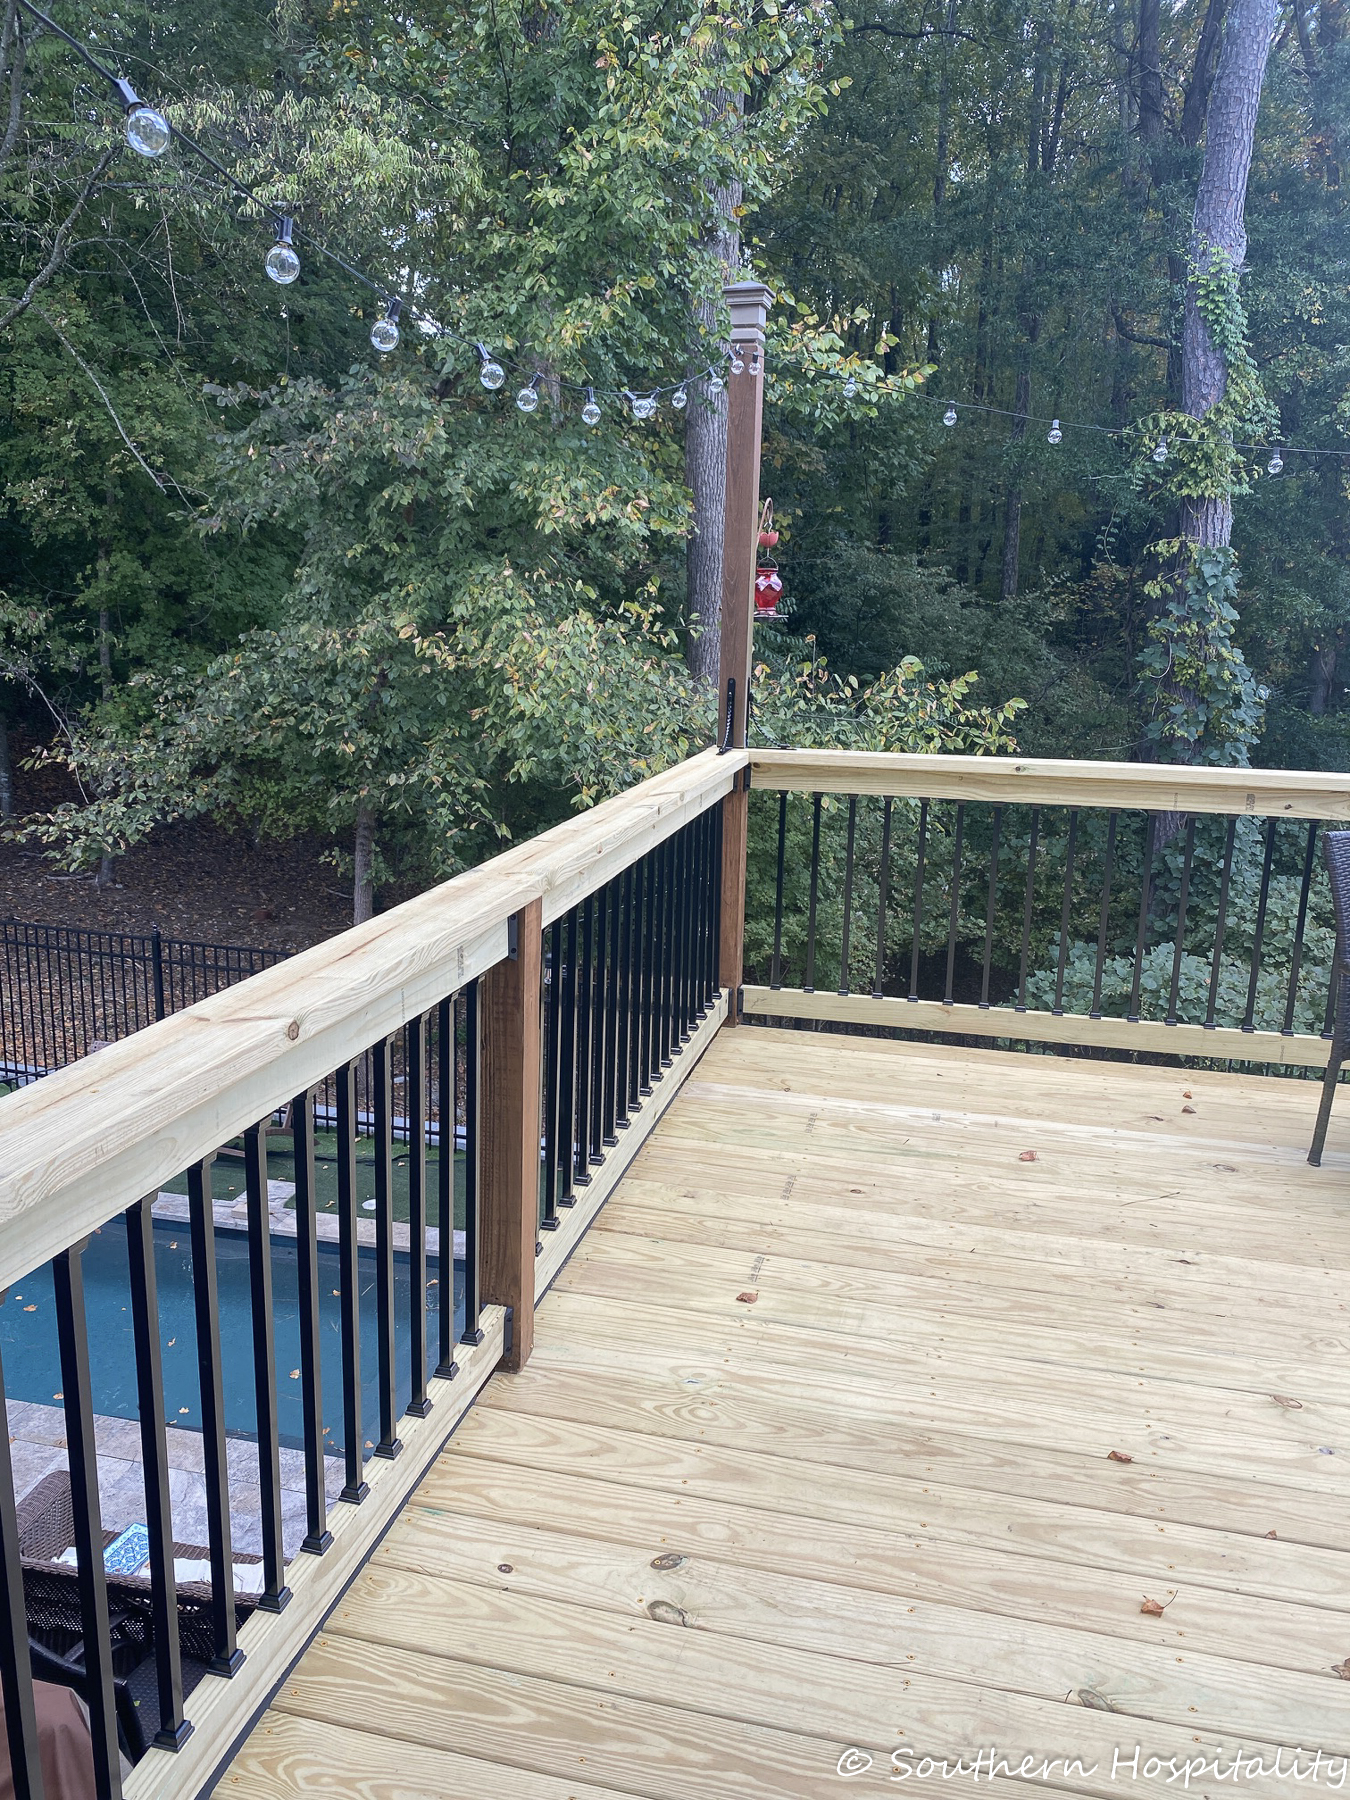
I resprayed those brackets on the top posts that we had there already and freshened them up and Mark got the lights hung back up. We sure have enjoyed the lights out here. The strand we had didn’t work once we took them down and put them back up, so he hung another strand that he had bought as a backup for all the bulbs and it worked out nice too. These are incandescent lights.
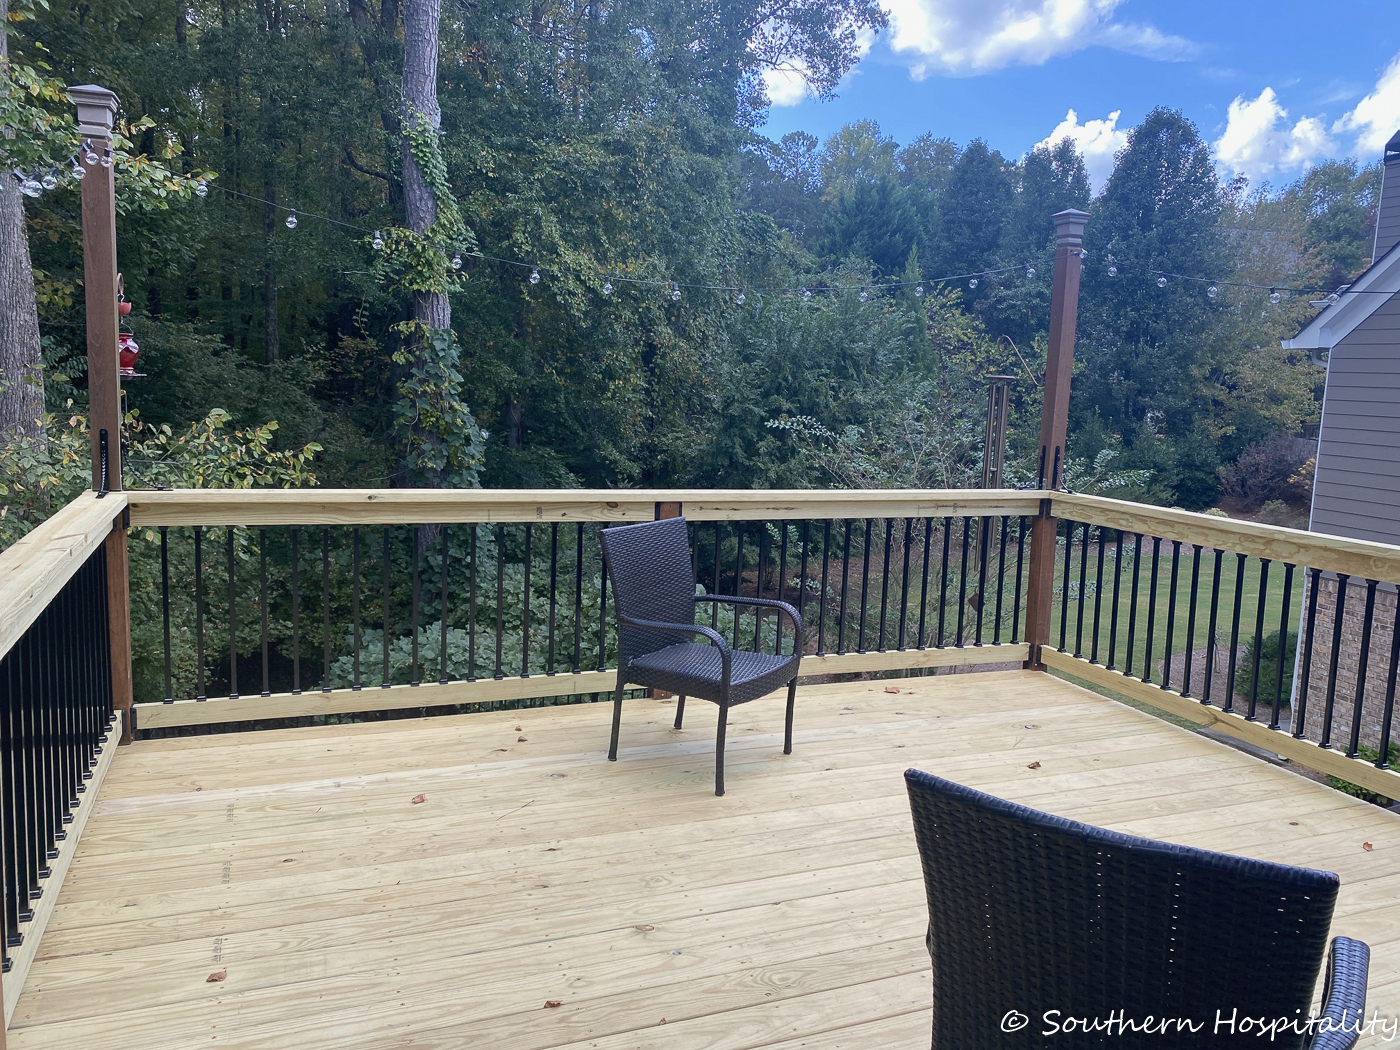
Looks so good!

Here you can see the freshly painted brackets and the brackets he used for the railings and spindles. Adding these posts on top with a cap piece was the perfect solution for adding lights up here. The brackets help steady the post too.

Close up of the brackets he used. Below are the links to the deck brackets and spindle hardware he used (affiliates):
Titan Snap N Lock Baluster Kits (31 in.)
Total Cost of Project:
Lumber: $500
Baluster Kits & Screws: $630 (bought at Home Depot using $50 coupon)
Railing Brackets: $36
Grand Total: $1166
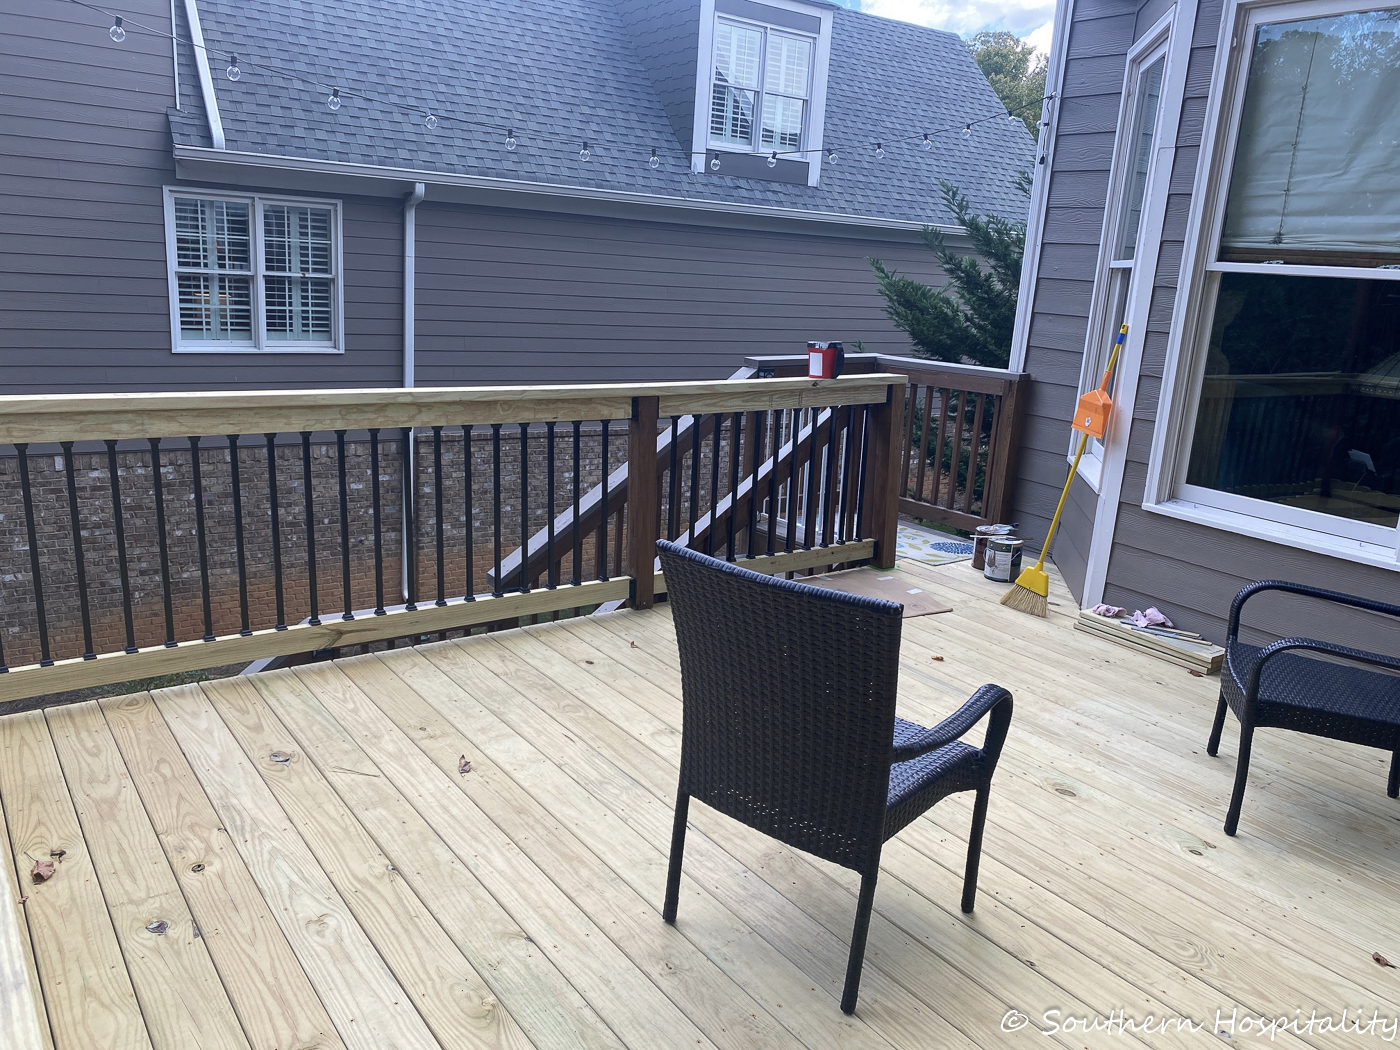
So proud of this deck, he really saved us a bundle. I think it would have been at least $6 to 8K for this job including materials if we had hired it out.
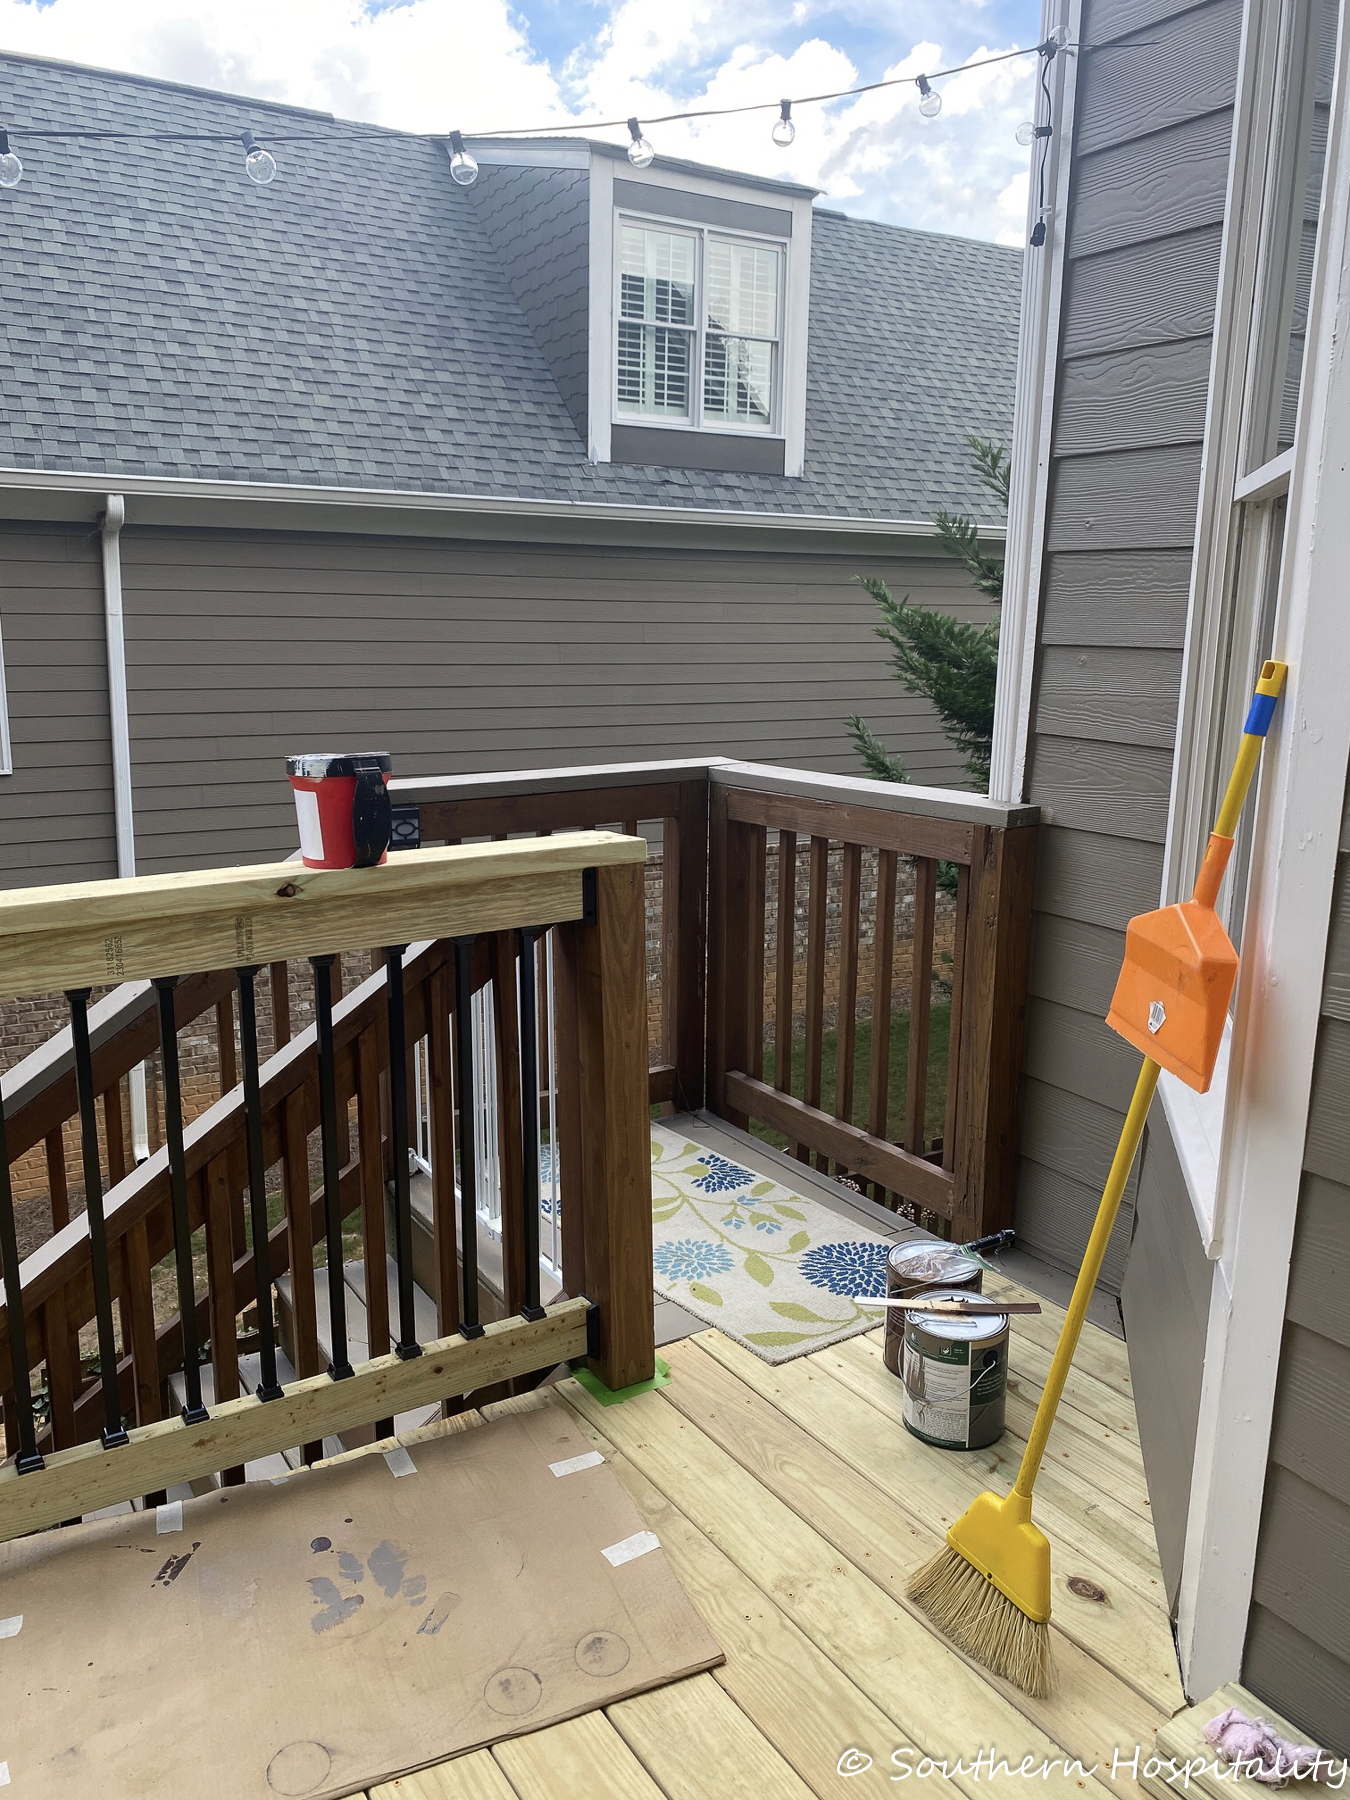
Here’s where the new deck meets the stairs. This time around we are not going to use a solid stain, but we might try a semi-solid stain. I’m looking at Cabot colors and I’m planning to get some samples and try them out. We will get something close to the old color which blends with our siding color, sort of a gray taupe.
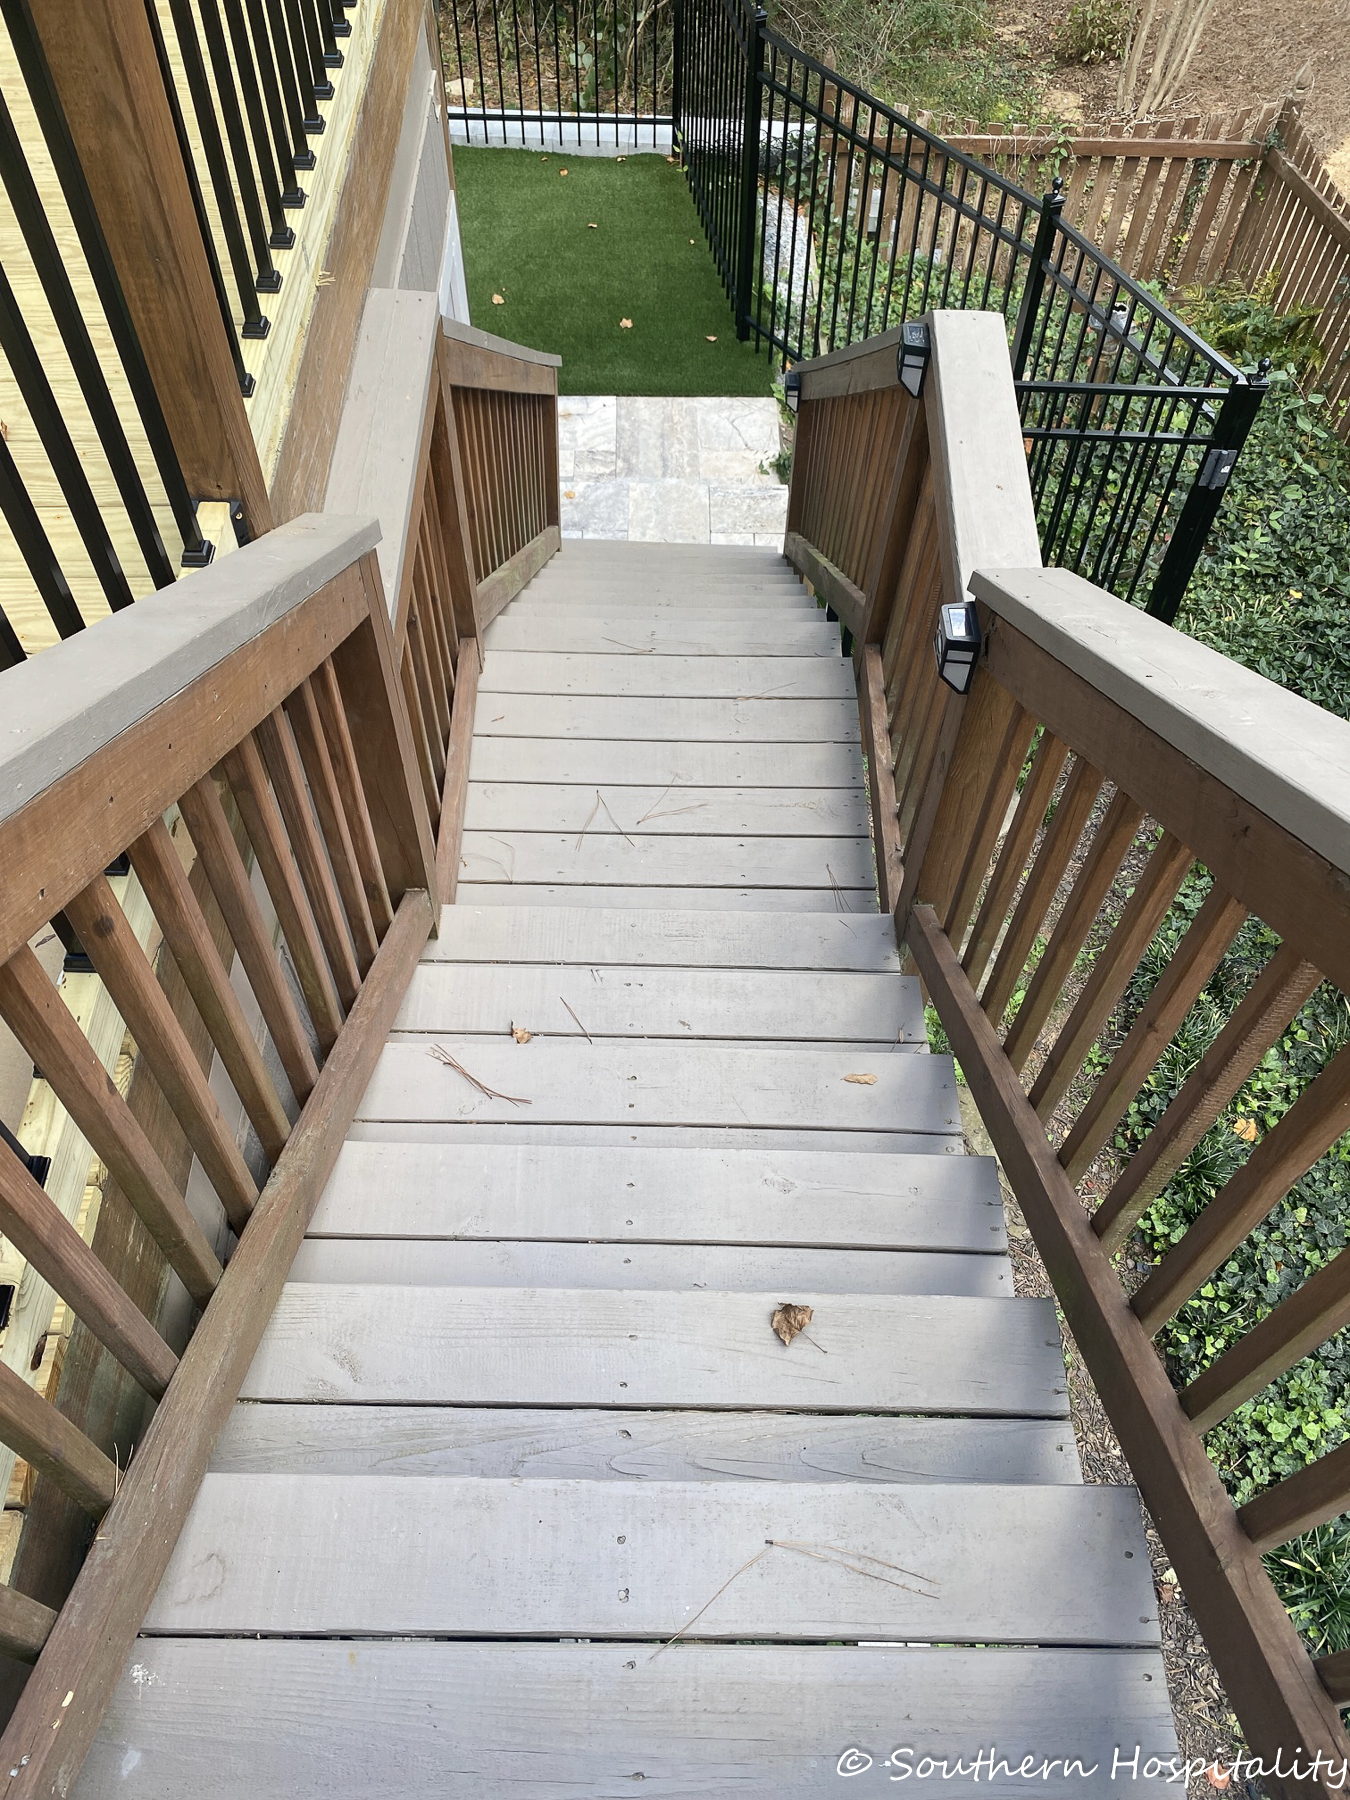
And here’s a look at the stairs we had put in.
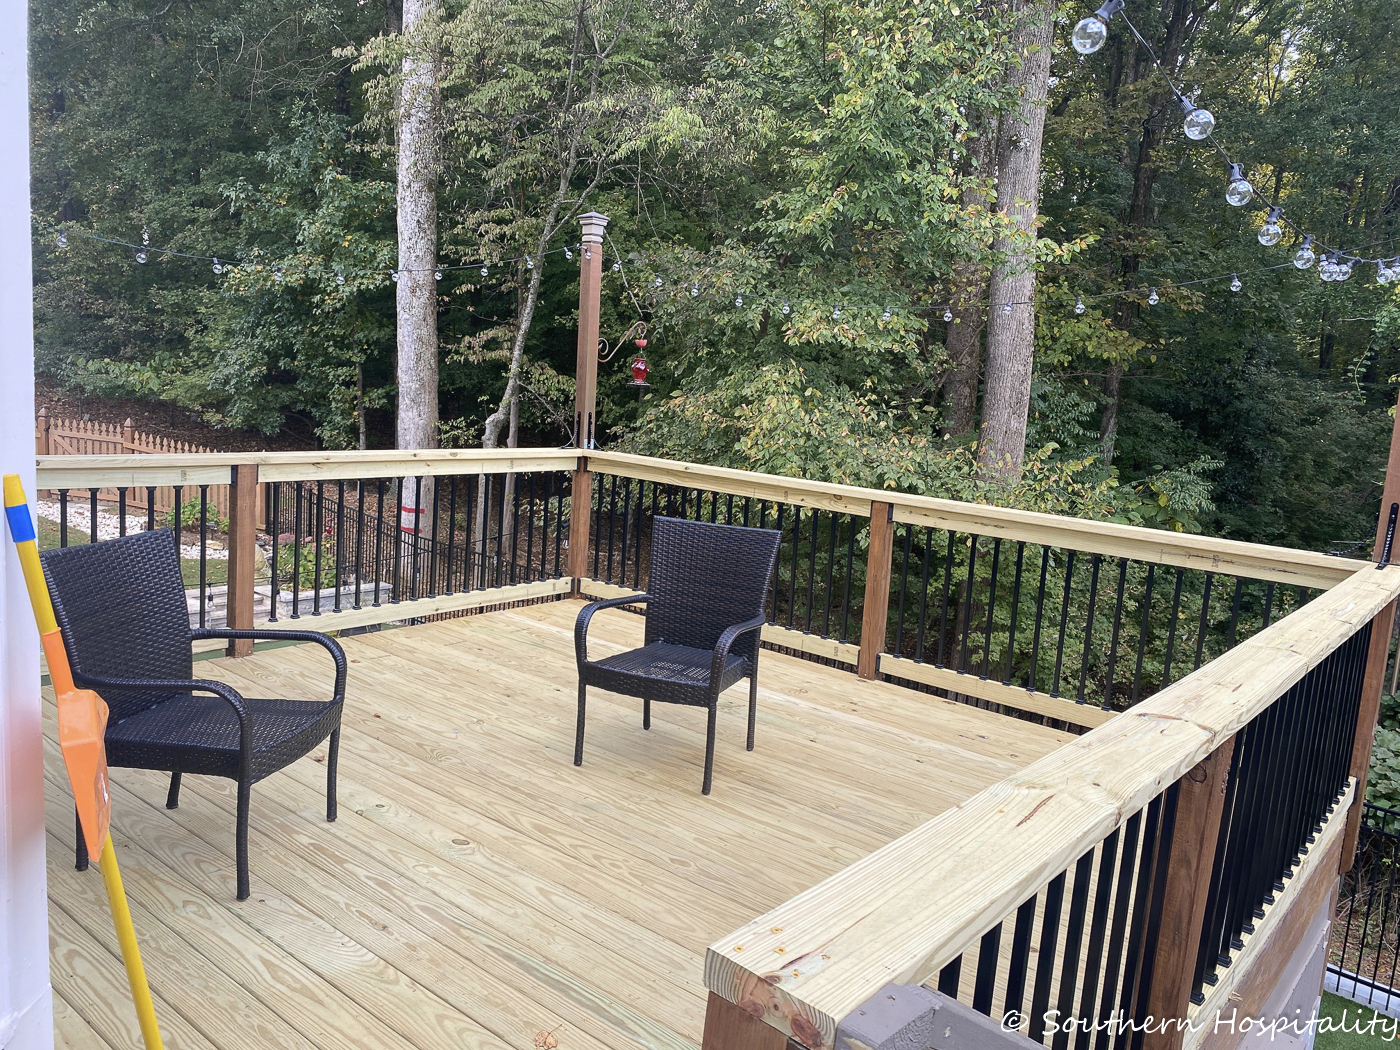
Our deck is about 14′ x 14′ or so with the bay window.
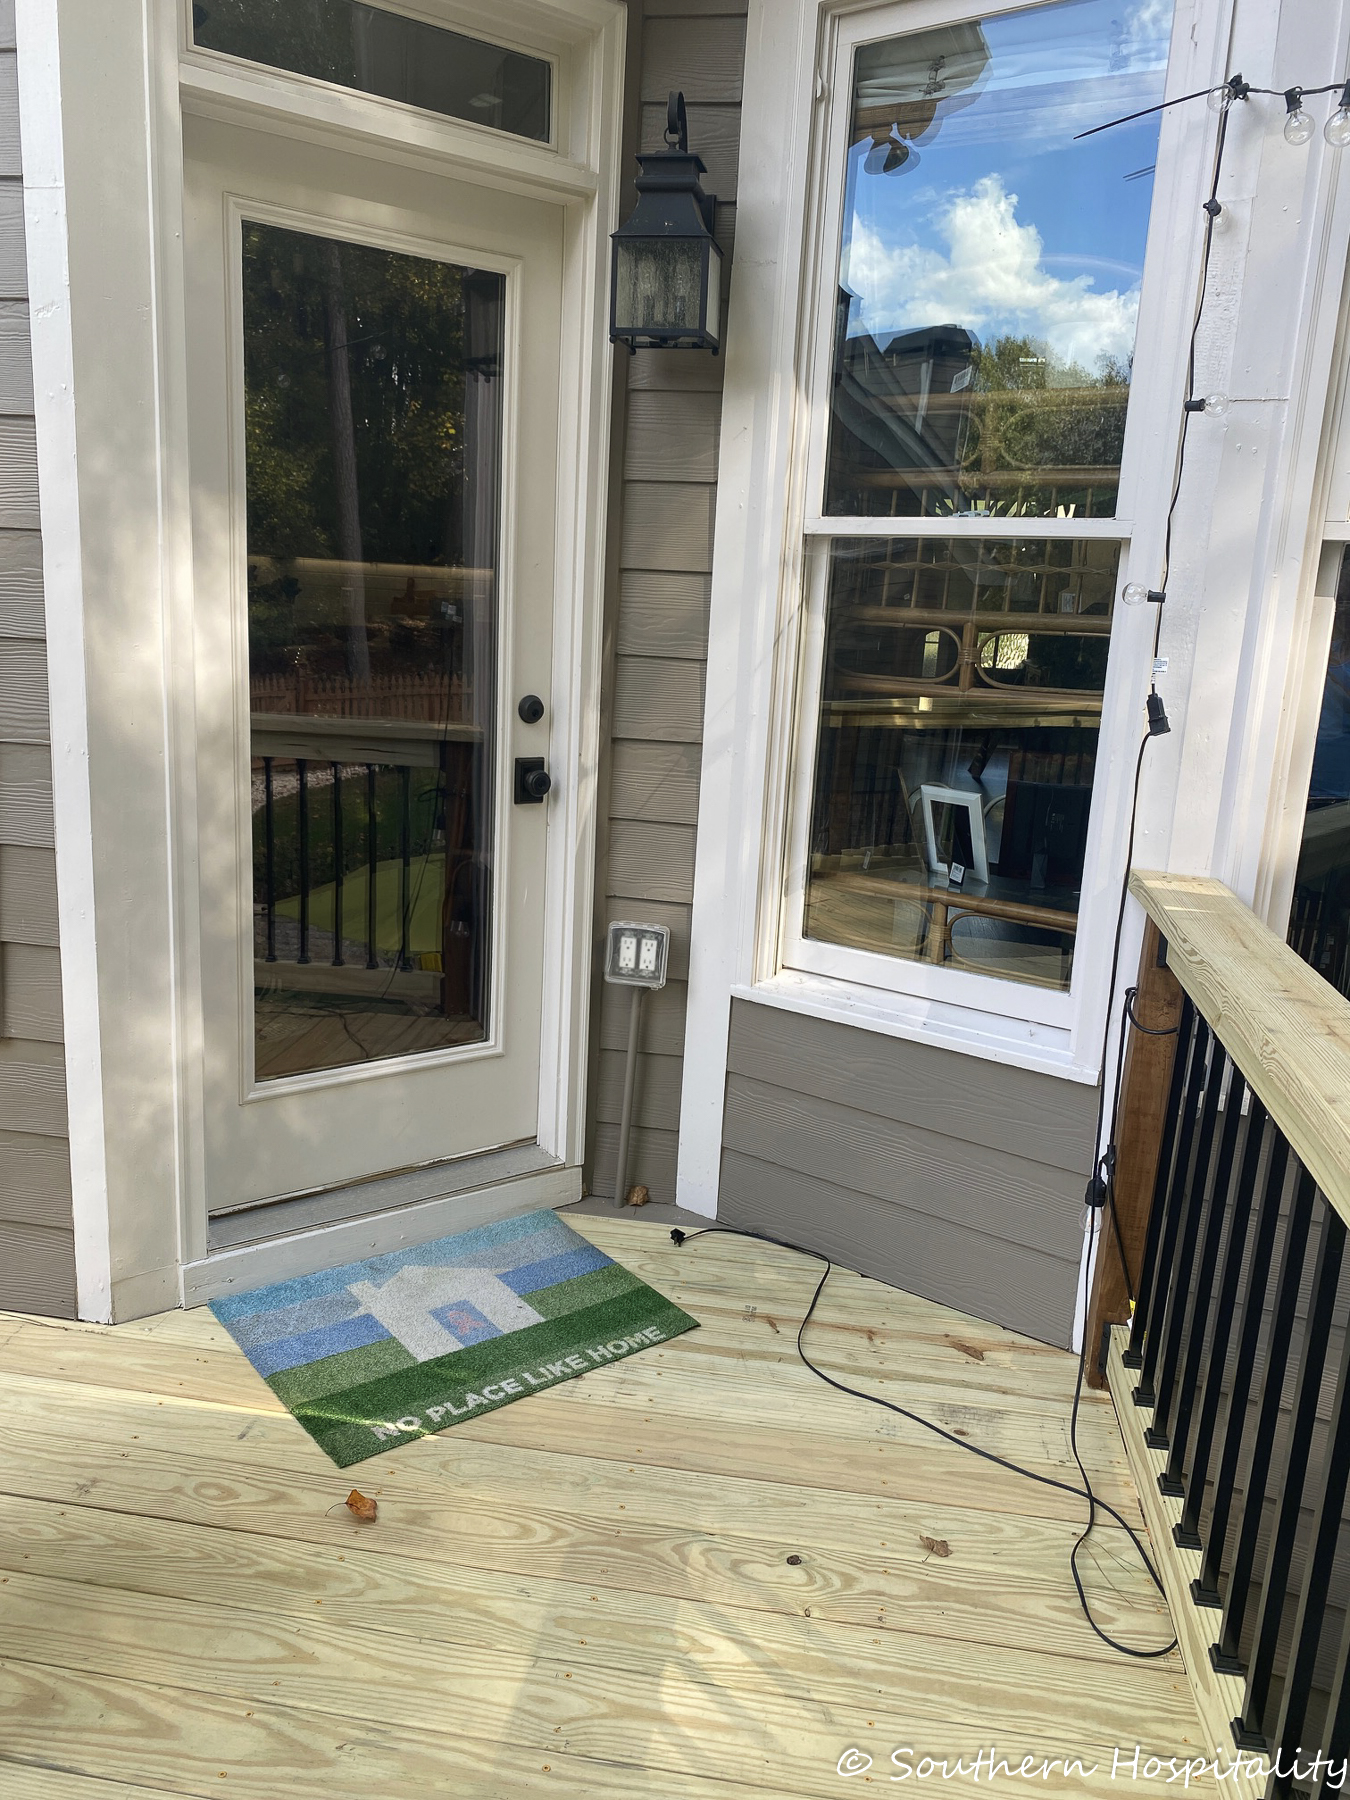
Mark especially is so happy this job is done and he finished it before we went on vacation. I’m super proud of him for figuring all this out and executing it all so well. He not only saved us money, but it is probably better built than if we had hired it out. I told him what we saved on this deck, we could spend on vacation! Win-win for us!


Awesome job, Mark! The saving is worth the labor. His writing was great, in fact, several times he made me laugh right out loud.
Great job, Mark! The new deck looks amazing!
Mark is a prince! You better keep him, Rhoda!