I know, I know! It’s early to be decorating Christmas trees and I know we haven’t even gotten to Thanksgiving yet and I love Thanksgiving, so bear with me. I promise not to skip over Thanksgiving, since it’s one of my favorite holidays too. But, just for today, let’s take a look at Christmas trees, OK?
Last year some of my friends participated in this fun Christmas tree decorating challenge and this year I got the invitation from Michaels stores to join in the fun. So I said YES! I love decorating for Christmas and even though it’s a bit early, it’s always fun to come up with new ways to decorate those Christmas trees each year. Mixing it up has always been something I enjoy doing, so I was in on this one. My sister also loves, loves decorating Christmas trees, so I got her in on the fun too and we did the tree at her house. We think it turned out beautifully!
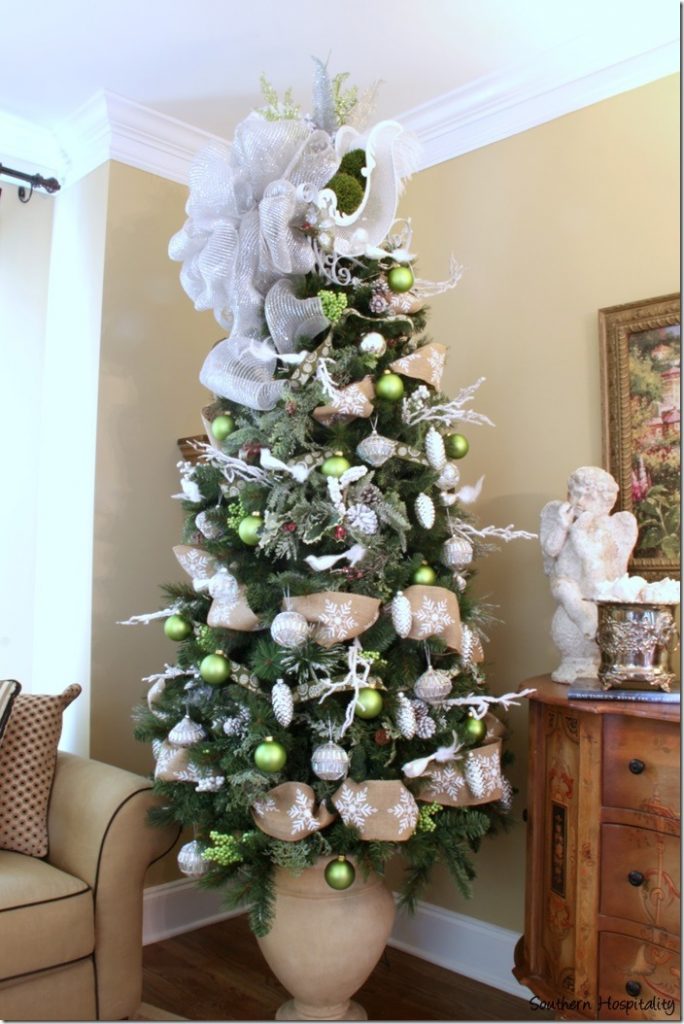
I’ve been a long time shopper at Michaels stores and I imagine you have too. They have all sorts of craft ideas and supplies and I can’t tell you how many things I’ve bought at Michaels over the years, with my 40% coupon in hand. I was sent this 7’ prelit tree from Michaels and also given a giftcard to shop with for all the decorations on this tree. We decided to do sort of a natural woodlands look, with green, white, silver and some naturals and found the prettiest burlap ribbon with white snowflakes on it, so that was our base for the tree.
My sister wanted to put the tree in an urn, so she and her hubby did that and it was all set up and ready to go for the decorating part. Here’s how she did the tree in the urn. She bought a large box of plaster of Paris and then mixed it up and poured it with those styrofoam packing peanuts. I don’t have the pics of that part, but hopefully if you try it, you can figure it out. She added the peanuts, then poured in the plaster of Paris and sort of mixed it together and then kept layering it all in there. She added the packing peanuts to keep it from getting too heavy with the plaster and tree in the urn. I think they used a rope to hold the tree in place until it all dried (she’s married to an engineer!), so doing this in a garage or somewhere out of the way would be handy for keeping the tree straight while it’s drying.
It worked and looks great!
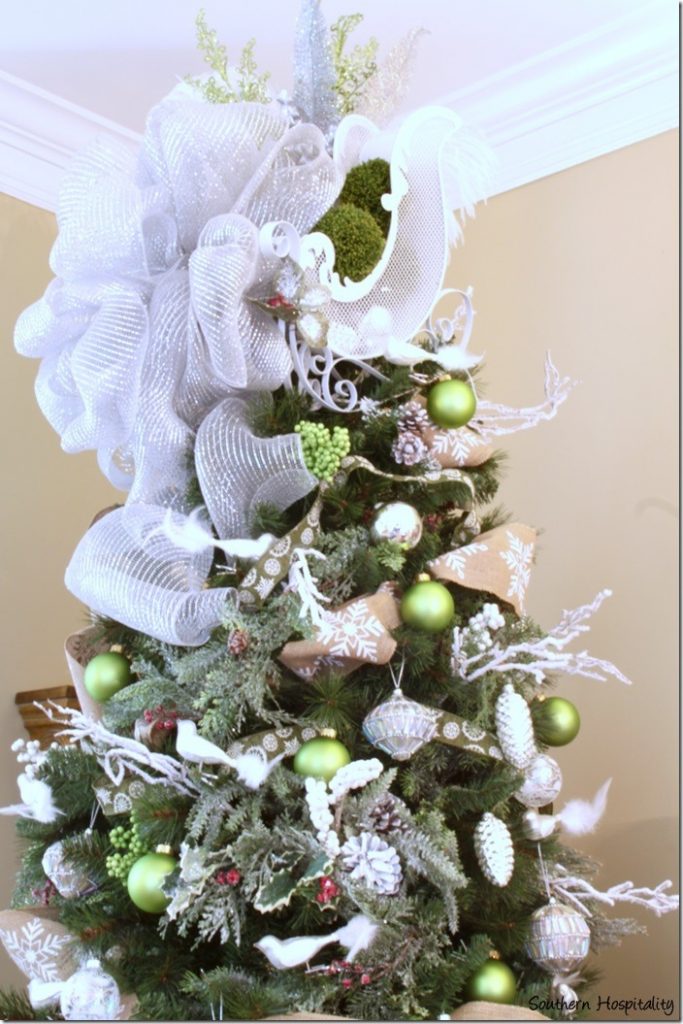
Meanwhile, we hit Michaels for some Christmas décor shopping. We got a few pointers from one of the ladies working at my local Michaels store who also does their decorating. She gave us the idea of using a pretty white sleigh at the top of the tree and it turned out so pretty! She also gave us a few more ideas for layering the tree so that it looks much more full even though it’s all artificial greens. I knew about this trick, but this is the first time I have really tried it like this.
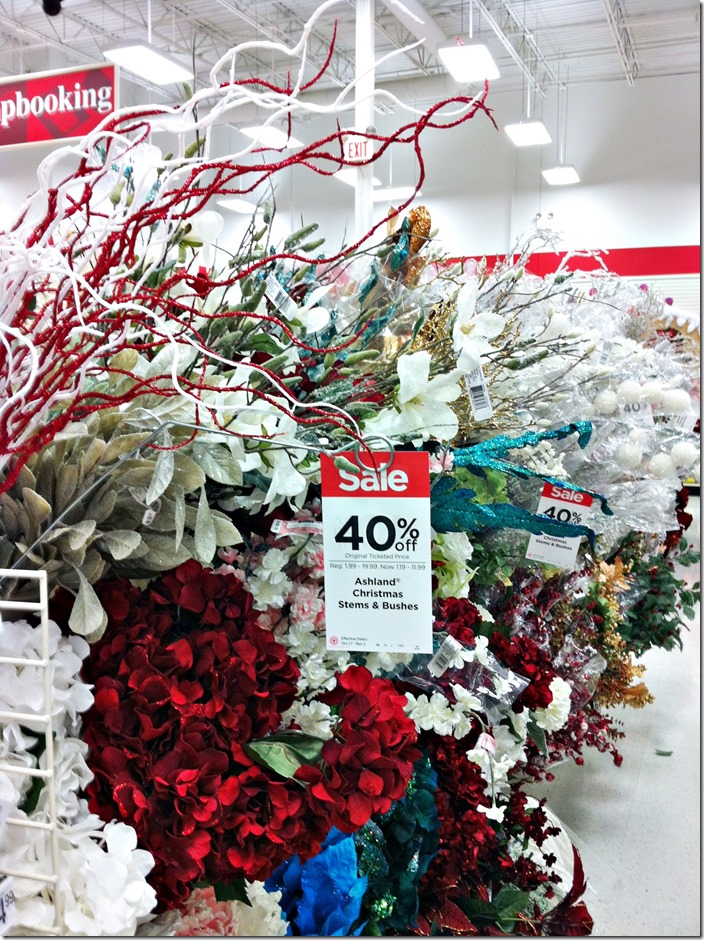
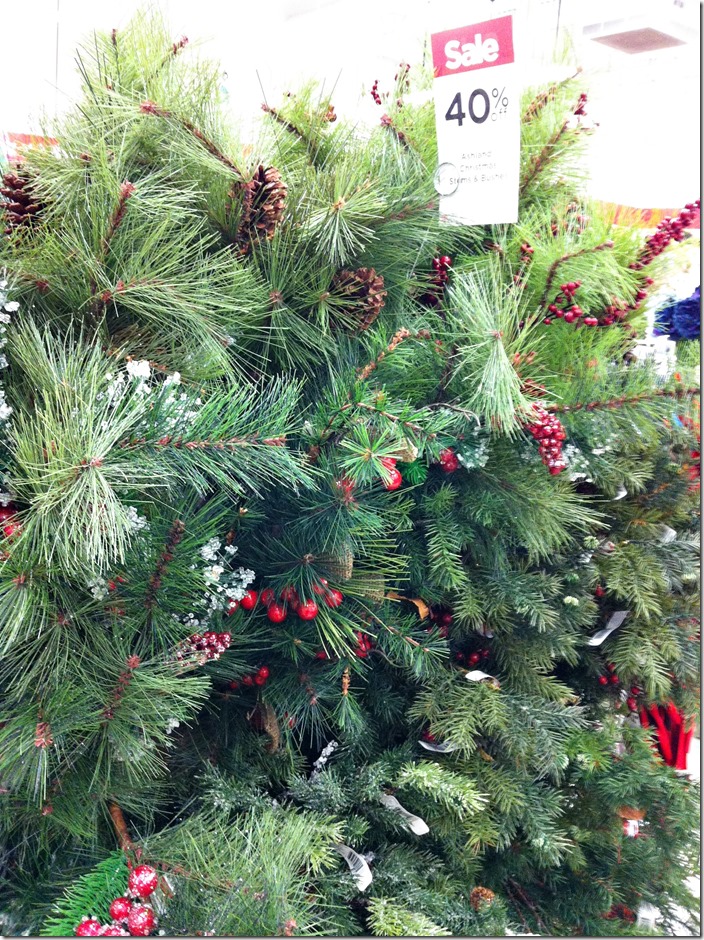
Don’t forget the Christmas naturals and Christmas branches when you are looking for décor for your tree. The aisles with all the faux flowers and branches are great for filling in trees. Look for berries, snow covered branches and lots more for inspiration. These things really make a difference in the overall look of the tree once all the pretties are in place. These are the base items for your tree.
She pointed out the faux branches that are really great for filling in holes in faux trees. You just shove them here and there and they add so much to the tree with their berries, icey branches and pinecones that are already attached. Layer by layer, the tree will come together.
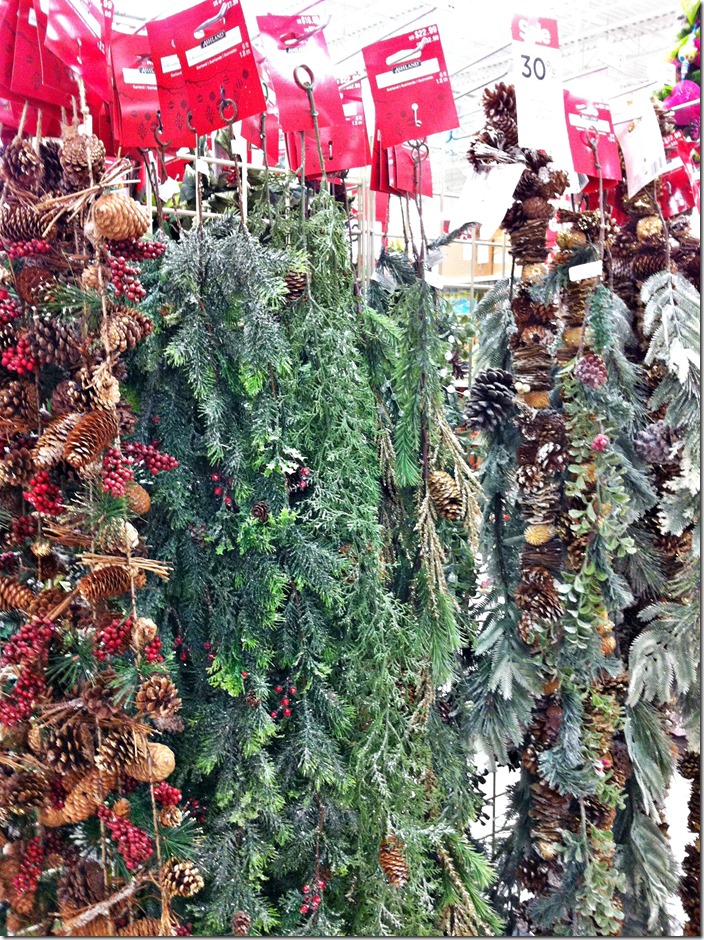
And another pointer for adding layers to your faux tree. Add garland! This sounds so simple, but it really did make a huge difference in our tree. Wrap it around and tuck in the tree to hide those bare spots. Then once all of this is in place, it’s time for the next layer of ribbon and then the ornaments.
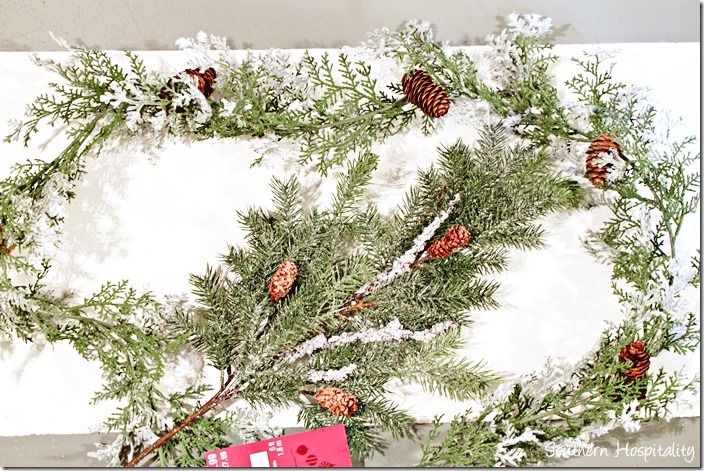
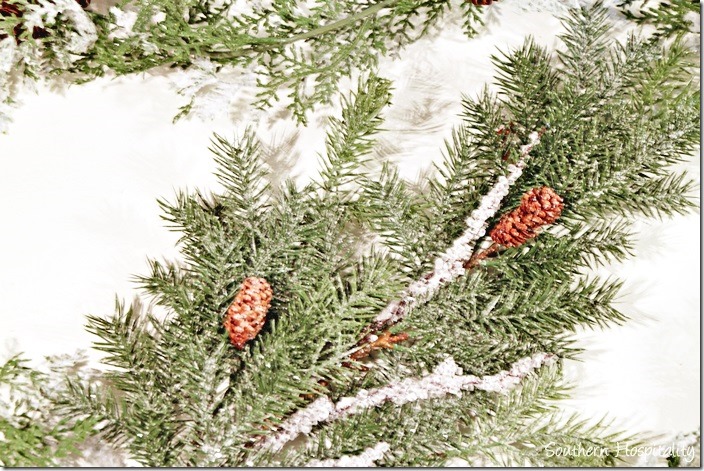
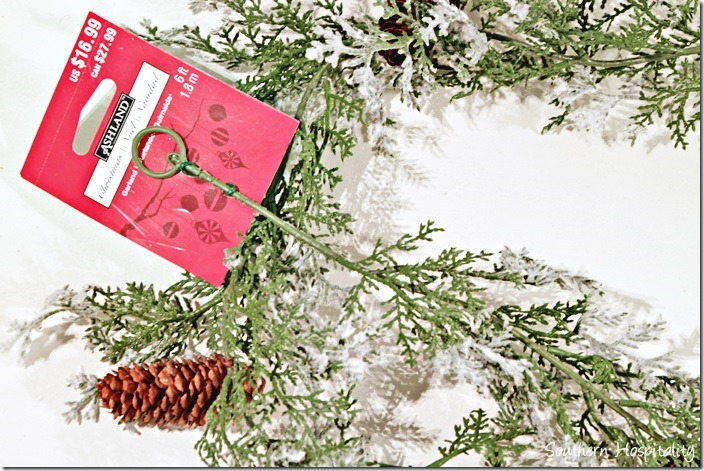
Here’s what I got for our tree, this pretty and delicate faux garland with white flocking and pinecones attached. Those faux greens branches work great too for adding fullness, so get both.
I love how delicate it is and it will make such a pretty statement in the tree.
You can find all sorts of garlands at Michaels, so choose the ones that you love the best. Don’t forget your 40% coupons and right now they have lots of 20% coupons too. Our cashier got creative and rang it up with the best savings possible for this big purchase.
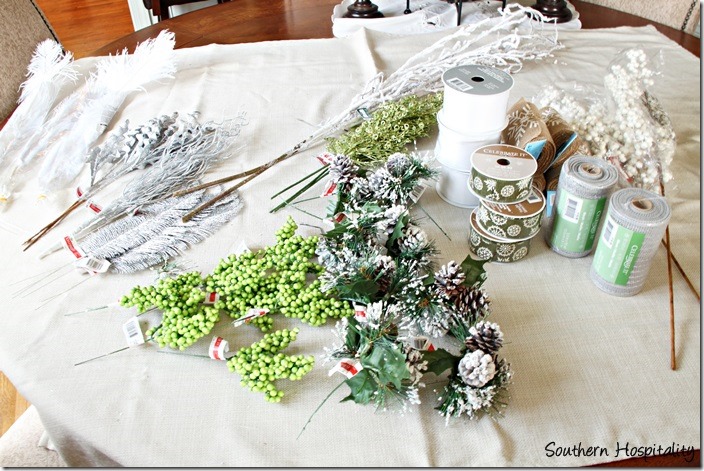
So, here’s what we got! Green berries, pinecone picks, several rolls of ribbon (we ended up not using all of this so took some back), white berries, snow covered branches, silver glitter feathers and picks and white feathers for the top.
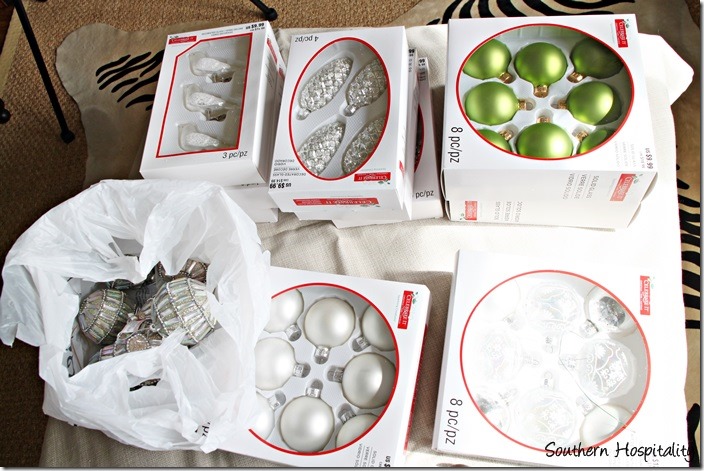
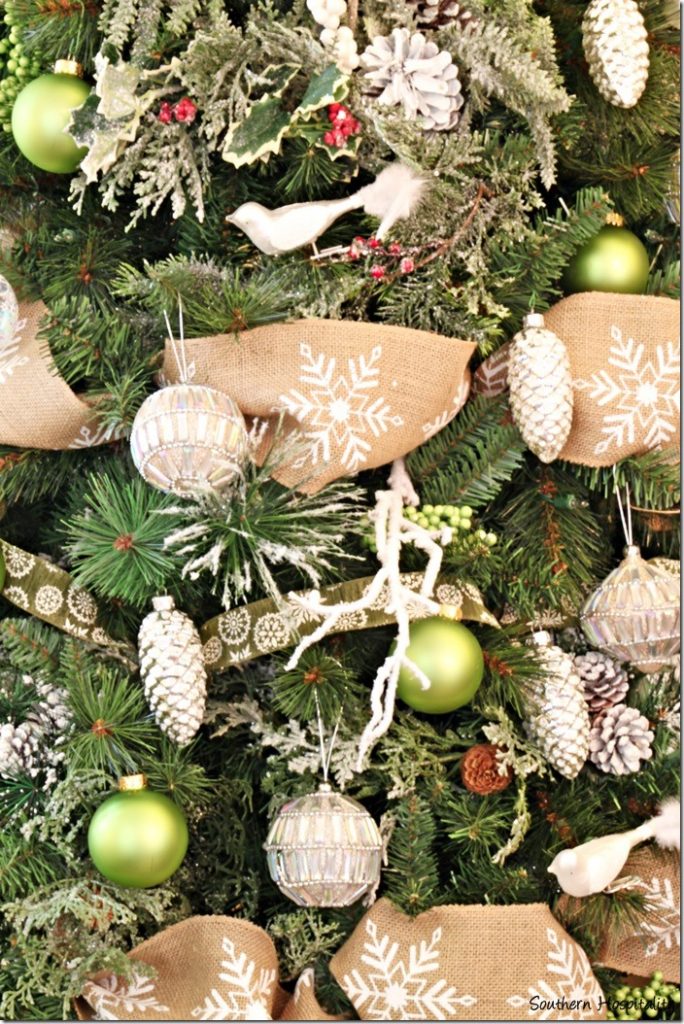
And these are the ornaments that we ended up with. Loved the lime green glass balls and the delicate white and glass balls (can’t see that too well with the sun shining in, right corner), silver pinecones, white birds and some pretty silver and glass ornaments (in the bag). We ended up not needing the white ornaments so took those back. Love these colors for the tree!
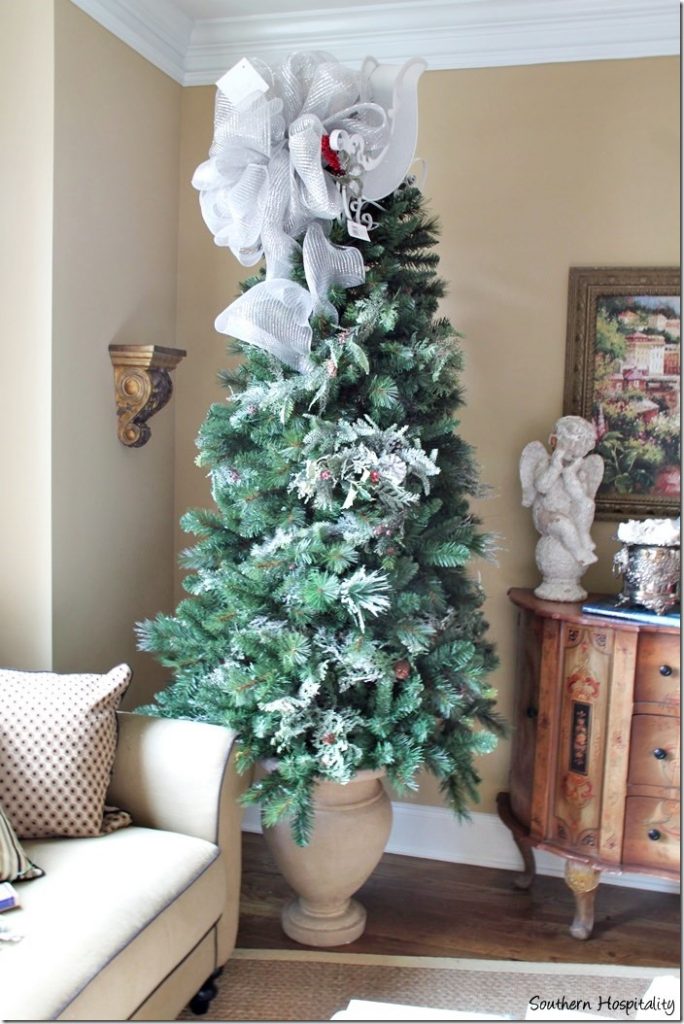
Here’s the tree after we added the garland and the faux picks. Doesn’t it look full and lush now?
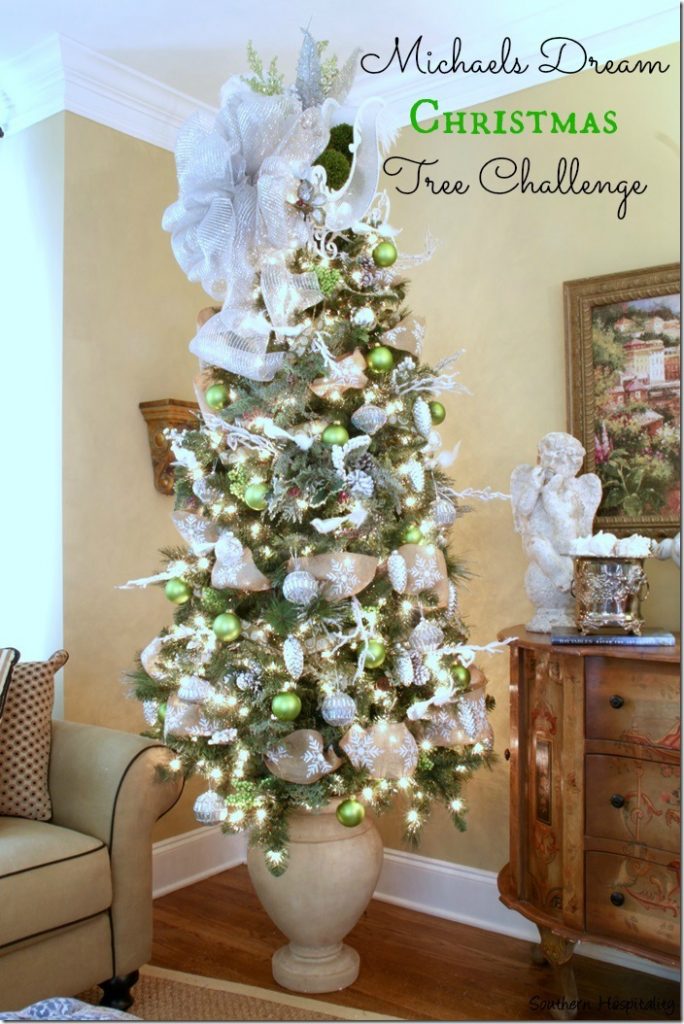
And here’s the tree all decorated in our pretty ornaments, ribbon, and picks. I love it!
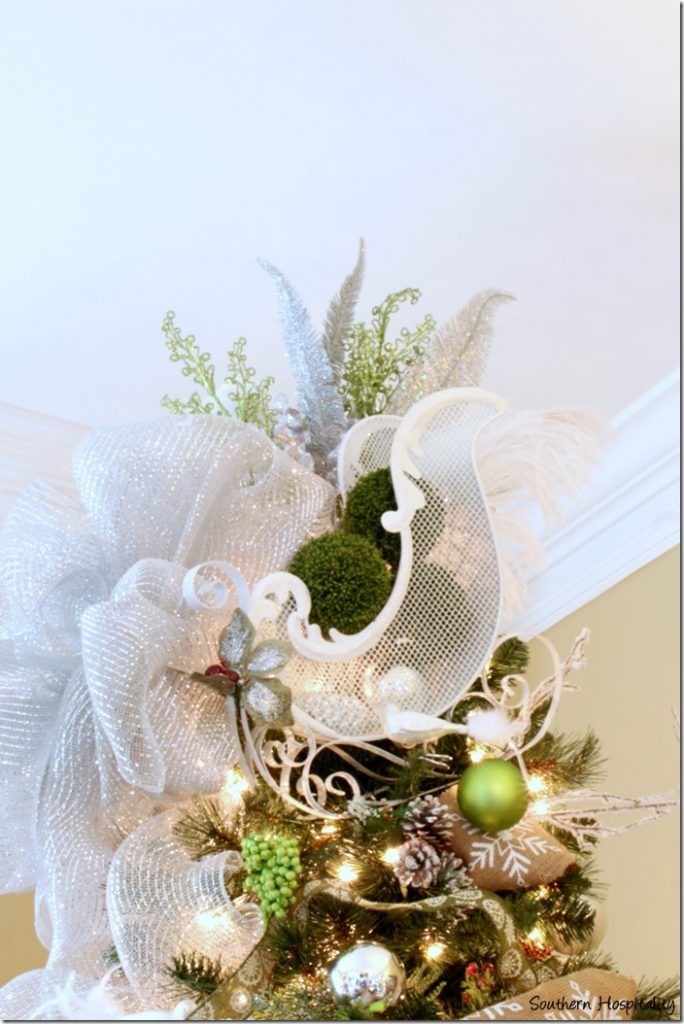
We added this pretty white sleigh at the top with an enormous silver mesh bow that we bought premade at Michaels on the side. To the sleigh, we piled in a few ornaments and mossy balls so that it would show up against the white. Peeking out of the top are glitter silver feathers, and some other glitter picks.
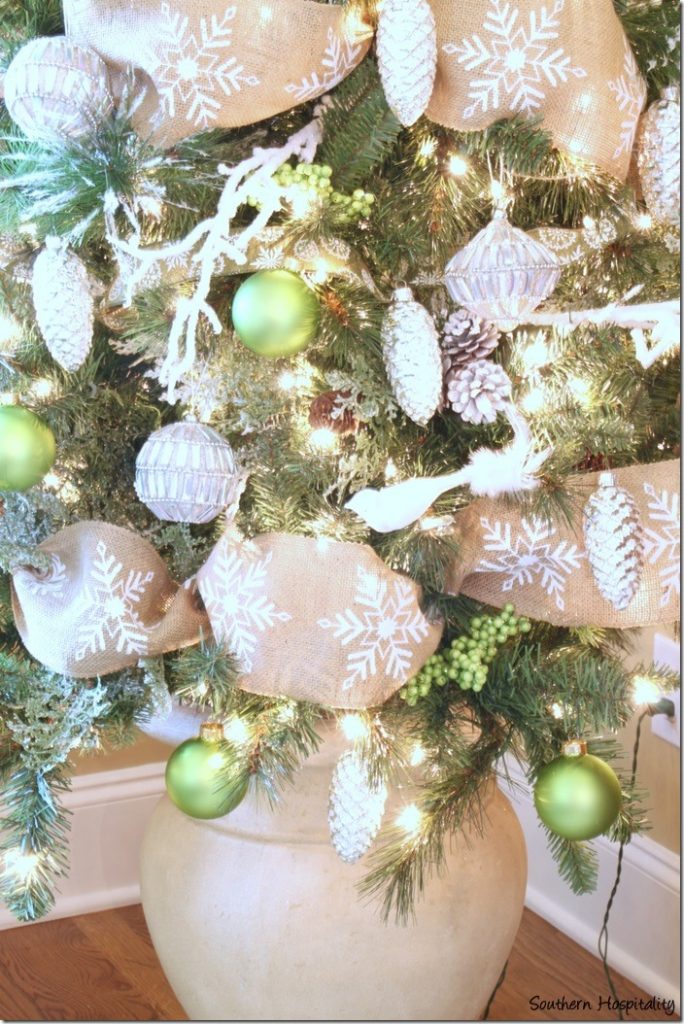
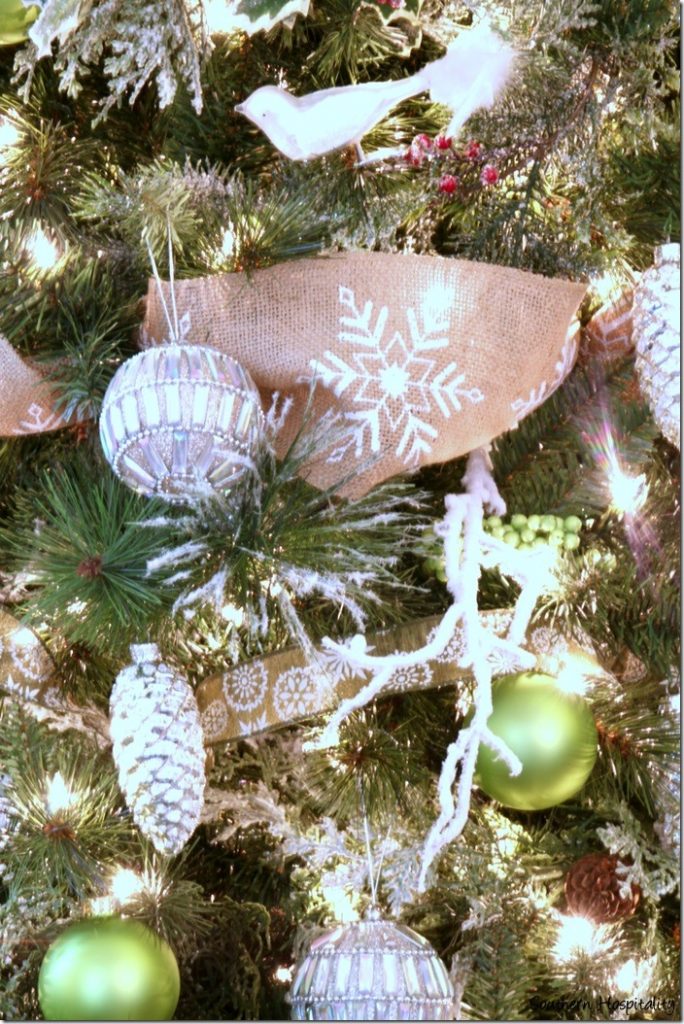
We wove the burlap with white snowflake ribbon in and around the tree, tucking it and curving it, so that it looks just right.
We also wove the green and white ribbon in there too for more contrast. Then we were ready to add the individual pretties. Glass balls, birds, sticks, and silver pinecones.
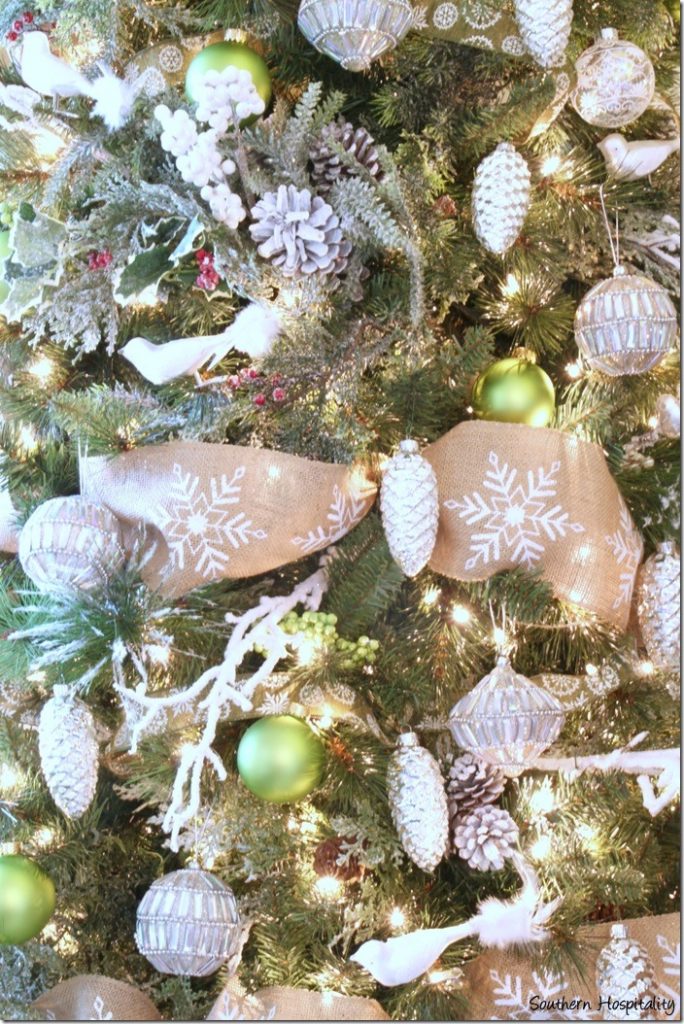
I loved these delicate looking silver orbs. They look like glass, but are very lightweight. The flocked branches look great as an accent too. Just poke them in the branches for some added interest.
Here’s a shot of the tree unlit so you can see more details on the ornaments themselves. We love how the tree turned out!
It’s fun to combine your favorite elements and create a tree that is all your own.
See how those garlands and faux green picks really make this tree look full and lush. I’m going to do that from now on with all my trees. That was a great tip from the Michaels decorator. She knows her stuff!
There will be several other bloggers doing this challenge too, so I can’t wait to see what everyone comes up with from their Michaels shopping spree. I’ll be sure and let you know when they are all featured and send you over to check them out.
Merry early Christmas! Are you getting in the mood yet? ![]()
Here are some interesting facts about Michaels trees:
- Michaels has a large selection of pre-lit high-tip count artificial trees ranging in size from 4 ft. to 7.5 ft. and all the way up to 9 ft. They even come in different shapes, from skinny to full and in-between with some smaller trees coming in different color options
- Each tree purchased at Michaels comes with a 5 year tree warranty and a 2 year warranty on the lights
- Stop by your local Michaels November 3 through November 9 for a special tree event
- The Michaels Décor Guide has tons of ideas and projects to make spreading the holiday cheer throughout your house easy. Navigate through the online version, download a copy, or pick up one at your local Michaels!
Michaels is offering a holiday helpline this year! Now through Christmas Eve you can call 1-800-MICHAELS Monday through Friday from noon until 5 p.m. CST and be connected directly to Michaels crafting experts. You also can send craft questions via email to [email protected] or by using the hashtag #askmichaels on Facebook and Twitter
You can follow along on Michaels Facebook page and I’m sure they will be sharing all the trees there too! Happy Christmas decorating! Now, I’m going to relax for a few more weeks and really start decorating around Thanksgiving weekend.
Note: I was given a 7′ prelit tree from Michaels, along with a giftcard to shop for Christmas decorations for the tree and this is part of a blogger program for the Michaels Dream Tree Christmas challenge.


The tree is beautiful! Just wondering….what was the grand total for everything?
Tammy, I had a $500 giftcard and spent $450 on all of the ornaments you see. Not including the tree.
Rhoda, yoo and your sister did a great job! The tree looks so pretty, I love the colors! I knew about adding greens and garlands. I also add long gold branches (or what ever color you are doing) to fill in bare spots. I have a 10 foot tree so I also have purchased VERY large ornaments and use them DEEP into the tree, that is another tip, fill in the inside too. I AM thinking Christmas because we are doing a house tour in our development and I am one of the 3 houses!!!
LOVE LOVE LOVE!!!
Very pretty tree, Rhoda! Love the idea of using the sinemay at the top of the tree, rather than throughout. Also, I love the urn! ~Kerri
Gorgeous topper. I want to do that one for sure!
Love what you did with that tree!! It looks beautiful!! I have a couple of old crocks I am thinking about seeing if my tree will look good in one of them. Going to start working on mine this weekend you got me in the mood…I am pretty slow.
Rhoda, your tree is soooo beautiful! I love it. I also love you new blog design! Hope you are doing well. Looking forward to the holidays!
Rhoda – This tree is breathtaking! The urn idea is awesome and the burlap ribbon sets it off terrifically. Love the huge bow and white sleigh. So very pretty and festive. Keep up the great work you do!
I found your site by searching for all the blogs that participated in Michael’s Dream Tree this year, and I wanted you to know how much I appreciate your decorating tips. I never thought about adding the florals in to make the tree itself fuller. I absolutely ADORE the urn! And I liked hearing that you bought too much and then returned the extras, something I tend to do but never actually make the return (and thus have too much clutter.)
So thank you for this post! I know this is a Michael’s promotional event, but you really went a few steps further with passing on the insightful advice from the store employees and how to do the urn.
Merry (Early!) Christmas to you and yours 🙂
Rhonda, that is absolutely beautiful! You have a great eye and wonderful taste, I love seeing your work.
Very pretty, Rhoda! Love the burlap, and the colors on the tree are beautiful!
We have used the spray insulation that expands to put trees in urns. It comes in a spray can like paint. Really simple and not heavy. If it expands too much, just take a knife and trim it down.
Hi, Kaye, that is a great idea! Totally didn’t think of that but it would work well, I imagine. Thanks for letting us know!
R,
I love everything about your tree! Oh, okay, lets be real, I love everything about this entire holiday season-Thanksgiving and Christmas. I don’t see any prices listed on the any of the Christmas trees at M’s; where can I find out what the trees cost? I’m considering using a faux tree this year and I’ve always used a ‘real’ tree. I am looking forward to using some of your wonderful suggestions!
HI, Constance, have you tried going in a local Michaels store? That’s what I would suggest and then you can see them in person.
The tree is very pretty, but $450 without the cost of the tree! Yikes!! I have hundreds of ornaments I have collected over the years and I try to get a few new decorations each year to put a new spin on my tree. I love the idea of using the foam insulation to hold the tree in an urn. I am definitely going to try that this year. Thanks for the photos, makes me feel better knowing I am not going to be the only one with my tree up before Thanksgiving! And by the way, how nice of you to do your sister’s tree. What are you planning for yours in your new home?
Hey, Cheryl, I know, it’s expensive to go out and buy everything from scratch, like we did with this tree. Don’t often get that opportunity. I’ll be bringing some of these ornaments home with me for my smaller tree, so you’ll see something very similar on my tree this year.
You all did a great job. Looks like the tree could be in a magazine. That is not my style…I love all of the heirloom and traditional ornaments we’ve collected over the years. We randomly decorate our real tree and don’t really try to hide the “holes”…in fact we have bigger ornaments that we fit into those spots.
Hey Rhoda, I love this tree! I’ve gone with the red, lime and white theme for the past two years, but you’ve inspired me to give the natural palette a go this Christmas…and my husband’s sooo happy to hear that I’ll be buying MORE decorations for him to put up in the attic…hehe! I was wondering if you know the dimensions of the sleigh and urn y’all used? Thanks!!
HI, Christa, thanks so glad you got inspired by the tree! I don’t know the dimensions, so sorry, it’s at my sister’s house right now. But if it helps the tree is 7′ tall.
Love your tree, Rhoda! And you gave some great tips too – using garland and picks to fill in holes and add interest – never thought about doing that! And that burlap ribbon – need to go pick up some of that. And those silver/mercury glass pinecones – love those too.
Great job! Can’t wait to see your tree!