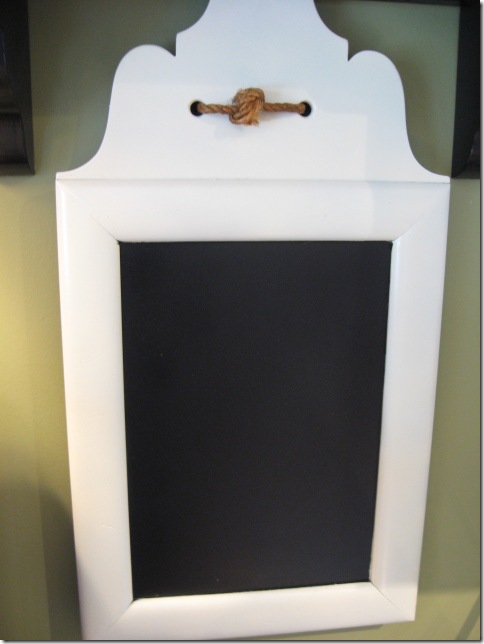
Remember the old mirror I found at the rummage sale over the 4th weekend, for $3? I knew I’d paint it and do something fun with it, so I figured this was finally my chance to do a chalkboard, like I’ve seen ALL over blogland. I think I’m the last one to do this one. I was waiting for the right piece. 🙂
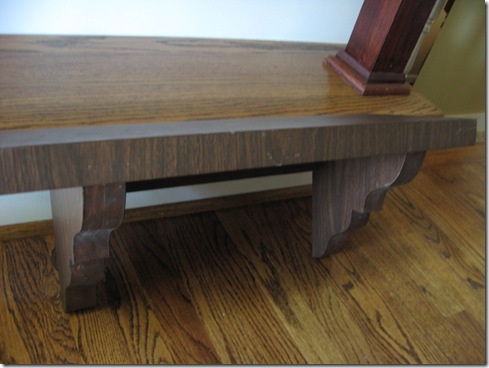
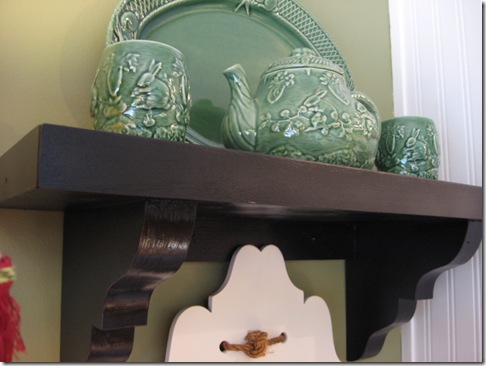
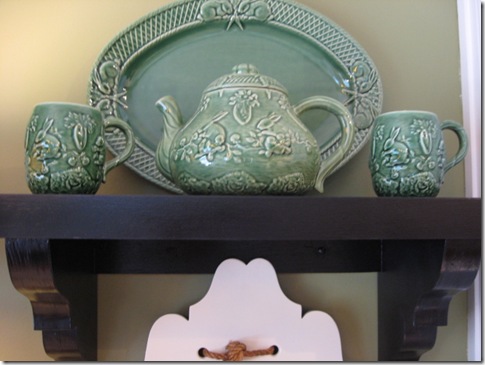
And this chunky wood shelf with the ugly faux grain laminate was a steal at $2, and I’m so glad I snapped it up. After a coat of black paint, it looks totally different and really a shoe-in for a Ballard’s look-alike shelf. Are you ready to see them finished?
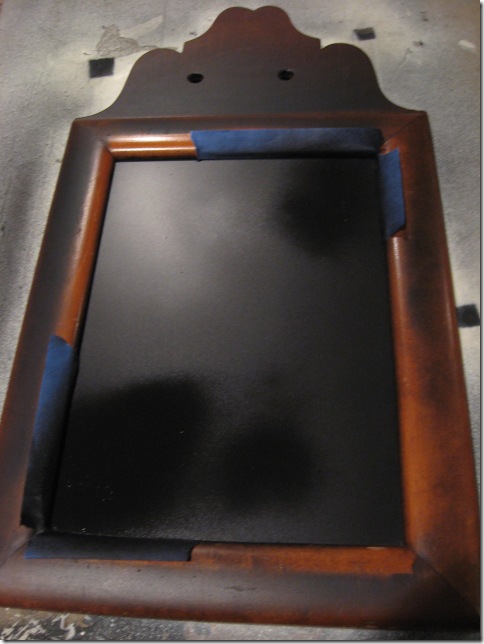
I did a few coats of spray chalkboard paint on this one, then taped off the inside and sprayed the outside with the trusty Heirloom White that is all over blogland too. Great color, by the way! I have a quart of the stuff that I’ve had for a couple years, but the spray paint really comes in handy for fast projects. And to answer your questions, YES, I did paint right over the mirror with the chalkboard paint. It seems to be holding up fine, so even if you’re not supposed to do that, you know I don’t follow rules. I did about 3 coats, letting them dry in between. I’m sure it might scratch off if I tried, but it is fine for writing. Tape and newspaper come in handy for masking off areas you don’t want to paint.
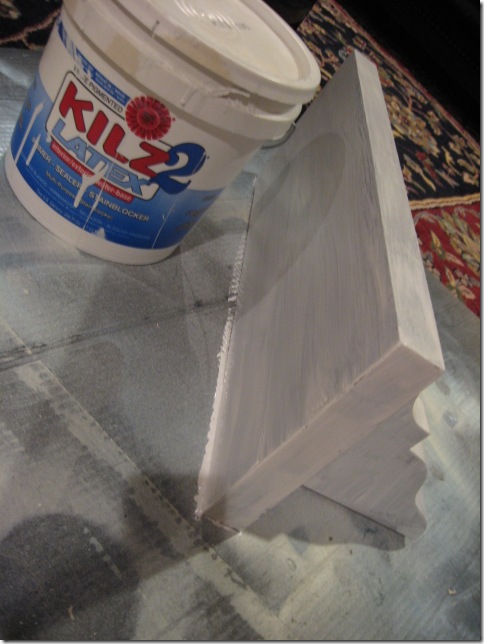
Used some Kilz on that nasty shelf to make sure the black satin spray paint would stick. Sorry, I missed the other spray steps, but you get the picture. See what I do for you girls?
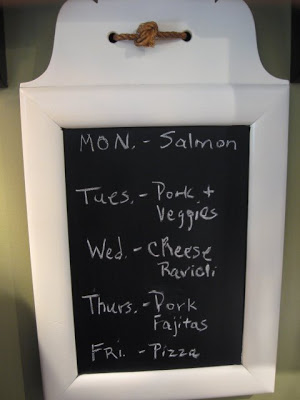
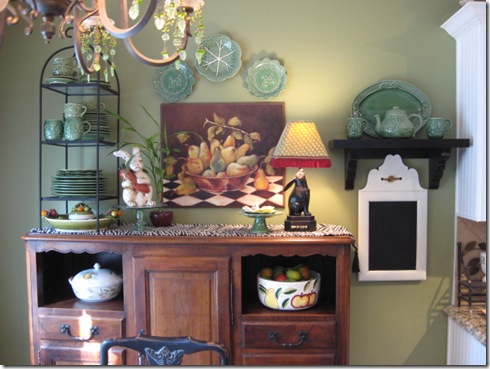
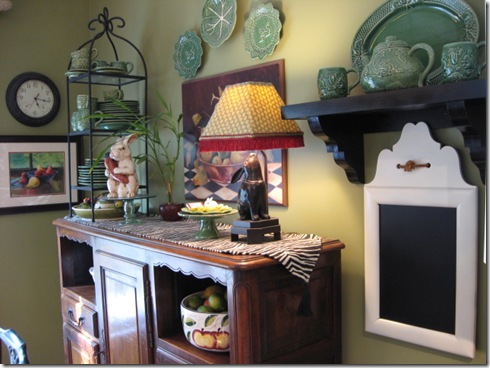
Here’s the mirror with her fresh coat of white paint. Ahhh, so much better and such a great fit for my kitchen now. Maybe I will now have a place to display a weekly menu for my hubby who has been strongly hinting that I should do some meal planning around our house. Ha! Whatever for?? I actually did write the weekly menu (Monday – Friday) on here this week and he loved it. My man likes to eat and when he’s not eating, he likes to read about what we are having for dinner. 🙂
And the black shelf. I debated on which color I wanted on these and finally came to the conclusion that I needed to mix it up with black and white. How you ask?
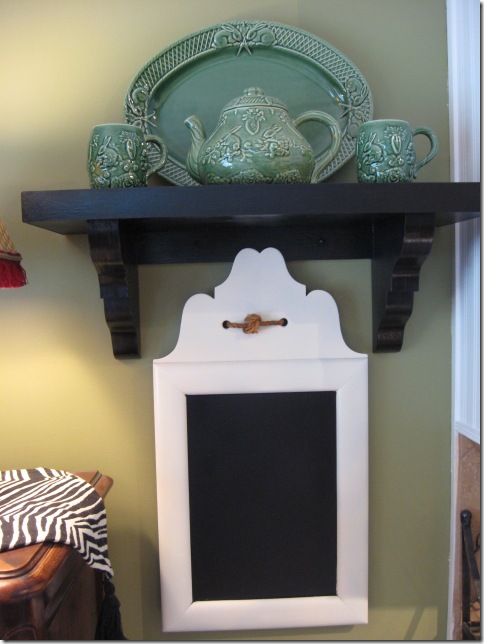
Well, here’s my thinking process. I looked over this area and decided that all white would be too much white in one area by my antique cupboard here in the breakfast part of our kitchen.
So, a mix would be better. Black on the shelf and with the chalkboard being black, the best balance in my eye was to do the frame in white and I’m really happy with the way it all looks together. Sort of picks up that black and white zebra runner too.
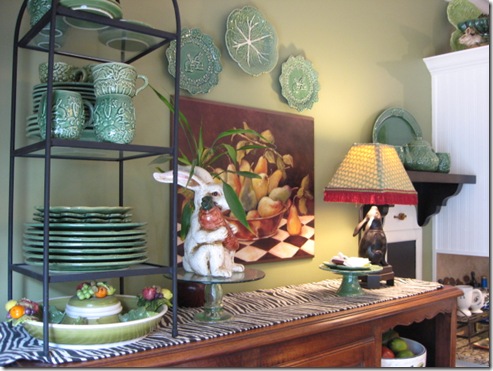
Now some would think this is all way too much stuff, but you know how I feel about that. I’ll say it again. I’m not a minimalist and I love to layer things. Added more of my green dishes to the black shelf to balance out that side and with the chalkboard underneath, it works for me. I love the trend towards a simple tablescape too, but I also enjoy hanging stuff on the walls. It just makes me happy!
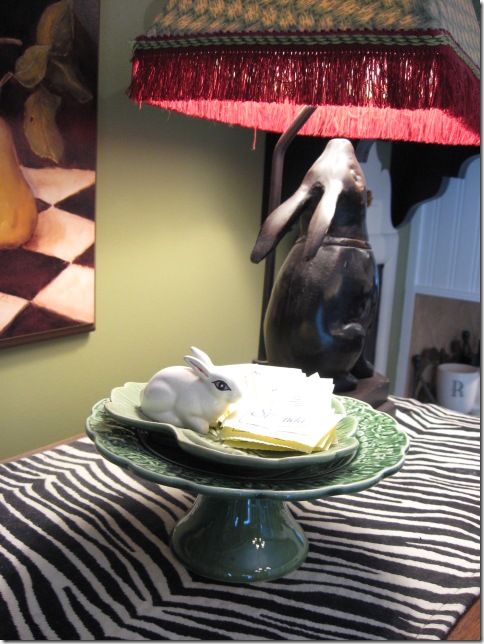
Those are Splenda packets on the bunny dish within grabbing distance for my morning cappuccino.
There’s an old phone jack under the chalkboard that we’re not using, so this was also a good way to cover it up.
I know how we all love a good Before and After project, so there you have it. From shabby to chic! This wall makes me smile.
Kimba’s DIY party is also going on, so stop by there for lots more DIY ideas!



Cute chalkboard! IDEA: You could change out the rope with different colors & patterns of grosgrain ribbon… maybe depending on the season or holiday.
Again, you blow me away with the possibilities see in things, Rhoda. It's a gift! Both of these projects turned out wonderfully. I painted the closet doors in my office with chalkboard paint many years ago and still love it. I post notes, room dimensions, room arrangement sketches; play Hangman with my granddaughters or they do math problems or drawings. Love chalkboard paint!
I also love that you acknowledge that the wall would be too much stuff for some. I'm not a minimalist (whatever that is), but I prefer fewer pieces; lots of stuff makes me feel clogged up. I've always loved negative space and open spaces. Doesn't mean that one style is better than another in any way, just that we're all wonderful individuals and can appreciate an celebrate one another's differences. You rock!
Your creative genius is showing. It's great!
Happy Twirls
LOVE, LOVE, LOVE!!!! The whole post!!!
Hi Rhoda! Congrats on your first chalkboard~I love your vision with this one. I sprayed chalkboard paint right over glass as well and it's been holding up for almost 2 years. Thanks for the advice on the grasscloth also~I love it now! The lighting I had in there was horrible, I replaced the yellow flourescent bulbs with the GE Reveal bulbs and it made a HUGE difference. I'll see you back here in just a bit for thrifty treasures 🙂
Fantastic! I love it and I think you do layering in a very clean and good way, and it doesn't look cluttered at all. Way to go and some good inspiration!
I haven’t done one yet either but I’ve been thinking about it. You could even put some glaze on the white so it picks up the print and highlights of the rabbit.
Cheri
I love this kitchen area. I might have to copy this…;)
And by “might” I mean, “definitely”.
Great job for your first CB project! Looks great!
I remember this cute little guy from when you originally posted about him. Glad to see him again! Thanks so much for linking up Rhoda!
Very nice version!