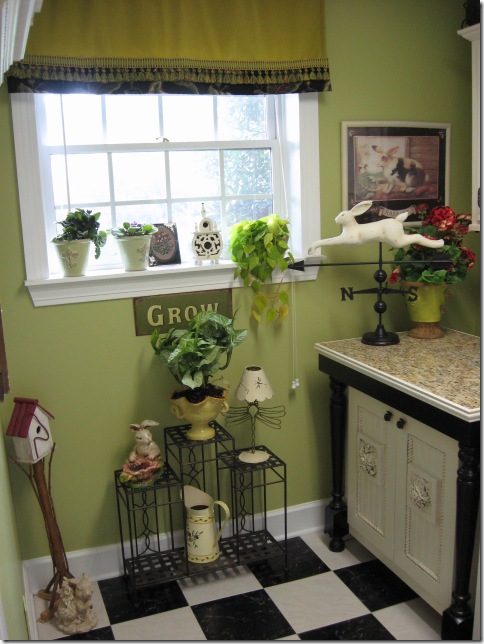
When I first saw my new house and what an ugly laundryroom I was stuck with, well I was a little bummed, because this is the laundry room I used to have.
Insert big sigh….
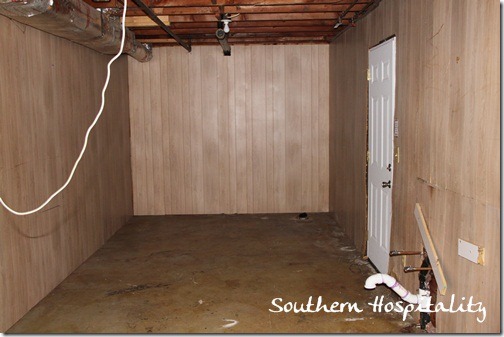
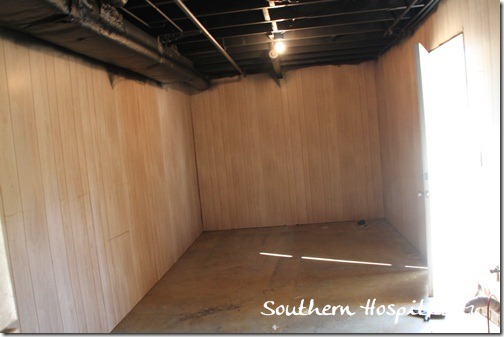
But, there’s no use crying over the old when there’s always room to improve the new, so that’s what I set about doing. I could hardly stand looking at this ugly old laundry room. This is what it looked like the first day I laid eyes on it.
Could you get inspired to do laundry in this space?
Pretty sad, right? How in the world do you make THIS look better? This is a long narrow room. That door to the right goes right outside to the backyard and is the door my dad built the cute little roof over.
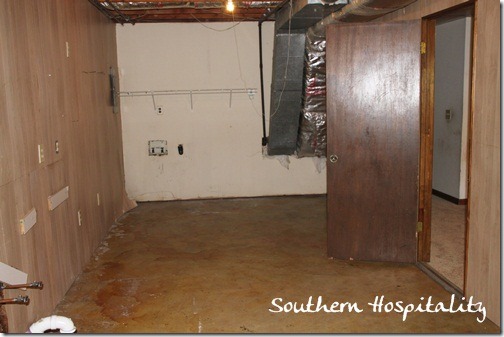
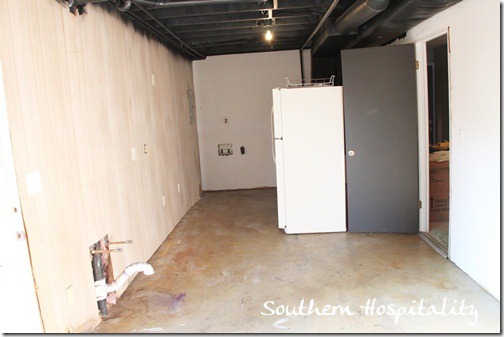
This end of the room is the laundry room part. Ugly wire shelf hanging on the wall is not staying. And that door on the right comes in from the den.
I wasn’t sure at first, but I figured I could work on it. And now that I’m moved in and bought a used washer and dryer, it was time to bring them up here and put them in place. I could NOT stand the thoughts of doing laundry in THIS room in THIS condition.
No way, no how!
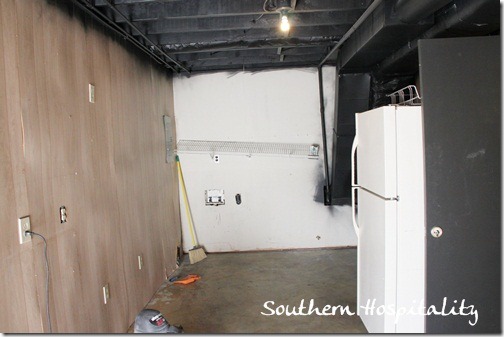
So, I set about figuring out what in the world I could do to improve the space. You’ll remember, I did have the ceiling painted black back in the summer. That was my first step to making this space a little more tolerable. The open rafters and ugly ductwork did nothing to beautify the space, but painting it black did help. At least it all disappeared and looks a little more industrial with the black ceiling.
So this is what it currently looked like as I was getting ready to bring in my washer and dryer to actually do laundry in this room. Ughhhh, pretty disgusting. It’s got some sort of paper like wall board paneling that is warped in several areas. I figured painting this would greatly improve it so I got out my left over ceiling paint and at least got some white paint slapped on the walls.
This room is long and narrow, like a bowling ally. The one good thing about it is it’s really BIG. I love that! I can do laundry at one end and have space for storage on the other end. Even though I don’t like the way this space looks, I’m so grateful to have it. Storage space is always welcome. Mudroom, laundry room, bathroom, and storage space, can’t ask for more than that, right?
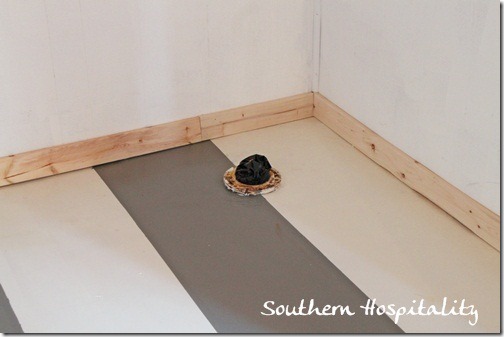
Yep, this room is stubbed for a toilet in that right corner back there. See that black spot on the floor? A toilet in here could come in handy later on.
Here it is with most of the walls painted white. I ran out and had to go get more, but they all eventually got one coat of white paint. Huge improvement already!
But, what to do with those floors?
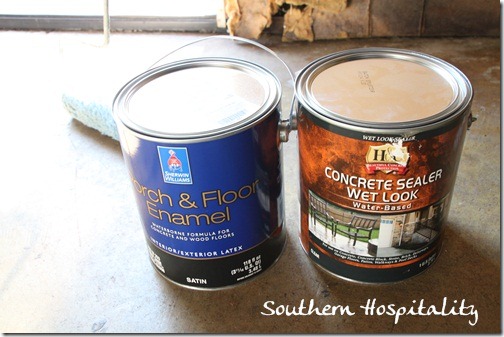
In stepped Sherwin Williams with the offer to send me some free paint for a project. Yippee! I have just the project for their porch and floor enamel. I figured I would do a cool striped paint treatment on this floor and vastly improve it. That old concrete floor was plain UGLY. So, I brought home 2 colors of concrete enamel (Alabaster and Cityscape) and a gallon of H&C Concrete Sealer with a wet look to seal my concrete and protect my new stripes. All of this came from my local Sherwin Williams. Can’t say enough good things about these products, they have performed wonderfully! Big huge thanks to Sherwin Williams for my free porch and floor enamel.
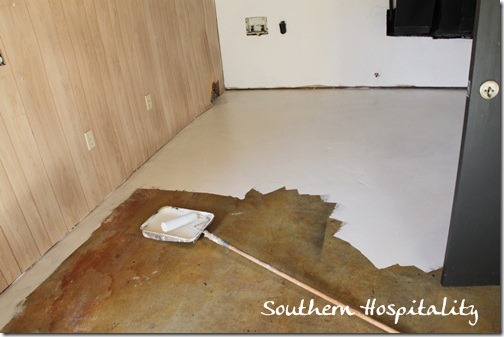
First, I washed down the concrete with warm soapy water and then rinsed with a fresh mop, letting it all dry overnight.
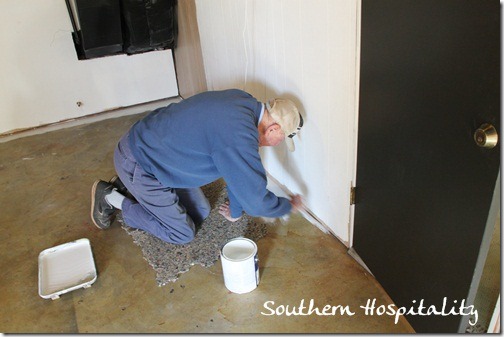
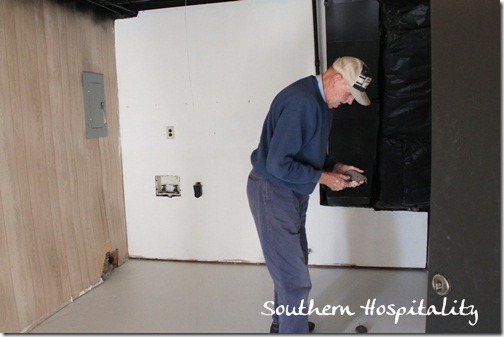
So, back came my daddy-o to help me with this project. He has not stopped either and has been over here helping me with all sorts of little things since I moved in. He cut in the edges of the floor and I rolled.
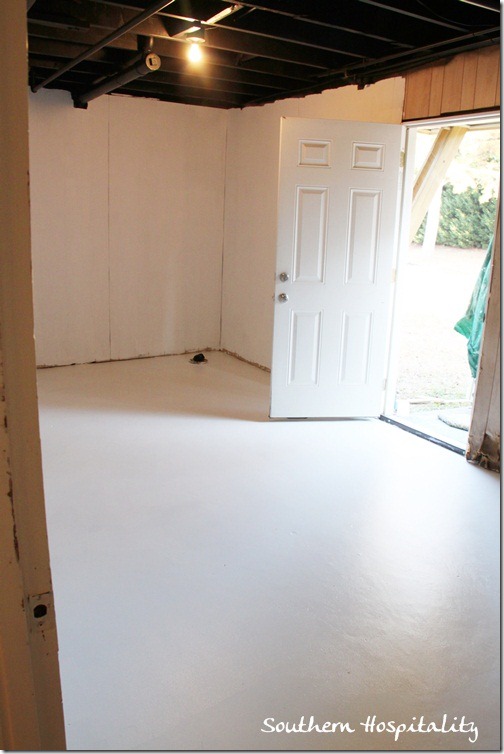
We got it done pretty fast and it looks pretty snazzy with just the white paint.
I did go back and do another coat of white paint to give it good coverage.
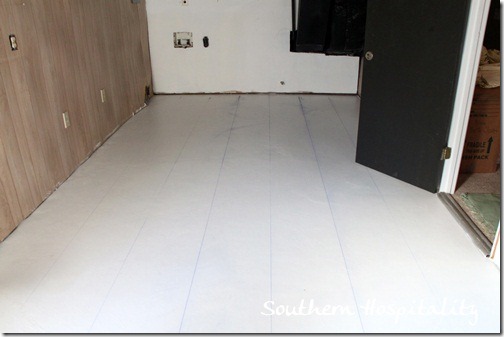
Then, Dad came over with his blue chalk and we snapped a chalk line for my stripes.
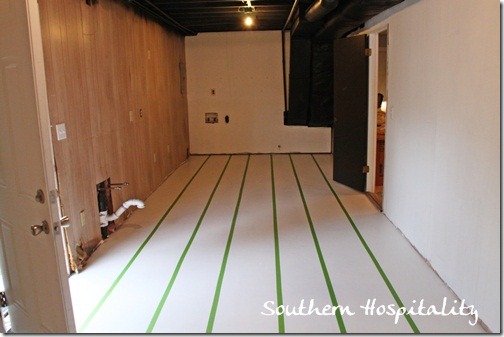
I measured the floor and decided that I would do 7 total stripes: 3 gray and 4 white. The outer stripes will stay white. I measured the middle and then we went out from there, measuring 16 inches for our stripes. We snapped a chalk line all the way down the room and then I was ready to tape it off with Frogtape. The extra chalk will wipe up after the tape goes down too, so that wasn’t a problem. Any chalk showing after it’s all dry will come right off.
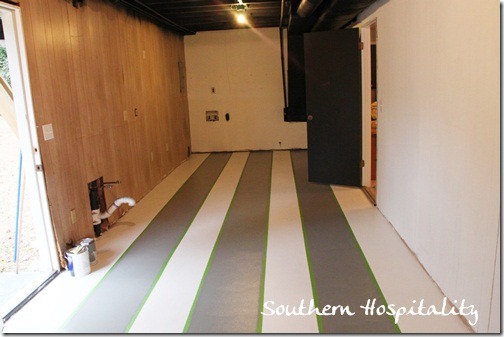
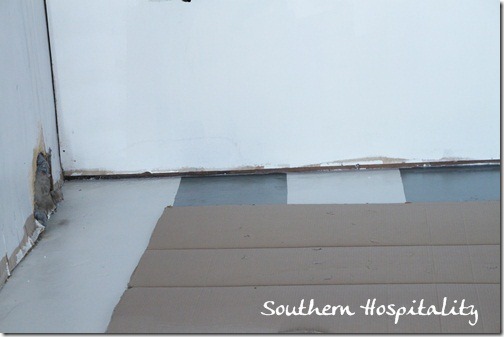
That didn’t take too long either, less than an hour and it was taped and ready to paint. Remember you want to tape the outside of the rows you are painting, so see the larger 3 rows? Those are the ones I’ll paint gray.
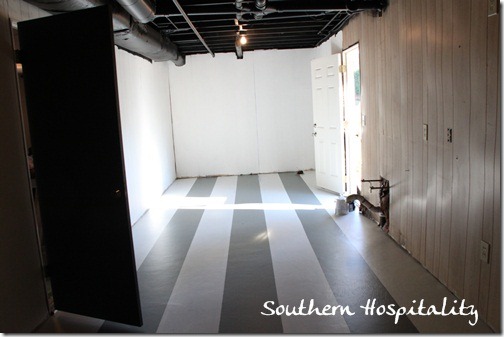
Two coats later of gray paint and ta-da! I’ve got some funky gray stripes on my floor. I think I’m in love!
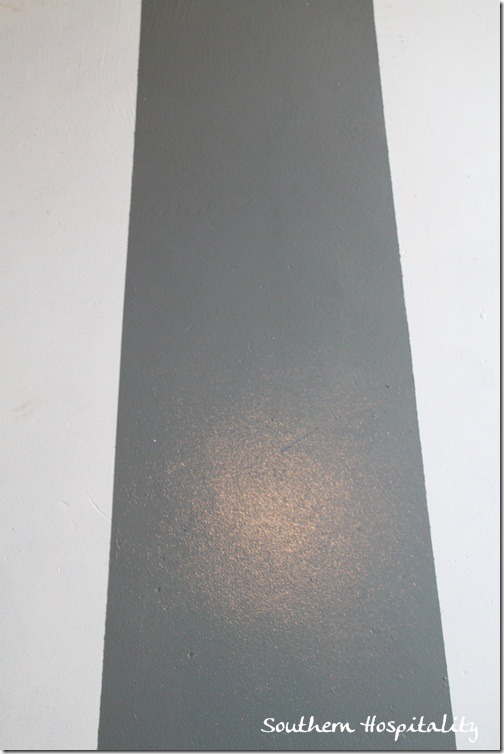
I’m definitely in love! This looks 100% better than what I started with. That Sherwin Williams floor enamel is supposed to be really durable. I then went back and rolled on a nice thick coat of the H & C glossy topcoat and wow, does that look great. It gives it a pretty sheen and makes that floor shine like crazy.
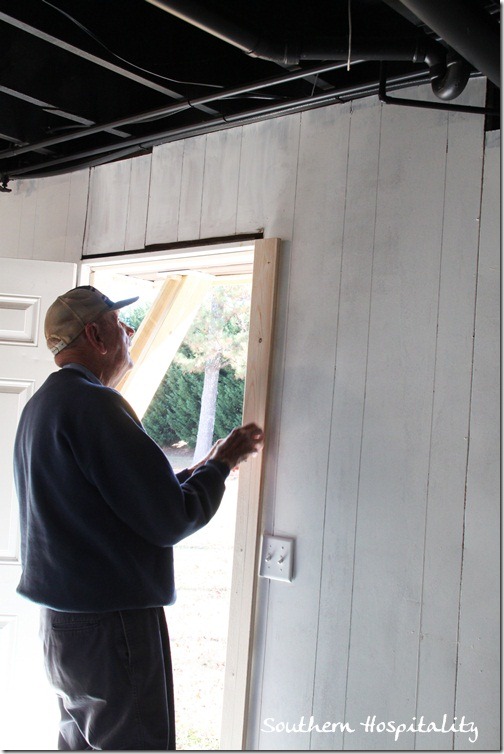
After it all dried for a few days, Dad came over again and we decided to go ahead and get some 1×4’s and add baseboard trim and door trim. No need to move everything in here and not do that too, so we took the time to just do it. He cut everything on the miter saw and I nailed it all in with the nail gun.
None of the doors in here had any facing around them, so it’s just amazing what adding trim can do.
See the gaping holes around the bottom of the walls in here. Just plain UGLY! Painting the floors helped so much, but adding the 1×4’s definitely did the trick too.
And here’s the floor all trimmed out with baseboard molding. I will go back later on and prime and paint this too and this room will feel so much better.
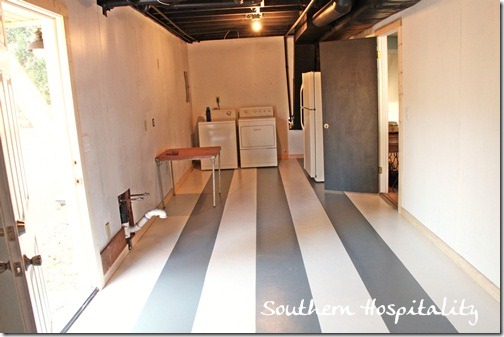
See the pretty sheen on that floor? Gorgeous! Sherwin Williams Alabaster White and Cityscape are the 2 colors I used.
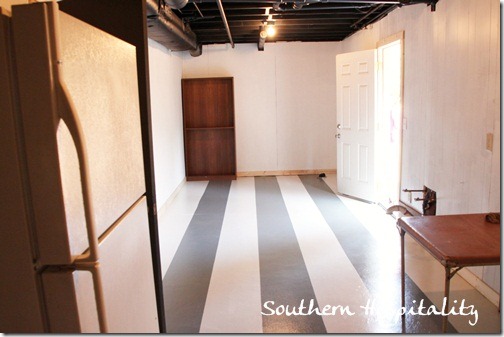
And here’s the finished room with one coat of paint on the walls. It will be after Christmas before we tackle anything else, but I’m so glad to get this room livable and halfway pretty. I can stand it now!
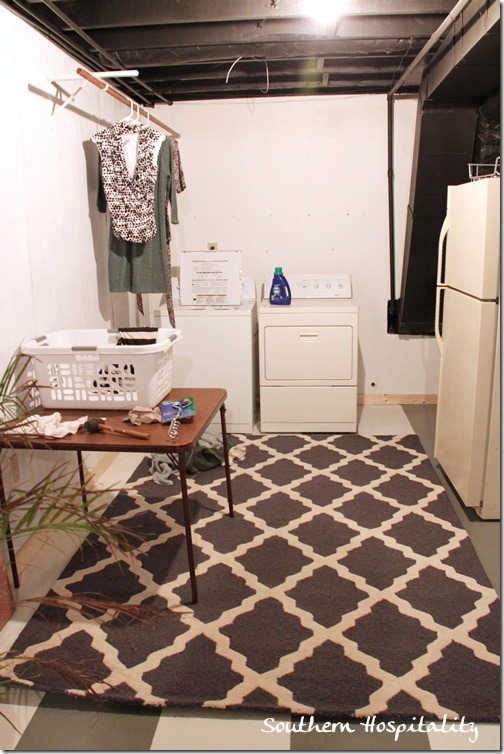
I brought in a folding table for now and we moved in the used washer and dryer I found on Craigslist for $150 for the pair. Yay, Craigslist! I was happy to find them and not have to buy new and hopefully these will last me for quite awhile. I’ve already put them to work! The used fridge will come in handy here too.
And see the stubbed sink to the left up there? Eventually, I’ll get a sink put in here, along with a countertop and add some of my old cabinets over the top and this space will be very functional. I’ve got big plans for this space! Oh, and I’d love to add a window above too on that left wall to let in some natural light. That shouldn’t be all that expensive to do either. Big plans, I have them!
Rugs USA had a huge 75% off sale on Cyber Monday and I jumped on this cute gray trellis rug. It was a little splurge and I wasn’t planning to put a nice wool rug out here, but for the price, I couldn’t pass it up and it will be so nice to have this underfoot out here.
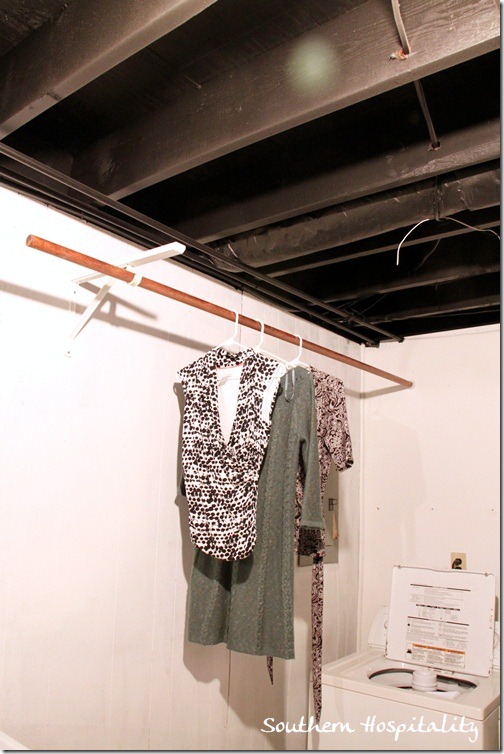
I also hung up a closet rod out here to hang clothes on . I took this out of my office closet and it was perfect for hanging up. I have lots of plans for this space, this is only the beginning, but I can’t tell you how much better it feels in here just doing these things.
I love my laundry room now! It might not be really pretty yet, but it’s clean and fresh feeling and now I can do laundry without cringing.
Note: This is a sponsored post from Frogtape. All ideas and opinions are mine and I was going to paint stripes anyway.
Thanks as well to Sherwin Williams for providing the Porch enamel for this project. The products rocked my laundry room renovation!



What a difference a little paint and elbow grease can make! Great idea, btw, and I think your dad is adorable!
This turned out just great! Now, how about a comfy chair? Since the room is so big, you could put a chair, throw open the back door (in good weather, of course)and just sit there with a book and relax while the clothes dry!
Just brilliant!! The before pictures left me feeling depressed and just yucky, so I know exactly how you felt. But the after pictures are fantastic. Great job girl!!
Love the stripes, gosh you really put so much love and effort into your house, most people will have just put something over the old floor but painting the stripes is so unique and the finished results are great. I have the tiniest little awkward shaped laundry room you have ever seen. I am currently re-thinking what to do with it when I make over my kitchen next year.
Lee 🙂
LOVE the stripes on the floor! It looks so good! Great job!
Oh my goodness that is a serious project! I love how your “daddy-o” helped you, and the trellis rug matches the stripes perfectly. Hurray for helpful parents and a lovely, large laundry room.
Thank you for sharing this post.
I am in the process of moving after Christmas.
The house we are moving to has the laundry room off of the garage not in the house. I have been so bummed.
Thanks for the reminder that function is first priority, I can add the pretty to it later. I am counting the blessing of a laundry room!!!!
Absolutely love the pre-finished product. You and your dad have made an amazing difference in the look and more importantly the feel of this space. I can’t wait to see the finished product!
This is EXACTLY what I have in mind for our basement laundry space that we’re currently renovating! I’ve been trying to convince my husband that taping the stripes won’t be as difficult as he thinks it will be (hence my search someone who did a similar project). I do have a question though: Did the chalk compromise the tape adhesion to the floor at all? I would think that any chalk dust that strays from the main chalk line would keep the Frog Tape from sticking good. Did you have a particular technique to keep this from happening? Let me know! Great job!!
HI, Erin, the tape still stuck with the chalk on the floor. I did go back and wipe up some of the chalk so it wouldn’t get in the paint. But, the tape still stuck fine. It really took no time to get the stripes taped off since there weren’t many of them.
Your laundry room is awesome!! We have a family basement room that got flooded and can’t decide about replacing our flooring until now. The steps you showed us is great. I believe we could do this too, knock on wood, lol. Did you prime the floor first, I just want to be sure before we tackle this. Thanks again for sharing!!
HI, Jeannie, no I don’t think I primed. If that’s not listed then I didn’t do it. I cleaned the concrete and used that concrete paint. It held up pretty well for a few years with some spots that peeled, but that could be touched up again too. I just sold that house!