Hello friends, let’s get the new week started! Our bathroom tiling starts this week, so it’s going to be fun to see all the progress on that space.
Today, I’m sharing a really fun project that I recently completed that I was so excited to get up and finished, my new open kitchen shelves. You probably remember the beautiful rustic shelves I added in my previous kitchen on the subway tile wall when I moved in there. I had the perfect spot for those shelves and so they stayed with the house, but I missed having those shelves and figured out a spot in our new house to add some character and interest off the kitchen.
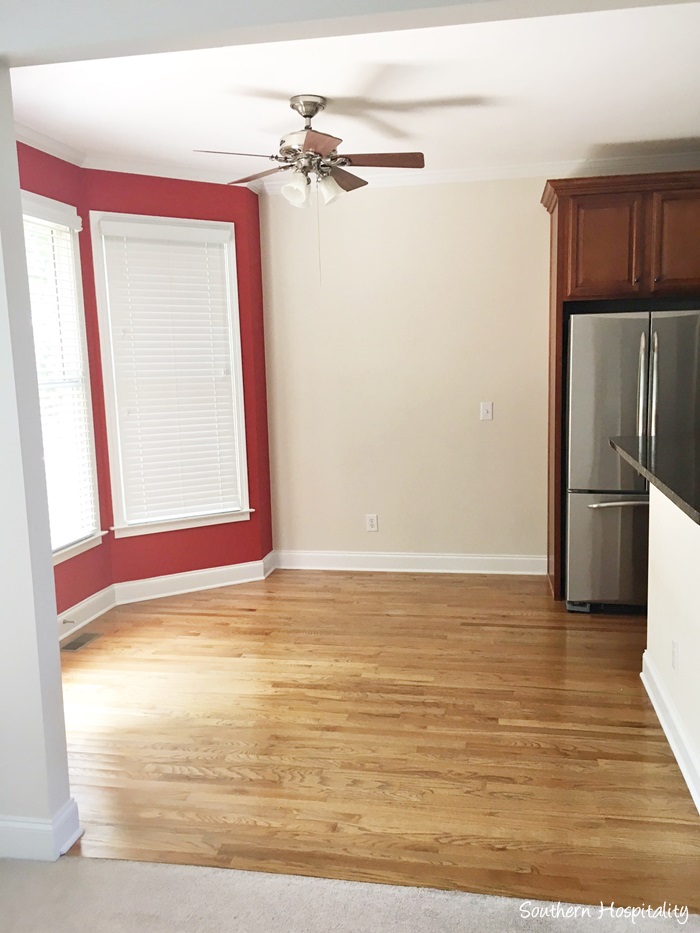
Here’s that wall when we first bought the house. You can see this is not a huge space, there’s a door to the left going out to the deck to the left of the windows. So, with that in mind, I decided not to try to make an eating area here, but to create more of a keeping room off the kitchen. Not that we needed more seating, but it’s cute and cozy and I happened to have a nice upholstered chair that would fit in there nicely, so that’s what I did.
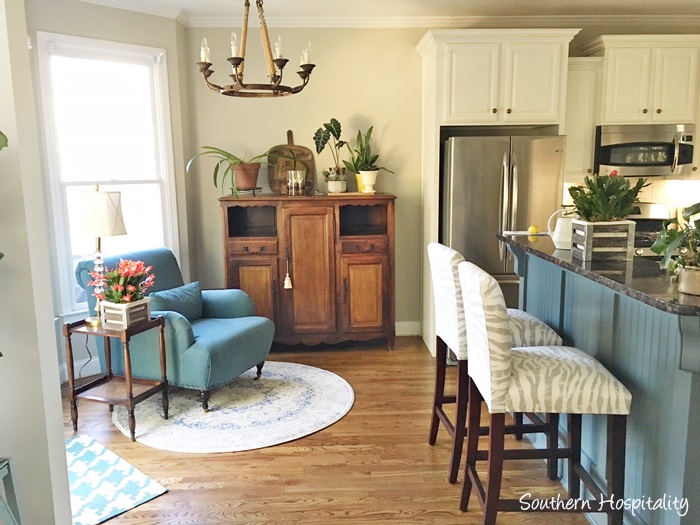
The inset nook was also perfect to add my antique French cupboard, a handy piece for extra storage in the kitchen too. Not only is it functional, it’s also pretty, a big plus for this area. Above that cupboard was a big blank wall that I knew I wanted to fill, but didn’t want to just add artwork. Adding some rustic shelves would not only give me more storage and display space for some of my pretty things, it would also create such an interesting focal point on that wall.
Win-win all around!
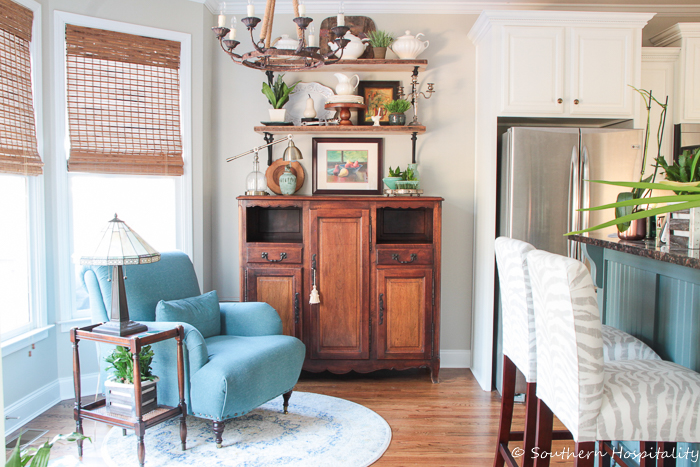
I just love it and couldn’t wait to share with all of you. If you have a blank wall and need some architectural interest, this is a great way to enhance an area like this. I think it does wonders for our kitchen nook!
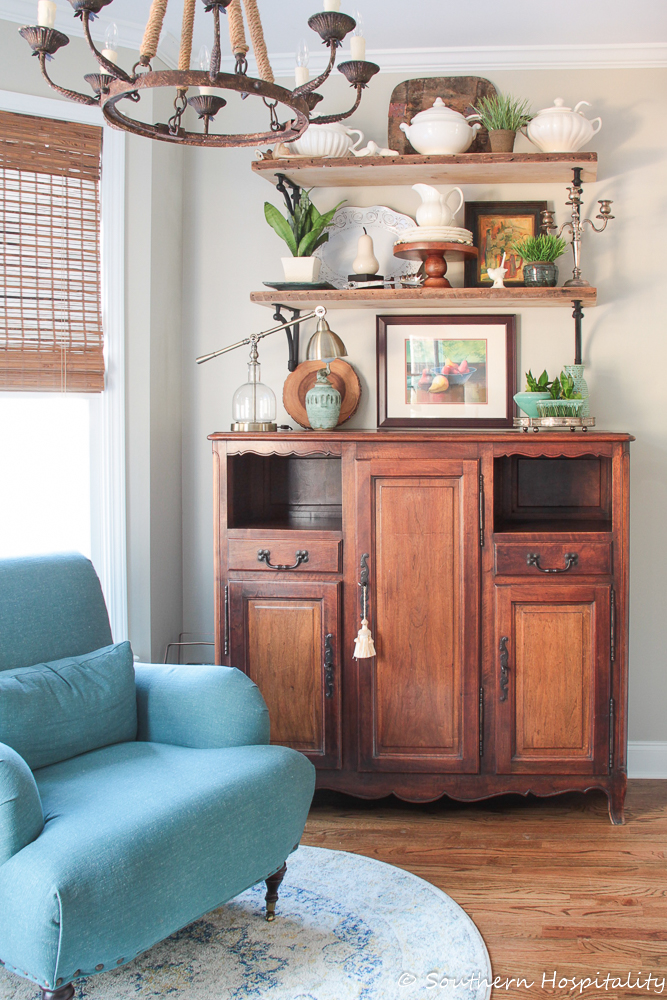
I added a mix of all my collectible vintage items and came up with a pleasing arrangement that gives a lot of character to this area of the kitchen.
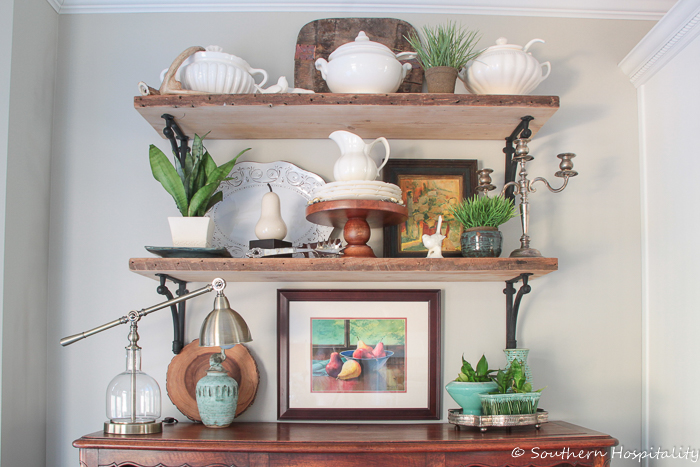
I’ll tell you more about the shelves tomorrow and will do a post on how I got them installed by myself. It wasn’t too hard, just required some measuring and being careful before I started drilling holes. I got the shelves from Southern Accents in Cullman, AL, from my friend Garlan, who did my other shelves as well. These weren’t sponsored, but they weren’t too expensive. I paid $58 per board x 2 and these are reclaimed cypress wood with a lot of character. I’ll link where I got the brackets below too, ordered them online from Canada.
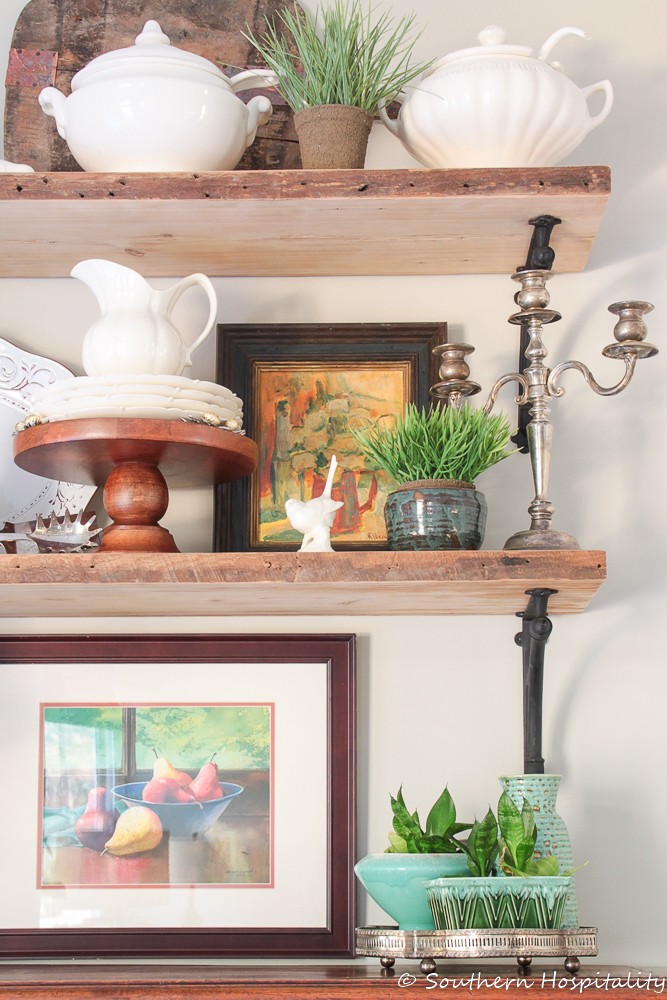
I love the edging of the shelves and love how they have nail holes and look rustic and not smooth. I went with simple black iron brackets.
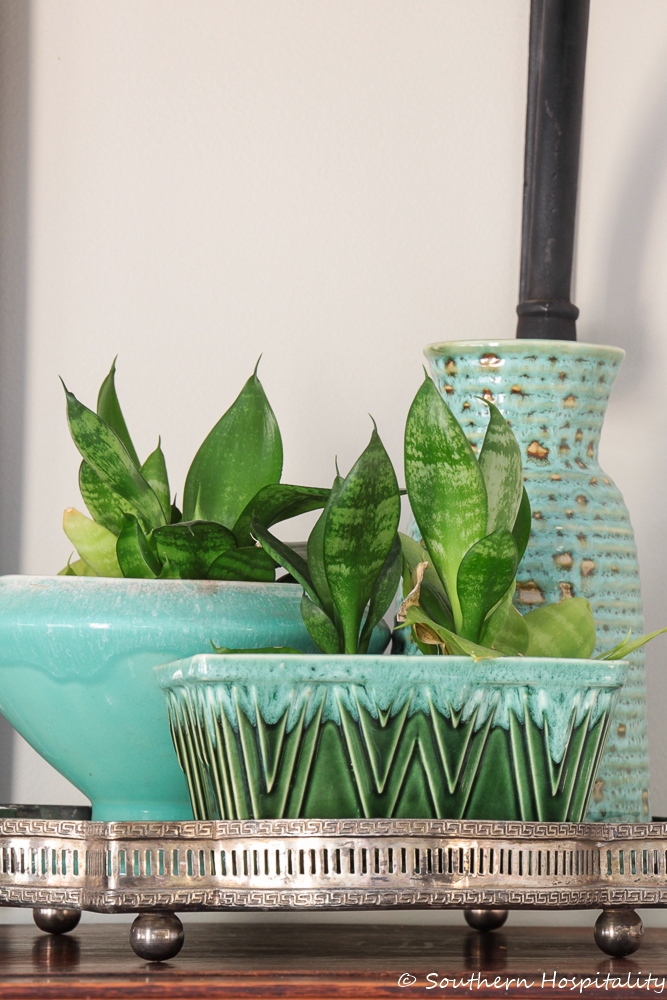
It was so fun to add some of my plants in my vintage planters to a silver tray on the antique buffet.
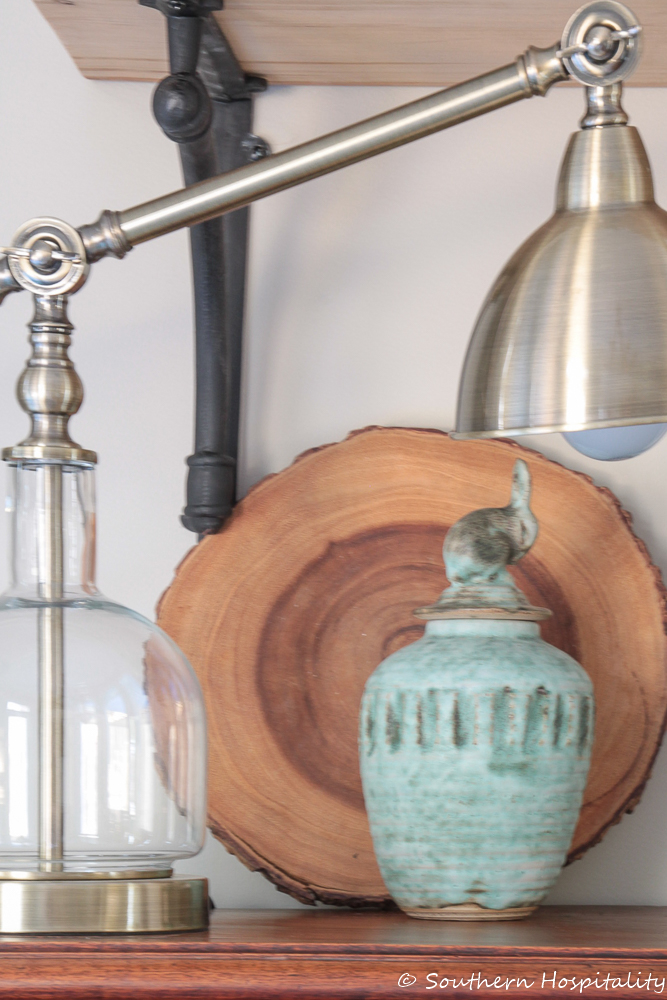
A lamp I got at Homegoods fits on their as well and adds a nice ambience when turned on at night. The slice of wood came from Pier One, I think and that’s a piece of Peter’s Pottery out of MS and I bought that while I was still in Birmingham and still love it.
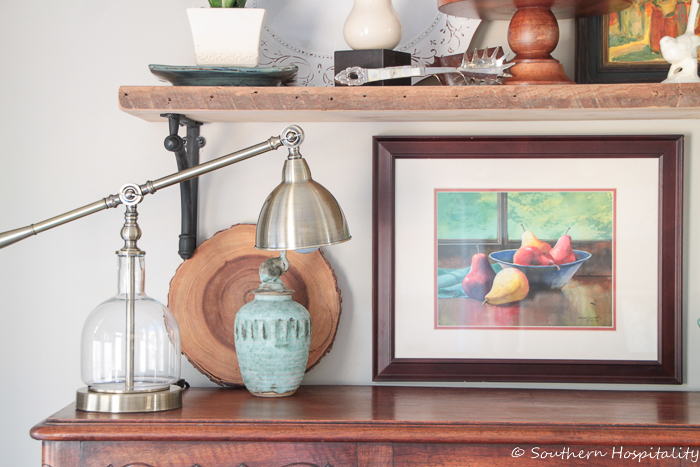
That’s an original watercolor painting that came from Alabama and it’s such a pretty piece.
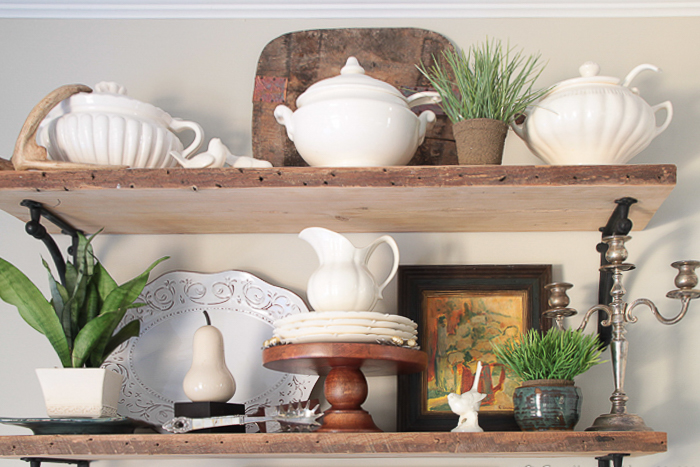
Open Kitchen Shelves
On the top shelf, I added my 3 soup tureens which all came from long ago yardsales. An antique French breadboard came from Round Top when I shopped there awhile back. The two little grass plants are faux and the others are real. Adding some greenery all around makes a big difference I think. That blue bowl is one I made in pottery class several years ago.
Using white dishes, natural wood pieces, some vintage art and collectibles, along with silver and gold tone accents, it’s a collected look that makes me very happy. Mark even likes it! I didn’t go out and buy anything new, these are all things I’ve had for a long while. Things that still make me happy and feel good to have around. I don’t want all new accessories, give me the vintage ones any day.
So, that’s how I’m adding some additional character to our house and I hope this gives you ideas on how you can do the same. I love using vintage things and adding these reclaimed shelves helps to give our house a little bit of history and vintage appeal. I don’t go hog wild with vintage and chippy things, but a few little touches add character.
I’ll come back tomorrow and share how I hung them, in case you might be interested in that. I did them all by myself, Mark only helped me once with some of the anchor screws that weren’t going in, but I did everything else. It takes me awhile with math stuff, because that is not my strong suit, but if you take your time, you can do it. Get the right tools, including a level to get these things up!
The shelves are reclaimed wood from Southern Accents out of Cullman, AL. He regularly comes to Atlanta and you can call him and order something over the phone and he can send you pics of what he has. I told him the exact dimensions I wanted and he milled them for me and he sent me pics of the wood before he did it for me to OK. Again, they were $58 per board x 2.
The brackets are black iron and the best price I found on these were from Old Quebec Hardware out of Canada. With shipping and cost of the brackets, it was $100 for all 4. I checked around online and this was the best price at the time I bought these that I could find. But, I did see my friend, Beth, put up very similar brackets that came from Lowes for only $8.98 and the finish is a little different, but could easily be painted matte black. I would have bought these if I had seen them first. She did say that many of them aren’t square so be careful if you buy them. I used Beth’s idea of drawing a template on wrapping paper and will share that with you too.
For a little over $200, I think this is great bang for your buck project!
See you tomorrow!


Rhoda-this space, which could have been awkward to deal with, looks great. I love artwork in the kitchen. More often than not, people don’t think of the kitchen when hanging art and it adds so much.
Love it! Even your little plants look great! Great choice for the reclaimed wood and the black brackets.
The shelves are a lovely addition to an already beautiful kitchen!
Love them! Those brackets are great and you iron stone is fabulous to look at!
Magazine worthy!
My goodness! This looks great! I kept scrolling back & forth between the original picture of the house when it was purchased vs. your finished product. Amazing. You are really talented. Thanks so much for sharing your talents with us.
Thank you, Deborah, I appreciate that. It’s been fun to think up ideas for this house to make it better.
Excellent. Just excellent. Now, when are we going to address the wonderful chandelier! Just love that. Your home is beginning to look like you. Like a little flower beginning to blossom. Clearly, you are content with each other and your parents prayers for your life have resulted in a sweet fragrance unto the Lord. You are a joy to behold. Truly.