Thanks for stopping by to see the new open shelves in the kitchen! I thought you all might like to see how I hung these shelves, so I hope this helps you if you’re looking to do something like this. I hung these all by myself. Mark helped at one point when I couldn’t get the drywall anchors going, but then I did all the rest. I did all the measuring and figuring and got everything level and straight. If you take your time, it’s not too hard! If I can do it, so can you!
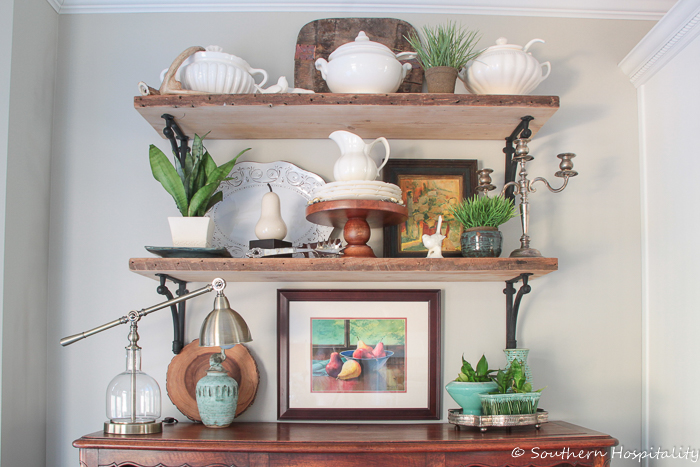
I’m really happy with how it all turned out.
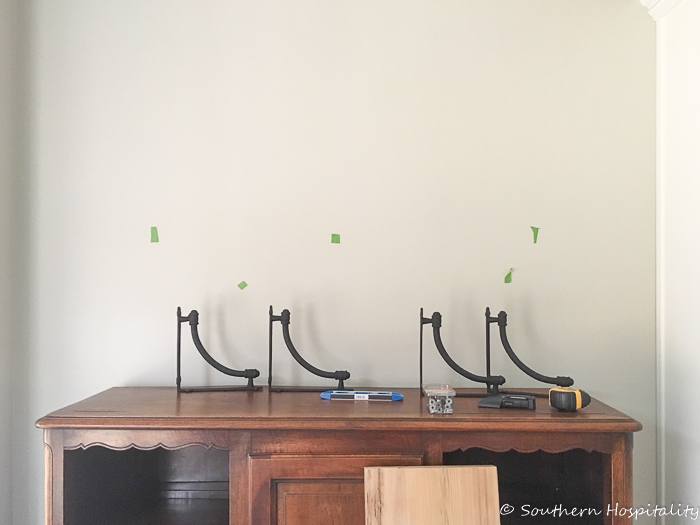
Let’s get started! So, I ordered 4 brackets and 2 shelves. My buffet measures 4 and 1/2′, so I ordered 4′ shelves and centered everything in the middle of the wall. I made sure the buffet was centered first, then found the center of the buffet to hang the shelves properly.
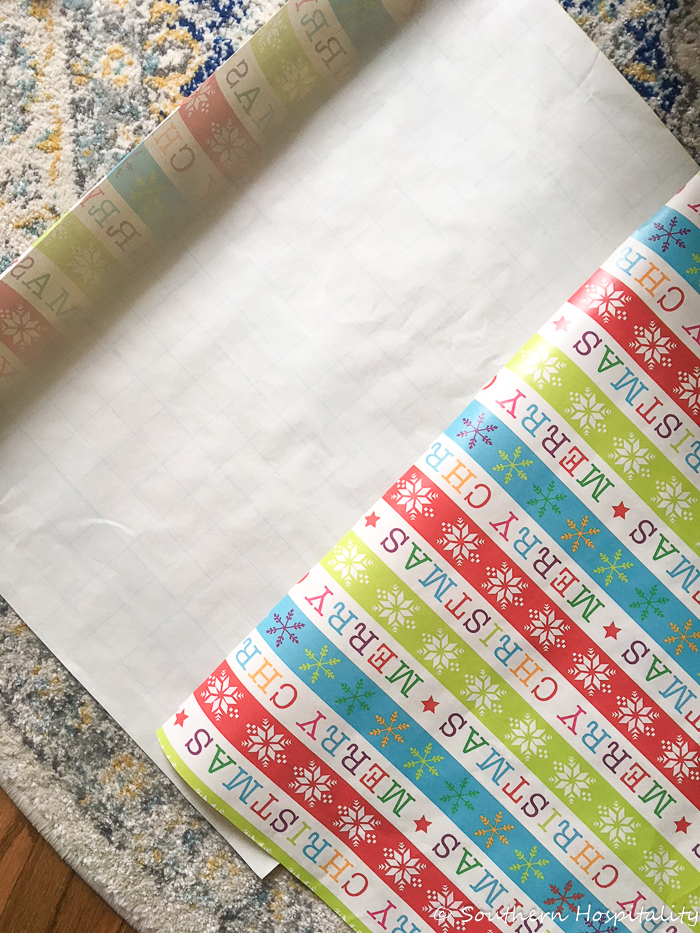
I used a tip from my friend, Beth, when she hung her shelves recently. She used wrapping paper with lines on the back to keep things straight and to have a template for both sides. Beth shared her tutorial here and it’s a good one too. She hung her shelves on wood, so didn’t have to use any drywall anchors, like I had to do on one side. We’ll get back to the paper template in a minute.
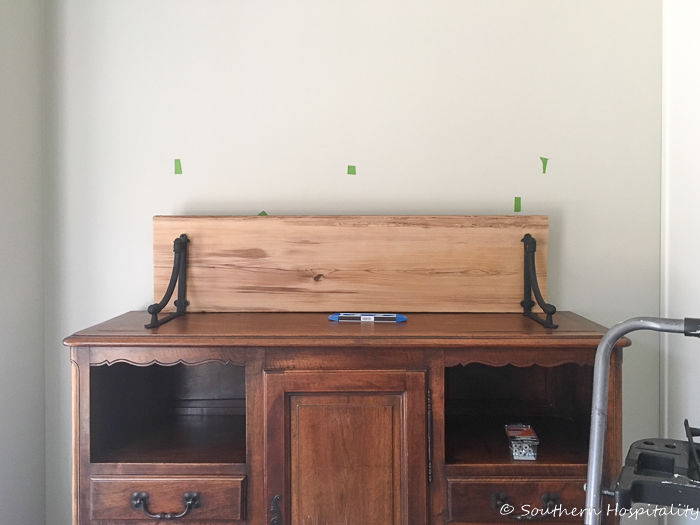
I’m such a visual personl when it comes to things like this, so even though I meaure, I like to visually see how things are going to look. I propped up the brackets exactly where they will need to go on the wall and put the shelf on top to get a visual before I started drilling holes in the wall.
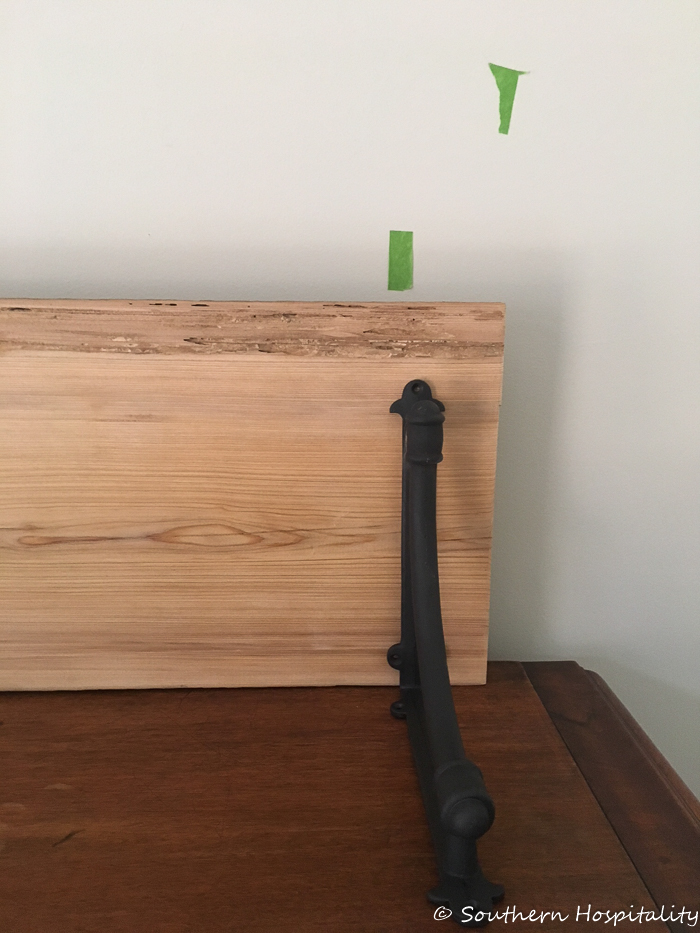
I found the studs in the wall and unfortunately I could only anchor the right side of the shelves in the studs to make it line up properly. The left side had to get wall anchors. That lower piece of tape marked the stud. I drove small skinny nails in there to make sure I was going to hit wood on all 3 screw placements in the bracket. I had 2 screws in the top of the bracket and one on the bottom.
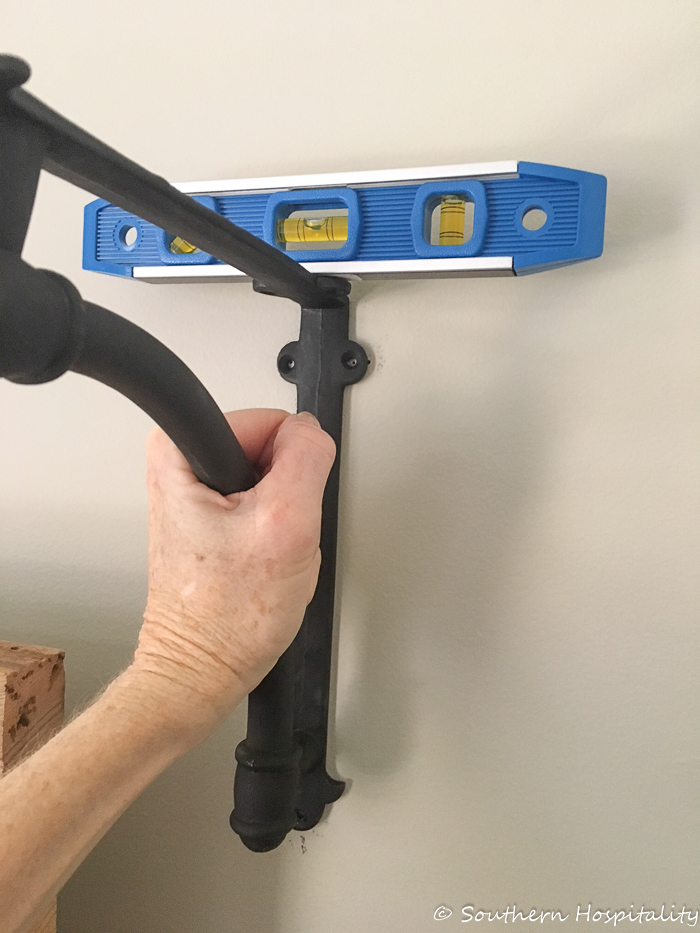
The first bracket needed to hit the stud, so I installed that first with no template and used that spacing for the rest of my brackets. The template really comes in handy when you’re doing the top shelf to get it lined up perfectly with the lower shelf.
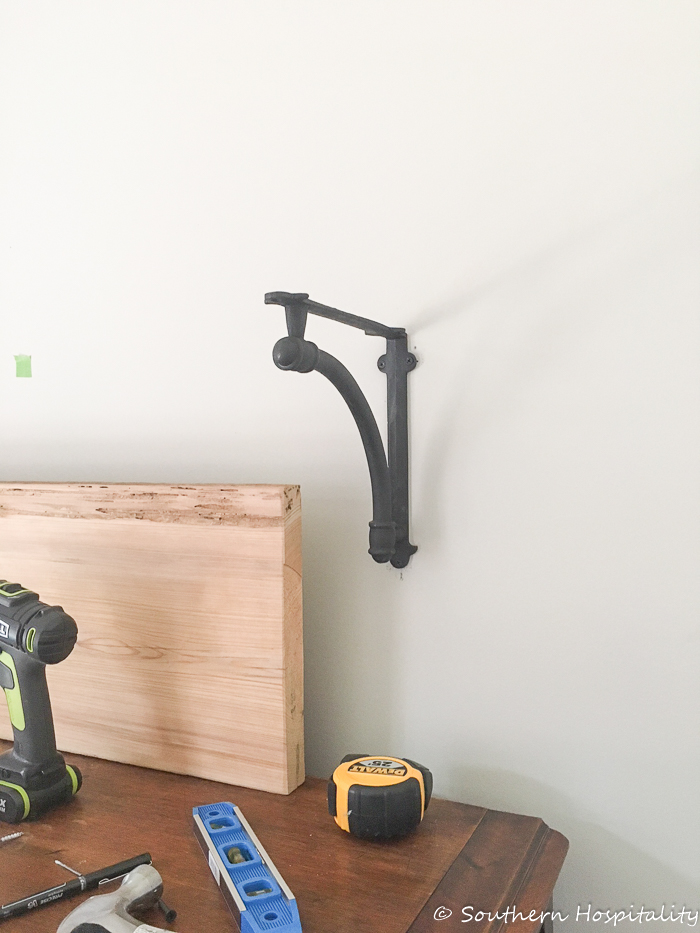
I just sort of eyeballed my bracket and shelf placement to figure out how high off the buffet I wanted it to sit. Beth told me she used 19″ between shelves and I ended up using 19,5″ from the buffet to the top of the lower shelf and 18.5″ between the top and bottom shelf.
I should have mentioned this earlier. See that drill there to the left? It’s by Rockwell and does a great job for me. Mark is even impressed with it. Mine is the 16V, but here’s a Rockwell 20V (affiliate link) which is proably even better. Jobs like this are made way faster with the right tools.
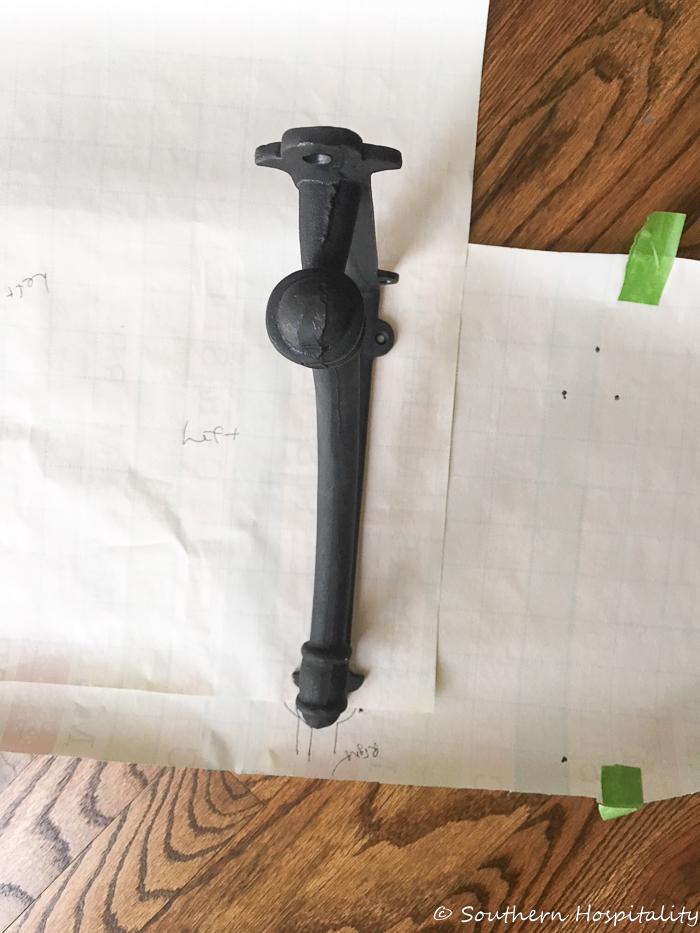
Once I got the first bracket marked where it would go on the wall, I did mark the placement of the bracket on my lined paper to use on the top bracket, so it would be spaced perfectly from the cabinet on the right and be in the same spot as the lower one. I held the paper up to the cabinet on the right and the wall on the left, so it spaced the brackets evenly. Once I marked my right bracket, then I flipped that template over and placed the paper for the left over the drawing and drew my left bracket on the same line so they would be spaced the same distance from left to right. Does that make sense?
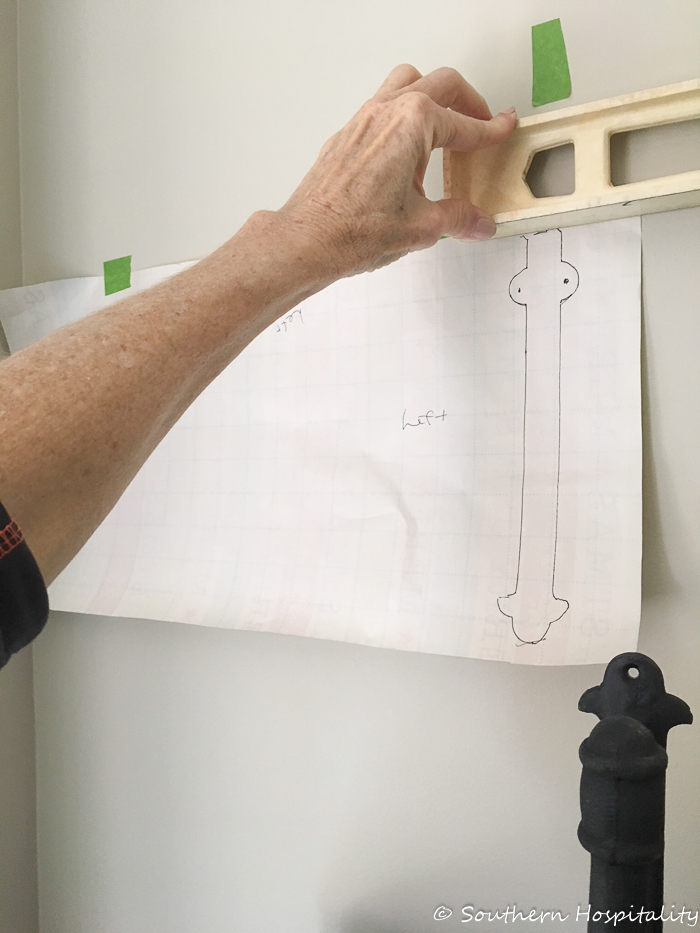
Once that first right bracket was in, I put up my template on the left and held a long level across it sitting it where the shelf would sit so I could make sure the shelf would be level. I held it in place with tape and then marked the holes with a pen on the wall and that’s where I placed my anchors in the wall.
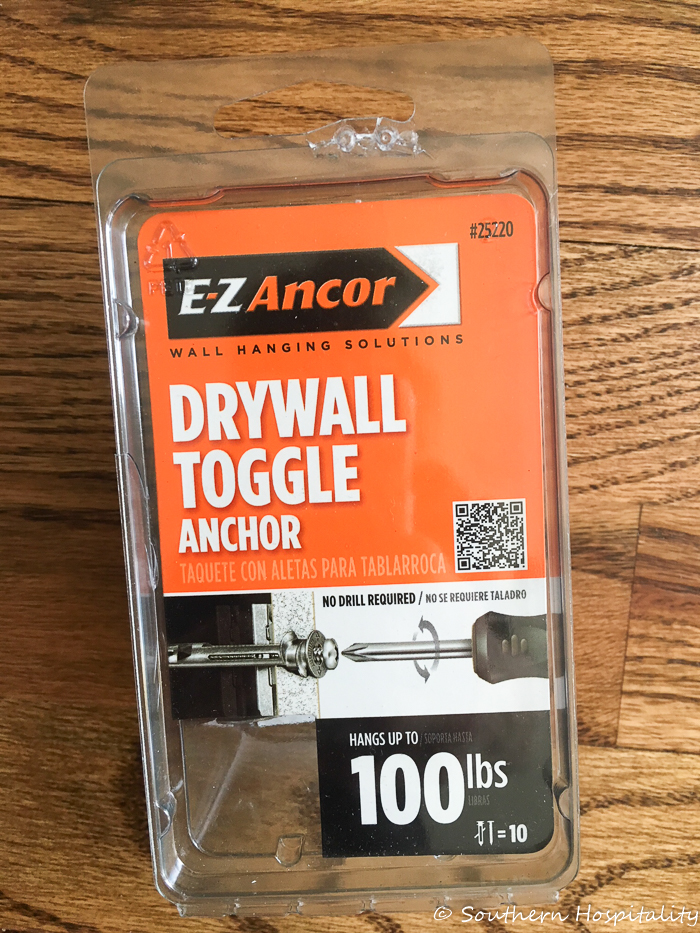
I got busy and didn’t take a pic of putting the wall anchors in the wall, but these just went right in the middle of my pen mark on the 3 holes I had marked. I used these 100 lb. toggle anchors, which open up once you put the screws in and should hold a lot of weight. Since one side is anchored in a stud, these will hold plenty on the left side and I make sure I don’t put anything too heavy up there. The reclaimed boards weigh probably 10 pounds each or less.
So, these just screw in with a drill or screwdriver and then the provided long screws go in the brackets to hold them in place. We did have to drill out the holes just a bit to fit the screws through, but it didn’t take too much to get them to go through, so make sure they work with your brackets before you get too far with the process.
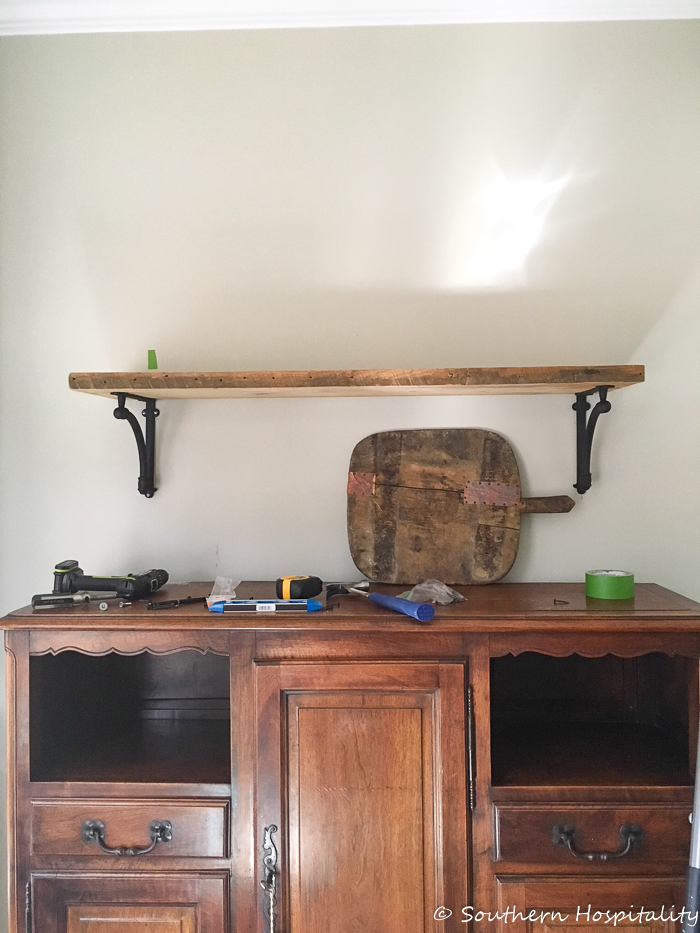
One shelf in and one to go. I simply used that paper template on the 2nd shelf and marked my screw holes on the right and the left sides, leveling as I went. I used a long level across both brackets when I got them in place to be sure they were level.
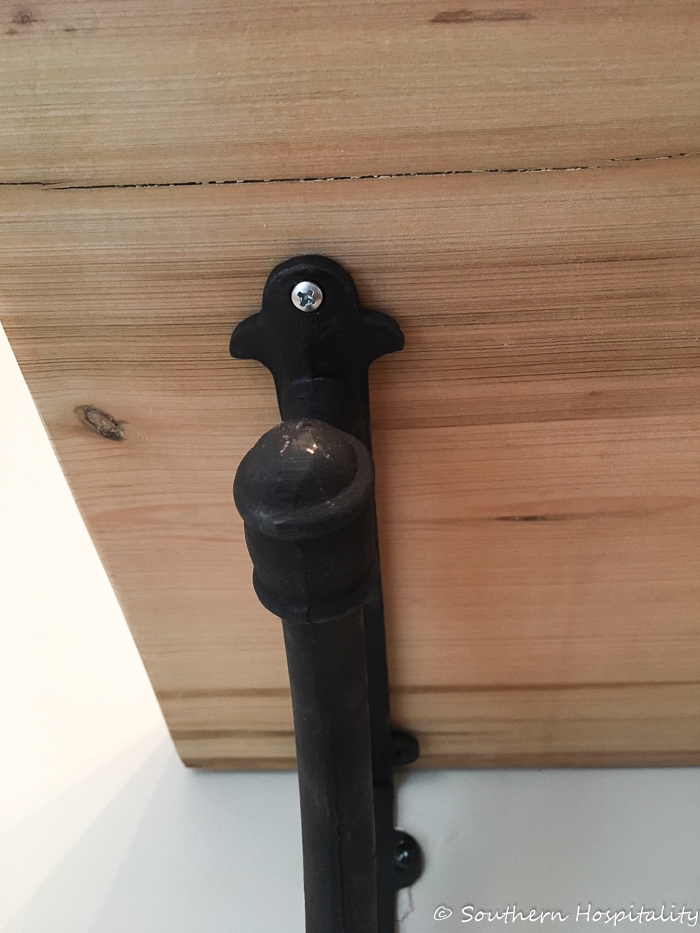
I then placed the boards on top of the shelves and made sure they were evenly spaced on both sides before I screwed in the screws to anchor them in place. I had black screws for the right side, but the left side, I had to use silver screws in the anchors.
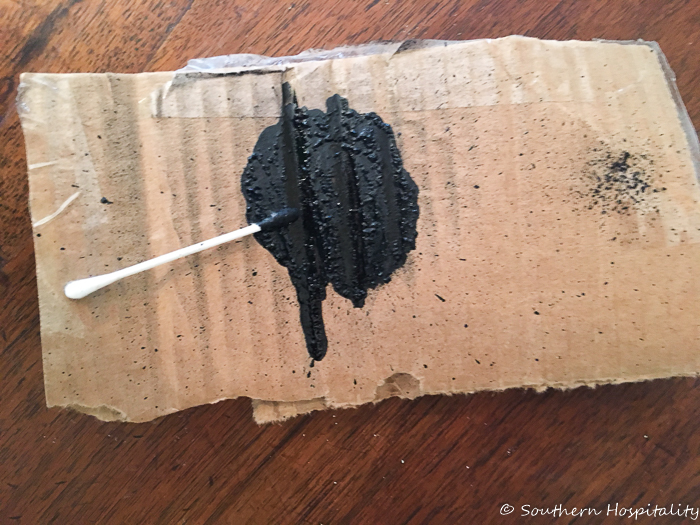
To hide those, I used a can of black spray paint I had and took it outside, spraying some on a piece of cardboard and using a q-tip, I touched up the silver screws until they disappeared.
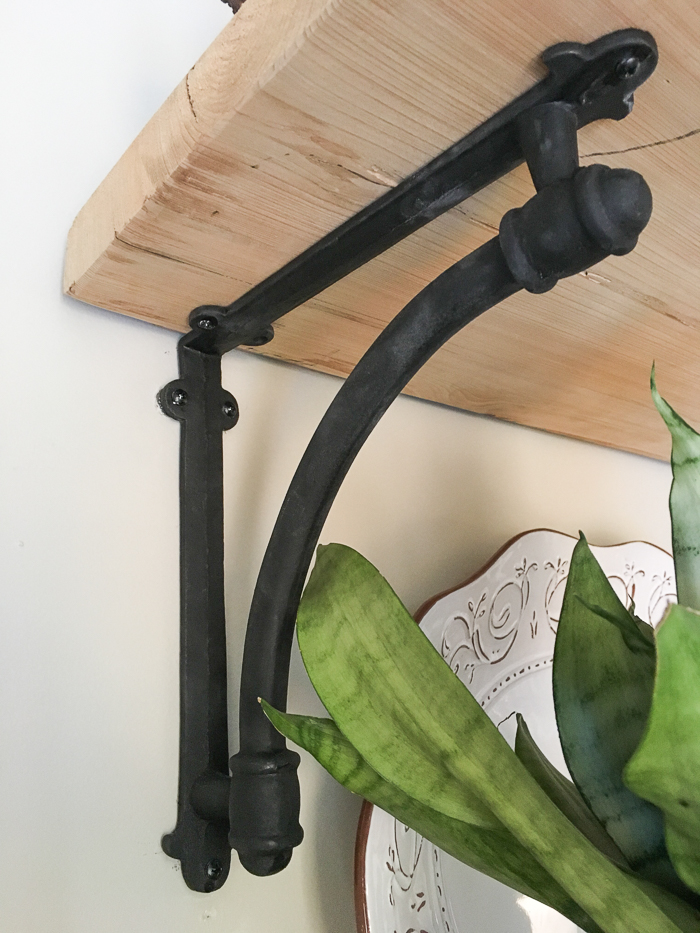
And that’s how I installed those brackets. I just love how this project turned out and I hope it gave you inspiration for trying it yourself. If you have a blank wall that needs some love, think about some open shelving. It gives architectural interest and gives you a place to display all those pretty things. I have a lot of things I love, but not a whole lot of room to display them in this house, so it made me really happy to have a spot to add some vintage and colorful accessories. It makes the keeping room (we are dubbing it that!) extra cozy!
Again, here are my sources for the shelves and brackets, I’m repeating this all from yesterday’s post to have it here too:
The shelves are reclaimed wood from Southern Accents out of Cullman, AL. He regularly comes to Atlanta and you can call him and order something over the phone and he can send you pics of what he has. I told him the exact dimensions I wanted and he milled them for me and he sent me pics of the wood before he did it for me to OK. Again, they were $58 per board x 2.
The brackets are black iron and the best price I found on these were from Old Quebec Hardware out of Canada. With shipping and cost of the brackets, it was $100 for all 4. I checked around online and this was the best price at the time I bought these that I could find. But, I did see my friend, Beth, put up very similar brackets that came from Lowes for only $8.98 and the finish is a little different, but could easily be painted matte black. I would have bought these if I had seen them first. She did say that many of them aren’t square so be careful if you buy them.
For a little over $200, I think this is great bang for your buck project!


Love the open shelves. Your home is stunning, as always.
Love this look! Southern Accents is just down the road from Decatur. I really enjoy browsing in their store.
Very pretty and I think “Your Daddy”has taught you well, lol. Remember seeing some of the projects you two did..
Thank you, I did learn some things from my Daddy for sure!
It’s absolutely beautiful, but I’m very confused…you screwed the boards/shelves onto the brackets after the brackets were already hung?? How?? Isn’t it easier to attach the shelves before affixing everything to the wall? Also, is your cabinet top already a distressed look? I was so concerned with all those tools on the bare wood!
HI, Kate, there’s no way to hold up the brackets and shelves and hang them all together…way too heavy. So, you install the brackets, position the shelf where you want it and the the screws go in underneath the shelf, so you attach the screws from under the shelves. Easy! My cabinet is over 100 years old so does have some dings and age spots, but the tools didn’t do anything to it at all, it’s fine.
So did you line up and mark the screw spots and then pre-drill holes in the shelves at least before attempting to just screw the brackets to the shelves? I just can’t imagine trying to screw a shelf to a bracket already on the wall… It sounds rather impossible unless you did the pre-drilling. I do understand how genuine wrought iron and solid wood would be super heavy to hang at once though.
Hey, Kate, predrilling is a good idea, but I didn’t do it. The screws I used were about 1/2″ and they went in fine with my battery powered drill. I should have mentioned my drill, it’s great for projects like this, you can see it in the pic.
So pretty (we bought our antique wooden mantle from Southern Accents and had it milled to our specifications). I like how you painted the screw heads black. My OCD husband would have made himself crazy looking for screws with black heads. Last year I made him take down my ‘brushed nickel’ CHEAP (builder’s grade) dining light and spray it flat black – to include the chain and the ceiling electrical box cover. It killed him to not use new black chain for the fixture – but in the end it worked out okay. I’m still waiting for a NEW light – but that’s somewhere in the distant future.
Hey, Becky, good for you, paint works wonders and spray paint is the best and so fast.
Rhoda,
You did a beautiful job explaining your technique while creating a lovely spot for your eyes to land in your home.
Happy Creating,
Karen Marie
Love the wood and wrought iron!
Using the lined wrapping paper is genius!
Beth, came up with it and I copied her!
Thank you for this post Rhoda!! I have those same (6) brackets, need to paint my kitchen before I hang them over my buffet so this will come in handy for figuring out the spacing. My Hubby is a retired carpenter so the actual hanging of them isn’t an issue. Yours look fantastic! Now do I do three shelves or only two???? 🙂
That sounds great, Elizabeth, if you have room for 3, I’d say go for it!
These turned out great. I love the brackets you used.
Love the open shelves. Thank you for the detailed tutorial-very helpful. Your home is beautiful!
Thank you, Julia!
Thank you so much for this article! My husband is a handyman for over 5 years and gets asked to build shelves like these all the time. They are my favorite and you did a beautiful job. I will be buying those brackets and making a shelf like this for my own home with some darker wood 🙂