Another project we completed in New Orleans with my niece was painting this pair of bookcases that she also found on Craigslist. They were definitely not that appealing in wood or old, so painting them was the obvious choice. I had some of Marian’s (Miss Mustard Seed) milk paint that I wanted to try out in Luckett’s Green, so that’s what we opted for. This pair of bookcases is going to go in Lauren’s new craft room and she loves greens and blues, so green it is.
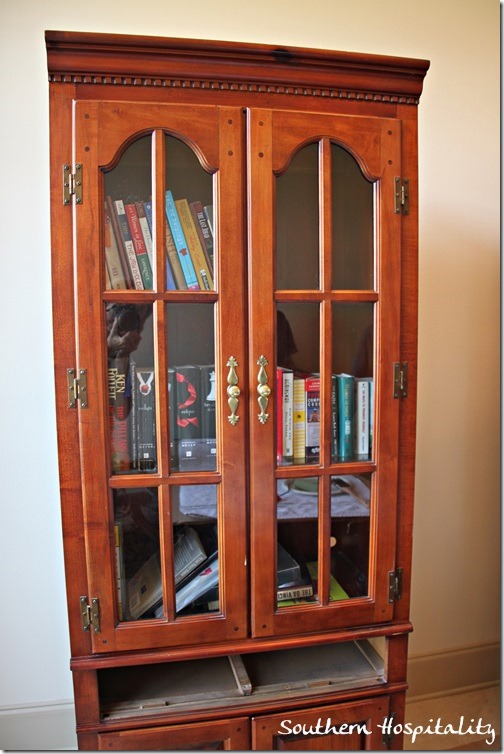
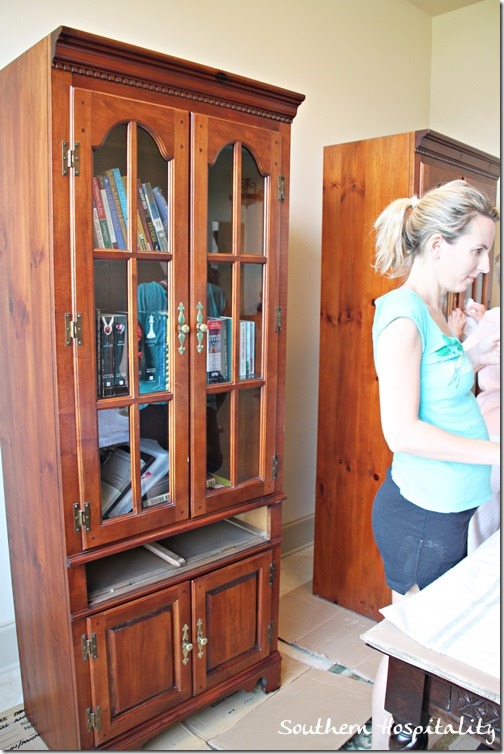
Here’s one of them before. Nothing too special at all, so painting these is a great way to update. We were going to take the hardware off, but in a few spots, it wouldn’t budge, so we decided to just paint over it. She found this set of bookcases on Craigslist for $100 for both. Bargain for sure!
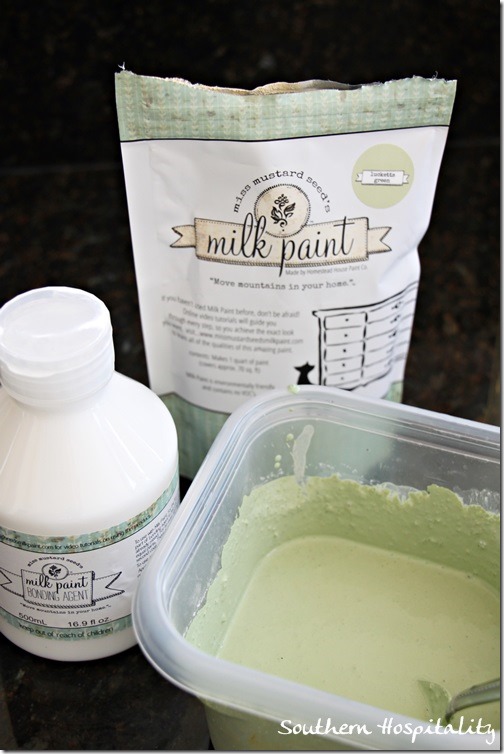
With Miss Mustard Seed’s milk paint, she has a bonding agent that you can use if you want the paint to stick well. Sort of a primer to insure the paint sticks, so I did add some bonder to the paint so that the paint would for sure stick. If you don’t use the bonder, then you can get an even more distressed look and the paint will sand off easier, so it just depends on what look you are going for. We sort of gave this a distressed look by not covering it completely in two coats, but giving it sort of a washed look.
Miss Mustard Seed’s Milk Paint in Luckett’s Green, is a really pretty soft green. Now, here’s the thing with milk paint. It’s a powder form and comes in a plastic packet. You determine how much you will need for a project (we needed the whole thing for these 2 pieces). Pour in a bowl and mix with the appropriate amount of water and bonding agent (if desired). The part that I had a bit of trouble with was how to get all the lumps out of the paint. All of that powder has pigment and changes color when mixed with water, so it is a really pretty treatment with variations of pigment that comes together to make the color what it is. It’s just different than opening a can that is already mixed. You have to get used to that part. I never got all the lumps out completely, even though I used a whisk. Marian told me you can also put it in a jar with water and shake well and that should help dissolve the powder. I do know that this paint is used with more water than you are probably used to using, giving the paint a more runny appearance. It seems to work better runny than too thick, so that’s one tip for you if you are trying this out for the first time.
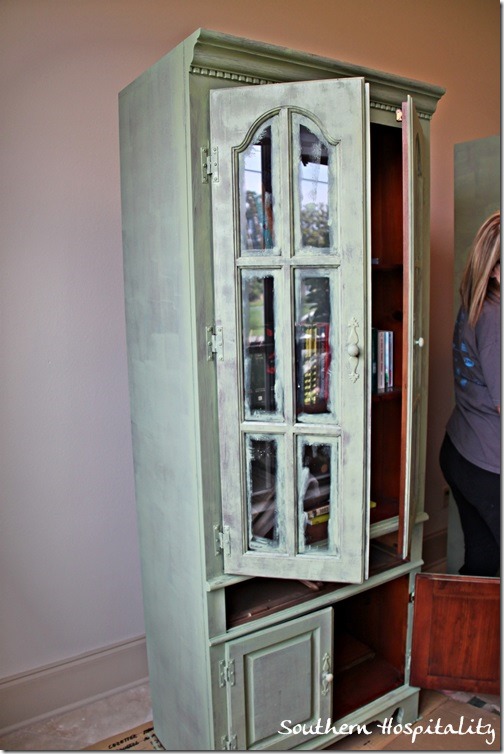
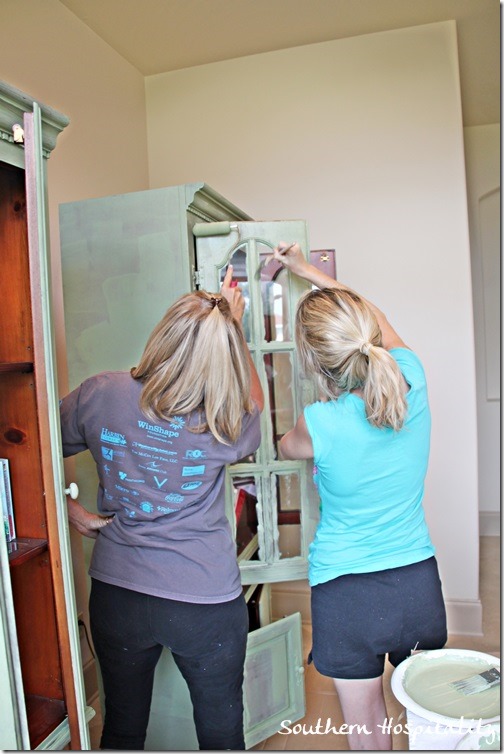
We rolled and brushed and got on one coat. After it dried, it was really pretty and already looking a bit distressed. We got paint on the glass and were going to go back and scrape them and found that they don’t scrape that well with this kind of paint. But, wetting down the dried paint with a wet sponge dissolved the paint and it then scraped off easily. So keep that in mind if you want to paint over glass or mirrors, this milk paint would work well for that.
After one coat, you can see it’s a bit streaky, but once dried, we liked how it looked not completely covered.
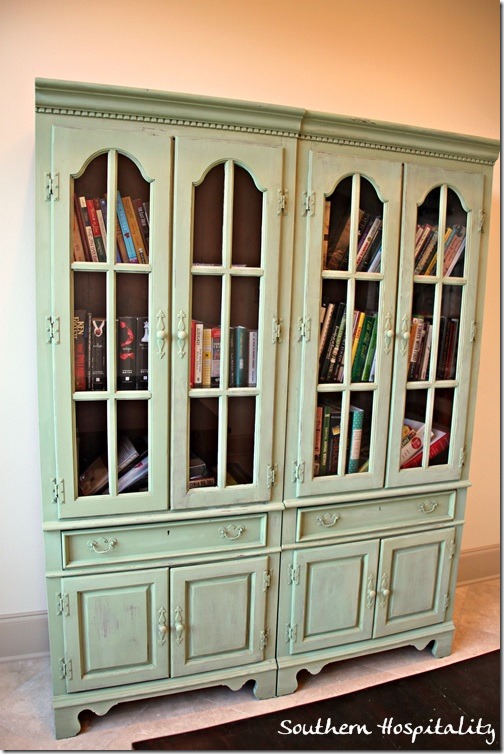
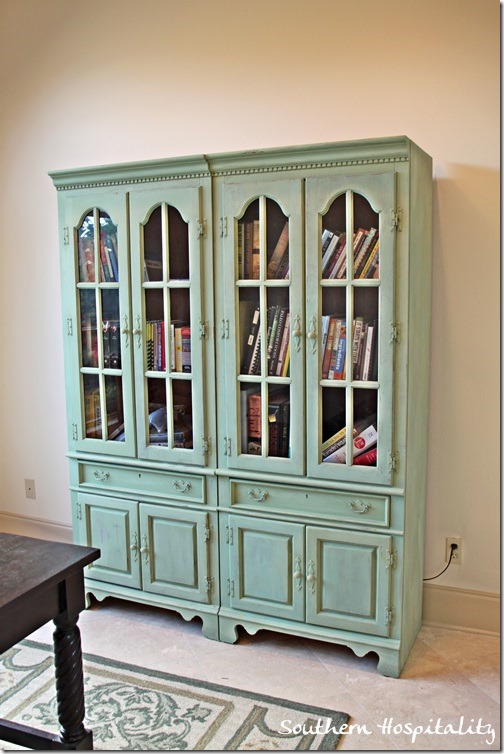
I went back and washed on a bit more paint in areas that weren’t covered well, but we just went for the old and distressed look with this set. These aren’t the best examples of a wow after photo, but since we had so much to do that weekend, we were happy to get it finished. I had to hurry and take pics the best I could of all of these projects, so they are not at all photographed really well.
I love the color of Luckett’s Green and these will be great in Lauren’s craft room. She’s very happy with them as well.
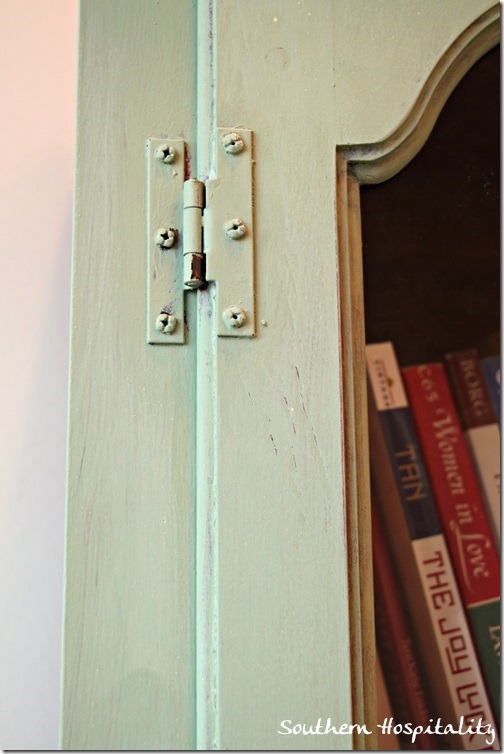
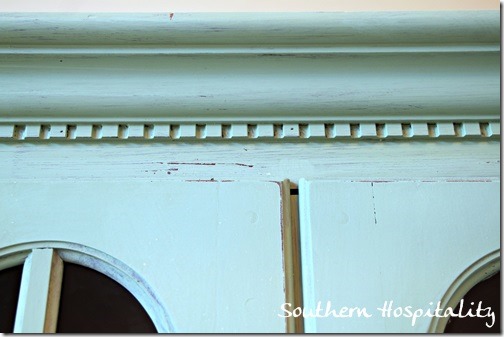
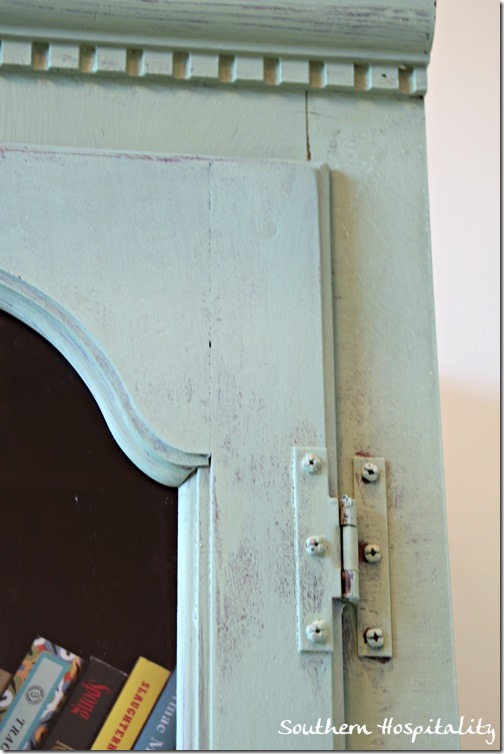
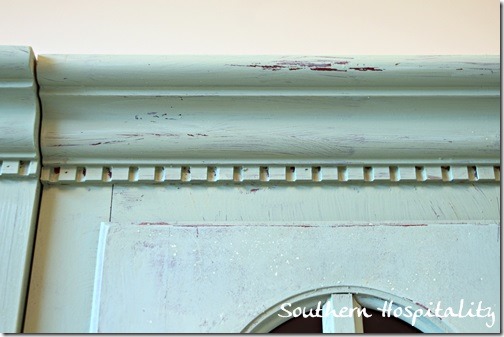
Here’s a close up of the finish and I took several so you can see the finish of milk paint. It’s made to look like a vintage finish paint and the feeling of it is rather flat and chalky, sort of like chalk paint. You can take fine sand paper over it and it smooths it out to a velvet feel, so I did that over most of it and called it a day.
Again, I left a little of the brown showing through and didn’t try to cover it all heavily with the paint.
Leaving some brown just gave it a nice look and we were good with that, an aged and vintage look of older furniture.
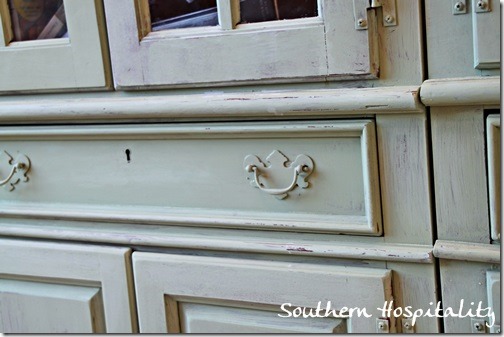
More detail on the drawers.
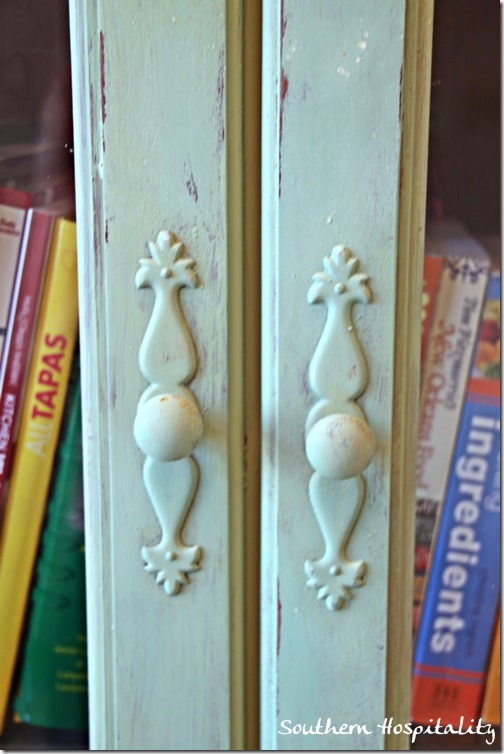
The glass doors.
See how it just naturally looks aged even without a lot of sanding. This was just using the fine 150 grit sandpaper. You can add wax to this paint too, but we just didn’t have time to do all the waxing too and this finish should be fine without it. We left the inside brown wood.
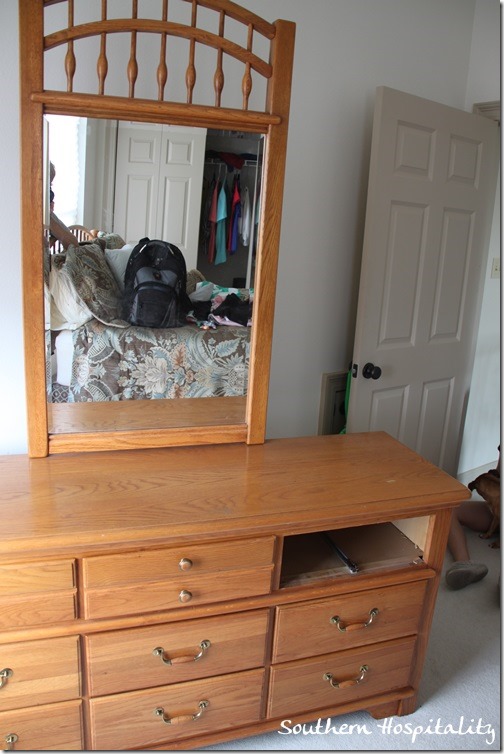
One more quick little paint job we did was this old dresser that Lauren’s mother-in-law gave them. This reminds me of the old oak set I grew up with in my room. These have seen better days for sure.
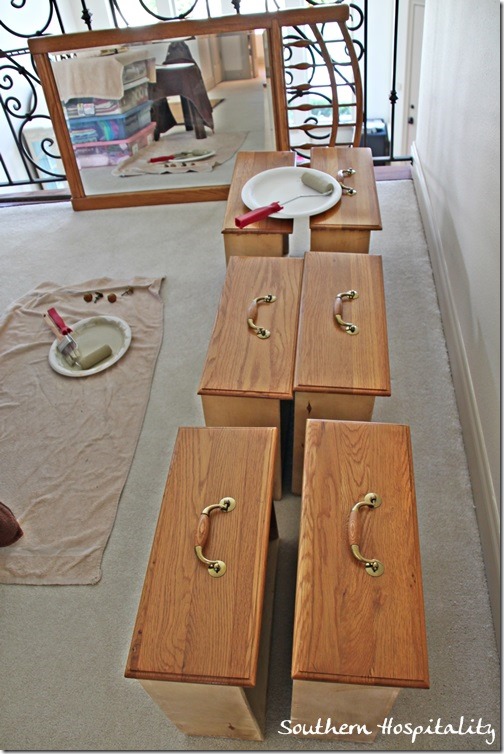
We took off all the handles and took out the drawers and got it ready to paint with Annie Sloan chalk paint in Country Grey, which is not grey at all, but a nice tan/khaki color.
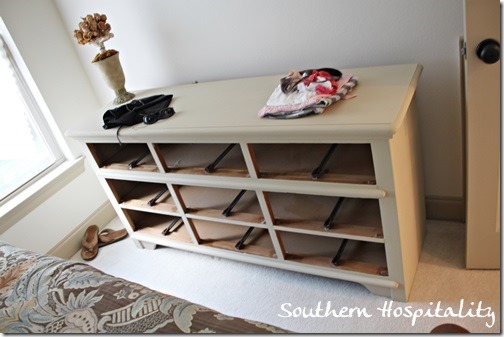
And here it is after 2 coats. I wish I had more beauty shots to show you all, but this is the best I could do with the short timeframe we had for painting. It looks so much better painted!
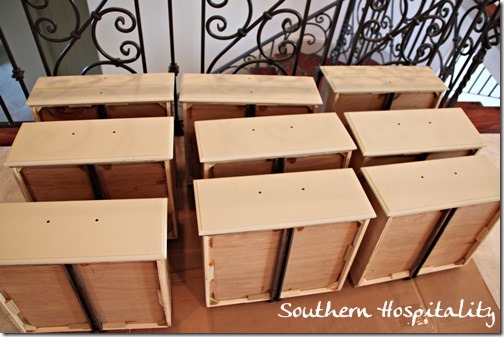
And here are the drawers.
Again, Annie Sloan chalk paint does not require sanding or priming, so that’s how easy it is to use and why I like working with it. Less mess to deal with. Lauren can wax this or even add a clear coat of poly on top if she wants to protect it more later.
So that’s 2 more paint projects we completed and we are happy to get those behind us too.
There’s nothing like the power of paint!


[…] http://southernhospitalityblog.com/painting-a-bookcase-miss-mustard-seeds-milk-paint/ […]