{This is a sponsored Post}
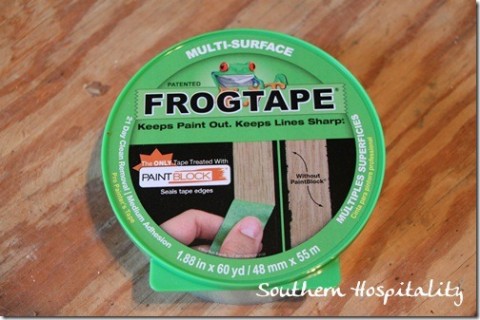
As I’ve already shown you, we just finished up the girl’s cottage space at the United Methodist Children’s Home and I had a chance to use my green Frogtape on a project once again. This time it was adding an accent stripe to the wall in the bathroom.
We thought that plain little space could use a jolt of color and an accent stripe is so fun!
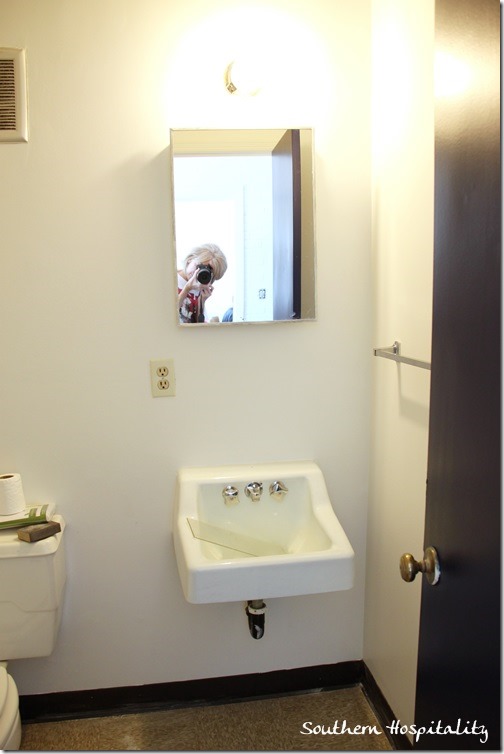
This is the space Before we started.
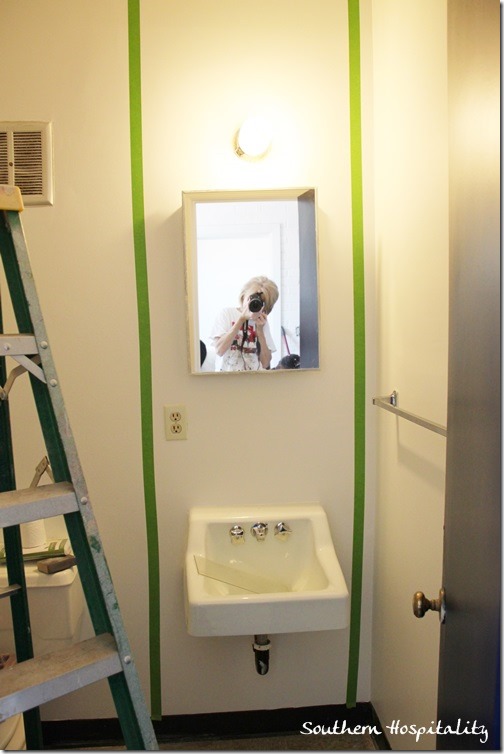
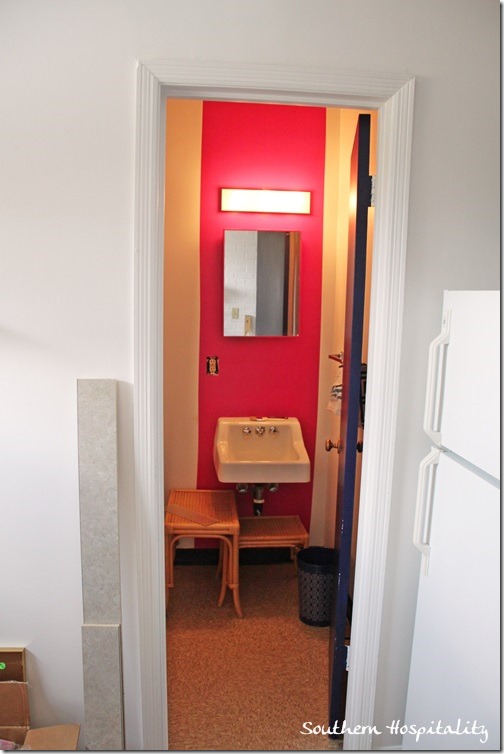
I taped off using my Frogtape, but as you can see it didn’t stay completely straight because I didn’t have a level. That’s when a laser level should be used. I tried to measure from side to side to keep it going even, but didn’t completely make it.
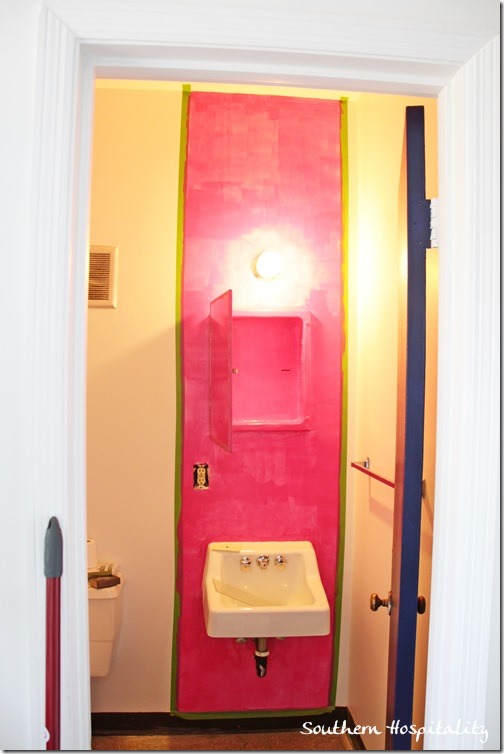
Taped and painted with one coat. Pink is like red, it takes a lot of coats to cover. 4 to be exact on this wall!
After the tape was peeled off, it looks pretty good in spite of my somewhat wavy tape job. Frogtape is a paint block formula which keeps paint from seeping under and it really does work. Always try to peel off tape immediately after painting a stripe, that will give the most crisp result. I also painted inside the old medicine cabinet, as well as the outside to keep the pink going.
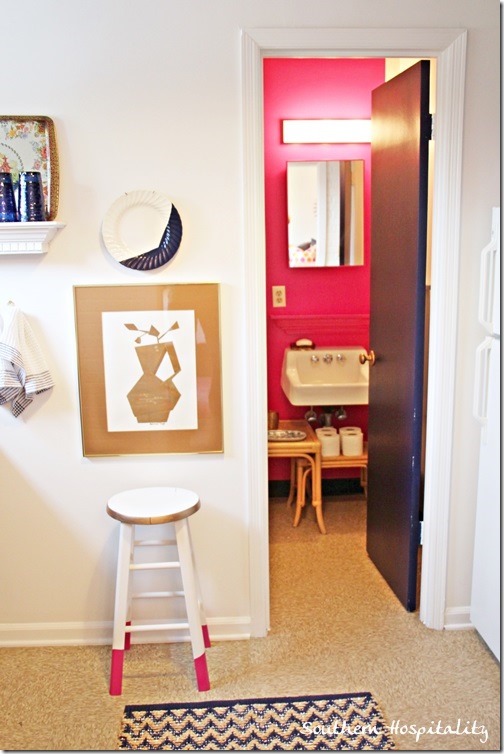
And here’s the bathroom with everything in place. My wonky lines don’t show too bad and this vibrant pink really does amp up the room. I love accent stripes and FrogTape works great for taping and painting them.

Note: This post is sponsored by FrogTape with Paint Block technology. It’s my favorite tape to use and I’m a FrogTape Blog ambassador, getting compensation to share my experiences using their tape. All opinions are my own.
Excited to be featured on a home tour at 13 Canadian today!


Rhoda, with all the work you do you really need a laser level, I found one on sale with a tripod and case for 10$, it was a great sale.
I use nothing but the green frog tape for any kind of painting, it is the best for a crisp line, worth every extra cent over the blue tape. I’m big on prep work before I paint.
The bathroom came out great, have you heard how the new occupant like the redo?
Hey, Mary, I do have a laser level, just didn’t take it with me (duh!). I don’t think the girls have moved in here yet, but it will be soon. We never get to find those things out, but hopefully they will be thrilled with the spaces.
Rhoda, Great job! The frog tape is amazing, and you can barely see any wave in the lines! ? If you put on the tape without a laser level, can you easily re-position it?
Please join my Giveaway from Segreto Secrets!
xoxo
Karena
Art by Karena
Hey, Karena, you can reposition the tape, no problem.
What a great idea- I think the girls will love the modern stripe and especially the pink! I haven’t tried the frog tape yet but I am sure I will eventually.
Rhoda, Straight or not it is too cute. I love that you made it special. Did you paint the cream color under the tape first? I am always confused what is happening under the frog tape. I am sure everyone understands this but me. You are just so nice I feel I can ask.
HI, Kay, most of the time I don’t have a problem with paint bleeding underneath and that’s the reason people paint the base color over the tape first and then paint their accent color. I never do that, this tape really does work well to prevent bleeding.
The key to making sure you get no bleed, even with frog tape, is to make sure that the tape is completely flat. That seems obvious, but if you get a little kink in the tape -even if you smooth it down – you will get a little pocket of paint under your tape. So make sure the tape isn’t kinked, use a putty knife to press it into the corners and to tear it straight, and then use the roll to really press the tape against the wall. I’ve painted two very deep accent walls (with a well cured wall paint already applied) using Frog Tape and I will say that it much more reliable than the blue stuff. But taking your time installing the tape is key.
I have never even heard of frog tape! The bathroom looks lovely and I sure it must brighten up everyone’s day that enters that room. Thanks, Patty
Such a happy space!
Bless you for this work.
Super cute and another great tutorial. I always keep a chalk plumb bob in my mini tool kit. Easier that a laser for a job like this.
You wrote “Always try to peel off tape immediately after painting a stripe, that will give the most crisp result.” Does this mean when the paint is still wet… or should you wait until it has dried somewhat? Sorry, but this doesn’t seem intuitive to me. I think there would be a chance that I would smudge the wet paint. lol You will have to show us novices how your laser leveler works in another post.
Hey, Lindy, yes it is recommended to let paint sit just a few minutes and while still wet, pull the tape off. That will keep the lines very crisp, believe it or not.
I want to unsubscribe to this blog but don’t see that option on the webpage. Please help me with this.
HI, Annette, it depends on how you are subscribed, by email or Google Reader. I think you can delete from your Google reader and you should see an unsubscribe on the emails. Can I ask why you want to unsubscribe??
This is great! I’ve been thinking about painting stripes in my bathroom for a while now, but maybe one is all it needs. Thanks for the inspiration! I love it!
I like that you chose to paint the strip vertical instead of horizontal. It definitely gives the room a more modern look.
Any kind of stripes make a space more fun! looks like a great cause!
Barbara