Hey, friends! I thought I’d share with you all that we have going on. We actually have a few projects on our plate right now, including a peel and stick tile installation project. We plan and talk about what we’re going to do next and sometimes it all happens in the same timeframe so that’s what we’ve got going on now.
I’m continuing to paint the upstairs doors and changing out the hardware as I showed you all earlier this year. Then, we started staining the fence and deck and that just happened this month as we got the stain and the spray gun from sponsors. So, what’s one more project, right?
Mark’s parents had a water leak in their kitchen earlier this year and had to have their kitchen completely redone. It worked out pretty well since their insurance paid for most of it and since their floors had to be replaced, the lower cabinets got ruined too, so it turns out they got all new cabinets and countertops too. Mark’s mom was really happy about that! But, she had never had a backsplash in her old kitchen and really wanted one now that her kitchen was all pretty and white. They went from stained cabinets to white cabinets (there house was built early 80’s), so the whole kitchen really looks much lighter and airier.

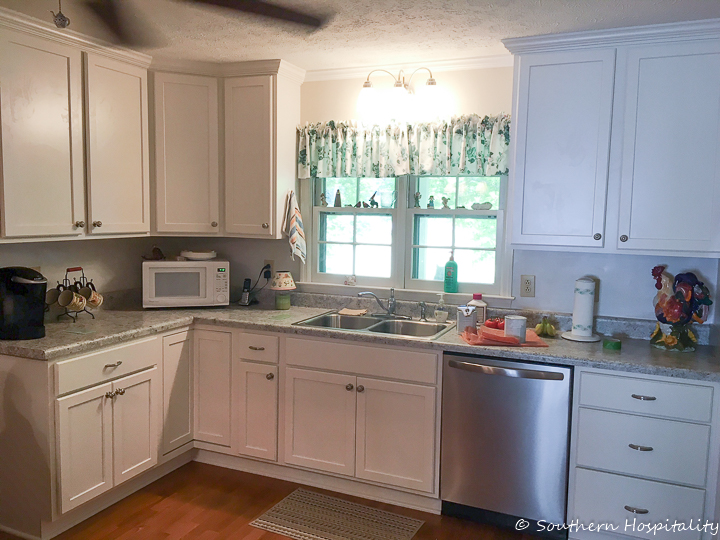
Here they are after the kitchen was finished in February. Mark’s mom is so happy with her new kitchen and it is so pretty and functional now. When she mentioned wanting a backsplash, I thought of a sponsor who had been at Haven a couple of years and has peel and stick glass tiles. ACP or Aspect Tiles has several peel and stick products and I thought these would be a good solution for her backsplash and something we could do for her relatively easy. I reached out to them and they said yes, so a big shout to them for helping this project happen!
Can I just say, I married into such a sweet family. Mark’s parents are the best and I love that his family is very closeknit like mine and I feel completely at home with his parents and family now.
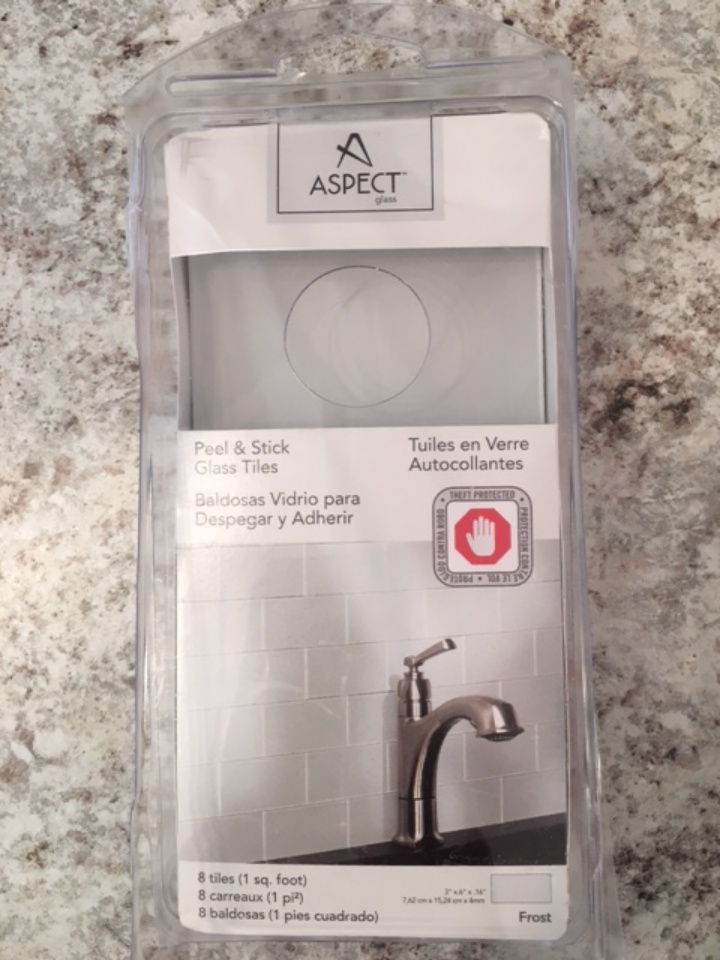
Here are the peel and stick tiles we used. They come in several colors and Mark’s mom chose white. They are a soft white glass tile and look really nice with her cabinets.
Peel and Stick Tile Installation
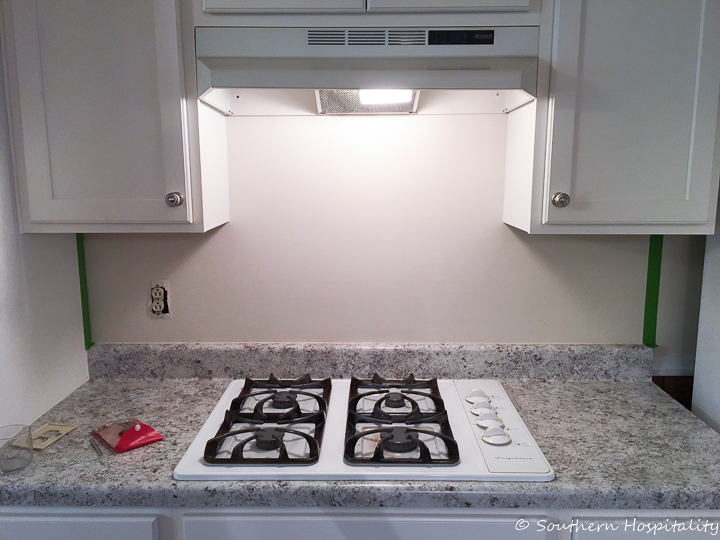
We measured the space and got the square footage and ACP sent me the product to use. We also needed a wet tile saw and I partnered with Ryobi on that as well. They just sent us several tools to use in our projects and the first one we will use is the wet tile saw, a must for a project like this.
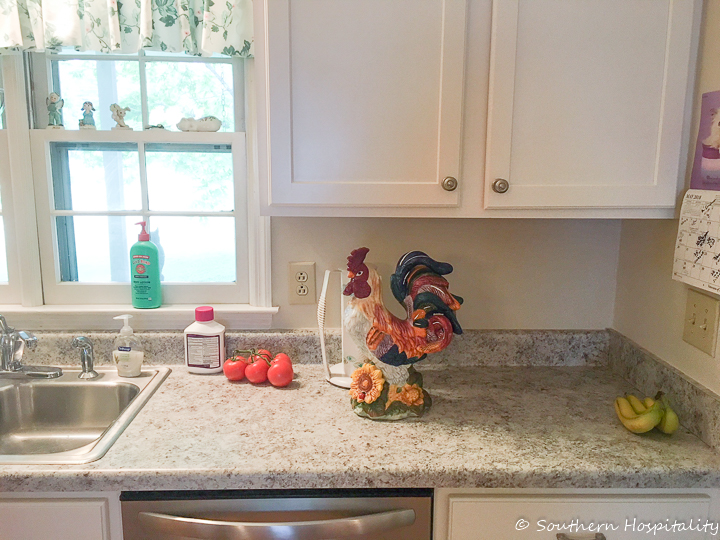
Here’s a shot of the kitchen all the way around. We started on the stove side and got that side completely finished and we’ll move on around the room until we finish the rest.
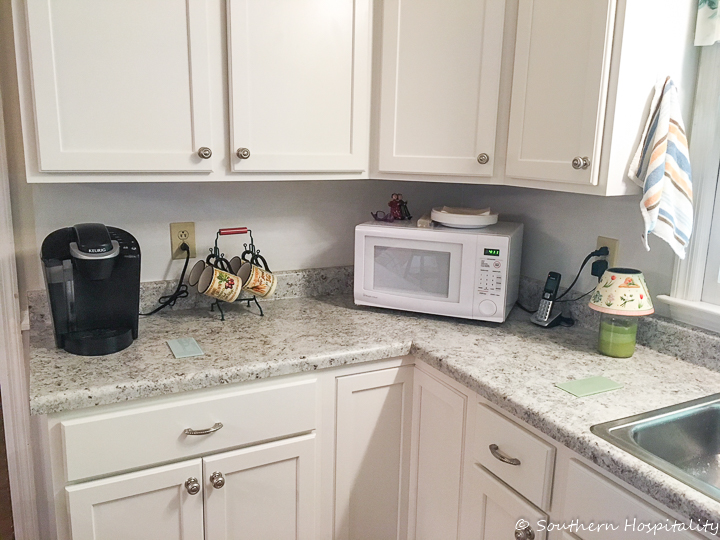
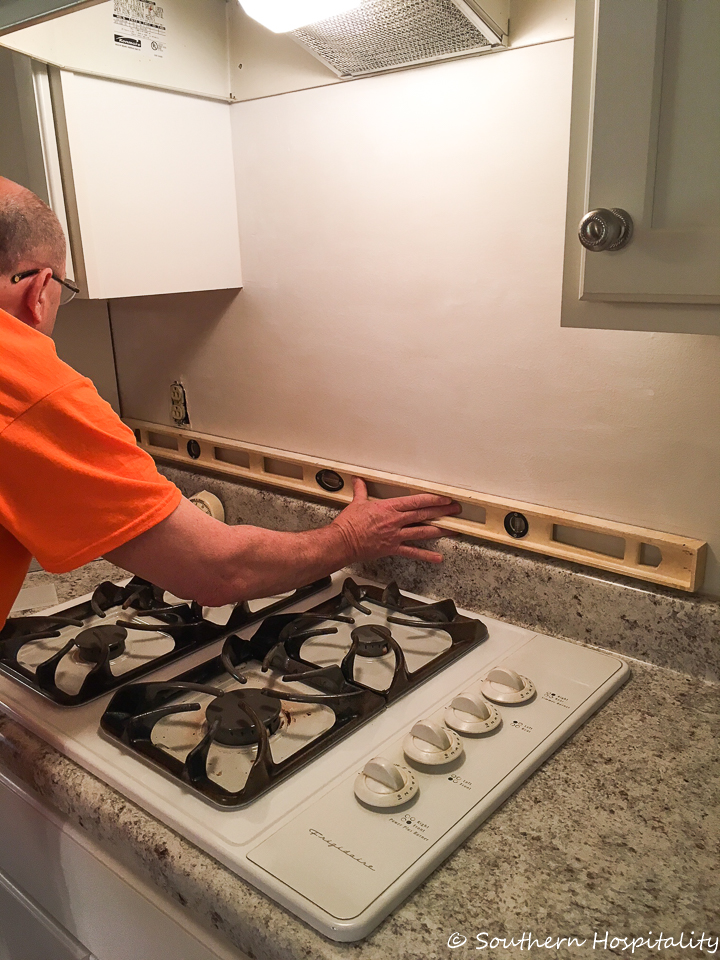
Mark was making sure the backplate on the counter top is level and it was so we followed that line and started at the bottom.
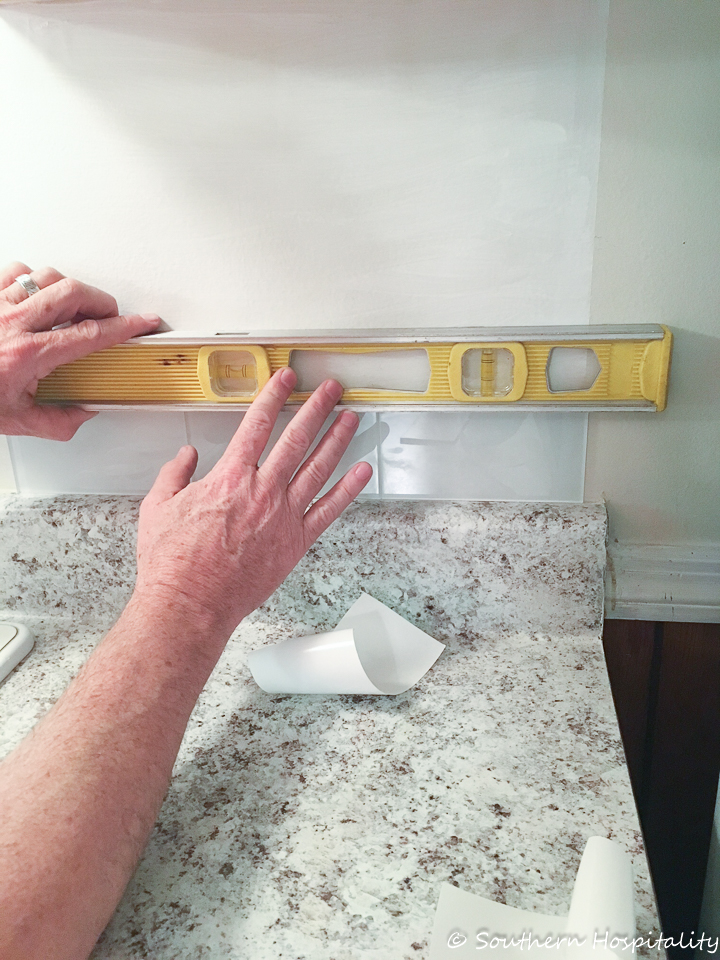
Getting the first row in is pretty easy, but at each end of the rows we had to cut pieces to fit and several 1/2 pieces for every other row.
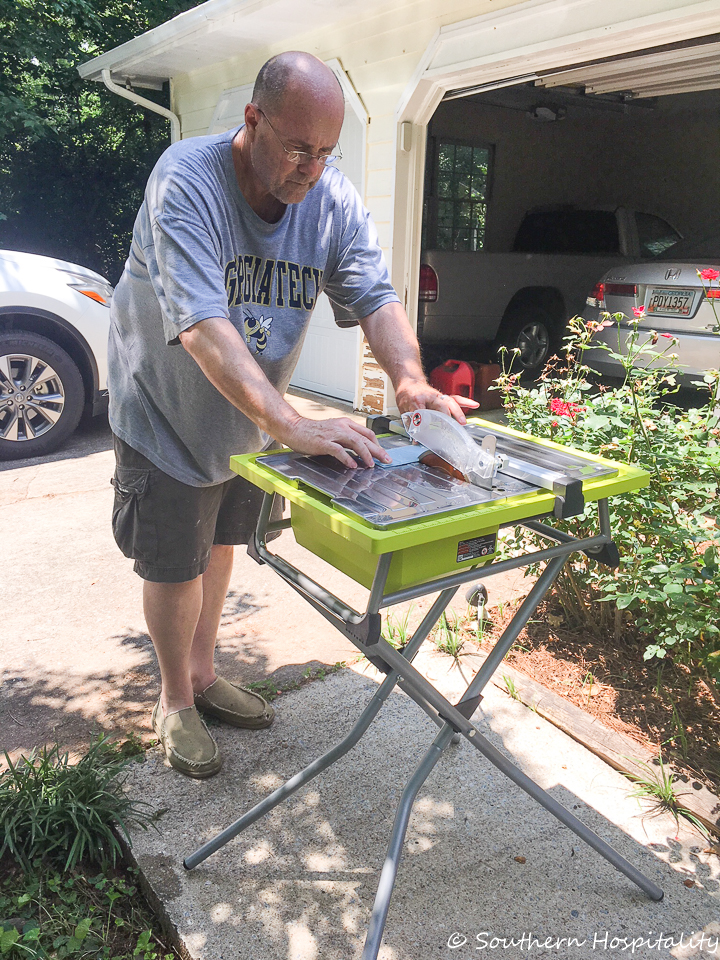
The Ryobi 7″ wet tile saw was a great tool to get and use and made this job possible. We had to have a saw like this to be able to cut the glass tiles. We will most likely do some more tile projects at our houe and will be using this tile saw again. We want to do our kitchen backsplash at some point too.
Mark got the hang of this one really fast. We did find that the glass tiles had to be completely flat going in the saw or they had a tendency to chip on the corners. Glass tile is more fragile than ceramic or porcelain tile, so be aware of that. We had to cut around the outlets too so that’s a bit more time consuming. The straight rows went really fast, but the cuts take time.
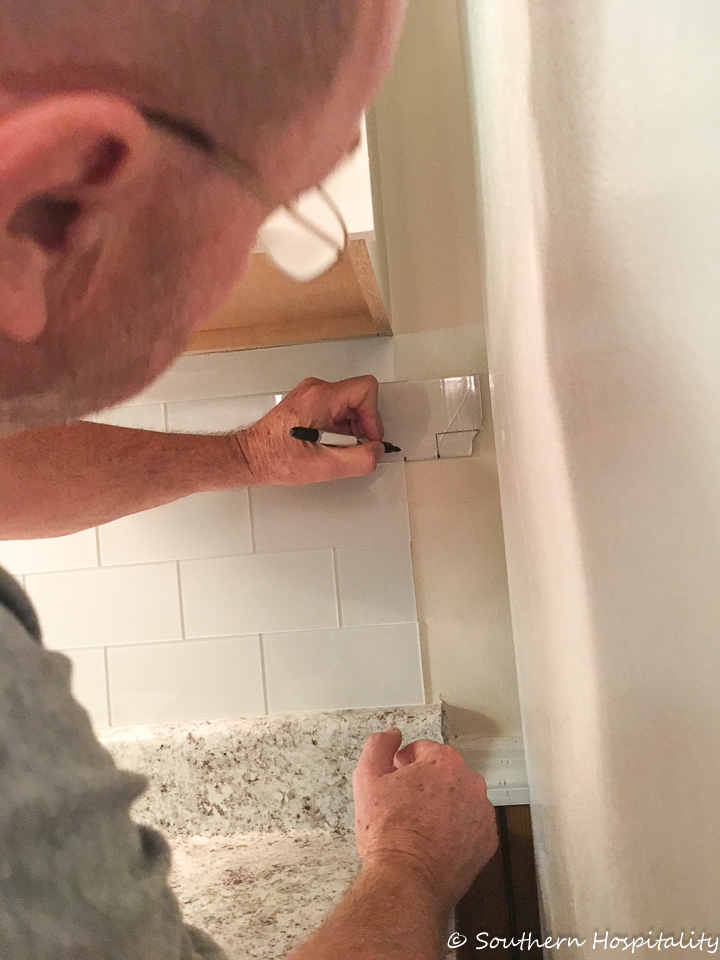
We tried to cut the ends as even as we could to create a straight line above the countertop.
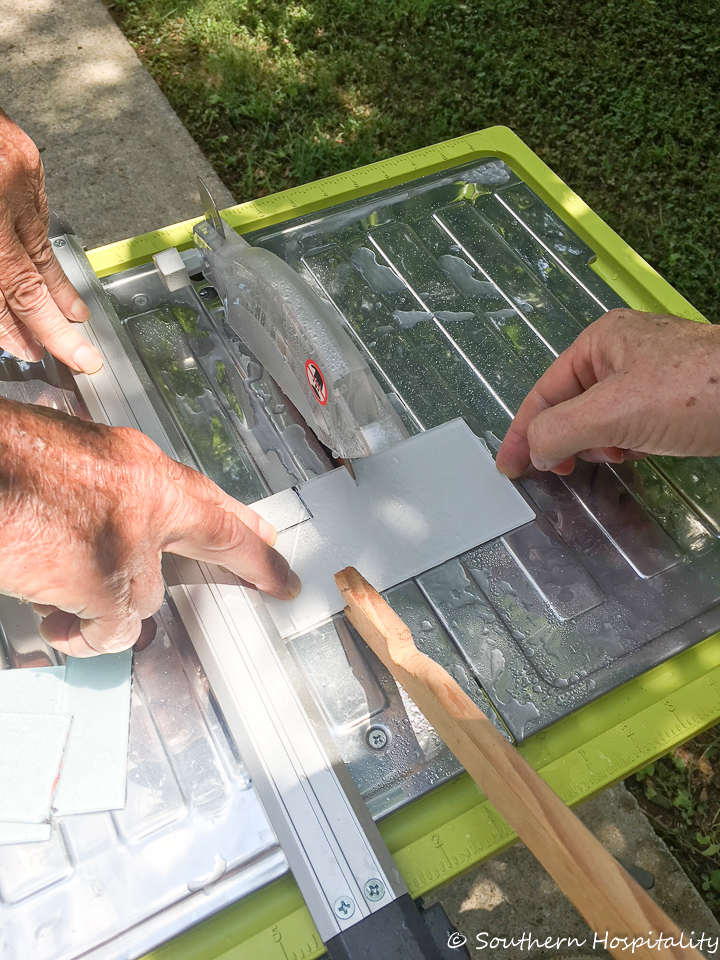
Mark’s dad helped too in holding the tiles really flat to go through the saw and I flipped the switch on and off for Mark as he pushed the tiles through with a stick.
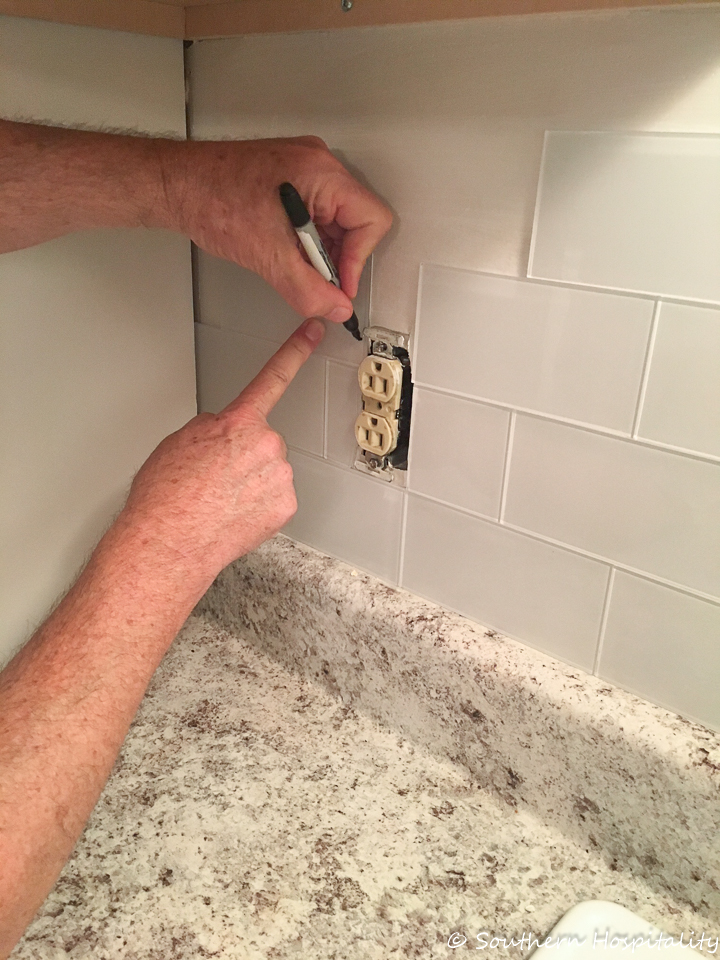
Cutting around the outlets was the hardest part, to be sure that they would be hidden behind the outlet cover.
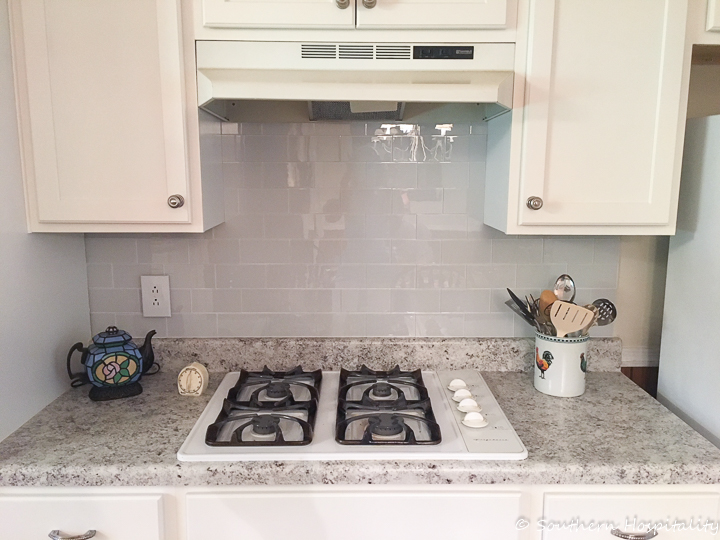
We got this section completely finished and have quite a bit more to go, so I’ll be sharing the complete project when it’s done. One more little thing you have to be aware of on peel and stick tiles. There’s a paper backing on the back and once you peel that off and get the tiles in place ready to stick, you have to be really careful because once they touch at all, they stick so well you can’t move them without prying them back off the wall and then you risk breaking them. We had to pull a few of them off and broke a few pieces. The sticky part really sticks well, these will NOT fall off the wall! We tried really hard to get them lined up evenly and in the exact right spot before sticking them down and that worked most of the time. I placed many of the rows that were full tiles and those rows went fast.
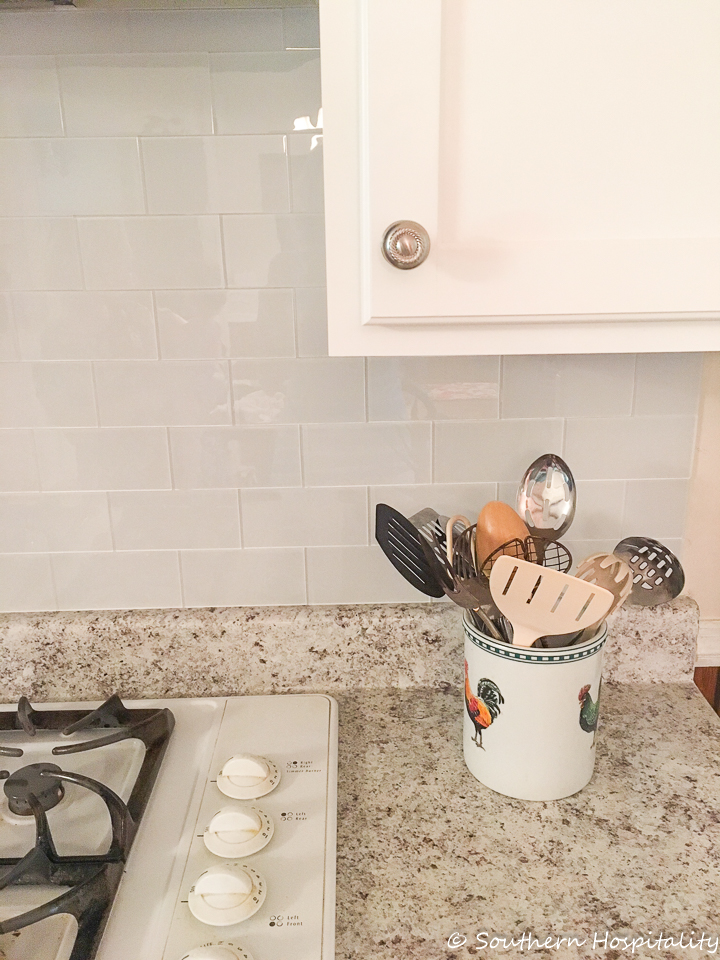
We had to cut the very top row here below the vent hood cover and they were 1/2 tiles cut longways. Mark got them cut and set really well and then we were finished! It was great to see this section all done. I got some glass cleaner and got all the fingerprints off and Mark’s mom just loves it. This color is white glass, but comes off a little bit gray with no light on them and they really are pretty with her countertop.
The best thing about these peel and stick glass tiles? No grout lines. You just butt them up next to each other and keep going. No grout to deal with. That part is nice, but I’m not sure this saves much time over traditional tile setting because you do have to cut lots of pieces and you have to be really precise on setting them before pressing them in place as they won’t move after the fact. All in all, they are very pretty tiles and we are happy to be doing this project for Mark’s mom.
I’ll be back when we finish and show you the whole kitchen! Thanks again to Aspect Tiles for sending us the products!
This post is sponsored by ACP Tiles and Ryobi, they sent us products to use.


Looks great! I am sure Mark’s parents love it.
They look fabulous and I had no idea that they were available. I’m going to go to the website of that company and have a look! Thanks for the cutting and sticking tips, I’ll remember them if we decide to try these. Her kitchen looks fabulous now and I’m so glad she’s happy with it! How sweet of you and Mark to help them out with your connections and both of your DIY talents!
The backsplash looks great! I wonder if it would have been easier to use a simple glass cutting tool rather than a tile saw in this case? Does the tile company make trim pieces for the edges or just the flat tiles? I may just have to try this myself!
HI, Julia, I don’t think they have trim pieces at least we didn’t see it online. And no, you cannot do this project without a wetsaw. We tried a simple scoring tool, but it was a diasater. Plus we had a couple spots that had squares cut out, so there’s no way to do that without a wet saw.
Mark did a great job. The kitchen is beautiful.
Hi Rhoda, I used the Aspect peel & stick (stacked stone) last fall. It was nice because they could be cut with box cutter. Eight months later and they are still sticking! love the glass and we have the same wet saw! love it! laura
Hey, Laura, thanks for chiming in, that’s great to know. I love the peel and stick part of any project like this!
Showing this to my husband tonight!! We have a moderately priced home and do NOT want to over spend in the kitchen – where we have ‘granite look’ formica counter tops – but nicer than normal cabinets. I believe this would be a good compromise. When living in an older neighborhood with ‘mature’ homes – one needs to be careful to not over-do remodels that could never be recouped in a sale.
(we are currently updating our small master bath using bead board tips and pics from your blog.)
These peel and stick tiles have to be the greatest invention ever! Not sure if it’s the same thing but my daughter just put stickers on top of her existing tile floor in a bathroom. Looking at them you wouldn’t dream they were stickers and supposedly have a 7 -10 year life.
Hi, Lori, I’ve been seeing those stickers around lately and might just try them in my laundry room. I love the way they look!
Rhoda,
Mark and you did a beautiful job of the tile backsplash and it really sets your in-laws new kitchen off. This is the first I have heard of peel and stick glass tiles and I was reading your post to my hubby about the project. Since he just completed our master bath renovation last summer he has gotten lots of experience cutting tile and grouting.
There definitely is a learning curve to the peel and stick tiles but it is nice not having to grout. As you said, I am not sure there is really any time savings its just a matter of whether you would rather not grout.
HI, Teresa, thanks so much! Yes, definitely a learning curve, you have to keep them lined up across the top or if there’s a little edge that sticks up, it will affect the next row. We did them the very best we could and although they aren’t perfect, the end result looks great. And yay, to no grouting. It’s not a fast project, but worth it!
Rhoda, this looks beautiful! I had no idea that sticky tiles could look so lovely! Also — is Mark a GaTech grad? My hubs (from Marietta) is class of 1979, BSIE
Hey Tamara, thank you glad you like! Mark is not a GA Tech graduate, one of his daughter’s is, so he sports the shirt. He is a graduate of GA State.
I’m about to use the very same tile! But my backsplash was textured and painted with latex, so after sanding and cleaning, Im going to spackle and have considered putting up wallpare liner instead of painting with primer. What would you recommend?
Hi, Denise, we did prime their walls just to be safe. I’m not sure about textured walls though. I know they should be smooth.
Her kitchen looks really nice and you and Mark did an excellent job. I know Mark’s mom is loving it.
Wow! I love it!
I bet they were thrilled!
Nice job!
I am planning on doing a project like this in our 1972 kitchen that needs a backsplash…thank you so much for sharing! Looks great!
Awesome job, Mark! This method is much easier that traditional tile/adhesive/grout. We used a self-adhesive back splash with miniature tile and the cutting was minimal. When we do projects ourselves, we learn new skills and save money. Again, thanks for sharing!