I’m back from the beach, but before I left, finally, the weather is cooperating and we got more than one day of sunshine to continue working on the porch. Dad and I got out there on a recent Saturday and made some huge progress on the screened porch, so I can actually see the end of this one and we should be sipping a cold drink out there by June. It might take me that long to get it all painted. We’ll see.
In the meantime, here’s how we did the ceiling. I had always envisioned beadboard out there from the very beginning, so that’s what I bought. It comes in 4 x 8’ sheets and we needed 6 to complete the ceiling. All of this came from Lowes, my fave home improvement store. Two of them were ripped down to fit in properly.
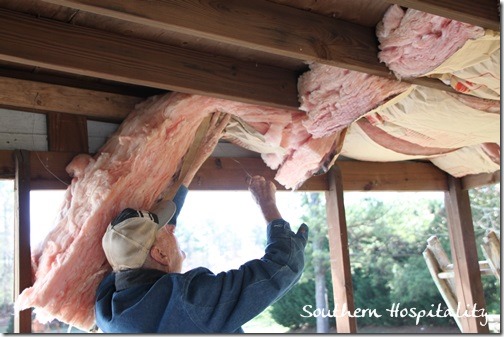
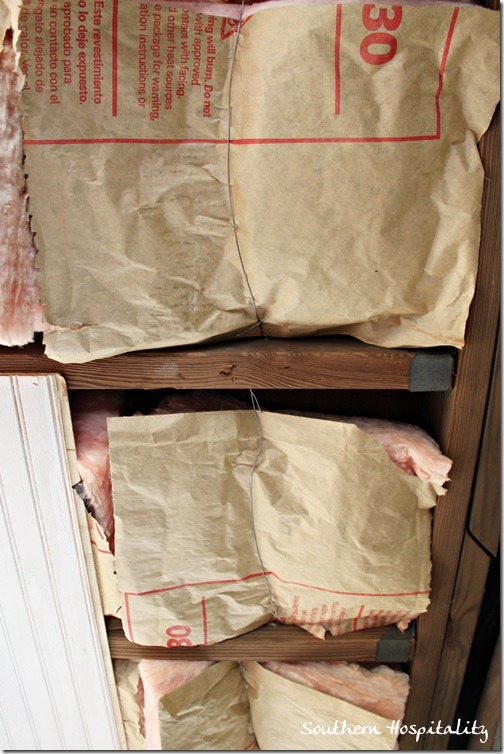
First things first, we added some insulation up in the rafters to help block some of the summer heat, so hopefully this will make the porch cooler.
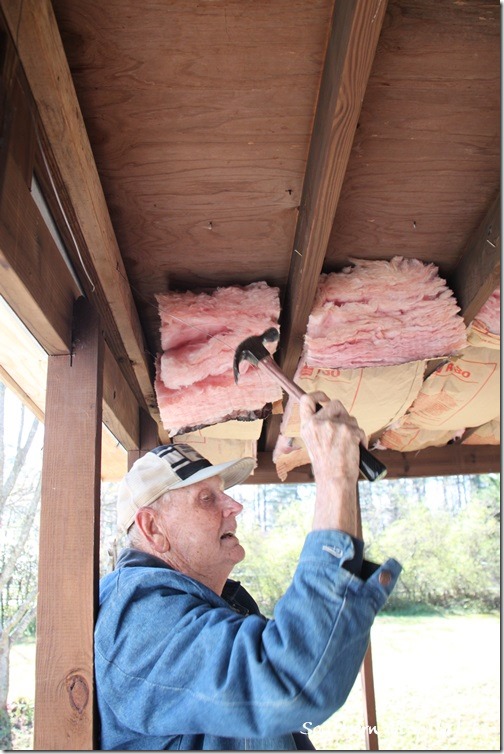
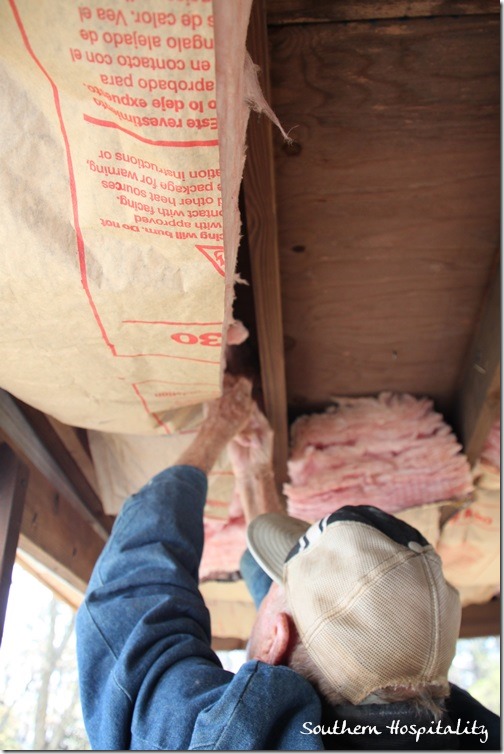
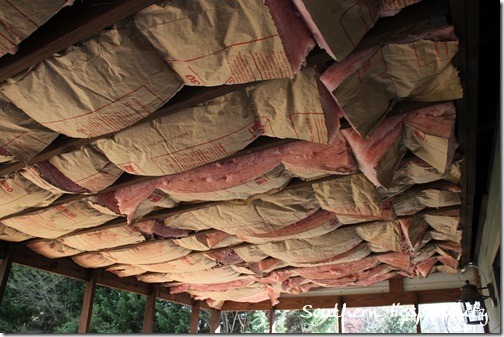
It was a little tricky getting this in place, but Dad came up with a solution, using wire and nails. He tapped nails in the sides of the 2 x 4’s and then we cut wire and strung it from one side to the other, holding the insulation in place. It’s so lightweight that putting the beadboard on top will not be a problem and it will all squish into place.
We both worked on this and I helped nail the nails up and added the wires and row by row we got it all done.
Insulation in place and ready for the beadboard. Happy day!
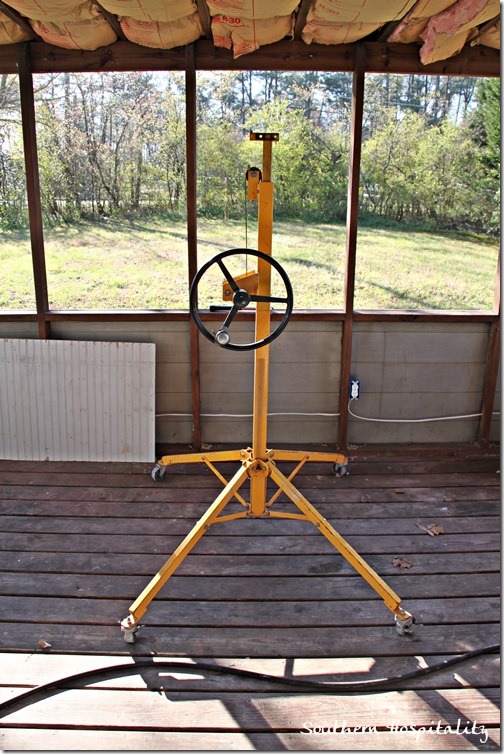
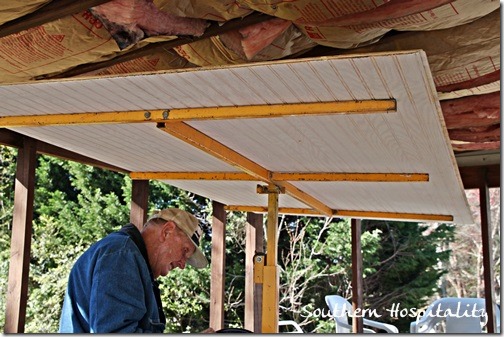
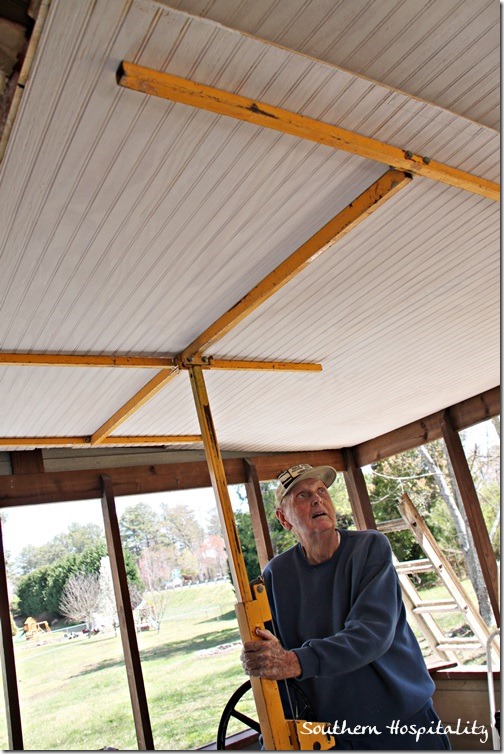
We had to wait a few days for another sunny day, but it finally came and I rented this wonderful piece of equipment to help us out. There is NO way we could have completed this job without this drywall jack. I got a 9’ drywall jack from a local tool rental company for $26 a day and that was money well spent. We were able to finish in a day.
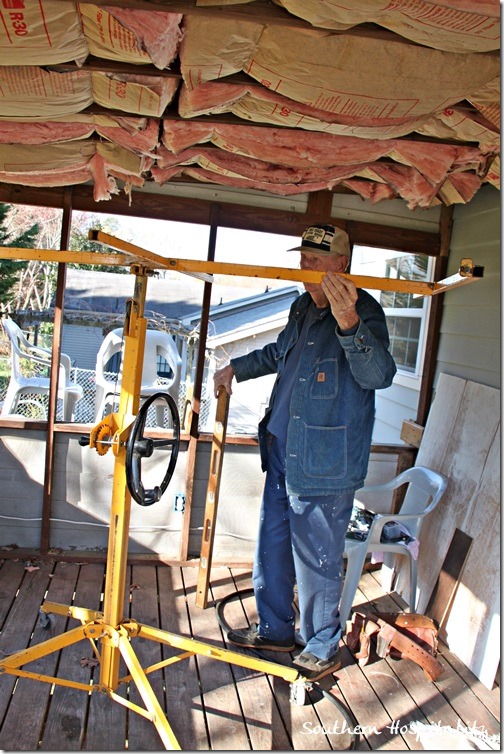
That top piece goes in place and that’s where the sheets of beadboard will sit and then the machine cranks up so that you can place the plywood or drywall all the way to the ceiling. Talk about a lifesaver! I used my nailgun and then nailed everything in place into the 2 x 4’s.
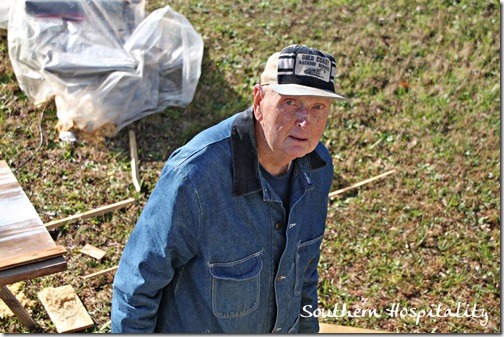
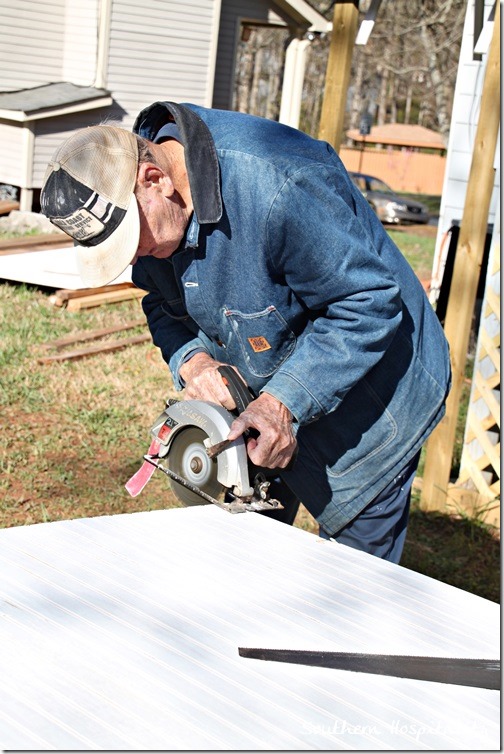
Dad working.
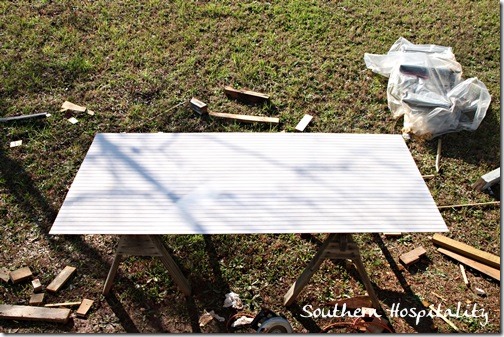
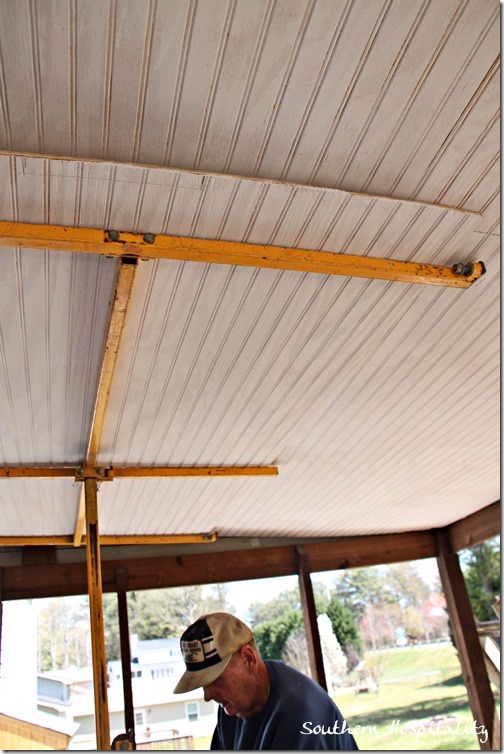
We set up the sawhorses and he had to make a few cuts to get around some of the 2 x 4’s that were up there. It wasn’t too bad, but there were a few cuts to make. I did go ahead and prime the beadboard too (with Zinsser oil-based primer) before we put it up, that will at least help some in the painting process.
He had to notch out a couple of spots to fit in there just right.
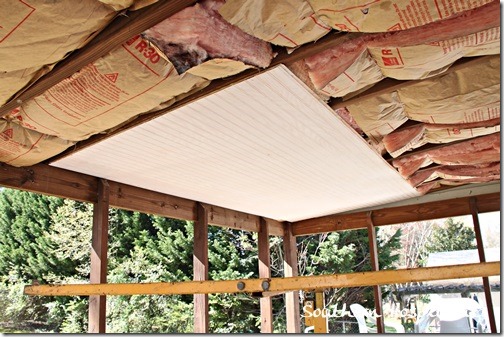
Then we put the first piece of beadboard up on the jack and got it into place. Once in the right spot. I began nailing with the nailgun until it was all secured.
First piece done!
We worked til lunch and got 3 pieces up, then took a lunch break.
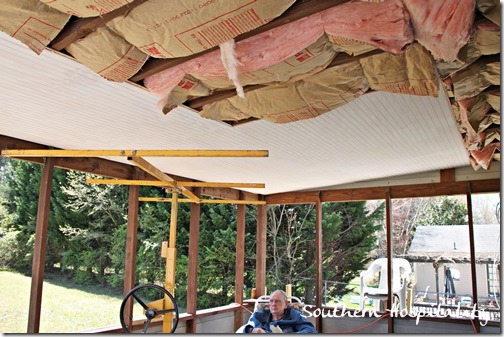
Then we got back to it, finishing the job in one day, about 6 hours total. What a big job it was and I’m happy this one is behind us too. The rest of the trim out won’t be so bad.
That jack was the best thing ever!
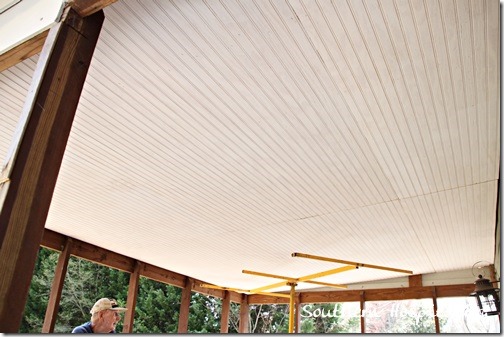
We got all of it up and then had to rip down 2 pieces to go against the house, using my dad’s table saw.
All finished and ready for trimming out. There will be one trim piece down the middle of the beadboard sheets and everything else will get caulked and painted out. I’m definitely going to do a light blue ceiling out here and the rest of the trim will be white. Can’t wait to get to that part too!
Dad and I were very happy to get this one finished on such a beautiful Spring day. We’ll get the rest of the trim work finished and then I’ll be painting it all out as quickly as I can, getting it ready for the furniture. I already have all the furniture and accessories I need for this space and it will be so much fun to finally get it all in place again.
My dreams of having a screened porch are finally coming true. It doesn’t take that much to make this girl happy and I’m so glad the Lord blessed me with a porch!


Kudos to your dad! He’s great just like my dad.
I reread the Kitchen remodel and realized the reason your cost was so low was there was a couple train car loads of labor you and someone else put it in on the subway tile, floor, paint, etc.
Great reminder on renting the drywall jack, a tool to make it possible to do work by oneself.
Wow, what amazing progress!! You are so going to enjoy that space this summer, Rhoda — it’s BIG! Glad to see Dad back at it — I’ve missed him! 😉
xo Heidi
PS — what about a paint party for your porch?
Heidi, I would love that, great idea!! I definitely have a lot of painting to do out there.
There’s everyone’s favorite guy! Your dad really is a wonderful man, Rhoda. I can’t get over all that he has helped you accomplish. The ceiling looks great!
Loved all the pics…
XO,
Sheila
Finding just the right Haint blue for the ceiling consumed me for weeks!
I finally found a place that had taken samples and fell in love with the light one from Savannah. It was the one that reminded me of the porch on my grandmothers house in Alabama.
http://thelandofcolor.com/store/products/category/haint-blue-formulas/
I can’t wait to see it all done and decorated. We spend a lot of time on our porches as well. It’s a great way to unwind at the end of the day.
What I want to know, did this seem to help the porch be cooler…
Hi, Debbie, it didn’t really make the porch cooler but adding the insulation maybe helped with sun beating on the roof. It was a nice porch!
How were the seams finished? I have had a really hard time getting 1”x6”x12′ beadboards, and am considering using 4×8 panels instead. Only the seams have me flummoxed. lol
We used 4×8 panels too and covered the seams with small trim pieces.