I would imagine that most of you have recovered chair seats sometime during your decorating life, haven’t you?
If not, today is your day to learn how easy this project is. I have recovered my share of chair seats and it really is as easy as cutting fabric to fit and stapling. Nothing to it. An electric stapler works great but if you only have a regular one, that’s fine too.
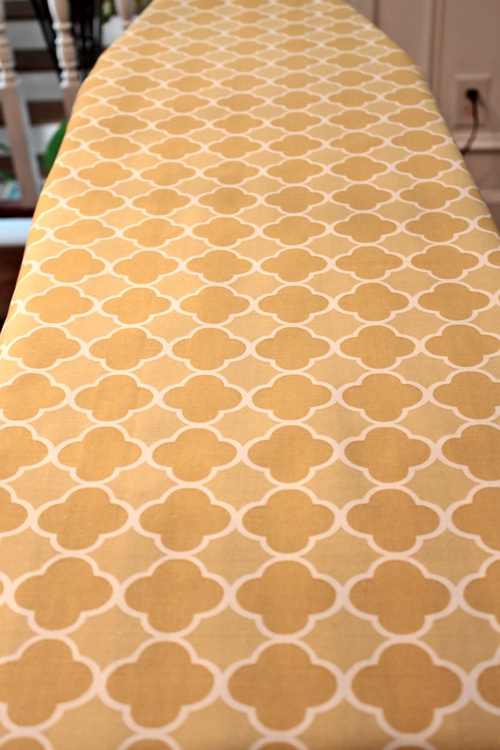 This is the first step to changing out the fabrics in my kitchen and I’m excited to get this part done. Then it will be on to the window treatment, which might take a bit longer than this project did. I’m not so good with sewing. 🙂
First things first. Make sure you iron your new fabric really well. You want all those creases out before you start stapling. 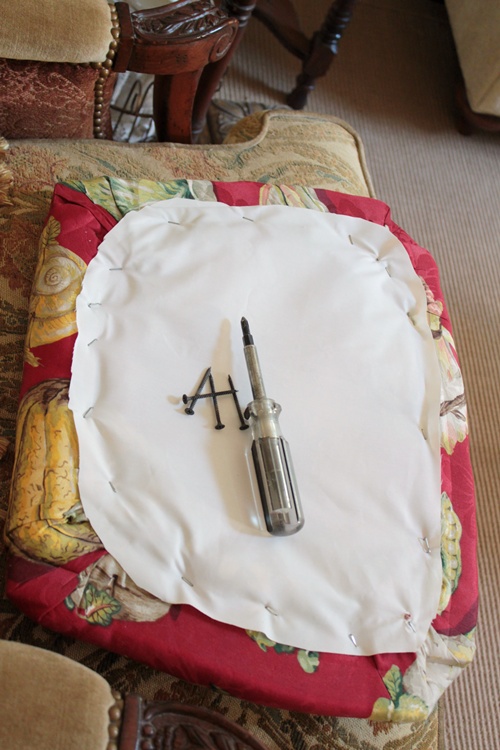 Unscrew the seats from your chairs and start taking off the old fabric. This fabric is almost 9 years old and as much as I’ve enjoyed it, a change will be refreshing.
 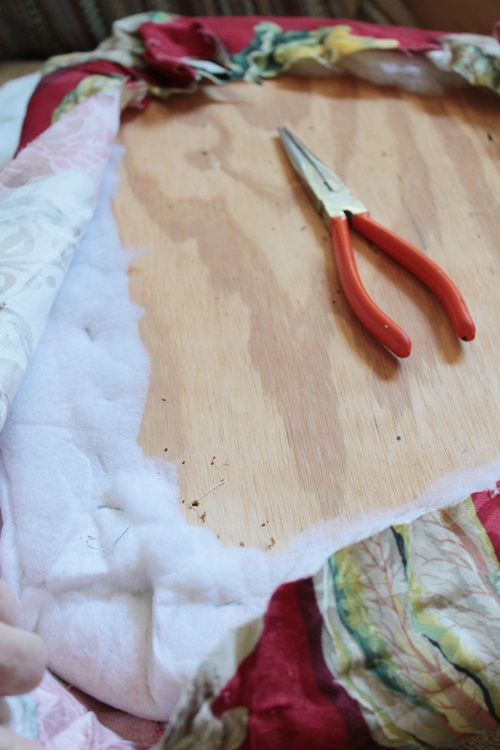 A screw driver and needle nose pliers are helpful for getting out all the staples.
 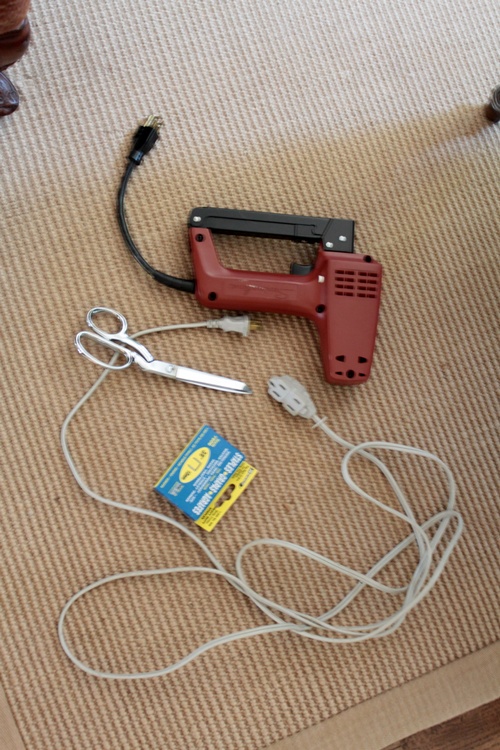 Get your staple gun ready to work!
 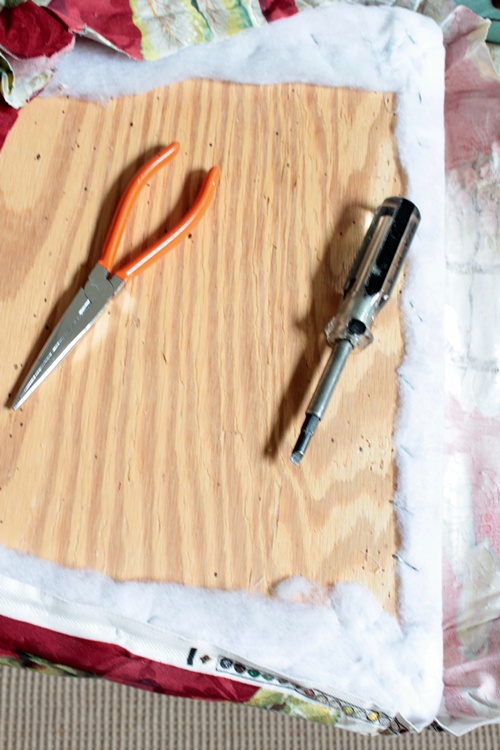 Once all those staples are out, you can pull off the old fabric.
 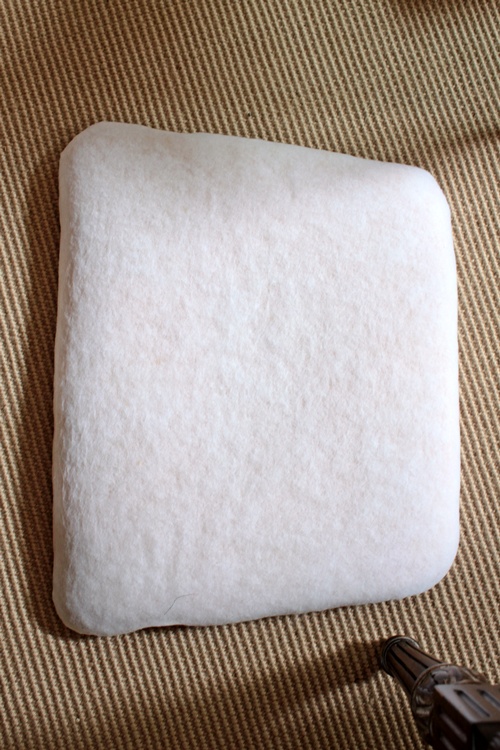 You’re left with the foam and batting underneath, ready for the new fabric.
 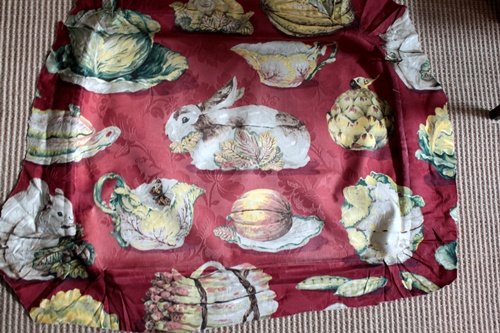 Bye-bye bunny fabric! You can see this fabric has some wear after this many years.
 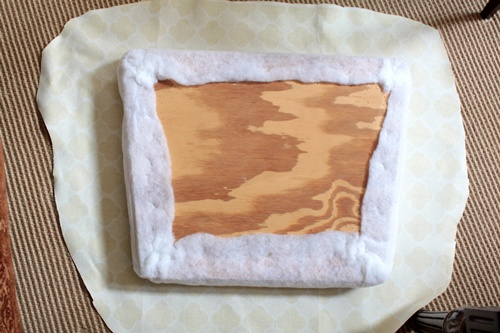 Use the old fabric to cut the new piece. Sit the chair seat on top and start working your way around the 4 sides of the seat cushion and pull that fabric nice and taut, stapling along the way.
 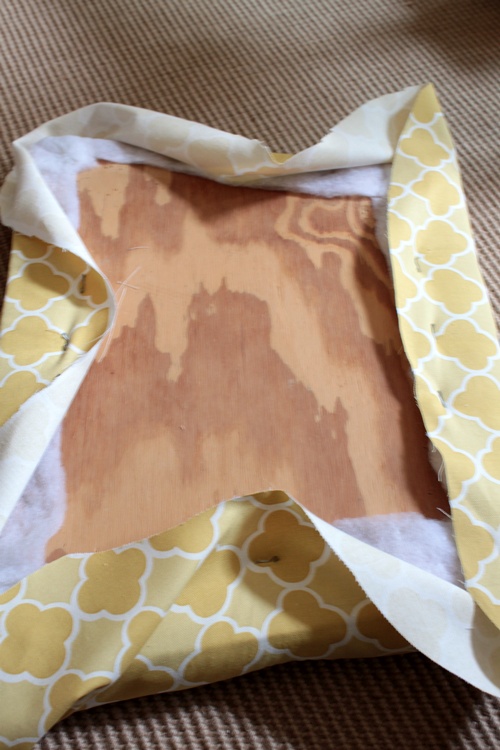 It’s best to start on one side, then move straight across to the other side, pulling the fabric taut and adding staples as you go. Do the first 2 sides and then move around to the other 2 sides. Then, you just keep pulling your fabric and stapling until you get to the corners.
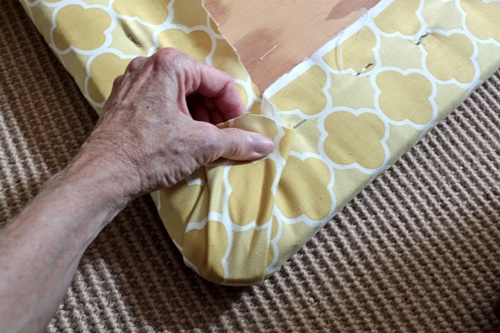 Once everything is in place and stapled well, I simply fold the corner down into a pleat and staple on top. You really don’t have to worry too much about getting this perfect, it will look just fine once it’s back on the chair.
How in the world did my mother’s hands get in my pics? 🙂 
And here’s the seat all ready to put back on the chair, all swankified with new fabric. 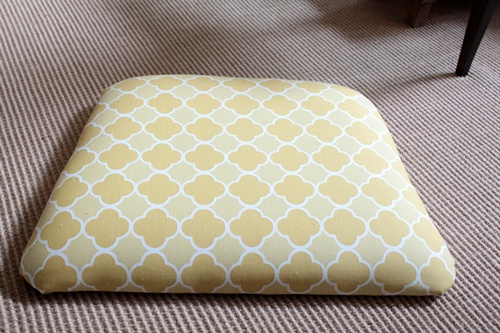 Looking good! You can see I wasn’t 100% careful with keeping my fabric straight. Ooops, should have paid a little more attention, but since I’m not a perfectionist, I can live with this little flaw. I really don’t think anyone will notice once they’re all back on the chairs.
 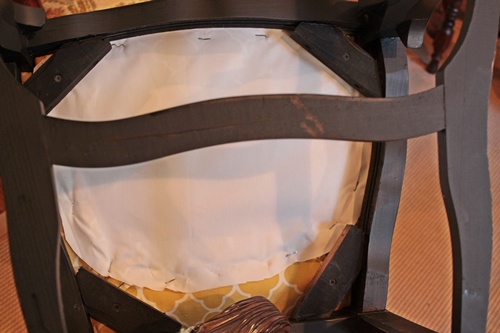 Screw the screws back in and you’re all done with this one. I did add a little piece of white lining fabric on top of my new fabric, since I had already cut them the last time. Just reused and this gives a little more finished look. Not that anyone is going to look under your chairs. Let’s hope not! 🙂
 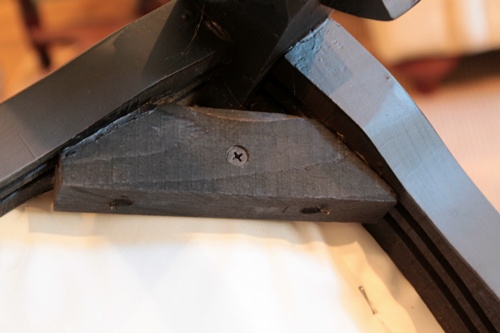 Four screws will get your seat back on tight.
 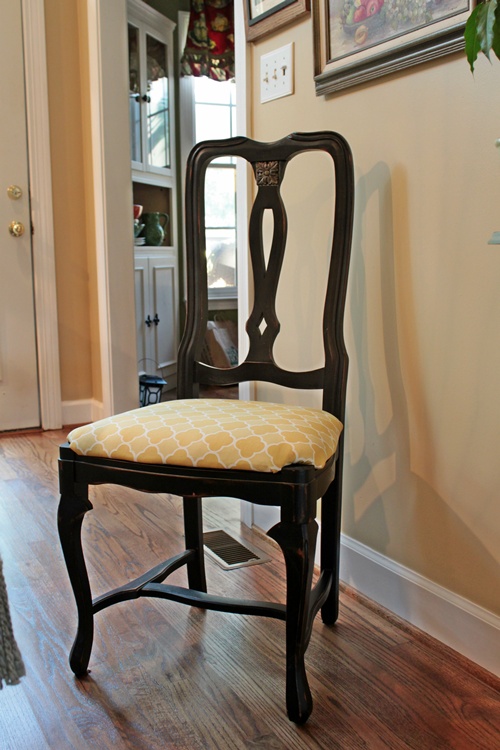 And there you have one finished chair. I had 4 to do and now this part of my little kitchen update is done. YAY!
  Let’s see how they are going to look with the black table. I love the contrast of this new sunny yellow fabric with my black chairs. You can see that I have 2 arm chairs and 2 without arms. I bought these chairs unfinished years ago and they started out stained until I painted them black . I chose to mix it up with 2 and 2 when I went with this round table and I like the variety.
 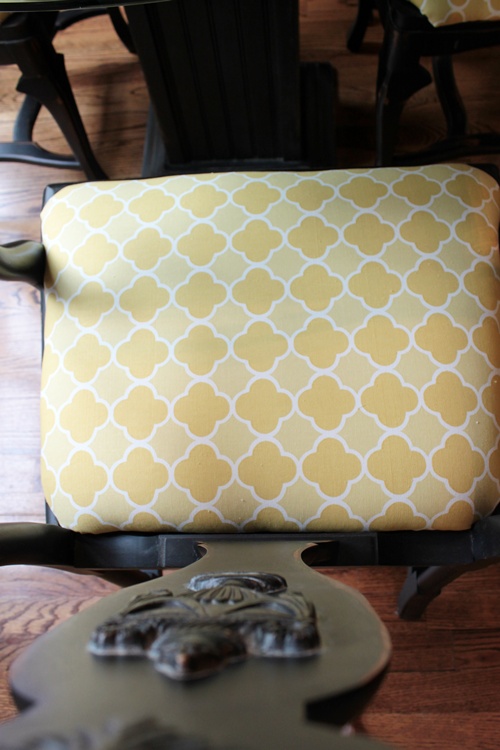 Very pretty.
 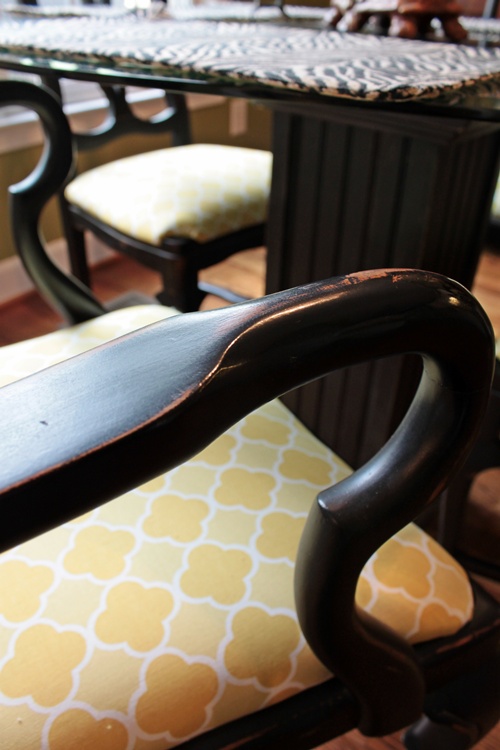 I painted these chairs about 9 years ago too and they have held up just great. You can read how I did those here.
 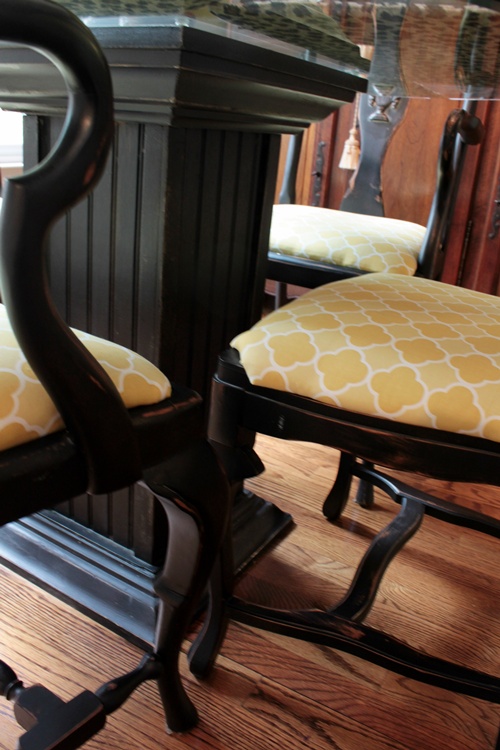 A fresh new fabric will update every single time.
 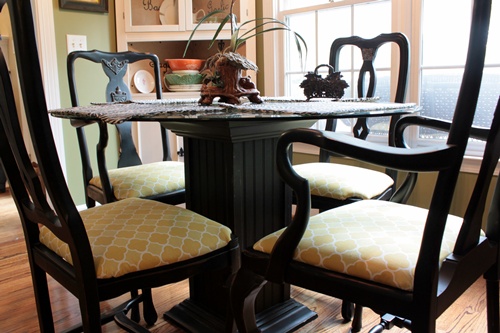 Done!
Done! 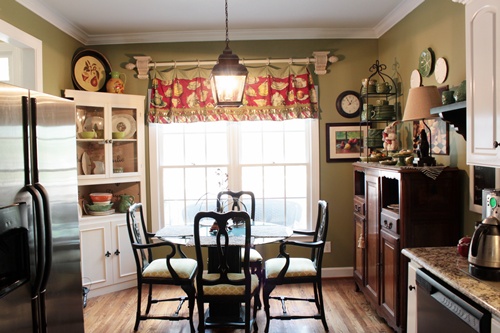 I still have the red fabric up, but in a short while I’ll have a new window treatment in here too. Excited about a new look.
 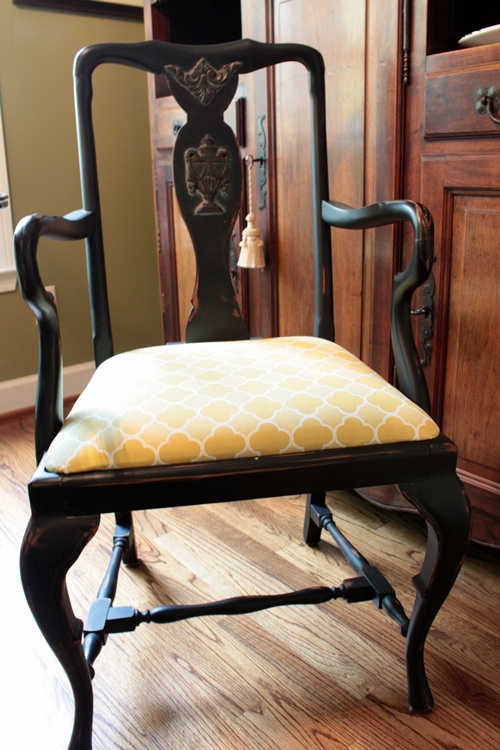 New fabric for old chairs.
 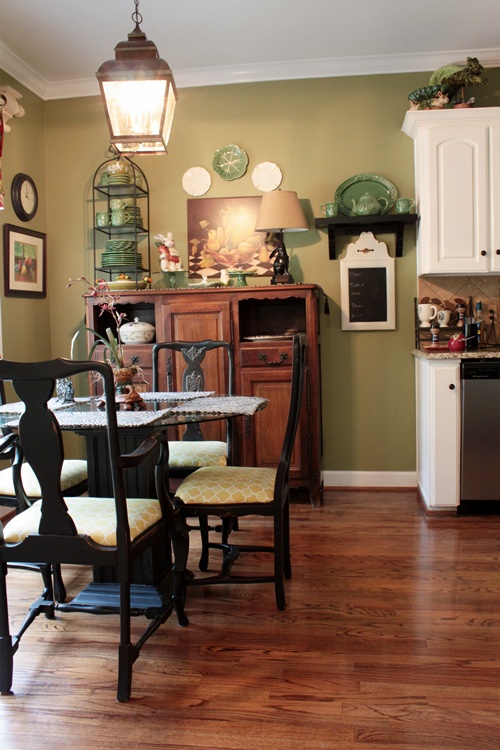 I’ve got some fun new things going on here with my antique buffet too that I can’t wait to share with you soon. I’m experimenting with lighter plates on the walls and those ferns that I dried will play a major role in here too. 🙂
 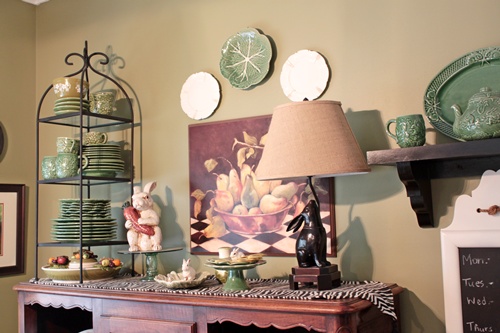 I found a new shade for my bunny lamp.
 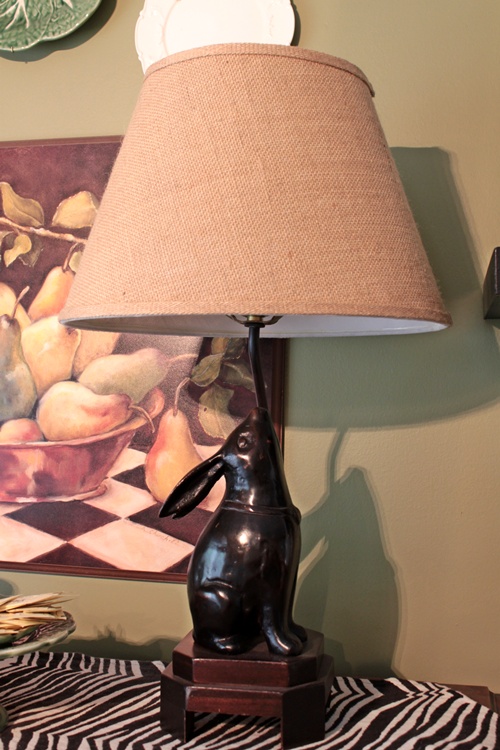 A cute burlap shade at a yardsale. Love how it gives a nice update too.
 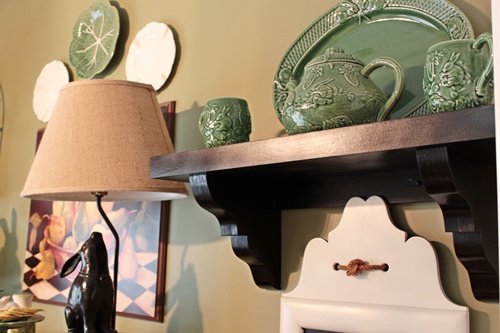 A lot of this is moving around and changing too. It’s fun to move things to get a fresh look.
 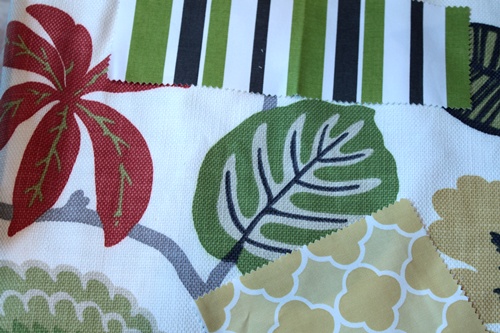 In case you missed the post on Decor Longevity, I talked about how long I usually keep fabrics before changing them out. Usually between 8-10 years is about the norm for me.
So, these are the new fabrics I’ll be using in the kitchen and I’m SO excited to see it all come together. I’ve bought a board and am planning to make a window treatment stapled on the board, so fingers crossed that it comes out like I’m envisioning.
I think this white background and those yummy colors will really brighten it up in there! And I hope you learned something on recovering chair seats, if you haven’t tried this one yet.
Once I get all of this together, I’ll share my thought process on how I decided on these fabrics without changing my green wall paint. That is staying and I’m only changing out fabrics and moving a few things around.
Are you in the market for some fun new fabrics? Fabrics can really change a room from stale to fresh in a snap.


Looks Great Rhoda! Love the new fabric! Can’t wait to see what else you are up to.
If you want to sell the window treatment you are replacing, please let me know!!
Lou Cinda 🙂
Hey, Lou Cinda, someone already spoke up for the old window treatment as soon as I mentioned I was changing it out. She is buying the old treatment and my old rug too. I’m glad it’s all going to a good home. 🙂
hi i have the same staple gun as you but cant find staples for it anywhere, and i dont no the size im looking for, pleeease can u help Rgds Tom
Love love love that fabric Rhoda! Tonic Living right? Perfect pattern and shade of yellow. Fabulous tutorial ! If anyone ever asks me about recovering a chair seat, I’ll just send them over to you!!
xo
Kate
LOVE your fabric choice, Rhoda!!! It’s just yummy. 🙂 Great tutorial!
Your chairs look great, Rhoda! I like the yellow with the black. I can’t wait to see all of your new fabrics in action! I’m feeling an itch for new pillows in my LR for the winter. You may have inspired me to do a quick change!
I recovered a vanity stool this past summer and you’re tutorial is spot on. Great and simple explanations for everything. PS – Love the fabric for your chairs!
what a difference 10years makes! I love the new fabric. And I am really loving the chandelier. I’m going to save that picture of it.
This tutorial couldn’t have come at a better time! Thanks so much! Your chairs look lovely and I can’t wait to see what you do with those fabrics.
Your new decor is going to be gorgeous and I’m looking forward to seeing it. I like the fabrics and I really like your new seat covers, that was an excellent tutorial!
Thanks, Cindy
How fun for you…love the new look and pretty easy at that. Can’t wait to see the rest of the redecorating project.
Rhonda! That is some kind of crazy coincidence because I just recovered my chairs this weekend!!!! I could have used your post a few times to help me along the way, but I did manage to get them all done and featured it on my latest post! Too weird! We must be kindred spirits! 🙂
Vanessa
Great job on the chairs; & the fabric looks fabulous!
I know it’s going to look amazing!! 🙂
HI Rhoda, the new fabric is perfect with the black chairs and table! I love your selection of fabrics, can’t wait to see the window treatment!
I love that new fabric on your chairs and can’t wait to see the window treatments!
Thank you for your fabric recovering tutorial! It came at a perfect time for me as I am attempting my first chair tonight. This was very helpful. I love your yellow fabric. It’s a nice fresh look with your black chairs. Your dining room looks lovely!
I have wanted to redo our chairs for so long but have put it off until we decide what color to paint the room. I guess I need to just do it then take my paint cue from the fabric! : )
You make it look so easy, with your great step-by-step photos, Rhoda. Thank you for inspiring me! This looks like something I could tackle. In fact, I had my eye on a beautiful old chair at a thrift store recently and this would work well with that.
SO glad I found your blog!
I never would have noticed that the fabric wasn’t “exactly” lined up if you hadn’t said anything…and even then, I had to look really hard to find what you were talking about!
I love the bright, sunny yellow with the black furniture! (I will admit, I will miss the red bunny fabric, though…haha)
I love the yellow with the black furniture! I noticed that you also have a white painted piece, and a stained wood piece in the room. How do you decide what pieces should be painted, and what should be stained wood?
We are in the middle of a redo in the master bedroom; our new bed is black, but we’re undecided on the bedside tables. Have any hints? (Also, newly painted yellow walls, yellow floral drapes, white bed linens)
AD, I think there are no hard & fast rules on mixing pieces in a room. I just sort of do it by visual. Since I had a black table & chairs & the antique wood buffet, when I added that corner cabinet, I just felt it needed to be creamy white. I have all white cabinets and that seemed to bring some brightness to that corner that black or another color would not have. So, I try to balance out the mix. I do love a painted piece in every room.
I definitely think you could mix it up with your black bed. Why not do the nightstands in creamy white to keep it interesting? Maybe stick to black and cream.
Thanks Rhoda! I was vacillating: black tables or white tables? This will save me a paint job.
You did a great job! They look wonderful, and I love the look and colors of the whole area – thank you so much for sharing. You have inspired me to do the same to my dining room chairs, they are sadly in need!