The ugly Wall.
That’s been my nemesis in this house ever since I bought it. That ugly block retaining wall at the end of my driveway has been an eyesore since day one. We tackled the inside of the house and then I started on the outside, by adding the new front porch, stone retaining wall, and landscaping. Wow, did that all make a difference. But, that wall was still mocking me, saying….make me pretty too!
It’s not a great looking wall and never will be, but I did not want to start over and tear it down. It’s definitely leaning towards the driveway and over time has shifted. It’s nowhere near straight, but again I want to save it and not start over if I can help it. Some of you mentioned adding faux stone to the wall to make it prettier and yes, that is a great idea, but I don’t want to add any extra weight on it, since it’s leaning already. In my mind, making it look better is a good solution for now. I don’t want to overspend on this house and need to do what I can to spruce up without spending a bundle.
I talked to Rustoleum a couple of years ago about a new product they have out called Restore and they sent me a gift card to buy it with, so I’m just getting to this project now. Last major project on the outside of my house.
Project Sprucing Up the Wall
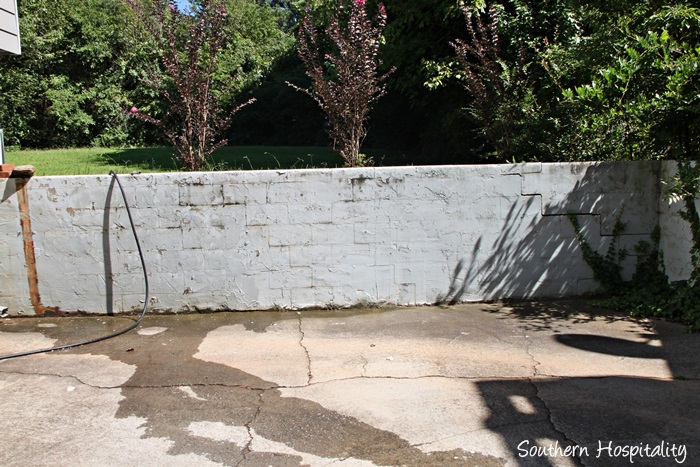
First, I began by pressure washing the wall. It was peeling and flaky and mildewed in places. Most of the chipped paint and mildew came off with the pressure washing.
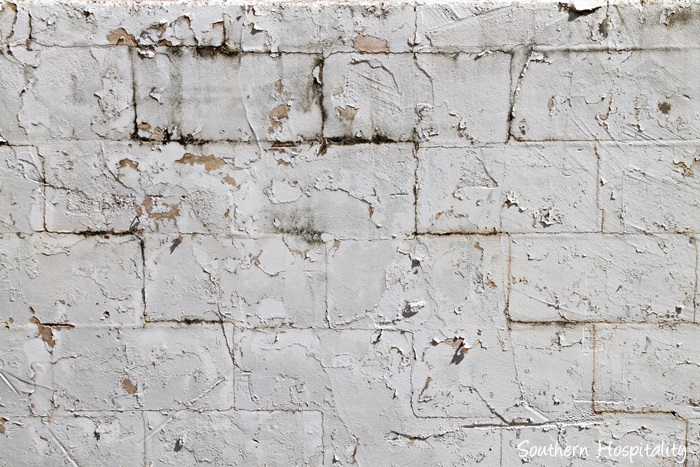
Close up of the Before wall. Not a pretty sight.
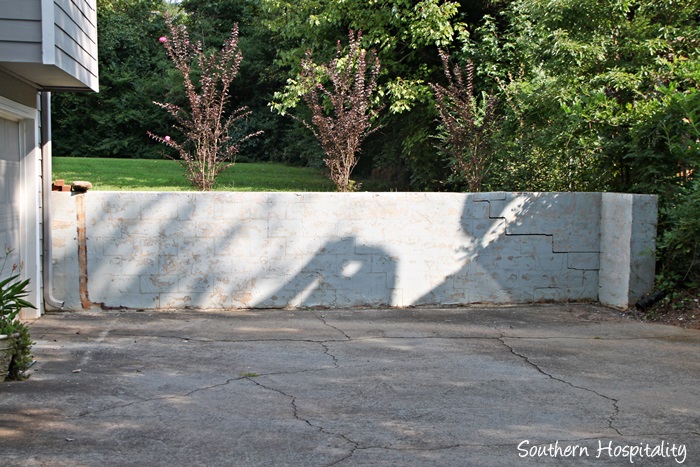
After pressure washing it was at least better with the flaky paint gone and the mildew too. With the shifting of the wall, a large crack developed on the right side.
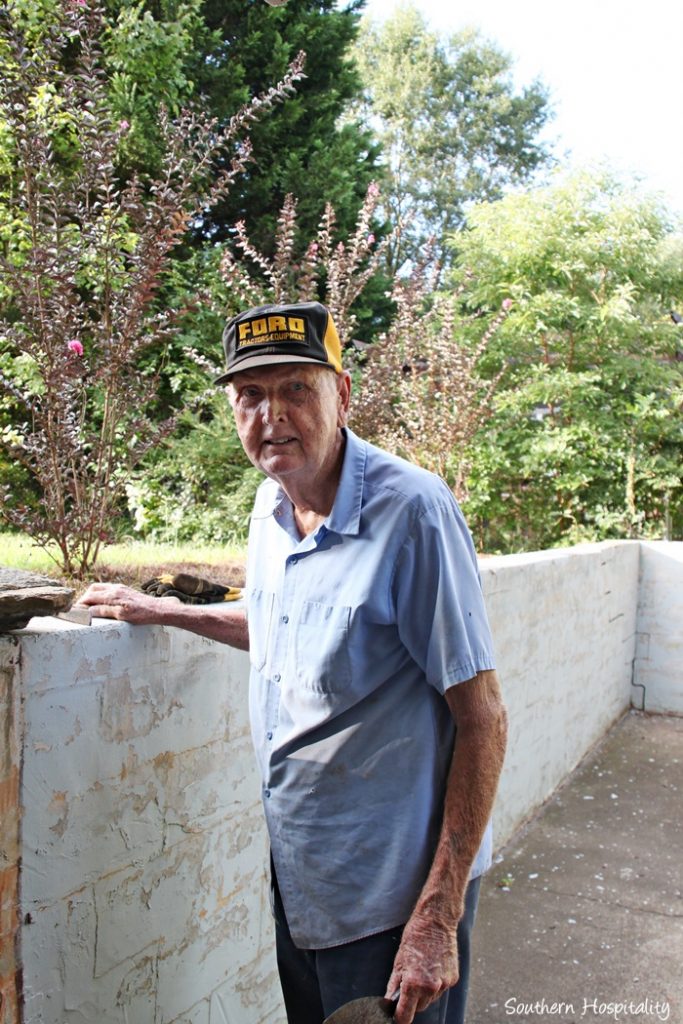
My handyman dad and I decided to patch the cracks with ready mix concrete and go from there. We did a little more scraping on the wall after the pressure washing to get the last bit of flakes off.
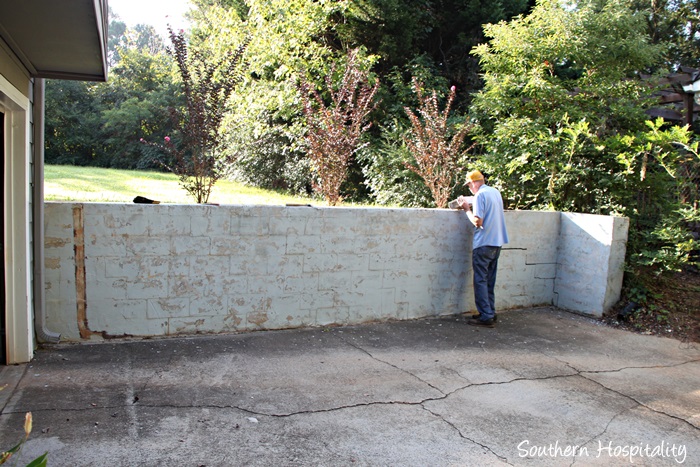
Then, we mixed up the concrete mix for patching. It won’t be a perfect thing, but it will be better than it is now.
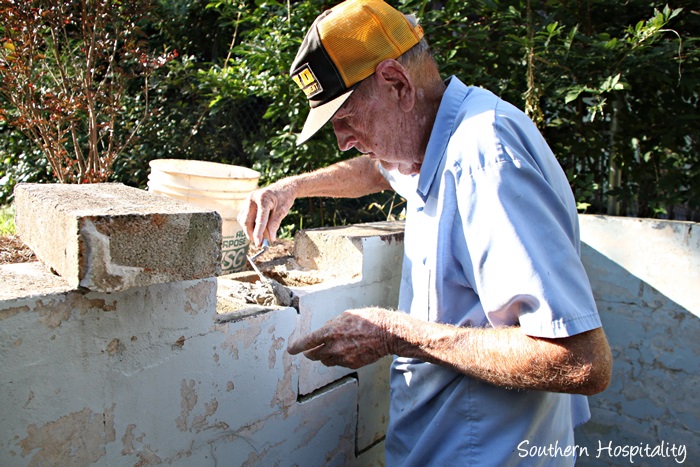
Dad filled in all the cracks at the top and anchored the block back in place. It has shifted so that it’s not level along the top anymore, but I’m just going to live with that.
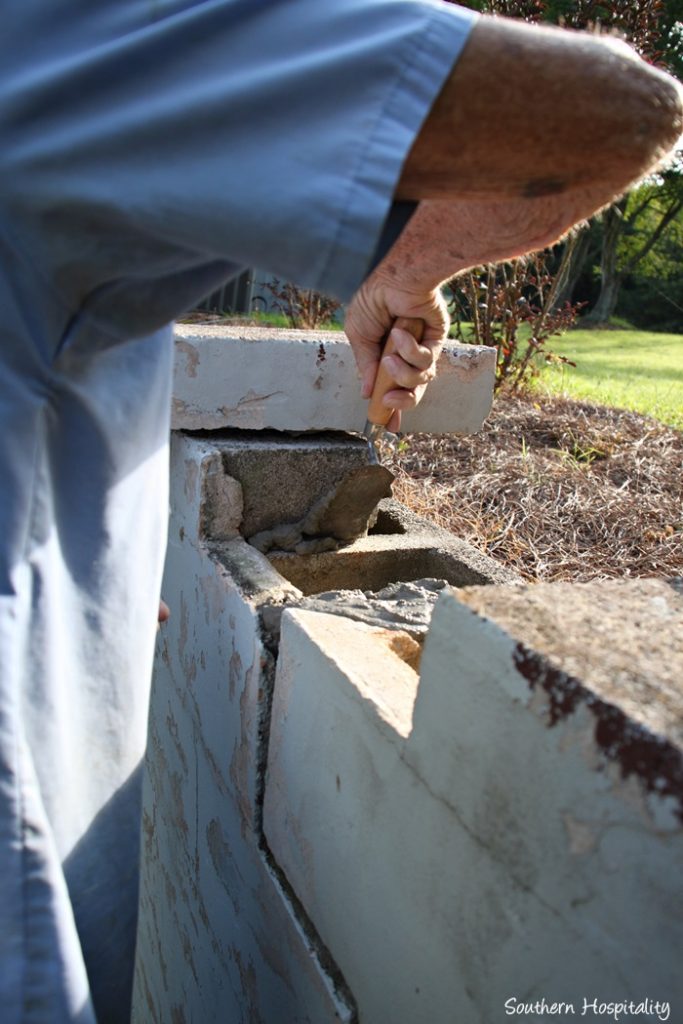
Little by little we added concrete in the cracks and filled them all up.
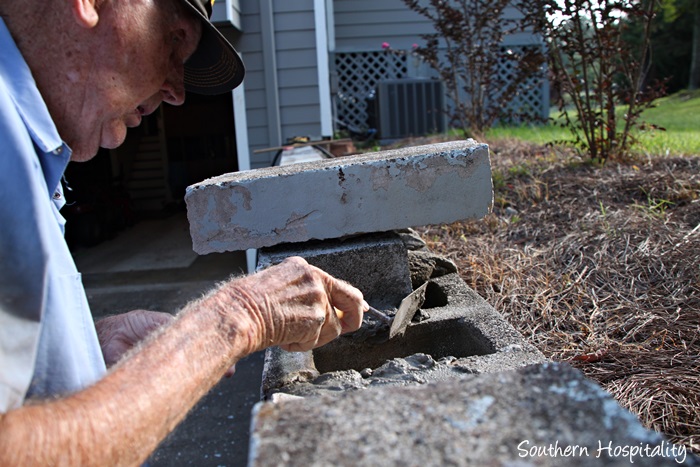
Dad has done this before.
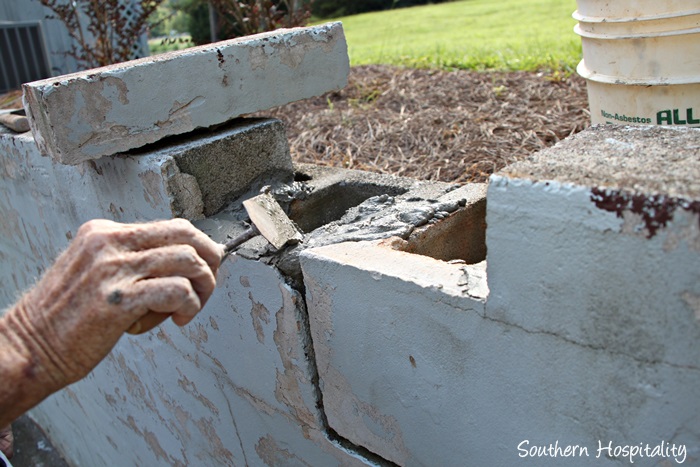

Filling those cracks to seal them up.
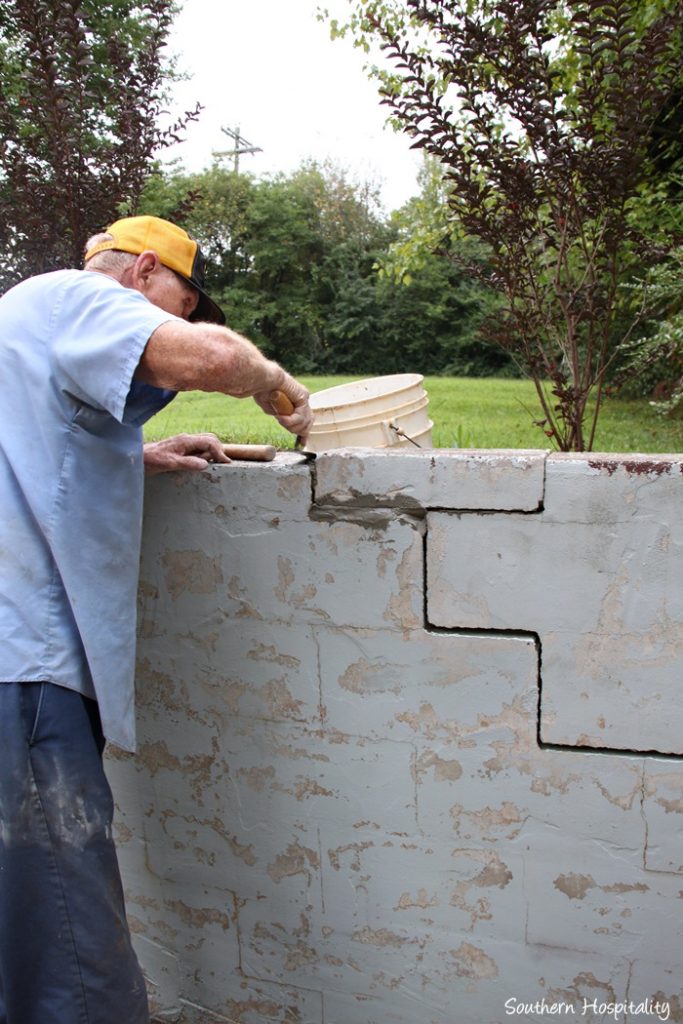
Setting that top block back into place as best we can.
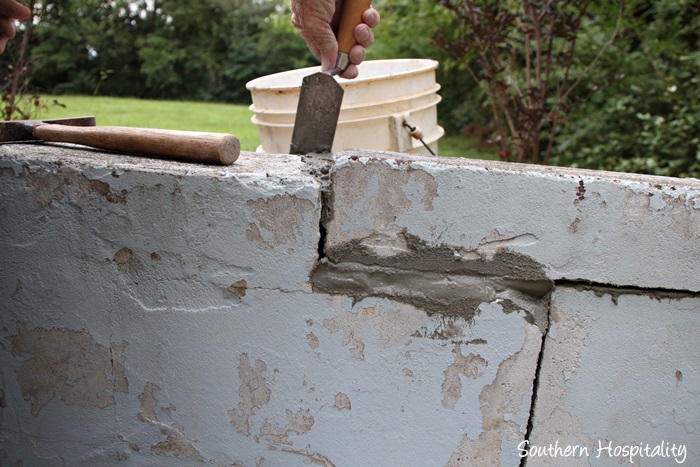
We moved down the crack, filling each one and smoothing it out.
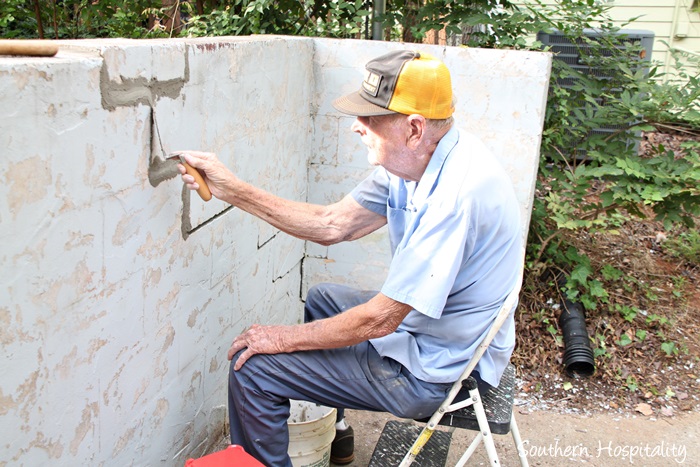
Dad sat in a chair and kept going. I got down in that far right corner and began filling from the bottom up.
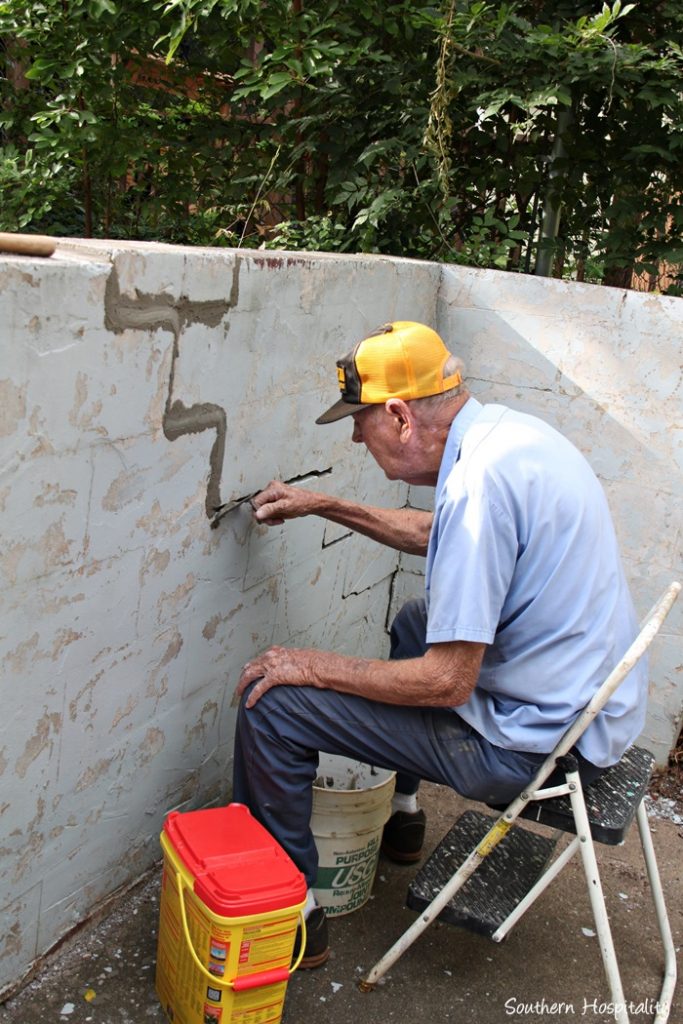
And then we met in the middle.
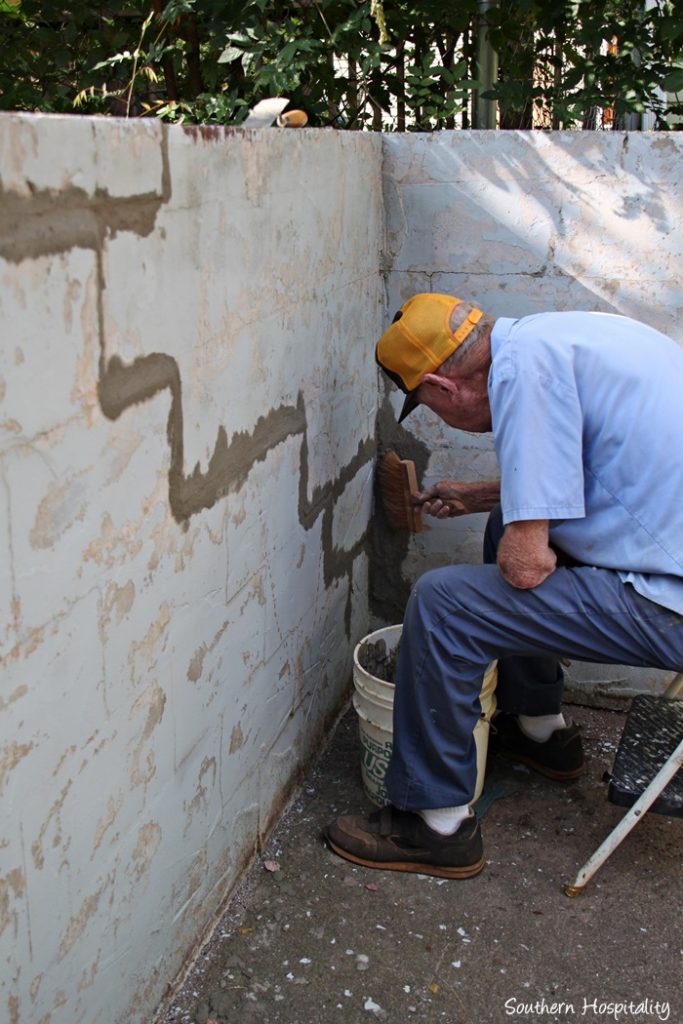
Dad then took a big brush he had and smoothed out the concrete patch. We let it dry really well for a week and I left for the beach. We would paint it when I returned, last week.
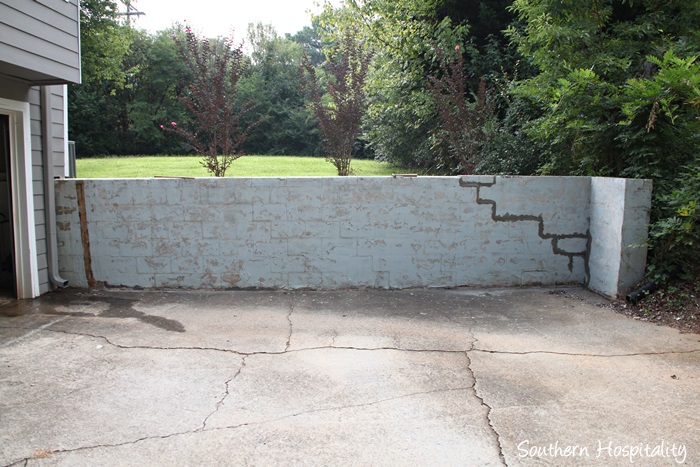
It’s still wet in this photo, but once it dried, it was pretty smooth and ready to paint.
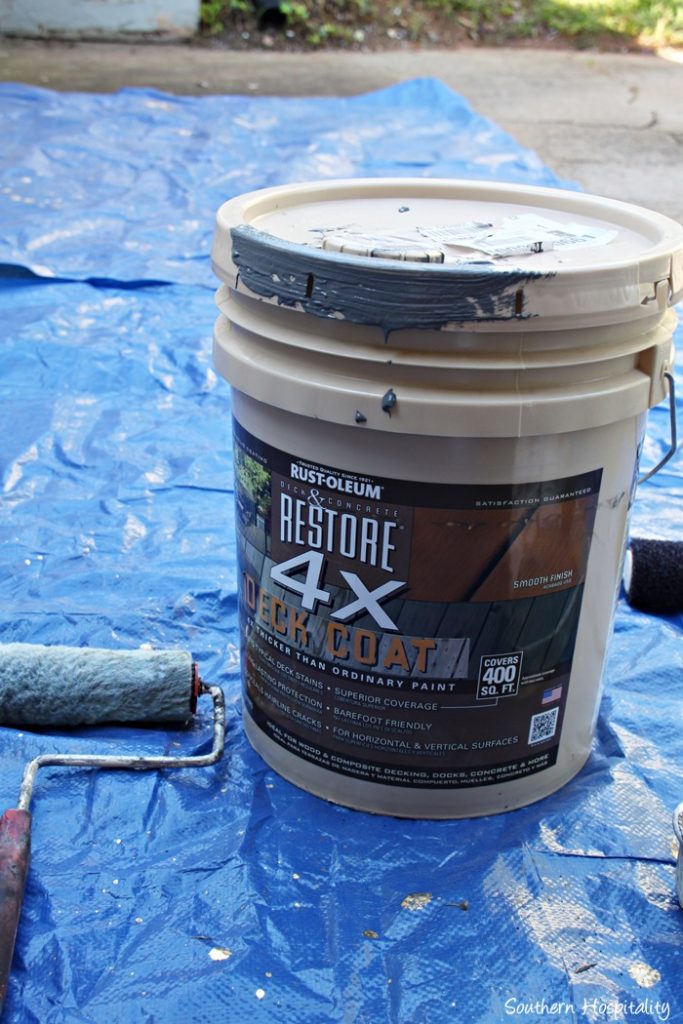
I bought a 5 gallon bucket of Rustoleum Restore for Concrete and Decks. This one is 4 times thicker than regular paint. They also have a 2x and 10x paint in Restore. I decided that 4 was good for this wall.
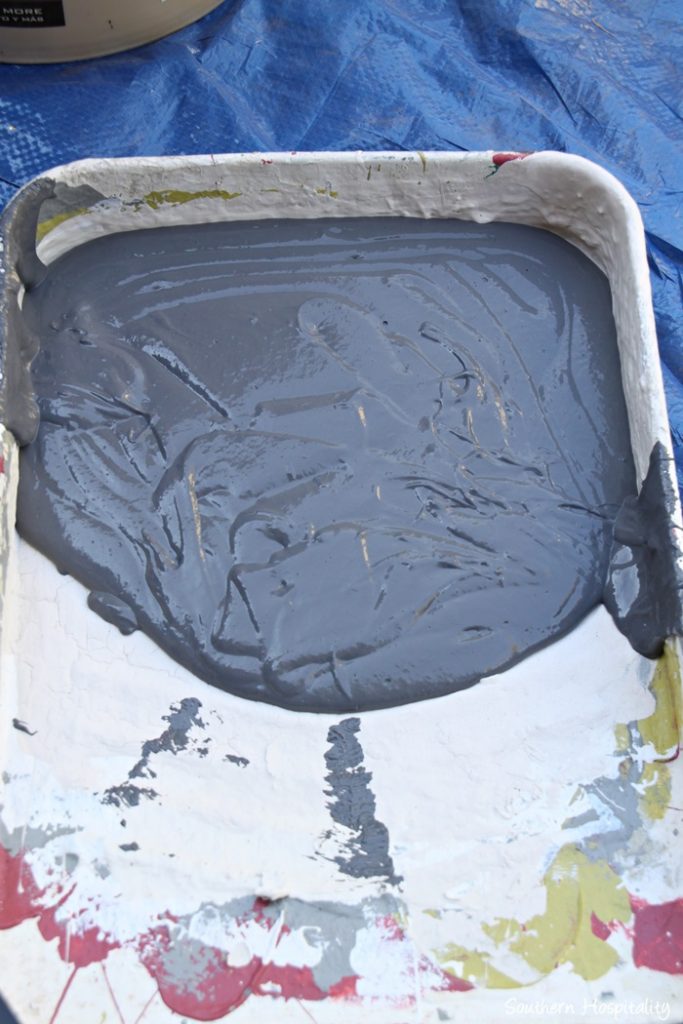
The texture is sort of like pudding, very thick, so it fills in the cracks really well. I also bought a special roller that was textured plastic type material to roll on the paint and it worked really well. The roller was sold along side the paint. I decided to go darker than my house color and chose Carbon. They can mix up either gallons or this 5 gallon paint bucket. I ended up buying way too much and could have bought 2 or 3 gallons and been fine. I may go back and do another coat later, since I do have plenty of paint and another coat won’t hurt.
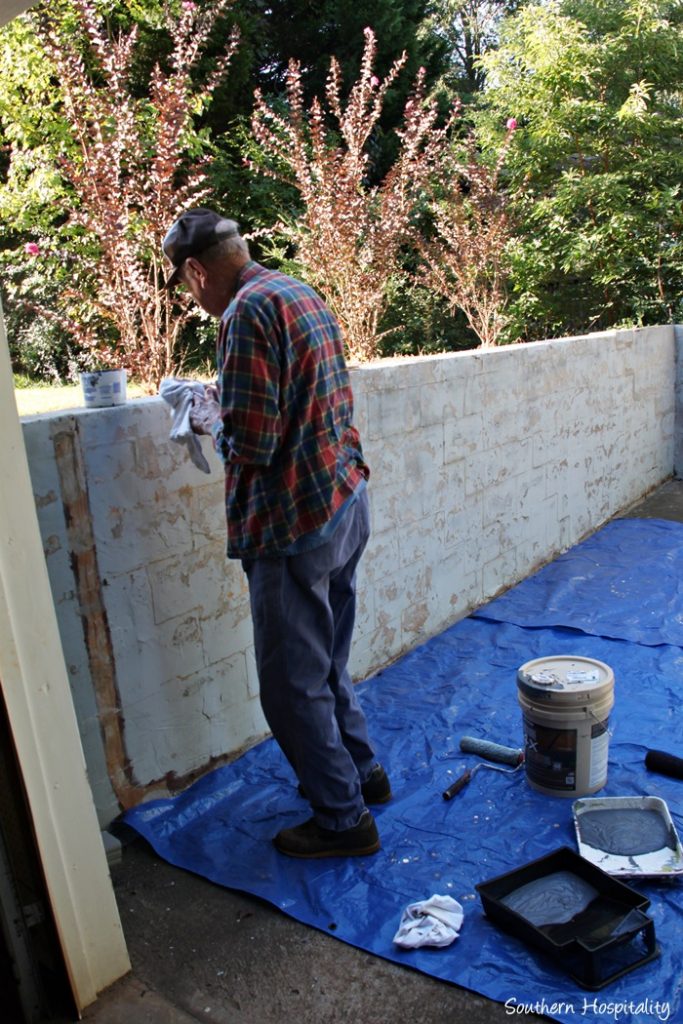
My friend, Beth, was still in town and we all 3 worked on the project. She wanted to help, so I gave her some paint clothes.
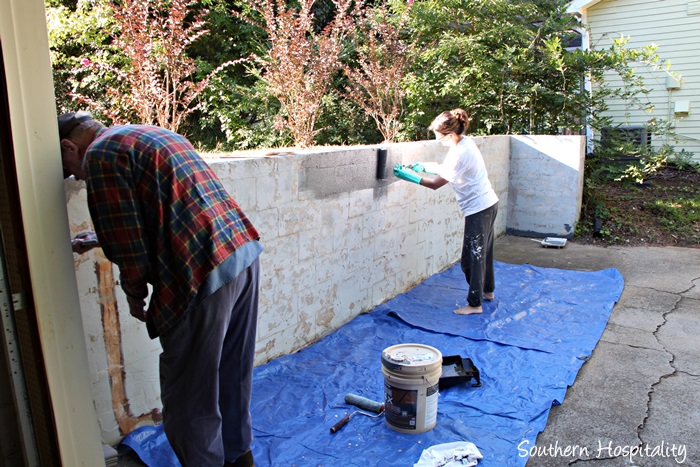
Dad started cutting in with a brush by the garage, Beth started rolling, and I cut in on the far right corner of the wall.
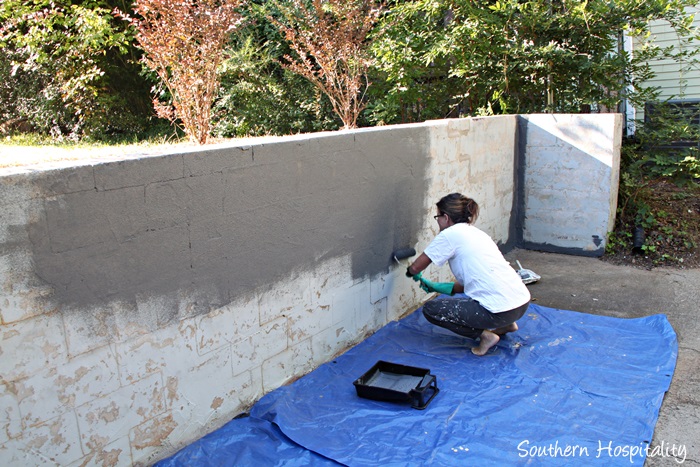
Rolling on the thick paint made a difference and this paint covers well. With concrete blocks and cracks, we did have to work the brushes too to get the paint into all the crevices and cracks. The roller was textured and made sort of a stucco effect when rolled.
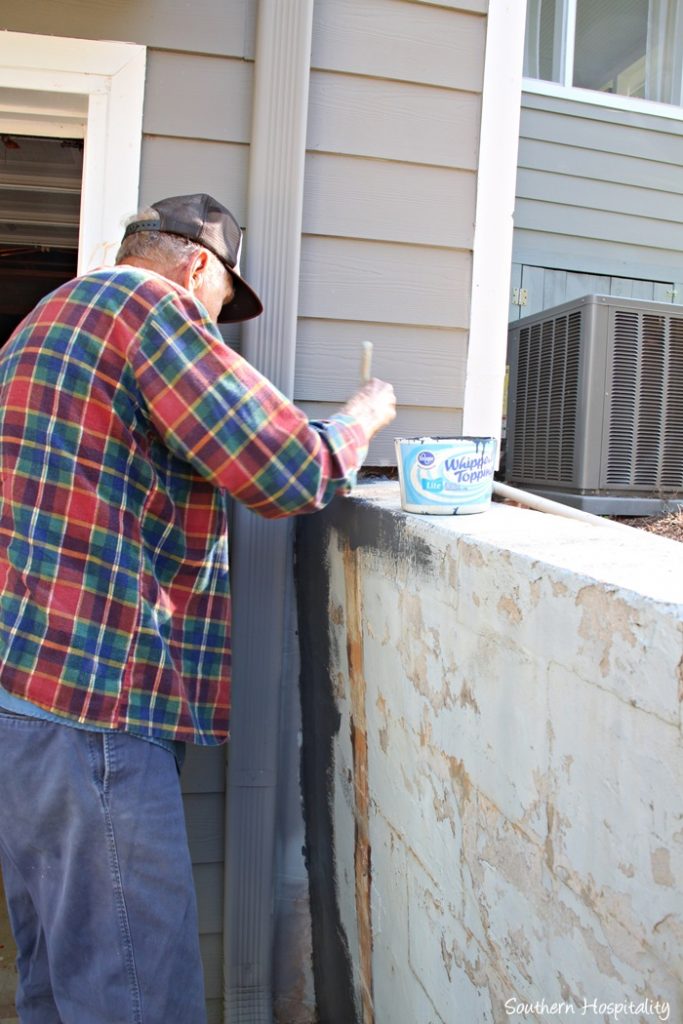
Dad cutting in.
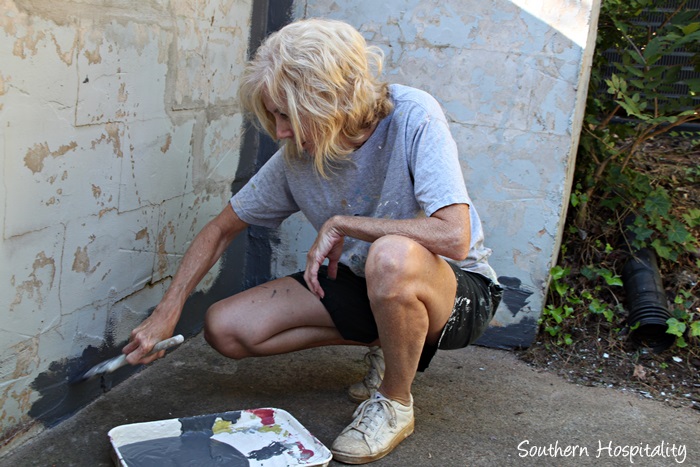
Me cutting in along the bottom of the wall and in the corner. I like this dark gray.
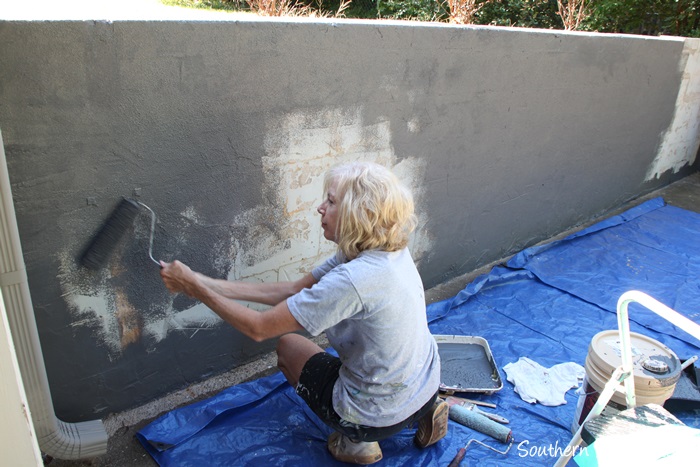
I took over the roller and kept going. One of us would take a paint brush and go back and dab paint into all the crevices and then use the roller over it to get rid of the brush marks and give it all a uniform stucco look from the roller.
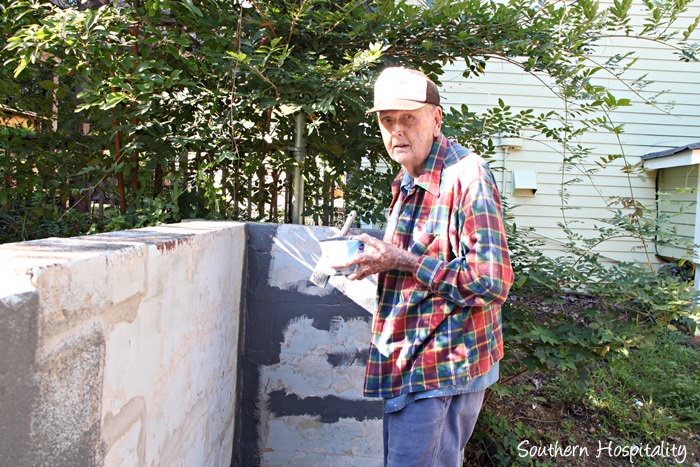
Dad working away. It only took us about 1 and 1/2 hours to get it all done.
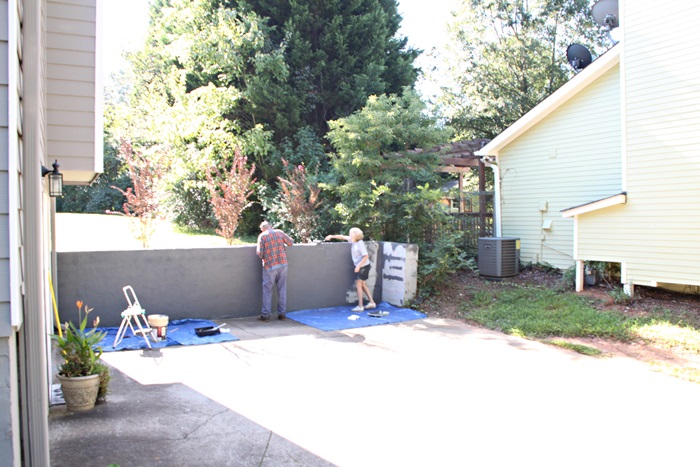
Dad and I rolling and painting, getting to the finish line.
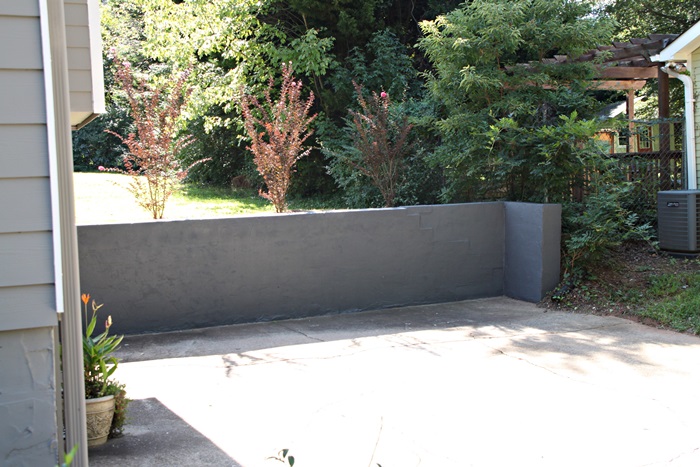
And here is it all done. It’s still not a beautiful wall, but much better than before and I don’t have to hide it anymore.
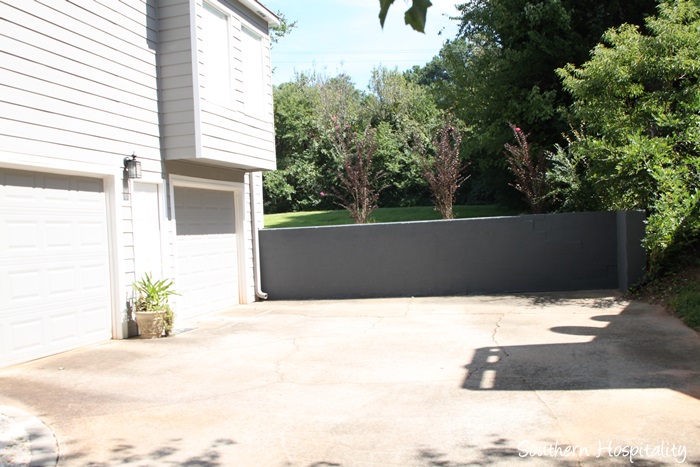
Now at least it’s presentable and looks SO much better.
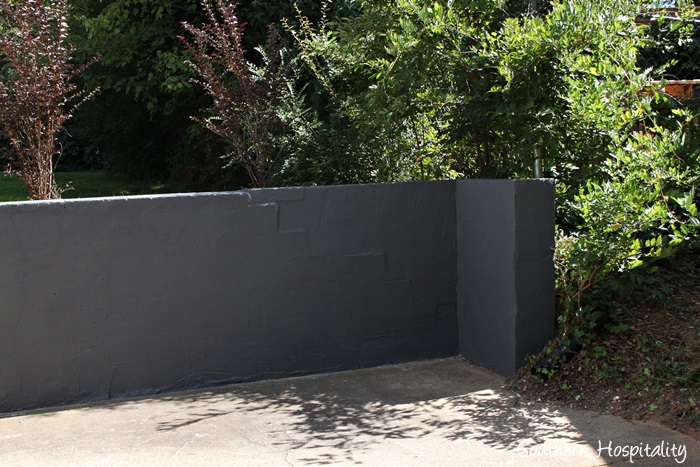
You can see where we patched the cracks and it’s not perfect, but much, much better. I can live with this. It may end up cracking again, but if it does I’ll deal with it then. When we landscaped the front yard, they added a French drain behind the wall to try to drain some of the water that collects in this area and the black pipe comes around the wall on the right, so I’m hoping this helps protect the wall from further deterioration.
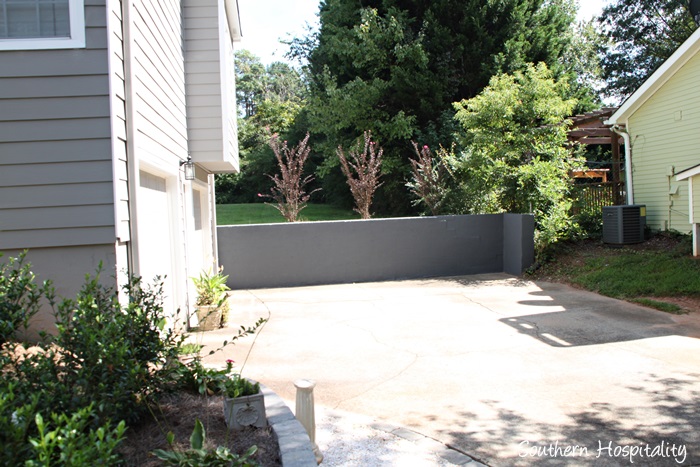
And my next plan will be to plant some pretty evergreen vines, like vinca over the top of the wall. I know that is a good one, but if you have other ideas, I’m all ears. I think some vines cascading over the wall will make it look so much better too and it will blend in more with the backyard. There is already ivy coming over from the neighbor’s yard that I have to combat, so I don’t want to do ivy since it is so invasive.
Overall, I loved the Rustoleum product and it worked great for my purpose. It’s made for exterior concrete projects and goes on nice and thick, so I would definitely recommend it. I’ll see how it holds up to moisture and weather in the future, but for now, I’m thrilled with how much better THE WALL looks now! Now it’s not so much an eyesore.
Note: Thanks to Rustoleum for sponsoring this project, I think it’s a wonderful product to work with.


Hello! Any updates on how the paint has held up over time? Getting ready to paint a retaining wall and would love to know if you’d still recommend. Thanks!
Hi, Callie, yes the paint is holding up great, not chipping or coming off at all. Thanks for stopping by.
I have a nearly identical wall behind my house! Part of the rear wall of our garage, and a retaining wall that extends across entire back yard on both sides of house. It looks awful and needs paint, so I am considering this product now that I’ve seen your results. I was also thinking of planting something trailing to improve the appearance after painting. I am in upstate SC, so similar weather to yours. Is your paint still holding up well? what did you decide to plant, or have you, yet?
HI, Ann, I did move out of that house, but still own it and it’s being rented by my step daughter. The wall is still holding up great! No chipping at all. I never did plant a trailing vine, but the plants behind the wall are looking good.
Hi! How is the wall paint holding up now, several years after your application of the paint? Your wall looks very nice after the paint application!
We have a bare cinder block wall where no paint has ever been applied. I live in New Jersey, so the wall paint will be subjected to rain, snow, cold and hot weather. A person here commented that if the paint is subjected to rain, the paint would not hold up too well and it will be a waste of time to use the type of paint that you used. What are your thoughts?
Hi Tony, here in GA it’s help up very well. It’s now a rental house but I haven’t noticed any major chipping with it at all. It still looks way better than the plain cinder blocks.
Thank you very much Rhonda for your fast reply to my inquiry! Great to know that the paint is still holding up on the wall 6 years after applying the paint. That’s awesome! My wife and I also have a cinder block wall that we’ve been debating how to make it look more attractive, and more importantly, for a less expensive method of having a long lasting good appearance. We wouldn’t want to have to repaint the wall every 2-3 years.