That title just about sums up this entire post. And this one nearly made me hang up my DIY Diva toolbelt.
Not really, but this just might be my most challenging DIY project yet.
If I had any sense at all, I would never have torn the carpet off the steps, but I don’t and I did, so here we are now with something pretty spectacular, if I do say so myself. Carpet across blogland may be flying off stairs after this one. 🙂
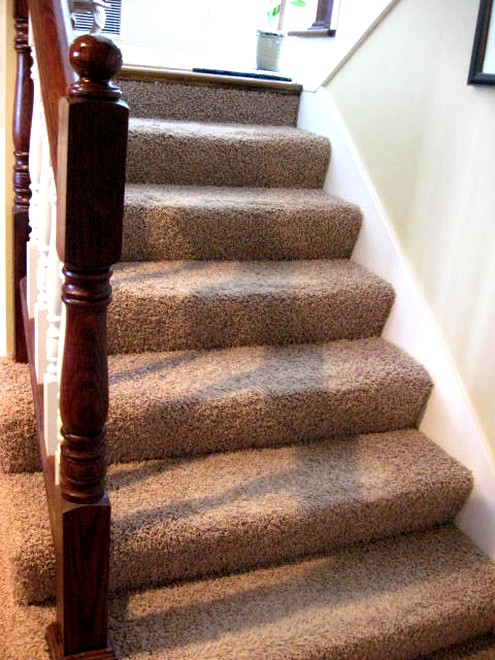
Let me remind you what the stairs looked like BEFORE, matted ugly carpet that was wrapped around those ends of the stairs on the left, like a furry little animal. Not my favorite look. It was impossible to refluff the middle of the stairs in the traffic pattern no matter how much I vacuumed. 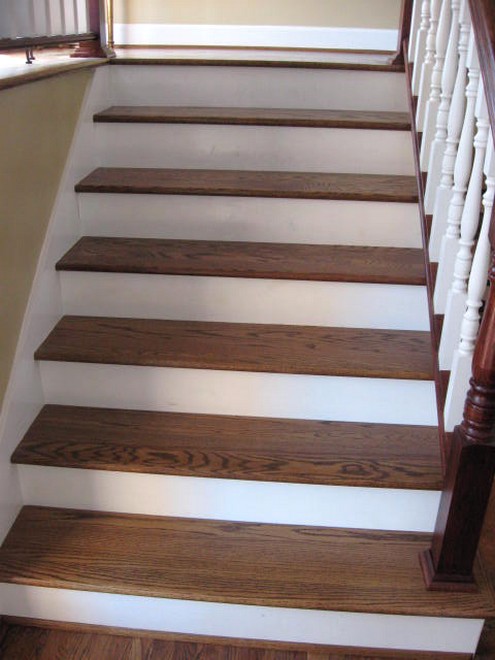
And you’ll remember these beautiful stairs, which head to our upstairs rooms, which we had finished in hardwood when we moved in here 4 years. ago. The quote to do the downstairs set of stairs was an additional $1000, so that didn’t happen at the time. So, my goal was NOT to match this set of stairs, but to do something that would complement them.
I proceeded to rip the nasty old carpet off that downstairs set of steps……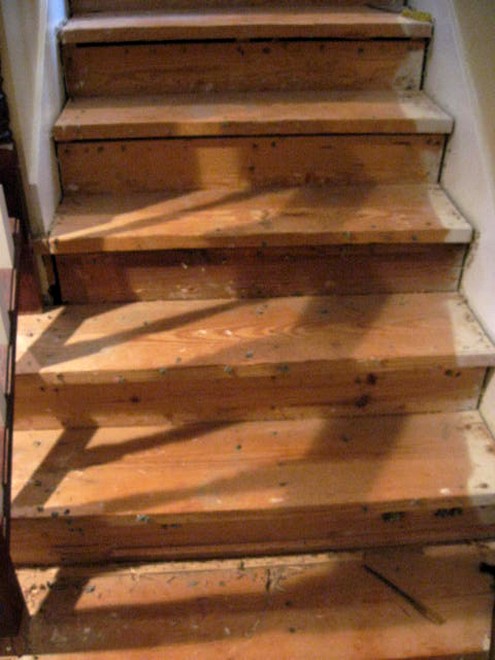
And this is what I ended up with. Sad, isn’t it?! If I had any illusions that my stairs underneath were in somewhat decent shape, that was quickly put to rest as soon as I finished tearing off the final piece of dead carpet. I had myself a really BIG project ahead of me.
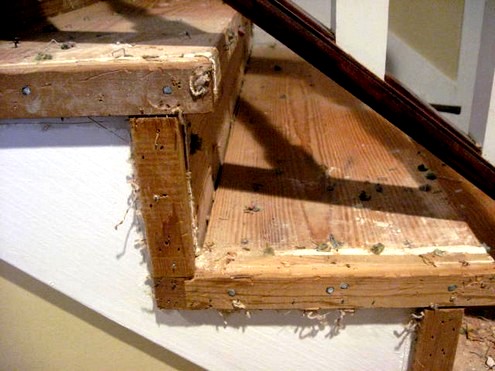
Can you believe the ugly here?
Not one to be put off by a challenge, I quickly embraced my inner-DIY Diva and set forth on this journey. I knew my carpentry skills were sorely lacking, but that didn’t stop me either. This pic was even after most of the hideous and evil tack strips were pulled off. That wasn’t fun either. But, this was what I was left with. Notice the gaping seams on the ends and underneath each step. There was nothing even resembling a finished set of stairs underneath that carpet. The best thing they had going for them was a nice thick stair tread.
I’ll save the complete HOW-TO for another post, along with all the rest of the horrible pics of just how bad the BEFORE state these stairs were in, but for now, let me just show you what I’m completely proud of at this moment.
You will NOT believe this until you see it! I promise you….
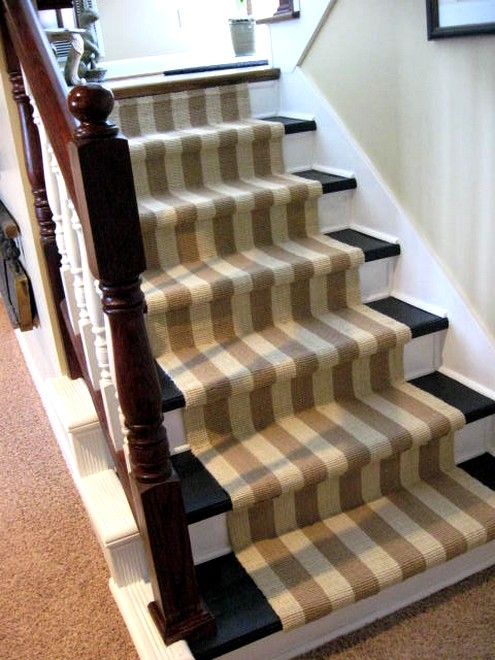
I know, your jaw is hanging to the ground about now, huh?? I can hardly believe I did this either, but I really did. With my own little nubby nailed hands.
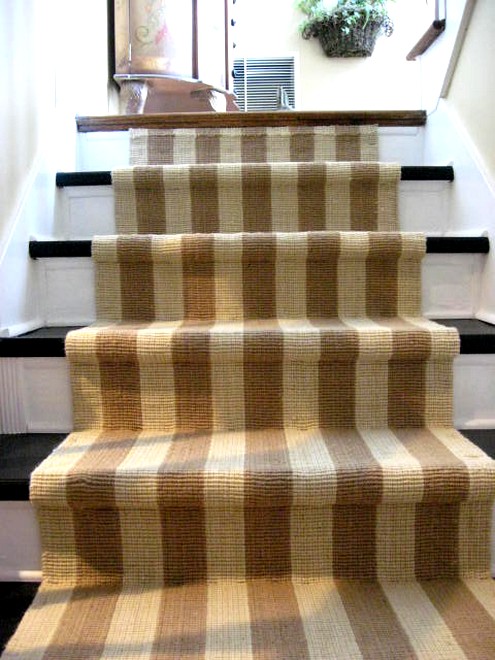
I sanded, I puttied, I cut molding with my miter box (a whole bunch of molding), I caulked and I painted and painted. And I bought a cute little jute khaki and cream runner from Overstock (which looks totally different in the pic, but I do love it) to use down the middle. And I could NOT be happier with the outcome. It was totally worth the effort, the scratching my head and the nubby nails. 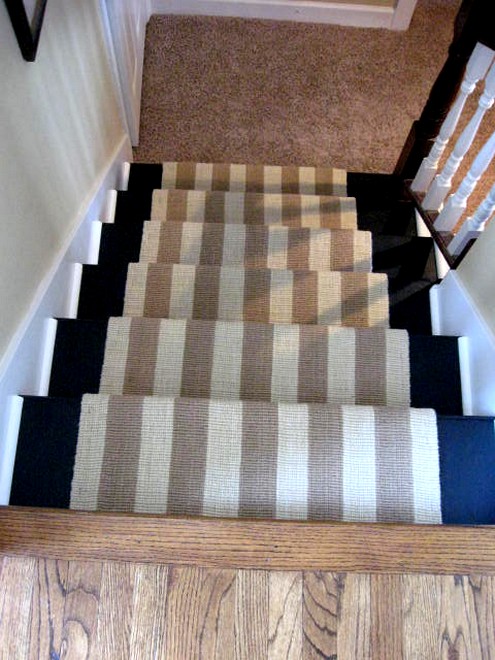
And let me just say, as with all of my projects, this one is neither perfect nor would an expert carpenter pronounce it anything but wrong, but I made it all work for me and I’m pretty much over the moon about how this looks right now. And it did take a lot of work, but again, totally worth it. 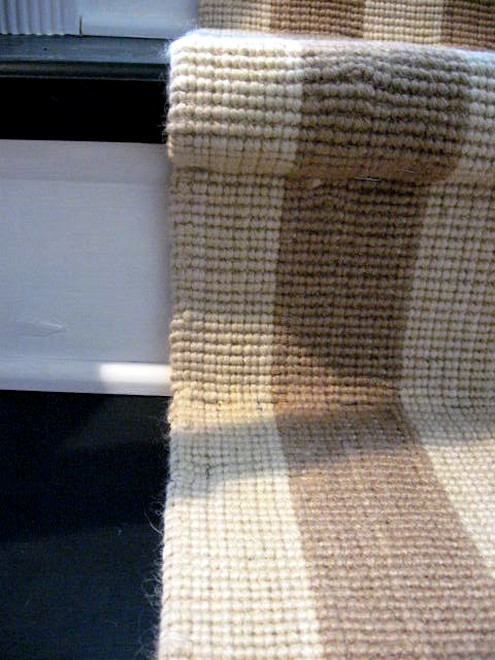
When I show you some of the close-ups, you’ll see nails painted over, raw wood painted over and lots of dings and staple holes. I think that all gives them plenty of character and isn’t that what we’re after these days. 🙂 Well, these babies have plenty of character, to say the least. 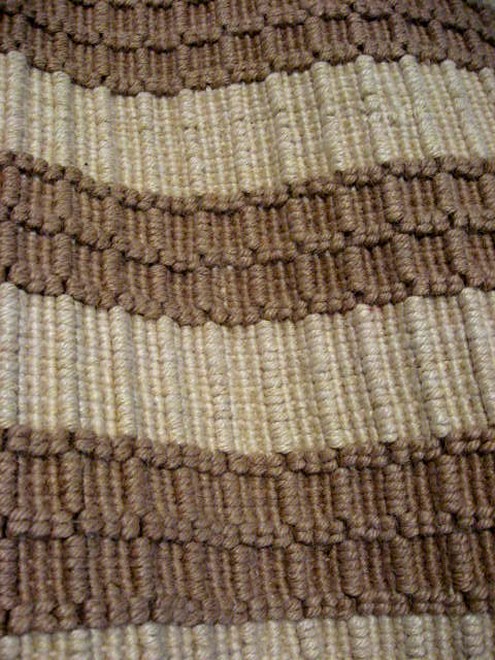
This is actually the right side of the jute runner I ordered, but when I got it in, I totally liked the smooth side better, so that’s the side I used. 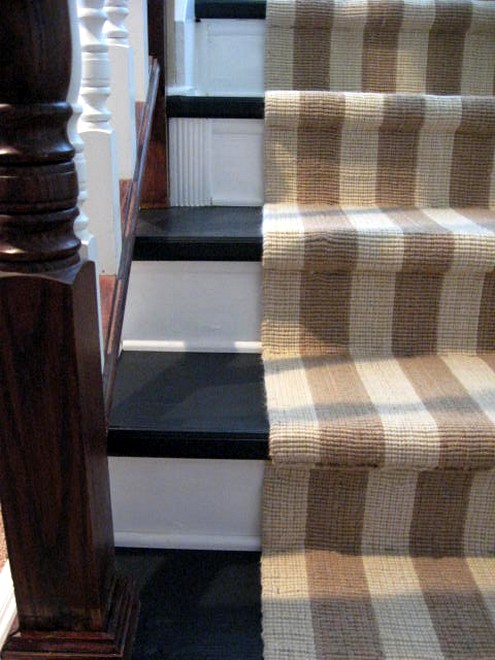
A staple gun was what I used to adhere the runner to the stairs. Lots of 1/2″ staples. And I used black porch and floor paint for the stairs, so they should hold up just fine with 3 coats.
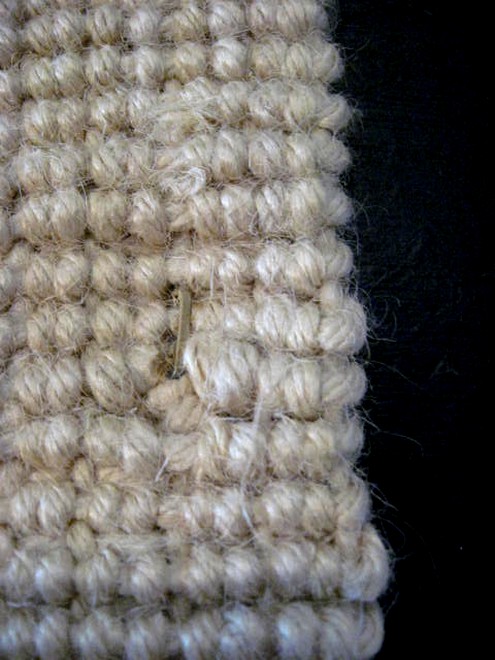
The staples do show a little bit but feeling particularly OCD, I got out my craft paints and just touched them up a little bit, but for the most part, they don’t show too bad. That I can live with.
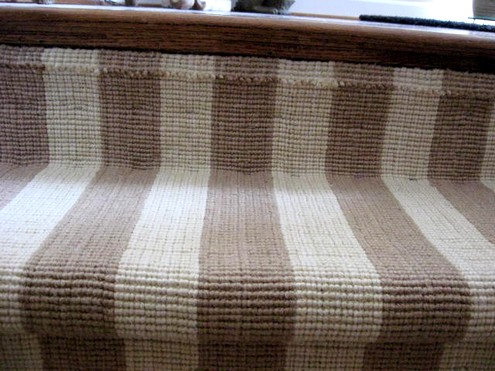
Since I used the wrong side of the runner, there’s a raw seam on this side, but that didn’t bother me too much either. I just let it show at the top of the stairs. 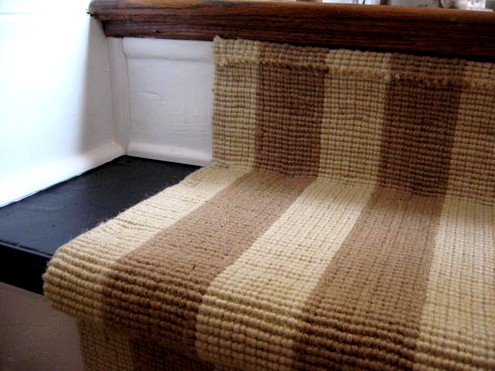
You can see here all the molding I had to add to the stairs to trim it out and hide ALL the gaping seams that were in these stairs. I’ll do a complete tutorial for you soon so you can see the blood, sweat, but no tears that went into this project. If I can do this, so can you! I was not fortunate enough to have nice and finished stairs on this project (like Sarah did on hers, lucky girl!!). These stairs were just about as bad as it could get. Wait til you see the other BEFORE close-up pics I took, then you’ll appreciate even more how great they look now.
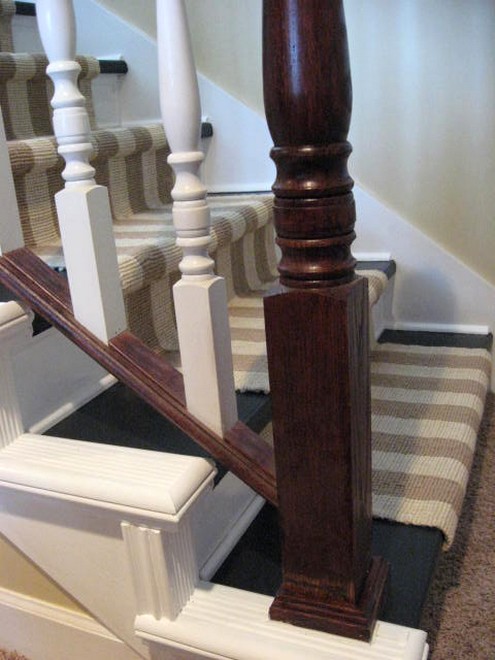
Here’s a glimpse of how I finished out the end of the stairs with molding. This part was the biggest challenge of all, but I figured it out and cut all these pieces with my trusty miter box. Molding and caulk hide the ugliest of sins. 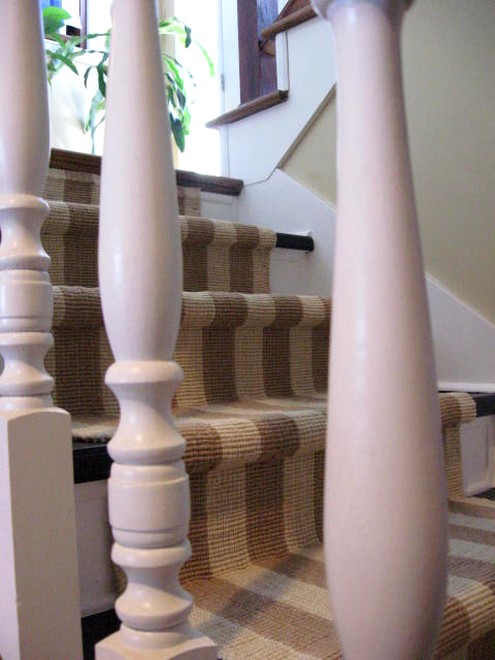
I’m completely, totally and deliriously happy with my new stairs!!
You can see the entire How-To on this post!
And for a fun painted steps twist, check out Donna at Funky Junk’s staircase painting. It’s very cool and they don’t call her funky for nothin’!
Added to Shanty2Chic’s Made it Without My Hubby Party!


This is truly lovely and I am very much enjoying your page in general! Very inspiring- thank you!
I am laughing hysterically ! I just started this very same project today and like you , I kinda didn’t really mean to totally rip everything up but, I did. I just started ripping and then I couldn’t stop ! I can’t believe how they put the carpet on the steps ! I stabbed myself at least 50 times between the nails and the staples. I am glad to see that there are others out there like me. My family seems to think that I am alone in my obsession to “get it done” ! Thanks for your inspiration.
Love what you did to your stairs. I am going to paint my treads too. Could you please tell me the name of the runner brand/style and/or where you got it, if you don;t mind. i would like to use the same thing…it looks awesome. thanks for your blog, just found it this week.
Hi,Brad, the link to the runner from Overstock is in the post above, so just scroll up and click over. It is out of stock, however. This project was done in 2009. Thanks for stopping by!