One of our Haven sponsors was Rustolem and they have some wonderful innovative products that I have enjoyed trying out. They were great and sent me primer for my new house and when I asked if I could try out the countertop kit, they didn’t hesitate to send it out. I chose the Onyx color and figured it would be a great way to extend the life of my not so pretty guest bath countertop. I can’t afford to gut those bathrooms at the moment, so anything I can do to make them prettier, well, that’s what I’m doing.
I wasn’t sure what to expect, but I have to say, that I love the way they turned out. So much fresher and more up to date than the old dated laminate from the late 70’s. I can live with it now and make it work with my décor.
Here’s a step by step on how I did the countertop and how it turned out. It’s a 2 day process.
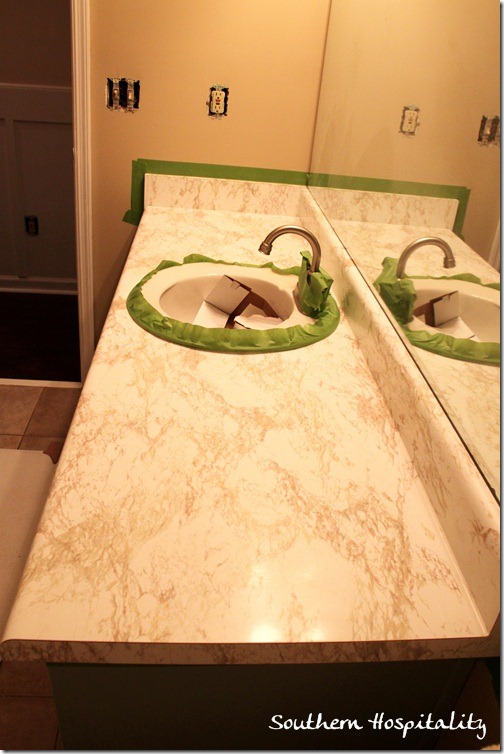
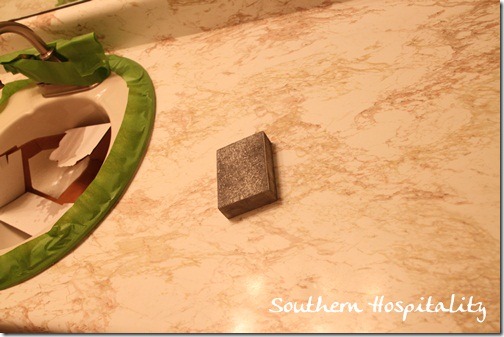
Here’s a reminder of the Before laminate. Dated. 70’s. OK, ugly! There’s mauve in there, uggh.
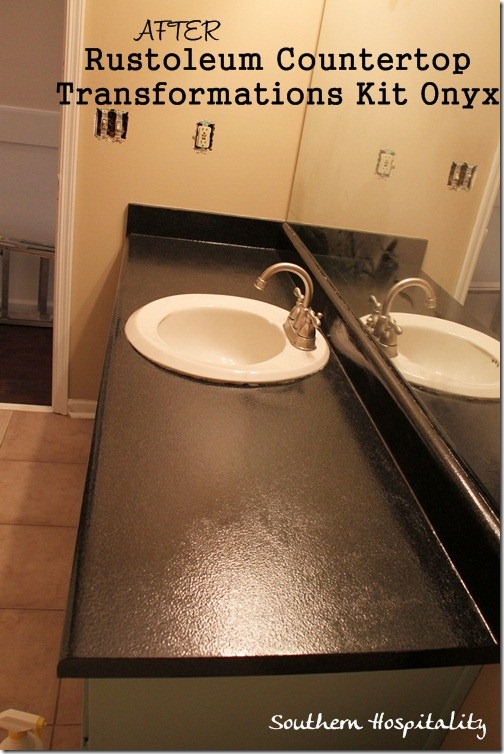
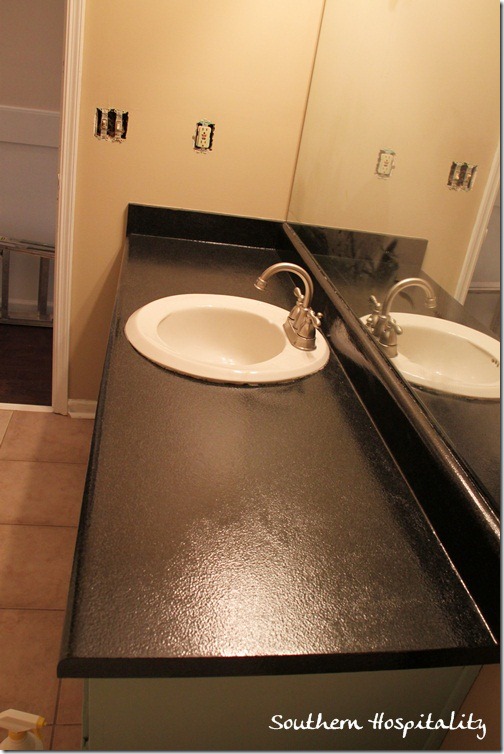
And the After is so much better. It’s glossy and smooth in a pebbly way and should clean up very well.
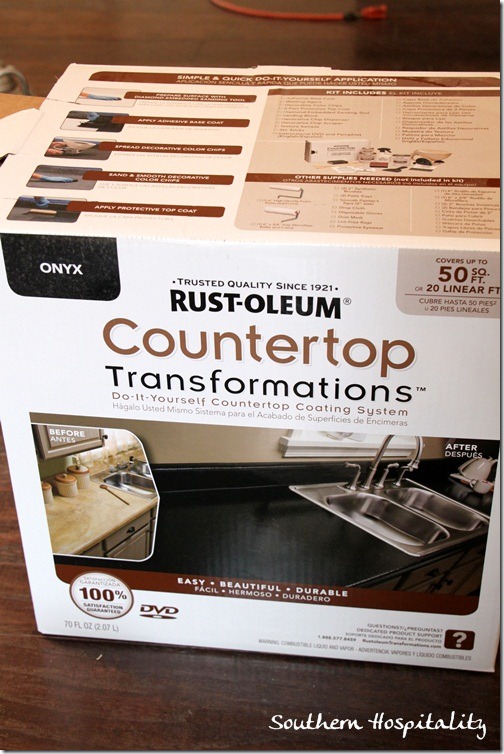
Here’s how I did it. I was sent this kit for free to try out, but didn’t receive any other compensation for doing this. I wanted to try it and was happy to do so. The kit retails at the big box stores for around $150 and it does more than one countertop.
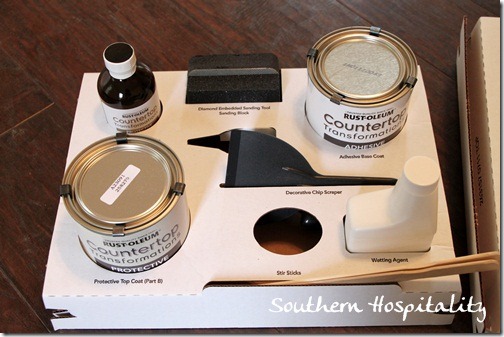
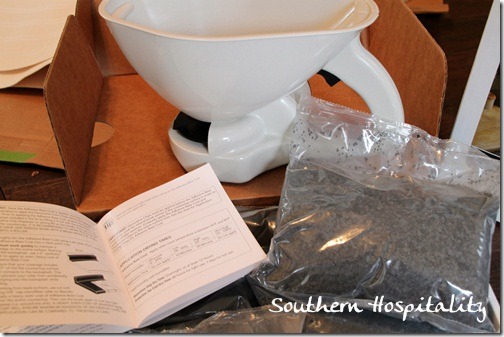
It comes all packaged in a nice and tidy kit with all the materials labeled.
The first step is taping all your edges, along the front, sides, and backsplash area, making sure to mask off anything that you don’t want paint on. The comes sanding down the counters, removing the gloss from them. This gets messy when the chips start flying so it is a good idea to have a dropcloth on the floor too. I didn’t do that and vacuumed up chips after, they were a mess!
The first can is the black top coat, a thick gloppy substance that resembles tar when it goes on. You want an old paintbrush for the sides and backsplash bringing it out a couple of inches and then that is where the roller comes in. You want to try to keep a wet edge as your working your way around the countertop. I didn’t get pics of this step, but cover every inch of the countertop making sure there is nothing white showing. You want it pretty heavy, because then you’re going to fling those black chips all over it and you really want it to stick well.
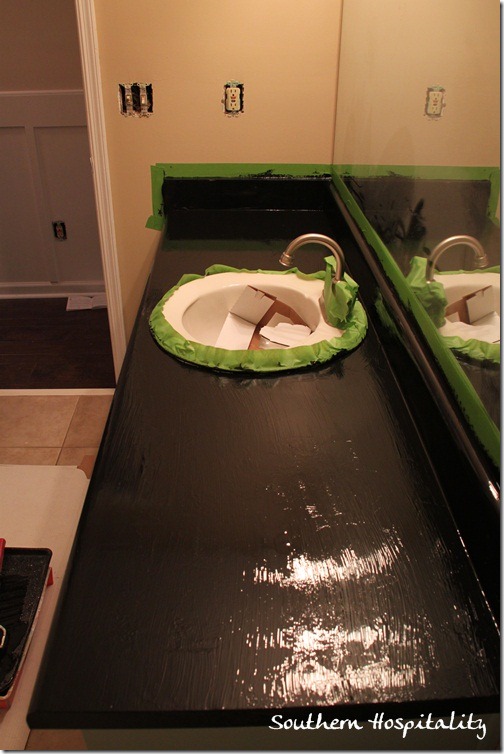
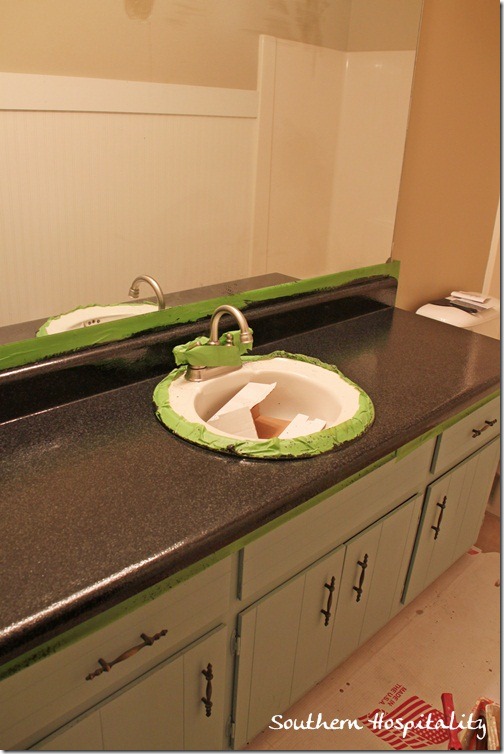
Here is is all covered with the Base coat. Nice and thick. It doesn’t have to be really smooth, it will level out.
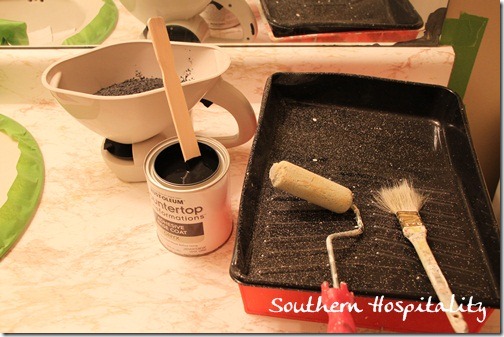
Next, you will fill up that white contraption, somewhat like a fertilizer spreader with the black chips. I filled up the spreader with chips and then pressed the button, turning the wheel and chips went a-flying. All over the countertop. Just go back and forth, whirling the spreader and making sure that all those chips fly and stick all over the countertop, covering every inch of the black base coat. It should stick very well, but there’s a wetting agent in a bottle just in case it starts not sticking well. You have about 20 minutes to do this and that is plenty of time.
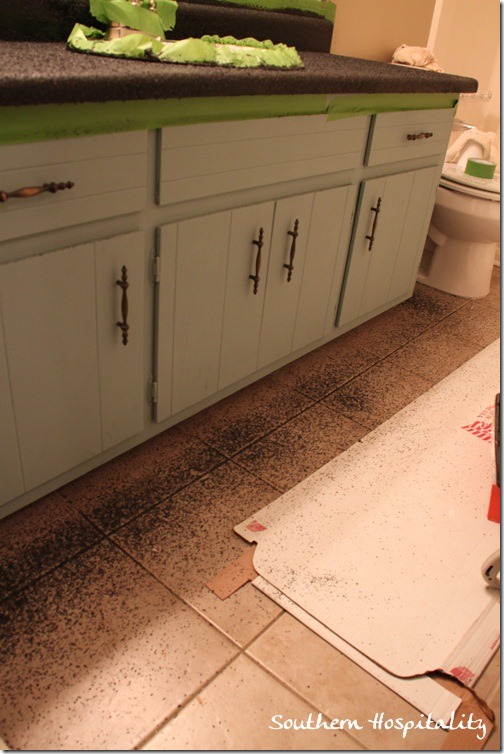
And here’s what it looks like after flinging those chips. It does go everywhere so be aware of that. In the sink, on the floor, everywhere.
See what I mean? Chips everywhere. But they do vacuum up fairly easily, they reminded me of spilled coffee. Now, let everything dry well overnight. You want to do the 2nd coat within 24 hours of the first one.
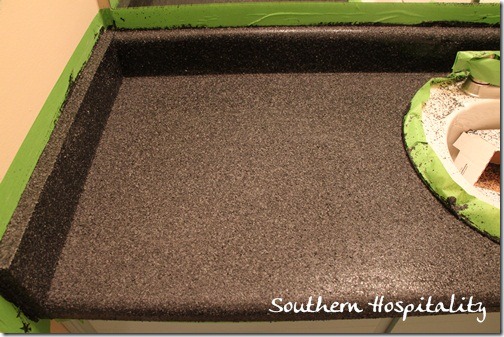
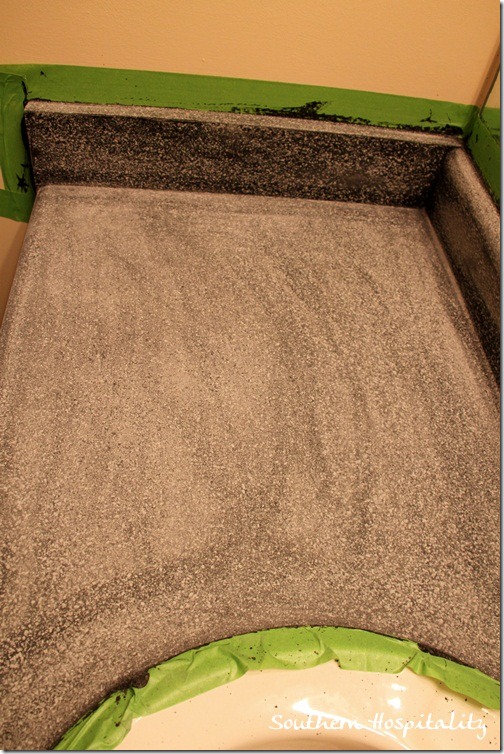
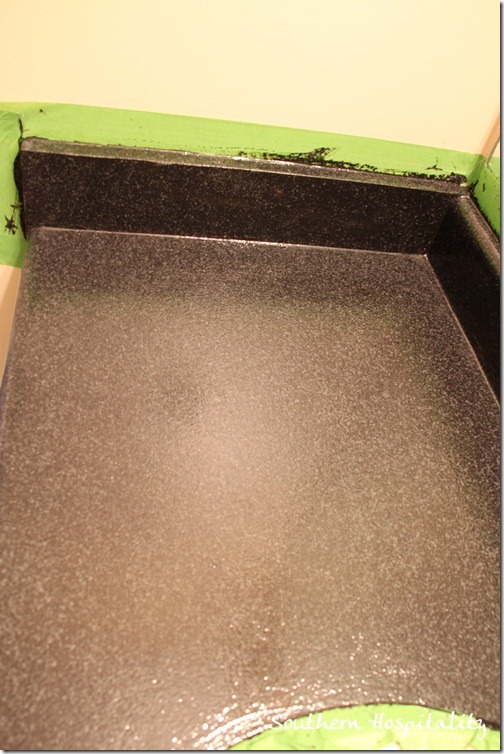
Next day, here’s what it looks like. Then you get a scraper tool and another hand sander block out and hand sand the chips down, scraping off the excess and sanding smooth the surface, preparing it for the final top coat. You do wipe down well with a damp cloth in between these steps too and then let it dry before going on to the top coat.
Here’s what it should look like after sanding, sort of gray looking as everything gets smoothed out. I didn’t get mine completely as smooth as the sample they had in the kit, but I was happy with it anyway. It was smooth enough for me.
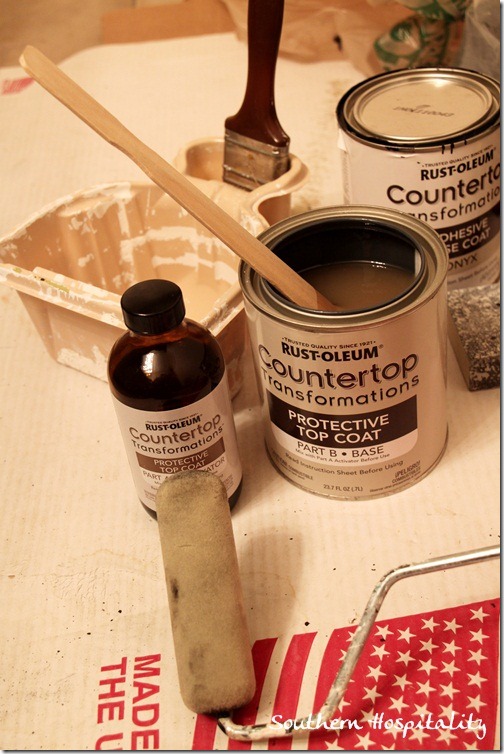
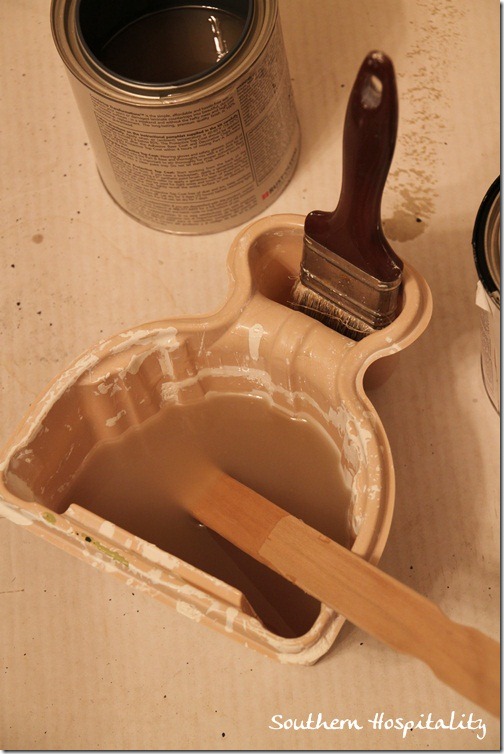
The 2nd coat is mixed together, Part A and Part B, which turns into a thickish poly looking topcoat that you’ll brush and roll on. You want this thick as well.
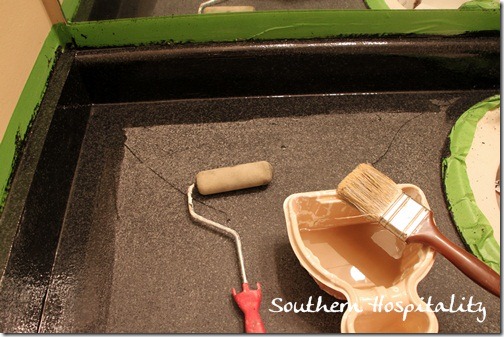
Ready to brush it on the backsplash with the paintbrush. By the way, I used an old paintbrush and threw it away.
Brush the backsplash first and then move down to the flat area and roll.
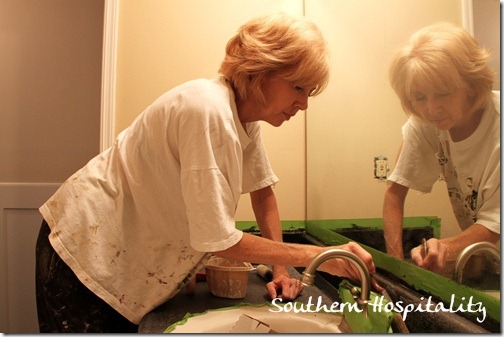
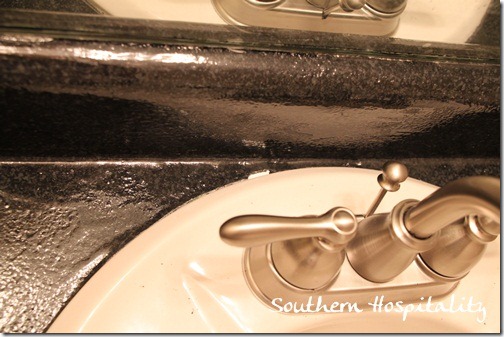
Rolling and brushing, be sure to cover evenly and thickly. It will self level and mine wasn’t perfect by any means, but for the most part it’s smooth. There were some thicker parts back in the corner of the countertop, but it dries clear and is not that noticeable. I brushed all around the sink getting it into all the corners and edges of the countertop and ends. There are areas that are thicker and thinner on the countertop itself, but overall it looks really good.
After that, let it dry overnight before you mess with anything. I left the tape on as that is what the directions said to do.
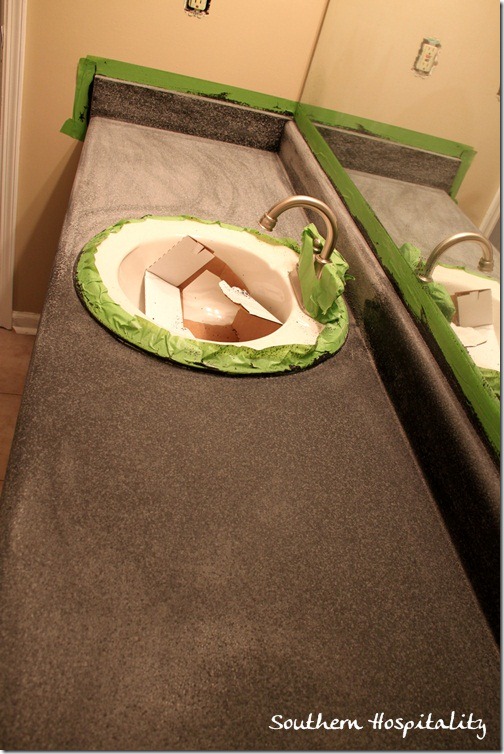
Still wet.
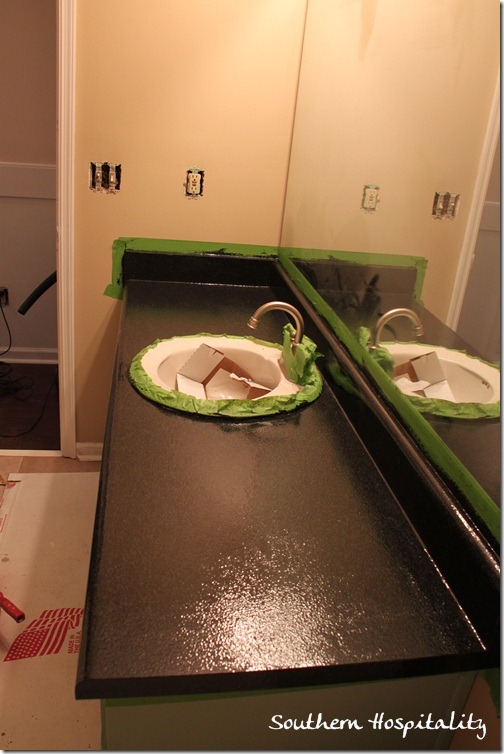
The whole countertop all covered and drying. It takes several weeks to completely cure, so it should be good and dry by the time I move in. NOTE: It is very dry by the 3rd day, so that it can be wiped down and very dry to the touch. Like most paints, the complete curing time can takes weeks, so you should just be careful during that time.
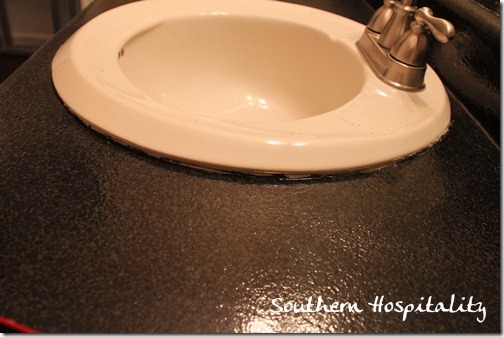
The next day, I used a utility knife and cut around the sink and backsplash, removing the Frogtape. It came off pretty well without a lot of damage. You can see the edge of the sink here and under the rim, it’s a little messy where the sink is raised a bit. There was old caulking in here that I took out and I think I’ll tape around the sink and go back and recaulk it in white and try to clean up the edge line a little bit. I think that will make it look cleaner. Around the sink is the hardest part to get nice and smooth with a clean line.
There was one little spot to the back of the sink where it pulled off some of the black when I cut the tape. I went back and added a little solid black back on top of it and it should dry out fine. That doesn’t bother me.
And here is the finished product again. Overall, I’m really, really happy with it. It’s much better than the old one and the finish feels good to the touch too. It’s very shiny and feels almost vinyl-like and should clean up well. I’m going to eventually get a frame up on the mirror too.
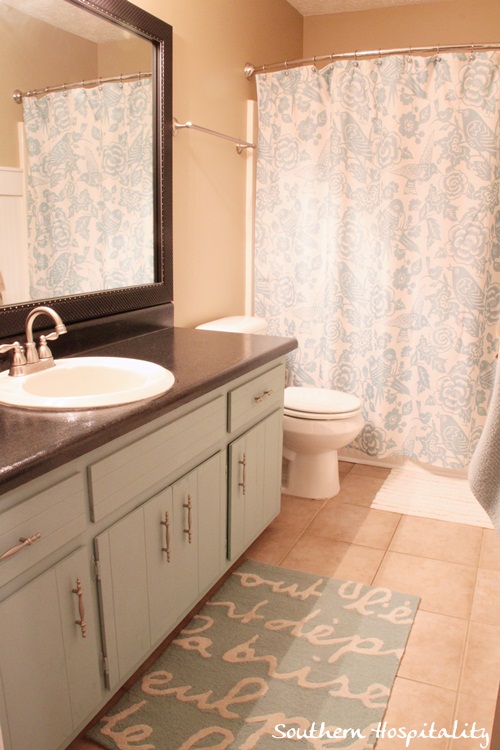
Here’s the room finished with mirrors framed and it’s still like this now. The countertop has held up fine almost 4 years later.
So, if you have an old countertop that needs sprucing up, I can definitely say that this Rustoleum product worked great for it. You have nothing to lose anyway by trying to cover up an ugly countertop that you don’t like anyway, that’s the way I looked at it. I’m happy enough with my masterbath countertop, so I’m leaving it as is, but this one looks much better to me.
What do you think? Would you try it?
{Disclosure: I received my Rustoleum Countertop Transformations kit for free, but did not get paid for my review. My opinions and experience with the product are entirely my own.}


[…] I wasn’t sure what to expect, but I have to say, that I love the way they turned out. Source: southernhospitalityblog.com […]