• Skip to primary navigation
  • Skip to main content
  • Skip to primary sidebar
  • Skip to footer
  • Partner
  • About
  • Contact
  • Privacy Policy

Southern Hospitality

Adventures in Decorating, Thrifting, Cooking, Fashion & Gardening

  • My Home
  • Categories
    • A+ Blogs
    • My Blog Story
    • Decorating
    • DIY/How-To
    • Family
    • Gardening
    • In the Kitchen
    • My Home Tours
    • Thrifting
    • Travel
  • DIY Gallery
  • Fashion
  • Feature Friday
  • Shop My Home
    • Email
    • Facebook
    • Instagram
    • Pinterest
    • RSS
    • Twitter

Sticks and Feathers

July 8, 2009 By Rhoda 61 Comments

4 shares
  • Share
  • Tweet

DIY Day @ ASPTL

Added to Kimba’s DIY Day!

IMG_4815

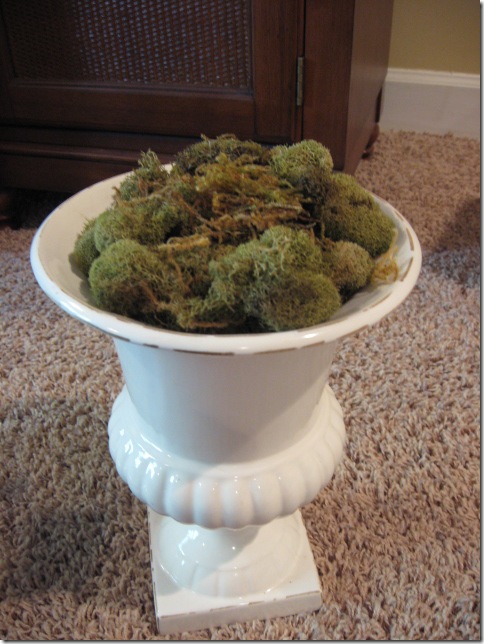
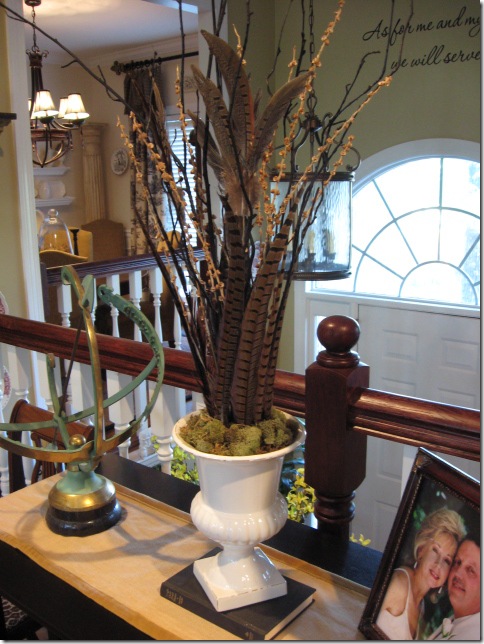
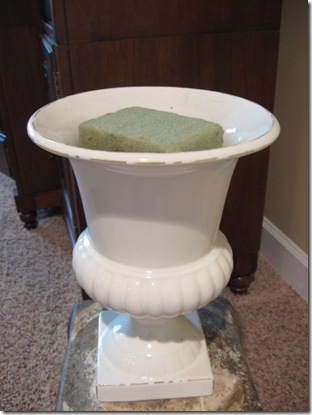
Here’s a quick, easy, and cheap little arrangement I put together recently, using some black yardsale sticks that I picked up for $1. I have to admit, I’m really liking sticks these days and have started using them a lot in my decor. This is a $5 yardsale urn that I scored along the way in my yardsale journey and it keeps company with all the creamware. But, I decided it would be a great container for some sticks and feathers, since I saw a beautiful white ironstone container at a shop filled with sticks and feathers and loved the look.

IMG_4816

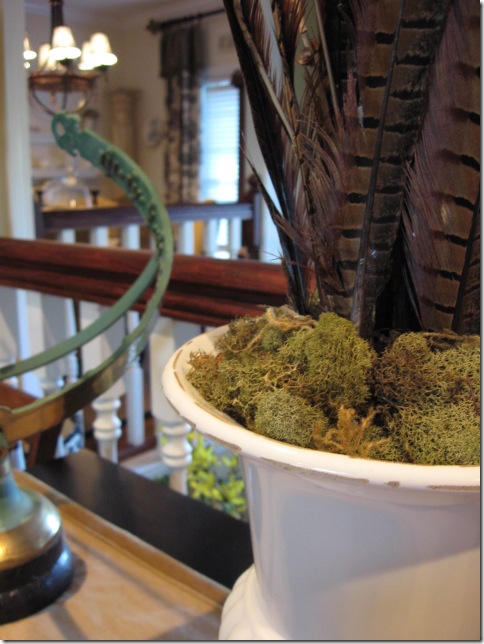
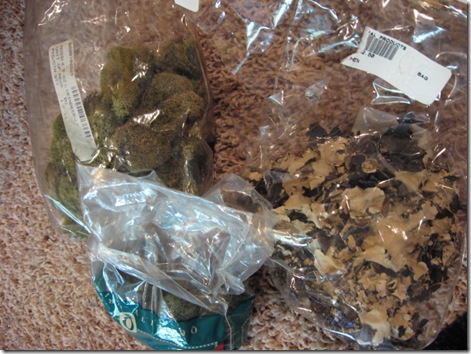
Out came my bags of moss that I have stashed in my craft closet. This is a must-have to keep handy. And the best thing, it’s reusable, so I just recycle it to the next one.

IMG_4817

You can see in the first pic, I added some foam to hold everything in place. Didn’t even glue it, just jammed it in the urn and it stays fine. Added the moss, no gluing, it stays in place just fine.

IMG_4818

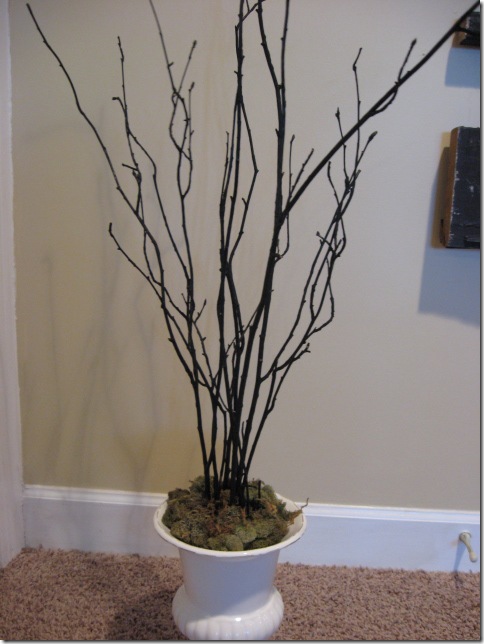
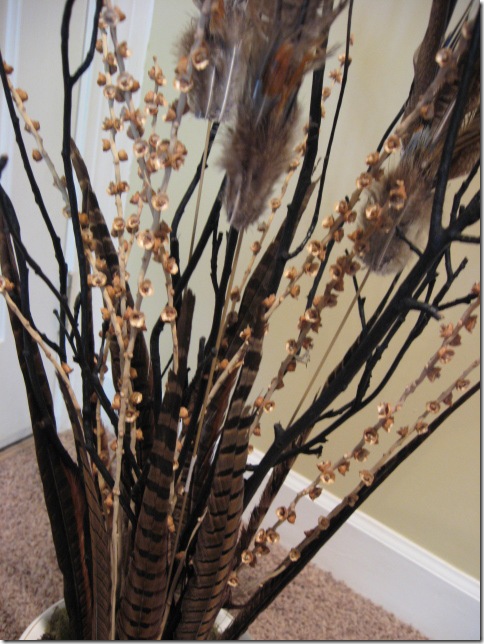
I began adding my black sticks one at a time until they were all arranged the way I liked them. I made sure that they were balanced all around with the height & the direction they were going .

IMG_4819

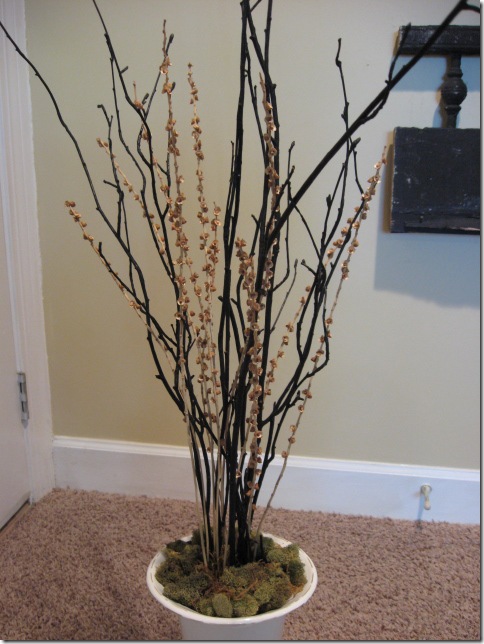
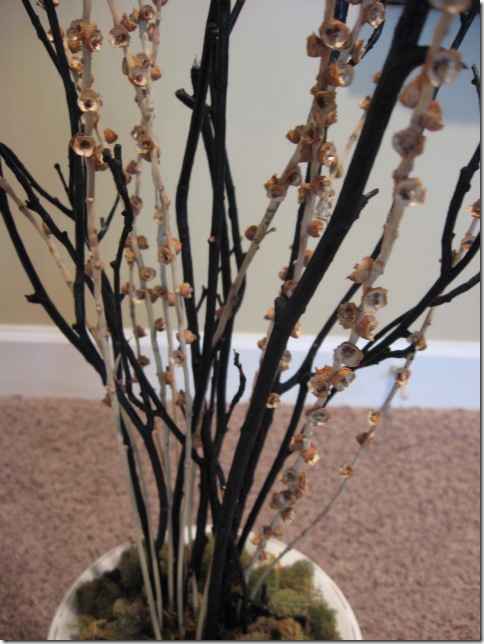
I had picked up a dried bunch at Hobby Lobby on their last dried naturals sale for $2.00. Added those in too.

IMG_4820

IMG_4821

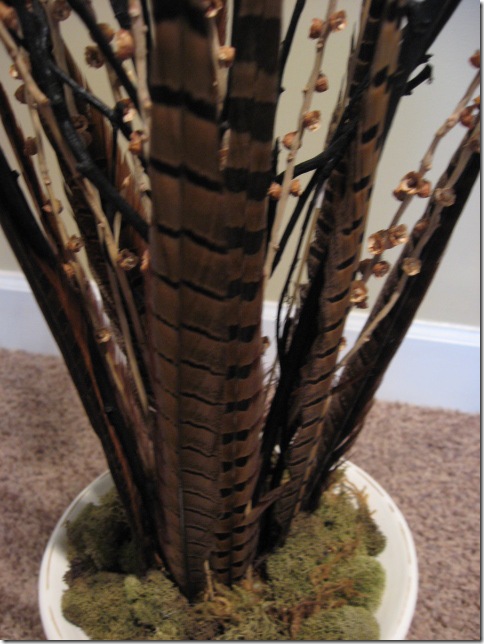
Then, I took my Hobby Lobby feathers than I bought on the 1/2 price sales along the way and just arranged those around the circle of the sticks.

IMG_4823

I had 3 taller feather picks too, so I put those in.

IMG_4825

And there you have it, a quick and easy arrangement. I moved out the pinecones and added this in its place on the console table.

IMG_4826

Let’s see, I think there’s about $10-12 in this one (including the urn). Not too bad for a new look by using yardsale finds and recycled natural materials.
Related


Don't Miss a Post, join my list!

Filed Under: Decorating Ideas, Projects and How-To 61 Comments

Reader Interactions

Comments

  1. Centsational Girl says

    July 13, 2009 at 10:03 pm

    Your layering is phenomenal. I just love branches too, but adding those feathers? Superb !

    Kate

    Reply
« Older Comments

Leave a Reply Cancel reply

Your email address will not be published. Required fields are marked *

Recipe Rating


Primary Sidebar

Thanks for stopping by! I'm Rhoda, from Atlanta, GA and I love decorating and DIY projects. Decorating a home doesn't have to cost a fortune and I've spent years thrifting at antiques markets and yard sales, finding those treasures that make a home unique. I'm here to inspire and encourage other women to find their own inner creativity. Won't you join me?

Subscribe

Click Here

Click Here

Subscribe to the Blog
How to Decorate in
Classic Timeless Style
.....without breaking the bank!

House Renovation Journey!

Our Paint Colors

Archives

Categories

Footer Widget Header2

Featured here:

Better Homes and Gardens
Atlanta Magazine
Better Homes and Gardens

Footer

  • Email
  • Facebook
  • Instagram
  • Pinterest
  • RSS
  • Twitter
  • Home
  • Contact
  • Partner

Copyright © 2025 · Southern Hospitality · Blog Design by Little Blue Deer
Privacy Policy