What a crazy couple of days it’s been! I got around to visit most of you from the Monday Thrifty party and then we started having some major computer problems. My hubby has been working on it for the last two days and I think we have it all fixed now, but I have been offline for the most part. Seems to have been a wireless router problem, so now we have a new one. Good thing he knows how to do all this or I’d be out of commission. And I got a new widescreen 20″ monitor too out of the deal, since my old one had developed a strange line down one side. This big one is great! I can really blog now. 🙂
So, on to important things now!
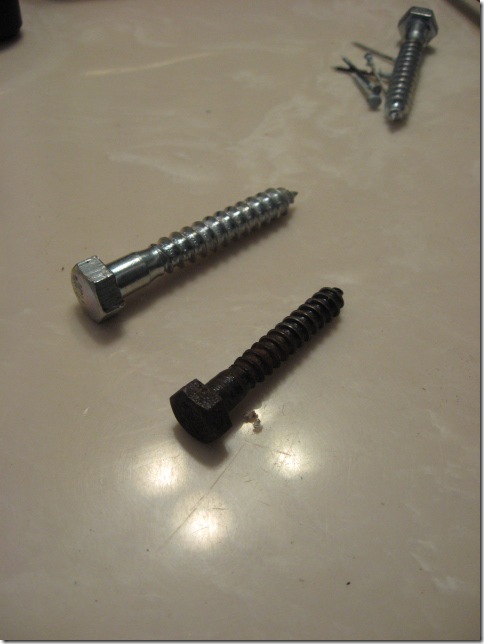
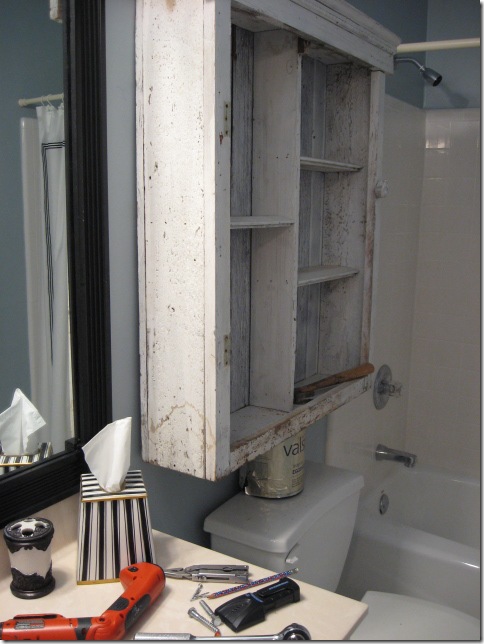
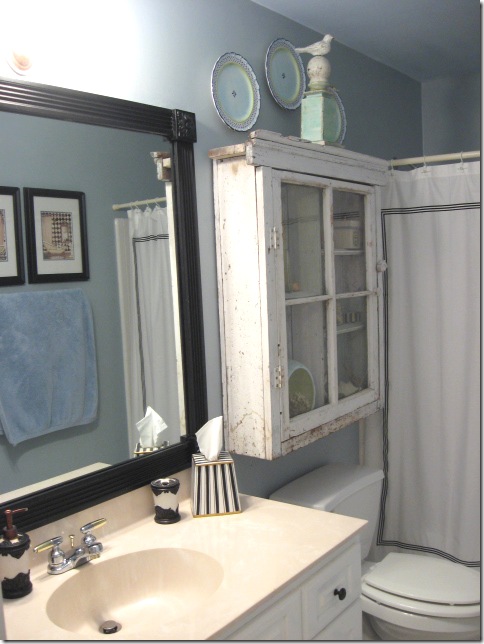
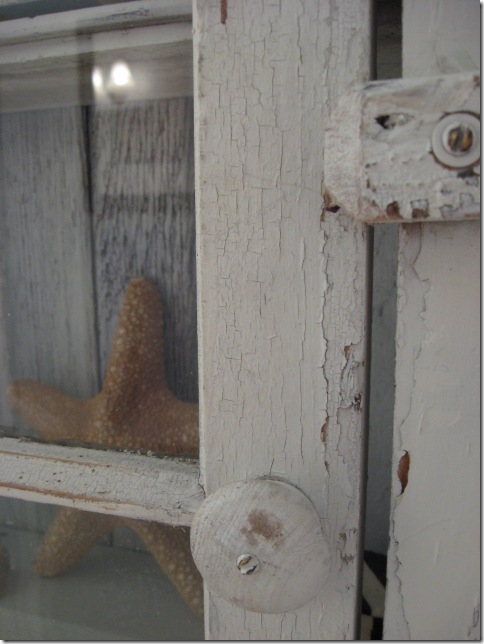
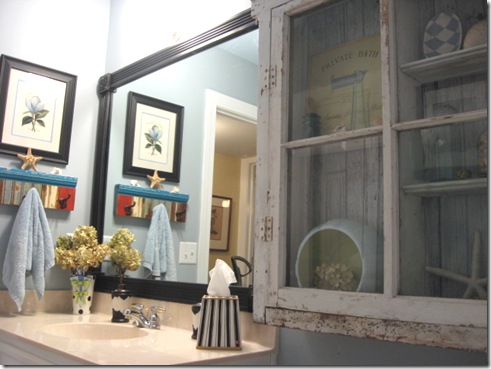
Ya’ll voted. I listened. The shabby cabinet is now in the downstairs guestbath. I was dreading putting this up, but it ended up being one of the easiest projects I’ve done, so I thought I’d share with you how I did it. I amaze myself sometimes. 🙂 I know from experience how projects can go and I fully expected this one to go downhill fast. My bag of tricks: Hammer, stud finder, large screws, drill, tape measure. First, with a large piece like this, you have to find the studs in the wall, so that’s what I did right off the bat. Found those and put a nail in them. Measured to see how far apart they were and made a note of that as I drilled holes in the back of the cabinet. The cabinet had those big honking silver screws that you see above, but I had some that were a little smaller, so I opted for those. They still stuck through the other side with plenty of grip power once I hit the studs with them. I measured down from the top and from the sides to figure out where I wanted the cabinet to sit once it was up there and placed my drilled holes accordingly. I promise you, math is not my strong suit, but I will persevere with a project until it is done. Even if I have to make one or three holes along the way. My mantra is: so what if there’s an extra hole (or 3). I can fix that with putty. Or it will be hidden anyway. I get away with a lot thinking like that and it works for me. And my hubby never looks over my shoulder, so that’s good too.
So, I used the black screws which were a little smaller than the ones that were with the cabinet. I figured I could wrangle with the smaller ones just a little better. I pondered and dreaded and then I just went for it. The thing is really heavy, so the first thing I did was take the door off so I could pick it up without worrying about breaking the glass. Plus that made it a bit lighter. Smart move! I got it into the bathroom, did my calculations, drilled the holes for the screws, got the placement figured out, found the studs, etc. So, I was ready to begin. Had no idea how it would go. Dread, sweat, anxiety. OK, I can do this. Now, you ask…why didn’t you ask your hubby to help you. 🙂 Well, I just know how that goes, he is not nearly as patient with these things as I am and will throw in the towel if things don’t go smoothly, so if a project can be done by little ole me, then I just stick to that. I can talk out loud all by myself if it’s not going well, as I’ve been known to do many times. My favorite word is crap in these instances.
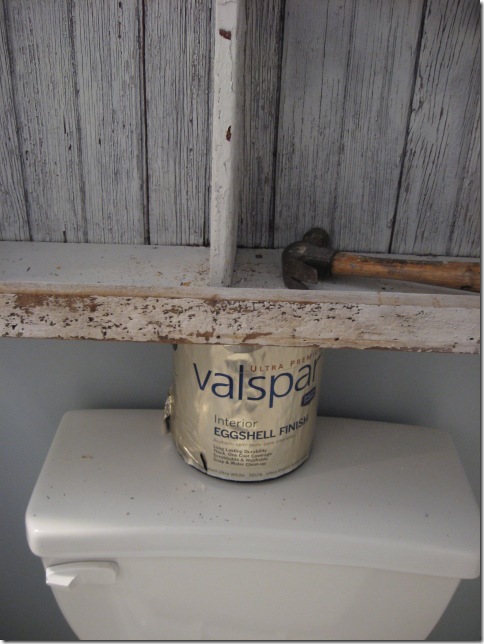
Once I figured out where I wanted the cabinet to be after I held it up to the wall and saw where the screws would hit my pre-drilled holes in the wall, I saw how much space was underneath down to the top of the toilet. Huummm, I said to myself, I believe a paint can would fit under there and be my helper.
Perfect solution! The paint can stood in as a holder and the cabinet rested on it until I could get the screws secured. I used a little pliers to get them screwed all the way into the wood stud. Ten minutes later, I was done! Yipppeee! I had to go tell my hubby how brilliant I was. He was proud. And he didn’t have to help. Pulled out the paint can and it didn’t fall off the wall. Double yippee!
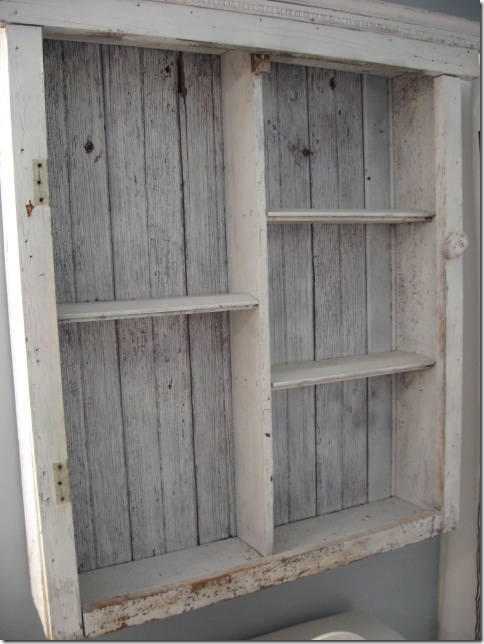
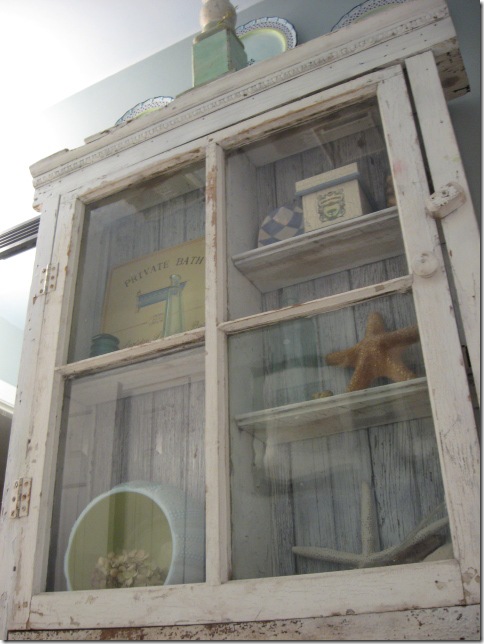
So, it’s up and looking good.
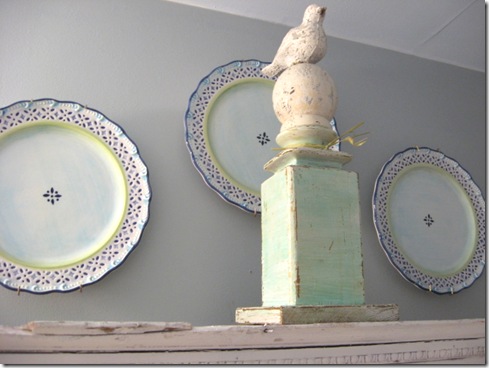
Screwed the door back into place and it was ready to decorate. I put the plates back above, as well as my yardsale bird up top. He was $5 by the way, last year.
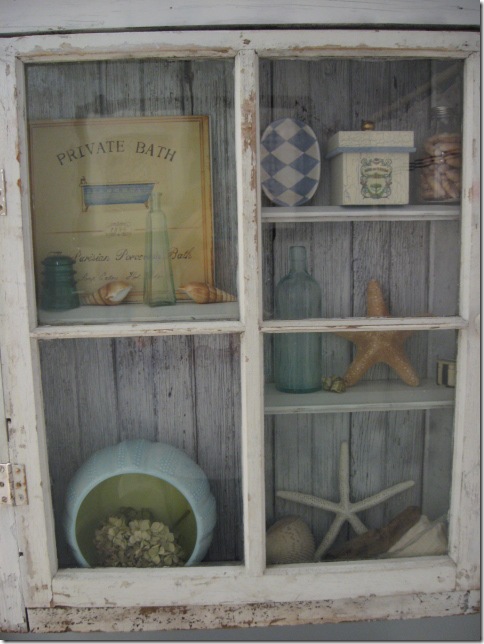
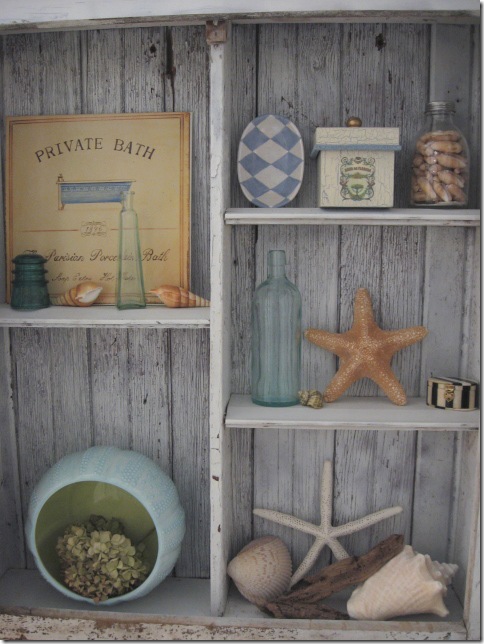
Went around the house and found stuff to put in here, cause you know I have plenty to spare. Of course, with my vast collection of seashells they were perfect to add to the shelves and I stole a few things from the bookcase in the beachy guestroom.
Plates and bird.
It’s kinda fun to shop your own house.
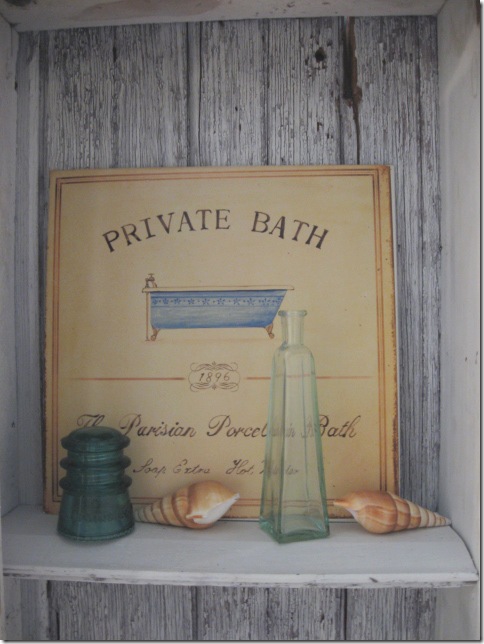
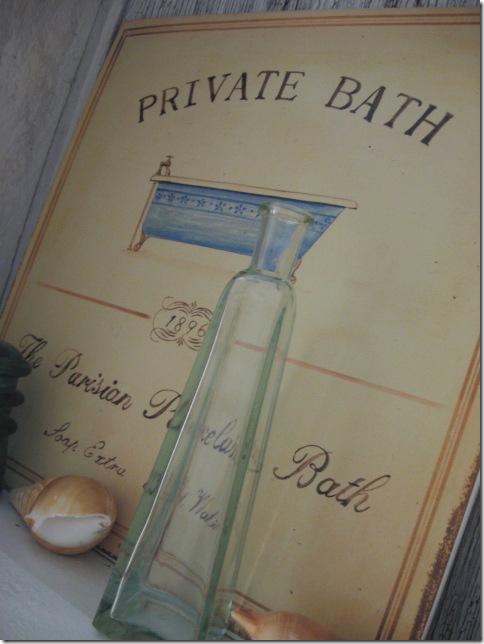
Bath sign from Homegoods last year, all the rest of this was yardsale finds, including the shells.
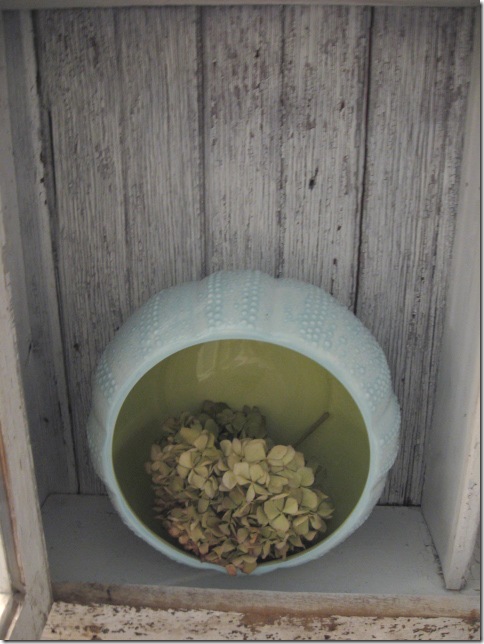
Large blue bowl was a Homegoods find too. Dried hydrangeas from my yard.
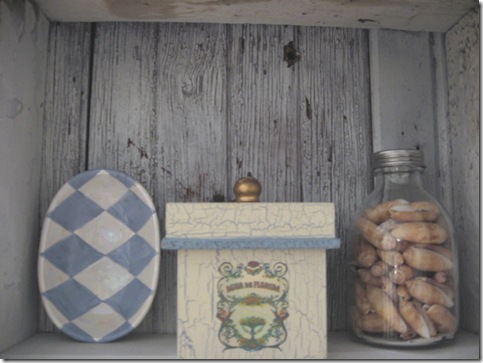
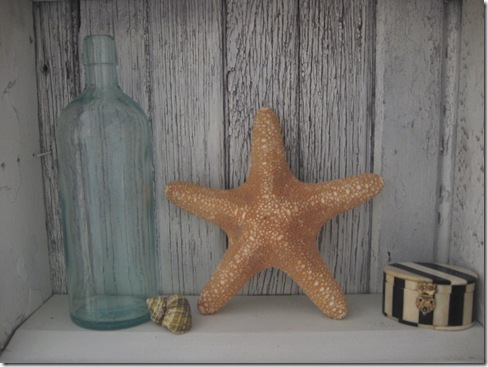
Little blue crackled box is also from Homegoods, all the rest, you guessed it, yardsales. Picked up those olive shells on the beach at Gulf Shores last Fall and found the bottle at a yardsale.
All this was yardsale finds too.
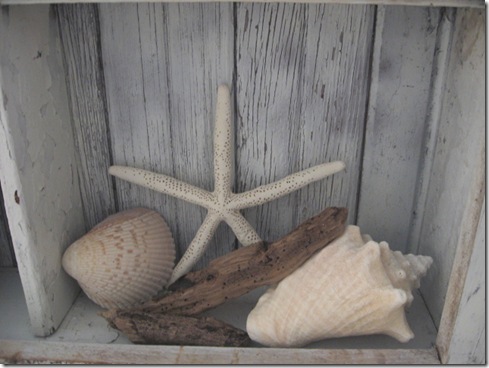
Driftwood I picked up at the beach.
I love this shabby piece and it’s big. Really looks good in here, so thanks ya’ll for urging me to put it here. It really is perfect, plus I didn’t want to have to move anything in the kitchen or diningroom. 🙂
I think this is the most rustic piece in the house now.
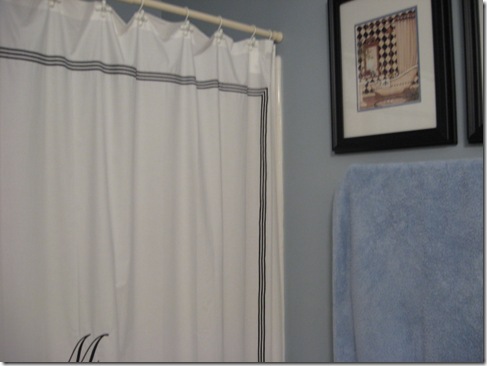
Monogrammed shower curtain from Ballards.
And you can see how it looks with my shabby towel holder I got at Stray Cats in Irondale. I really love this bathroom. My hubby’s comment when he saw it: I’m glad it’s not my bathroom!
Really, he’s very supportive of my compulsive yardsale shopping habits and is happy that I have a fun outlet. And he loves it when I find good clothes for him, espresso machines for $3, and $5 wheelbarrows. Hope you enjoyed the tour and how it all came about.



Perfect, but then i knew it would be. You did an amazing job, Rhoda! Hugs, ~cindy s~
Oh me oh my…
Love this cabinet. What an incredible piece. Great find girlie!
Hugs, Angie Seaman
http://www.angelicagracedesigns.com/blog/
http://www.angieseamanphotography.blogspot.com
http://www.agdprayerblog.blogspot.com
Omigosh …it looks great! Can't believe you hung it up yourself…I would have been too intimidated and had to call in my Dear Hubs. Congrats to you!
Love it!
Renee
That looks so beautiful, I can't even stand it!
My husband and yours came from the same stock: The least bit of difficulty has mine throwing in the towel immediately! I am a "can do" kinda girl, especially when it comes to decorating projects. I WILL find a way to get it how I want it.
Looks great!
GORGEOUS!!! 🙂
Layla
Wow! I love it! It looks great in there!
blessings,
Sandra
You are SOOOOOOOOO good Rhodie… LOVE it and LOVE how you do these things all by yourself!
It is perfect!
xo,
Kim
It looks phenominal! You did an amazing job on it! Love the little bit of dried hydrangea! You truly have a gift!
That cabinet is PERFECT for that bath! I love it…
I love what you did what that cabinet….now I need to go find one for my hall bath!!
Love this!
Now I want one just like yours! I LOVE IT! and what you did with it too! so cute!
Your cabinet looks wonderful! I love the distressed look with all the beach decor ….perfect!
Love it, Rhoda! The shelf is so cute and you accessorize perfectly as usual!
o my gosh….totally lovin’ the cabinet! SWEET!
I love your cabinet. It is perfect for the beachy theme.