The time has arrived for hardwood floors to go in and I’m about beside myself with excitement. Watching those beautiful planks get installed will be thrilling for me to say the least. I’ve been waiting for this day for oh, at least 3 months now.
Last week’s progress wasn’t huge, but there was some prep work to get ready for the floors to go in. My parents went back to their mountain house for a few days, so I took that time to really vacuum and clean the floors up well to get any dust and debris up off the floors (as much as I can, anyway). The floor hasn’t been this clean in a long time. I also finished up the rest of the trim paint in the den, so that room is officially DONE now.
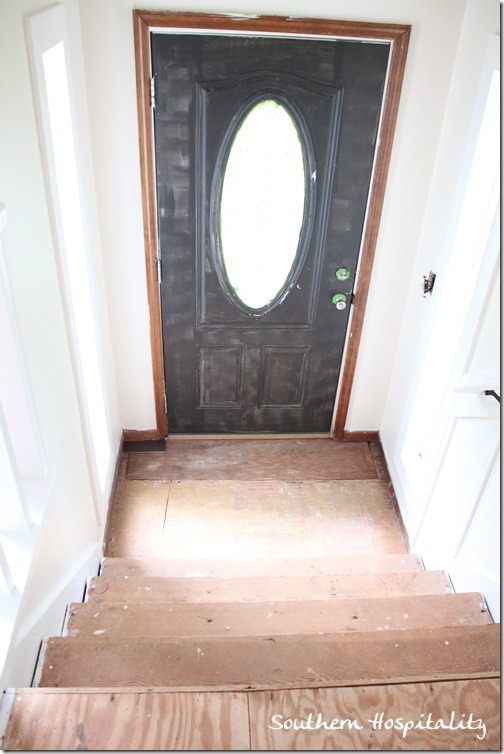
So, here’s one more look around before those floors go in. Installation began on Monday a.m. and should be finished by Thursday of this week. Yippee!! The foyer floor is ready to install now with our repair work done.
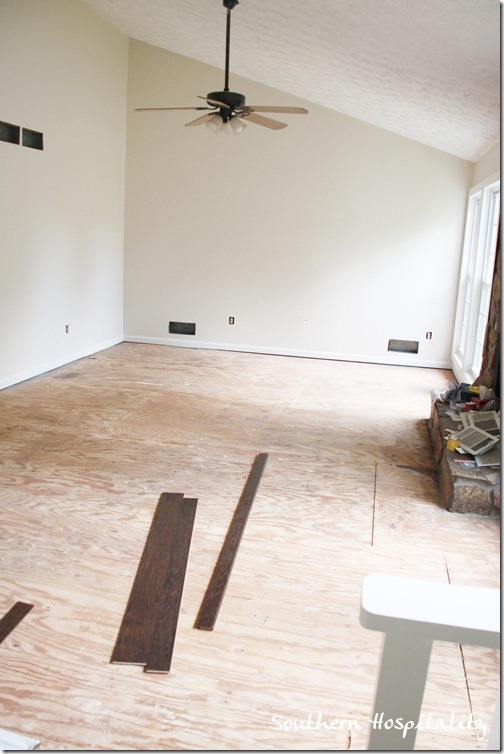
The living room is cleared out too, ready for that beautiful wood. I couldn’t help but take some out of the box and play around with it.
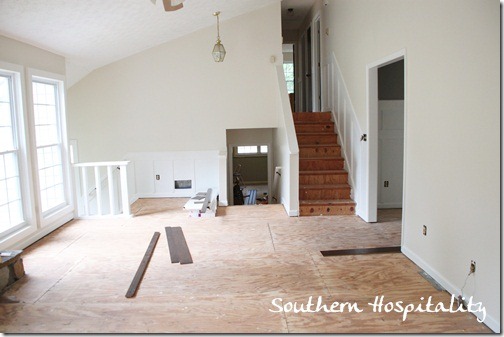
Another view of the living room.
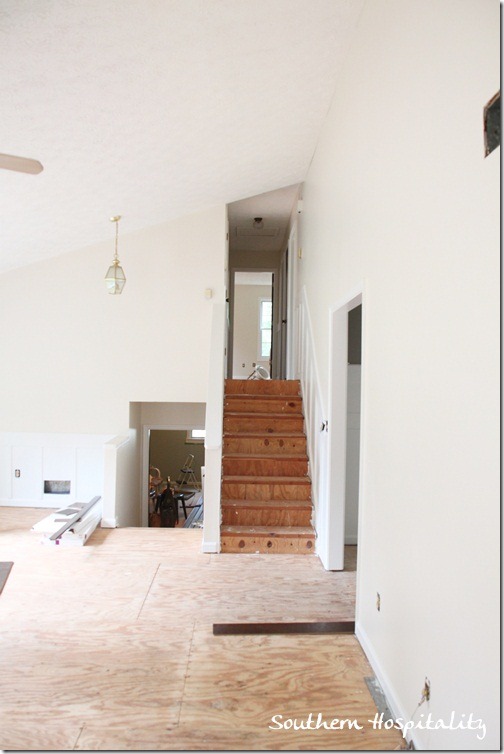
Looking up the stairs.
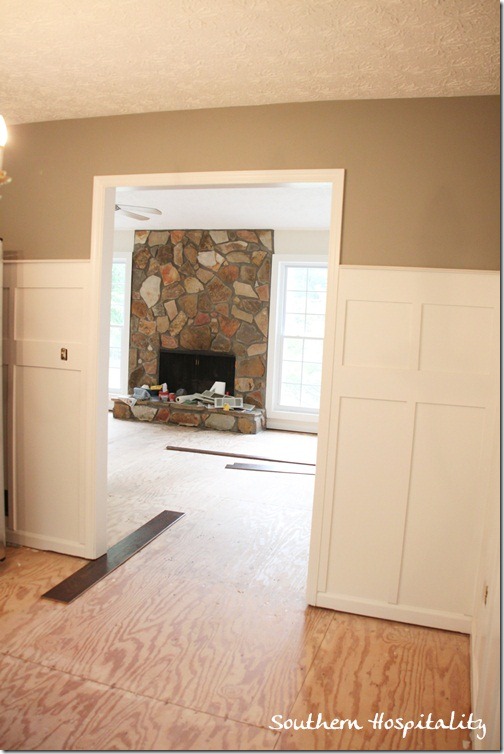
Dining room with the board and batten looking back to the fireplace. Still love this shot.
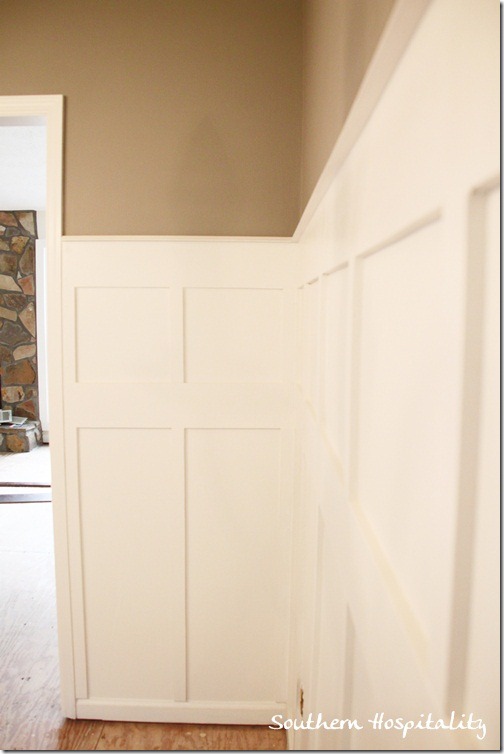
Close up of the board and batten.
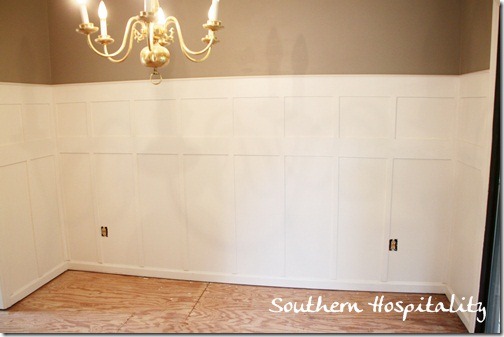
And one whole wall of gorgeousness.
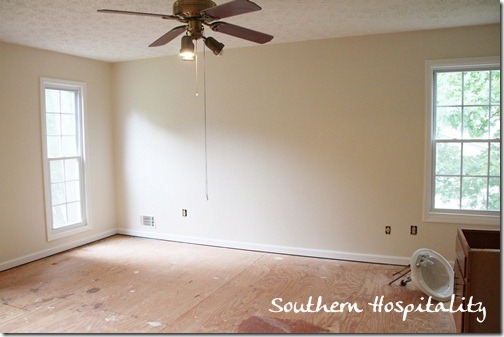
Master bedroom. That sink and vanity cabinet are out of there now.
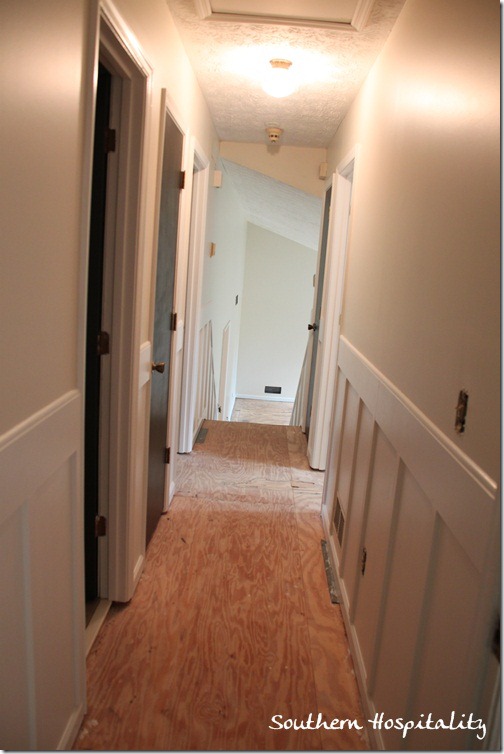
Hallway.
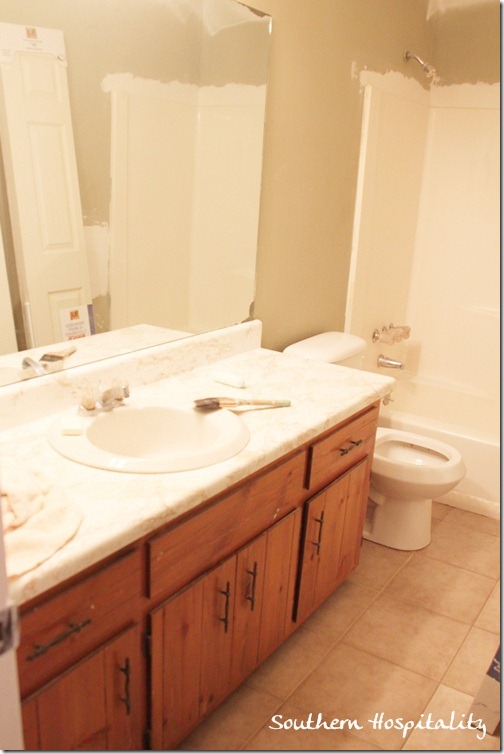
Hall bath. Still lots to do in here.
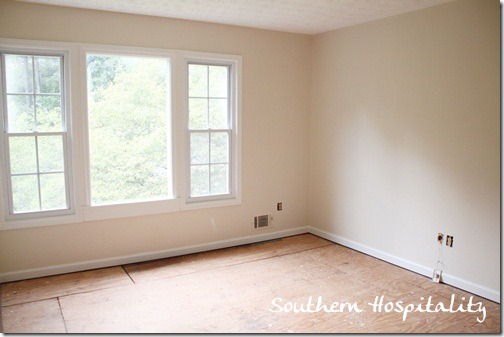
Guest room.
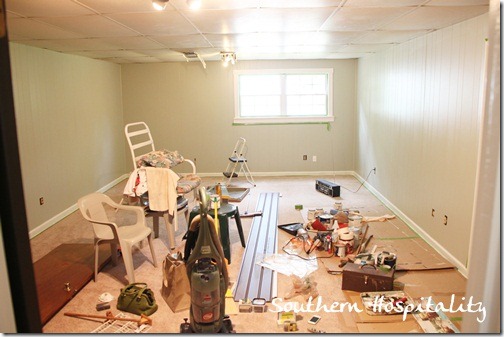
Den finished. All our crap is piled in here now.
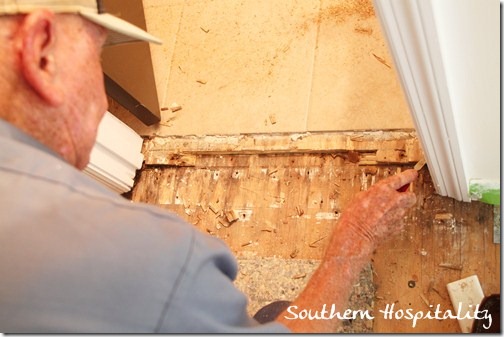
One more little job that had to be done, was cutting back the threshold on the master bath doorway. My dad worked on that and got it done with his skill saw and a chisel in no time flat. Hardwoods will run to this doorway too.
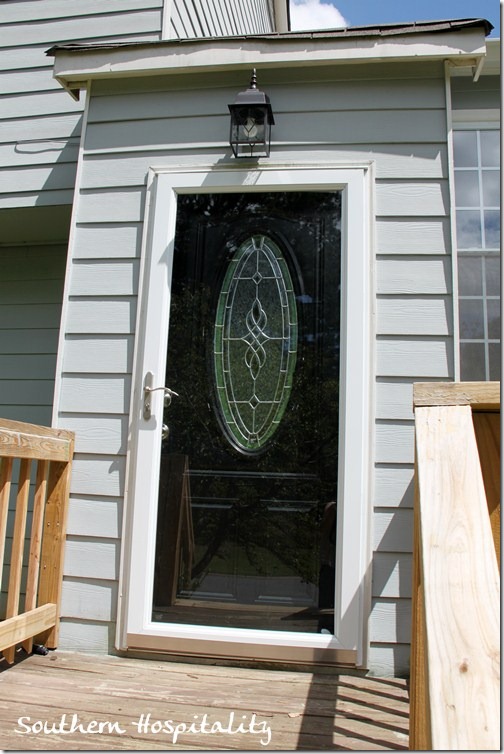
The front door is sporting a new white storm door now, thanks to Lowes and their installer. They didn’t give it to me, but that’s where I bought it from. Now I won’t have any problems with water coming in here until I get that cute roof one day. It’s all glass so doesn’t cover up my pretty door and I can leave my front door open and see out the glass door if I choose too.
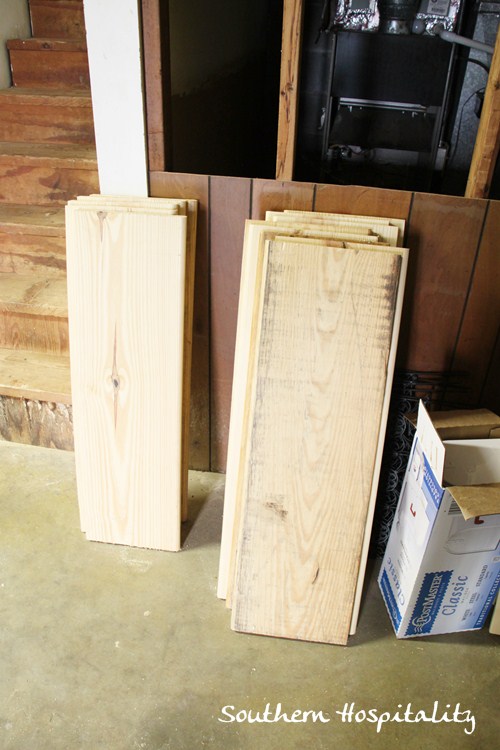
I’ve also been working on the pine stair treads, getting them ready to paint with my porch and floor paint. They are stacked in groups ready to install. I’ve got 4 sets of stairs to do in this house.
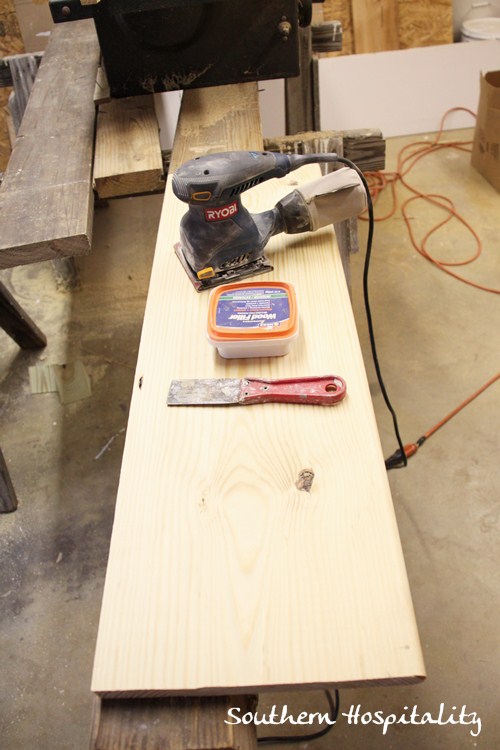
The treads are pretty smooth already, but I’m sanding them all down, including the edges and filling any little knots or holes with wood putty.
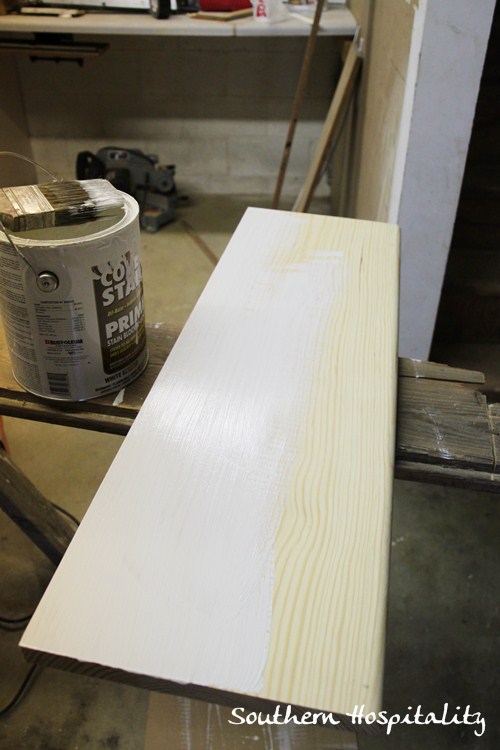
After putty and sanding all the surfaces of the stair treads, I primed them with oil-based Zinsser primer. This will ensure my paint sticks really well and is good to use over bare wood.
After one coat of primer, I’ll go back and paint at least 2 or 3 coats of porch and floor paint. I’m getting the same color that I used on my doors, Valspar’s Fired Earth. These stairs should look like a million bucks when we are finished with them. My plan now is to paint the treads before I install, then go back and caulk and touch up the paint where needed. We are also installing new risers using thin, smooth oak plywood. I’ll fill you in on that as we get to it.
I’ve got a mailbox project in the works that I’ll share a little later. The original mailbox post is really rickety and peeling, so we bought new posts to build a new one and my dad worked on that one day while I wasn’t at the house.
Here’s a little example of how we butt heads. This will make you smile, I’m sure.
I have to watch him every step of the way or he’ll do things that I don’t particularly want done. There have been many of them. And yes, I’m extremely grateful for his help, don’t get me wrong, but he will bulldoze ahead with how he wants to do something and lots of time it doesn’t match my vision. He likes to cut corners money-wise. I want to do things right, even if it means spending a few bucks to do it. He’ll use old wood that’s been sitting around for years, something that he stashed away. He’s a hoarder of building materials (that’s the Depression era mentality), oh yes he is. And sure, that comes in handy many times. But, sometimes I don’t want to use a crappy old piece of wood. 🙂
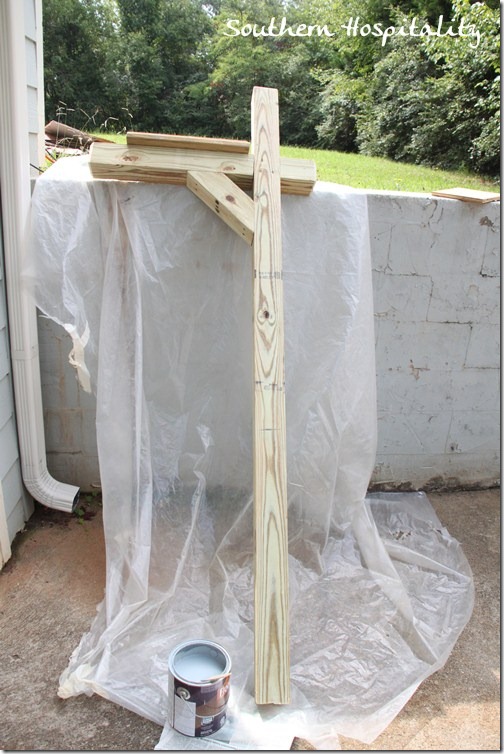
Anyway, back to the 4×4 mailbox posts. We actually bought new ones for this project, so that wasn’t the problem this time. He cut all the pieces and nailed them together. I came over the next day and took a look at the mailbox post.
Do you see anything different about this mailbox post? See that ledge where the new mailbox will sit? See the front post that sticks out past where the mailbox will sit. Yeah, that’s the problem. It sticks out too far. What’s the point in that?
Here’s the conversation we had:
ME: Oh, that looks really good, but why is this piece sticking out way past the mailbox?
Dad: It will look better that way, it will be nicer than other mailboxes.
ME: But, I’ve never seen a mailbox with that piece sticking out so far.
Dad: It’ll be fine, just leave me alone and I’ll get it finished. {we go back and forth for a bit on this thought}
At this point, I actually walk outside, down the driveway, looking both ways down the street. Sure enough, no other mailboxes have that part sticking way out like that. The door would not come all the way down with that piece sticking out. It’s just in the way.
I walk back in and make that point.
ME: That looks dumb, it needs to be cut off so it doesn’t stick out like that.
Dad: It’s just fine, leave it alone and paint it.
ME: Why do we always argue about this stuff?
Dad: Because you’re just too picky.
So, I dropped it for the moment. We drove back home later that day. I pointed to his mailbox when we got to the house.
ME: See, your mailbox doesn’t stick out like that.
Dad: Well, yours will be just fine.
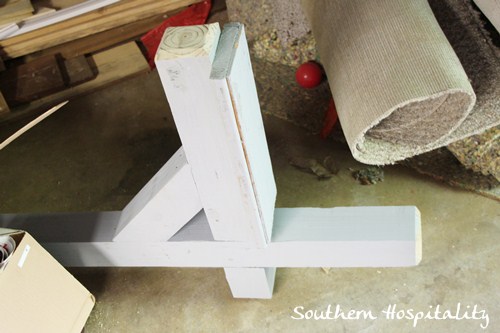
But, I had my own plan to make it right. My brother-in-law, Bruce loaned me his cordless skill saw and I fixed it myself. ![]() Yes, I did. I whacked off the end of it, so now it’s the right length and looks much better.
Yes, I did. I whacked off the end of it, so now it’s the right length and looks much better.
And my dad, after mulling it over for a couple of days, told me the next morning that he was going to fix the mailbox post. I told him I’d already whacked it. 🙂
So, he said he would bevel it with his handsaw….which he did and it was done in 5 minutes.
All’s well that ends well. That’s the way it rolls at our house.
The floors are going down this week and should be finished by Thursday. If you follow me on Facebook, you’ll see a sneak peek over there. I can’t wait to see them ALL finished and gorgeous and share them with you!



By now you should be beside yourself with glee, with those floors! The house is really coming together you should be so proud. You are doing an amazing job.
I am doing a lot of work at my house these days and I am getting a ton of good ideas from your blog. Thanks so much. Hope you have a great time in NYC.
I just absolutely love your posts – what an inspiration you and your parents are – make me want to get up and redo my house too! BTW what is the paint color you have in your dining room – it’s just what I have been looking for!
Rhoda, all I will say is be glad it is not you and a husband! Sigh.
It’s looking really great, Rhoda! I can’t wait to see the floors! I am sure that they will look amazing!
Love that you have shared your “creative differences” with your Dad along the way too! I just had to chuckle a bit! So many of us seem to be able to relate!
Looking forward to the “after” pics! 🙂
xo-Lisa
I love how you added your little discussion with your dad. I knew what you were talking about when you said that piece stuck out. I installed our mailbox too. Dug the hole, put the same type of wooden holder in & then poured dry cement in the hole while leveling the holder. Sometimes you just know your right & it’s not worth the arguing. You did what I would have done – wait till later & then fix it yourself!
Kudos on listening to yourself! Can’t wait to see the finished hardwood floors!
Liz
So jealous that you get to paint your stair treads before hand. At my old house, I painted mine which were already in place – every other step. I sure got my exercise getting over the painted steps in between coats!
My dad was like that too, I loved working with him and arguing, I think that was part of the fun. And we always had a story to tell! Enjoy that time with your parents, it sure looks like you are. Loving your house. Di
Love the stories of your dad 🙂 Your house just gets better and better! Looking forward to see the flooring installed.
looking great. esp. love the fireplace. i can see it now when i’s all done. got the new southern living and it makes me think i t will look like that even though their fireplace is completely different .. ok that sounds stupid!!! love the dining room and i ESPECIALLY love the guest room. the windows are so cute in there!! can’t wait until the floors and the kitchen. oh and btw, the southerliving house has an ikea kitchen too! loved your dad story. that was hysterical.