We’re chipping away at this house reno and I know I’ll soon be in there! Last week, we got started on the quarter round, my electrician came out and made more progress with the lighting and all things electrical. My garage door opener is officially working, yippee! We weren’t sure if I was going to get them working or if I’d have to replace the units that are there (both Sears Craftsman), but it appears that they both still work. There were no remote controls to be found and only one button on the wall, so I bought universals and at least one of them is working. We’ll check out the other one this week too and I do believe both will be working by end of week.
Funny side story about the garage door openers. There is a box on the wall, an ancient looking relic of a garage door opener box from Sears with 2 buttons on it. I had pressed both of them at one time oranother, but never BOTH of them at the same time. When my kitchen installer was here, we heard the garage door go up. We hadn’t played around much with those doors, cause we have been so busy with other things. We’d get to that later. I ran downstairs and sure enough, the door was going up and down. I looked at him with a stunned and shocked look and said, “we didn’t know the garage door opener worked.” So funny….when I read that ancient box on the wall again, it clearly said “press both buttons.” Talk about a “DUH” moment. That was a happy day to know that at least one of them worked.
So, I can now see the bright and shining light at the end of the tunnel and I’m eagerly looking at my calendar trying to figure out which moving dates might work. I have a conference to speak at in just a couple of weeks (the Southern Bloggers Conference in Raleigh, NC) and I think when I get back from that, it will be moving time, around October 15th or so. Trying not to rush it, but with all the progress we are making, it should be very soon. I’ve checked off lots of small things last week and will get more done this week and once those are done and the kitchen backsplash goes in, I’ll be ready.
Let’s see the progress from last week, shall we? There was quarter round and some baseboard trim installation, putting up wallpaper, more caulking (will it ever end?), light fixture hanging, and some spray painting. Not to mention, painting that guest bath countertop. Wait til you see that one? Love it!
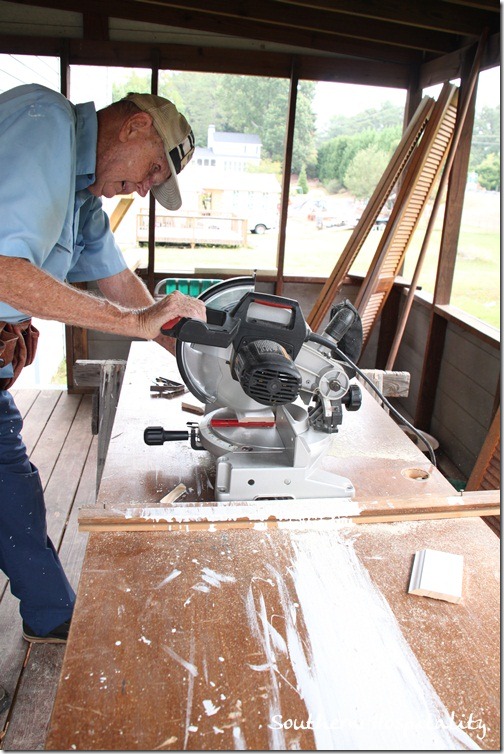
Dad and I set up the sawhorses and miter saw out on the porch and it’s a good thing. One day it rained. We had 16’ lengths of primed quarterround and cut them all to fit each wall, one at a time.
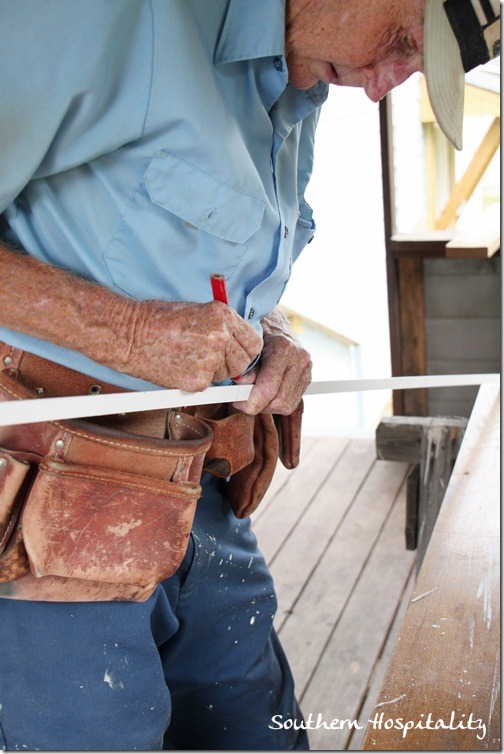
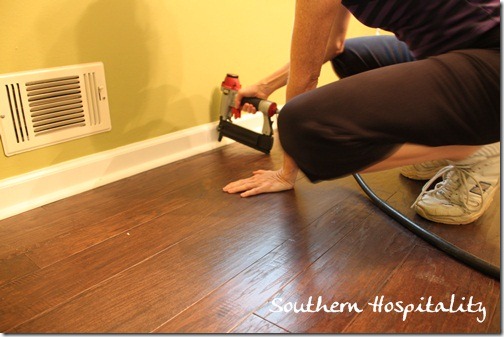
Dad is great at measuring and cutting and I’m good with the nail gun, so we are quite the team.
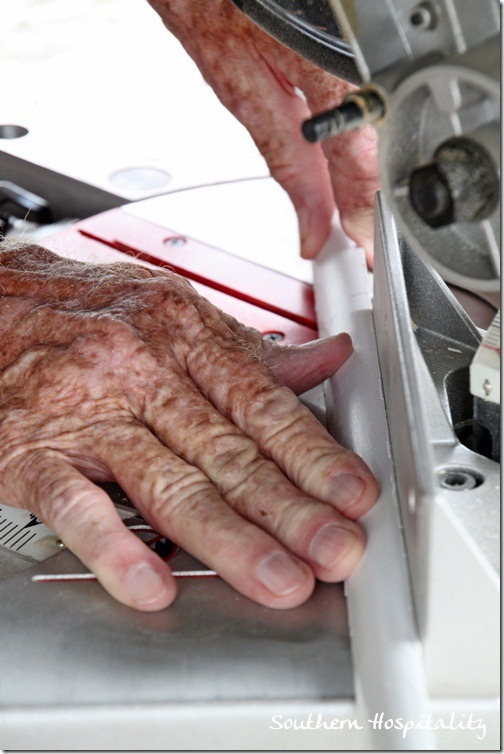
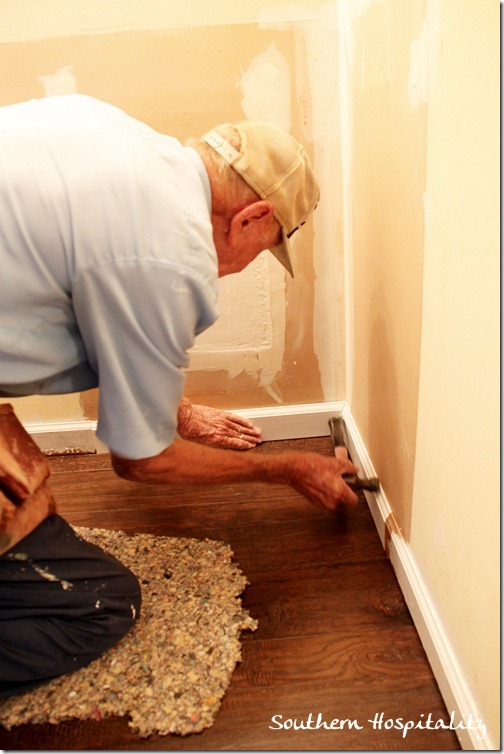
He cut them all and they all worked great. I’m so impressed with his abilities right along with all of you and he didn’t ruin one single piece. Here’s a good shot of my daddy’s hands, I know you all love that. I’m definitely going to frame some of the hands shots I’ve taken along this journey and put them in my new house.
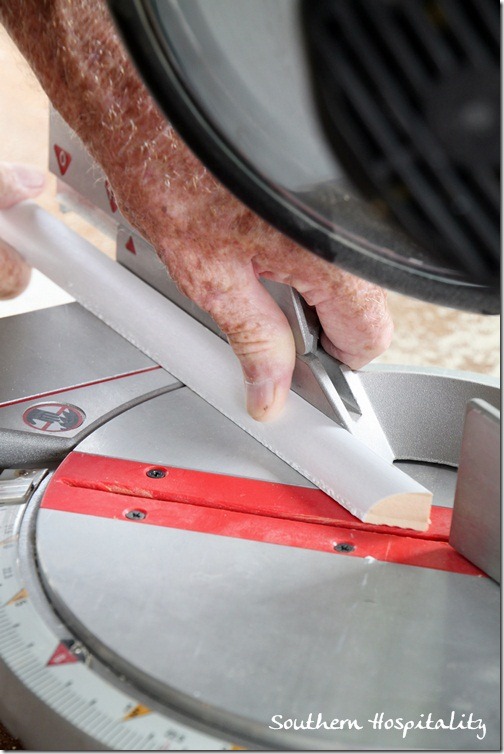
Cutting the angles for a tight fit in the corners.
We had a bit of baseboard to install in the master bath vanity area and got that in too.
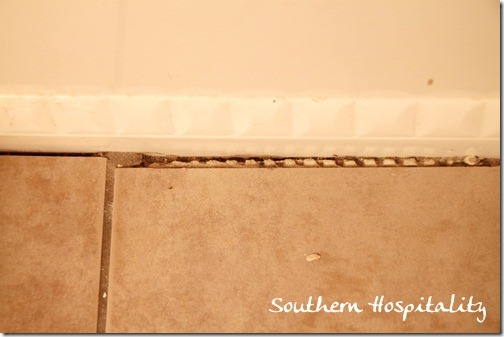
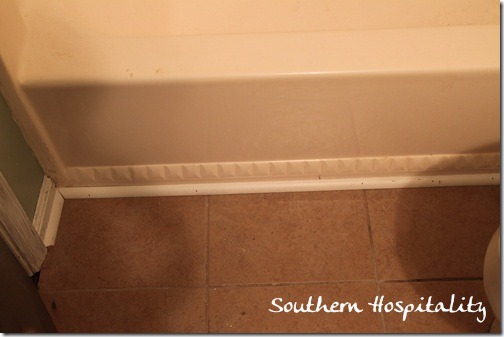
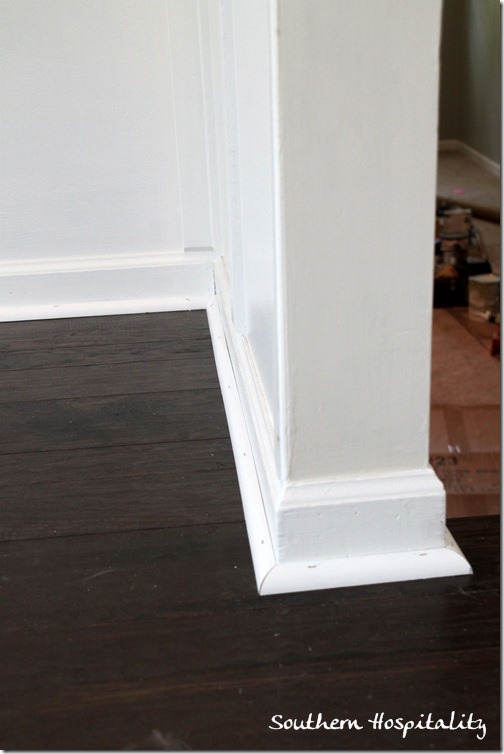
The tile in the bathrooms all needed quarter round put down, since the edges were raw and had never been properly trimmed out. That’s a must when you put in tile like this. Cover it up with quarter round and it looks SO much more finished.
After, much better! There are 2 different thoughts on quarter round. You can put down white to match baseboards or in the case of hardwoods, you can match those too. I happen to like it all white and the quarter round just adds dimension to the baseboards, in my opinion, so I always do white on hardwoods.
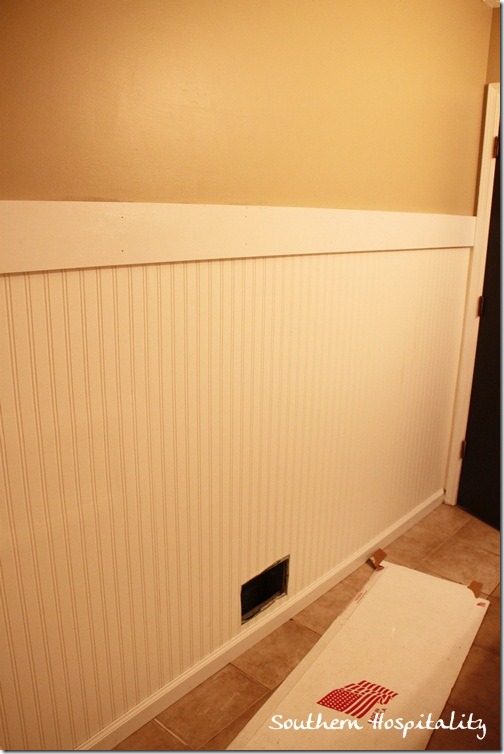
I did one wall of my wonderful beadboard wallpaper in the guestbath and we topped it with a 1×6 board. There will be another smaller trim piece on top of that I still have to paint out all the beadboard wallpaper in my trim paint and paint some of the baseboards and touch up all the quarter round, after caulking. Most of the caulking is done too!
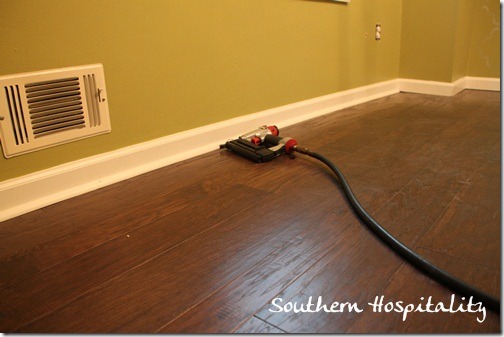
In progress in the office, installing the quarter round. I love my small nail gun/brad nailer for this project.
Having nail guns has saved us so much time, not to mention sanity. So much faster than hand nailing. Get a nail gun if you don’t have one!
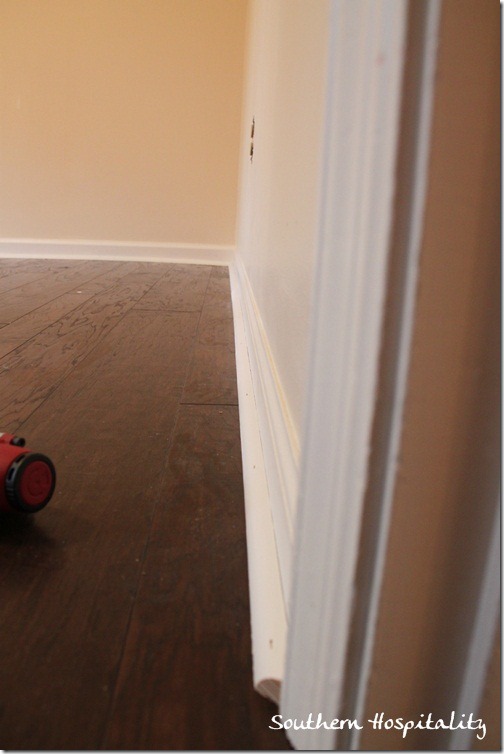
Finished quarter round in the guest room.
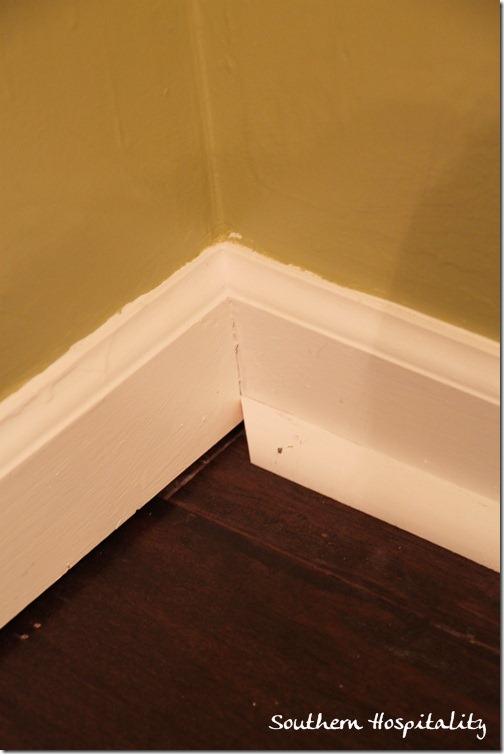
Here’s how the corners are cut with 45* angles.
Coming up the stairs from the foyer, this little wall got trimmed out too. It’s all been caulked and just needs some touch up paint now.
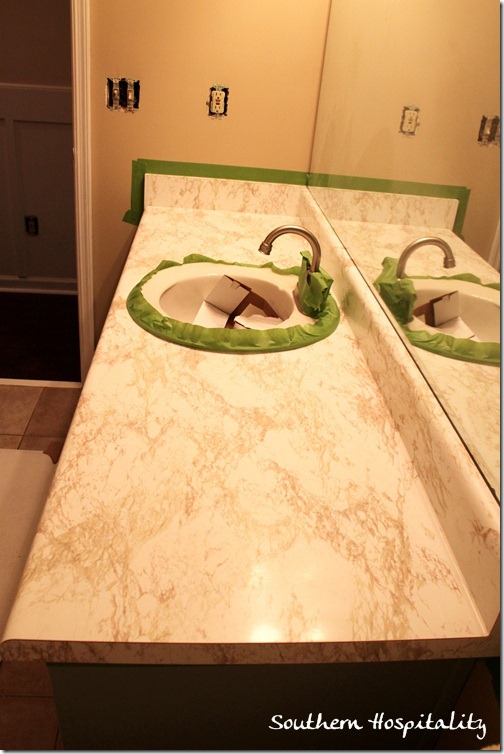
Moving to the guest bath, here’s that lovely 1970’s laminate before. I taped it all up with my green Frogtape to protect the sink and faucets. I’ll do a whole post on this process of using Rustoleum’s Countertop Transformations kit, but for now will show you the after. It’s a 2 day process and really wasn’t hard.
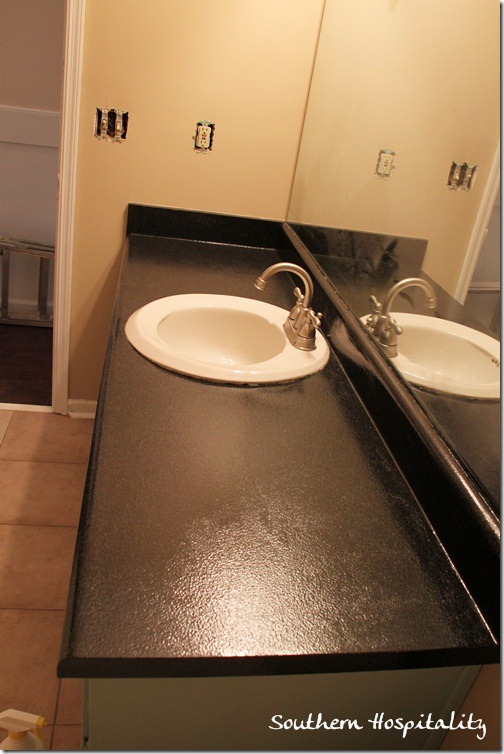
And here’s the After! Looks so much better, doesn’t it?? Again, I’ll do a post on this tomorrow with all the details! There are lots of pics to share of the process. I’m so happy with the way it turned out, it will totally get me by a couple years or so.
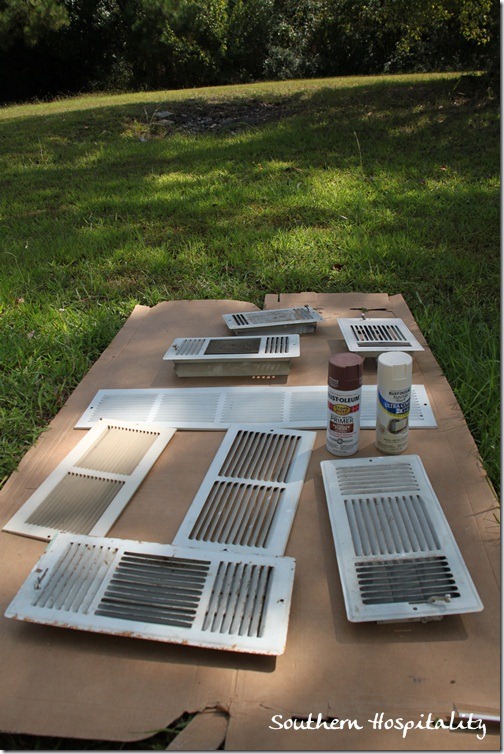
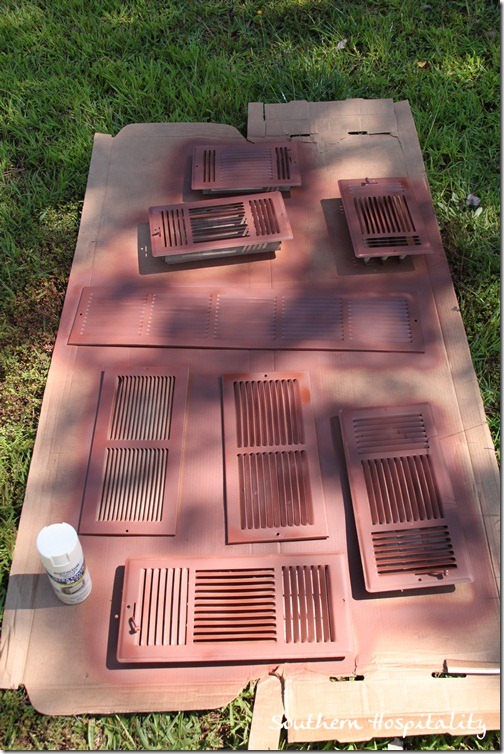
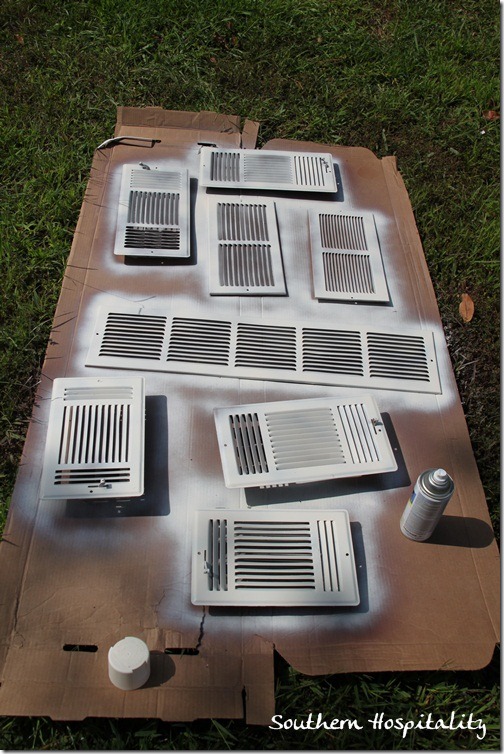
I spray painted more vent covers and some of these were so ridiculously old and grody that I broke down and bought new white ones in some spots, especially on the ones that will be seen in the living room and dining room. It was worth a few bucks to update those. Some of the ones in the bedrooms and where furniture will cover them, I am leaving the old ones painted, but I just couldn’t stand how UGLY some of them are.
I did prime them first with Rusteoleum rust primer.
And used Heirloom White to finish. I kept some and replaced some of the key ones.
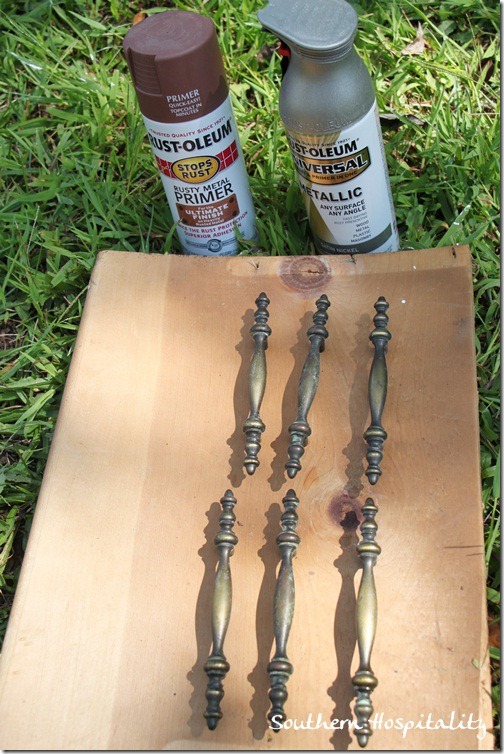
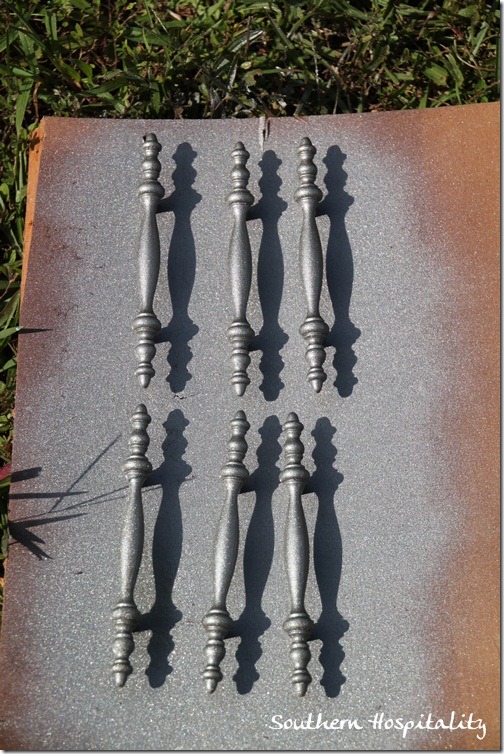
Next, for the hall bath, I’m updating the hardware in there with Rustoleum Satin Nickel spray paint. Thanks to Rustoleum for sending me all this paint to try out!
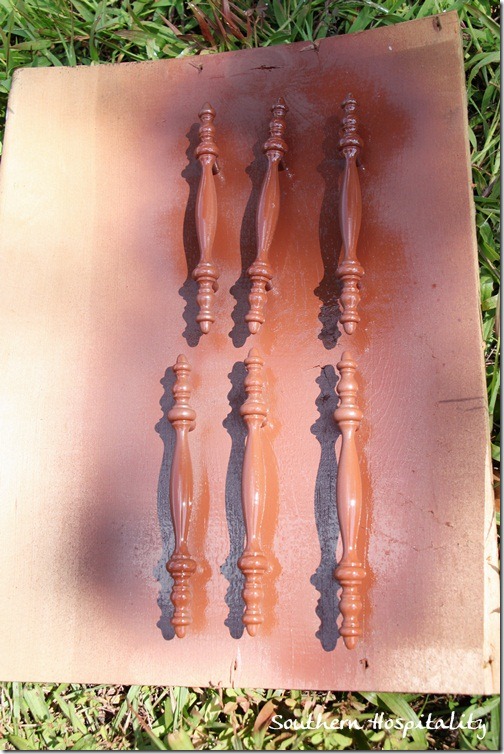
Primed
And a couple of coats of Satin Nickel later, they look much better. I’m going all silver tones in the hall bath and doing darker oil rubbed bronze in my bathroom. I do like to mix it up!
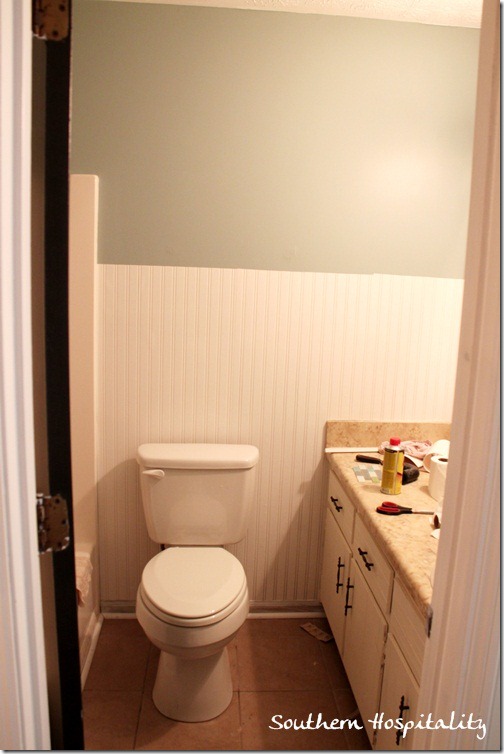
My bathroom is coming along too, with new quarter round, the new toilet (yay!) and a wall of beadboard wallpaper. Still have to add the top board in here and paint the trim and mirror.
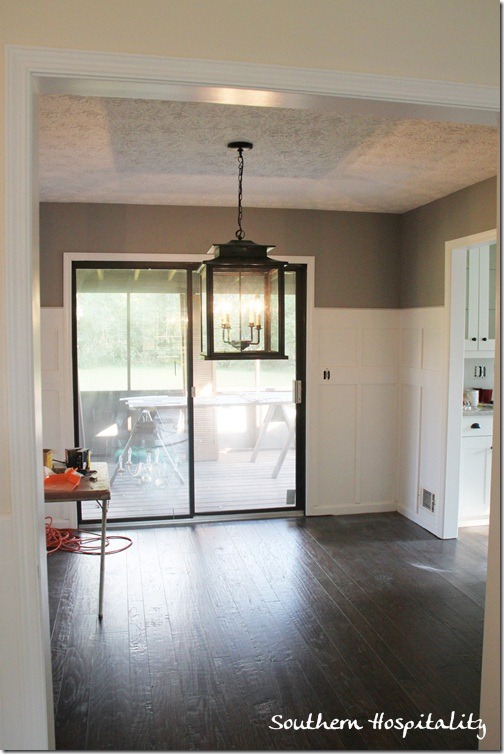
Next up: lighting! I can’t tell you how exciting it was to see this big ole’ beautiful Ballard Designs lantern go up in the dining room. I am so excited about my small dining room and how pretty my table and chairs will look in here.
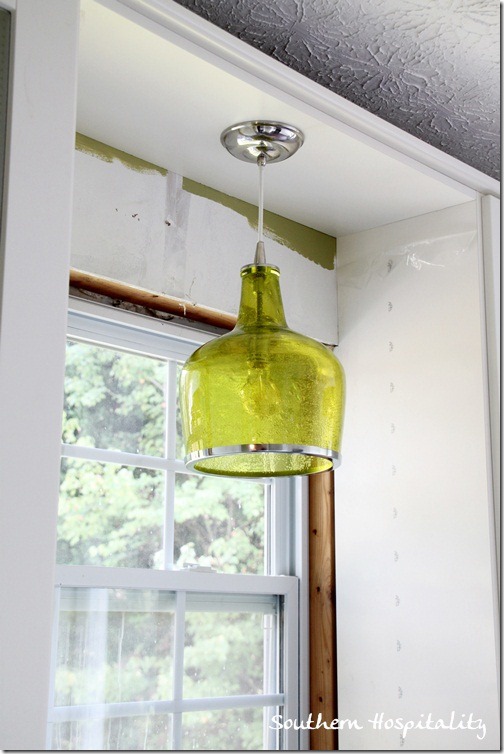
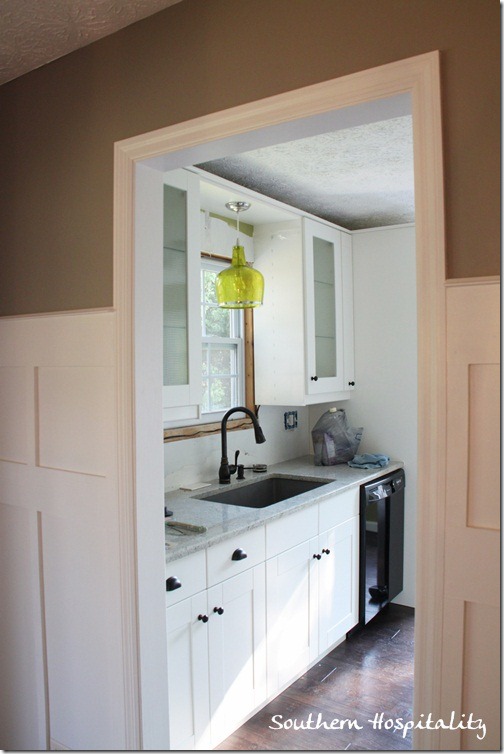
And the Ballard’s pendent finally made it up above the kitchen sink.
I’ve got some stylish lights going on and they make me smile so big.
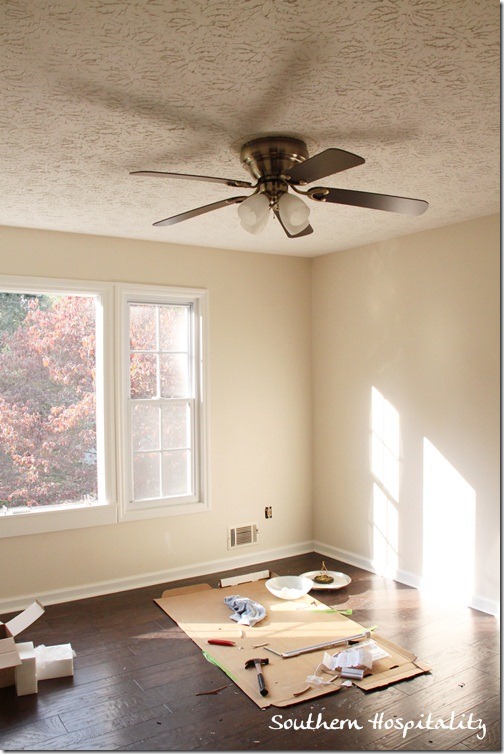
Another fan went up in the guest room. Got to have fans in the house and as much as I love chandeliers, I need a fan in the bedroom.
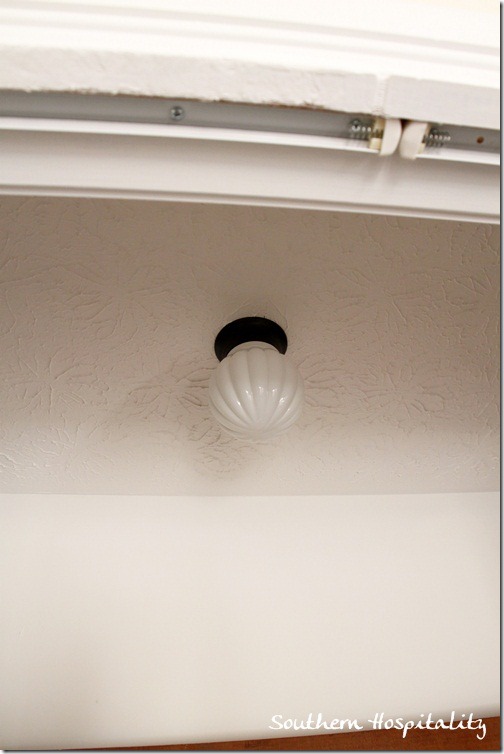
My electrician really went to work and I got him to install overhead lights in all the closets, because there were none there originally and that required him to climb in the hot attic to get those in. That makes such a huge difference to have lights in there. They are all 3 fairly big closets and I knew I would regret it if I didn’t get lights in there. What a difference!
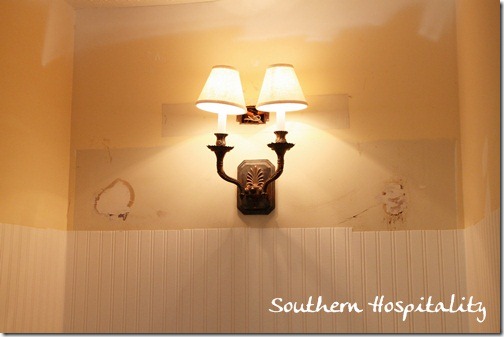
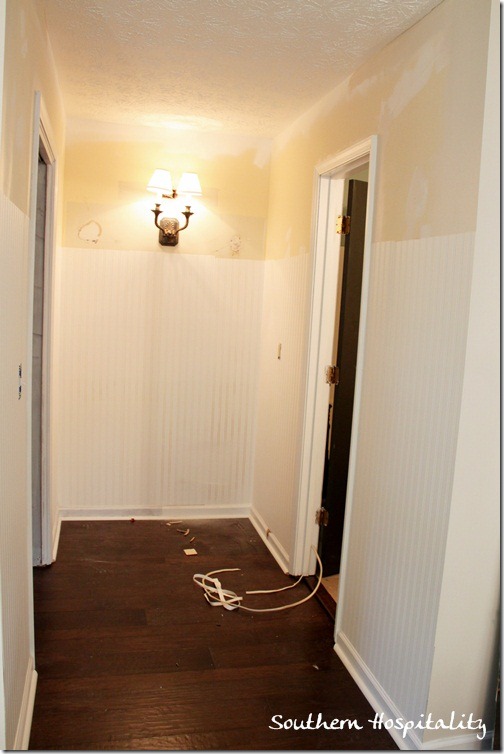
The masterbath vanity area got the new sconce installed. I’m still working on all of this, sanding down walls and installing the large trim piece across the wallpaper will be next. Then I can finish painting the walls in here. I’ve got to patch the old light fixture hole too since we moved it down.
See how cute this area is going to look now? My antique vanity will fit right there under the sconce with a pretty mirror on top of it and this is where I’ll put on my makeup.
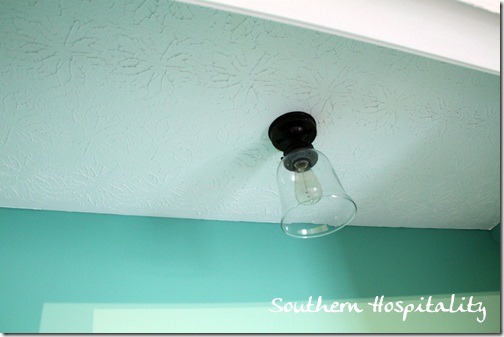
My office got a little more stylish light fixture, this vintage style since the doors are off and it will be seen (all from Lowes).
So, that’s it for last week! Whewwww, are you tired yet? Yep, me too. 5 months, going on 6 of a house renovation will wear you out like nobody’s business, but you know what? It’s been totally worth it to see my new home come alive with my vision. All the hard work that me and my dad (and mom) have put into this project is paying off in spades now. I am so stinkin’ excited about this house. It’s an unlikely dream home, but it truly is my dream home at this time in my life.
I can’t wait to move in and really start living in there soon. An exciting journey that I’ve made to get here and I am praising the Lord for his blessings every single day. I walk through the halls looking around at this new/old house and it brings me to tears when I see how far I’ve come in almost 2 years.
Thanks for following along, it makes me so happy to have all of you out there cheering me on!
Don’t forget, Kate’s Fall Mantel link party is today (I hear it’s going live at 11 EST) and you don’t want to miss that. If you’ve got a beautiful Fall mantel ready, go on over and join the party! Wish I had a mantel ready to go!



Everything looks beautiful. As a real estate investor and remodeler for many years, i can truly appreciate all the hard work that has gone into this remodel.
As well, God has truly blessed you with two hardworking, wonderfully generous parents!
I’m so happy and proud for you!
Karen
Love all the photos! I get so excited to see all you have done every week. It is just beautiful!
Dear Rhoda,
I loved your pics of your daddys hands. My dad was a carpenter all his life until he became ill. I was his caregiver for seven years and I cannot believe that I never thought to take a picture of his hands and their work. I love your idea to frame them. You are truly blessed to still have your daddy. God Bless
Sherri
Rhoda: when you go to Raliegh, save one evening to eat at the Angus Barn. Its amazing. Make sure to ask for a tour. Van, the owner is there every evening, hopefully you’ll get to meet her. But either way, get a tour…trust me.
Everything looks so beautiful. I’ve really enjoyed following along as you fixed up your house. It will be a wonderful home for you. I can’t wait to see it with all your stuff in it! I know when we moved after having our stuff in storage for a month, it was like Christmas unpacking everything! And I think you should frame a picture of your dad’s hands as a reminder of all the love that went into making your house your home!
Wow! So excited for you. Can’t wait for the decorating to begin:)
Rhoda, it is all coming together so great. I LOVE the light fixtures. I am so happy for you and I can tell you are really excited about the house and getting to decorate and live there soon. I’m so glad you are sharing all of this. It is exciting to watch it coming together. You are so very fortunate to have such a talented and wonderful dad.
Ann
So, are you expecting to be moved in for Thansgiving or Christmas?! Now you’re getting to the fun stuff, which is a really good thing, as energy levels diminish! Go, Dad!!
Your dad (and mom) is so totally awesome to help you with your remodel.
I love all the work you have done and advice you’ve given. I can’t wait to see the final product!!
Funny story about the garage doors:) It’s all coming together so nice, love that huge chandy in the dining room and you were smart to have all the lights installed in the closets.
Blessings,
Linda
So happy for you Rhoda! Love reading your story and your amazing journey. So inspiring! And loving your sweet mom and dad too…..they are incredible!!!
Oh, Rhoda. I’m catching up on some reading, and I must say this post takes the cake!
It’s been such a joy to watch the process of your renovation, and it’s just wonderful to watch it all come to fruition! You’re right–a bunch of us love seeing your parents’ hands, and that one of your dad’s is really special. What love is being poured into this place! I know you must feel as if your new home is being blessed with every cut of the saw or strike of the hammer. I’m so excited for you!
Your home is looking absolutely beautiful. My favorite thing is the beadboard wallpaper. I’ve been meaning to try it, but I don’t have a miter saw to cut the trim to go on top. I’m so happy for you and this gorgeous transformation- you’ve put so much work into this already! Time to enjoy the fruits of your labor. 🙂
We did the kitchen countertops with the transformations and used an extra coat of epoxy and it been almost 3 years ago and it looks like new granite.