Did you know that black ceilings are all the rage?
OK, so really they are not, but maybe I’ll start a new trend on this one. Who knows?
I actually got this creative idea from my friend, Debbie, whose office/studio is in her basement. When she set it up years ago, instead of trying to cover up her exposed ceiling, she simply painted it all black and made it look industrial. I know you’ve seen that look in open concept restaurants, it’s been done there for years. So, why not in your house, I say? It works to make the ceiling disappear into the background and all that exposed wood and pipes don’t scream “look at me” nearly as much.
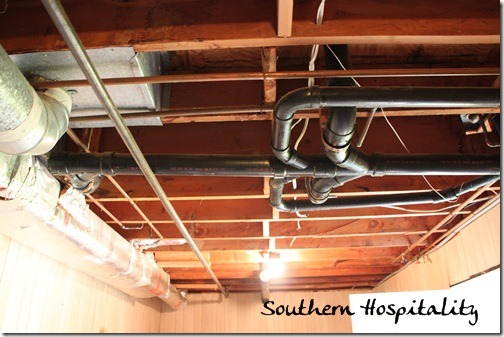
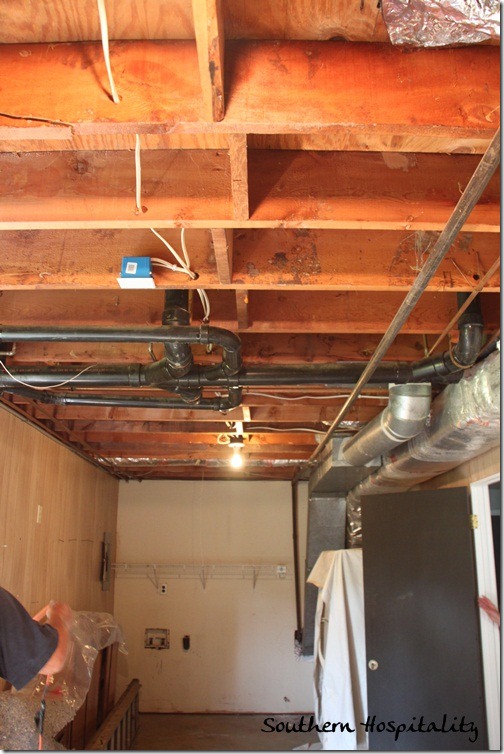
Here’s my laundry room/storage room ceiling before we got started. I hired our family painter friend to paint it for me with his commercial sprayer and even with that, it was over a half day job to finish. So glad I didn’t attempt to do it myself. First thing I did was get a broom and knock out as many of the cobwebs as I could to get it ready to paint. We also found out after he got started that the paint wasn’t sticking to the shiny foil stuff that you can see in the pics below. So, we had to break out the oil based primer and quickly roll/brush on primer over the shiny tinfoil stuff. It worked and the paint did stick!
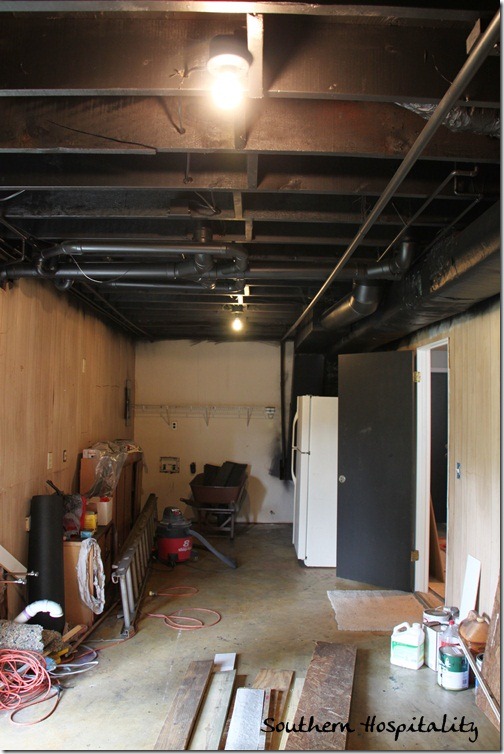
Here’s the After! Looks so much better, doesn’t it.
You should have heard my dad’s comments when I told him I was painting the ceiling black. BLACK? he said, I sure would not ever paint a ceiling black. They were coming back in town the day I had it painted and came over to see the end of the day project. I think he actually thought it looked good after all.
Here’s another Before pic. You can see the shiny tinfoil to the right. We worked so fast with the primer that I didn’t have time to get pics of it painted, but it worked. Just wanted to warn you of that part in case you want to do this somewhere.
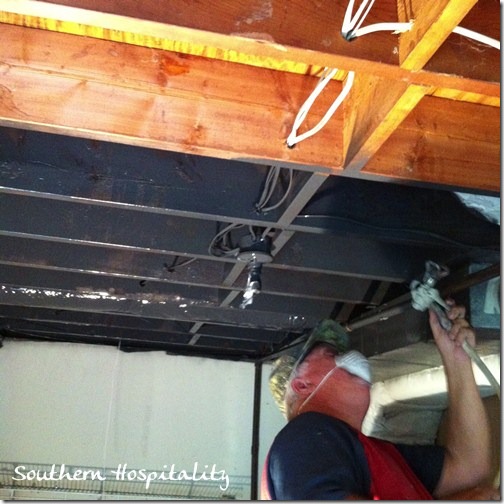
Here’s Jimmy the painter working hard in there with his sprayer. These commercial sprayers are really fast and he could get the paint exactly where he wanted it. There was some overspray on the floor and I was able to vacuum up the mist with my shop vac for the most part. We did cover up the old fridge in there and some of the things we didn’t want paint on, so if you do this just be aware that there will be some misting of the paint that will fall below. Jimmy had paint all over his arms and face.
And the After again. I really love it so much better. I’m going to tackle painting the concrete floor too as well as the walls at some point. I’ll have to completely clean out all the stuff in here first before I do that and it will probably happen after I move in the house. My washer and dryer will go against that far wall to the back. Eventually this room is going to be cute, mark my word! I’ll come up with some creative solutions to making it look so much better. And painting the ceiling was the first step!
Here’s the sprayer that Jimmy used.
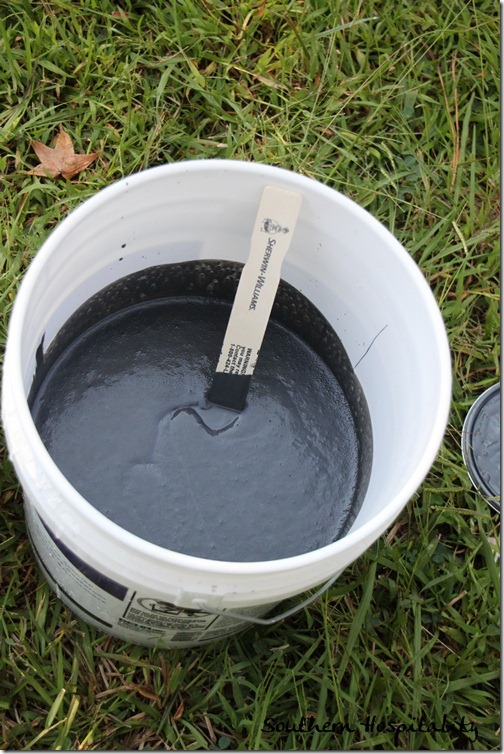
We ended up using almost 3 gallons of paint. I had one gallon of black left that I had bought to use on my doors, then changed those to a dark brown. It was a satin finish. Then I found an oops paint in a dark charcoal in semi-gloss, so we mixed those 2 together and then I had to go back and buy one more gallon of black. All mixed together, they all worked out fine and it was covered very well in black paint. He mixes water with the paint to spray it through this big sprayer.
Mixing it all up and getting it ready to spray. Jimmy is a family friend and a retired painter, but still does a few jobs on the side. I’ll probably hire him later on to paint the outside of my house when it’s time.
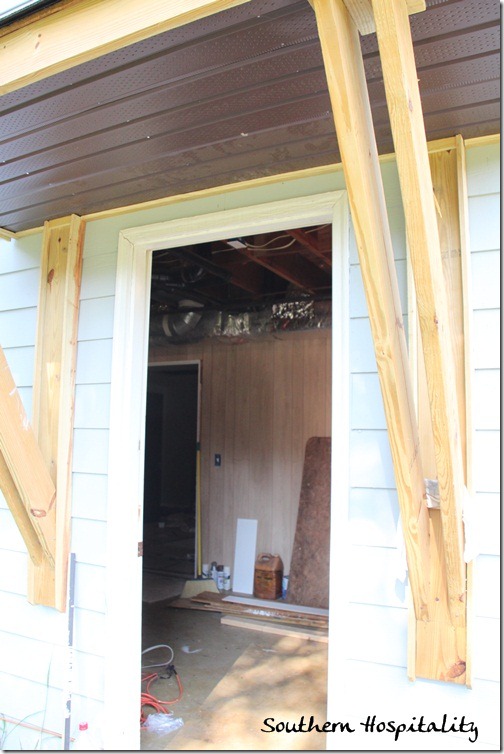
Looking into the laundry room/storage room from the back door. There’s the cute little roof that my dad built. I’ll get that painted out white one day.
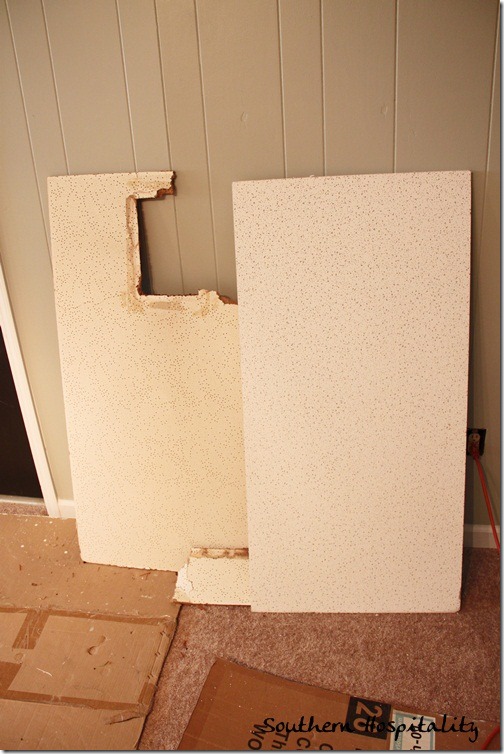
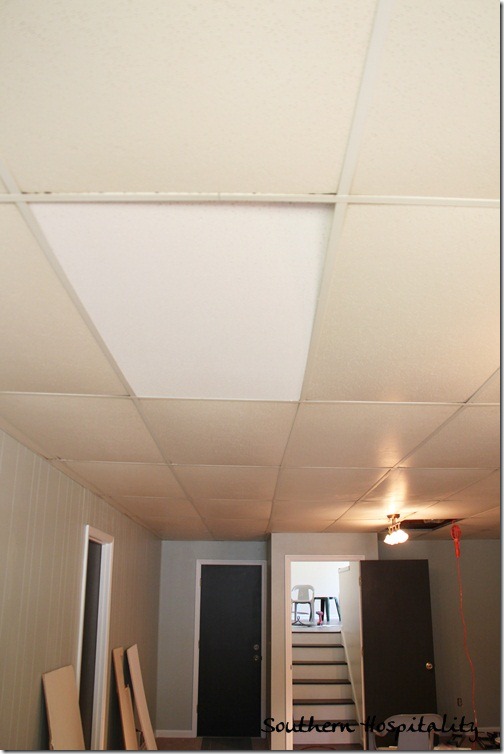
Moving into the den area, it’s time to address those ceiling tiles. I took down the falling apart ceiling tiles that were holding the vents, as you can see on the left. They were completely falling apart and had to come out. I was going to just buy a couple of new tiles to replace the vents with and call it a day. But, as you can see from the comparison of an old and new ceiling tile, they are WAY bad.
I put one of the new ones in place. What a difference! The old tiles are so yellowed and dirty, I couldn’t stand it and decided that I have to go ahead and replace them now. Even though I’m just going to go with the same commercial style tile for new ones right now, that will look SO much better. For just over $200 I can get all new tiles and that will really make this space fresh and clean looking. And, the good news is that we have some new Lowes projects to do and this will be one of them for October! Yippee for Lowes!
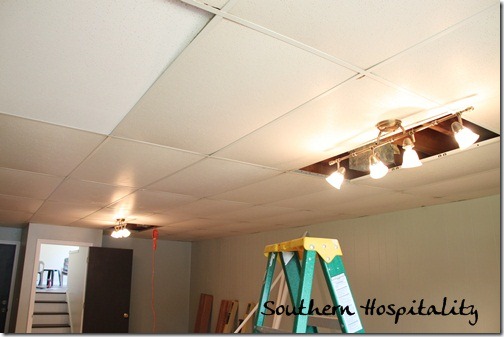
You can also see the new track lights I had installed up in the den. These put off a good amount of light and look decent. Both of them came from Lowes, found them on clearance for $40 each, so they were very cost effective.
Once I get these dirty sagging old ceiling tiles down, it will be a happy day in this room. I may even spray those grids white, we’ll see how they look when I start working on them.
You can see the den has become the dumping ground for all the extra “stuff” in the house. I actually spend a good amount of time running up and down the stairs looking for tools and things that I’m trying to locate. I’m sure that never happens to any of you DIYers, does it? ![]()
I can’t wait to get organized again!
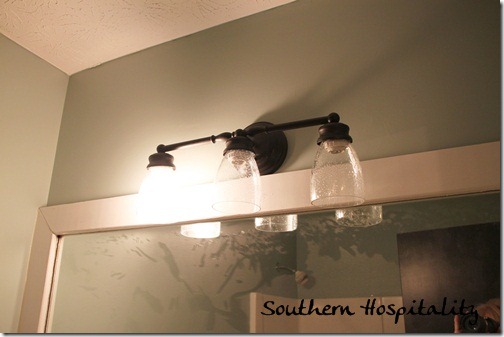
Upstairs, in the master bath, I installed this light fixture myelf. I’ve got an electrican that’s been working with me in his extra time, but he’s got limited time, so I went ahead and put this one up and the one in the guest bath. I can handle the easy ones. This one came from Lowes, a simple oil rubbed bronze fixture and you can choose any shades to go with it. It was $29 and the glass seeded shades were about $6 each. I loved seeded glass. Since I’m replacing so many fixtures at one time, I didn’t splurge on really expensive ones right now. I got such great deals on those Ballards fixtures in the main area of my house and they will be the stars. These were all very cost effective, so I figure if I want to replace some of them down the road, I don’t have a ton of money in them. I do like them all for now just fine.
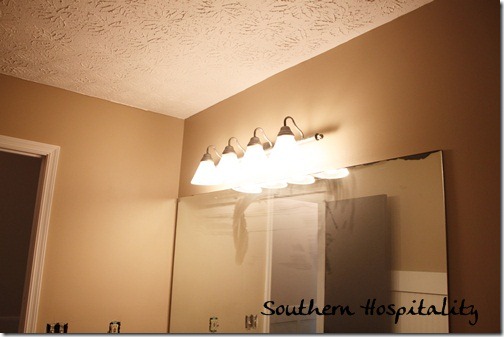
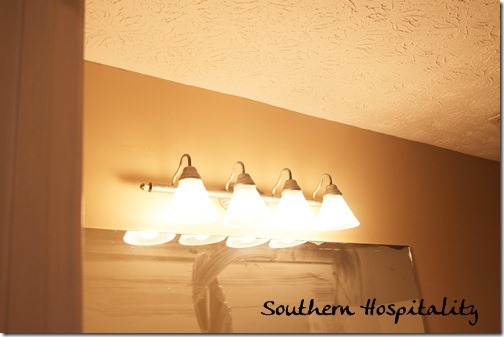
I put a simple silver toned fixture with 4 white glass shades in the guest bath. Got this one at Cherokee Closeouts for about $35.
Hard to see it since it’s lit, but it will work out fine in here with all the silver tones in this bathroom.
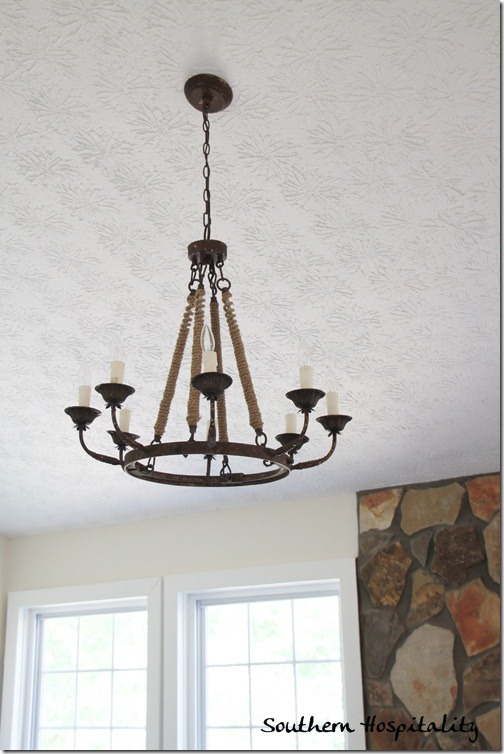
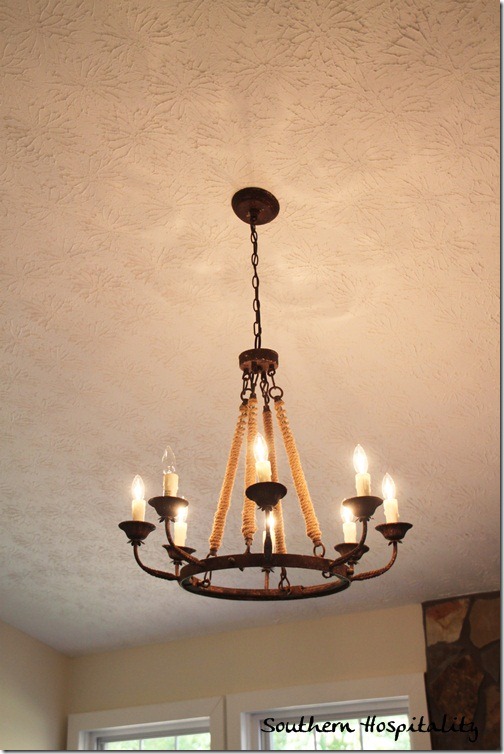
My electrician installed one of the Ballard Designs stars of the show in the living room last week. I was SO happy to see this one go up. This is my $8 bargain, if you remember that shopping trip.
So, the only glitch with my bargain light fixture was that one arm didn’t work, but I got up there and wiggled the wires around and now it does! I absolutely LOVE it in my living room, it truly makes the space is a wonderful addition to the lantern in the dining room. I’m so happy to have that old ceiling fan out of here and the new fixture UP. What a difference it makes.
That was last week’s progress. I’m still working on touching up trim paint and will be working on touching up the stairs too. There are still so many little things to do, not to mention the deep cleaning that will have to happen before I start moving in. I want to get every single little thing done before I move in so that I don’t have to worry about it later. That will make me feel so good when I start the moving process and know that it’s all done, at least the inside rooms.
I’ve got about another week of work to get all those little things done and then my dad and I will tackle the kitchen subway tile backsplash. I don’t think that one will be too hard, since we have both tiled before and we have a wetsaw. Oh, and trimming out the kitchen window, that’s one of the things we still have to do.
Mom and Dad are in Florida right now, visiting relatives and going to a college reunion today. Isn’t that cute? I’m so happy they drove down to their old alma mater, Southeastern University in Lakeland, where my sister and I also went (I didn’t graduate, but went 2 years). As soon as they get back and we can get on it, that tile will be done!
I’ll keep you posted all along the way, but I’m hoping by mid-to late October, I’ll be moving in the furniture. Wooohooo, can’t wait! You know how excited I’m getting for this day to get here already and I think y’all are about as excited as I am! I had AT&T out yesterday to install my new U-verse internet and TV connections, so that is done now. Big smiley face over that too!
One more bit of news this week! Thanks to several of YOU brilliant people, I filled out a new toilet rebate form from my local water department and when my bill came in, I was credited with $100 towards my future bills all because I listened to y’all. That was great advice!
Bella Rustica in Pulaski, TN was SO much fun! I had the best time meeting up with my blog friends and also meeting some of my readers. Several of you ladies came up and introduced yourselves and it was so great to meet you all. I even made a new friend who is a reader and she took me on a tour of her fantastic mountain view farmhouse, which she is in the process of renovating (and yes, I’ll share some pics). We were instant kindred souls and I so enjoyed spending time with her. You’ll hear all about my weekend later, can’t wait to share all of that too!
I am in constant awe of all the things I am privileged to do in this blogging world, it truly has changed my life in SO many huge ways and the way God keeps opening up doors and bringing so many sweet friends into my life is just so exciting!






Rhoda, that was genius to paint the basement ceiling! It looks so much better. By the time the floor is painted and you work your magic on the other details, it will be a work-worthy room. Also, congrats on replacing those ceiling tiles in the den. No use to elevate the space if the ceiling is just going to drag it down. Thanks for sharing!
Rhoda, I know I have told you before ,however, I would be remiss in saying if I did not tell you again what a blessing it is to read how our Savior RAINS down the blessings all around you.I get blessed each day as I read how He bestows the sweetest nuggets of love on you. I wanted to go to rustica in tn. my husband and I were driving back from DC to little rock and our car was full. when I read your blog about it I really wanted to go but knew I would NOT HAVE room for anything I might buy, but maybe next year. Your lights are very pretty, I love your chandy in your living room , and the lantern you have hanging in your DR. is what I am wanting to hang in my DR. I have spent the summer redoing the inside of my home as well and have gained inspiration from you through out your own progress.I know you will have many restful, peaceful days and nights living there.I believe what God said in his word . When He said the plans He has for us is to prosper us and I absolutely love how He does that for us . You probably are not aware of how you bless some of us out here who read your blog each day, but you do in a big way.So today I want to just bless you by saying I hope that today that He just fills your heart to overflowing through all He has done for you and for just how great He is in our lives. Have a great and wonderful day Rhoda!!!
Carole, thank you SO much for that! I’m so glad all of you can see all the blessings that keep on coming and I want God to get all the glory for that. I couldn’t do any of this without Him in my life, opening the doors and doing his behind the scenes stuff.
I see your vision for the black ceiling. Can’t wait to see the full after!
Really love how that black ceiling turned out. I have not doubt it will be gorgeous when it is all done!
Love the black ceiling and wasn’t sure I would…so creative! And I love how you’re getting through your list. The chandy looks like it’s in its rightful home! Blessings to you and have a great week!
That’s a smart idea.
Hey Rhoda…love the black ceiling idea! Am so excited for you, you are so close now!
Also, wanted to share some ceiling tile ideas…I will be replacing a house full of these lovelies…I found a site with some interesting answers! Check out http://www.ceilume.com. Maybe for later…not too expensive, and easy to do!
HI, Barbara, I actually mentioned that site in another post as a possibility and even ordered their box framed ceiling tiles as a sample, but when I got it in, it was just plastic and not very substantial. The corners had gotten bent in shipping and I just couldn’t imagine putting those thin pieces of plastic up and having it work. At $11 a tile, that is not an option for me. I’m hoping another alternative will come along later, but for now getting new white and bright ceiling tiles will make me happy.
I love the idea of painting the exposed ceiling black. 🙂 Your light fixture from Ballard is beautiful. 🙂
Lookin’ good!
I am amazed at the difference the black paint made!!! I have seen this in many restaurants… but WOW…. transformed that area !!! It is alll looking soooooooooo great!!!!! Moving day is in sight!!! LOL
I think the black ceiling looks great. It makes sense because it always works so well in restaurants. Every week it seems you get to reveal another room of your house. I think it is huge! It would be great to see a plan of it to help with visualization.
My nephew painted his basement ceiling black when he finished it out and I was a sceptic too until I saw it in person. It looked great with the sage green color he painted the walls.( similar to your kitchen paint). As always, I enjoy seeing your project come together. I can’t wait to see it all completed!!
It’s all coming along just beautifully. I had the same thought to paint my basement ceiling black also. I think it’s a great solution to an otherwise ugly problem. I can’t wait to see it all come together when you move in.
I think the black ceiling looks great! My sister painted her ceiling black in her lake house.it was a high ceiling and she brought the black paint down the wall about 18″ then added a piece of simple trim for the break against the wall color. She has several inexpensive black pendant lights that hang down to the point where the black stops and it fools your eye into thinking that there is a ceiling (does that make sense?)
You will appreciate this. After the ceiling was painted the contractor installed the hardwood floors in her family room above. She had to have the painter return to paint the shiny silver nails..I know you wouldn’t have let that happen.
It’s so fun to watch your progress!
I just love how you are thinking outside of the box to make this house your home. What a great solution for the basement ceiling. You’re doing a great job!
Hey Rhoda! The black ceiling looks great! I enjoyed meeting you at Bella Rustica this weekend! I can’t wait til’ the house is all finished! Oh, also the Ballard light looks beautiful!!! Love it!
Looking great, Rhoda! The black does have that fun industrial feel. Getting close now…you’ll be moving in before you know it!
Love it! We painted the ceilings black in our workshop and we love it. 🙂
I never would have thought of painting all of the exposed stuff on the ceiling, but it looks great! Very industrial and trendy! Most art galleries here in Richmond have that look going on!
Rhoda – Looking good!! I love your black ceiling. Your list of to-do things makes me tired. ha Keep up the good work. You’re almost there.
Judy