Another exciting week has arrived and that is the beginning of the kitchen cabinet installation. After I got back from BlogHer a week ago, Dad and I jumped into putting the cabinets together. We thought it was going to be hard, but once we opened each box with a cabinet and instructions and hardware, it quickly became easier with each and every one. They all basically go together the same. We worked hard the first day and put together 8 cabinets, leaving 6 for the next day and we were pretty proud of ourselves when that job was done. I’ll tell you a little about the process of choosing Ikea cabinets.
When I originally started looking at cabinets, I got at least 3 estimates: one from a big box store (Home Depot), one from a local cabinet shop, and another from a cabinet shop up in N. Georgia that I had heard about. Home Depot came in at well over $8,000, closer to $9K. The local shop was around $5,500 and the N. GA shop was about the same as Home Depot. Now, I am sure their cabinets are nice. Most offered plywood sides and wooden doors and dovetailed drawers, all of that. I am certainly not an expert on kitchen cabinets and have never had high-end cabinets in my life, but I do know there are lots of differences and lots of bells and whistles if you are willing to pay for them. I don’t know about you, but I’ve never had $20K sitting around for a kitchen renovation and many are WAY more than that from what I’ve read about. Not in my world!
I am on a tight budget and don’t have thousands to put towards a kitchen. Trying to get a new kitchen with cabinets, granite, hardware, sink, and appliances, can cost a bundle. So, I have to keep those costs as low as I possibly can. I knew that I could only spend around $4,000 on cabinets with all of the other things that had to go along with it. I am so grateful to God that he has brought in the money for this house renovation. Without the cash flow, I couldn’t do all that I’m doing and I’m SO SO thankful to be able to pay cash for everything as we have moved along on the process. It’s still a lot of money to spend, so I don’t take it lightly. I am trying to keep things as cost effective as I possibly can given all that I have to buy.
It became evident pretty fast that I wasn’t going to be able to afford to go with any of the first options. Ikea cabinets were always in the back of my mind to buy and I had no problem with that. My new next door neighbors put them in 2 years ago and their kitchen is gorgeous. Gorgeous! When I went in the Southern Living Idea house in Senoia and saw those same Adel Ikea cabinets, that really clinched it for me. I had already gone down to Ikea and done a preliminary estimate on what my cabinets would cost. That estimate came in at about $3,500 which I was ecstatic about, but then we didn’t get everything added in properly (because I was still figuring things out), so that estimate was low as I would find out when I went back to order. There are a million little details to add in there, like toekick, light rails, crown molding, panels and fillers, as well as all the doors and cabinets.
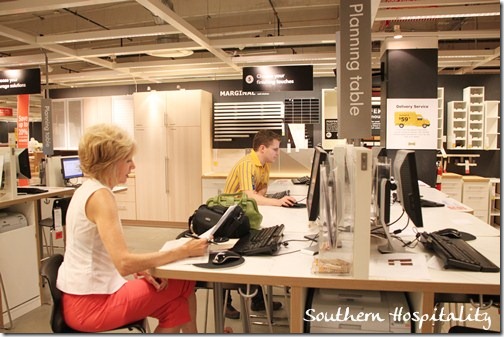
So, I went down there one afternoon to place my order. This Ikea kitchen sales guy helped me put it all together. I started online with a their Ikea planning website and you can go in there and draw out your kitchen to scale and then drop in one by one all the upper and lower cabinets and it will tell you if you are planning things correctly to fit your kitchen. I thought that tool was a little hard to work with and had a girl helping me the first time. My neighbor came over and helped me tweak my list before I went down there, to be sure I was covering all my bases, so I went off my list instead of the online drawing when it came time to order. If you have your online drawing done correctly, it should make a list for you to make things easier. They really do streamline the process and help you along the way to get your kitchen right. The folks at Ikea will help you with your online software plan, but don’t want to take responsibility for it as far as how your kitchen might turn out.
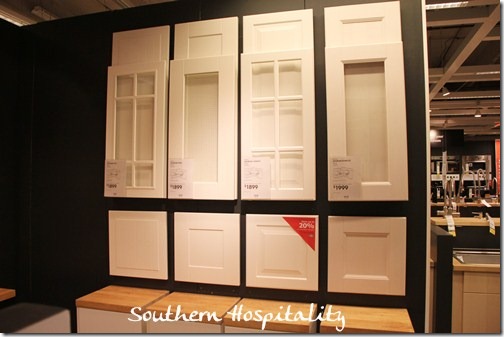
These are all the door styles available in white. I chose the Adel Shaker style fronts and they come in glass and solid, so I have a mix of both. I really fell hard for the Shaker cabinets and think they are a classic look.
After we went through my order and got everything added up, the order came up to about $4,350. Wouldn’t you know it, Ikea was having their twice a year sale on kitchens (just in time for my order!!). Coincidence, NO. God has been all over the details of my house buying and all the renovation process, so I wasn’t a bit surprised that the cabinets went on sale just when I needed it. ![]()
It works like this: buy $3,500 in kitchen products, get a 10% discount. Buy $4,500 and get a 20% discount (sale ends August 19th). I really thought my order would come in at the 10% level, but it went way over that and when the sales guy told me how close I was to the $4,500 mark to get the 20% discount, I had already figured out what I would do. I told him to throw in a stainless steel undermount microwave for $249 to boost me over the mark to get my discount. Done! Total came in over $4,500, I got my almost $1,000 discount and with tax it came out to $3,900+, right at the $4k mark. I opted to pay $99 for delivery (best decision on that too) and a delivery service came out and delivered the boxes to my garage and they did all the heavy lifting. The boxes arrived the day before I left for BlogHer.
Yippee!
So, here we were getting ready to put those cabinets together. How hard could it be? Turns out, not so hard at all. Once we got the hardware out and everything sorted, things flew.
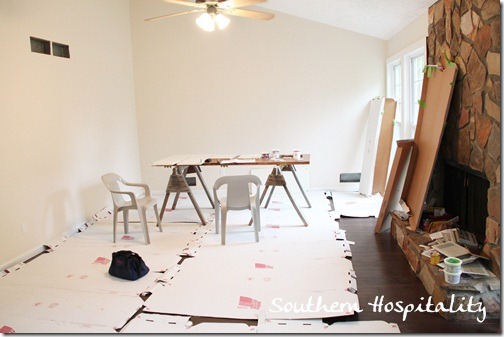
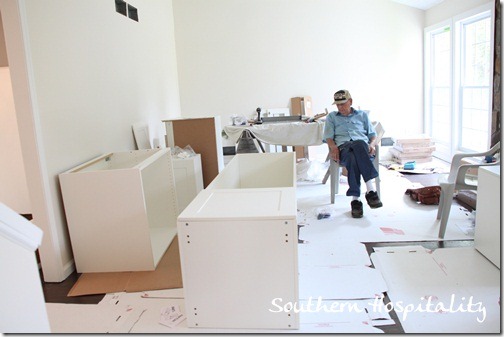
We set up our work station in the living room, complete with saw horses and an old door to work on. We added some dropcloths on top of the door to keep the pieces from scratching. This was the perfect spot to do them, plenty of room to hold the completed cabinets once finished and they would already be close to the kitchen.
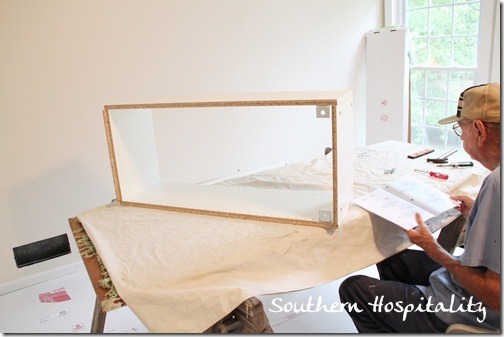
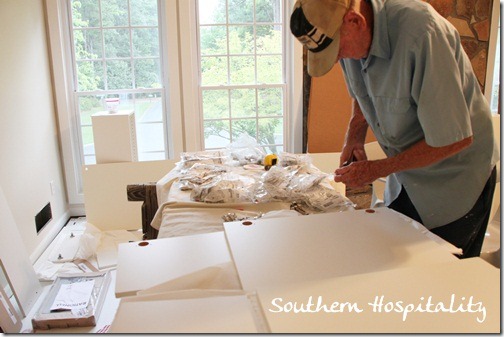
We took each cabinet out of their box and sorted out the hardware, reading the instructions as we got started. At first it was a little confusing, but once we did one, it all came together easy. Each one had the same hardware and basically the same instructions for assembly.
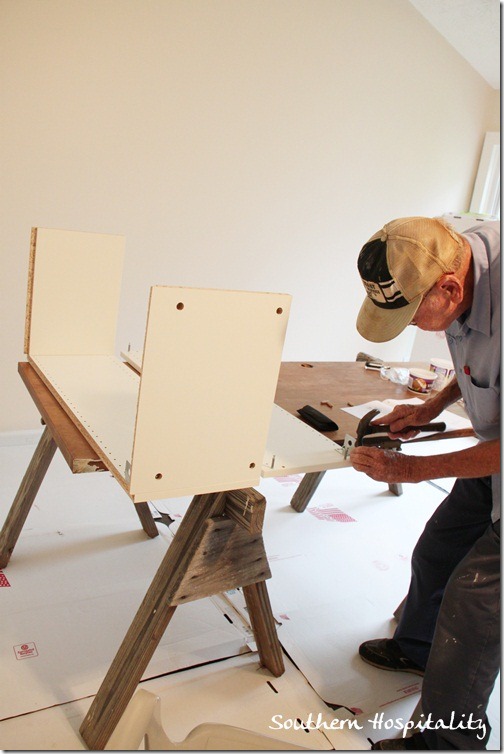
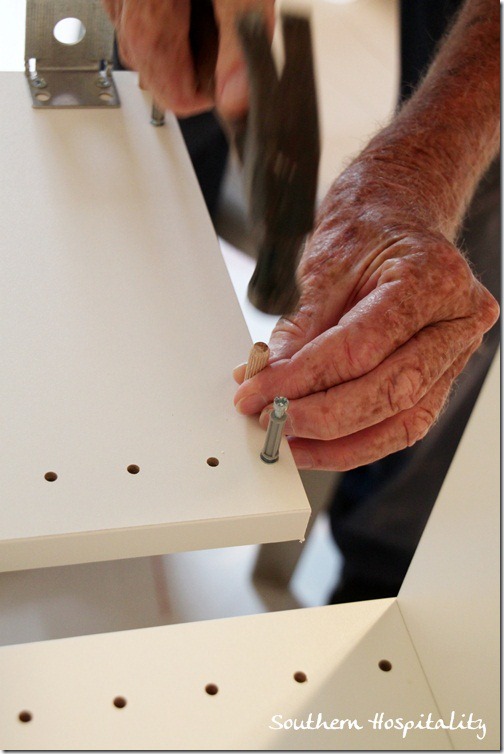
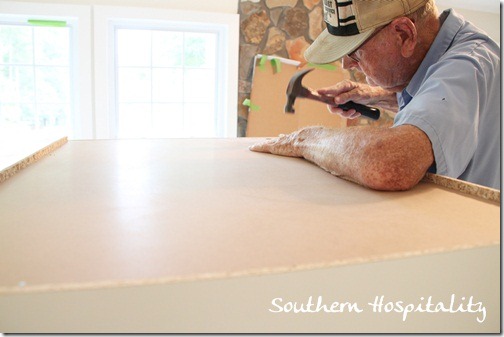
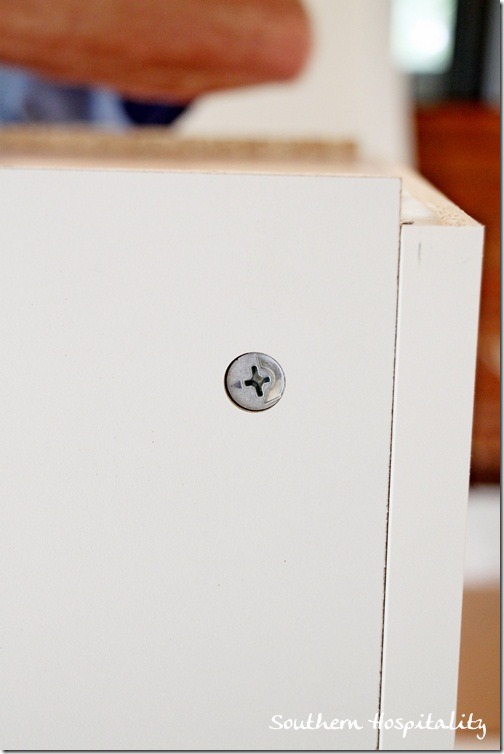
Screw in these pegs and tap in dowels, over and over again. We got the rhythm going on this and each worked on an end of the cabinet.
Dad read the instructions and I looked over his shoulder and together we conquered those Ikea cabinets. They really weren’t hard once we got going. If we can do it, anyone can do it! I think I could put together any Ikea pieces now.
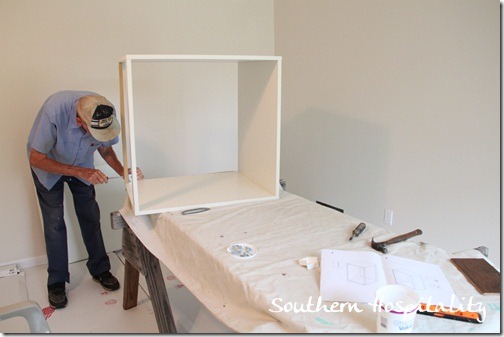
Build a box
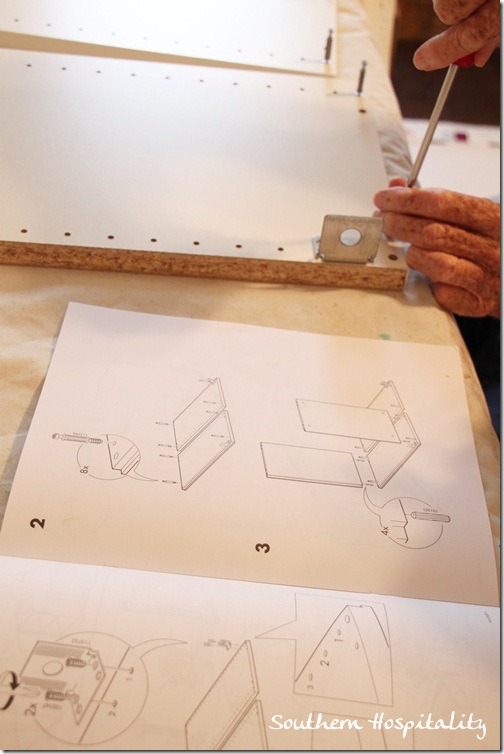
The Ikea instructions are really clever, made for people (like me) who are visual and don’t like a lot of words. They draw things so you can see (for the most part) what you are supposed to be looking at and which holes get screws and which get dowels.
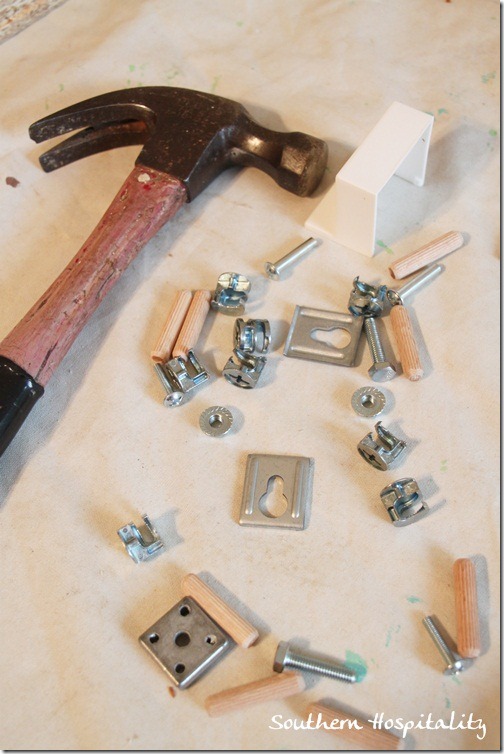
Box of parts from one of the cabinets. They all had this same hardware so we got very familiar with it all. A power screw gun comes in handy.
Before we knew it, we had built 8 cabinet that first day. Hooray!
All the way down to the BIG pantry that will go in my kitchen. I love this thing! Wait til you see the drawers that comes with it.
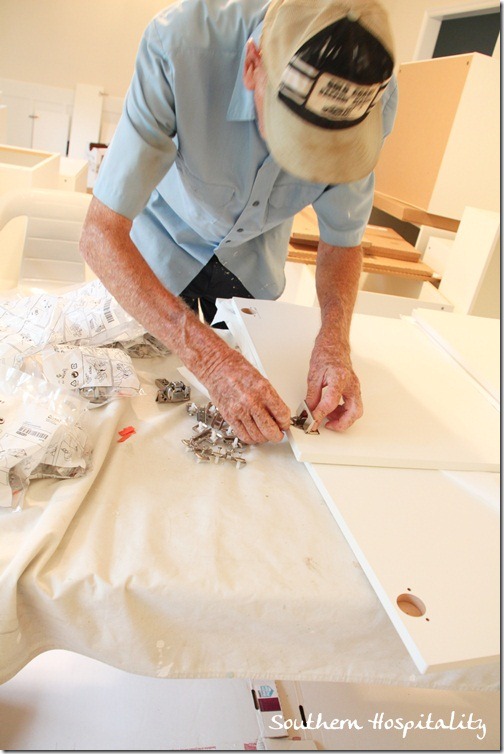
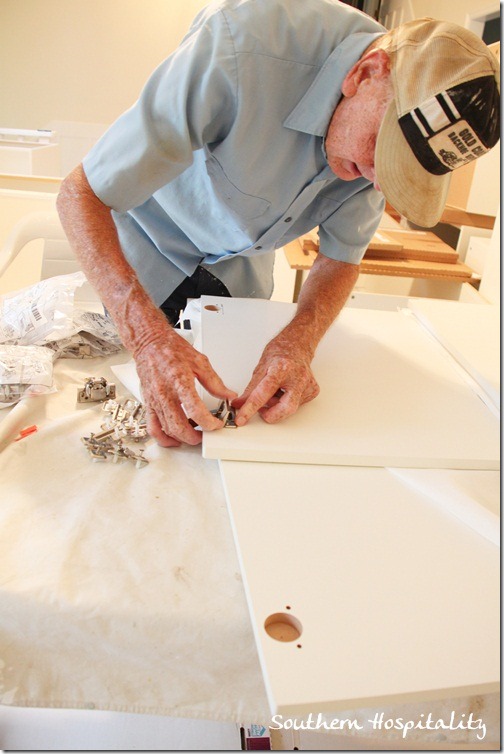
After all the cabinets were assembled, we started on the door hinges. This part was a little tricky for us at first. There was a big box of hardware in plastic, very intimidating at first, but my neighbor came over and gave us a quick lesson on hardware assembly and after that, the lightbulb went on and we were in business. He was right, it really isn’t hard.
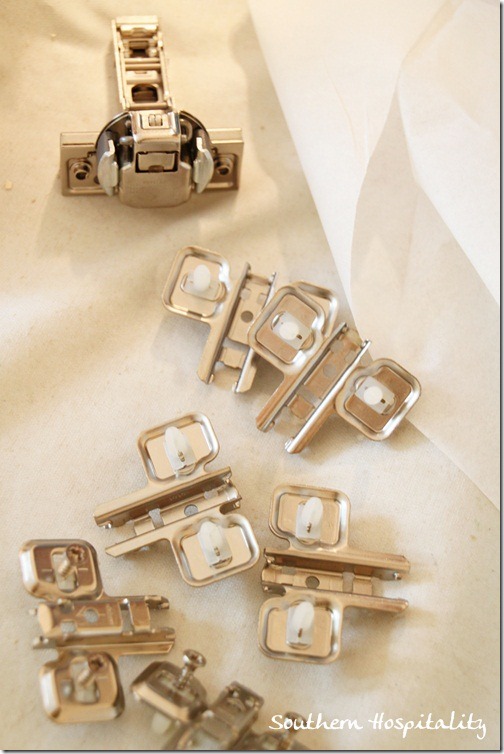
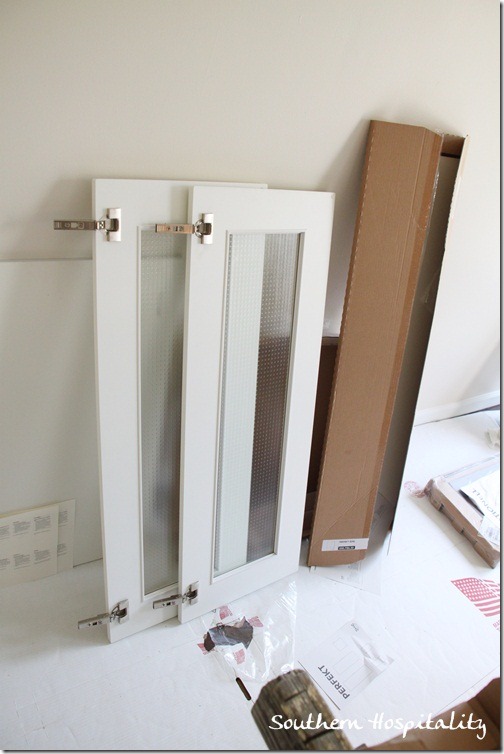
The doors have hinges and hardware that fits inside the cabinets for the hinges to clamp to. All of these go on really easy. See those predrilled holes in the doors? The hinges clamp in there with no screws. Put them in the right spot and clamp down, that’s it. Done!
Here’s the hinges and hardware up close. Once we got instructions on how they went in, we flew through them.
Clamping down the hinges.
Then, before we knew it, we had most of the doors ready to install. The hinges fit right over the hardware inside the cabinets and click into place. Easy!
The last step on the cabinets was tacking in the backs. White sides in and brown sides out, they include a nice pack of small nails and we went around tacking the backs into place to finish them off. We both worked on this together too.
Here’s a look at the cam lock that locks the screws in place once assembled. I’m amazed at the brains behind the Ikea engineers and how they figure all this stuff out. Everything goes together precisely and all the holes are predrilled and ready to go. So, the guesswork is taken out and you can fly along on putting these together, once you have a grasp of the hardware and process.
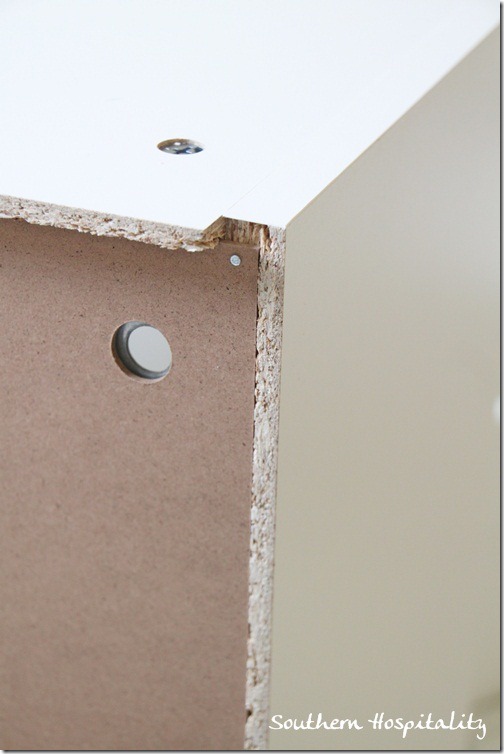
Here’s a peek at the back of an Ikea cabinet. You can see that the sides are made of particle board. It doesn’t have the best reputation as far as product material goes, but it is strong and durable. That’s what makes these cabinets affordable. The doors are all wood and they have a heat bonded treatment on them that makes them very durable as well. They aren’t just painted, but they have a protective coating too. I love the doors! Those round holes are how they are mounted on the wall on a rail system that I’ll show you.
Taking a break after most are assembled.
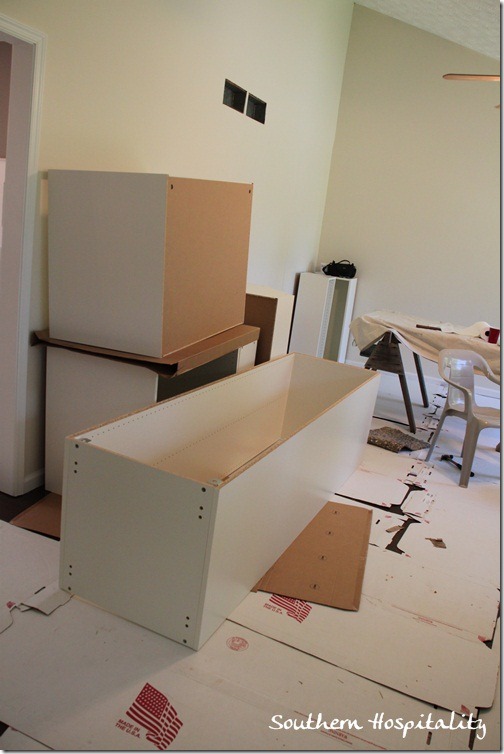
Boxes waiting to be installed. At this point, this is when I found my installer. My neighbor was friends with him and used to work with Victor. He lives in the Atlanta area and works at a cabinet shop, so knows everything there is to know about installing cabinets. He came by and gave me an estimate and I was happy to hire him to do the install (for around $900). That was peace of mind for me and I knew that my dad didn’t want to tackle the job and I sure didn’t either. Cabinets need to go in properly and this was too important a job to do on our own. Another smart decision to hire this installer too. So glad I did!
In between days working on the cabinets, mom, dad and I sat on the porch at home talking about our progress. Things were moving forward!
On Saturday, Victor showed up bright and early and we were all ready for him to begin.
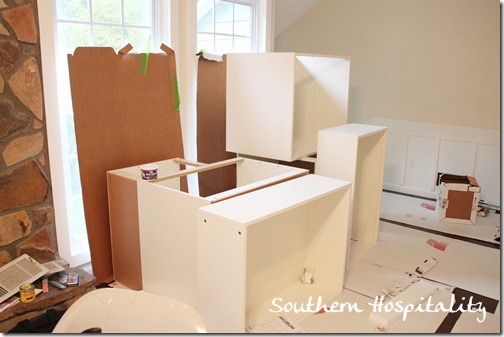
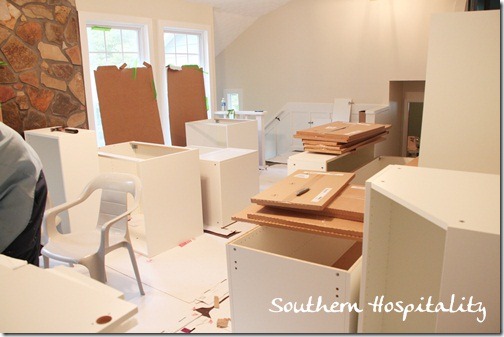
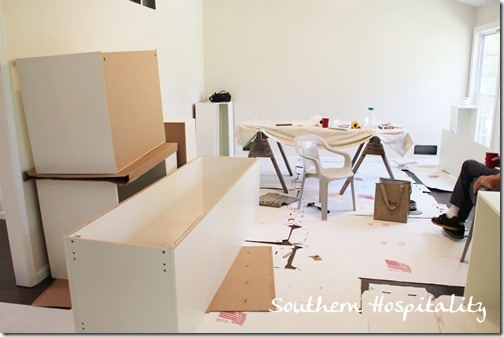
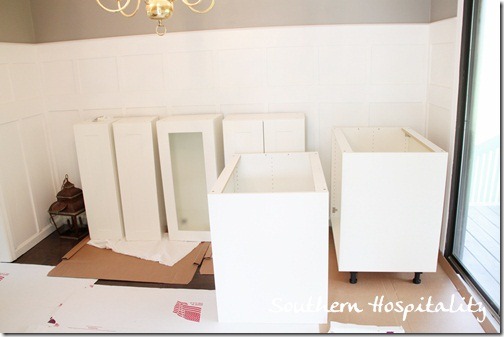
The cabinets were all together and waiting for installation in the dining room.
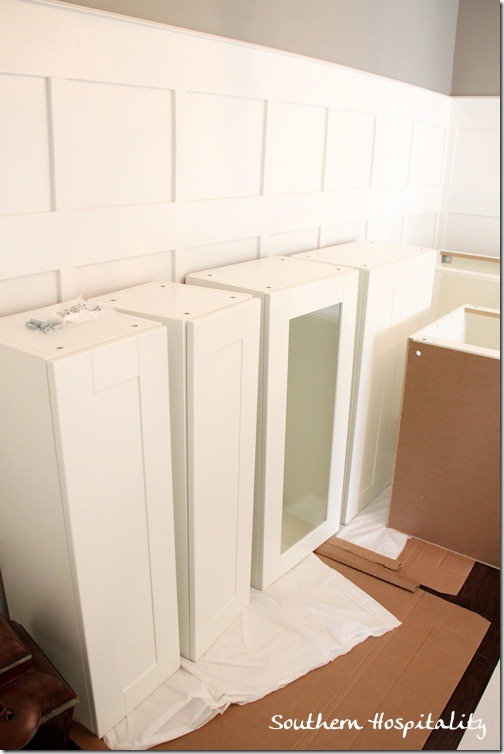
My beautiful cabinets and you can see one of the glass fronts.
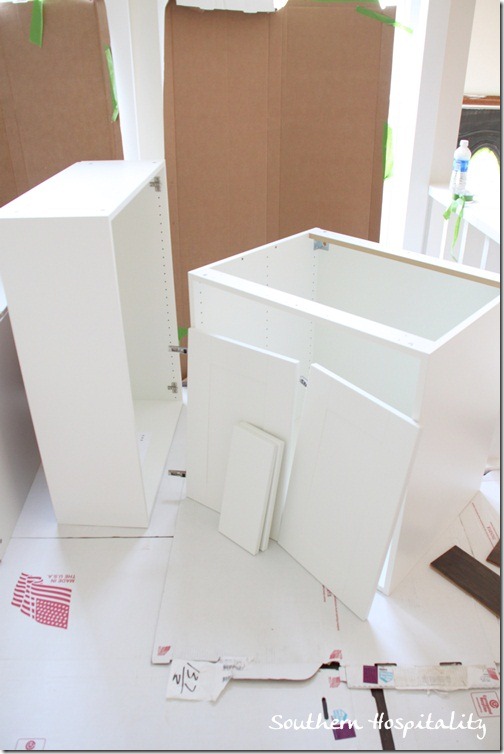
Doors and drawer fronts ready to go.
One 30” cabinet by the sink has these 2 glass fronts.
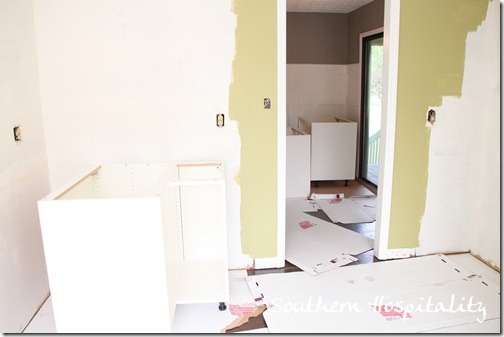
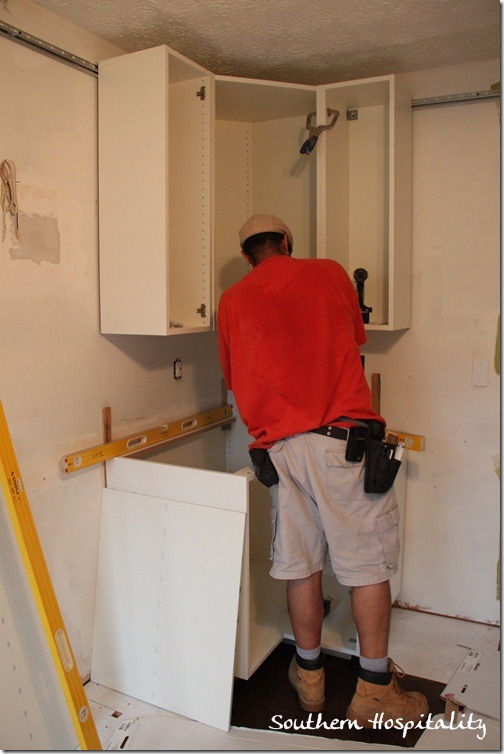
We moved in the corner cabinet as it wouldn’t go through the door without taking it apart in 2 pieces. This is the corner base cabinet. Oh, and you can see what color I’m doing in here, it’s the same Fennel color that I’m using in my office. Fennel is a Pratt & Lambert color, but Sherwin Williams has the formula too. What can I say, I love green and this fresh green makes me happy. There’s not a lot of wall space in here for color, but the green will be a nice contrast to my dark floors and white cabinets.
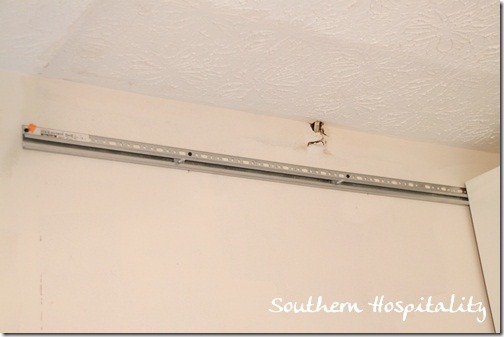
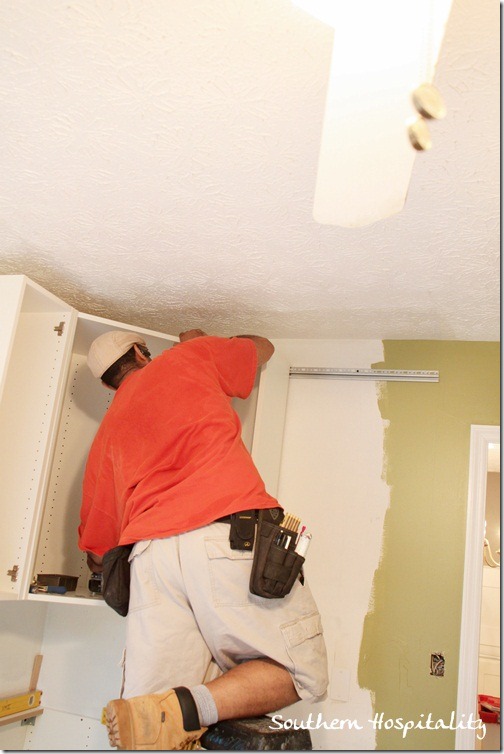
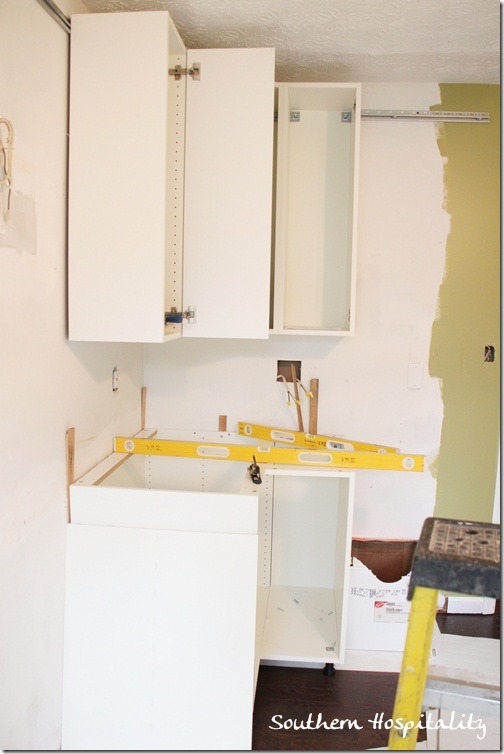
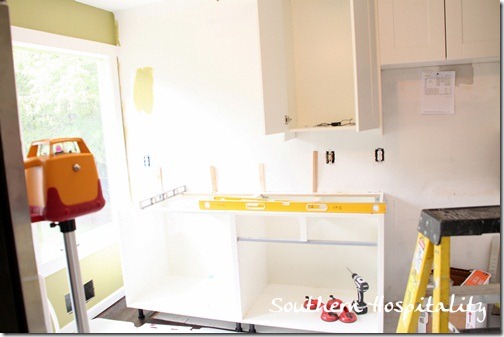
First thing that Victor did was set the rails in place to hang the upper cabinets. I did have to go back and paint my ceiling with ceiling paint after the top cabinets were up. I forgot that the cabinets wouldn’t be going all the way to the top. There is a little gap up top and this had to be painted out in ceiling paint. Oops! Here they are not painted yet, but they will be.
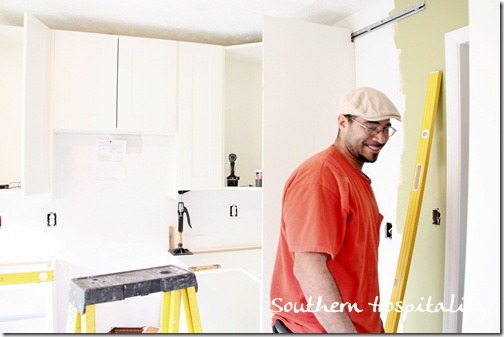
Victor Marti, my fantastic installer. Yes, I only hire handsome contractors. We were so glad he was in charge and we could sit back and let him do his thing. If you need a kitchen installer, I’d definitely recommend Vic. He knows his stuff and he does lot of other projects around the house too. If you are in the Atlanta area, you can reach him at 678-983-5550.
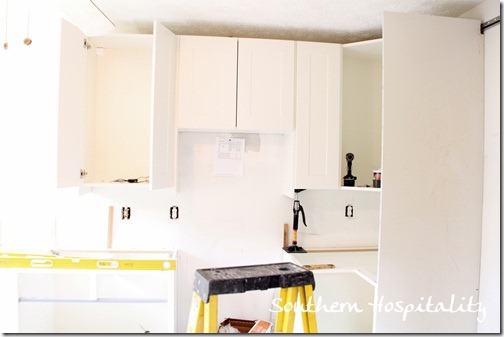
He got all the top cabinets in first and everything leveled out, which is really important in a kitchen.
I tried to stay out of his way and let him work, but had to sneak in a few pics. I did tell him he would be on my blog and he was fine with that and fine with me sharing his company contact information, if you are interested in hiring him. He’s a pro and does all sorts of carpentry things.
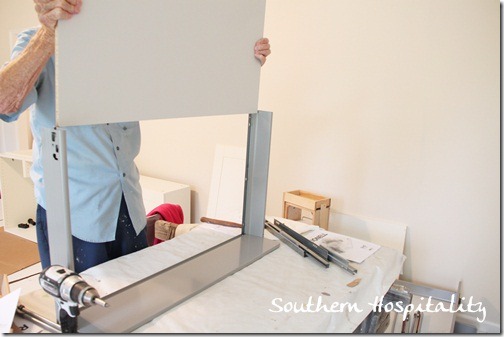
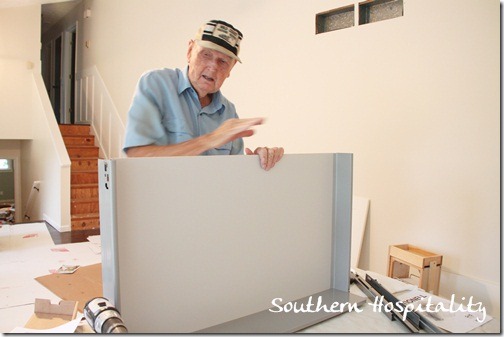
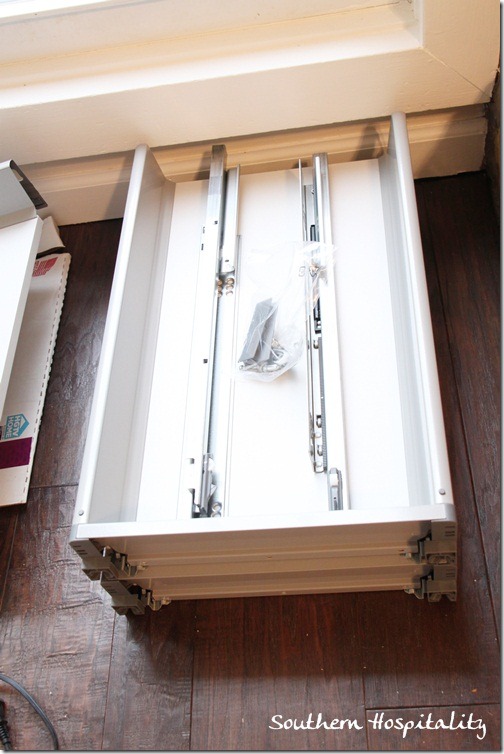
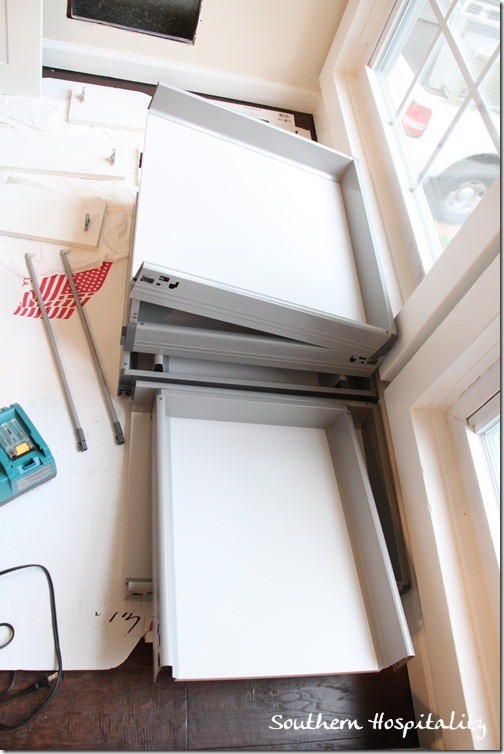
Meanwhile, Dad and I tackled putting the drawers together. I’ve got some big drawers that will go in my pantry and also some big base cabinet drawers. Ikea drawers and hardware is very heavy duty and I’ve heard works great. This will be my first time to have big pull-out drawers like this and I know I’m going to love them.
I forgot to take pics of how the sides of the drawers go together, but they just snap into place and then the bottom part slides in and you’re done. Then the drawer front has hardware and clicks into place. Their drawer design is genius too.
Drawers all put together.
More drawers. Dad and I will be working on getting the drawers installed this week, now that the base cabinets are in place.
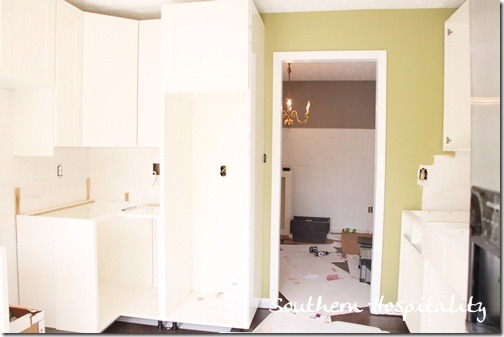
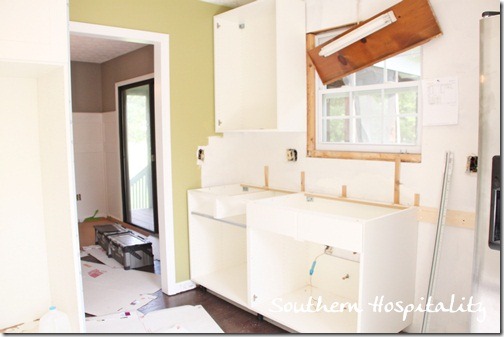
Victor started in this corner and worked around the room, putting my pantry in last.
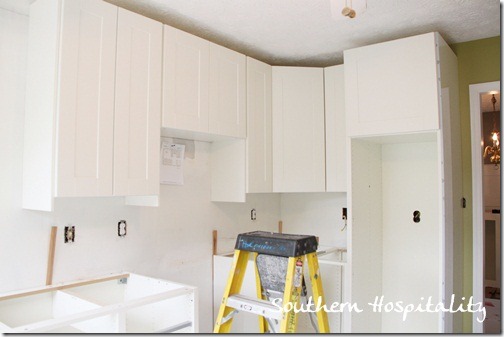
Right side of kitchen, looking good! The microwave will go over the stove. I haven’t found a stove yet, so will have to go out searching out a deal on a stainless smoothtop electric range.
To the left of the stove are two 36” base cabinets and these will have the big drawers that pull-out. Love them. Right above them, I have more than 4’ of wall space which will house my 2 rustic shelves that will sit on black iron brackets. I can’t wait to see these up, but first we have to tile that wall all the way from the countertop to the ceiling.
Looking towards dining room. You can see how big my pantry will be, excited about that too.
Still have to remove the old light relic that is hanging up there, we’ll get it down soon and my Ballard’s pendant light will go up above the sink.
And that’s the kitchen well on it’s way to being done.
We did have a few glitches on the 2nd day of working on the kitchen on Monday. We discovered the cabinet above the fridge was too tall, so back to Ikea I went, where I thought I ordered the correct one the second time. When I got back to my house and we unloaded the box, it still wasn’t the right size. Back to Ikea I go this week to try to return both of those fridge cabinets. I will make sure before I leave next time that I have the right one. I’ve been back down there twice in the last 3 days, so I hope this is my last trip for awhile. Because of the glitch, we are not quite done yet. My installer is a busy guy and has several projects going and I’m going out of town this weekend, so it will be over a week before he can come back and totally finish up. But, that’s the way it goes with home renovations, especially kitchens. We haven’t had a lot of glitches so far, so I guess we are due.
In spite of a few missteps, I’m absolutely ecstatic with my new Ikea kitchen and really think that I’ll enjoy it for years to come. My neighbors that I was telling you about, they installed theirs 2 years ago. He used to install high-end kitchen cabinets and with all he knows about cabinets, chose Ikea for his own home, so that tells me a lot. He feels that for value and quality that you can’t beat Ikea.
I’m sold too! And that’s why I chose Ikea cabinets. They don’t know me from Adam, but I am really happy so far with what I’m seeing and how my cabinets are looking in my space. I am so thrilled to get this kitchen together and of course, I’ll show you all the details as they unfold. Still have to get granite, sink, install faucet and backsplash tile, trim out the window and replace the light fixtures. That will be another few weeks of work.
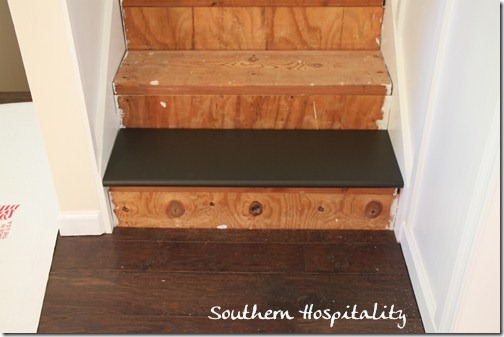
And soon, the next project that Dad and I will tackle is this one:
Now, you get a peek at my vision for the stairs. Picture white risers with these deep brown painted stairs. Beautiful, yes?! I am so excited to get this project done too. I have all the stairs painted with 3 coats of porch paint and they will be nice and cured by the time I get them in. I’ll have to caulk, touch up paint and then install my runner later. They will be gorgeous when I’m done. Of course, I’ll do a whole post on this process too. These are painted pine stairs, very cost effective and they will go right over the old stairs.
That’s it for this week! Big week for sure.
Linking up to Beth’s Tutorials and Tips not to miss this week!




Hi Rhoda,
Nice article. It’s just what I was looking for as it is well written and has all the right information. In looking a the different cabinet selections and looking at the different reviews, we are going to look at Ikea to remodel the kitchen. Your installer knows his stuff, assuring everything is level.
Now the question I have is it has been several years, how are the cabinets holding up?
Thanks again for your article.
-Steve
HI, Steve, hope you get back here to see this. Four years later, my cabinets still look brand new! I’m very happy with my Ikea kitchen and would totally do it again in a house remodel. Everything works so well in these cabinets and I love them.