Over a year ago, I picked up some fabric I ran across for $3 per yard and knew that I wanted to do something with it on the 2 single windows in our master bathroom. So, I finally got inspired to get it done, after saving an inspiration post from Jenny, at Little Green Notebook. She has lots of great ideas and this one was perfect for what I wanted in my space.
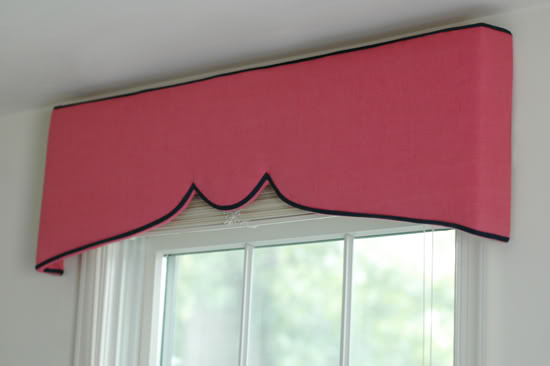 See how pretty and simple this pelmet or cornice board is? You can click over to Jenny’s blog to see how she did it, but I’ll share my method here too. And the good thing is this: it’s made from foamcore board and duct tape! Yeah, I knew you’d like that too.
Come on in and I’ll show you my version.
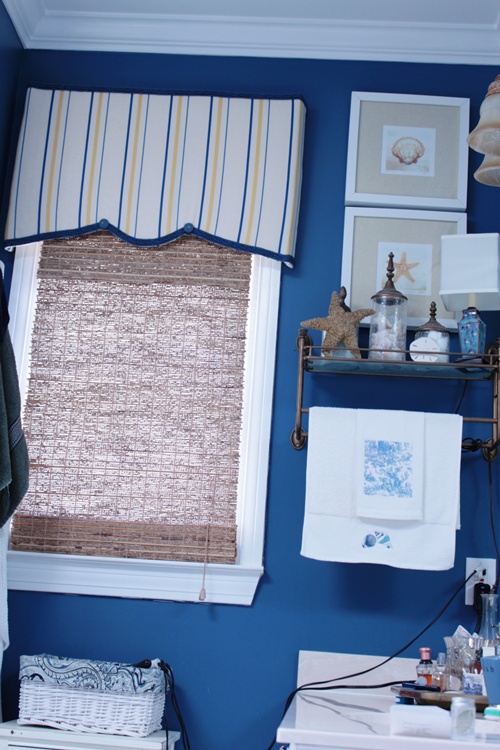 I”m really loving this cornice board and how easy it was to put together too. Well, relatively easy.
 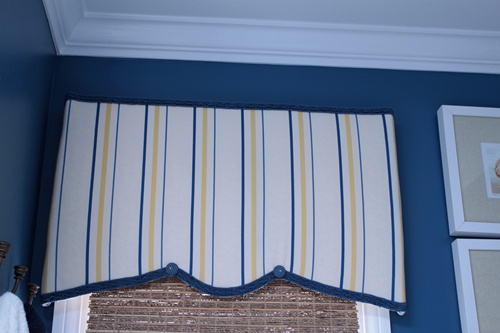 One thing I can mention on this project is, you may not want to use a stripe, because it’s impossible to keep them straight when you have curves and angles. But, I’m pretty happy with the way this turned out in spite of the wavy stripes.
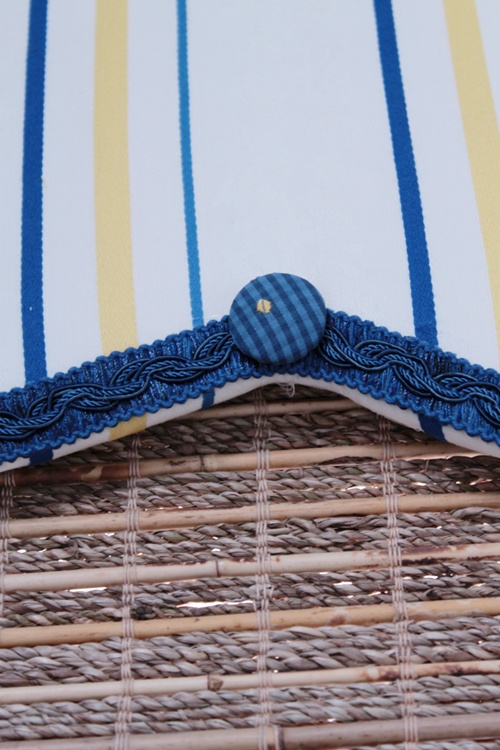
The hardest part is getting your fabric to lay taut around this little curve, but I’ll show you the back of it down below in my how-to and you can see that you have to clip the fabric with scissors to get it around the curve. I still have a slight pucker on the fabric, but most of that is covered by the trim and button. I found this pretty braided blue trim at Hancocks and I covered the buttons myself from other fabric I had.  Just a shot of the white nightstand I painted last year, along with some storage boxes in my paisley blue fabric.
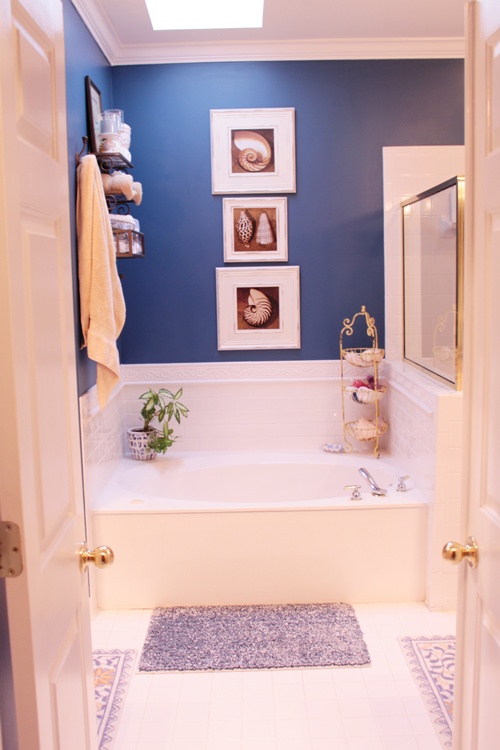
  The cornice is simple, but adds a lot, I think. I kept this space to blue, gold-yellow, and white.
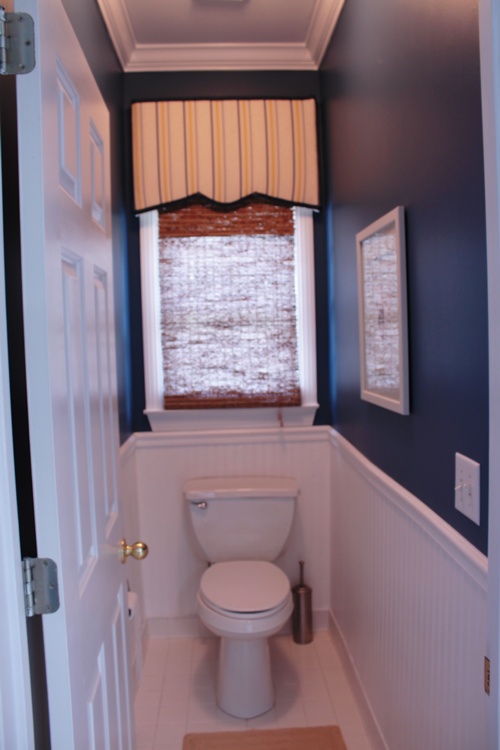
The same treatment goes in the toilet room too. 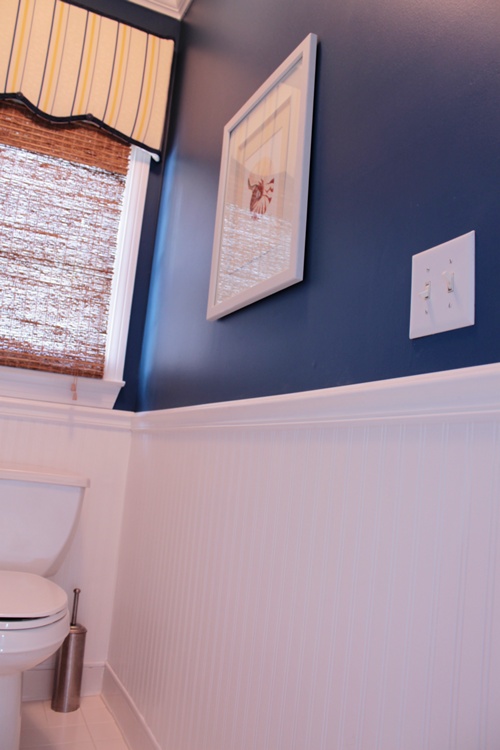 You can read all about the beadboard wallpaper I did here in this post. That really added a big punch to this little room.
 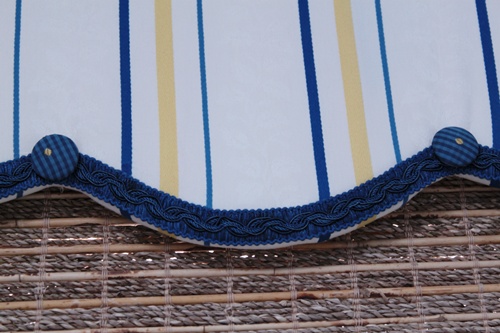 Buttons and trim add lots of interest to this simple treatment.
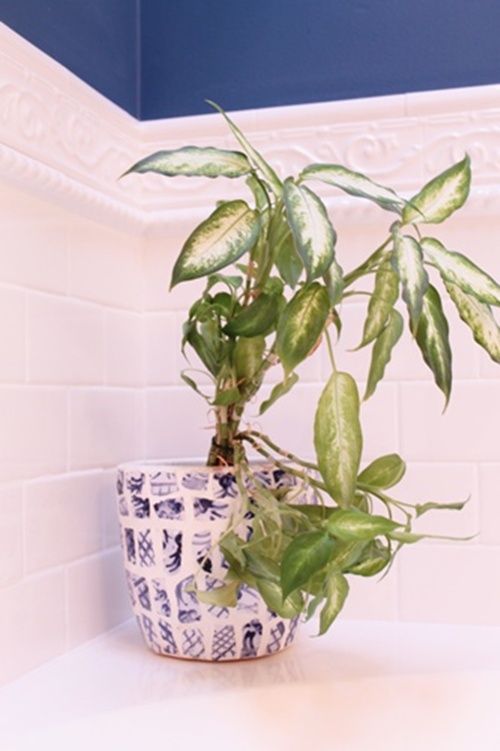
Another peek at the DIY subway tile I added in here earlier this year too. I think I can now say that the master bathroom is done! 🙂
So, if you’d like to read all about how these cornices were put together, keep on reading.
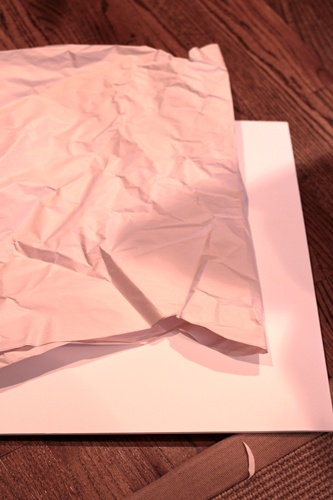
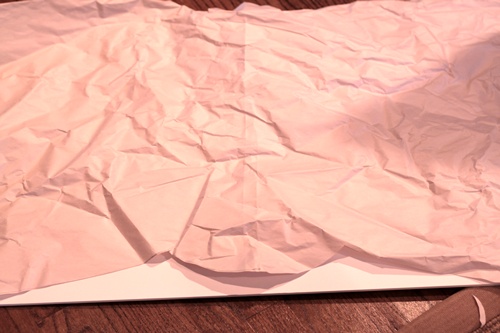
I made a simple pattern out of packing paper. You may have to work on this, it took me 2 attempts to get my angles and curves the way I wanted them. Once you have one side drawn, it helps to fold the paper in half, so that both sides match.
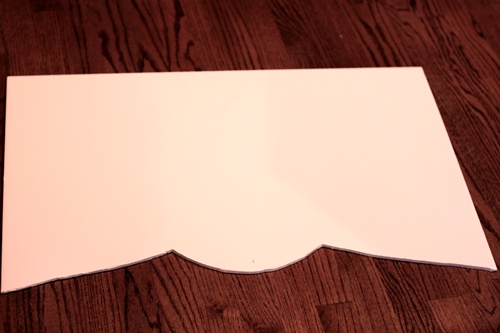
Then, just place it on your foam board and trace.
Cut along the lines and you have this. I used an Exacto knife to cut mine. Remember those? 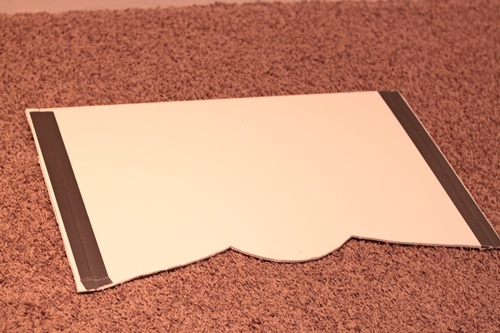
My box needed a little extra on each side, so I cut out 1″ strips to go on either side to make it a little wider. I duct taped both sides, front and back to keep it steady. 
I decided to have my board sit 2 1/2 inches out from the window, so I cut 4 pieces that were 2 1/2″ wide and taped those on each side of my 2 boxes. Now you have a box that needs to be covered. Who would know that underneath your pretty fabric is THIS. 🙂 No one but YOU! 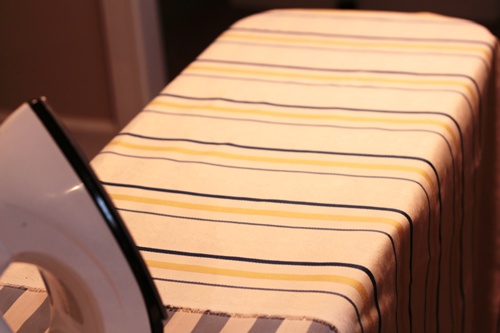
Be sure and iron your fabric well before you start. 
I roughly cut my fabric into 2 pieces and left extra on each, just to be sure I had enough. Luckily, no one will see behind your board so you don’t have to worry about the backside. Lay down some batting first, then your fabric on top. I used a staple gun with 3/8″ staples to adhere all the fabric. Start in one spot and pull taut, moving all the way around.
The toughest spots, as I mentioned were right there on the curve insets. You can see that I cut the fabric all the way down to the board to be able to pull the fabric as tight as I could here. Lots of staples! The batting helps keep the fabric smooth too, so don’t skip that step. I had to work on this curved part longer than all the rest, but just keep going until you get all the fabric adhered.
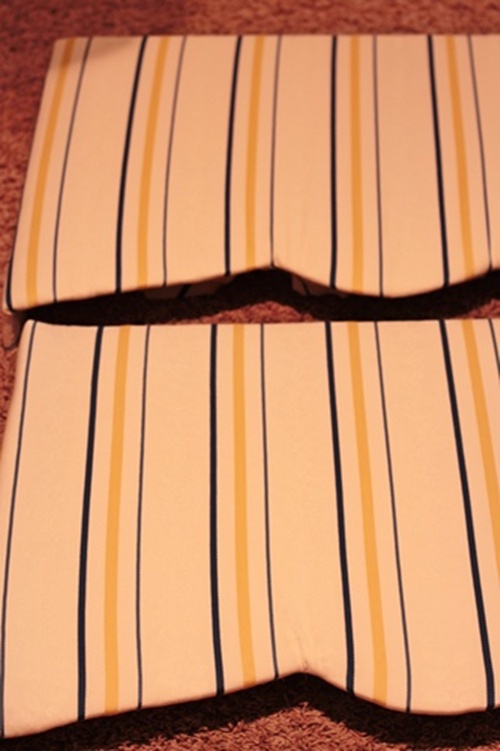
And here they are, both covered with fabric. 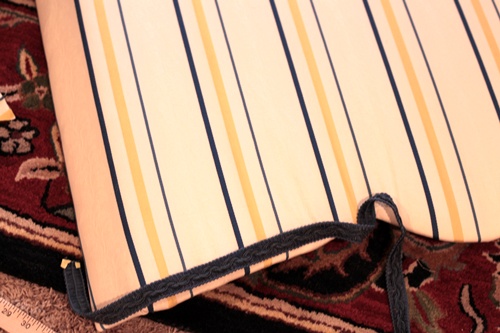
I wanted that little extra pizazz, so added some pretty braided flat trim that I found at Hancock’s Fabrics. It was my lucky week and it was all 30% off. I glued on all the trim with fabric glue. My favorite fabric glue is Fabri-Tac, but I’ve been out of it for awhile. I picked up some fabric glue from Hobby Lobby, called Crafter’s Pick and I hate it. It doesn’t stick worth a darn and it won’t squeeze out the small hole in the top, so I definitely would tell you to stay away from that one. Fabri-Tac is the BEST! 
Hot glued a ring onto the back top corner of the board on either side. This thing is so lightweight, it doesn’t take much to hang it. Just 2 small nails will do it.  And that’s how to make a cornice board out of foamcore.
I hope this inspires you to try this project. It just takes a little time and patience to get the fabric stretched over it, but I’m so happy with how it came out.
What do you think? Do you have a window to try this one on?
******************************
And the giveaway winner for the 2 Tea books is: Georgia from Grandma G’s. Congrats, enjoy those books!



OMG! I happened to stumble upon your posts, and I absolutely LOVE my new cornices in my dining room! I used stripes also, because it was the fabric that I had, and they look wonderful for the price! Thank you for posting your creative tips! My house will only improve with with your wonderful ideas! Thanks again!!
Lauren
I love this! I was trying to talk my husband into making me some wooden ones this morning, but this is so smart and so easy. Thanks–
Ms. Rhoda — I stumbled across this through a Google search, and I’m so glad that I did. Neither my wife nor I have the “creative eye”, but this is just the type of thing I’ve been looking for to add some life/color/style to all the bare windows in our home (we’ve been in our new house for 4 years and the windows only have shutters or shades… if that tells you anything). Anyway, this would be a great DIY project that my wife and I could actually do together… maybe even without killing each other! I can’t wait to show her this post when she gets home from Xmas shopping. Thank you, thank you, thank you!!!
Monterio
Hi Rhoda,
I wanted to thank you for this great diy cornice. I have since taken down the heavy wood cornice boards in 2 bedrooms, absolutely love my new treatments.
I sent this link to a friend, she used the same foam board and made a king size headboard, it looks great!
Best from NY !
Stephanie
Did hot gluing the hooks to the balance work long term? I made foam valances and am having a VERY hard time keeping them up. Velcro and 3M strips, hot glue and super glue aren’t cutting it.
Did you get any suggestions on keeping it up? Before I get too far down this adventure…..
What a great tutorial, thank you! I am about to start doing one for my kitchen window! Can’t wait to see the results!
I have a huge window in my living room that I would like to do this with. Do you have any suggestions on how to brace the middle so it won’t droop?
HI, Sandra, it’s been awhile since I did that project, but if you could find a dowel rod to place across the back, that might help. They have down rods in all different sizes, so that might help stabilize it.
I was thinking even a yardstick taped to the back might help too.
Any memories or info on the color blue that you painted your bathroom? I am struggling to figure out “the right blue”. Thanks!
HI, Kristen, I went back and looked and that bathroom blue is Kilz Magellan. Not sure if it’s still available or not, since that was so long ago.