How about another makeover?
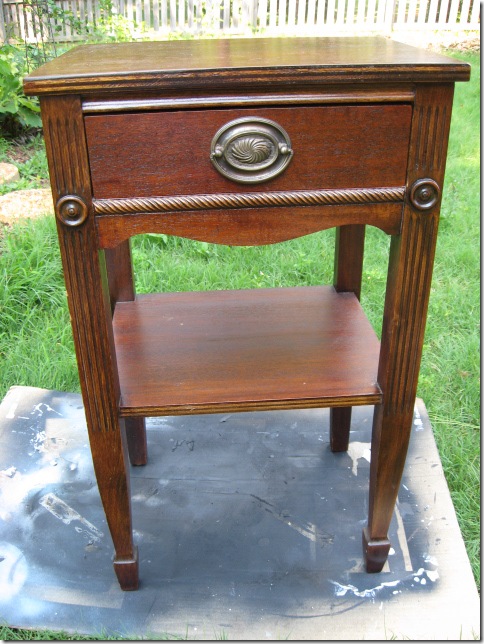
This pretty cherry finish nightstand used to be in the beachy guestroom, until I found that neat round table from TJ Maxx that I painted the top black and put in there. I picked this piece up somewhere at an antiques store and can’t even remember exactly where I found it in Atlanta, but it has served me well in a guestroom over the years. But, now it’s time to change it. I had a spot in mind in the master bathroom that I just knew it would look great and replace another little piece that was in there.
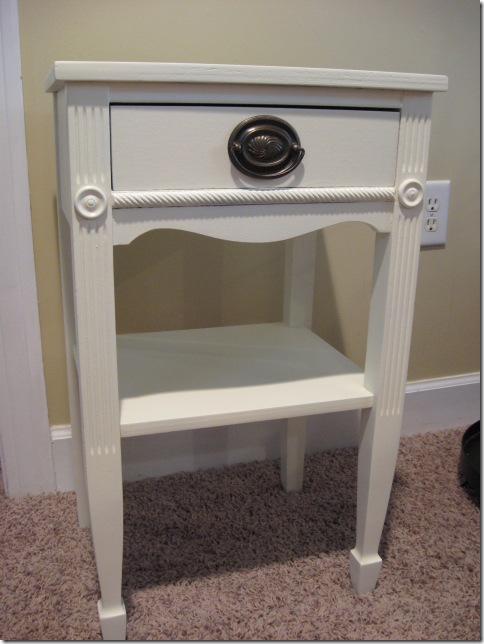
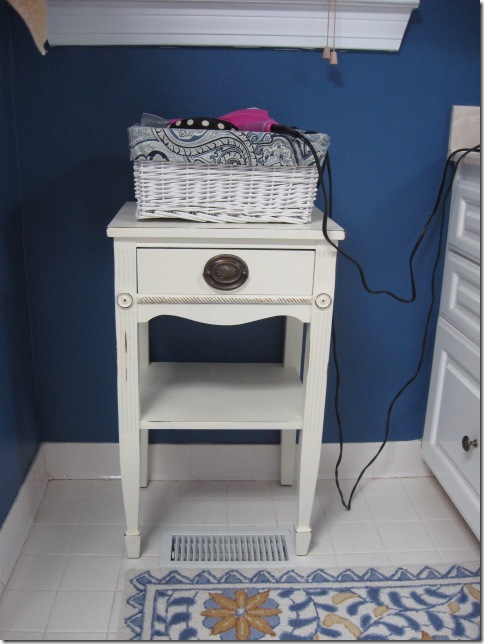
So, this one got a new coat of paint. All I did to prepare it was wipe it down with some of my liquid sander. Deglosses the wood and gets it ready to paint. Sprayed with white spray paint and did several light coats.
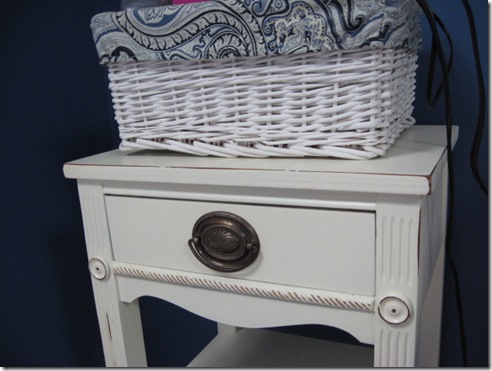
I actually used some yardsale paint that I picked up for about 50 cents for 2 cans. Just enough for this project. It was by Krylon, Living Color in Ivory and was just perfect for what I needed. I’ve also used Porcelain by Valspar brand and it’s a good one too, as well as Heirloom White which is used all across blogland. It was a little too perfect, so I decided to shabby it up just a bit. (this carpet is not pink, it just photographs really strange every time. It’s a beigy color)
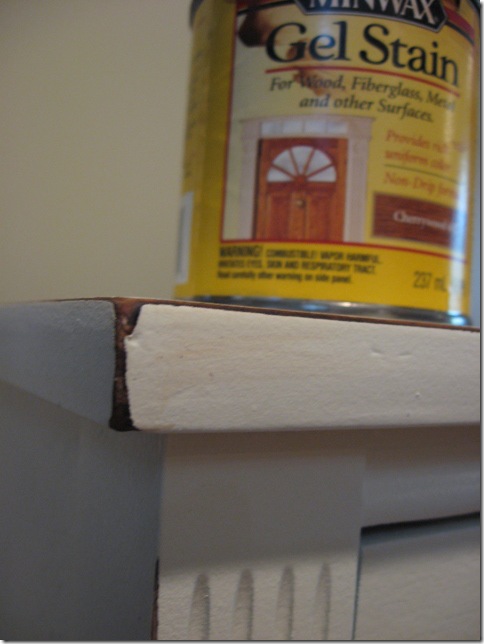
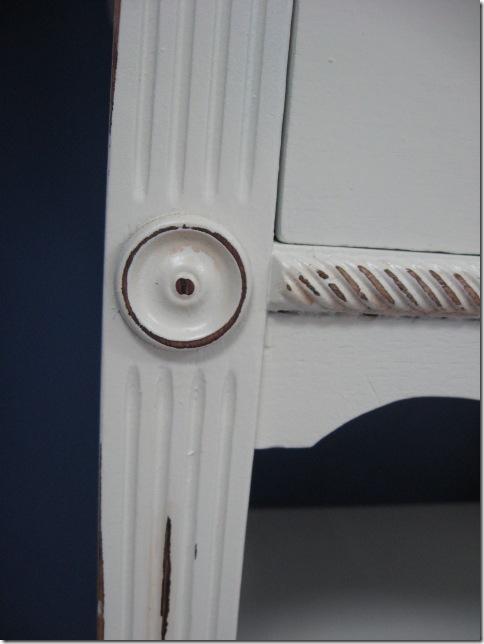
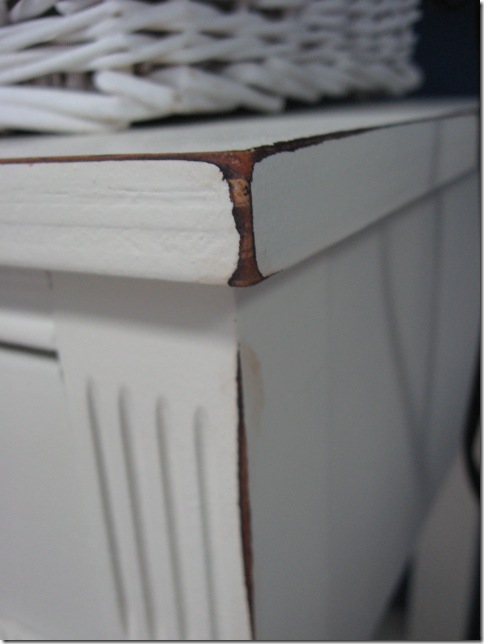
Got out some sandpaper and hit the edges and the detailed molding to take off the paint and get down to the bare wood in a few spots.
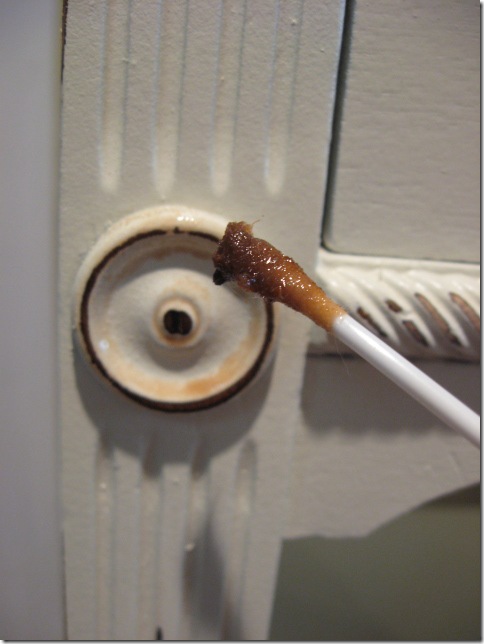
Then I got out some Cherry stain and hit those spots with a Q-tip, just to darken and age it slightly. Wiped off excess stain right away.
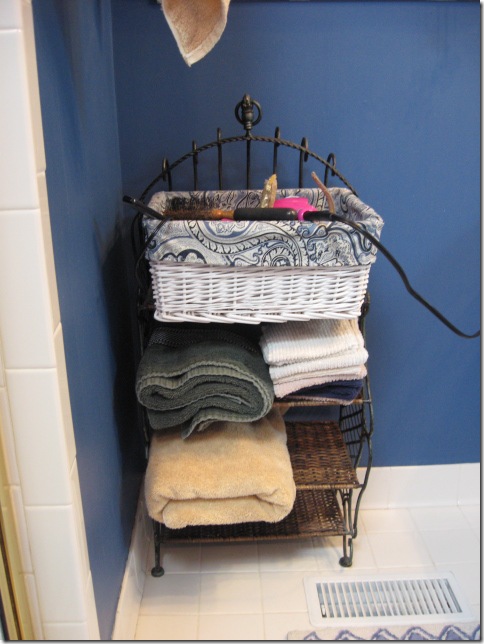
And here’s where it will go, replacing this wicker and iron stand that I’ve had for ages.
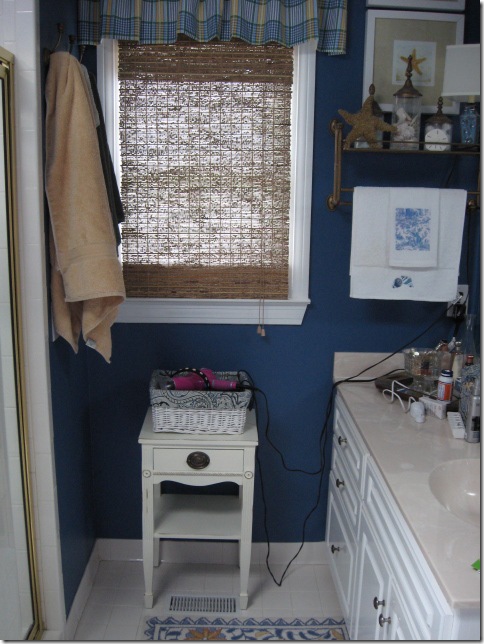
Cute, huh? I really like how it looks in here against the blue walls.
That basket was found at Homegoods and matches my bedroom paisley fabric. Perfect for holding the hair dryer and flatiron, headbands, clips, brushes. Wish I had another plug in here, but it is what it is, so I keep it plugged in all the time.
So, instead of getting rid of this piece, I just moved it up and gave it a facelift. And it’s just perfect for me now! I put my wash cloths in the drawer and I can stack a couple of towels underneath.
Do you have anything that needs a facelift?
In just a couple of hours, it can be done and you’ll be enjoying a whole new look.


Rhoda…I have a little table just like that that came out of my grandmother's home. I have been wanting to paint it black…never heard of liquid sander, will go pick some up. Great tips as always!
Blessings…
It looks amazing!
Beautiful table and beautiful paint job, Rhoda. I have a beautiful antique rocking chair with very similar finish as your table that I want to paint white and reupholster. But my husband refuses to agree to me doing it because "It's wood!" Grrrrrr! Where are the men who don't give a hoot about design and decor? This piece is from his family. But it's so ugly the way it is. I just want to make it beautiful and useful in our guest room. Say a prayer for me that he'll change his mind so I can make it as beautiful as you have your table.
~ Victoria in Texas
It looks great! It's always wonderful when you can reuse something you already have.
~Michelle
looks great rhoda–the edge technique is sooo
practical too!
Rhoda, Thank you for directing me to your how-to on the lampshade makeover. I will post photos of the finished product soon.
I love the white nightstand. The extra finishing touches you did on it make it look all the better!
Looks great in its new place. Your so talented. This liquid sandpaper can be used on cabinets? I'm wanting to paint mine in my laundry room but so hate sanding.
Another wonderful project, Rhoda! I wish I had used spray paint on the last project I did. I used latex paint and a brush and roller, instead. I'm not happy with the brush strokes that remain since the paint dried.
You are a real professional! The result is so much better. It really looks beautiful!
Thank you ALL for stopping by this post! And for those of you who were concerned about my dryer staying plugged in…OK, I'm listening & will unplug it from now on! 🙂 I didn't realize it's a hazard, but don't want to take any chances. We do have those pop-up plugs in there though, that shut down if there is a surge.
This looks fabulous! Do you think that liquid sander would work on mdf shelves? I've got a book case from Ikea that I'd like to paint.
Nicely Done! I'm taking notes so I'll remember how to do this, too. The table turned out beautiful. I would have never thought of doing the edges like that, but I will now. Thanks for sharing!
What a lovely little table–both before and after the makeover! The distressing was a nice touch!
love it's new look!
Looks great, Rhoda! Oh, how I love distressing painted furniture. In fact, I can barely leave it simply painted – must distress…or I stress. 😀
Hi Rhoda. I really enjoy following your blog and your fantastic ideas! I have a question about a project that my husband and I recently completed. We bought some used 1970’s era bedroom furniture that was done in the blonde color. We used liquid sandpaper on it, then brushed Heirloom white (satin) and spray paint (experimenting) and then topped it off with Minwax fast drying polyurethane semigloss. We think the polyurethane caused the heirloom white to turn a yellowish color. We did not poly the frame of the mirror, and it is the beautiful Heirloom white color. Do you have any idea why this happened? Thank you.
The stain you used was a Gel, would a regular oil based wipe off the same way?
Hi, Chris, yes either gel or oil should work just as well.